TFB said:
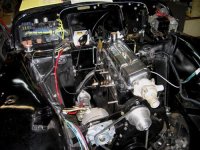
Art's GM unit does look a bit snug,and thats with no manifolds in place.
Any part numbers or applications for the Denso appreciated,or pics of your unit.
Are Nippondenso and Denso the same?
Thanks again
Tom
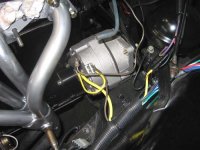
Here's some info on the Nippondenso (or Denso...same thing) units.
Edit: BTW, here's a description of what I did to get the 10SI in there. I sent this as a PM to one of the forum members that asked about this.
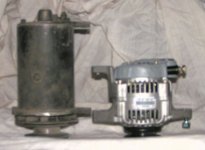
"Yes, I did this conversion, narrow belt and alternator. For the alternator, I used a Delco 10SI. It can be bought in any parts store. The one you want is a 7127-12. That's an industry number, and the "-12" means that the plug in is at the 12 o'clock position, when looking at the back of the alternator with the adjusting ear straight up. Basically, GM cars from the mid-'70s to '80s had these alternators. Depending on application, they came in different clock positions.
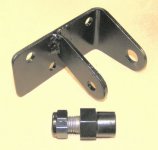
The way I handled the brackets is that first of all, I left the original generator bracket in place, but took off the front spacer that the front ear of the generator bolts to. Since I have a machine shop at work, I was able to fabricate some pieces for the rest of the mounting. But, basically, the alternator's swing leg, the long leg at the bottom, goes right in front of the generator bracket. The belt should line up well. Now you've got to get a 3/8 bolt that is long enough to go all the way through the alternator leg, to the back of the bracket, with a spacer between the legs of the original generator bracket. Or, what I did, was make the spacer, and tap each end or the spacer to accept a 3/8 bolt. One more item I added was a spacer where the adjusting bracket bolts to the water pump housing. I added a 5/8" spacer (with longer bolt) so the bracket lined up nicely with the front of the alternator adjusting leg. Some guys have mounted the bracket to the back-side of the alternator bracket, and others have just bent the bracket to fit...whatever.
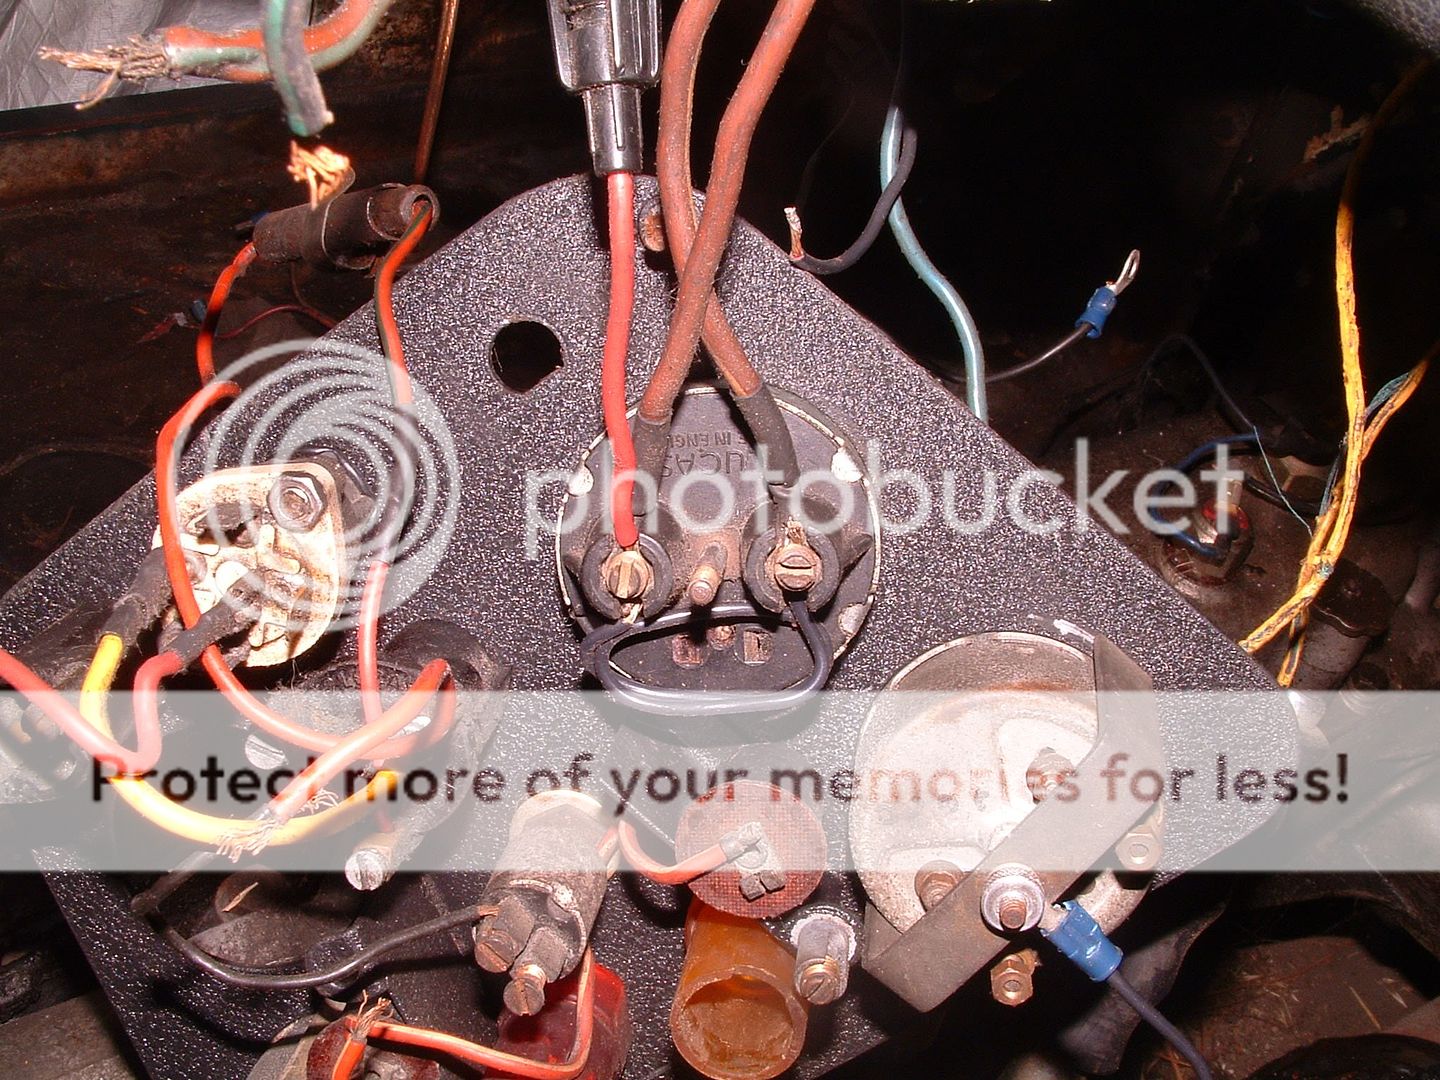
While your at the parts store, get a repair plug for the alternator. Most places have them. The plug-in has two wires on it. One is the sense wire, the other is the dash (ignition) light wire. Again, looking at the back of the alternator, the sense wire is the one on the right. That you can put a ring terminal on and hook it right up to the alternator output stud. The other wire then goes to the dash light. I believe there is a write-up on the wiring changes needed voltage regulator somewhere. I'll dig it up if you need.
Also, The alternator may require a longer belt then what is supplied with the narrow belt conversion. I had to get one 20mm longer."
I'll see if I can provide some pics after I get home today.
 Hey there Guest!
 Hey - did you know if you click on the title of a thread it will take you to the first unread post since you last visited that thread?
 but were afraid to ask:
  STOP!! Never post your email address in open forums. Bots can "harvest" your email! If you must share your email use a Private Message or use the
  smilie in place of the real @
 Pretty Please - add it to our Events forum(s) and add to the calendar! >>

 A friendly reminder - be careful what links you click on here. If a link is posted by someone you don't know, or the URL looks fishy, DON'T CLICK. Spammers sometimes post links that lead to sites that can infect your computer, so be mindful what you click.