• The Roadster Factory Recovery Fund - Friends, as you may have heard, The Roadster Factory, a respected British Car Parts business in PA, suffered a total loss in a fire on Christmas Day. Read about it, discuss or ask questions >> HERE. The Triumph Register of America is sponsoring a fund raiser to help TRF get back on their feet. If you can help, vist >> their GoFundMe page.
  • Hey there Guest!
    If you enjoy BCF and find our forum a useful resource, if you appreciate not having ads pop up all over the place and you want to ensure we can stay online - Please consider supporting with an "optional" low-cost annual subscription.
    **Upgrade Now**
    (PS: Subscribers don't see this UGLY banner)
Tips
Tips

General TR Instrument Faces

OP
CJD

CJD

Yoda
Country flag
Offline
It's about as you describe, Doug. I went through every font I had, and none were right, so it was a matter of building each letter and number, one line at a time. When I said I had to "dumb down" the program...I actually had to add radii to every edge to mimick the way the screened ink flowed on the original. The more you build, the easier it gets, as you can then use the previous work as a starting point and just modify. The only font I did use is the Jaeger. It is a Times Roman for the letters, but I had to build the lamp with the loops at the ends to fit it. The laser has a .005" width, so some of the characters may have to be narrowed to account for the width of the "knife". I tried to adjust for kerf, but sometimes it's just a matter of try and see. Tomorrow will be test day.
 

dklawson

Yoda
Offline
I'm looking forward to seeing the results of the first try.
 
OP
CJD

CJD

Yoda
Country flag
Offline
The Rover lost a fuel pump while I was out shopping for flourescent white paint. Spent the whole day working on that...maybe tomorrow on the test. No luck with flourescent paint either...
 
OP
CJD

CJD

Yoda
Country flag
Offline
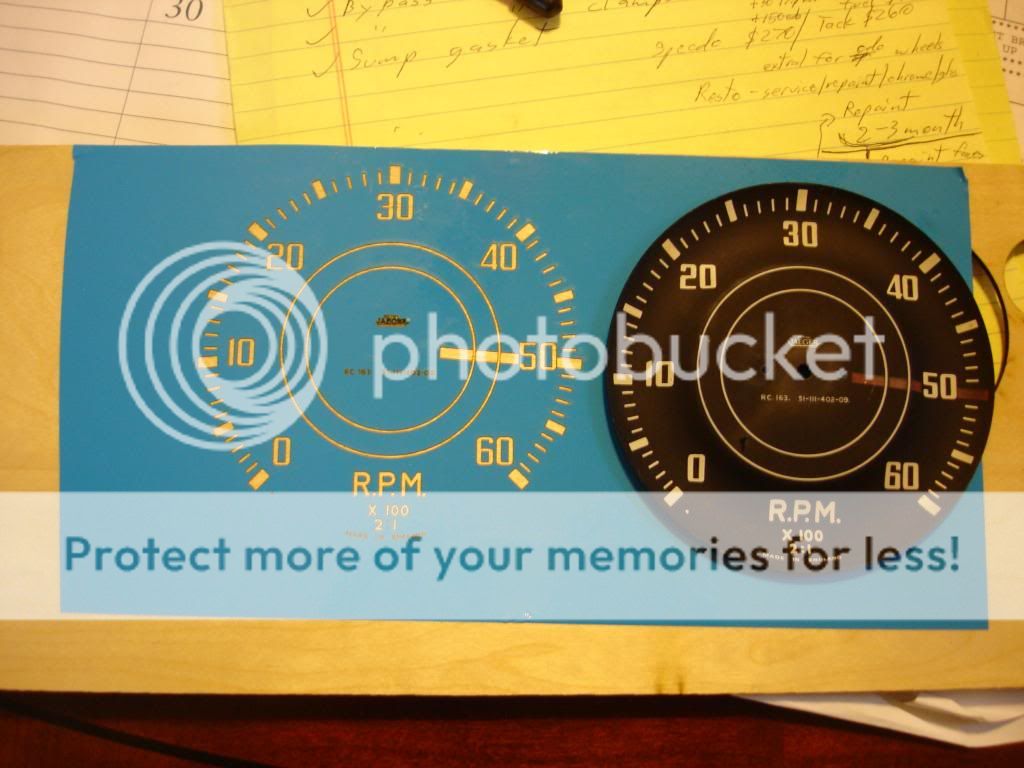
Here is the first cut:


This is blue vinyl on a wood background. Most of it is good...it will need some size adjustments. I cannot see how the small lettering is working, though. With the fine detail the underlying wood charred some, so I can't quite tell if the detail is there or not. I need a better backing and a higher power magnifying glass...

I am toying with the thought of painting the large lettering, and decalling the fine lettering. Anyway, the testing goes on.

It's looking like I'll have to test paints too. Nobody has any experience with paint types out there?
 

dklawson

Yoda
Offline
I think it is a great start! I printed countless drafts of my artwork before committing to printing the decal. I anticipate you will find the same.

I don't remember the seller's name but I do remember there was a guy on eBay selling different fluorescent gauge paints (red, orange, and white). I have used fluorescent acrylic paints from AC Moore to touch up gauge needles but I have never given any thought at all to directly painting with it on the gauge face.
 
OP
CJD

CJD

Yoda
Country flag
Offline
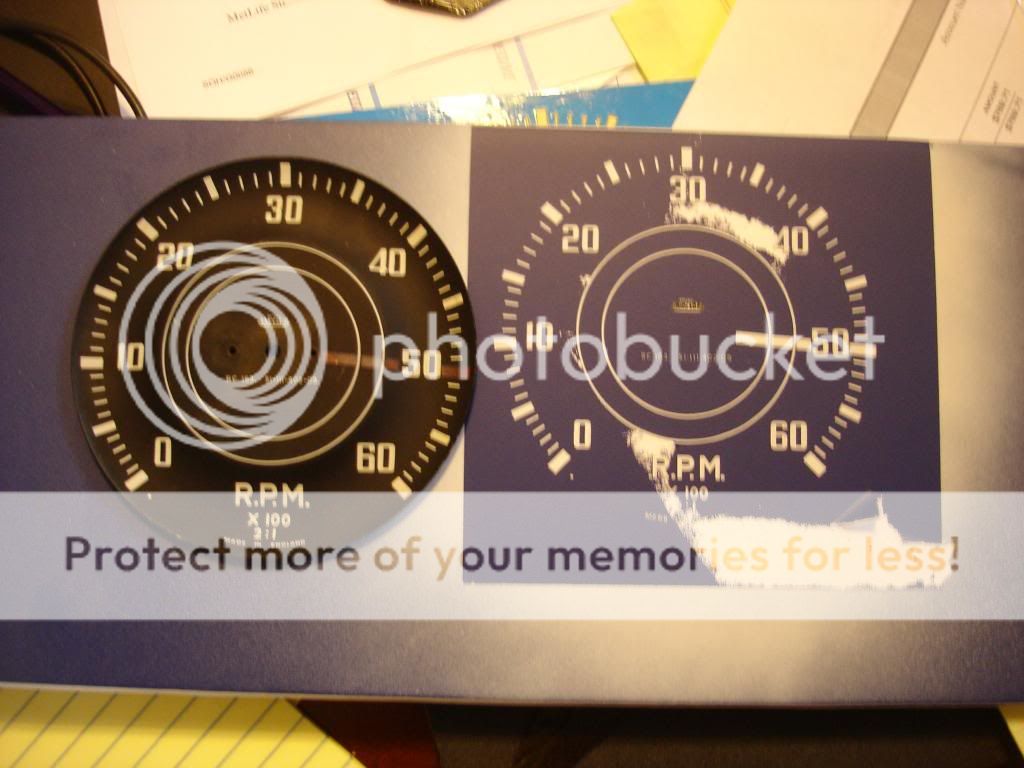
Finally made the first real trial from mask to paint. I am pretty excited, as it came out the first time. Here is what I've got:


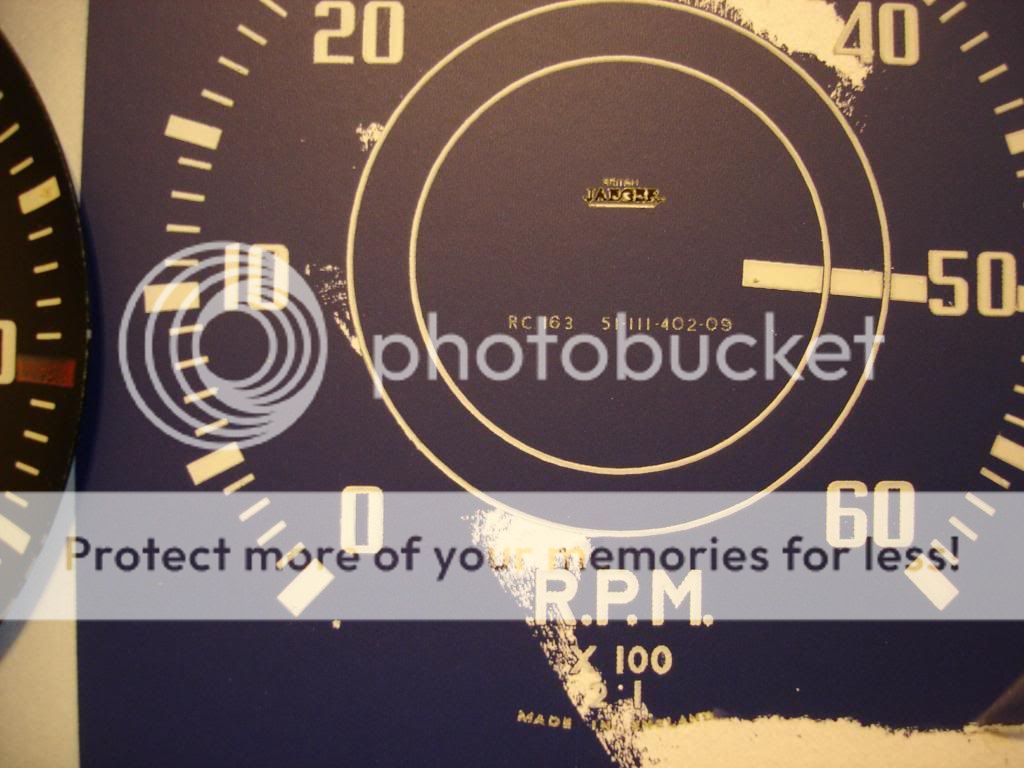
Now, the tearing is the fact that I was using a paper backplate for the trial, and the mask is not a real mask, but high-tack vinyl sign material, so the mask ripped the backing. That is fixable, by changing to a low tack mask. But, here is what I am really excited about:


Look at the fine detail in the lettering...first try! I now know enough to say this will work, so I will start over to pick up the rest of you guys left out. What I plan to do is post the complete restoration of the gages, start to finish.
 
OP
CJD

CJD

Yoda
Country flag
Offline


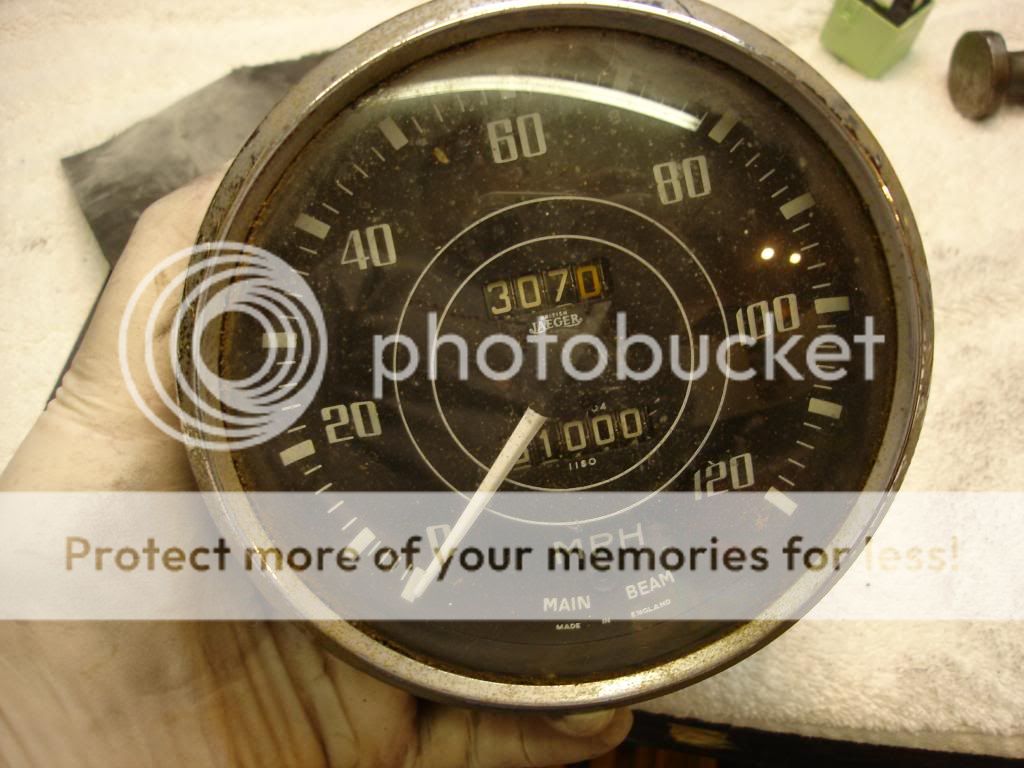
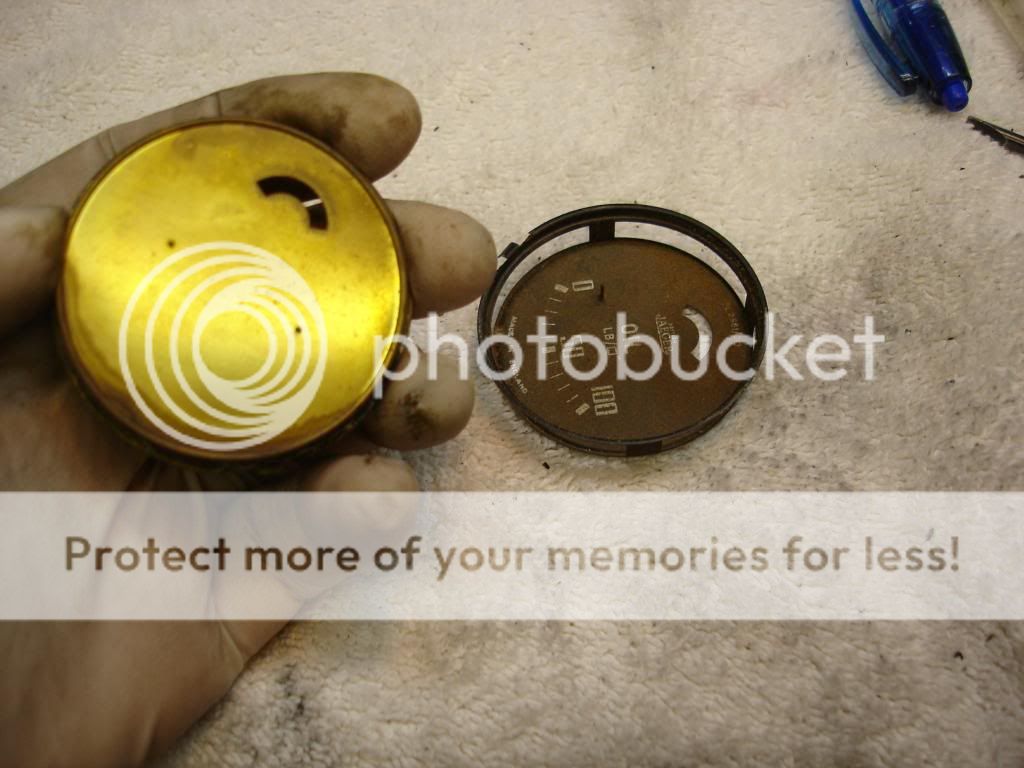
This is the typical state of a basket case gage. Dirty and ugly.

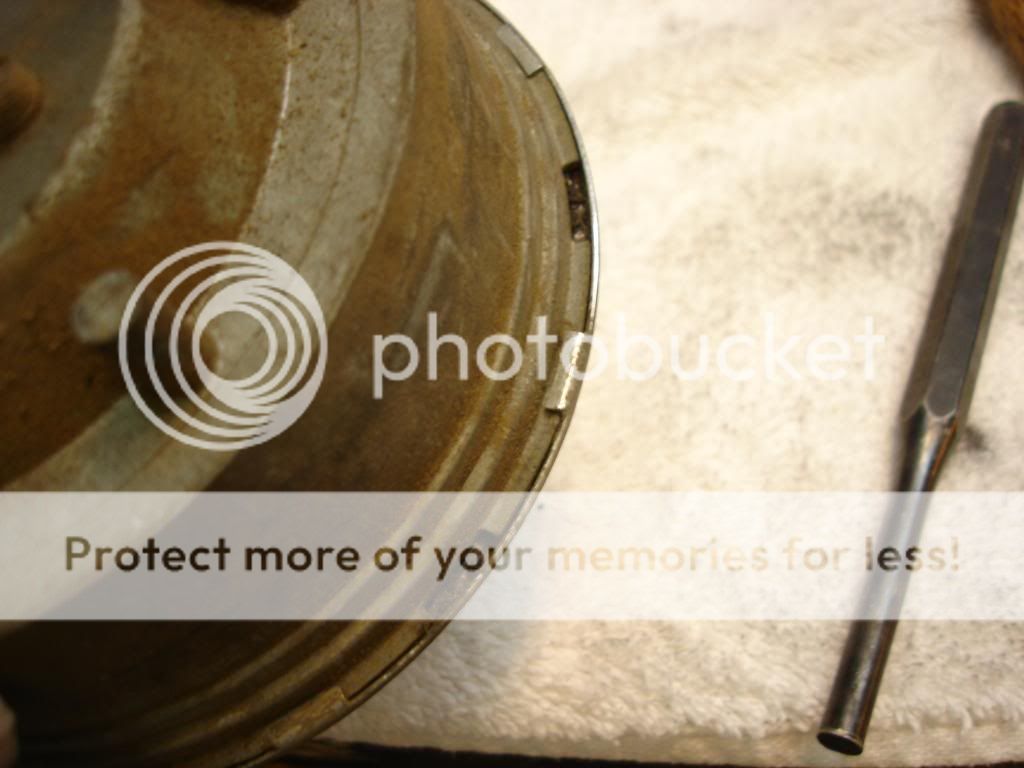
For starters. The glass face has to come off the gages. The bezel has tabs, so the bezel need to rotate so the tabs line up with the cut-outs in the housing. Here is how it looks on the smaller gages:


And this is the large speedo and tach:


You will notice a small drift punch on the table. The bezels are frequently glued with dirt and grime, so a gentle tap in the same direction around the bezel will get it started. Once loosened, the bezel can be rotated by hand and pops off. The glass may fall out, or have to be encouraged gently.
 
OP
CJD

CJD

Yoda
Country flag
Offline


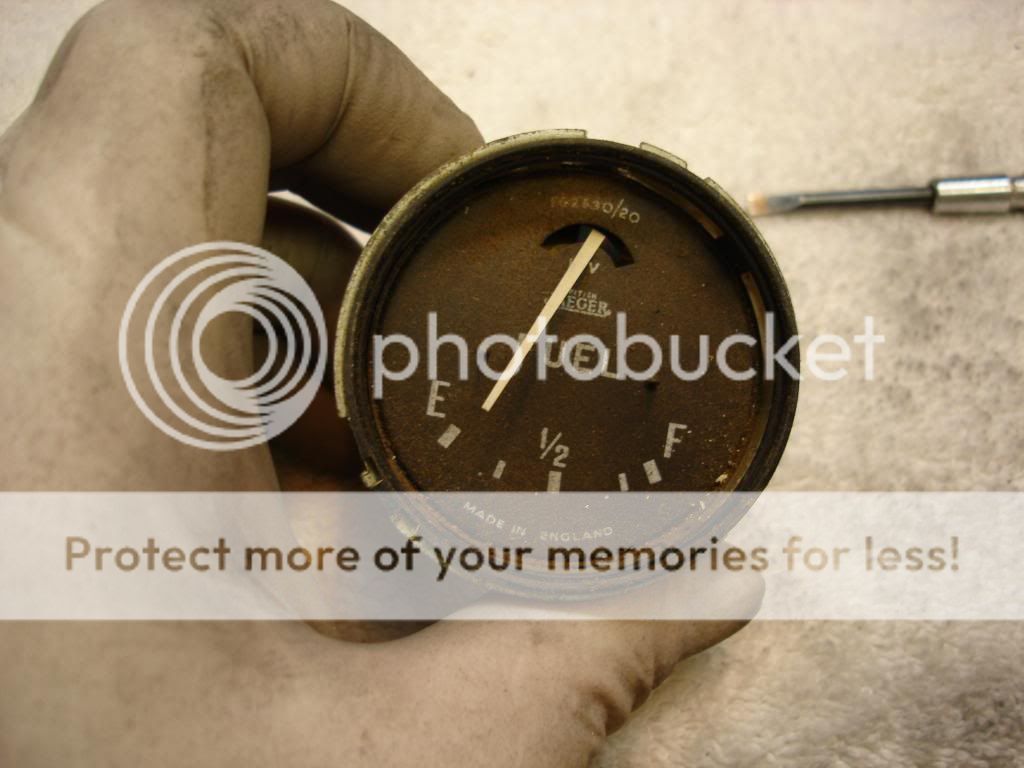
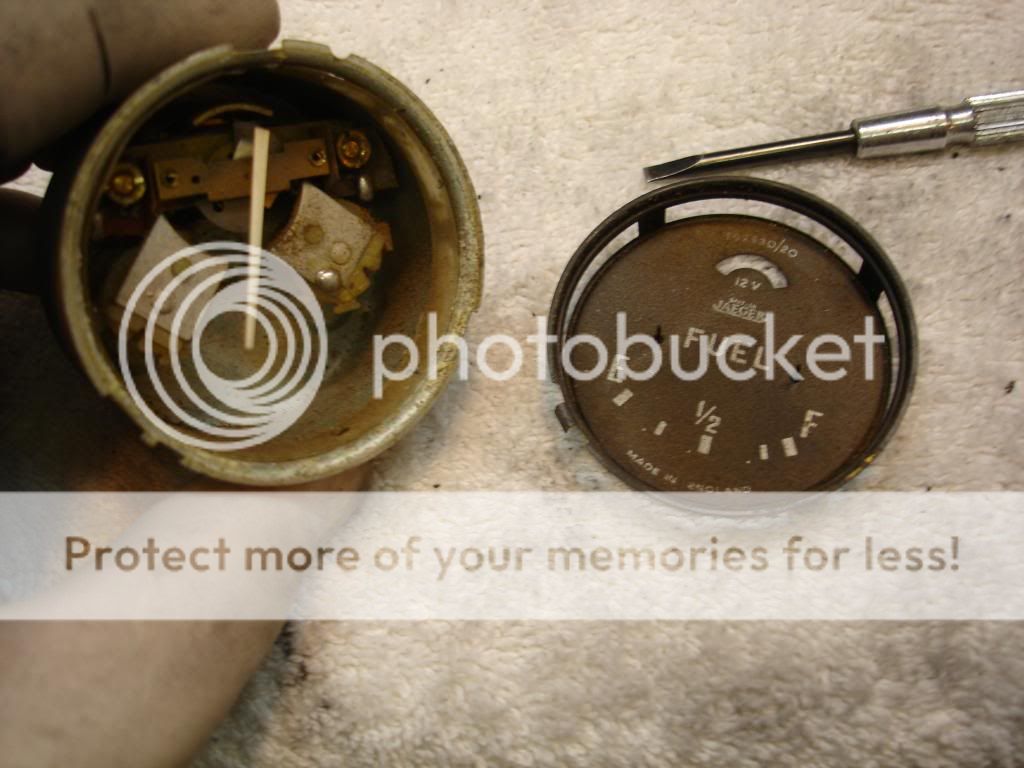
The faces on the small gages just rest on the housing rim. By slightly bending the needle up, they slide right out.


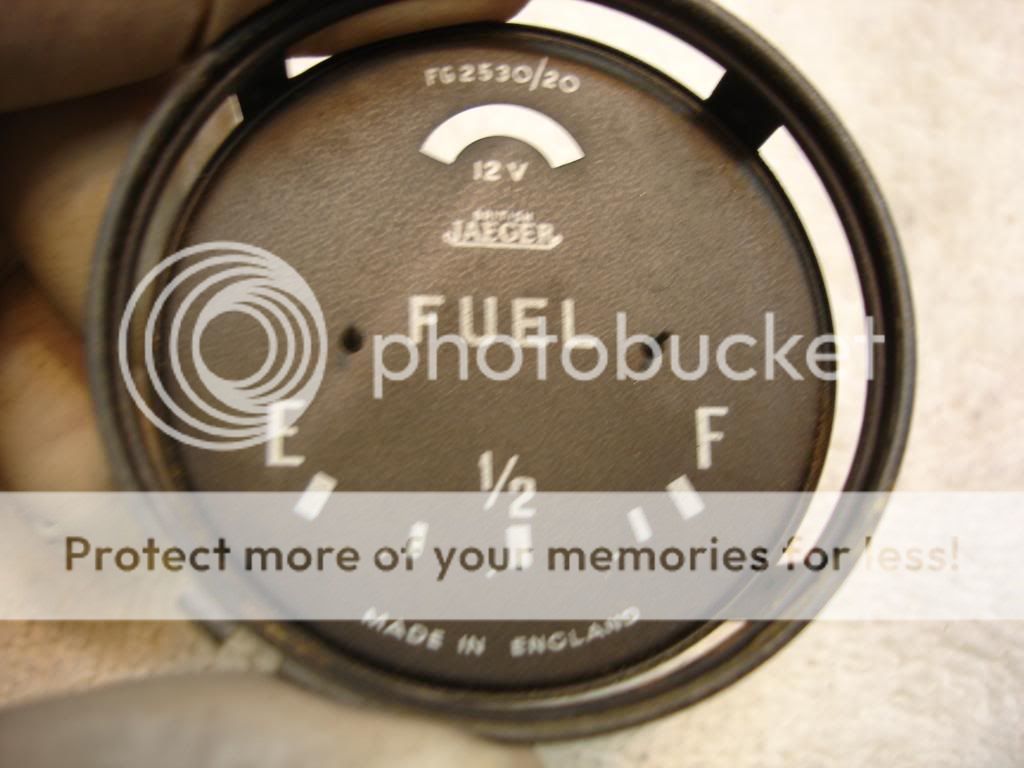
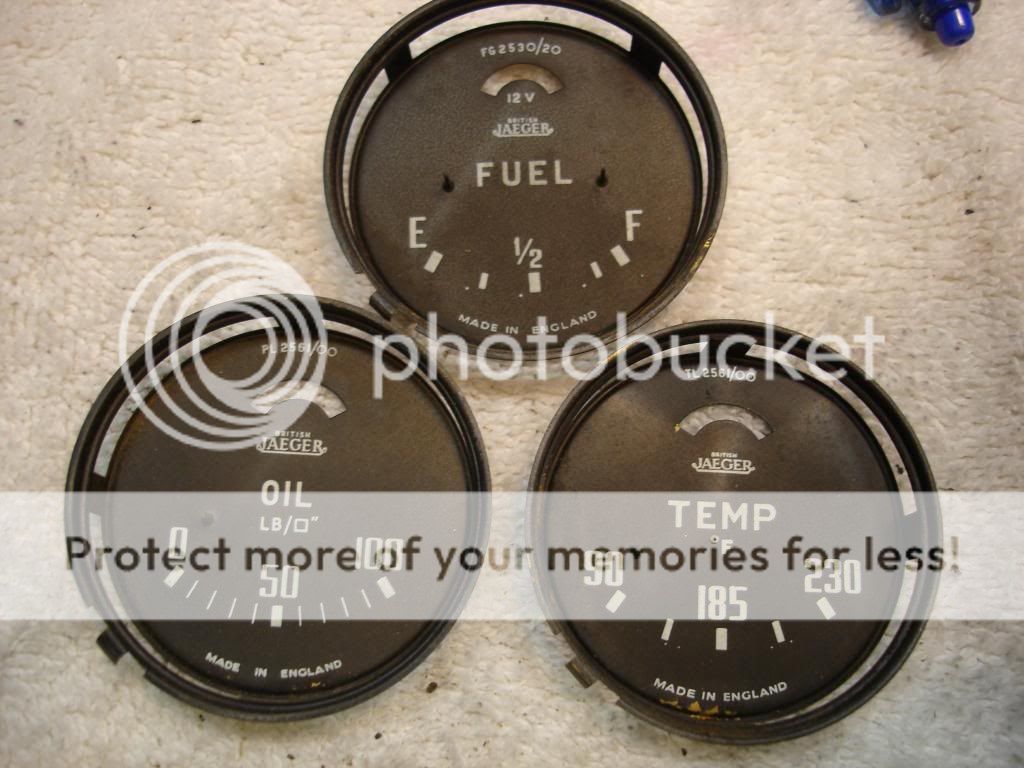
Now you have a good look at the face. I use a very soft paint brush to dust the face. The light for the small gages is not internal, but comes through slots in the housing from bulbs mounted on the instrument panel. The problem with the "slot" method of letting light in is that dust also gets in, so the gages are normally full of dirt. After brushing the dirt, you can see what you are dealing with. This face is chalky and faded.


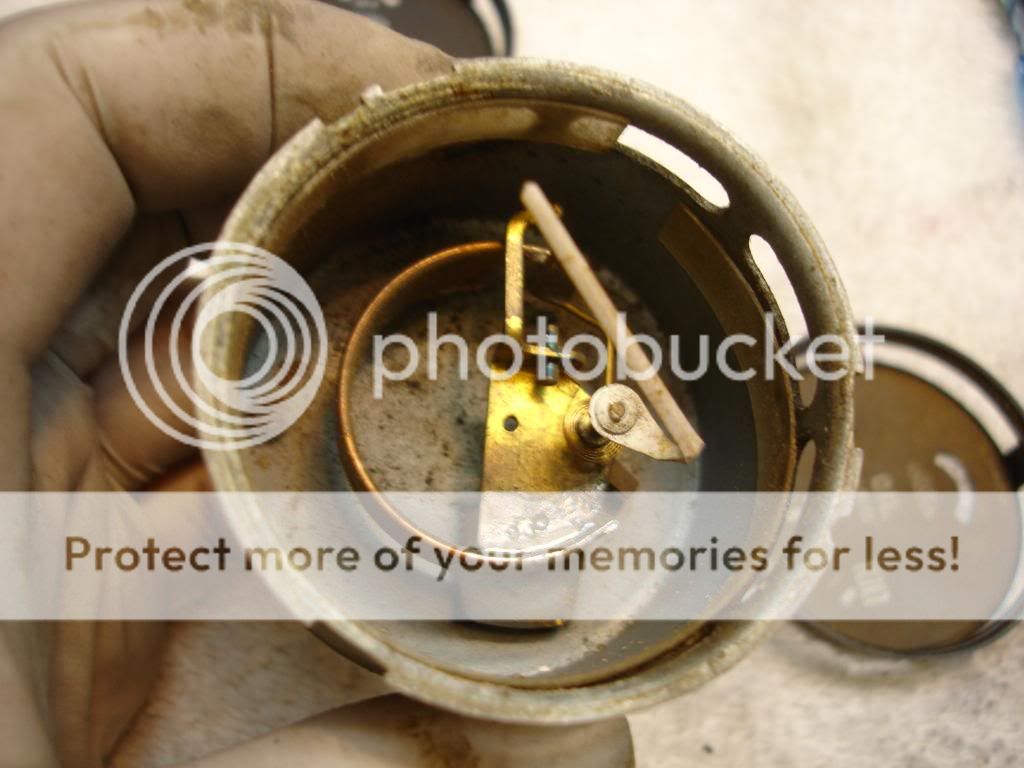
Here is the inside of either the temp or oil pressure gages. All it is is a coiled brass bellows. When pressure is applied, it tried to unwrap. This motion is transferred to the needle. Simple. The ammeter and fuel gage are both electric. No need to mess with any of the internals...yet.


So here are the faces of the small gages.


I do not have an extra ammeter, as the donor car had an aftermarket. Once I perfect my face restoration technique on the "extra" gages, I will tackle the valuable ammeter (at least to me it is).

 
OP
CJD

CJD

Yoda
Country flag
Offline
At this point, you have a good view of the faces, and have cleaned them with a soft brush. If you are lucky, they will be good and re-usable as-is. You can skip ahead to where I rebuild them and calibrate. If you are like me, and not so lucky, the following many posts will be about restoring the faces, so I can get to the rebuilding and calibrating. So, here goes the face resto...

The tach and speedo are built under similar principals. A magnet spins, which imparts a force on an aluminum spinner. The needle is attached to the spinner, and a small spring brings the needle back to zero. The speedo is complicated by the addition of the odometer.
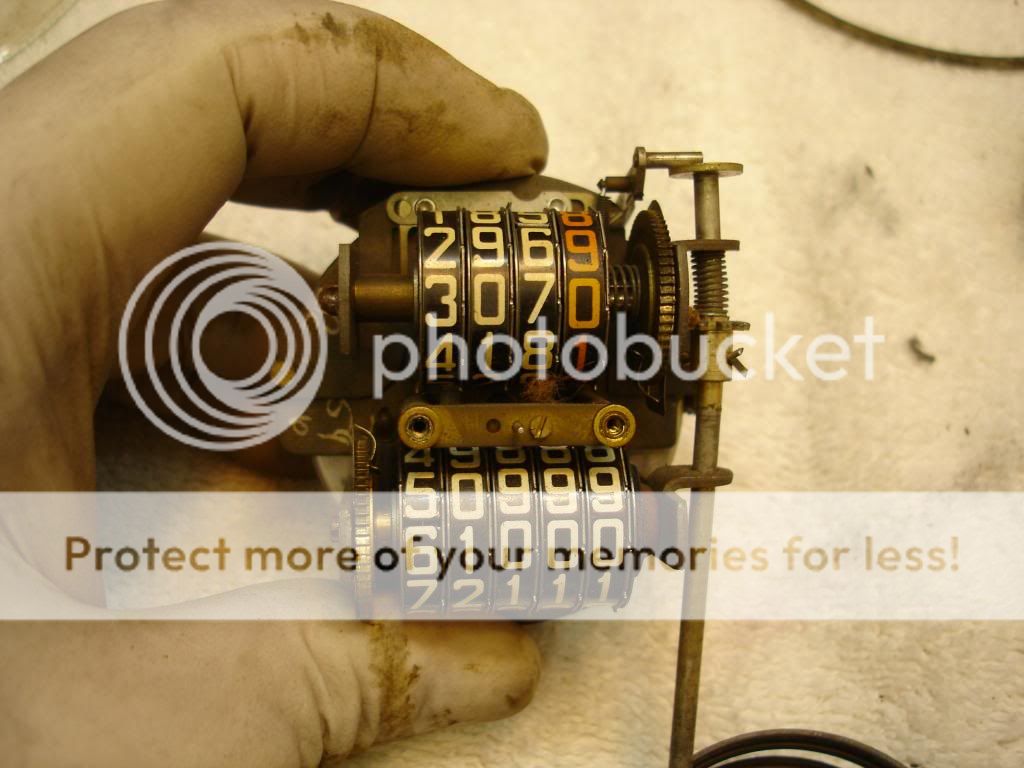


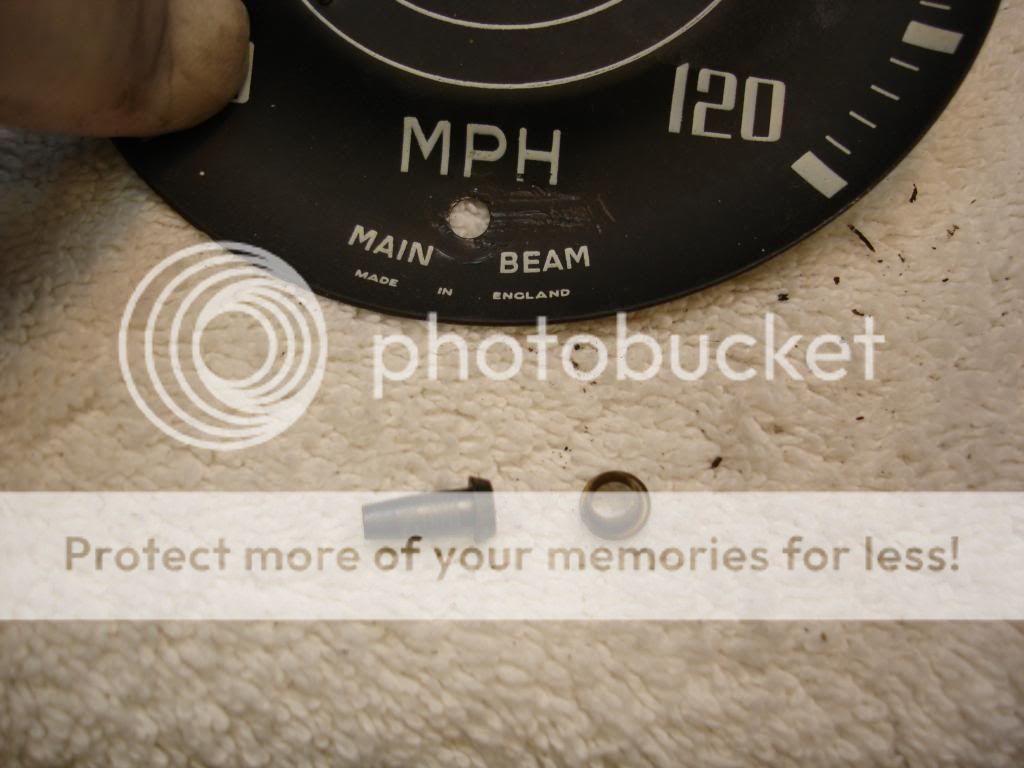
2 screws remove the assemblies from the housing. Remove the needle by holding the aluminum disc in the rear as you gently twist the needle away from the "0" and pull. Do not force...it comes off easily if you are doing it right. Now remove the face by removing 2 small jewelers screws. Here is what I had on the speedo, showing the small light for the high beam:
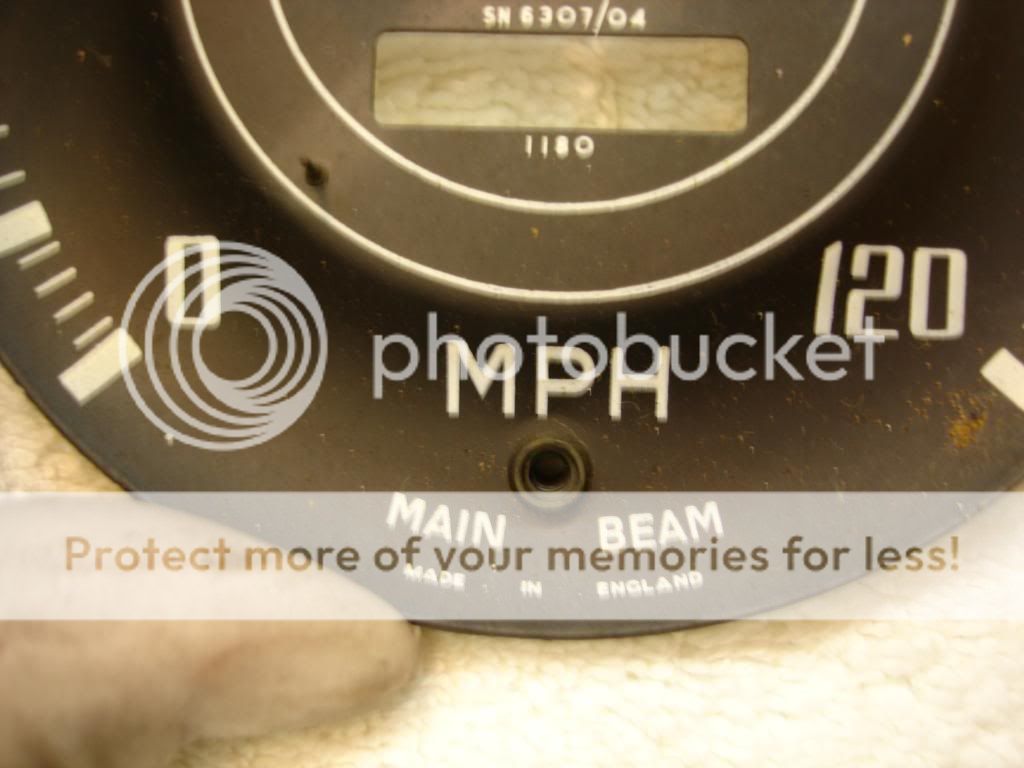


The light comes out by gently punching the back while supporting the front:


Here is the back of a typcial gage. Note that there is a bit of overspray around the edges. This tells me that the factory painted the white first, and then just flipped it over and sprayed the black on the front, with little or no masking.



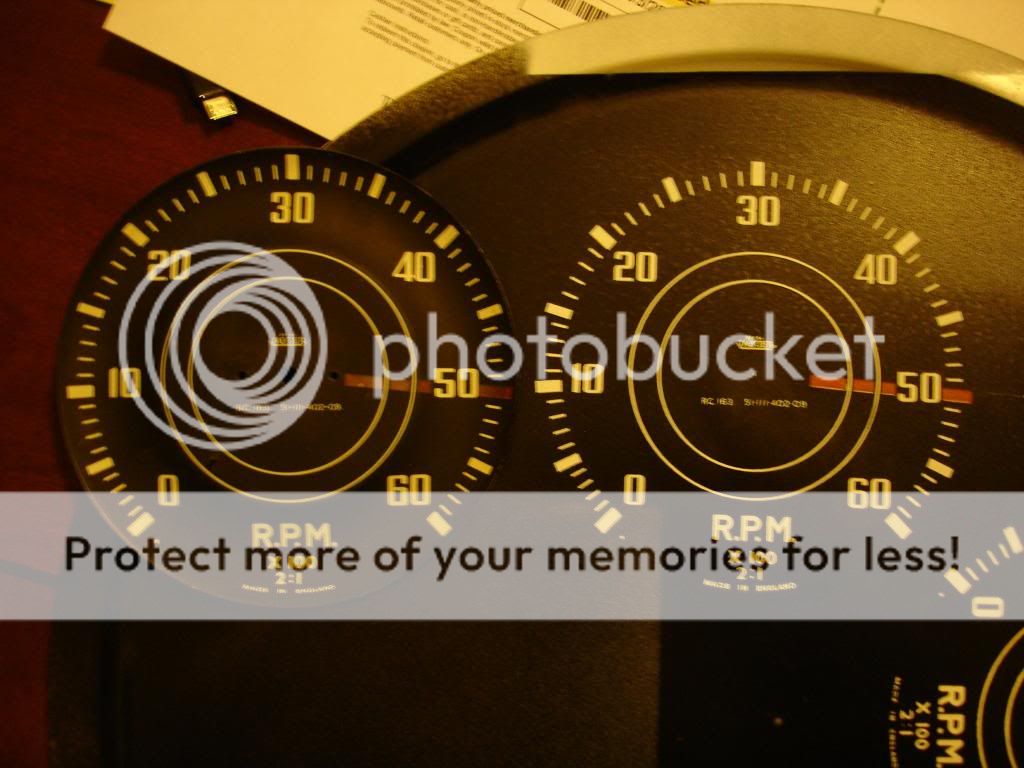
I photo's the faces in very fine detail. It will be the last time I get a chance to see them as...here is the sanded tach face:
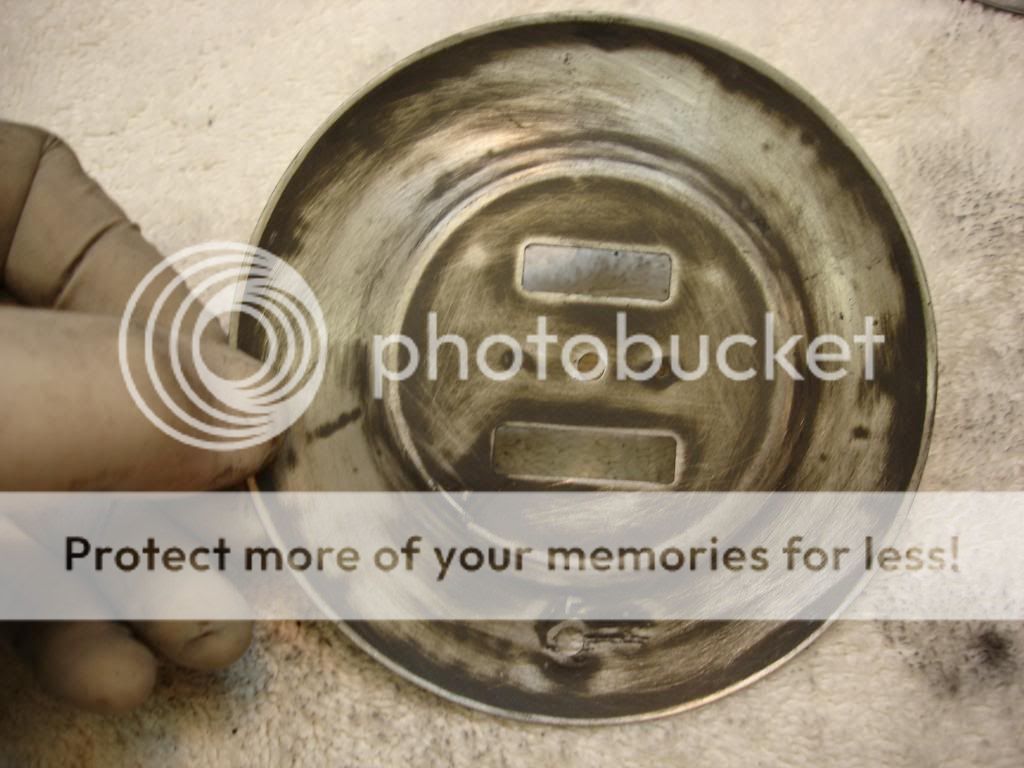
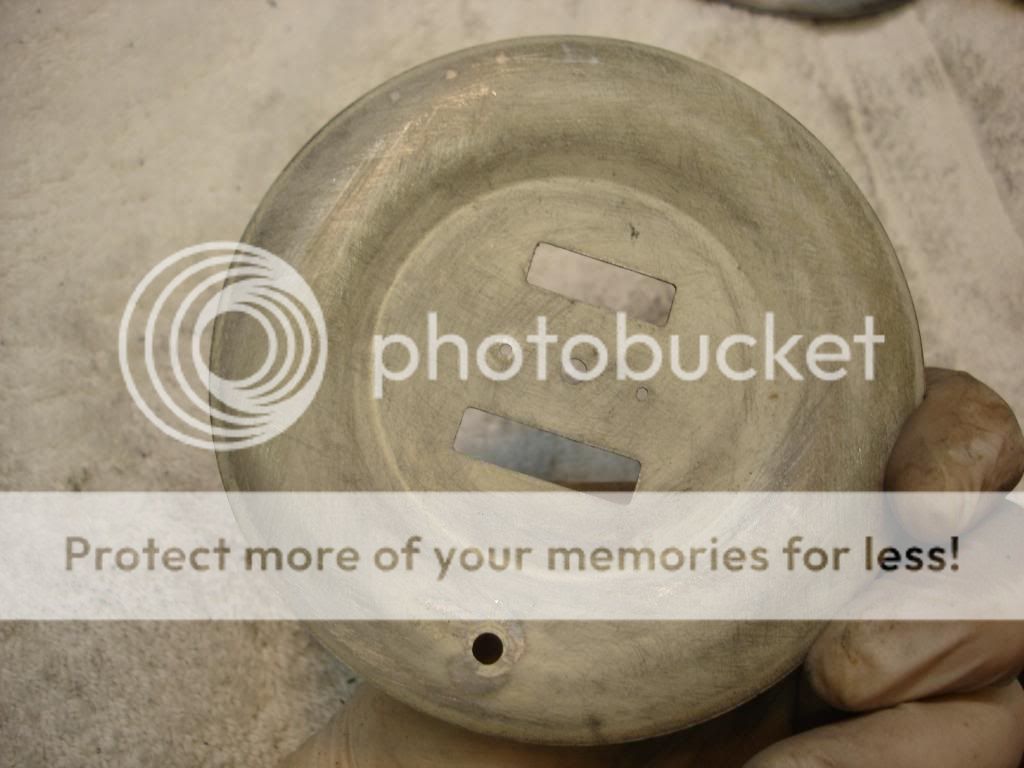


There is no turning back now! My only fear in repaintinf is that the mask will pull up the base paint. I made sure to get a very rough surface to bond the paint to, to at least give it a fighting chance of staying on.
 
OP
CJD

CJD

Yoda
Country flag
Offline
I have so many pics the forum is not letting me edit...so I know that was the speedo face!?!

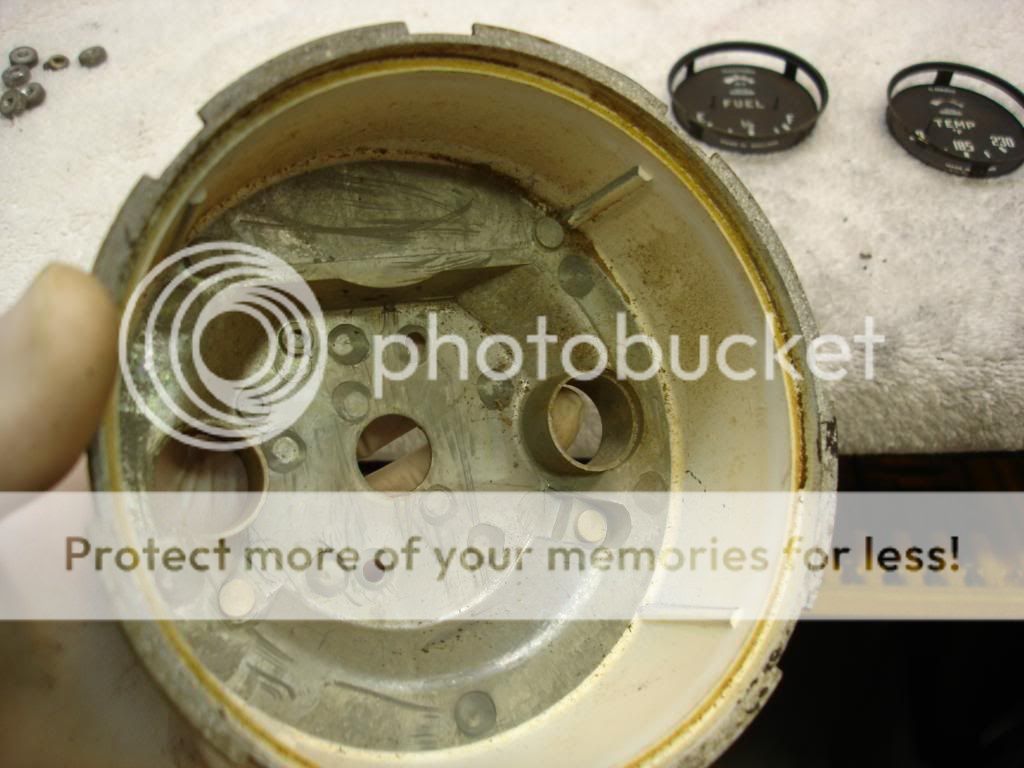
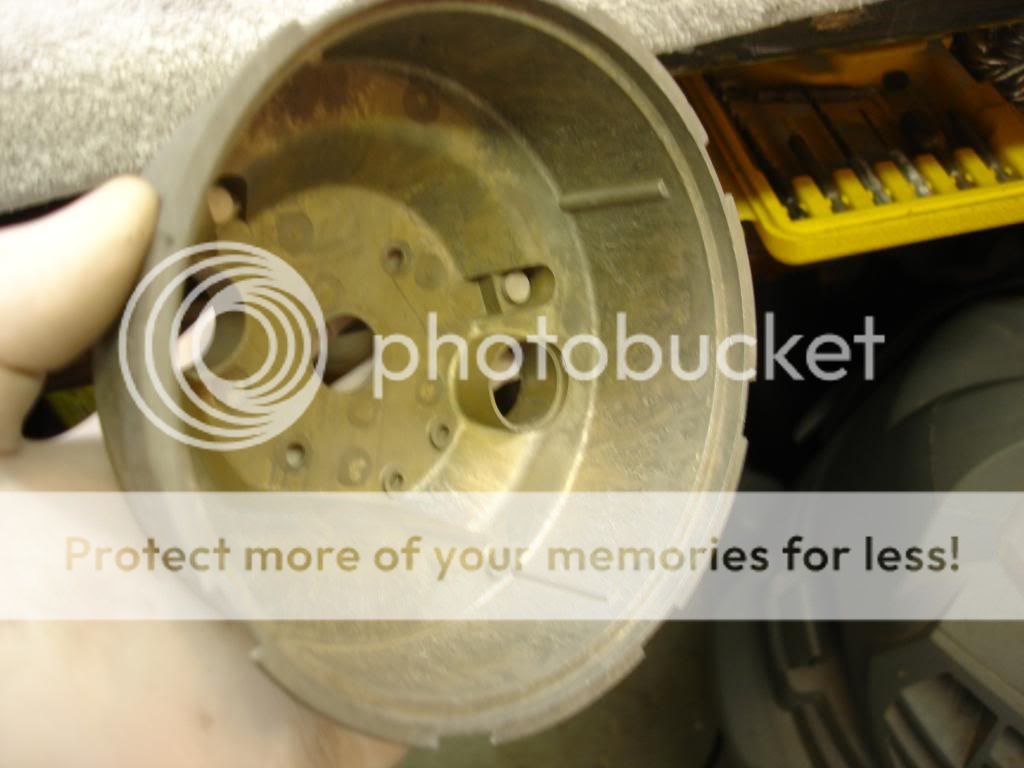
Here is the way the housing came to me:


Notice how yellowed the paint is. The white is used to reflect the bulb light to the face. The whiter it is, the brighter the face. Here I have beed blasted the whole housing, using the cheapo Norther Tool $100 blaster with $29 in beads.


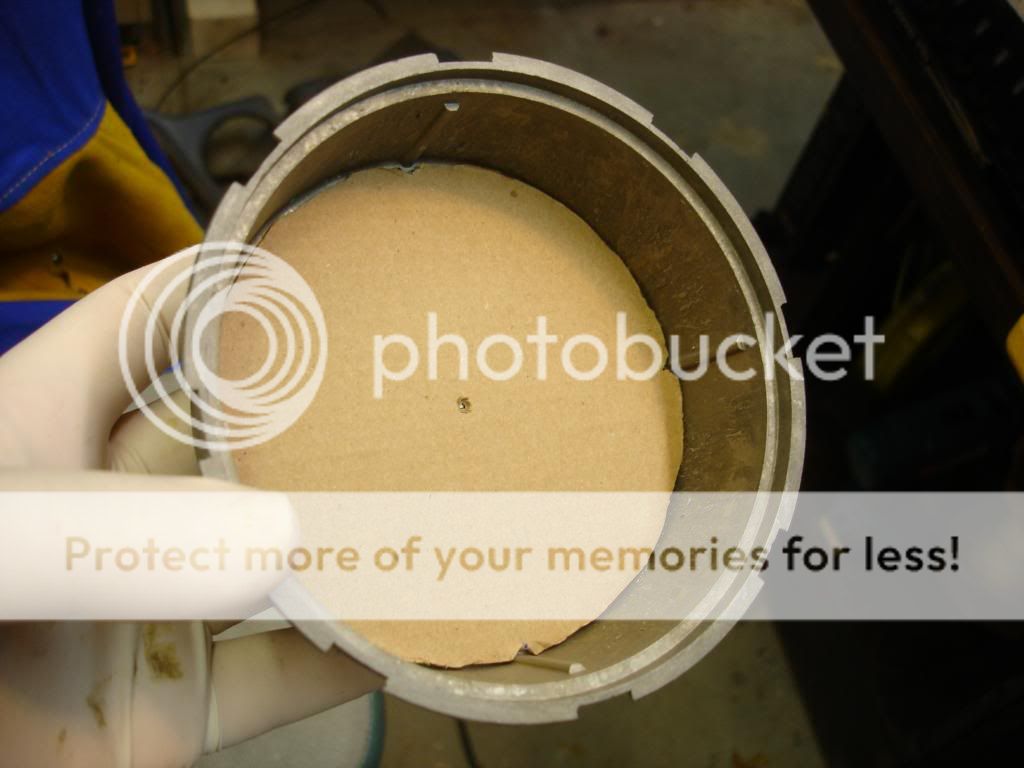
A pair of scissors and scrap cardboard make a nice little mask disc to fit in the bottom:


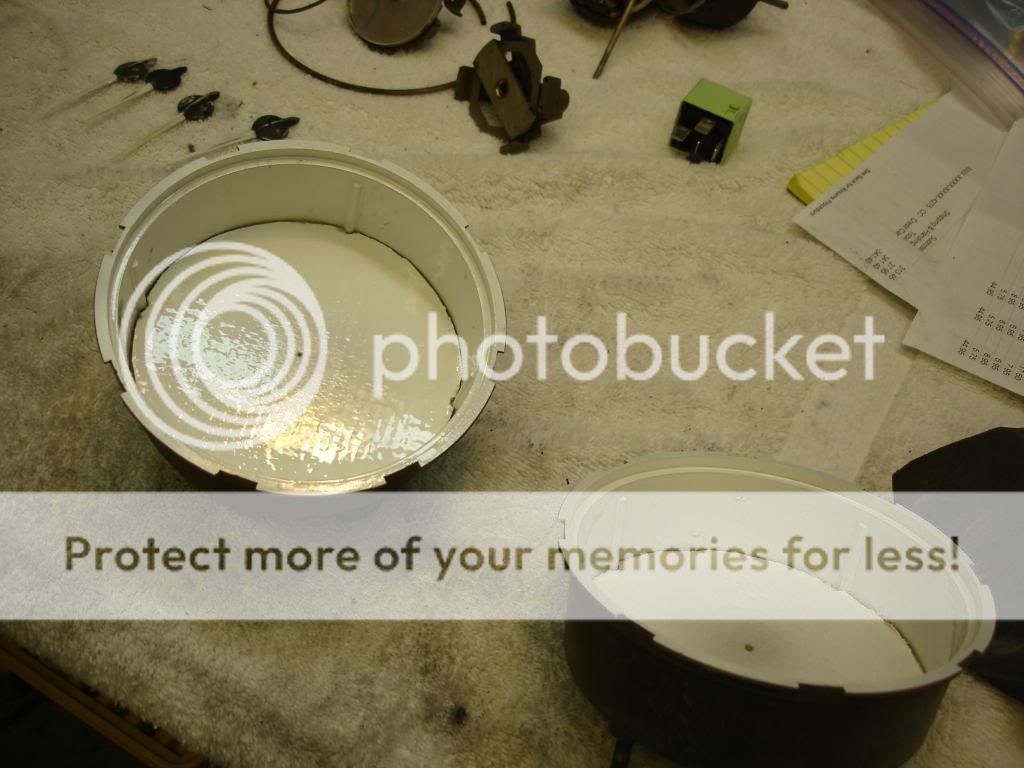
And now the housings are repainted and ready to set aside for the rebuild.


glemon

Yoda
Country flag
Offline
I too consider myself a do it yourselfer, and tend to do most everything myself but machine work, for which I regrettably don't have the tools, but I don't think I am nearly ambitious or talented enough to try what you are doing, very impressive, can't wait to see the final results.

My solution to gauges I am not happy with cosmetically (that need more than simple clean up) has always been the e-bay trade in program, buy one with the good parts you need on e-bay, use the good one or swap out the best parts to make one good one, and sell what is left on ebay for parts or restoration.

Look forward to seeing the final results.
 

PatGalvin

Jedi Warrior
Country flag
Offline
Wow John

Great thread. I really appreciate all the photos and detail. Thanks for developing this and sharing with all of us.

Pat
 

HerronScott

Darth Vader
Offline
So what paints did you settle on (for the interior too)?

Scott
 
OP
CJD

CJD

Yoda
Country flag
Offline
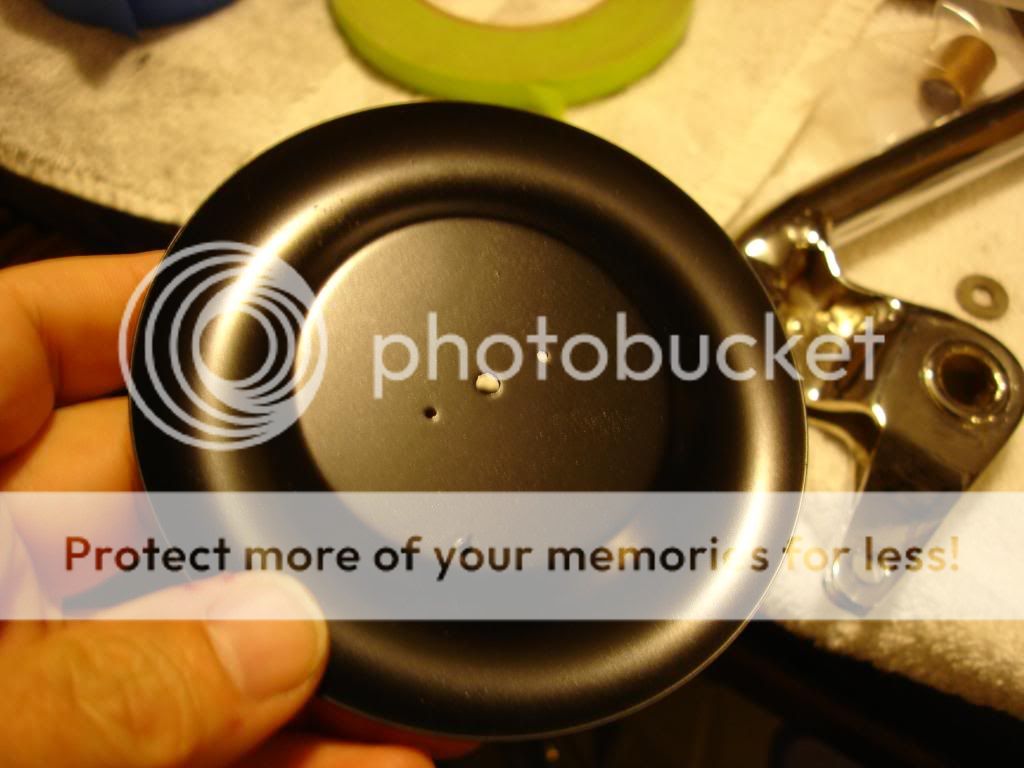
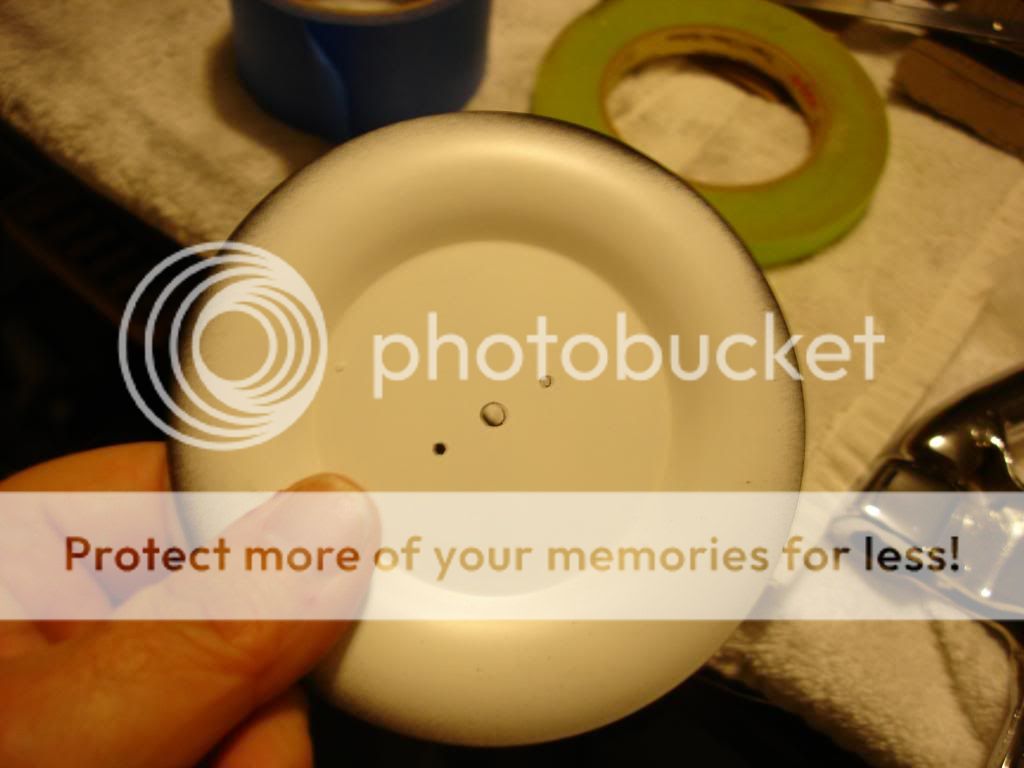
I settled on Krylon...although I am not all that happy with it. The temps have been way to cold to pull out the expensive epoxy paints, and the Krylon was easily available at Hobby Lobby. I also could get all the colors in the same brand...so compatibility will not be an issue. If I mess these blanks up, I will re-spray them with PPG epoxy primer. I'll also have to look into the pin striping paint. Here are the blank plates, with Krylon front and back:


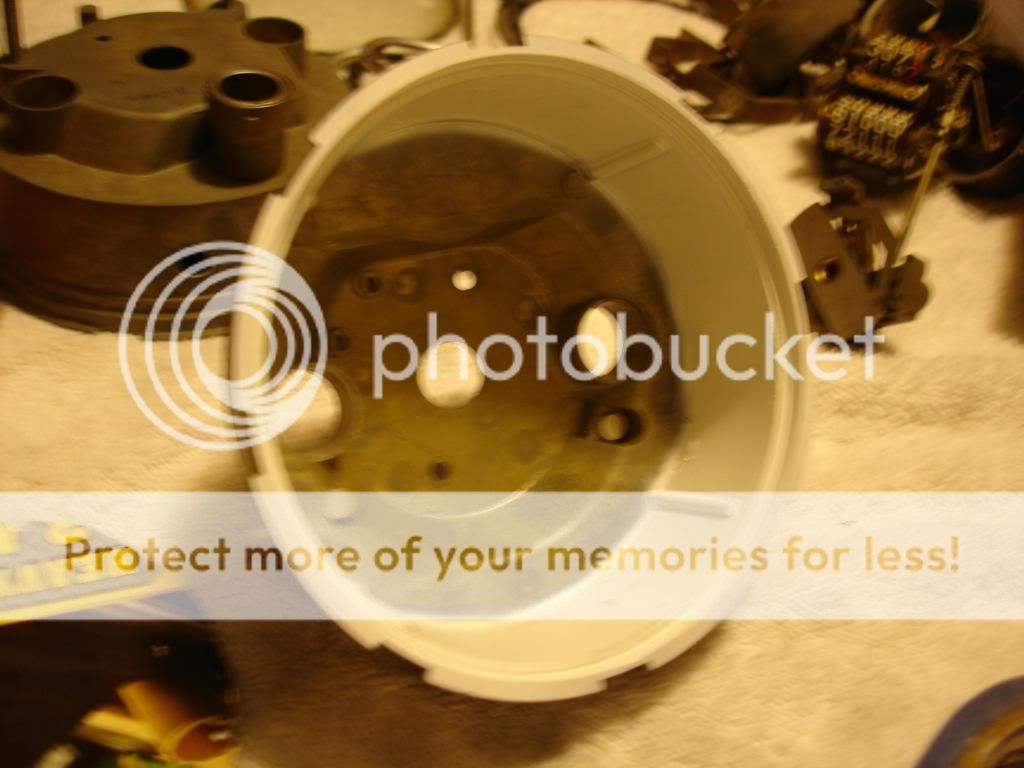
This is the finished housing...again with Krylon


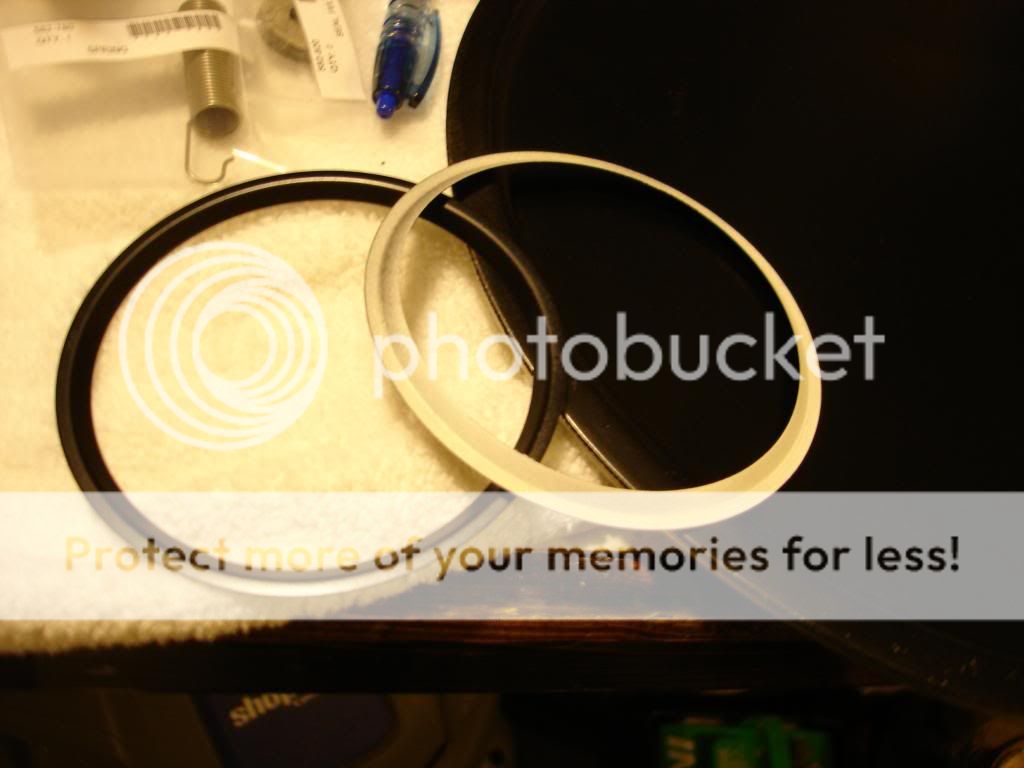
And finally, these are the reflector rings. They are black in the front, and white on the back. Their purpose to both to reflect the light back towards the gage face, and also to prevent the light from shining in your eyes.


Now I am back to the face itself. This is bogging me down a bit. To experiment, I took a metal pizza sheet and painted it exactly as I did the gage faces. The good news, I have had absolutely no problem with the masking pulling up the paint. The bad news it that I am having trouble getting the fine detail I did with the paper backings


So this is my best to date:


I have about 2 weeks of real work ahead, so the faces will be on hold. But, I will pick up the thread soon.

Cheers!
 
OP
CJD

CJD

Yoda
Country flag
Offline
I was checking that final post before I took off. I apologize for the poor clarity...but I found myself sitting here staring at it playing "where's Waldo" with all the markings. It's kinda fun trying to pick out the differences. Feel free to let me know what you guys can find, as it is all adjustable until the final spray! For example, I see the "5" is not quite right...but the fun is trying to judge how it is not right.
 
OP
CJD

CJD

Yoda
Country flag
Offline
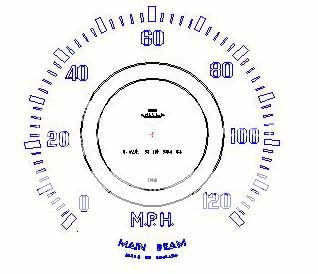
Still away from home, but had some time to draft the speedo. Here's how it looks as a drawing file:


Passing through home, and looking at Pat's pics on the chrome thread, I realized I was getting too critical. Most of the tiny lettering is hidden behind the needle hub and I need a magnifying glass to see the differences. Next weekend I should be ready to print the large gage faces. Weather is supposed to be nice for a change
 
OP
CJD

CJD

Yoda
Country flag
Offline
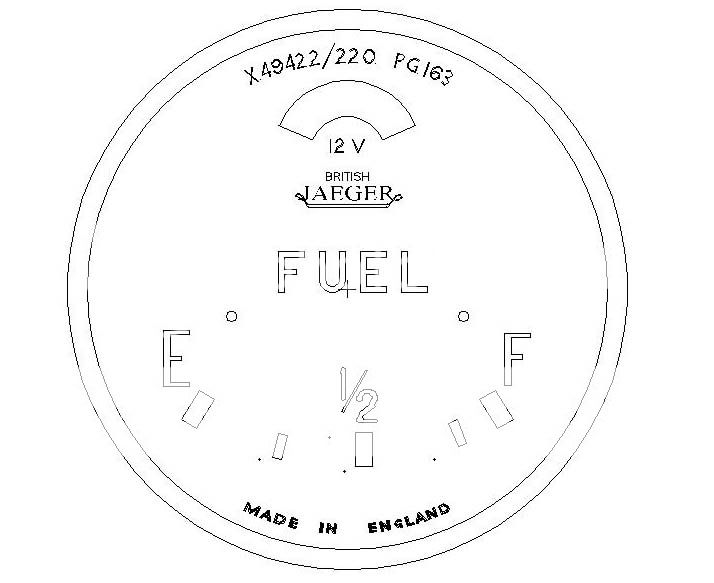
Here is the first little gage drawing.


I feel like I've been gone at work for 2 weeks...can't wait to get back to work on the instruments. I goofed the first set of small face plates by bead blasting the paint off. The blasting warped the thin brass, so they "oil canned". I thought I was able to relax the stress by heating and cooling...and it looked like I did. But after painting the small waves were apparent. So lesson learned...do not blast the paint of the faces!! I will have to use the TR2 faces, and this time I plan to chemically strip the paint, then lightly rough with 600 grit.
 
Similar threads
Thread starter Title Forum Replies Date
R TR4/4A Question about cleaning instrument faces Triumph 8
10musketeer Cleaning Instrument Faces Restoration & Tools 1
edkap2002 TR6 Brighter instrument lights? Triumph 0
Lairhead52 Wanted 78 Spitfire instrument panel lights / lenses Triumph Classifieds 3
LAW75 Instrument Panel Lights Austin Healey 9
bighealeysource LED Instrument Lights Austin Healey 12
EWD TR6 LED instrument conversion / Dimmer. Triumph 25
Crankshaft TR2/3/3A Instrument troubleshoot Triumph 7
steveg Improved Instrument Lighting Austin Healey 2
Crankshaft TR2/3/3A Instrument panel cleanup Triumph 4
PAUL161 General MG LED Dash and Instrument Bulbs POS or NEG ground. MG 8
Gerald_Gordon TR4/4A TR4 instrument panel Triumph 7
K TR2/3/3A The "brass wing nuts" rhat hold the instrument panel on...... Triumph 2
S Instrument Panel Lights Spridgets 6
MGTF1250Dave T-Series TF Dash Instrument Panel Studs Size MG 2
2billydavies TR2/3/3A dashboard/instrument panel on 1958 TR3a Triumph 4
HealeyDave Instrument gauge numbers by year - where to find Austin Healey 2
Jim_Gruber Instrument Bezels for BE Instruments Spridgets 4
Gerry M TR6 Instrument panel light bulbs Triumph 1
L Instrument O rings and switch plate mounting Austin Healey 4
Nelson Instrument bulb replacements Spridgets 14
T current instrument rebuilding info from Nissonger Austin Healey 3
M TR4/4A tr4a instrument knob removal? Triumph 9
T XKE Series 2 Instrument Panel Jaguar 2
M Instrument lights, etc. Triumph 8
AH100M 100/4 Instrument panel silver paint Austin Healey 5
Tinkerman TR2/3/3A TR3A Dash and Instrument Cluster Installation Triumph 11
Tinkerman Bench Testing a Wired Instrument Cluster Triumph 7
ekamm TR2/3/3A removing tr3 instrument panel Triumph 15
Tinkerman TR2/3/3A 1960 TR3A Instrument Cluster Ground Post Screw Triumph 9
Tinkerman Instrument Cluster Assembled, YEA ! Triumph 22
Tinkerman TR2/3/3A Instrument Cluster TR 3A Triumph 14
J TR2/3/3A TR3A instrument restoration Triumph 11
Nelson New instrument lamps Spridgets 10
HerronScott TR4/4A Smith's Instrument List for TR2-4A? Triumph 1
Tinkerman TR2/3/3A Instrument Panel TR3, Question about back. Triumph 29
T MGB MGB Instrument Lighting MG 7
B instrument led lamps Austin Healey 12
prb51 TR2/3/3A TR3 instrument lights Triumph 4
J Removing Healy wood instrument panel BJ7 Austin Healey 3
HEALEYJAG BN1-instrument light wiring harness Austin Healey 0
B What is the color inside the instrument. Austin Healey 2
AUSMHLY A brighter instrument gauge light bulb Austin Healey 59
jjbunn Instrument Dial Rims Triumph 12
Tinkerman TR2/3/3A TR3 Instrument Glass Triumph 5
6 Dash Instrument Conversion: BJ8 > BT7 Austin Healey 3
PAUL161 Instrument Bulbs MG 12
S Spitfire 74 Spitfire instrument panel, Walnut or Teak? Triumph 5
M 87 XJ6 Instrument Problem Jaguar 3
2wrench TR6 Instrument & other bulbs for TR6 Triumph 5

Similar threads

Top