Hey Guest!
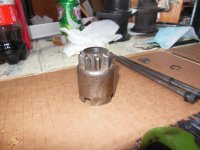
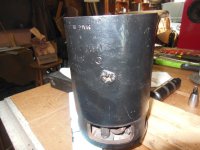
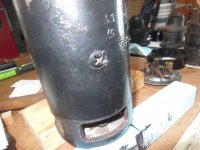
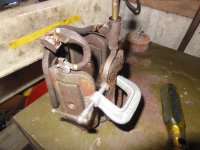
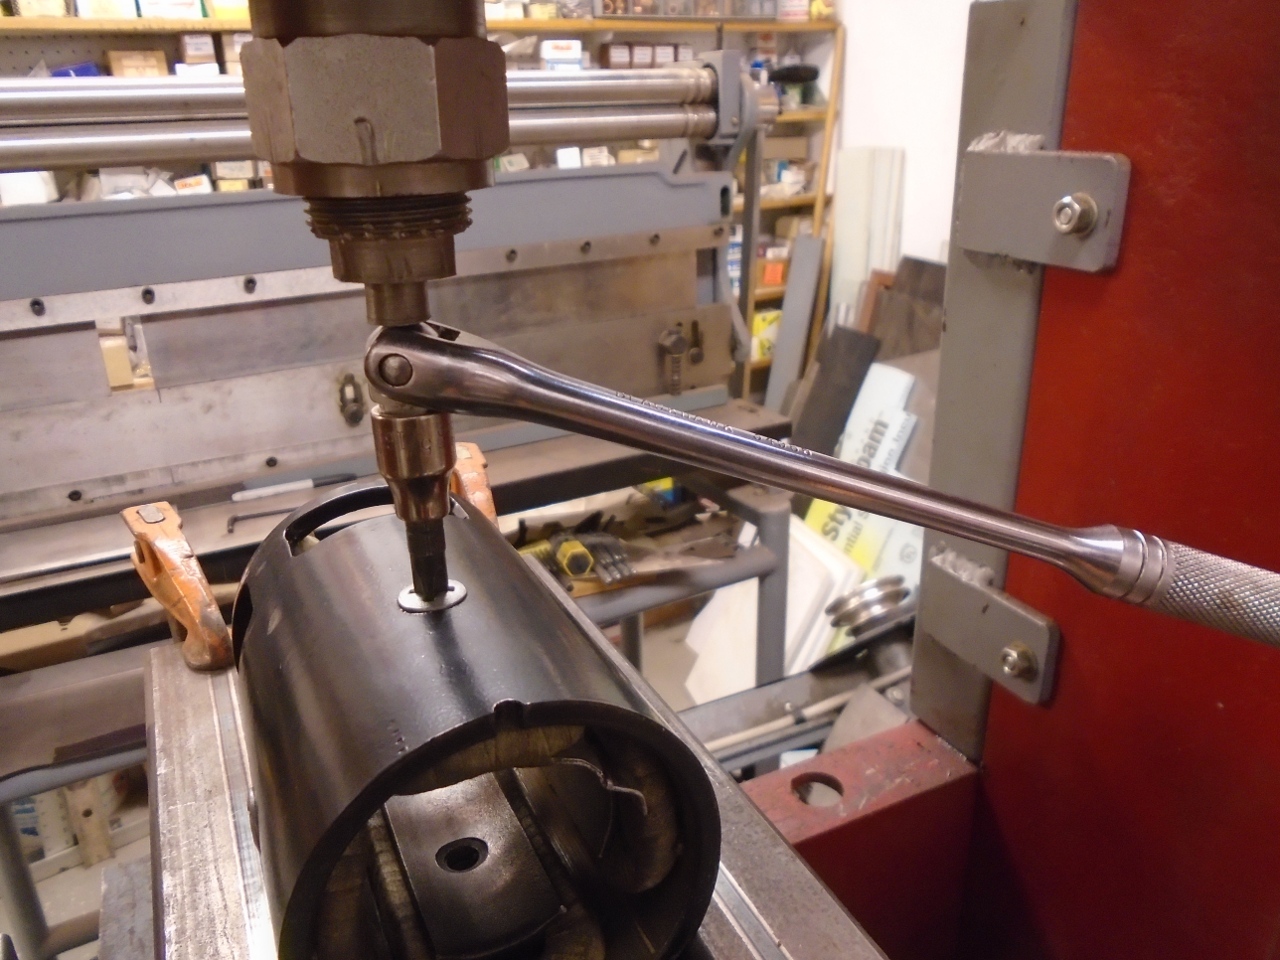
I am kinda stuck on these large Philips starter screws because the PO tack welded the screw to the case. I ground off what I could of the weld and then tried using an impact gun and a hammer impact deal, but no joy. I guess I could drill them out or drill the head off then take out the steel piece. Anyways any other ideas before I start drilling.
In addition, would anyone know how much off the teeth of the starter are actually needed on the pinion before there is no contact on the ring gear. It seems to me the starter drive hitting the ring gear would have room to extend as the drive teeth wore down without causing damage. Moreover, it looks like the messing of the gear is only about a half inch. I am saying all this because the pinions are N/A.
I have replaced ring gears before because they wear worn out, but I think it took some time for a defective starter hitting in the same spot before the gear wore down(wish full thinking) wore out. But again, I guess a ring gear could trash out quickly.
Thanks Steve