Eureka...found the proper channel! But back to that in a second.
Hey Jesus,
I see why I confused you. I was a bit off. You are correct in cutting completely around your line "B". That is where my instruction went off...
The first stitch is 1/8" inside the cut (line "B") for the portion around the window, but, along the lower frame the stitch should be exactly along the line "A". The point where your transition this stitch from "A" to "B" is at the front and rear most corners of the frame. Just make a smooth curve as you stitch around those two corners.
Finally, you are correct in your interpretation of step 8).
Thanks for offering the instructions, but I managed to complete the screens this morning. Maybe if someone else knows how to include .pdf's, we can post it for anyone else that tackles this job.
So, back to the channel. I recieved the samples from Restoration Specialties (814-467-9242), but none of them matched. I decided to take the front window to a trim shop to have it sewn...they did it while I waited for $20. It only took about 5 minutes, boy I wish I had an industrial machine like he has! Anyway, I asked him about the channel, and he directed me to the same upholstery supply that I used to order the material from Robbins. They had it in stock!
It turns out the channel we need is listed as "5P" on page 9 of the Restoration specialties Catalogue. The catalogue is available as a pdf online. You need two sticks of at least 72".
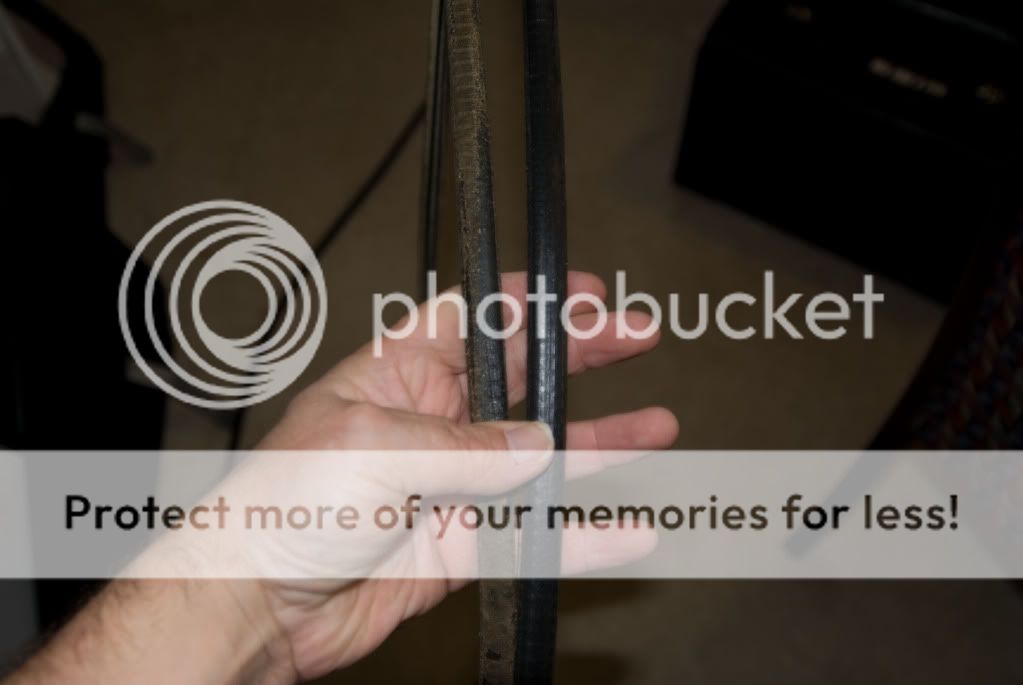
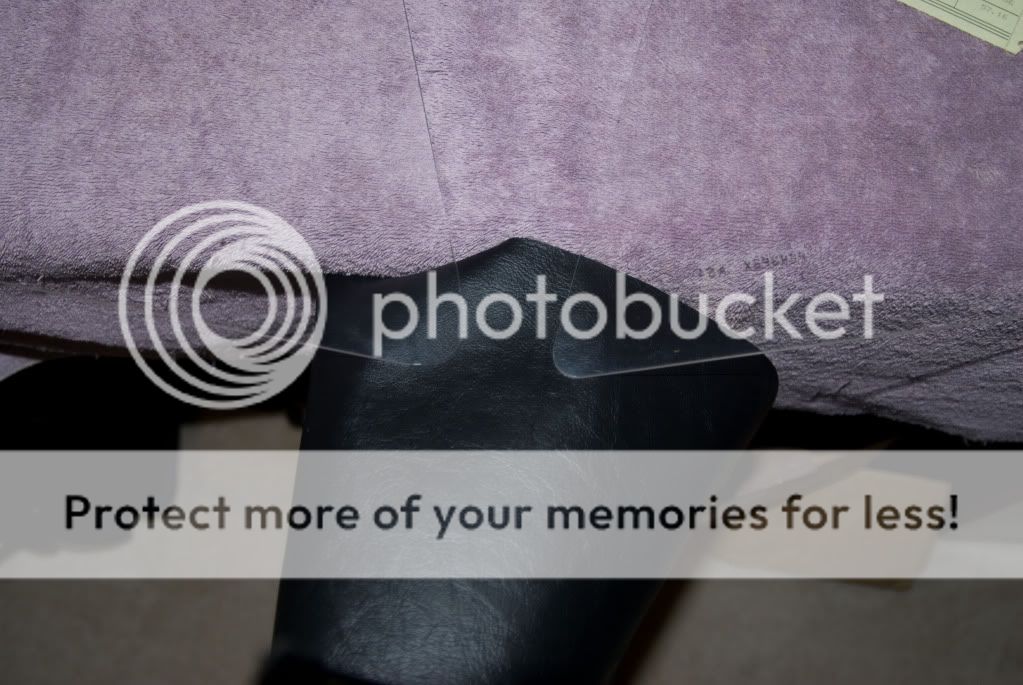
Here is a comparison of the old and new channels. The "5P" is an identical match.
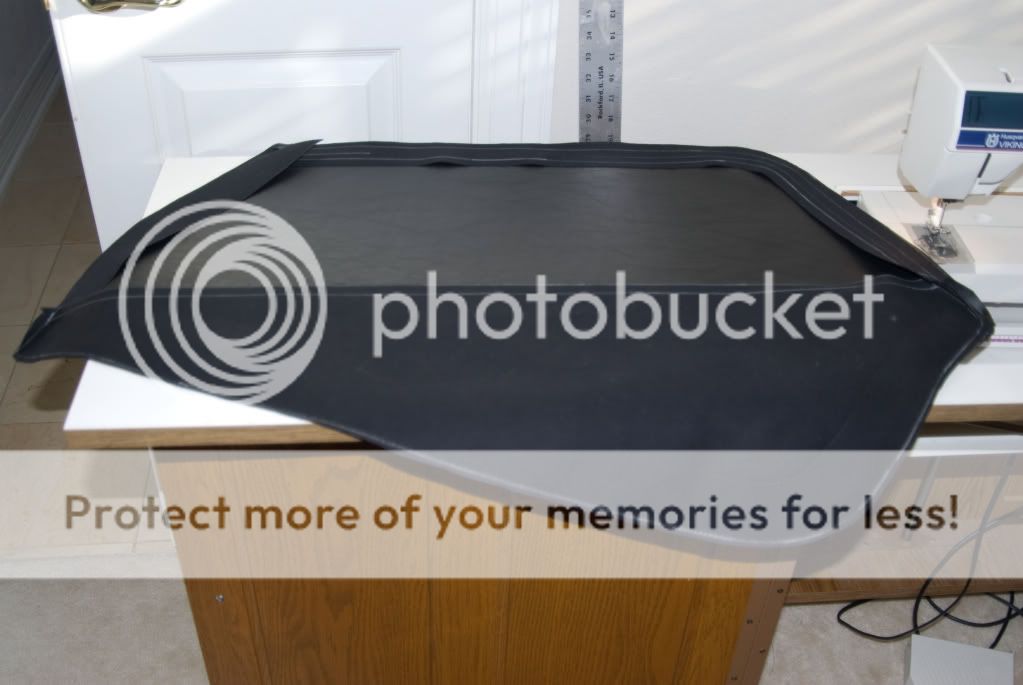
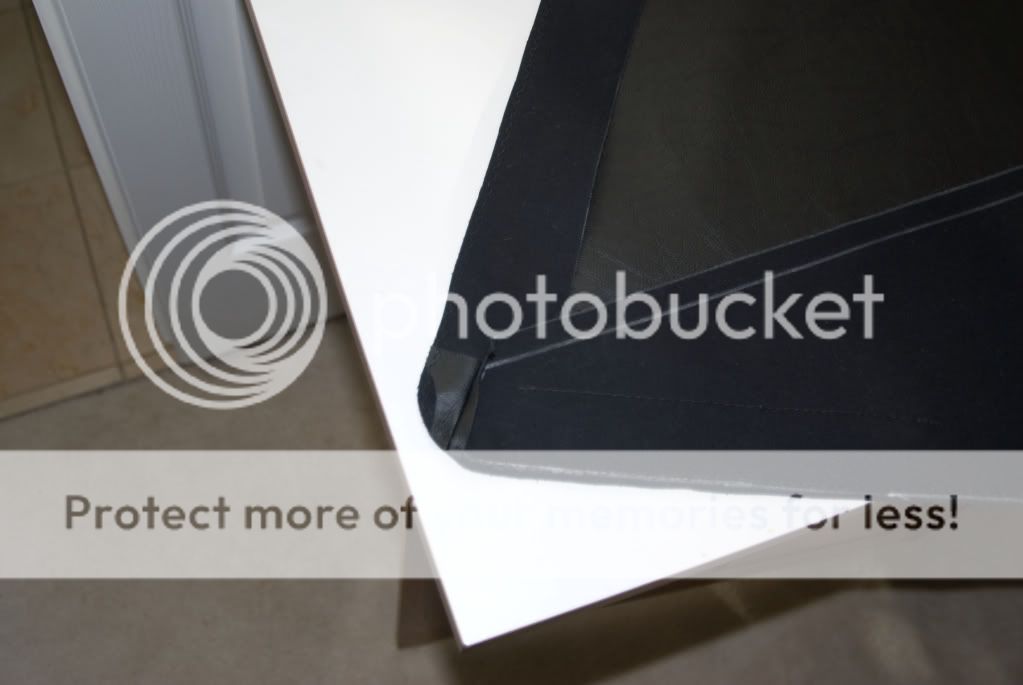
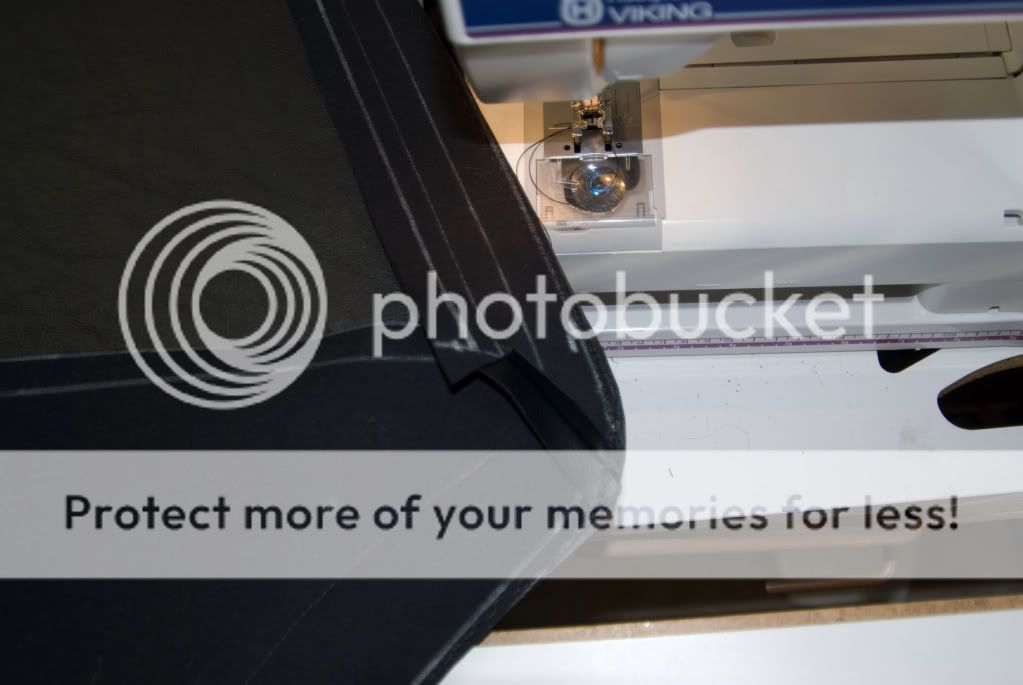
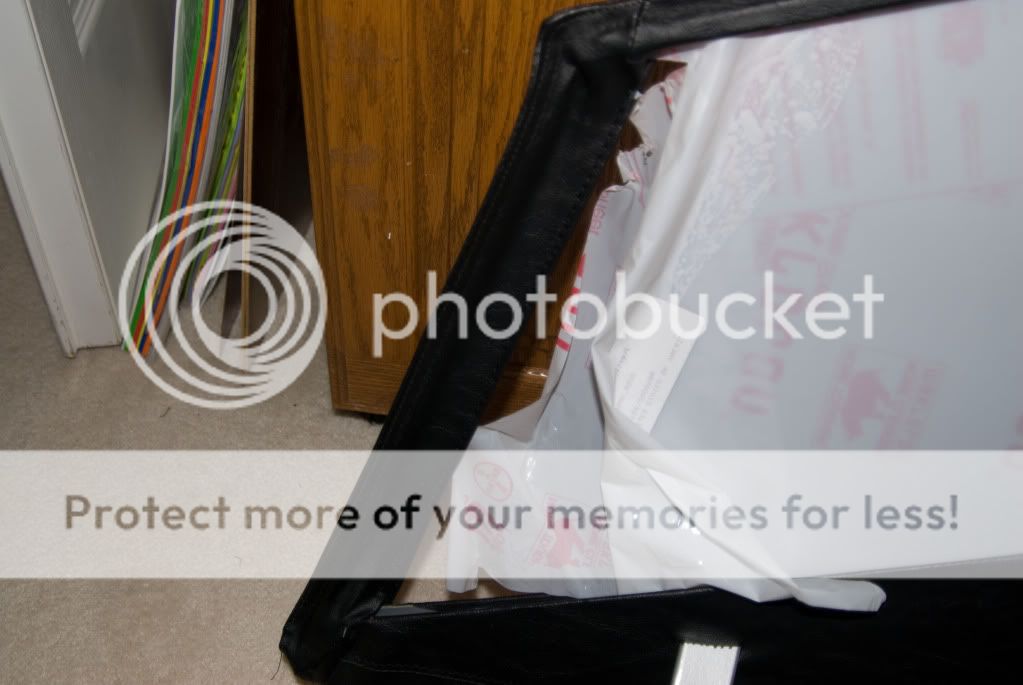
This is the front window after being stitched by the local trim shop. I left the protective paper on, but pealed it back to expose the front edge that gets sewn. The shop had to use some contact cement to keep the edge of the vinyl folded properly as he stitched. IMPORTANT! make sure the rubber seal on this front window is to the inside. I had it backwards, but caught my mistake right before he started the stitching. It is easy to get turned around working on these!
The channel tucks into the frame pretty tightly. I used a small putty knife to coax it into position. I found it easiest to start at the bottom front, and work my way around the frame to the top front. I trimmed the excess at that point using tin snips.
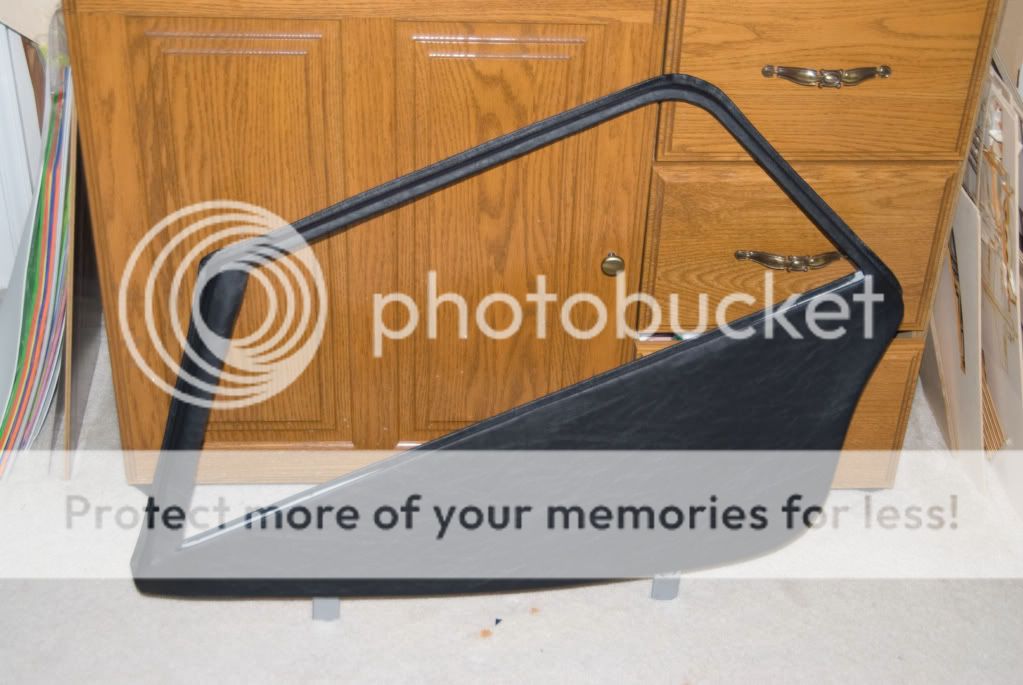
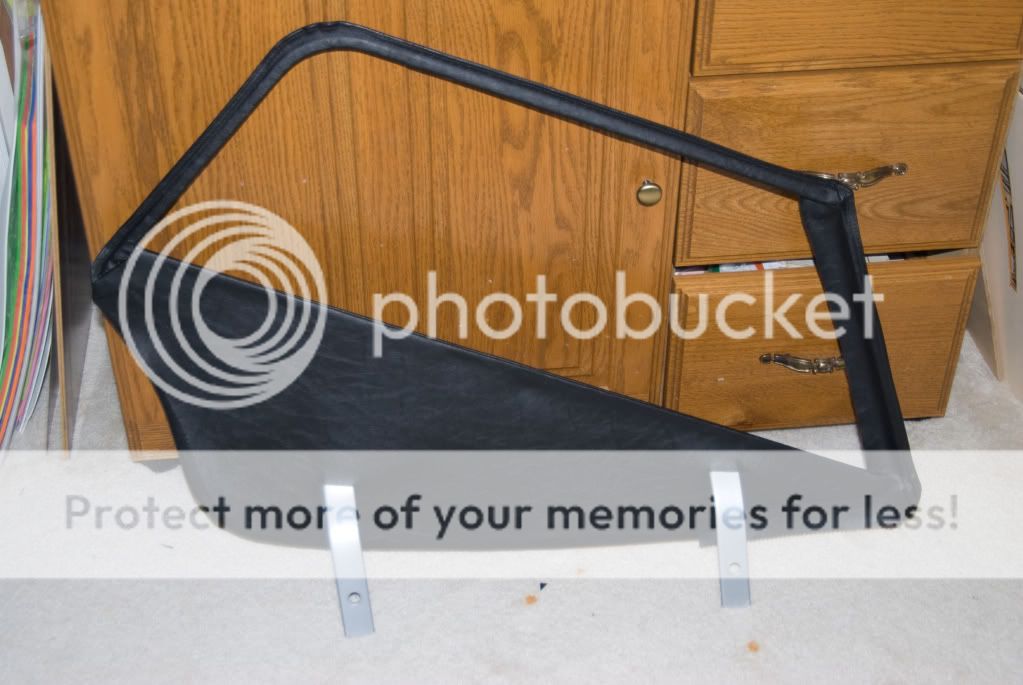
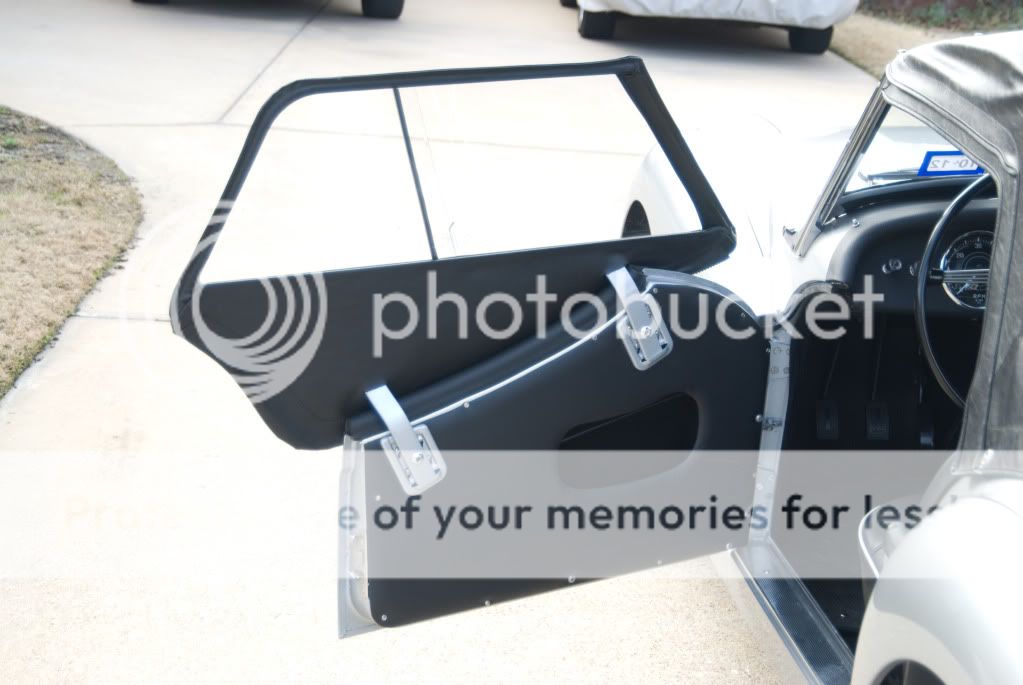
Here is the only difficulty I had in installing the rear window. When in place, the window angle at the rear was off just a few degrees, so it did not close all the way at the top. Also, the sharp angle at the lower rear corner was too sharp. I had to trim the angle on a mitre saw, and sanded the radius a little larger. When finished it slides easily and closes completely.
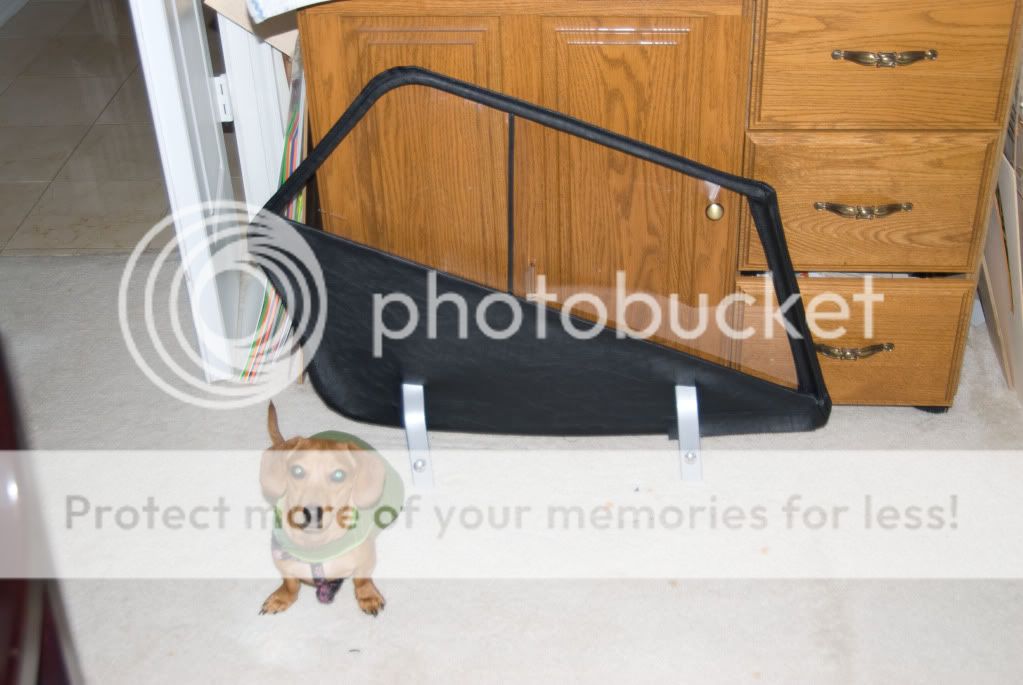
And here is the completed assembly. The channel and window took about 5 minutes per side. The final step was installing the dzeus fasteners with new retaining washers. All window hardware came from TRF. And, yes, Lollipop thinks she did the whole thing.
The cost breakdown looks something like this:
Vinyl from Robbins (1-1/2 yd) - $44.96
Channel from Up supply - $52.15
Windows, dzeus washers from TRF - $135
Sandblast sand - $5
Thread from JoAnne's - $5.50
Outside window stitching - $20
Paint - leftover from bodywork
Total - $262.61
Reward from dong an "inside job" in winter - Priceless!!
The only thing left is the snap strap, but I haven't decided if I even want to add it...I'll update later if I decide to. I'll get some pics on the car when the weather gets better.
My next "How Too" will be wire wheels...
 Hey there Guest!
 Hey - did you know if you click on the title of a thread it will take you to the first unread post since you last visited that thread?
 but were afraid to ask:
  STOP!! Never post your email address in open forums. Bots can "harvest" your email! If you must share your email use a Private Message or use the
  smilie in place of the real @
 Pretty Please - add it to our Events forum(s) and add to the calendar! >>


 TR2/3/3A Calling all Wiring experts TR3 Overdrive Wiring ver A or ver B or are they the same?
 TR2/3/3A Finished my TR3! Thanks to you guys... check it out!
 A friendly reminder - be careful what links you click on here. If a link is posted by someone you don't know, or the URL looks fishy, DON'T CLICK. Spammers sometimes post links that lead to sites that can infect your computer, so be mindful what you click.