Hey Guest!

 Hey - did you know if you click on the title of a thread it will take you to the first unread post since you last visited that thread?
 but were afraid to ask:
  STOP!! Never post your email address in open forums. Bots can "harvest" your email! If you must share your email use a Private Message or use the
  smilie in place of the real @
 Pretty Please - add it to our Events forum(s) and add to the calendar! >>
Rob Glasgow
Jedi Knight
Offline
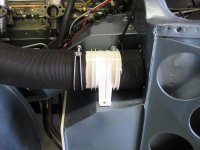
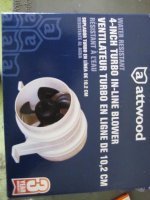
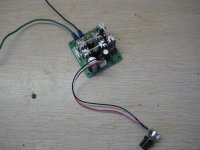
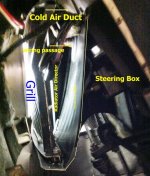
At the recommendation of the group, I have added a 4" bilge blower to the fresh air duct. I have also added a speed controller to regulate the flow. Since the car is not complete, I don't know how effective the unit will be, but it certainly does move a lot of air so I expect it will be an improvement. I have painted the unit black.
This makes me wonder if I should do something to improve the heater fan unit. My original Smiths fan works and is in good condition, but doesn't put out much air. When in the defroster mode, there is only a suggestion of air movement out of the dash vents. It's always been inadequate. Has anyone found a way to improve on the original design? I have looked for a alternative fan and motor to install in the original Smith housing, but haven't found one to fit. I am considering another 3" bilge blower mounted in the engine compartment. Probably remove the Smith fan and motor, install a blanking plate over the opening and leave the housing in place.
Any ideas out there?
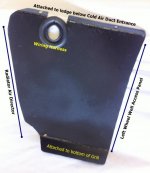
Here are some photos of my fresh air side.
This makes me wonder if I should do something to improve the heater fan unit. My original Smiths fan works and is in good condition, but doesn't put out much air. When in the defroster mode, there is only a suggestion of air movement out of the dash vents. It's always been inadequate. Has anyone found a way to improve on the original design? I have looked for a alternative fan and motor to install in the original Smith housing, but haven't found one to fit. I am considering another 3" bilge blower mounted in the engine compartment. Probably remove the Smith fan and motor, install a blanking plate over the opening and leave the housing in place.
Any ideas out there?
Here are some photos of my fresh air side.