• Hi Guest!
    You can help ensure that British Car Forum (BCF) continues to provide a great place to engage in the British car hobby! If you find BCF a beneficial community, please consider supporting our efforts with a subscription.

    There are some perks with a member upgrade!
    **Upgrade Now**
    (PS: Subscribers don't see this gawd-aweful banner
Tips
Tips

Making Progress

Hi Mike,

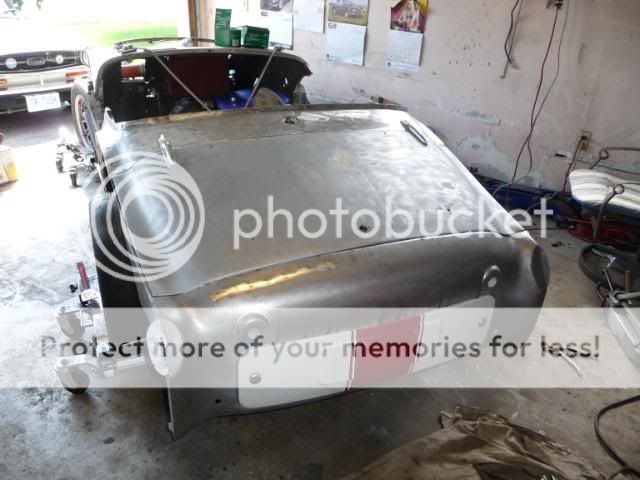
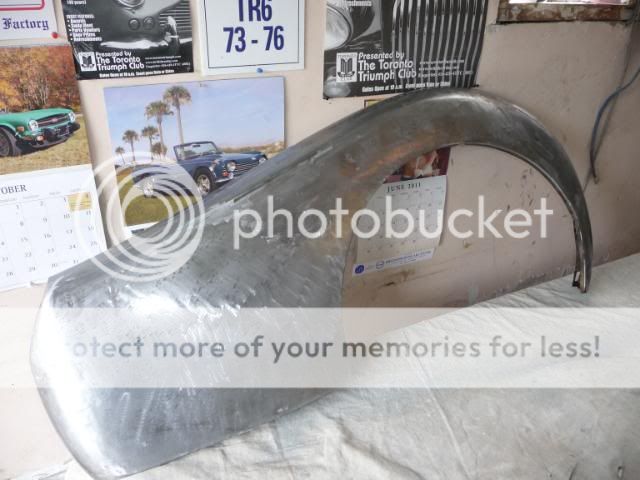
I think that the fit was better with the old valence. Once you start stripping original panels off the car I think that it is always a challenge to make the replacements fit as well as the originals did (I know sometimes the original fit were suspect as well). I also know that with alot of time and effort, the panels can be made to fit much better than they ever did if you have the skill set.

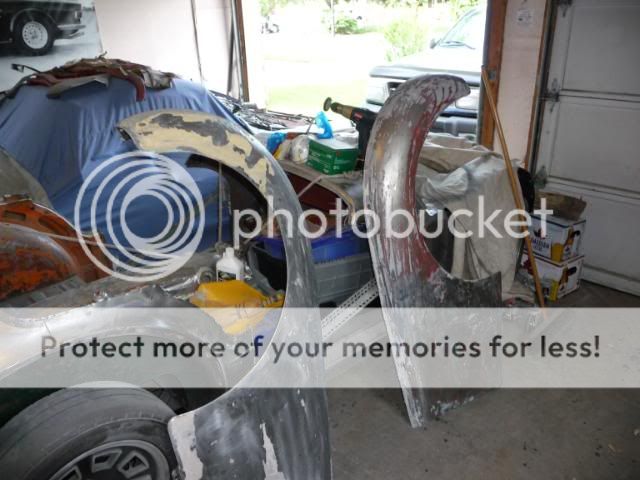
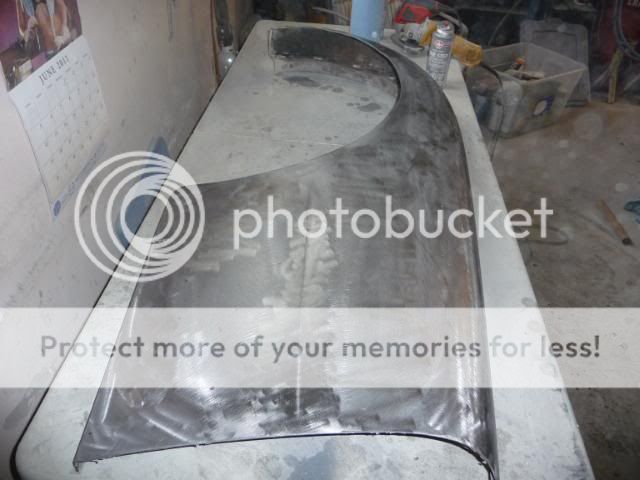
I did contemplate using the top half of the panel but I found that I had quite a bit of rust on the top side of the valence where it wraps around on the top of the inner fender. When I removed the valence, there was actually no metal left underneath this area (looked like someone took a bite out of the metal). I actually had to weld new metal in this area to have something to weld to when I install the new panel.

The real reason that I used the whole new panel is that my old valence had no flanges on the sides. They had completely rusted away. I had nothing to fix the new side stiffeners to.

Cheers,
Tush
 
HI Tush,

Sounds like you had few options. Great information and you are doing a wonderful job with it. Thanks for sharing your work.

Mike
 
Finally welded it on. I am not too unhappy with the gaps either. A big step for me to get this done as it was becoming a bit of a mental roadblock for me. Lots of things to consider with fender fit, boot fit, spare wheel cover fit etc etc.

P1090230.jpg


Finally got the first fender completley stripped and ready for new cage nuts on the rear. After I stripped it, I sprayed it with self etching primer to stop the surface rust.

P1090235.jpg


I feel like things are moving forward again.

Cheers,
Tush
 
How did you take care of the large gap between the bottom corners of the deck lid? It looks very good now. I need to weld a little material to the bottom corner edges of my deck lid to make an even gap.
 
It looks great Dave. You must have been working on it (or on a wedding cake) during Spring Fling Weekend. I thought I might see you there. They awarded me "Best Engine Compartment" up in Collingwood. Drove 860 miles for that event.
 

Attachments

  • 25513.jpg
    25513.jpg
    26.2 KB · Views: 508
Hi Keith,

That is exactly what I had to do. I welded some material into the corners to even out the gaps. The drivers side was much worse that that passenger side.

Hi Don, first TTC event that I have missed since I have been a member. Unfortunately, our company is going through some labour unrest and there were 2 strikes going on at two of our centers. It was all hands on deck and I ended up being away from home for 16 days all told. Wish that I could have made Spring fling. It would have been great to see you and the car again.

Maybe we will see you at the Canadian Classic in July? The TTC and OVTC will be participating in the ABCD in Britannia Park.

Cheers,
Tush
 
Tush

What wonderful work! I have been following this restoration since the days when you said you needed to learn to weld! You and your car have come a LONG WAY and I can tell you that most people with TR3's would be thrilled to have a car that looks like yours at this stage. KEEP WORKING!!! We are all anxiously awaiting the finished product. You have been so meticulous in repairing EVERYTHING to a standard that most of us could only hope for! Your car is going to be magnificent.
Gordon
 
I'm glad to read that you welded in a bit of sheetmetal to even up the gaps - as opposed to using Bondo or a bit of icing sugar.

Sorry Dave, I won't be at any of those events you mention because if my cardiologist tells me it's OK to fly, I'll be in England at the TR Register International in Harrowgate in North Yorkshire - the last weekend of July.
 
Thanks for the kind words Gordon and the encouragement.

Cheers,
Tush
 
Tush....why do you have to live in Canada....when I reach that point if you were in Maryland or something I could buy enough beer to make you come by....but Canada is a little out of the way from Virginia.....
Looking great.....really
 
My thoughts exactly JP - I already tried to lure him down to Texas. Nice job Tush!
 
Trust me guys, if I can do it anyone can :smile:

Thanks though!

Cheers,
Tush

PS, I will say that restoring a TR3A (Body wise at least) is much harder than a TR6 IMO. The TR6 was great practice.
 
Over the last couple of days I managed to get the 4 fenders stripped down to bare metal to see what I have to work with....

P1090239.jpg


P1090248.jpg


P1090251.jpg


P1090259.jpg


P1090266.jpg


The two rear wings are in pretty good shape although all the cage nuts have rusted...the centers are gone but the tabs on the sides are there....One rear wing has had a patch done back by the tail light.

The two fronts have seen some action on the race track it looks like. One is pretty beat up on the nose...you can see all the yellow bondo in one of the pics and the other is pretty rough one the bottom with some patching etc...you can see that one with the holes in it where it looks like they epoxied the panels together...the main problem is that the structure has been weakened and it likes to "oil can". What can I do to prevent the "canning"? I think that I read to heat it with a torch in the area but I am not sure.

Anyway, sprayed them with a light coat of primer for now as I didn't want them to surface rust.

Thats all for now.

Cheers,
Tush
 
MPL: Can you let me know the source of your Radiator and Fan? that is the exact set-up I am looking for on my car.

thanks, wp
 
Hi Willie,

It is a Wizard Rad with a SPAL fan mounted. Temperature sender bung is in the radiator as well for the sender kit that I bought along with the fan.

I got mine from Art Lipp.

Send him and email at lipp04ATyahoo.com (remember to replace the AT with an @ )

I also bought an alternator conversion kit along with a modified control box that I have yet to install from him.

Cheers,
M. Pied Lourd
 
Hi Todd,

I have been using a couple of different types. First is an "aircraft stripper" that is quite expensive and comes in quite a thick brushable gel. The second about 1/2 the price of the aircraft stripper is a stripper that you would used for furniture or glue removal.

I would say that the cheap one works as well as the more expensive one. I still find myself have to use a sanding disc to get the bondo out of the fenders.

I haven't used it on the undercoating. I still use a heat gun and scraper for that or a wire brush on my grinder (makes a mess but its effective).

Cheers,
M. Pied Lourd
 
Back
Top