• Hi Guest!
    You can help ensure that British Car Forum (BCF) continues to provide a great place to engage in the British car hobby! If you find BCF a beneficial community, please consider supporting our efforts with a subscription.

    There are some perks with a member upgrade!
    **Upgrade Now**
    (PS: Subscribers don't see this gawd-aweful banner
Tips
Tips

TR2/3/3A Beginning the TR2 Bodywork

Today I spent several hours at 2 different paint supply stores. Good time! Really, it gave me a chance to catch up on the latest "trends" in painting. They weren't busy, so I bounced many of the ideas off them that you guys have suggested.

So, I learned that Bluemax's technique is correct for bare metal. The modern etching primers are designed to go on top of bare metal. Fillers are not. What that means to a layman like me is that if you are removing your old paint using soda blasting, chemical stripper, or if you are planning to start with a new, virgin panel...then you want to lay down a coat of primer FIRST. The primer bonds to the metal, allowing you to rough it and thereby provide a good bond for the filler.

I have always either sand blasted the metal, or at least roughed the surface well with 60 grit or coarser. That gives a good surface to bond the filler to. It turns out that is more of an old school approach. My way works, but Bluemax's is the mainstream norm now.

I also learned that I am still "old school" with the way I am using "guide coats". I always layed the contrasting guide coat first...so it is under the following primer coats. I use it as a tell for when I have sanded far enough...a marker to prevent hitting the bare metal. The more common use of guide coats is to spray a thin contrasting paint OVER the primer...then sand until the guide is gone. I can see the advantage of...well...either method. The cool thing is they are not exclusive. So you can actually use both techniques at the same time. An under guide coat to prevent sand through, and an over guide coat to tell you when you have sanded everywhere without missing any spots.

I'm still unsure if my way is truly old school, or more of a "show car" technique. As you guys will see, my methods are going to be very time consuming. But the results will be worth the time spent. Here is the general plan:

1). Once the body is leveled (i.e. Filled and sanded smooth), I will take the panels back apart.

2). I will then spray each panel with black DP90L epoxy primer, front, back, and inside.

3). The front of each panel will be sprayed immediately with light grey epoxy primer over the DP90L.

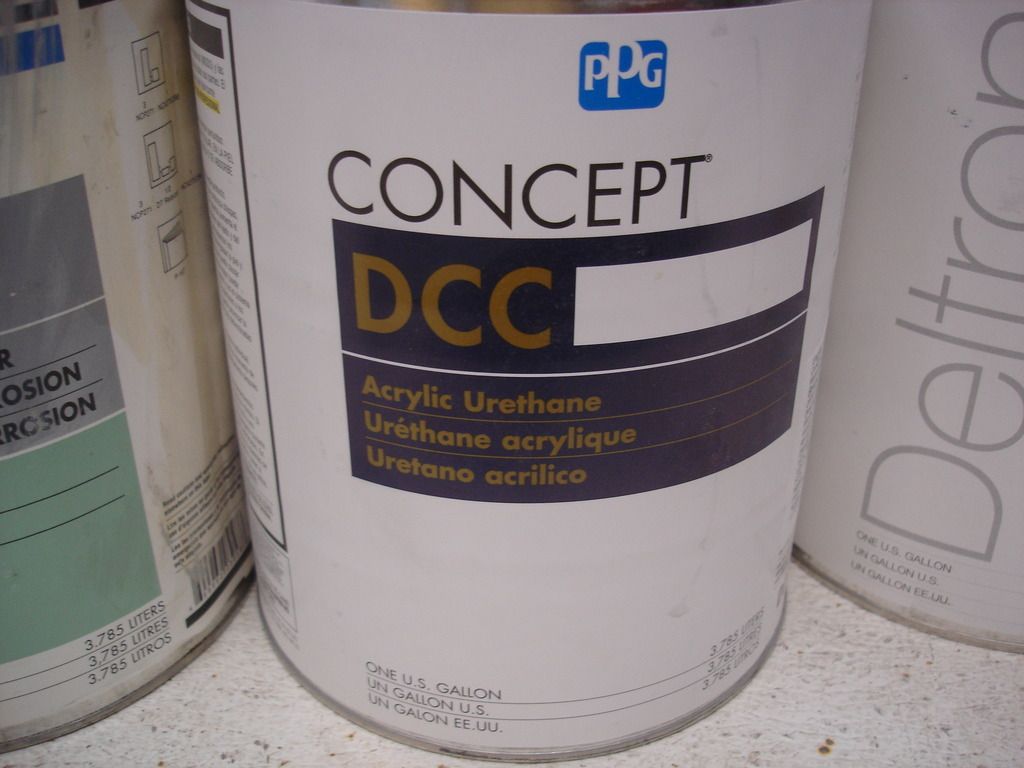
4). The back, bottom, inside, and engine bay of every panel will be immediately sprayed with the DCC one step urethane Racing Green.

5). I will let the body parts sit for at least several weeks allowing all the coats to cure fully while I build up the chassis.

6). I will reassemble the body back on the frame. Once together the first wet sand will take place with 220 grit paper.

7). I will then spray black epoxy primer and wet sand again, this time with 400 grit paper.

8). The black primer will be resprayed and wet sanded until I am completely satisfied that the entire car is level...with no highs or lows at all.

9). Only then will the final DBC base coat be sprayed, followed immediately by the DCU2002 clear coat.

My goal is to reach step 4 by next week. The final exterior paint goal will be early spring. I guess that means this thread will be coming to a conclusion here within a couple months. Hard to believe! It seemed unending when I started it last year.

I do plan to have a shorter thread on chassis assembly starting up as this thread dies down. Anyway...just writing out loud as I try to organize the home stretch.
 
Wow, that's a lot of work :smile:

Cheers
Tush
 
John, have you considered using a urethane high build primer rather than epoxy for your wet sanding. It sands so much easier and is made specifically for that purpose. Epoxy will take several days or longer before it takes to wet sanding and then it's like wet sanding steel - it will require so much more effort. I realize you've probably thought about this, but just wanted to mention it.

Best of luck. This is the fun part. Make sure you hose on plenty of clear so you can cut and buff to your heart's delight!

Pat
 
Pat your correct, bare metal should be etched, blasted, or sanded first. If oxidation has reoccurred you can re-etch or re-sand before sealing metal in epoxy. Eastwood makes an etching solution that leaves a Zinc barrier which checks any corrosion that may be left in the crevasses after sand blasting. The urethane high build is applied after body filler for final finish prier to painting. And yes it so much easer to sand!! I use Spies Heckers products, their epoxy 4500 and the activator is 4501 are easy to spray.. Spies, epoxies contain zinc to prevent corrosion as well encapsulates the metal.

 
One of the things I learned yesterday is exactly what you are saying, Pat! I was told the DP90 is not intended to be sanded. Go figure, as I have been using it for pretty much everything for the last decade! My supplier got on me for wasting money (the epoxy primer is about double the cost), and making my life way harder than it needed to be.

I will do as you suggest and use the DP90 as the sealer, but all subsequent layers will be the high build sandable urethane. I'll post the type once I pull it back out in a couple days.
 
For blocking out panels, a nice urethane primer and guidecoat is your best friend. It is easy to spray and it can be sanded within an hour or two after spraying. And it sands "like Buttah". When you are all done sanding and your panels are perfect (level and scratch free), you can apply a coat of sealer (or often use a reduced epoxy) to seal the panel and provide a wet-on-wet chemical bond with your basecoat. I used the PPG DBU Basecoat and Southern Polyurethanes' clear and was super happy with the outcome. I get many compliments on my paint job and most can't believe I did it in my garage. You cannot buy the PPG activated basecoats in California any more - only water base now. So I've had to switch to nonactivated solvent basecoats - they seem to work fine too. Thanks for a wonderful thread!

pat
 
Pat,
I just bought some solvent based PPG in Placer county. I was told it can't be used in a commercial auto body shop but can be sold to private individuals for use. And yes, I wish I could have got my paint to look as good as yours !

Jerry
 
I was going to ask what the DBU was, but you answered it. Water base is the future. It's just a matter of time before the EPA mandates it. When I first heard water based a few years ago I instantly assumed it had to suck, especially since the government was behind it. Since then I've gotten experience using the water based airbrush paints. I've changed my mind! The water based are actually pretty good. The only down side I've seen is you have to watch building them up to thick at one spraying, or the dry time goes way up. Once they're layed, though, they're like indestructible!

I really appreciate all the input guys. I'm learning how stagnant my old ways are!
 
Week 67

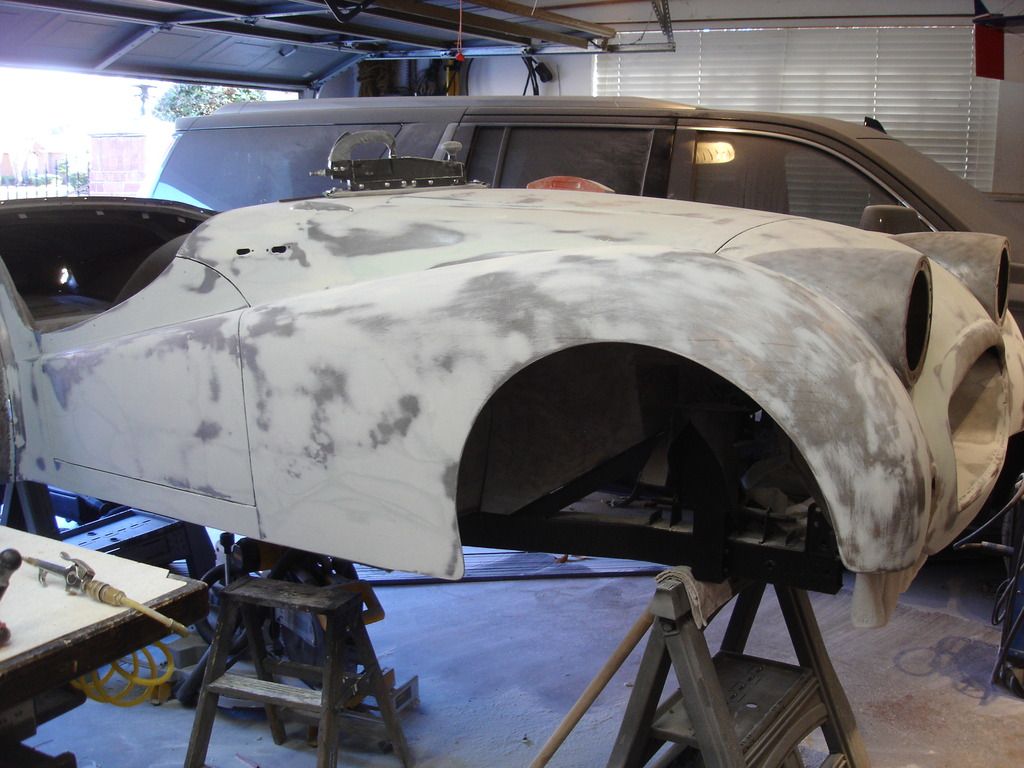
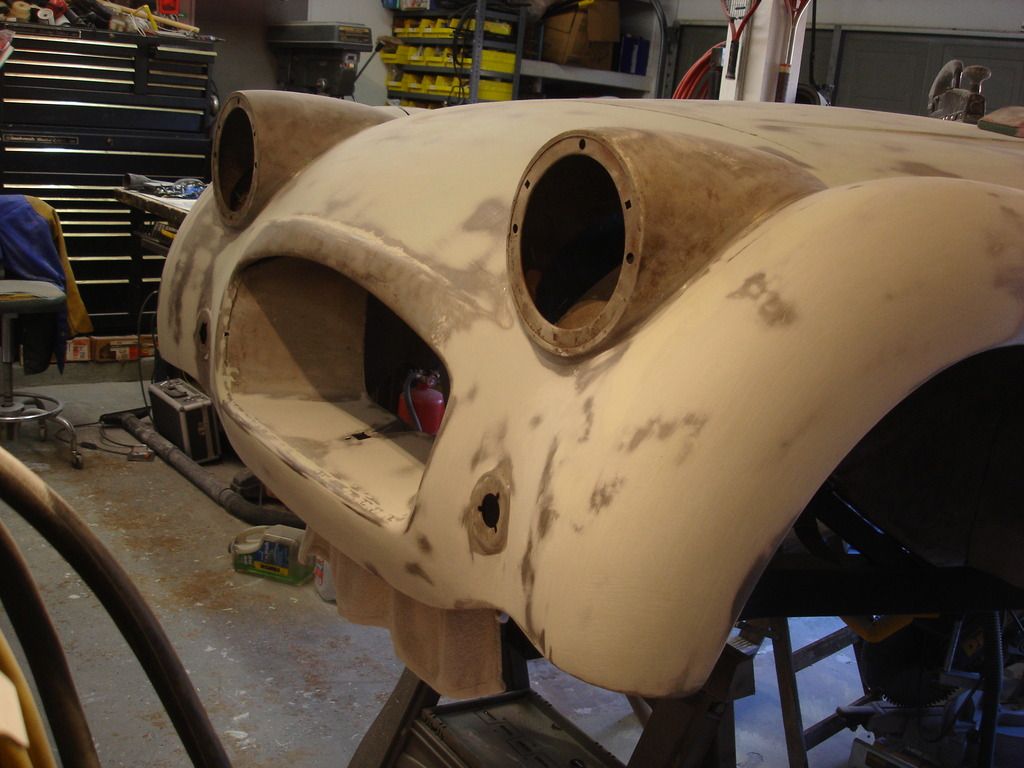
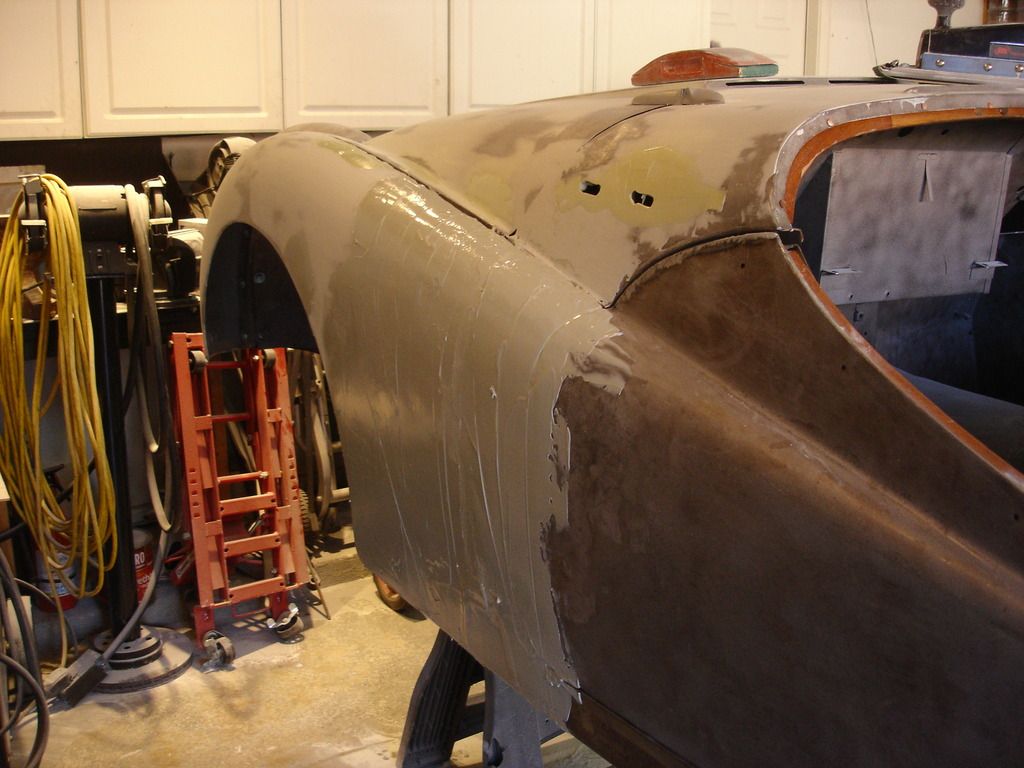
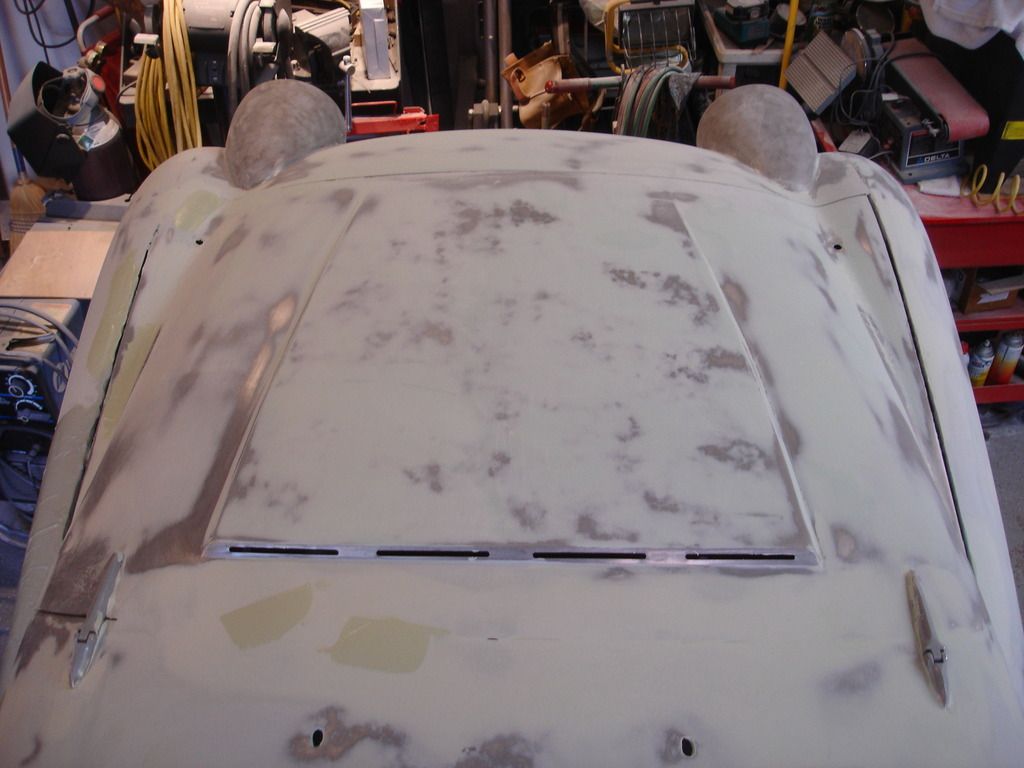
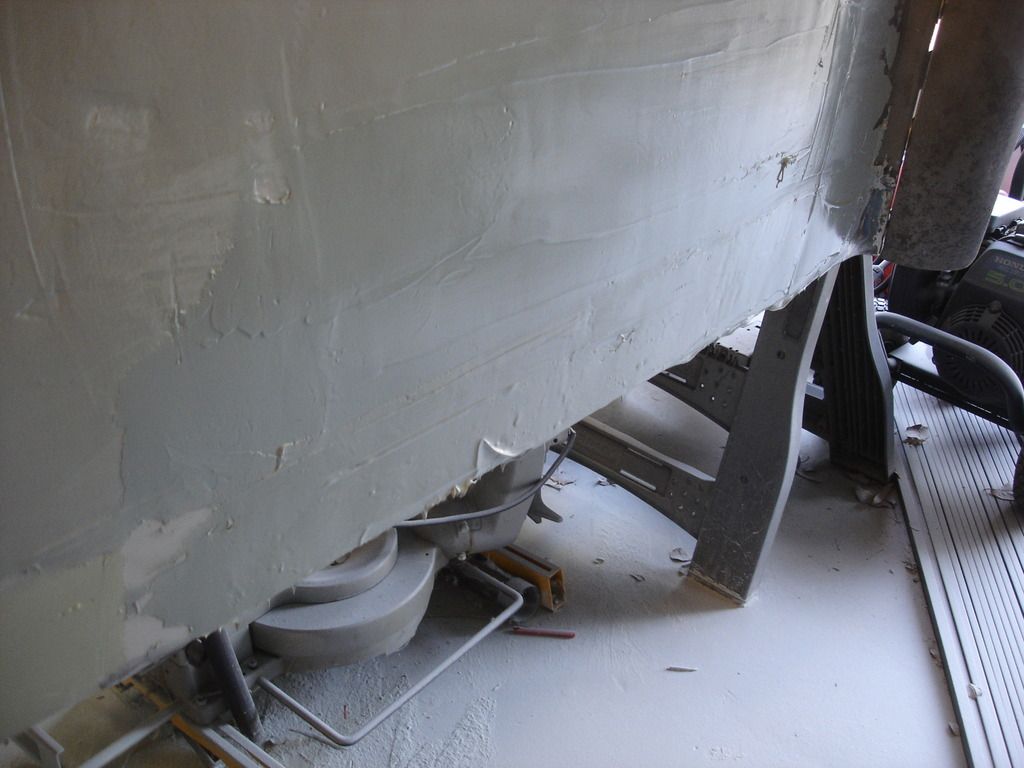
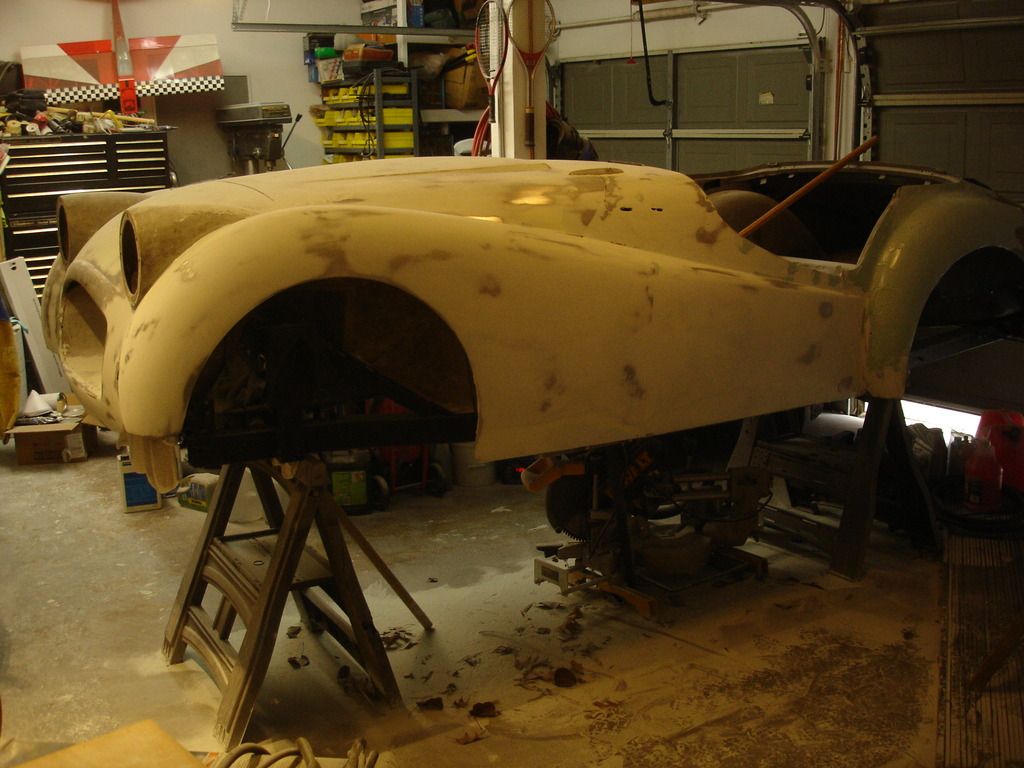
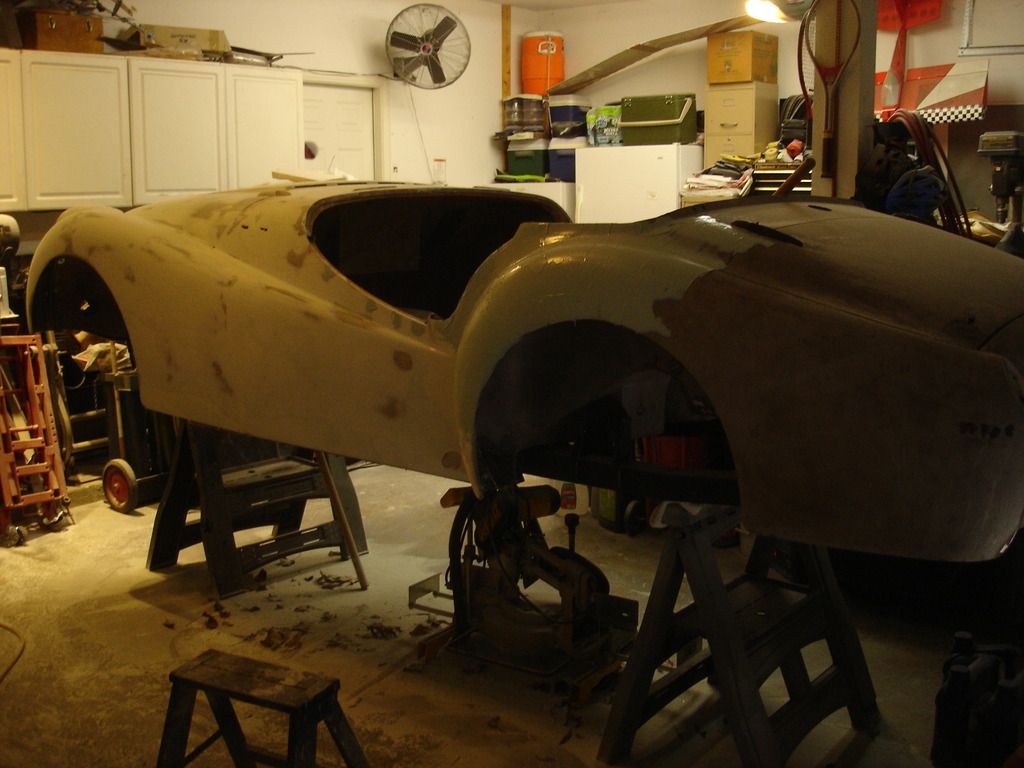
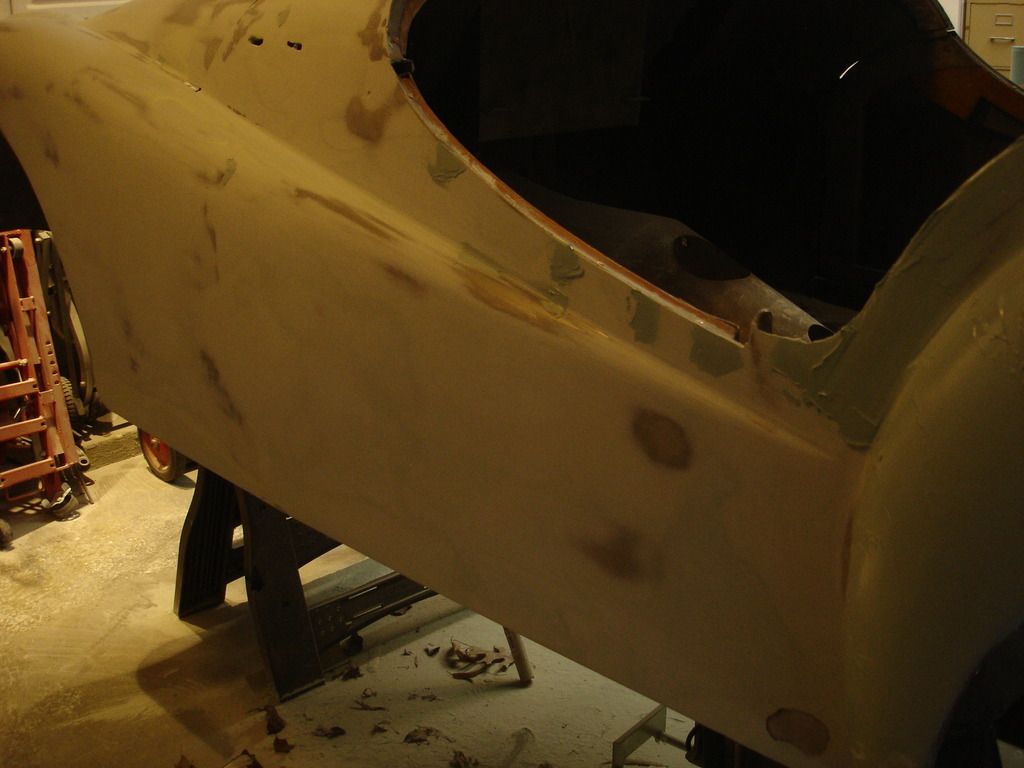
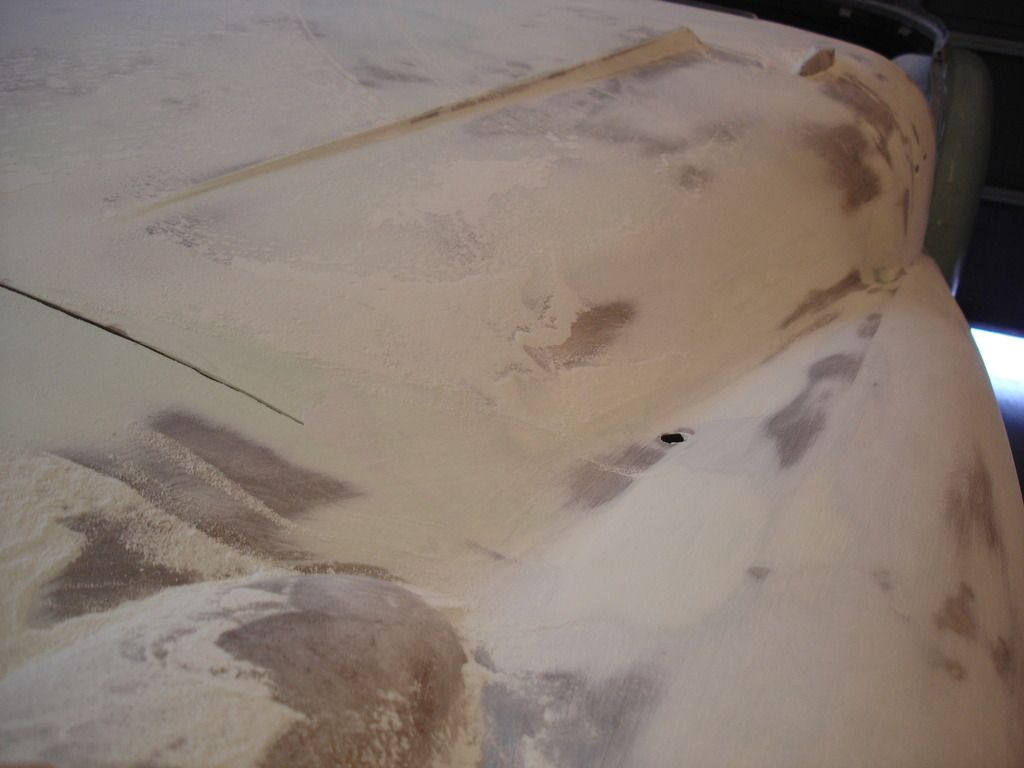
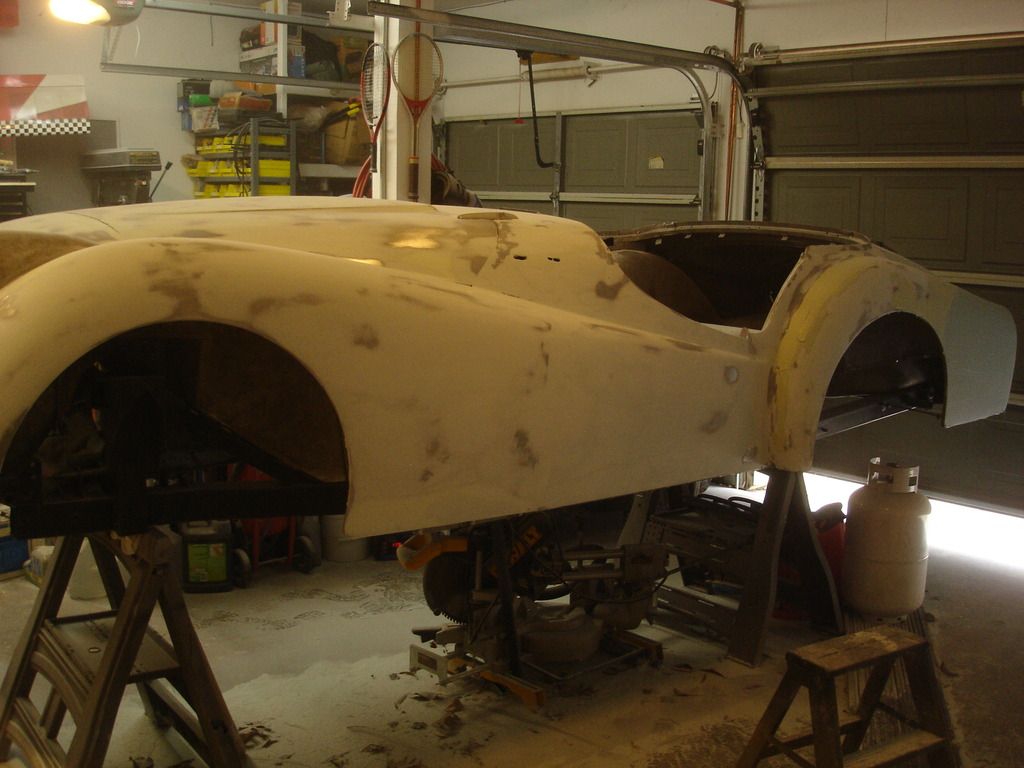
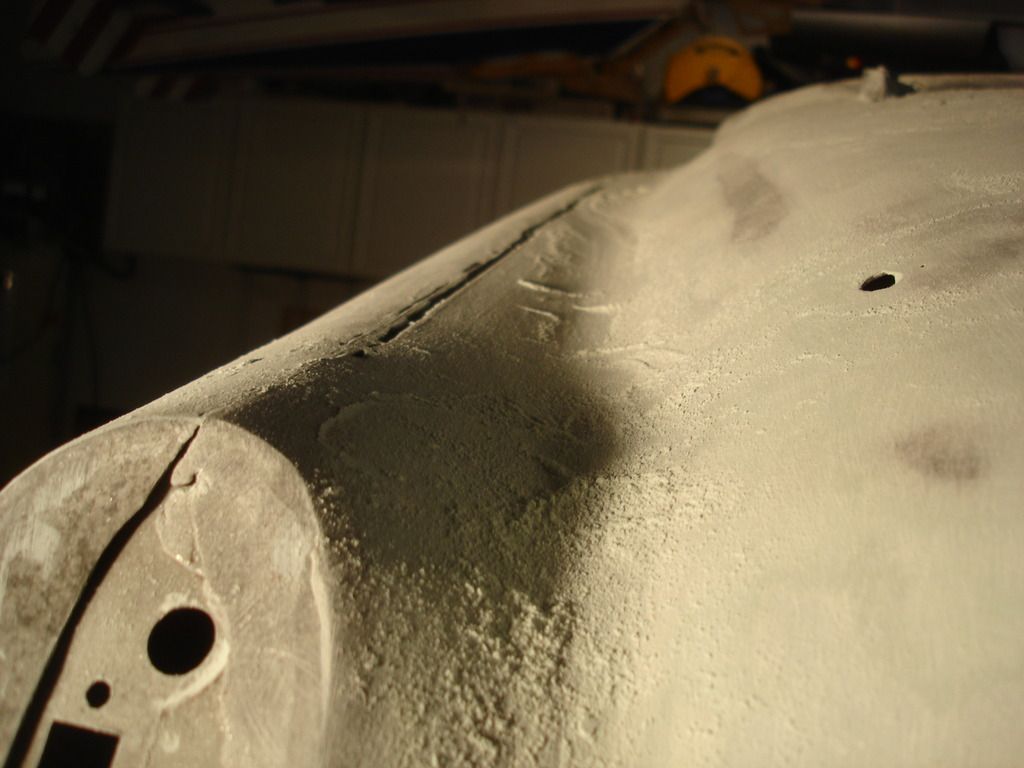
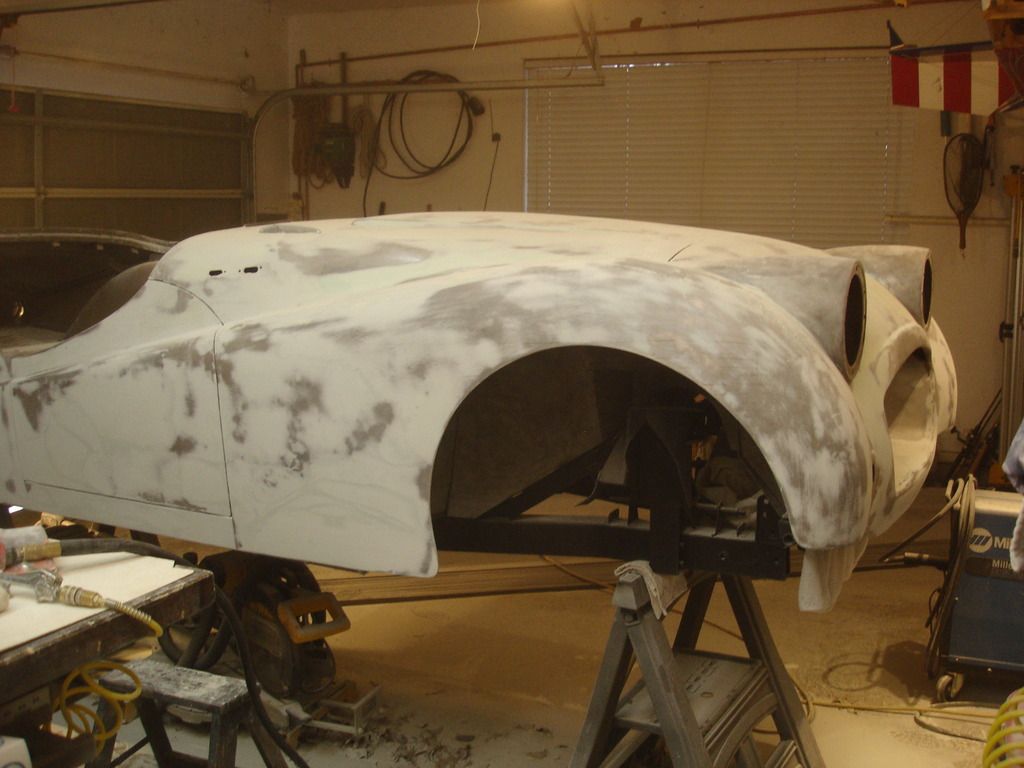
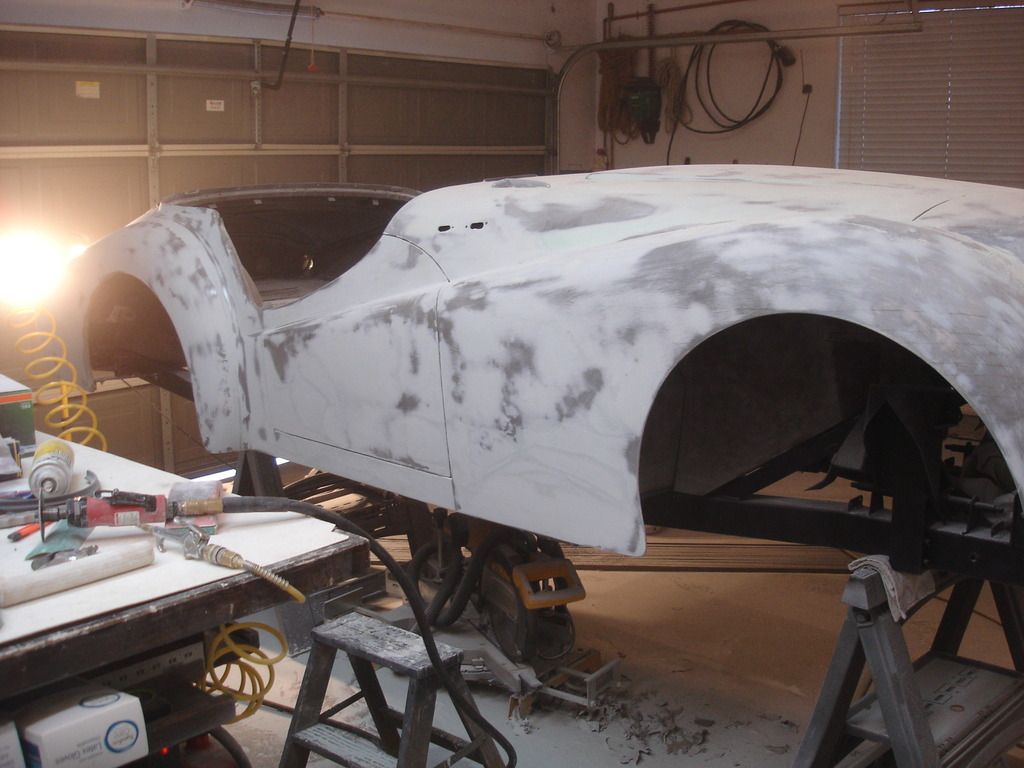
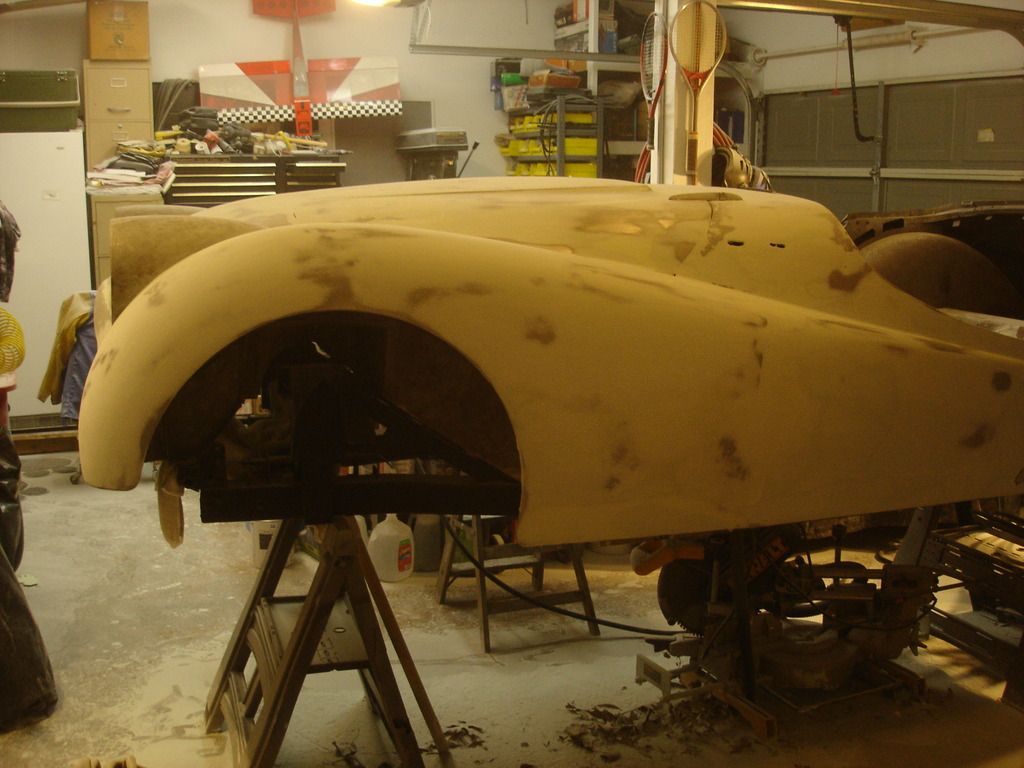
This week was more of the same...leveling the surface of the body with filler. There's not a whole lot to say about it, just a lot of mixing and dust everywhere! The family kicked me out of the house becasue every time the garage door opened a cloud of dust followed me wherever I went. That's what they get for not letting me build a shop!

But it all came to an end last night, as I cleaned the dust out using a leaf blower in the middle of a snow storm. We don't get snow in this part of Texas very often...so I did indeed finish the leveling on a "cold day in ****"! But enough of that...here are the pics...


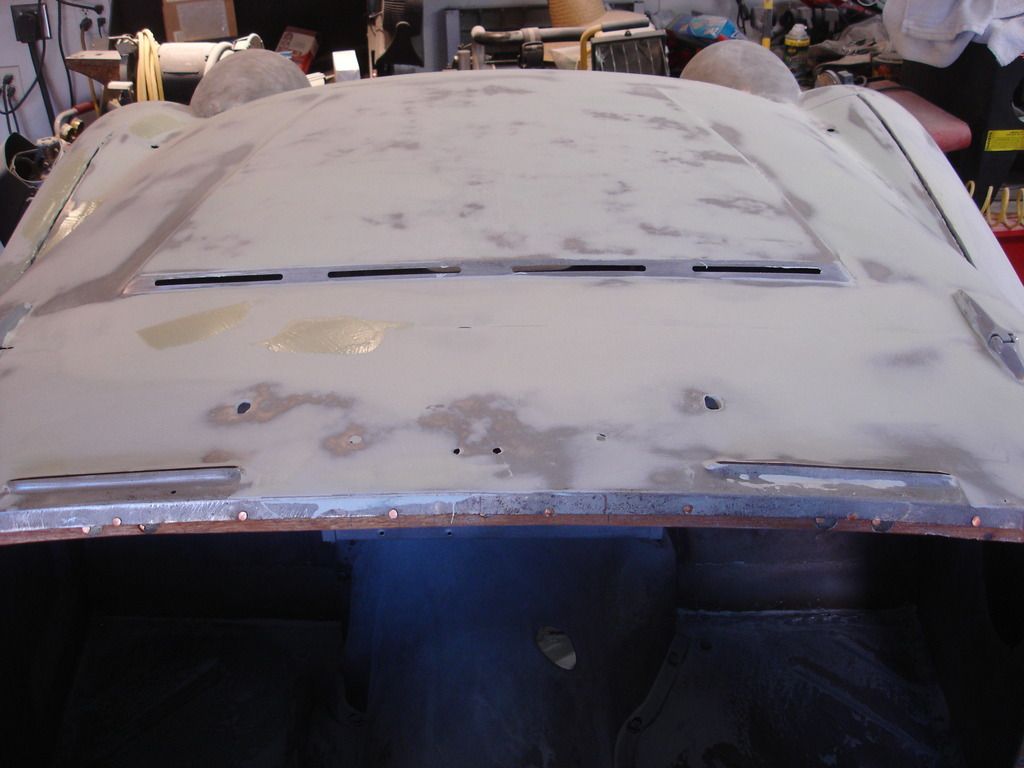
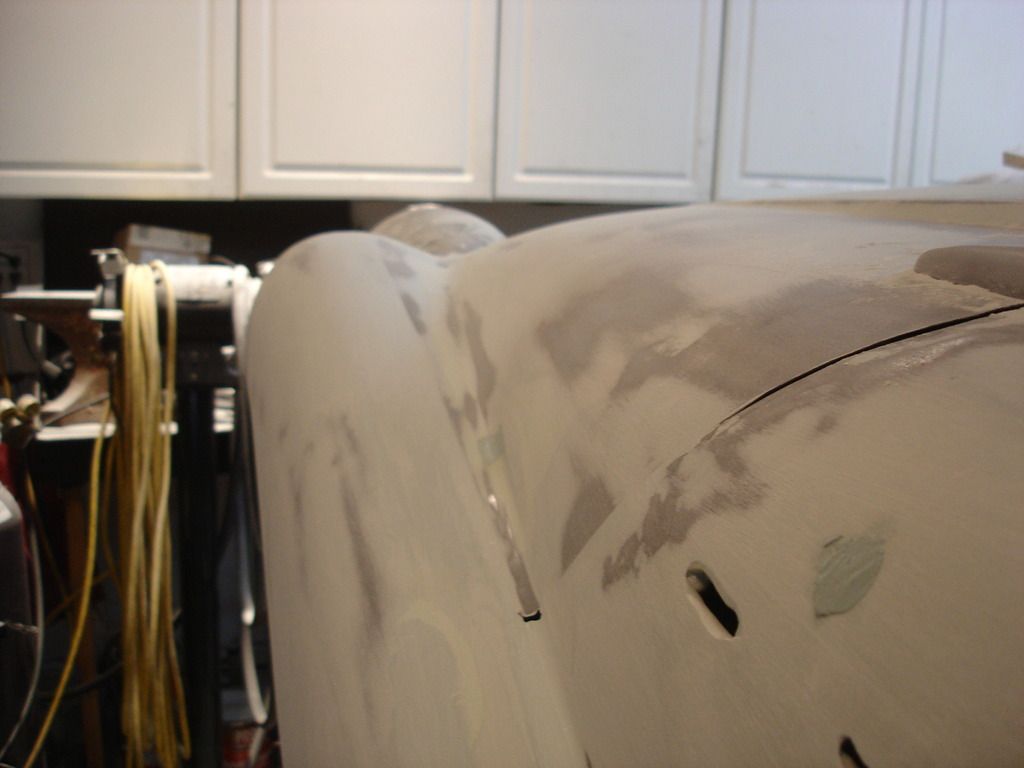
As you flip through the pics, you probably noticed that I quit opening up the panel seams after each layer of filler. I started that after I started working on the rear of the bonnet. If you remember, the rear edge of the bonnet is just a raw metal edge...so every time I tried to sand it, I realized that it flexed from the pressure of the sander...no matter how lightly I tried to sand. I decided the solution was to just fill the gap, so the edge was then bonded to the scuttle. That way the edge was fixed, so I could apply as much force as I wanted to without getting a deflection of the bonnet edge.

Once I started using that technique on the bonnet...I simply decided to do the same on the entire car! At the end, I opened up the gaps again using the cutoff disc. Of course there are a few spots that the disc skipped and made a little mess...but those are easily patched. If you asked if I would recommend filling the gaps until the end...I'd have to say the book is open on that. It worked for me. For some it may be difficult to find the gaps to re-open them. I can say that it makes a slick body, though! When the panels aren't flexing, every gap is "unstressed". In other words they do not flex out of plane with one another do to the pressure from the sander.


The last 3 days the temps have been in the 20's here. I know that's nothing for many, like Tush...but it's cold for us Texans! These are the final pics, after all the leveling is done, but before cutting out the panels. I gotta say, The TR looks really good with no panel seams...shame we have to cut them out!


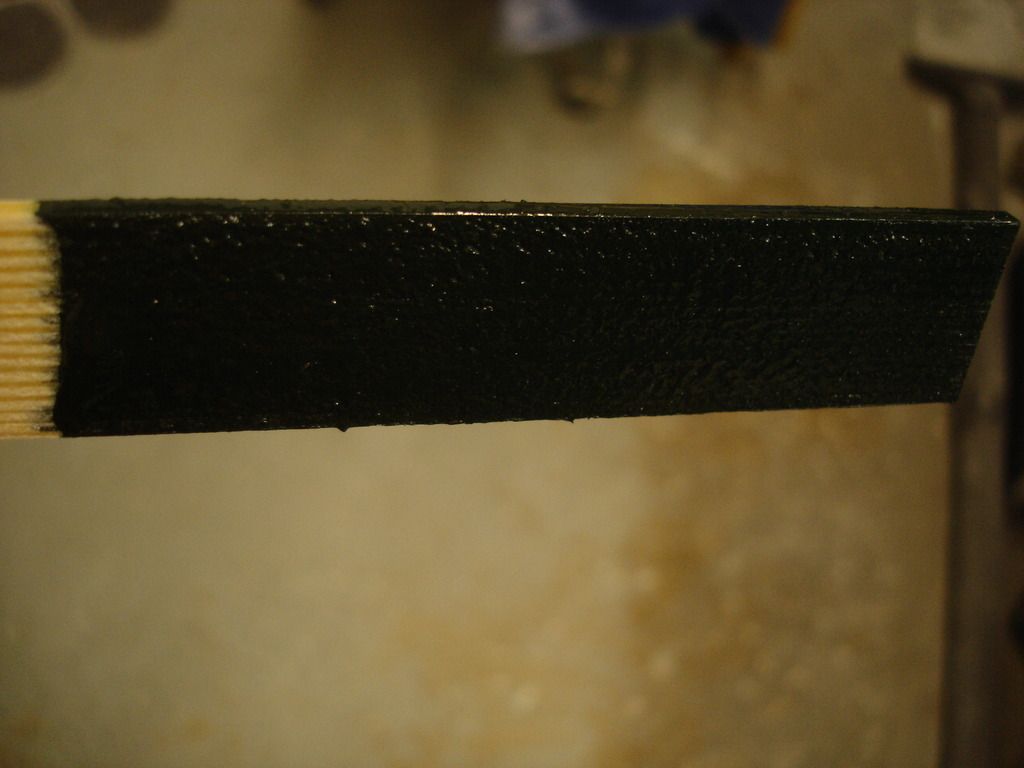
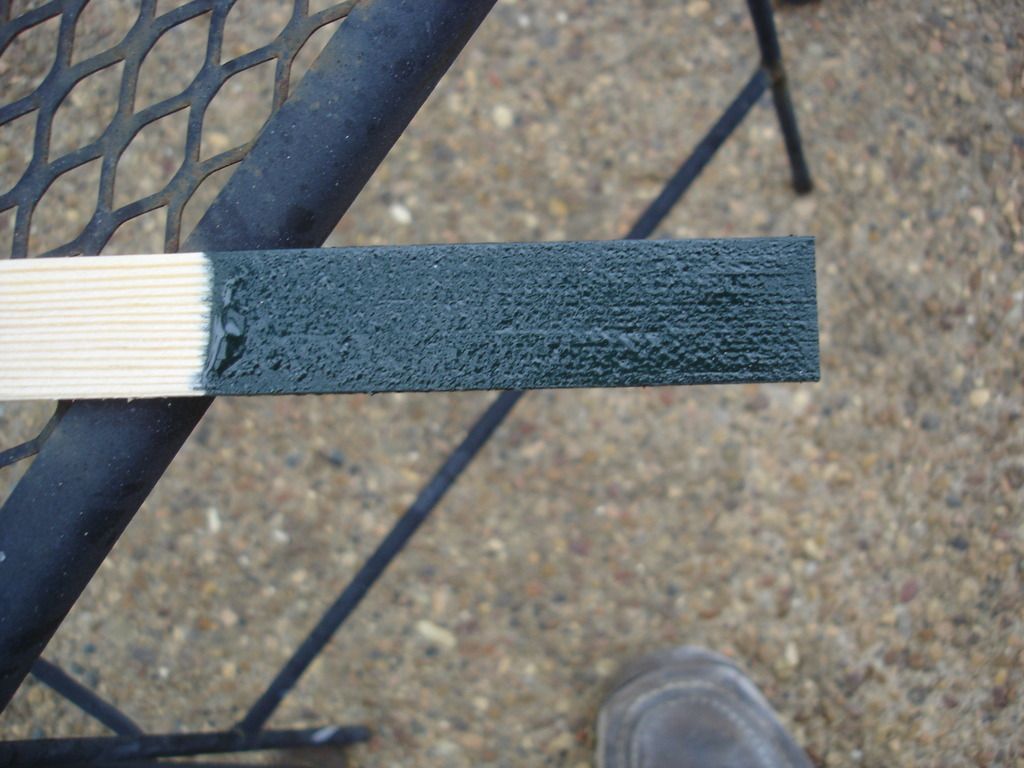
This is the paint color I will use, thanks to Dan's help. It's the 1990 "Jag racing green", PPG code 46169. The first pic is taken in the garage, and you would think the color is black. The second is outdoors, and with full lighting it becomes a dark green. The first mix is in "DCC", which is a one stage urethane paint to be used on all the interior panels. The exterior panels will be a 2 part, DBC base with DCU2002 clear coat over the top.


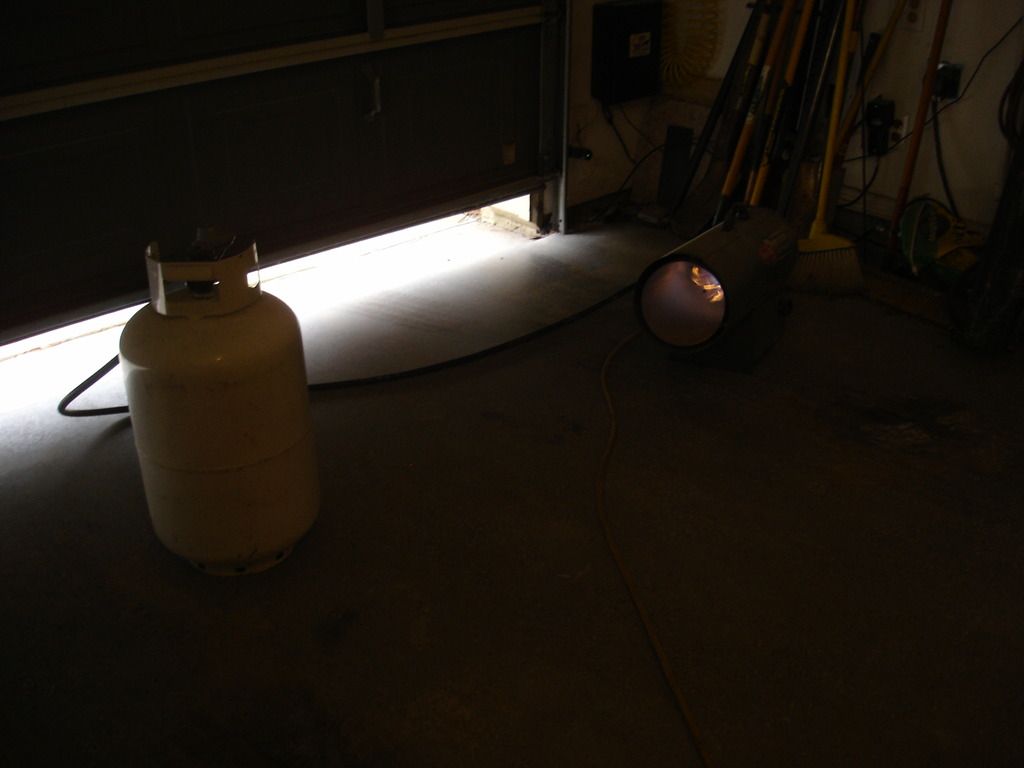
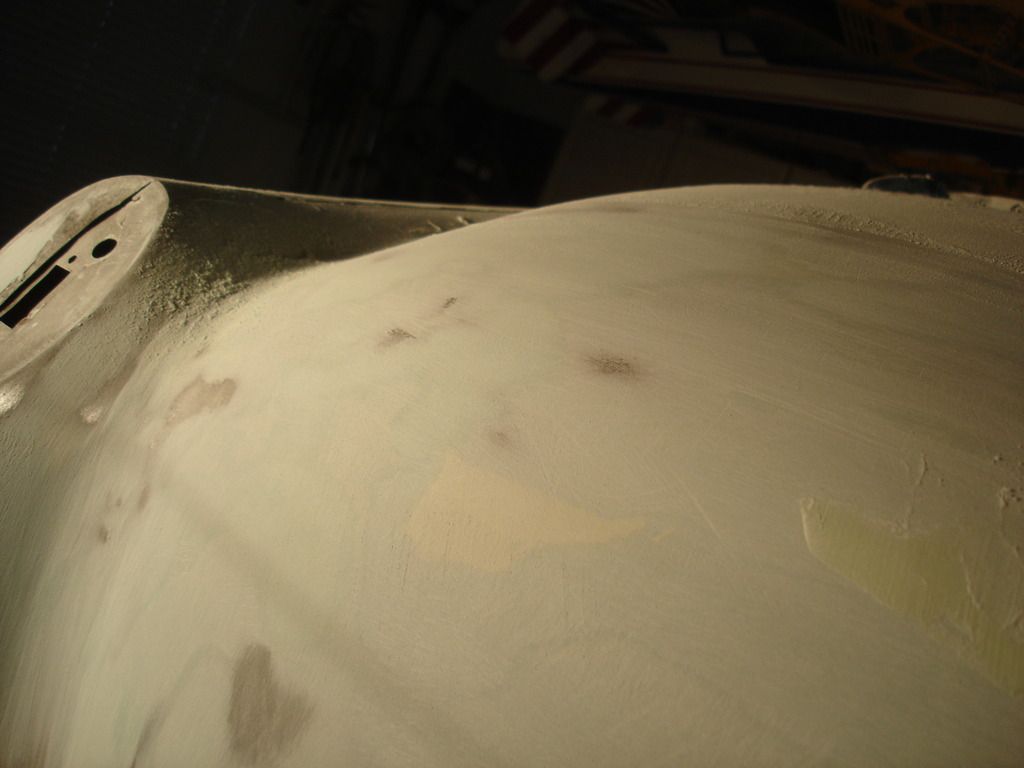
I took this to show how lighting is very important when it comes to leveling. Just like at sunset the shadows become long on the ground, by placing the light at a very shallow angle to the area you are working, any high spots stand right out.


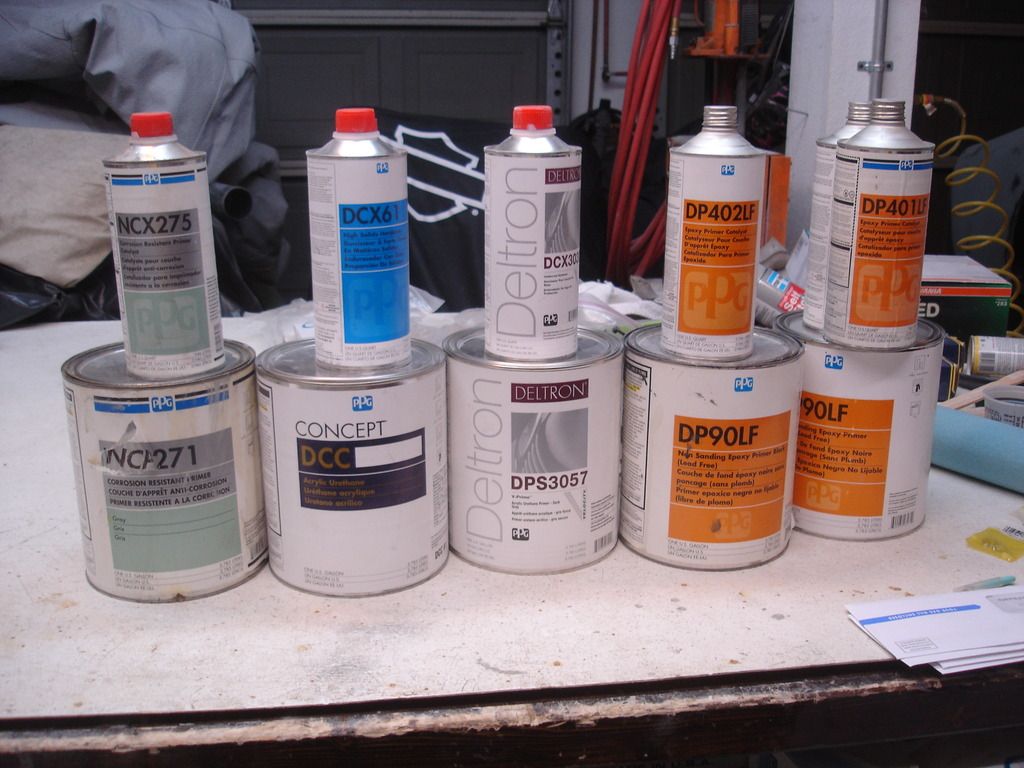
In closing for this week, this is my line-up of paints for Monday (when the temp is supposed to top 60 degrees for the first time!?! Here is a breakdown of how I plan to use them:


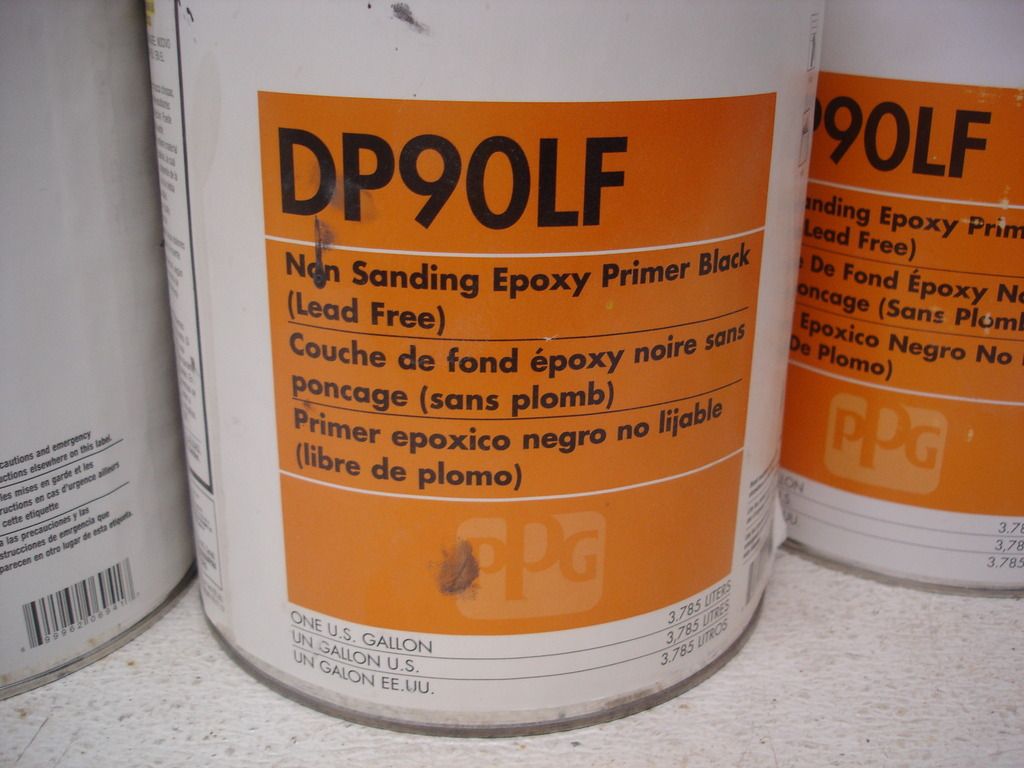
This is my favorite PPG epoxy primer. Every panel will get sealed with this, inside and out. It is available in 3 colors...I always keep this "black" around at all times. All my chassis parts get a coat of this with no top coat, for a nice semi-gloss finish that is durable.


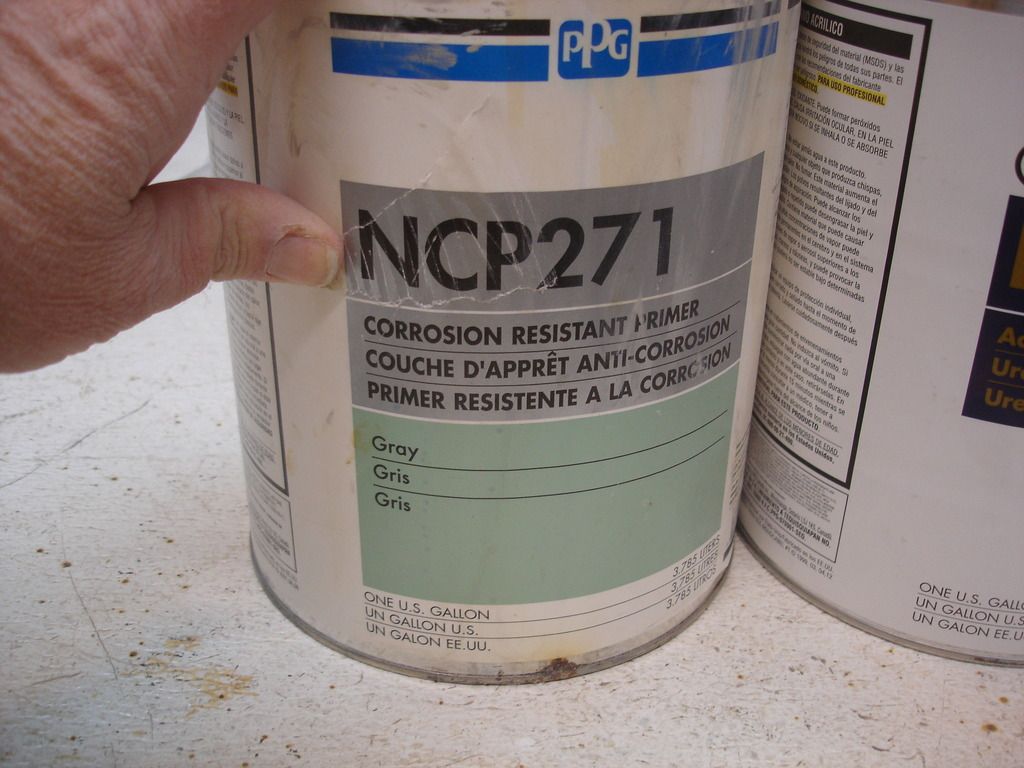
This is some light grey sanding primer I have left over from when another kid dinged my son's car. I will put a coat of this over the outer panels, immediately after the DP90L has flashed and without sanding...to provide a contrast to the black under primer. When sanding this coat, I will see the black under primer showing through to tell me when to "STOP", before I hit bare metal. If you sand through to bare, it will have to be re-sealed. That's time consuming, so to be avoided. I will sand this layer with 220 grit wet or dry paper, used wet. 220 is faster cutting, but will show through to some base paint coats.


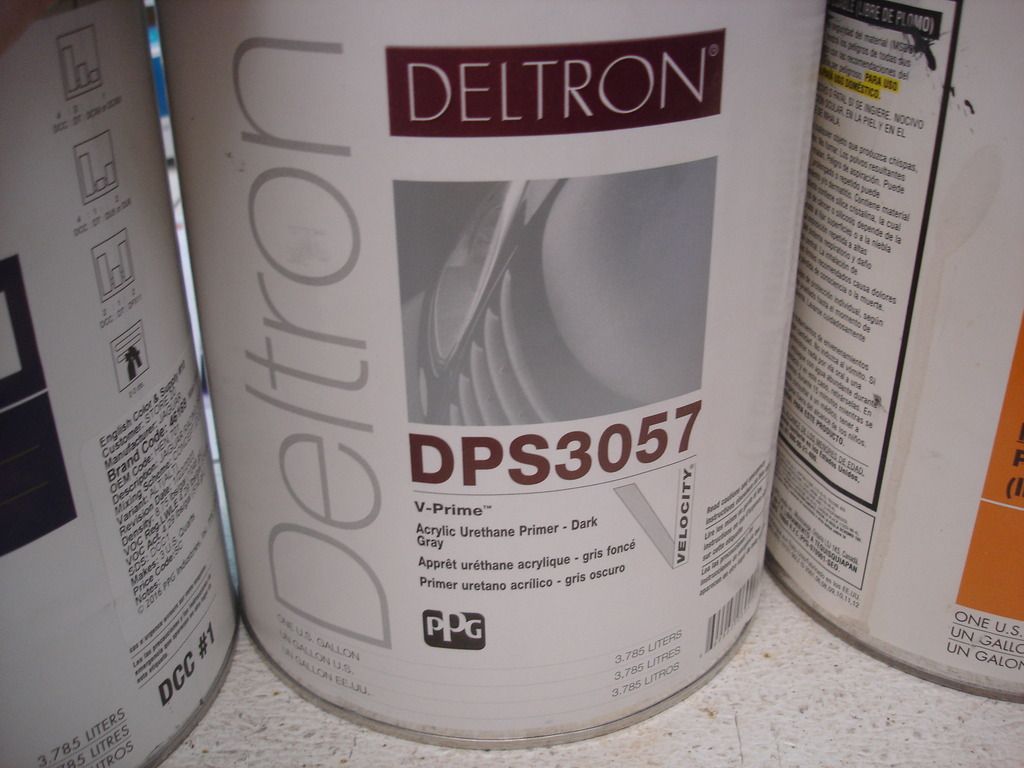
This is the very dark grey (almost black in tone) sanding primer that will be used for all subsequent primer coats. When sanding the light under primer will then start to show through to give me the "STOP" warning. When I am able to block wet sand the entire car, so that every inch of the car can be "roughed" with a block AND without cutting completely through this primerlayer...then I am ready for the finish coat. From past experience...it could take from 1 to 3 coats of this before I am happy. All layers of this primer will be sanded wet with 400 grit.


This is the finish paint for all the insides and undersides of the car...all the places that will not show when you walk up to the car. It is a 2 part, one stage urethane that dries glossy. Once the outside of the panels have been sprayed with the light grey primer, I will finish the insides with this color coat, right over the top of the DP90L and without sanding.

And, that's it for the week! Looking forward to spraying. Spraying is both exciting and nerve wracking!
 
One thing I am reminded of when proofing the post above...

On the TR3 I leveled the body without any seals in place. That would be door seals, boot seal or tire cover seals. Later, when I installed the rubber seals on the finished car, the panels were pushed out, ruining the beautiful level job! The door and boot eventually settled back into place on the same plane with the rest of the body, but the tire cover never did. That really bothered me.

This time I installed a spare rubber seal into the tire cover to "pre-bow" it. We'll see later if this is worth the effort...and the extra seal that will have to be replaced!
 
John, you must have stock in PPG. That is a lot of very high quality paint. I recall that 2 sprayable gallons of the PPG basecoat in white (an inexpensive color) was about $500. I'm sure that paint system will perform very well for you.

Once your epoxy is outside of its 1 week recoat window, don't you have to scuff it before you spray interior panels?

Looks great. I remember all those days of sanding and vacuuming the floor in the garage. Was a lot of fun when your panels are finally perfect.

Pat
 
I don't, but I should have PPG stock! I am floored every time I buy paint. I sprayed my first car for about $500 almost 40 years ago. Paint alone is now pushing the $2,000 mark. Absolute highway Robbery!! But, I have tried going with cheap alternatives and always regretted it. This paint will last the life of the car with little or no care. The cheap stuff lasts 6 months and looks old.

I will be spraying the green right over the DP90 during the same session. That will save time and work...or at least that's the plan. So the interior of the car will be finished when I bolt everything back on the finished frame.
 
Hello John

Looking great. Bet you are glad the dusty part of the job is behind you.

I will be interested to know how much paint you have left over or if you have to add to your stock. It will give me some idea what I may need when I get to that point.

It is cold here as well.
The only garage work I got in this weekend was changing out a blend door actuator on a 2009 Impala. They seem to go bad with monotonous regularity. Cheep plastic gear strips.

Looking forward to seeing the results of next weeks progress.
David
 
Looking awesome John! Can't wait to get back to that point again. Looking forward to seeing green soon. Hope the weather cooperates for you!

Cheers
Tush
 
I'll keep track of the amount of paint it takes. I'm curious too!

Tush, I'm still in disbelief that I reached this point. After 4 years of lumbering along with no hope, it's like a light switched on showing the end. I'm ready for the color too. Can you believe that some of these panels have been bare metal for a year and a half?!? I am sooo spoiled with the low humidity here.
 
Hey John,

I know the feeling. The project takes on a whole new life now with renewed interest as you can start to see the light at the end of the tunnel. It's like you get a sudden burst of energy at this stage and in particular, after its painted and you put that first piece back on the body tub...the days in the garage don't seem as long!

Cheers
Tush
 
Once the paint is done, it is like a quantum leap forward. Reassembly seems like a bit of a holiday and progress is more obvious. Enjoy. You are doing a great job! Cheers, Mike
 
Week 68

I'm in training for the 767, so have to post a bit early this week. I tried to rush painting the primer coats on Wednesday. I know better...you cannot rush painting. It takes as long as it takes. Instead of getting 4 paint steps accomplished...I only got part of one. Bummer. I'll have to wait until the weather and my days off coincide to try again.

I did manage to compile a series of "how to" pics for those new to car painting. I am far from a pro, so if anyone like Pat or Tush have tips...please add them! Here goes...


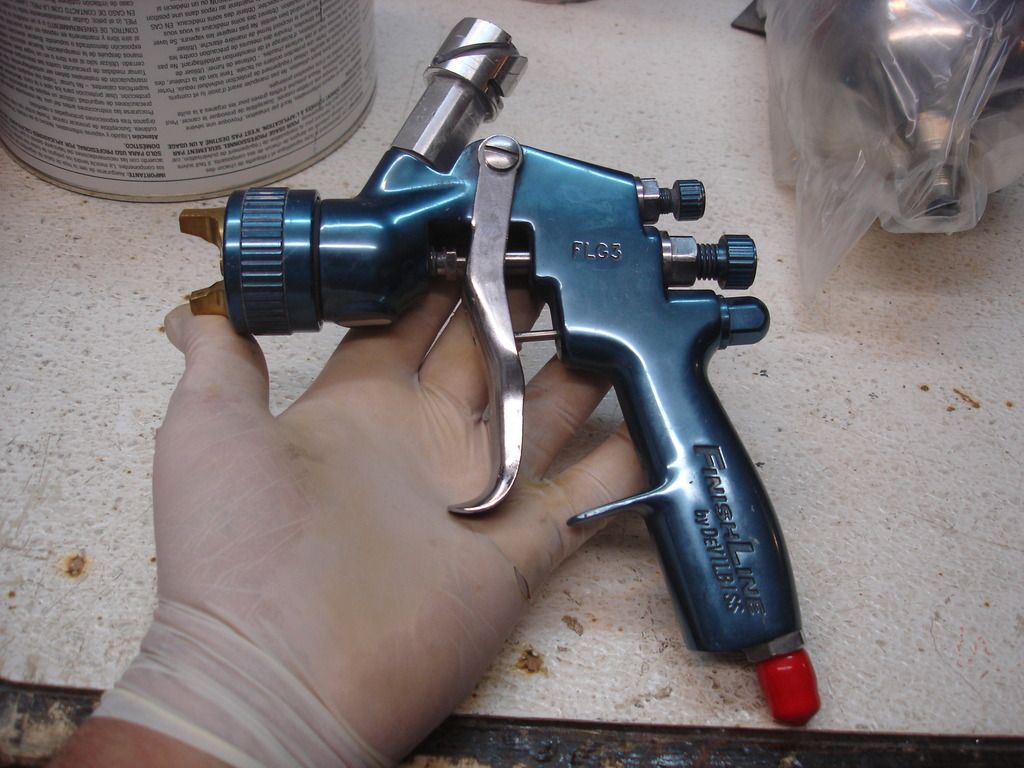
For starters, let's look at equipment. This is the gun I am using at the moment. It is a medium price gun that comes as a set, including the fancy case. Contrary to popular belief, you can get a perfect paint job with the cheapest Sears and Robuck gun you can buy. The difference between the cheap and expensive is the amount of effort it takes and the flexibility you have. This gun comes with 4 different tips, so it will spray everything from thick fiberglass gel coat to very thin urethane clear coat. A cheap gun will only work for one viscosity of paint...so you have to play with thinning to spray anything thicker than clear coat. Also, a cheap gun will have quirks...like dripping from the cup onto your work.

So, even though a cheap gun will do it, you are always going to be happy spending on the best gun you can afford. Let's go over some features.


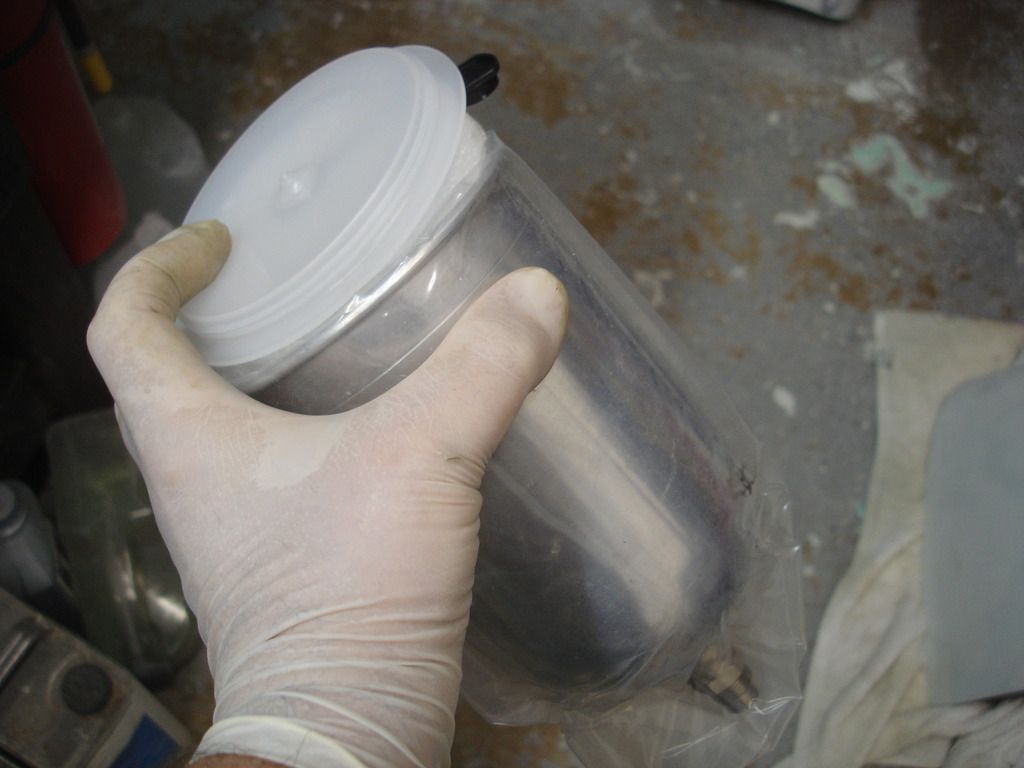
For starters, here is the cup that came with my gun. It's a hard cup...very old school. It is removable, which aides in cleaning. Many guns have integral cups, which make it a bit trickier to clean and fill. But...


Solid cups are a true PITA. If you plan to do more than an occasional small job...Trash the hard cup. There is a better way!


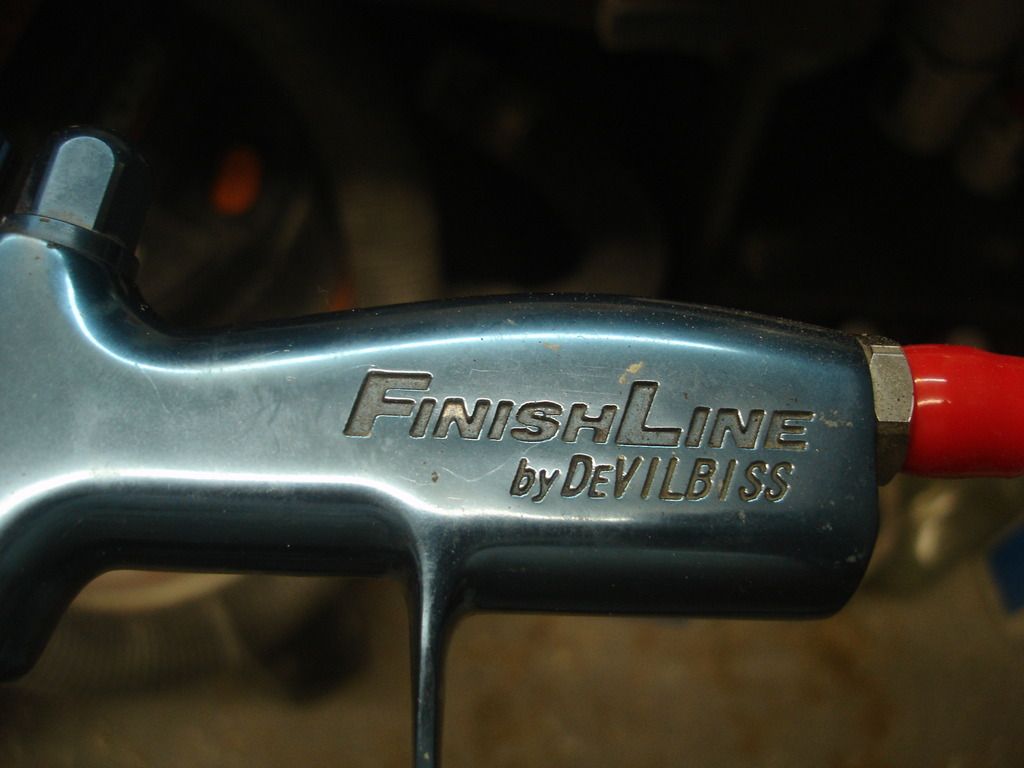
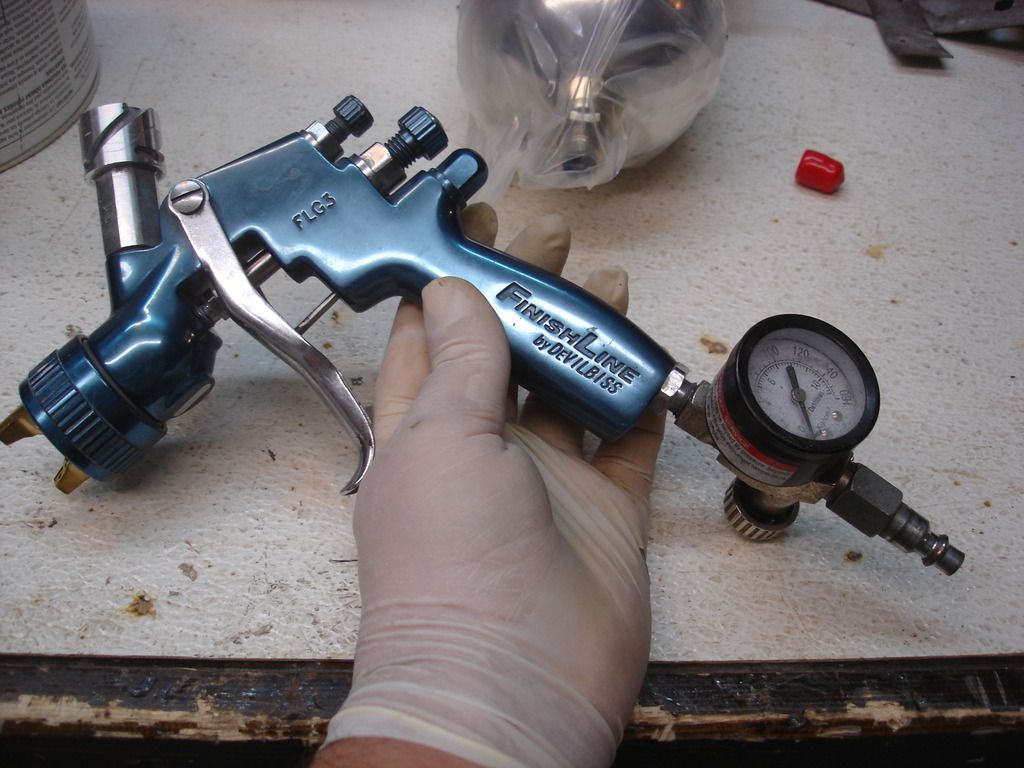
My gun is a DeVilbiss Finish line series. We'll go over the features, both good and bad. To begin with, it is an HVLP, or high volume low pressure model...as are almost all guns you buy now days.


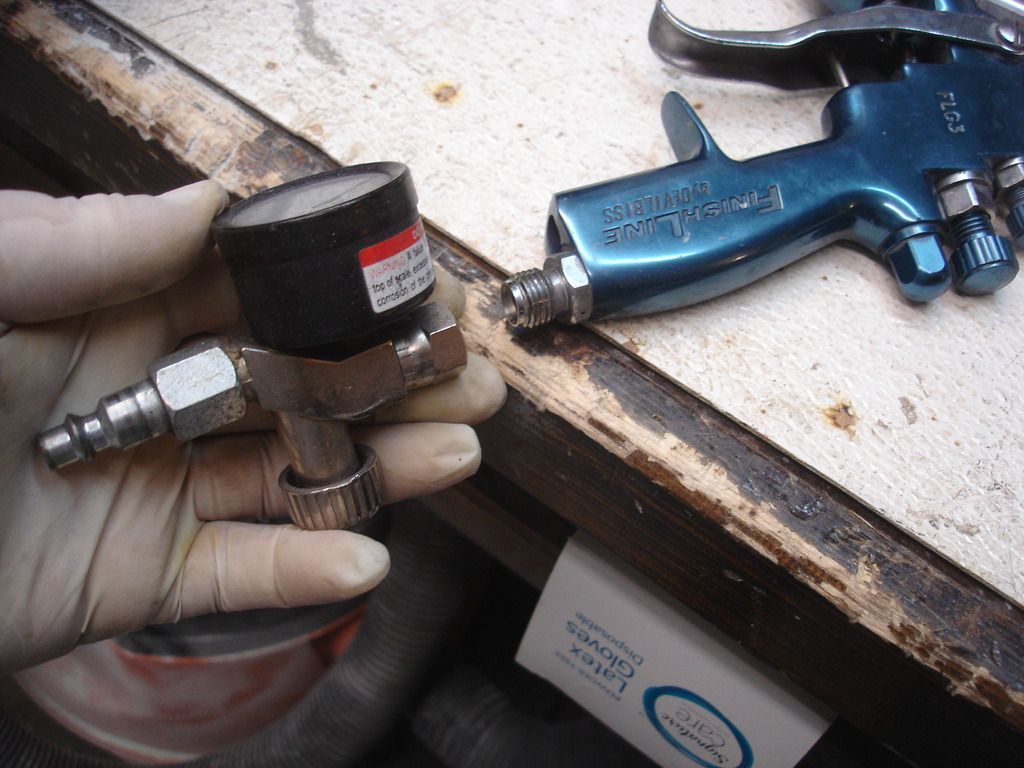
With any gun pressure is critical, and that is especially true with HVLP's. You must control the pressure at the spraying tip, and the only way to do that is with a regulator AT the gun inlet. This kit came with a regulator. Once you use one, you will find that the pressure you run going into to your hose has little to do with the pressure you get at the tip. Later I will go into how to use it, but for now just plan on running a second regulator.


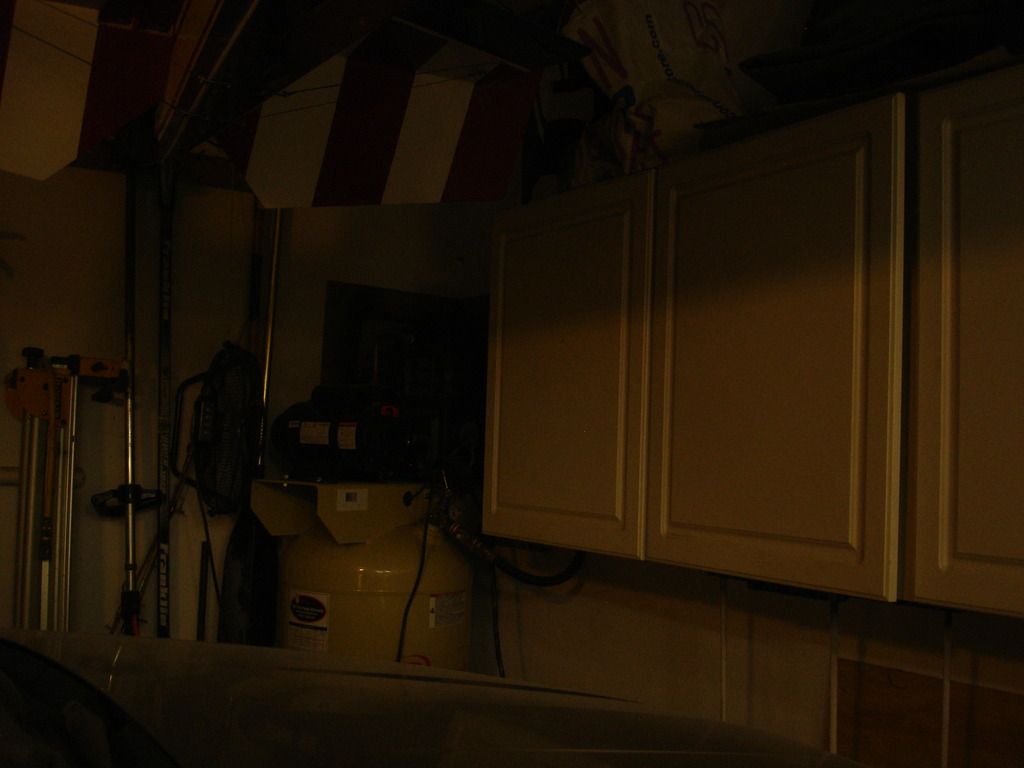
Crappy pic, but it is showing my compressor. The larger the compressor, the cooler the air it will provide. The cooler the air, the less water condensation you will get in your lines. The less condensation you get...the less spitting you get on your paint job! Anything that reduces condensation is VERY good.


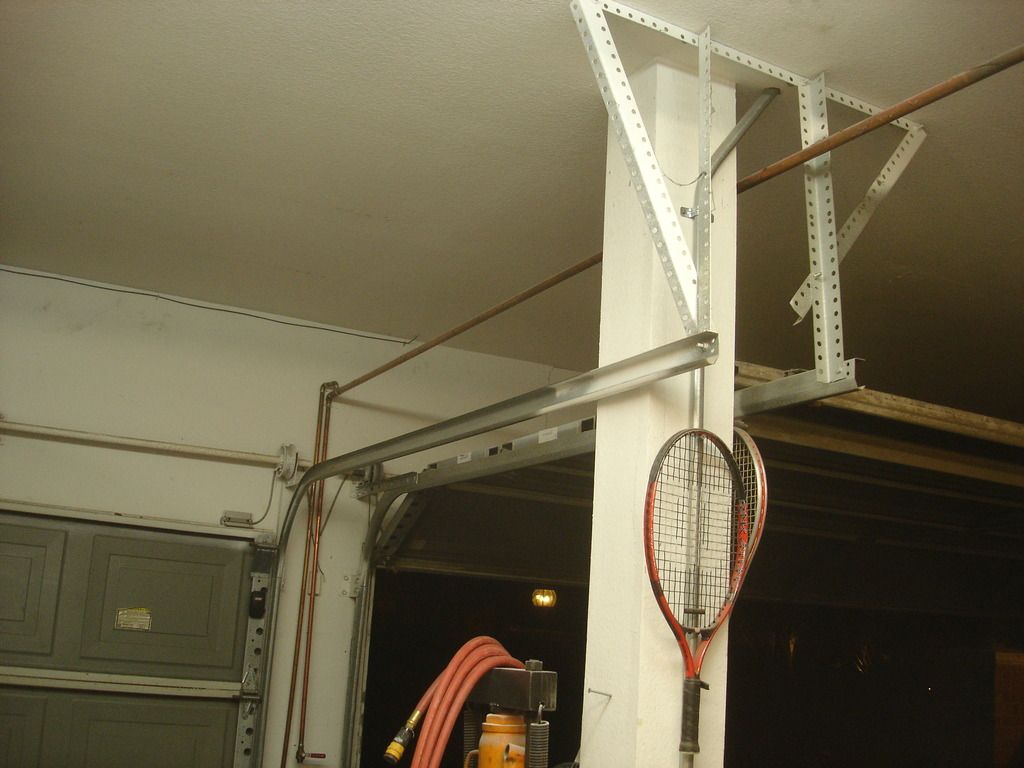
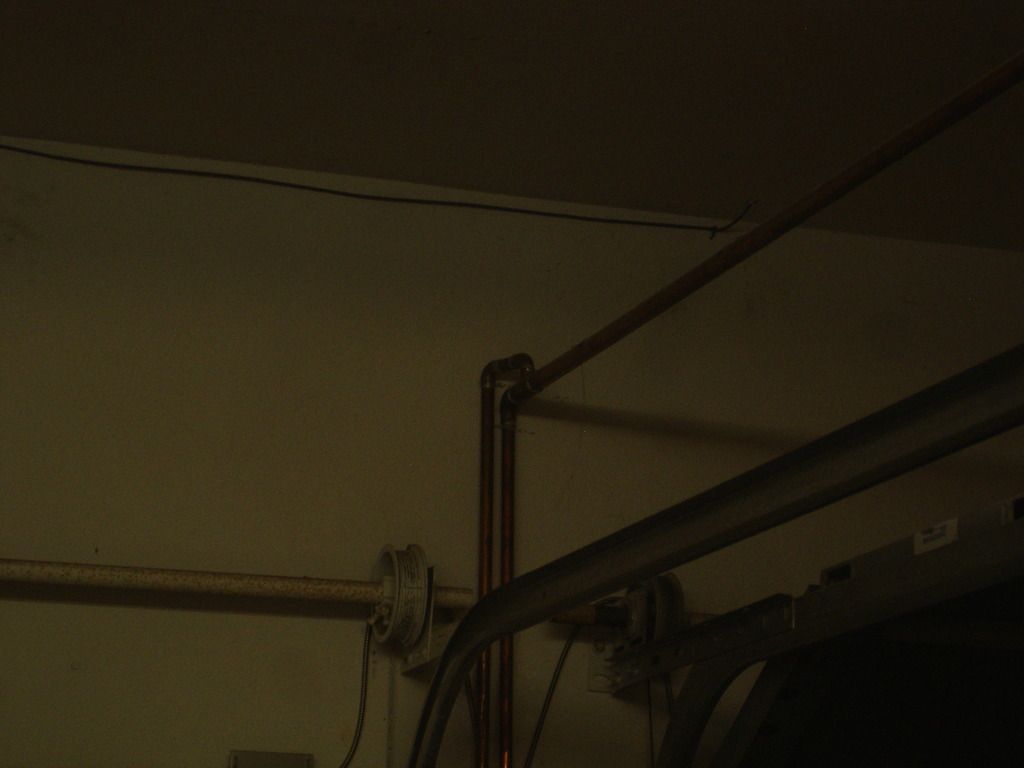
Planning your shop air lines is worth every minute you spend. I use copper lines, as copper transfers heat well, so any heat generated at the compressor will be cooled in the copper lines. I am doing this to FORCE condensation as the air comes out of the compressor. Notice the copper line has a slope to it. I did not just clamp it to the ceiling, as I want the condensation to run downhill in a predictable manner.


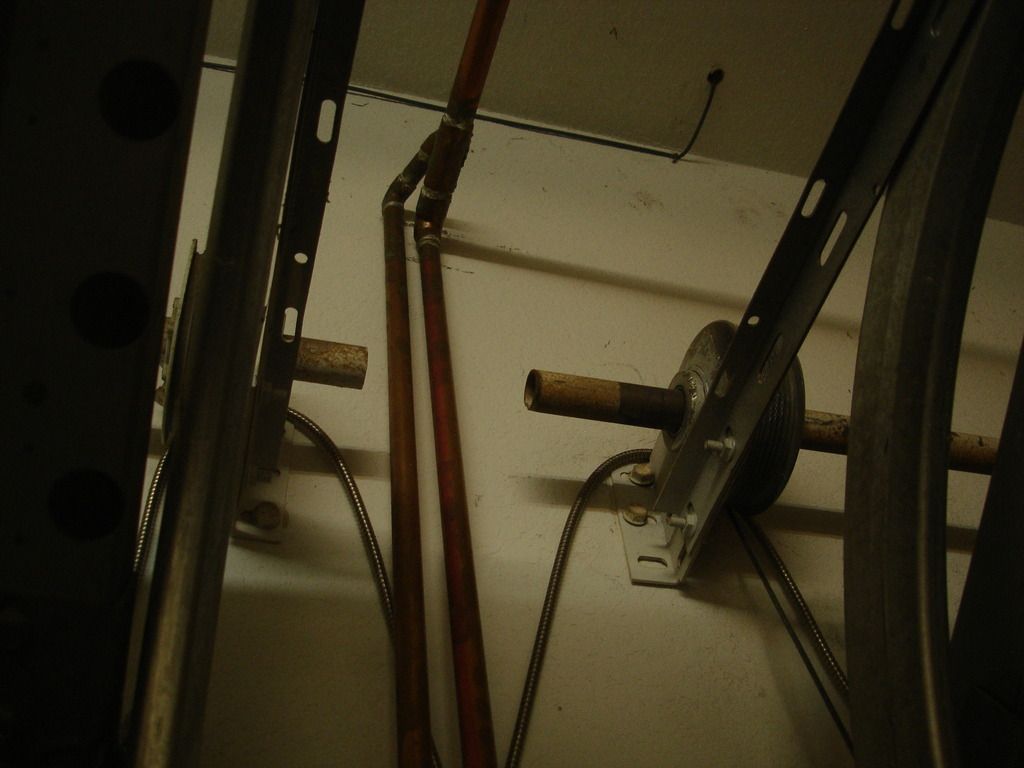
This is looking at the end of my paint line run, where the pipes come back downward so I can tap my paint hose into it.


This shows the "end of the line". Note that one elbow just turns straight down. This is where all the condensed water will go. The "T" fitting that goes upward BEFORE turning down is the tap for my painting. Water is heavier than air...so the air goes up, but most of the water stays down and drips into the 90 elbow.


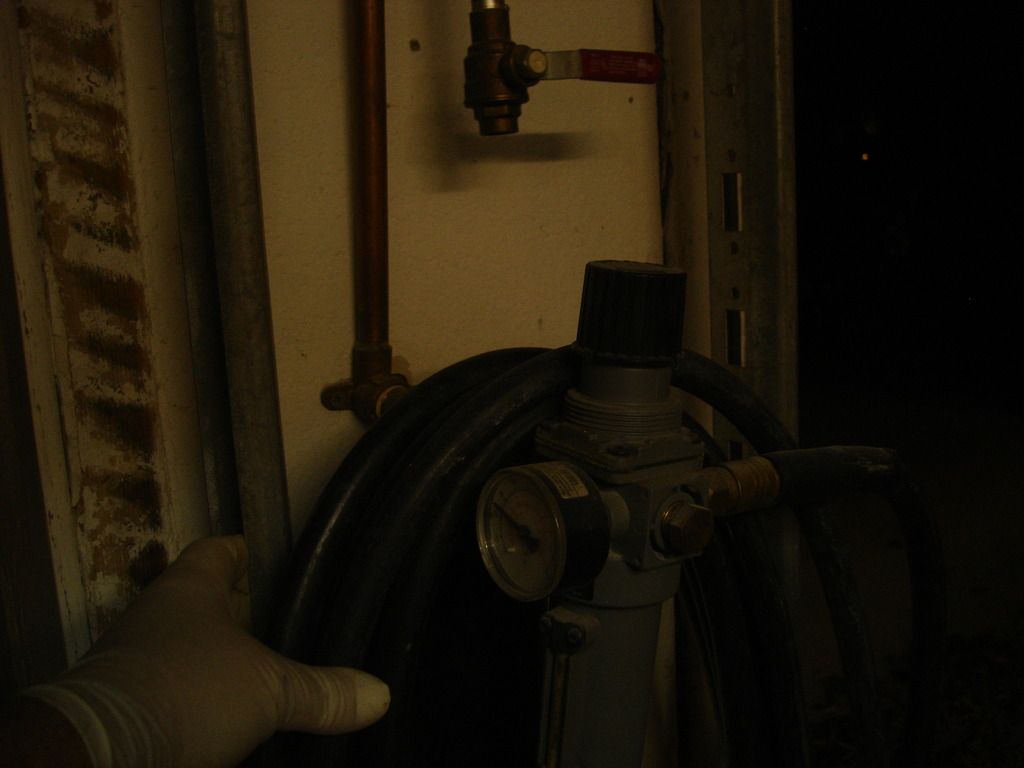
This is the bottom of the 2 pipes. On the right, the pipe from the elbow has a valve to drain the condensed water out. I will get a gallon of water out of it on an average spray job.


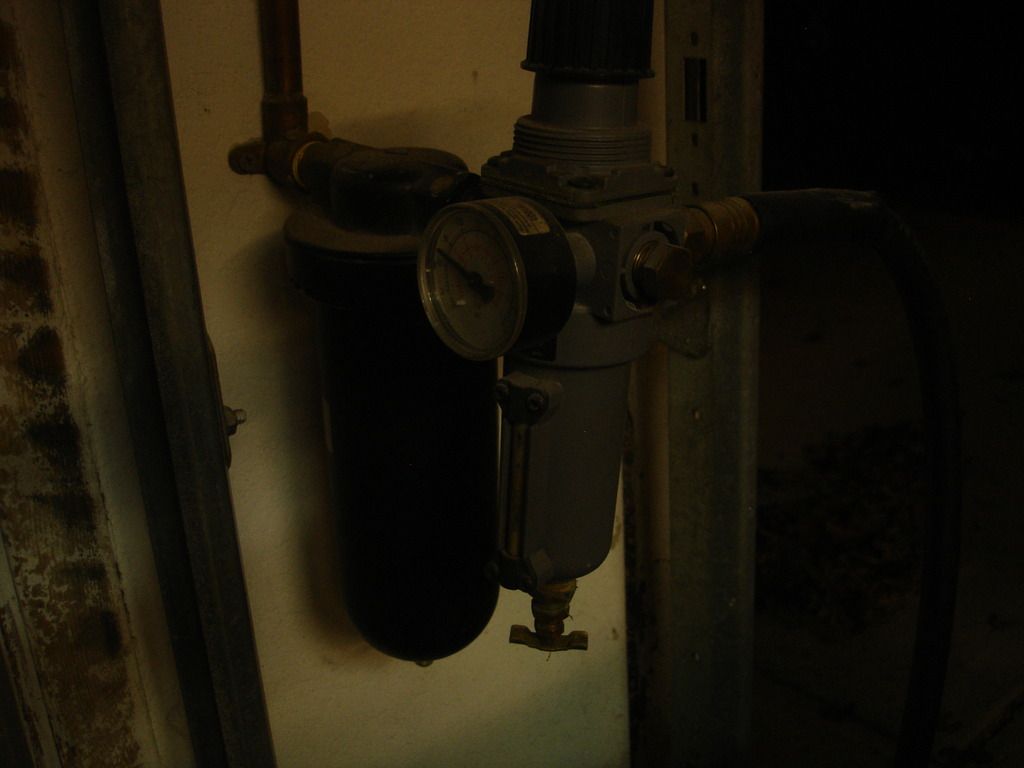
At the end of the paint line, I have 2 water separators. I would add more if I could. Removing water from your paint hose is truly that important. The longer you spray, the more condensation builds. If you don't control it, it will start to spit on your work about the time you are laying down your final coat. It ruins everything. Compressed air also contains a small amount of oil from the compressor. The separators remove that too.


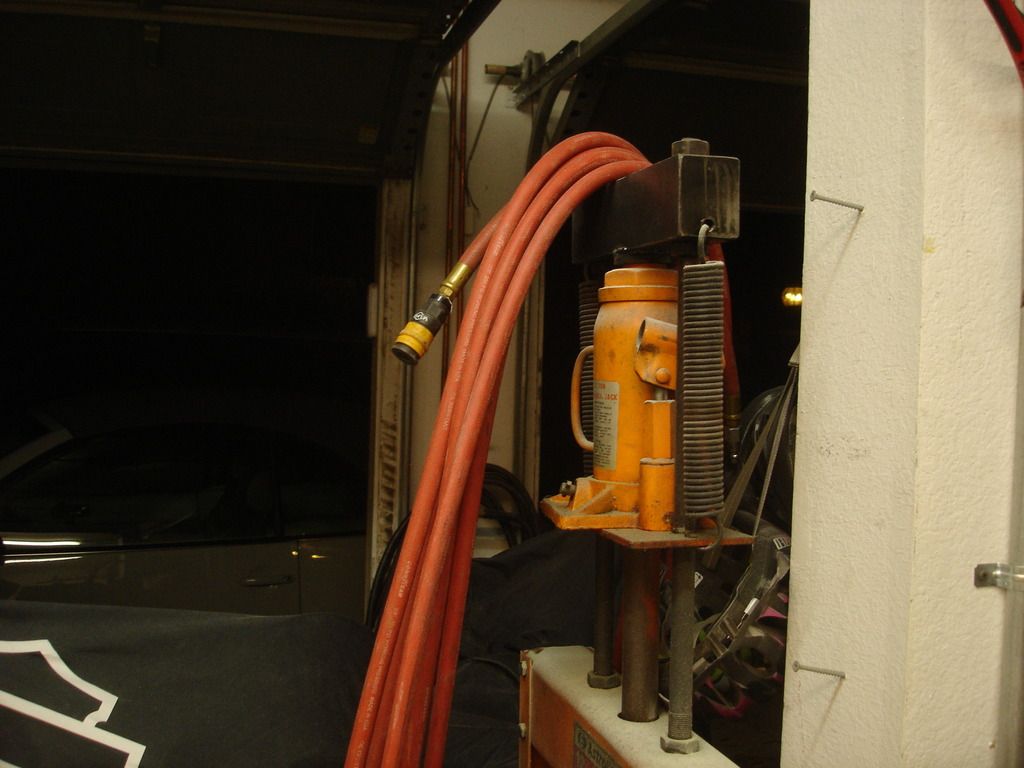
Finally, I keep a designated hose that I only use for painting finish coats. It never gets used for anything but paint.


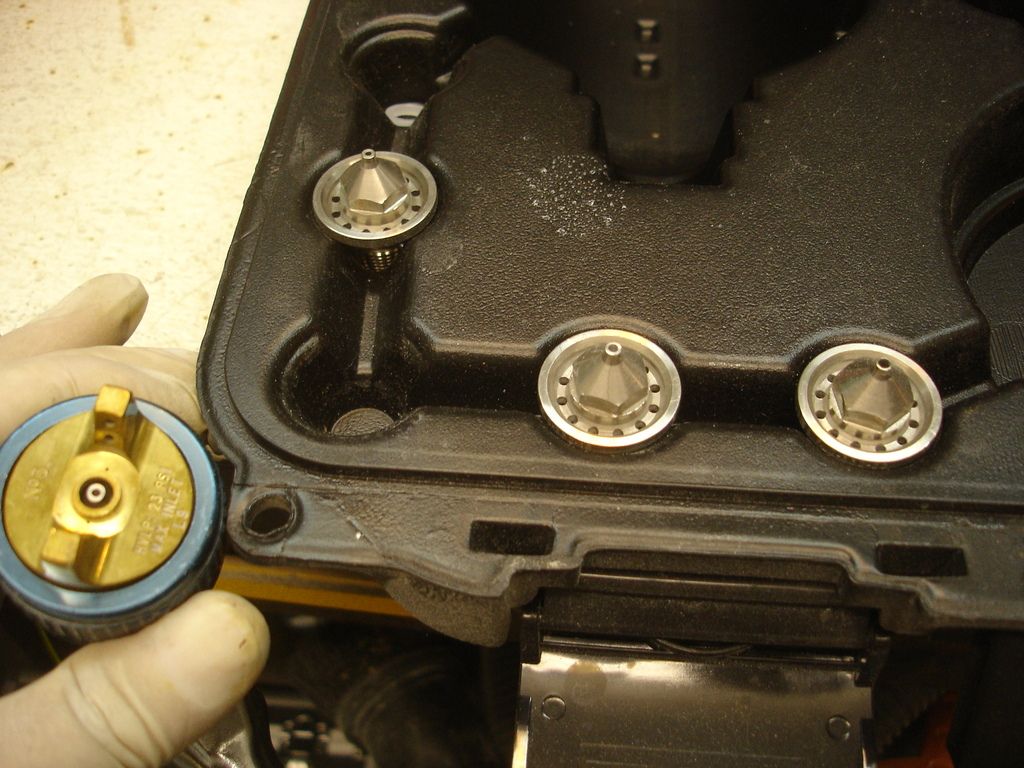
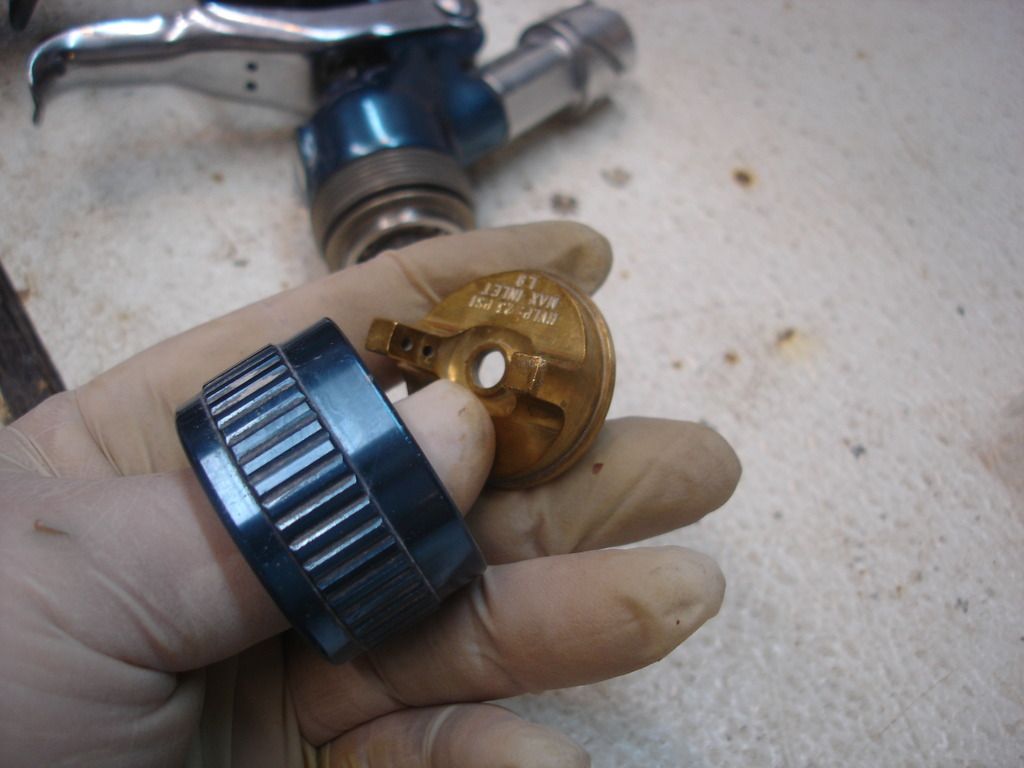
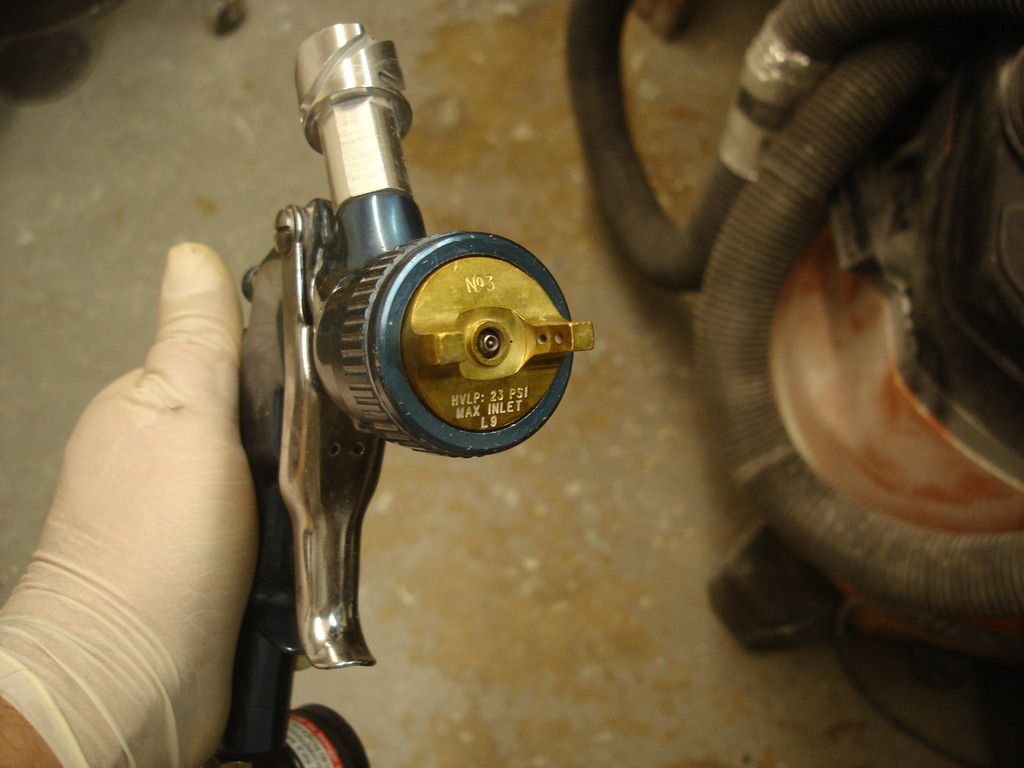
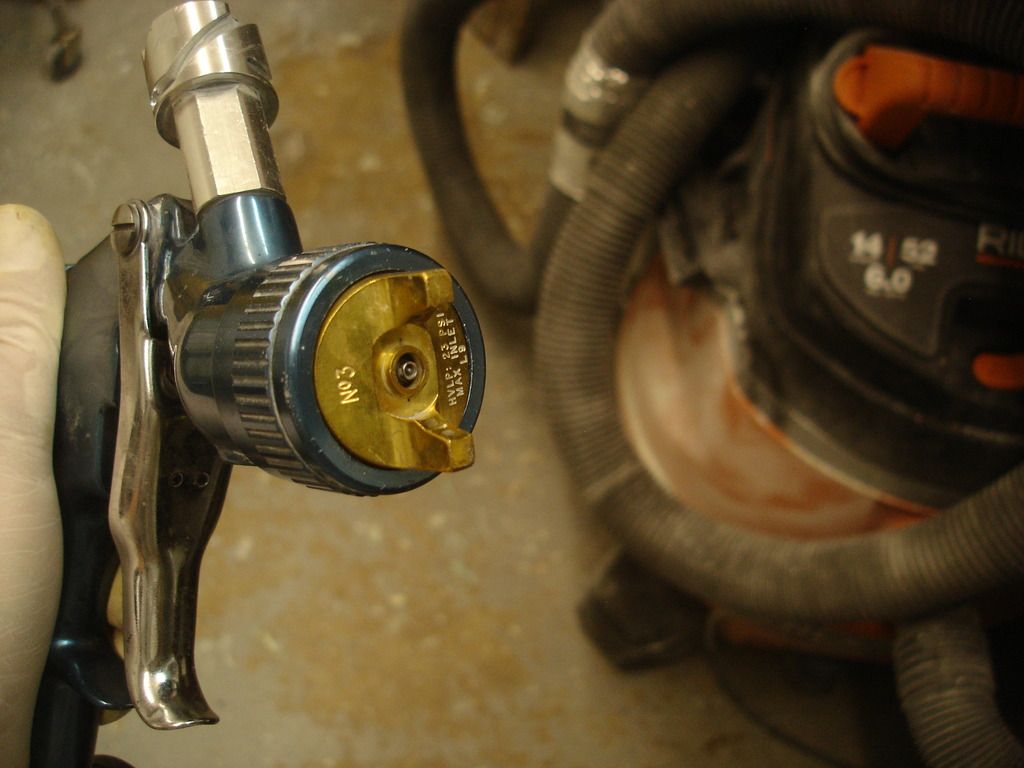
Now let's take a closer look at the gun itself. Most guns are pretty much the same in the way they are constructed. Here we are looking at the 4 tips that came in my kit. In a good gun the tips are removable. In a cheap gun they will be cast as part of the gun itself...so what you got is what you got.


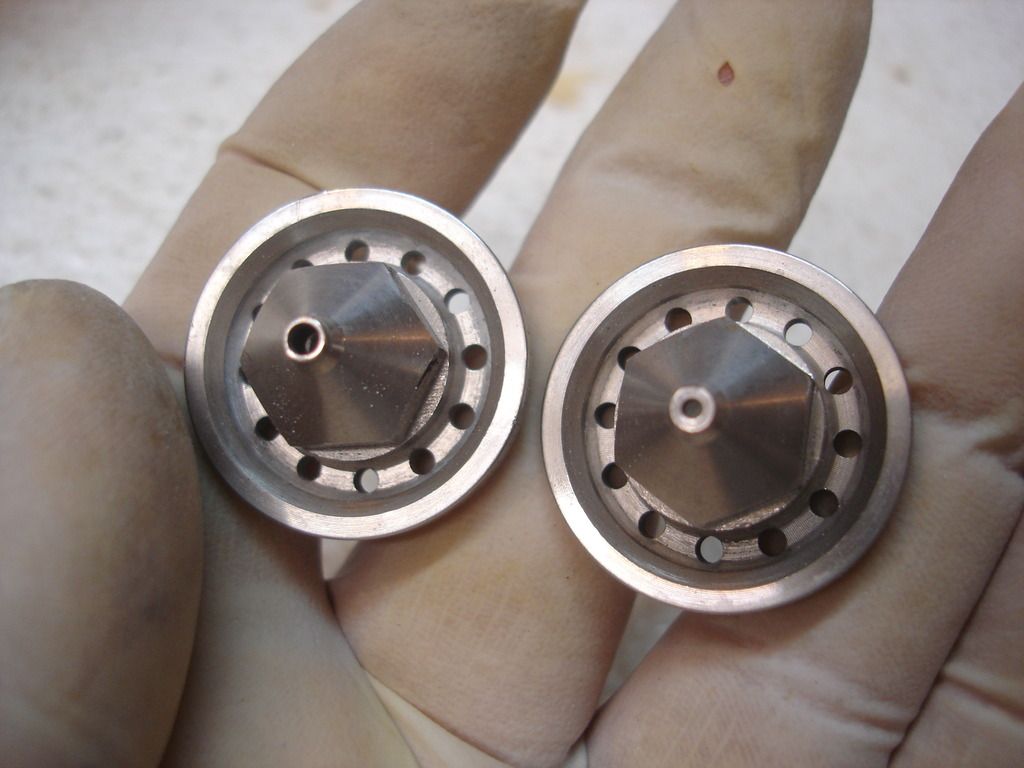
This is a close up of the smallest tip compared to the largest. The large tip will easily spray unthinned primer. That saves both money and time when you don't have to thin every batch you spray. If you try to use that big tip so spray a thin paint, you will get an uneven spray. Thus the small tip! The small tip will spray very thin paints, namely urethane clears, very evenly and without spitting.


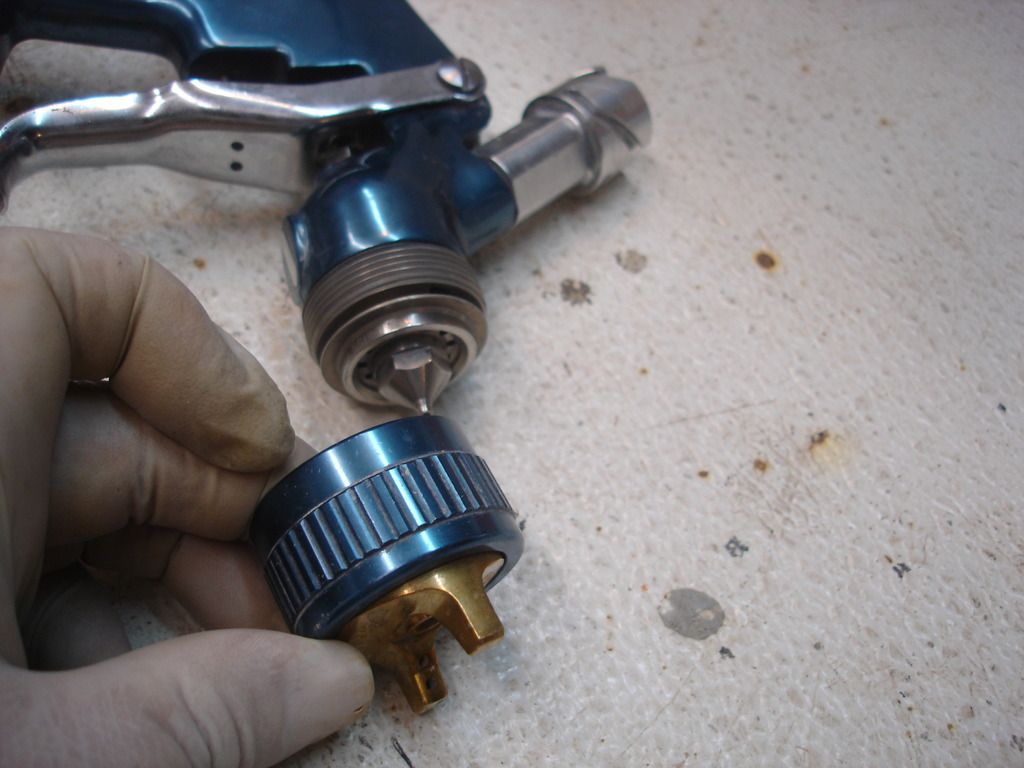
Changing tips takes less than a minute. First, unscrew the hand nut holding the the fan tip on and remove the fan tip.


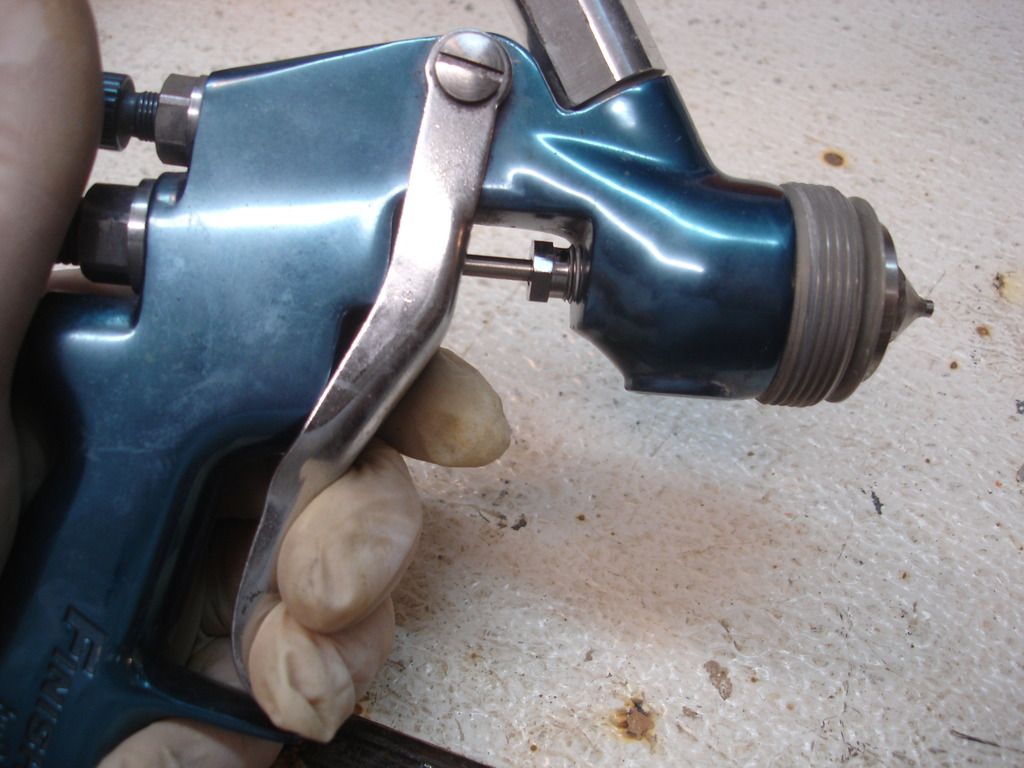
Now, we must squeeze the trigger for the next step. The trigger pulls back the needle that controls the flow of paint. The needle is set inside the nozzle tip, so it could get damaged if we don't pull it out of the tip before removing the tip.


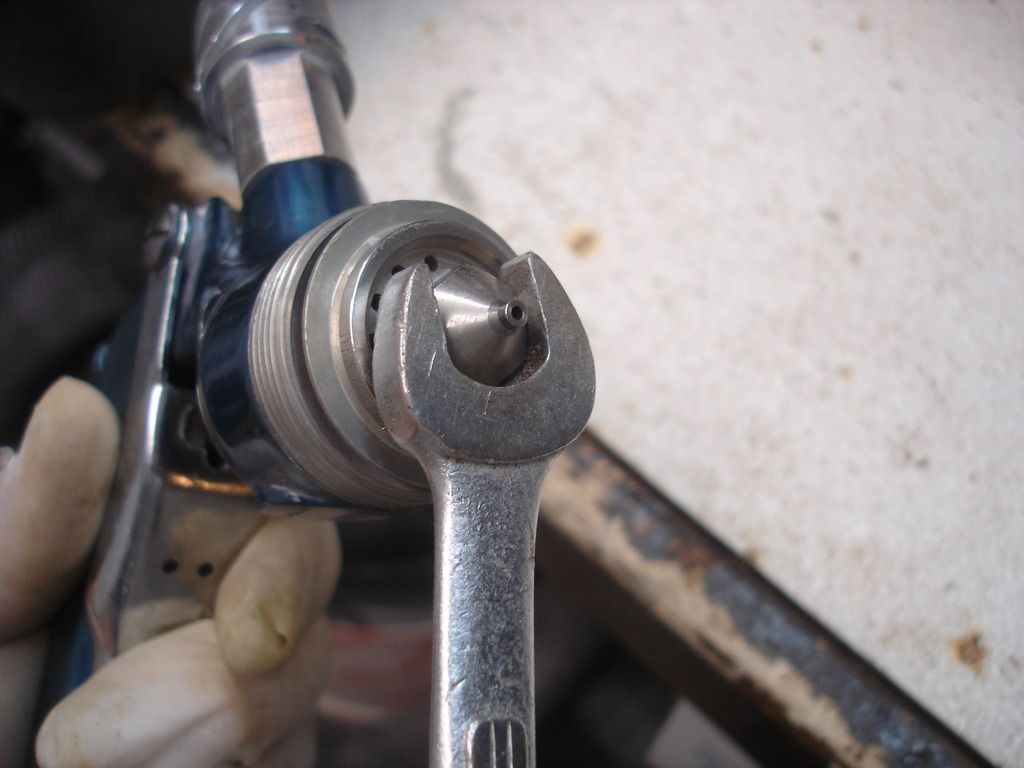
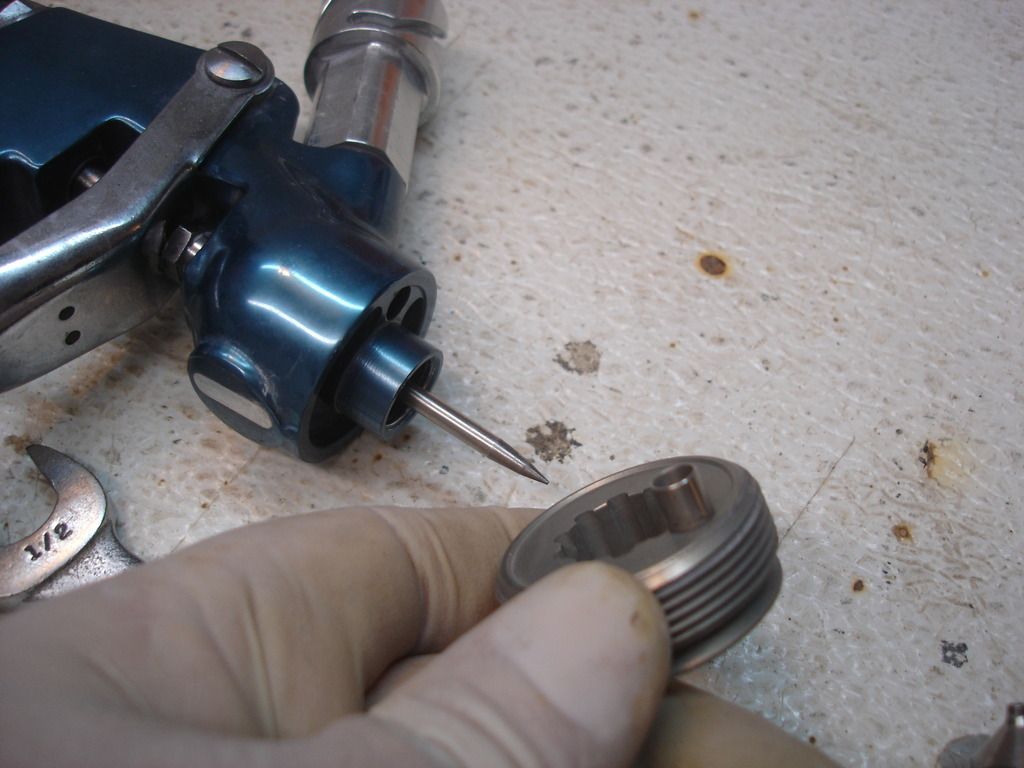
With he trigger still held back, simply unscrew the tip.


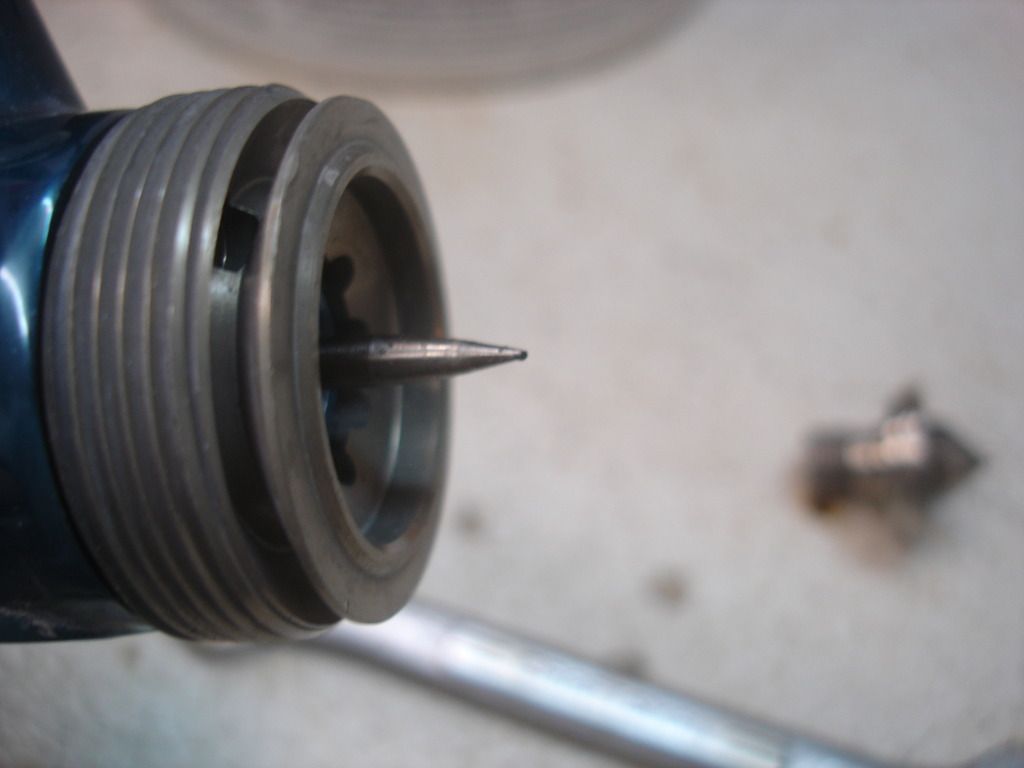
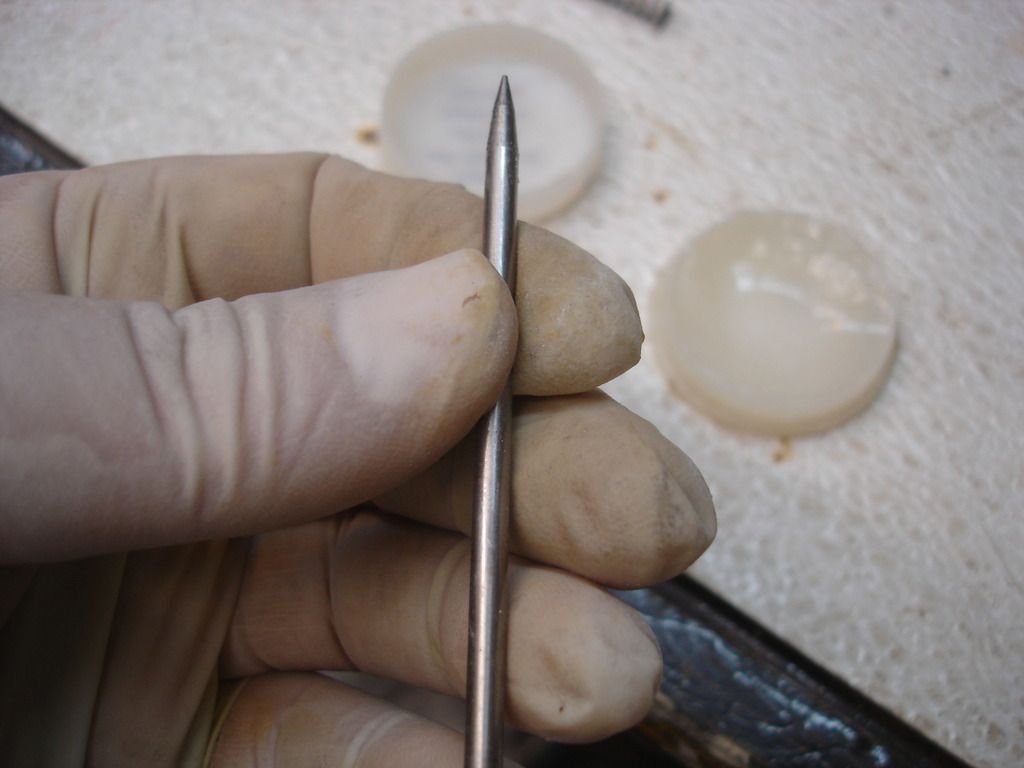
This is the needle that we were holding back. It metered the amount of paint being sprayed, so it is important not to bend or score it.


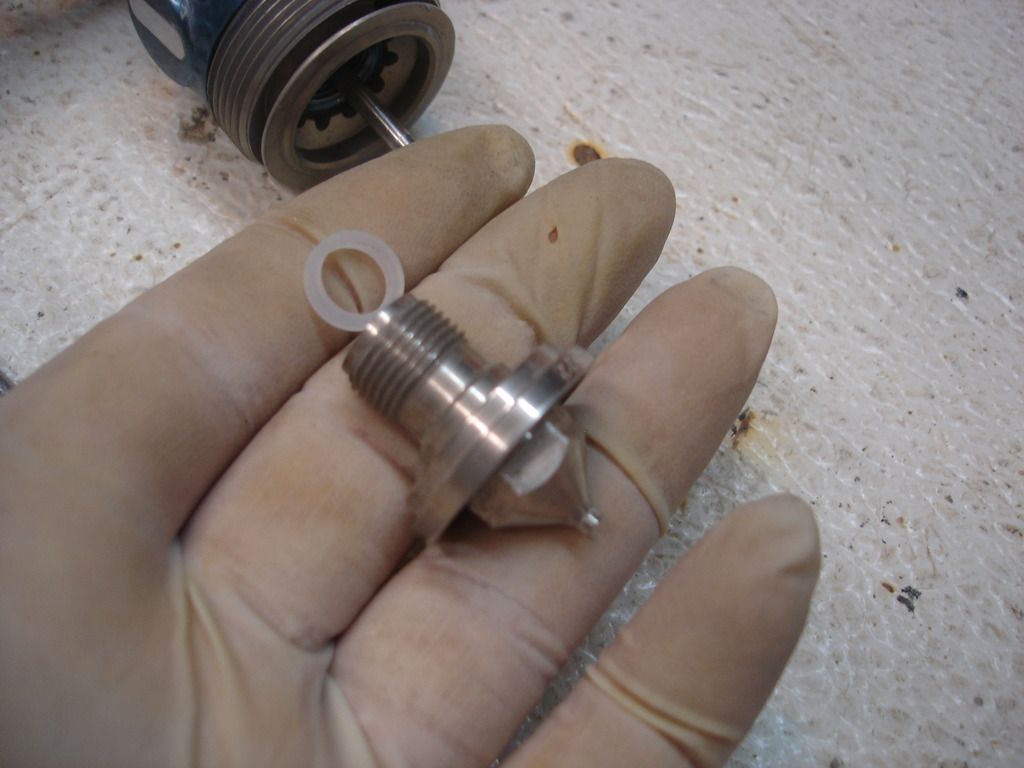
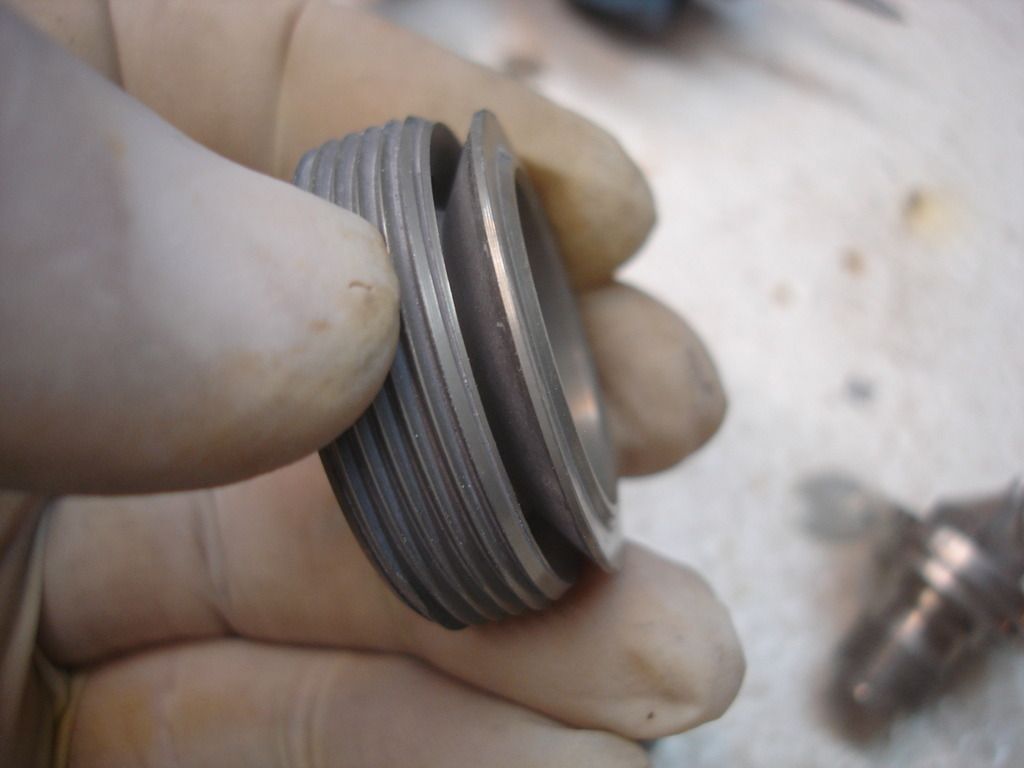
Under the tip is a nylon seal. I have been using my gun for 5 years and have never had to replace that seal. If you don't over-tighten the tip, the seal will last a very one time. Just snug is enough when installing the new tip.


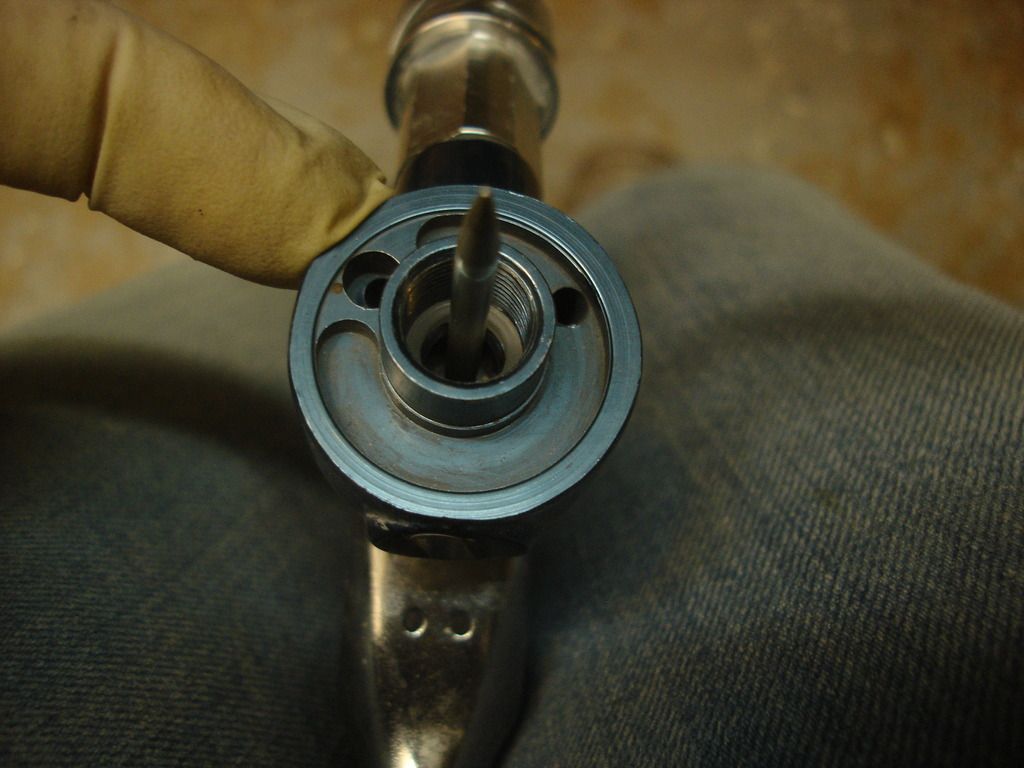
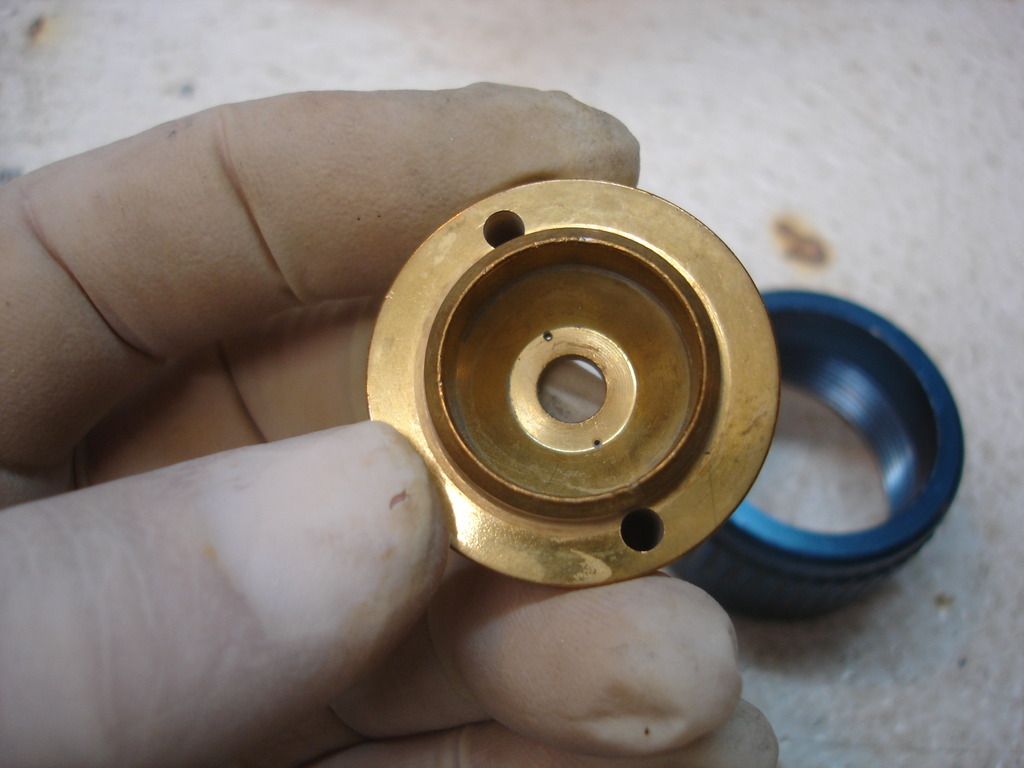
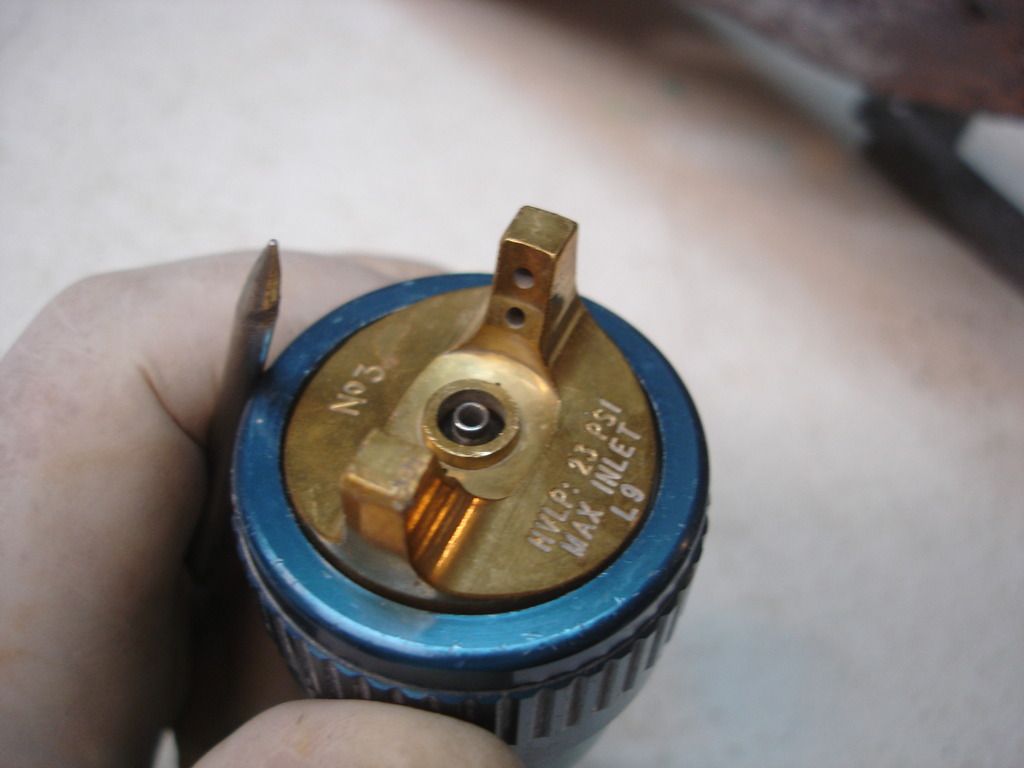
While the tip is off...here is a look at the air ring. This channels the air that makes a fan pattern around the air that sprays the paint. It is a slip fit on the gun, and is retained by the screw in tip itself.


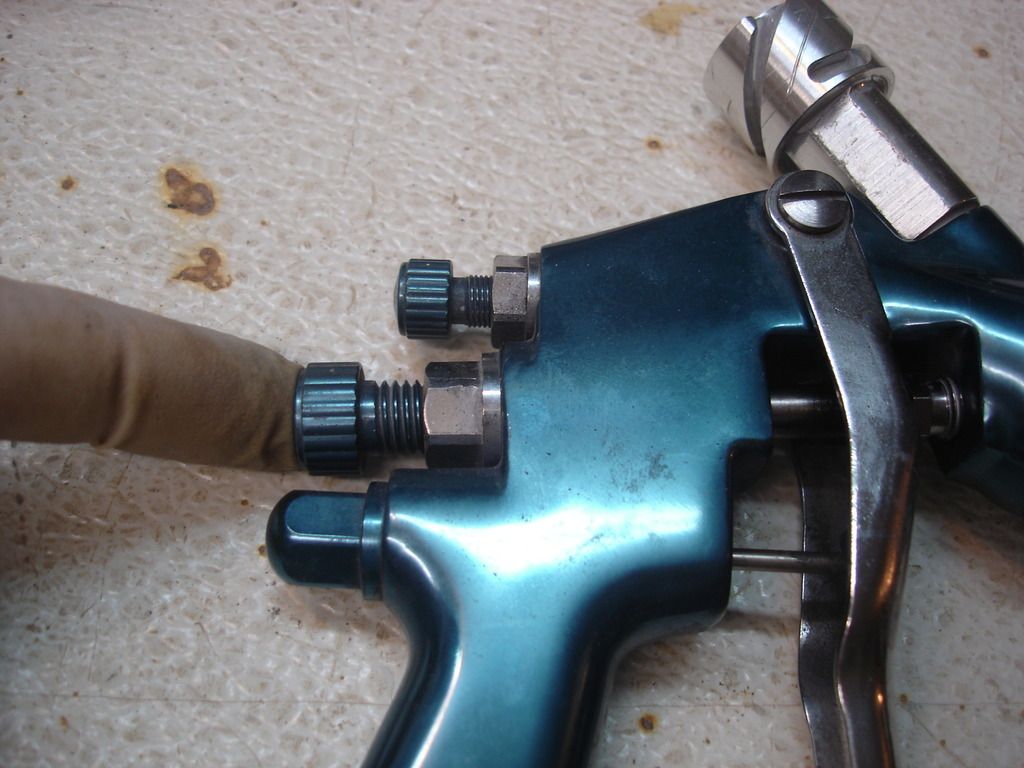
The fan pattern is controlled by the upper nut on the back of most guns. If the nut is tightened all the way inward, air is cut off tot he fan tip, so the spray pattern is perfectly round. If you open the nut, it regulates air through the air ring to the fan nozzle.


The air from the fan nut goes through the hole I am pointing to on the left of the pic. Paint is held in the large center hole, by the tip and needle we saw earlier.


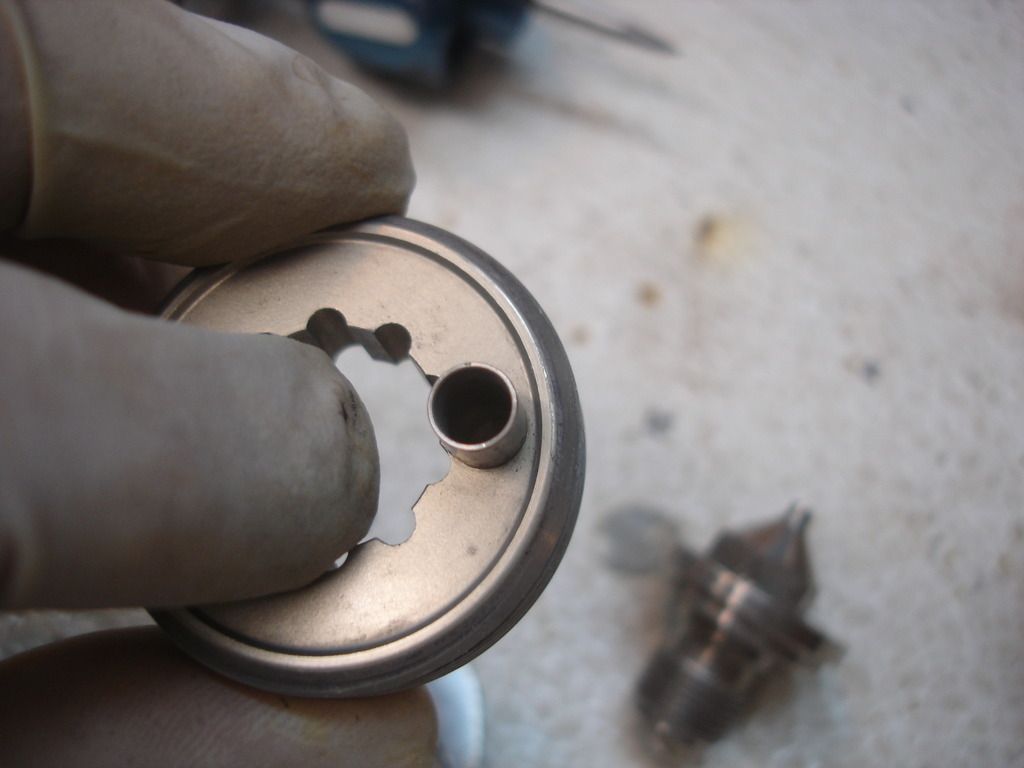
This is the hole in the air ring, that carries the fan air around the paint tip to the fan nozzle.


From the single hole in the back of the air ring, it spreads all the way around the ring by the time it reaches the front.


Finally, the fan air is forced through the holes on the sides of the fan nozzle. This air has the affect of flattening the spray pattern from perfectly round...to oval shaped.

So, long winded, but just remember the upper nut controls the shape of your spray pattern. Round is best for shooting into deep spaces...like a TR3 spare tire holder. For the other 90 percent of spraying, it is easier to paint if you are using an oval shaped pattern.


The tip goes back in the opposite of the way we took it out. The fan nozzle can be turned to any angle...by loosening the retaining ring, turning the tip where you want it, and retightening the ring once again. As shown above, the spray pattern would be tall and skinny.


If turned like so...the spray pattern will be very wide, and not tall at all. Of course that assumes you have the fan nut at the back of the gun open. With the nut tight, so there is no fan air flow, the pattern will be round no matter what the orientation of the nozzle.


Moving down on the rear controls...the second nut is the paint flow control. It controls how far the needle can be pulled out of the tip. That controls the amount of paint sprayed. Nut all the way in...no paint comes out. As you back the nut out, the flow increases proportionately.


If you fully unscrew the paint nut, this is what can be removed. From left to right you have the control nut, the spring to force the needle forward into the tip, and the needle. (The spring goes on the left of the needle...not in the order shown in the pic!!) You must remove these parts EVERY TIME you clean the gun. The Ring on the needle is where the trigger grabs the needle to pull it out of the paint tip...thereby starting the paint flow.


Here is the tip of the needle compared to the paint tip it goes into.


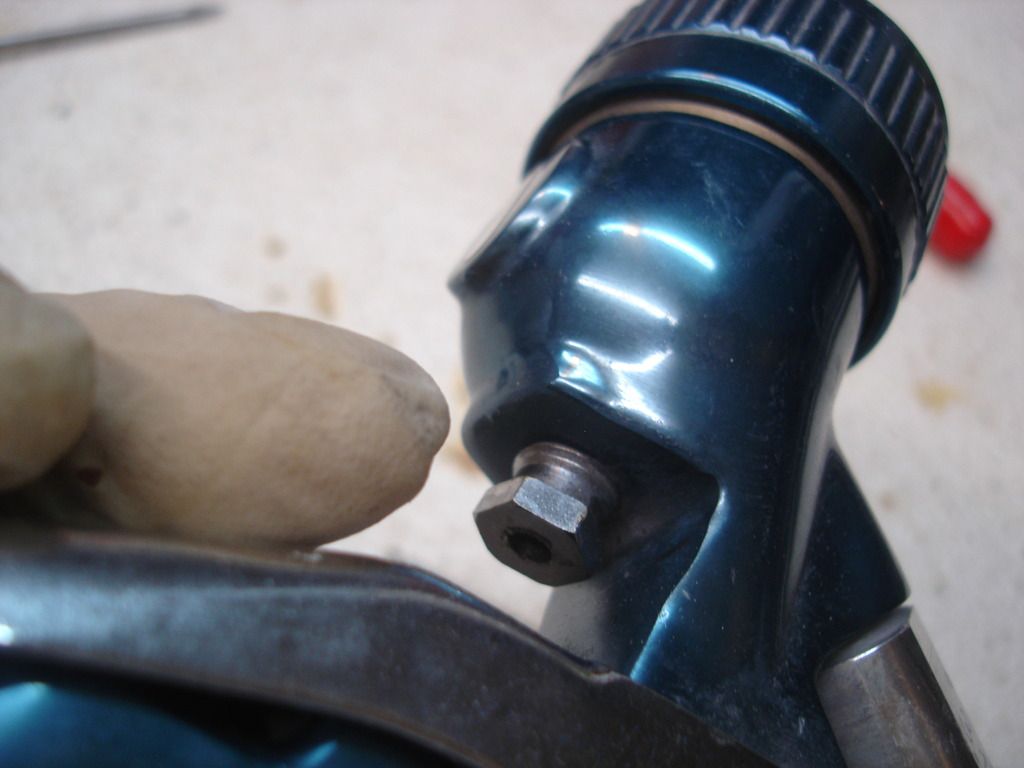
Now, if the needle is going to regulate paint...it must have a seal at the back. This little screw nut shown retains a cork seal, or "packing". If you get any paint leakage out of this packing, you can slightly tighten this nut to seal the leak. If tightened too much, the packing will lock down on the needle, so the needle will not easily move back and forth.

Although the packing adjustment is critical, it rarely has to be adjusted. I have adjusted mine once in 5 years.


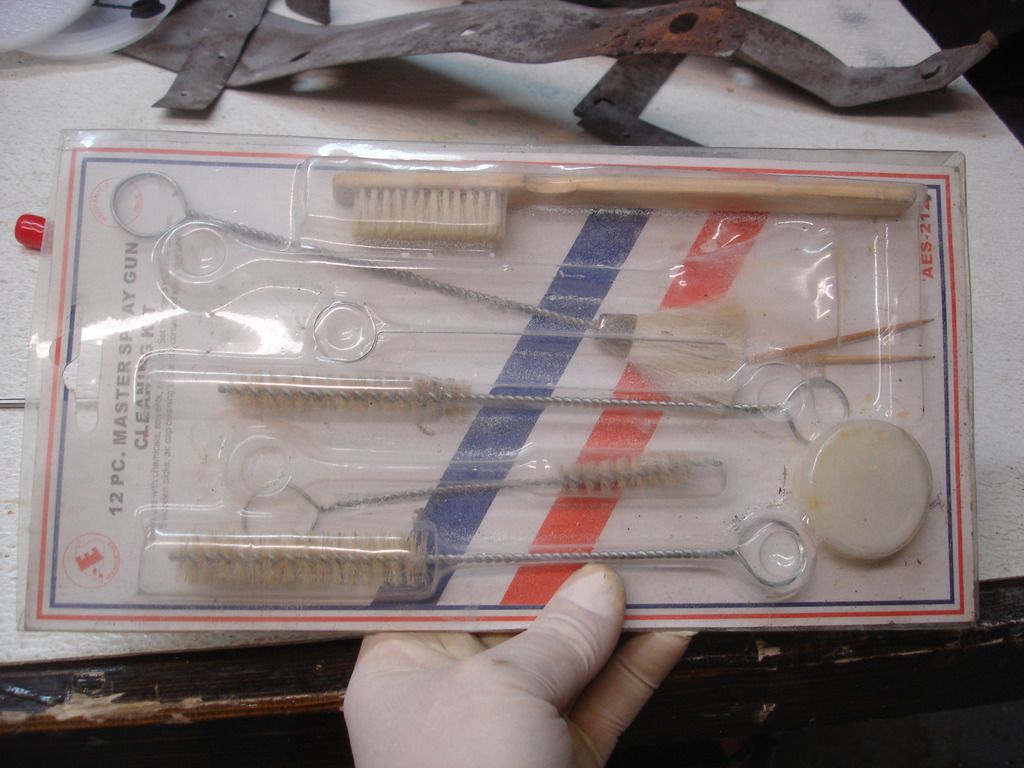
For about $12 you can get a gun cleaning kit. When you fork out the bucks for decent gun, it's worth getting the kit to clean it easily.


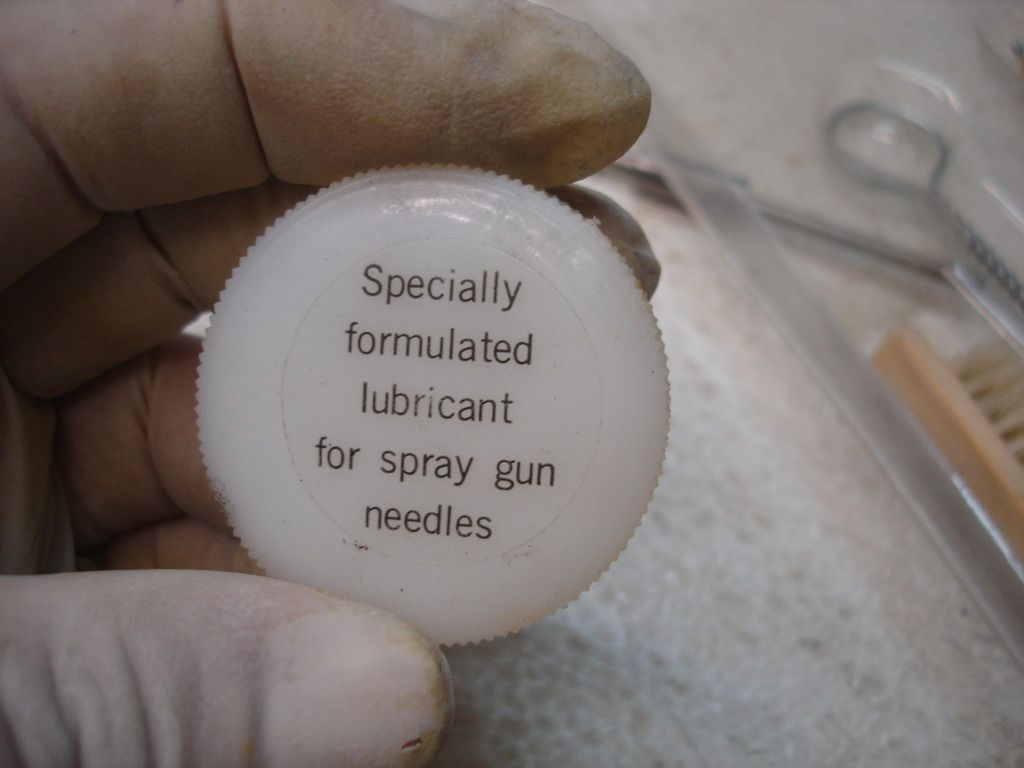
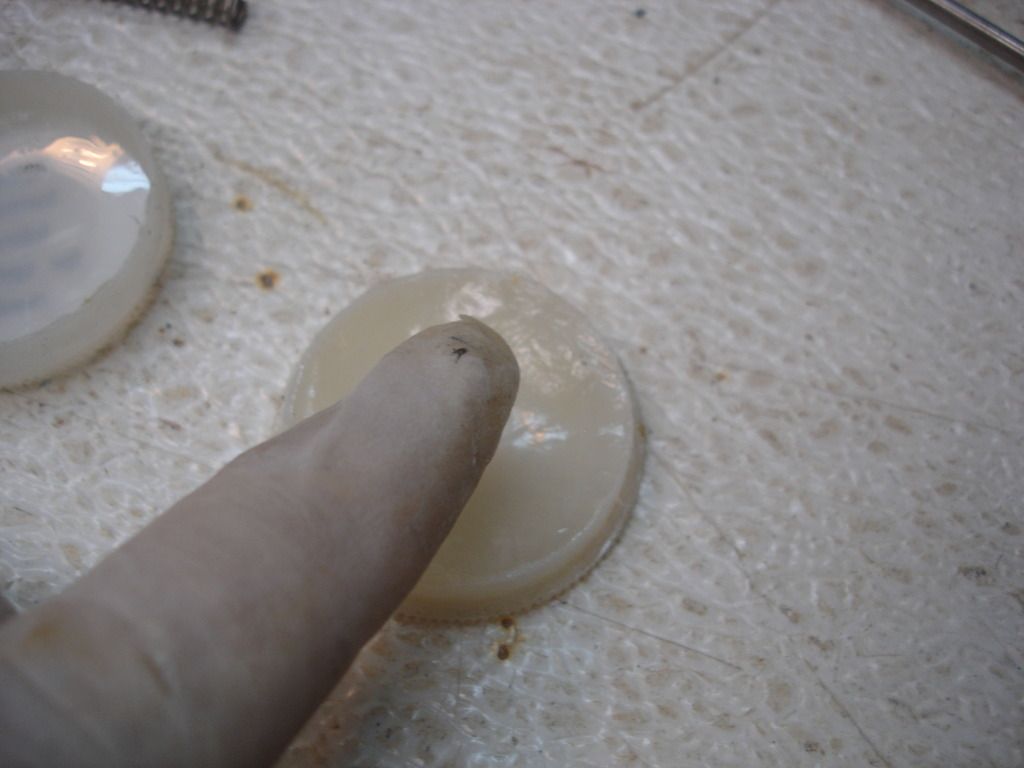
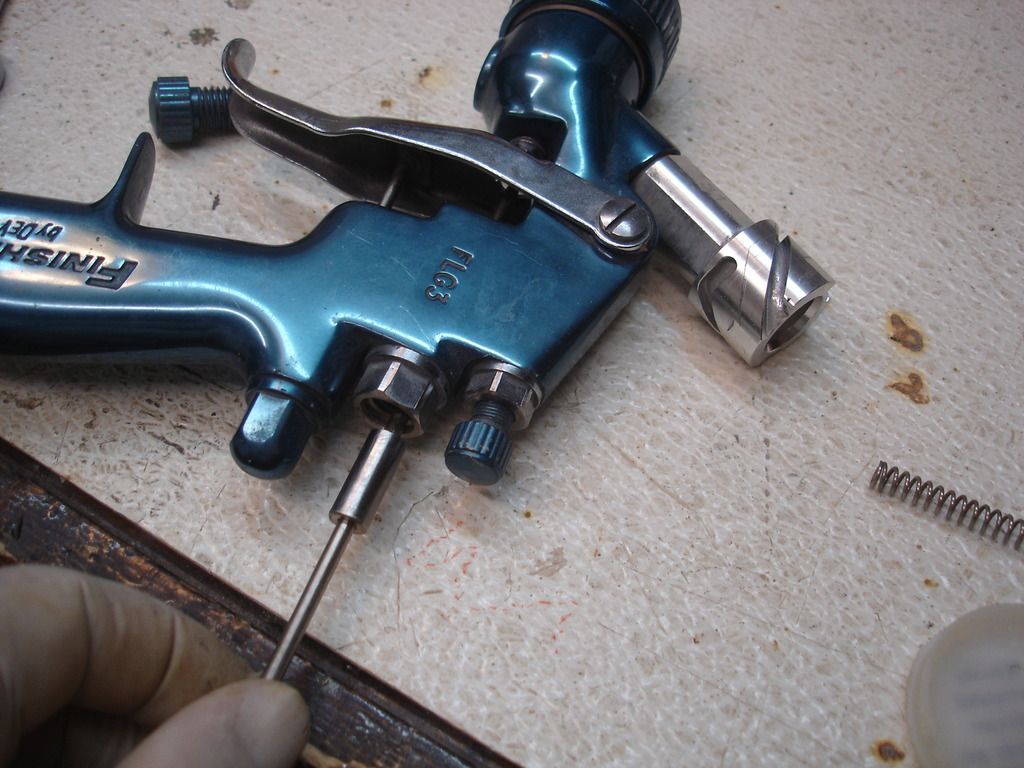
This is a lubricant that comes with the cleaning kit. Remember the paint needle must slide through the rear packing seal easily. Every time you clean the needle, use just a wipe of this lube to keep the needle moving freely. Just a smear is all it needs. You do not want to use anything with petroleum or silicone to lube.


Once clean, the needle gently slides back in from the rear of the gun.


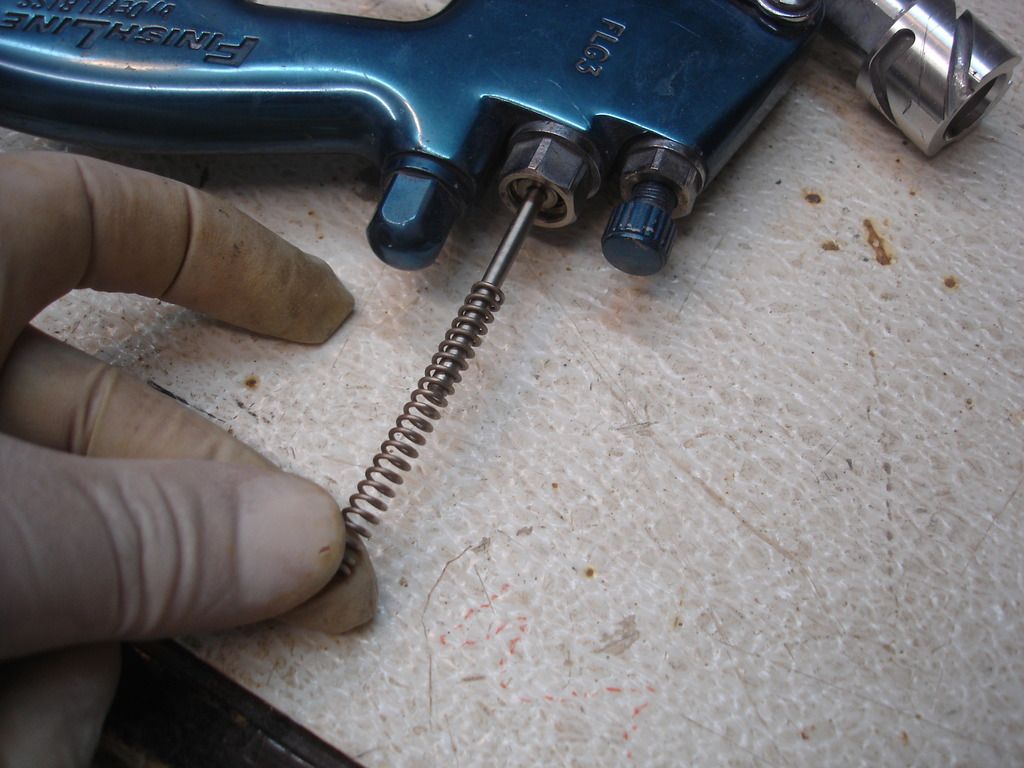
Spring next...


And paint control nut last.

I usually leave the nut as loose as it will go to unload the spring if the gun will be sitting for a long time. Immediately before spraying, you tighten the nut completely in. Always start with the paint control fully closed and spray pattern control off. This is because every job envolves paint with a slightly different paint viscosity, and therefore a slightly different setting for flow and fan.
 
Back
Top