CJD
Yoda
Offline

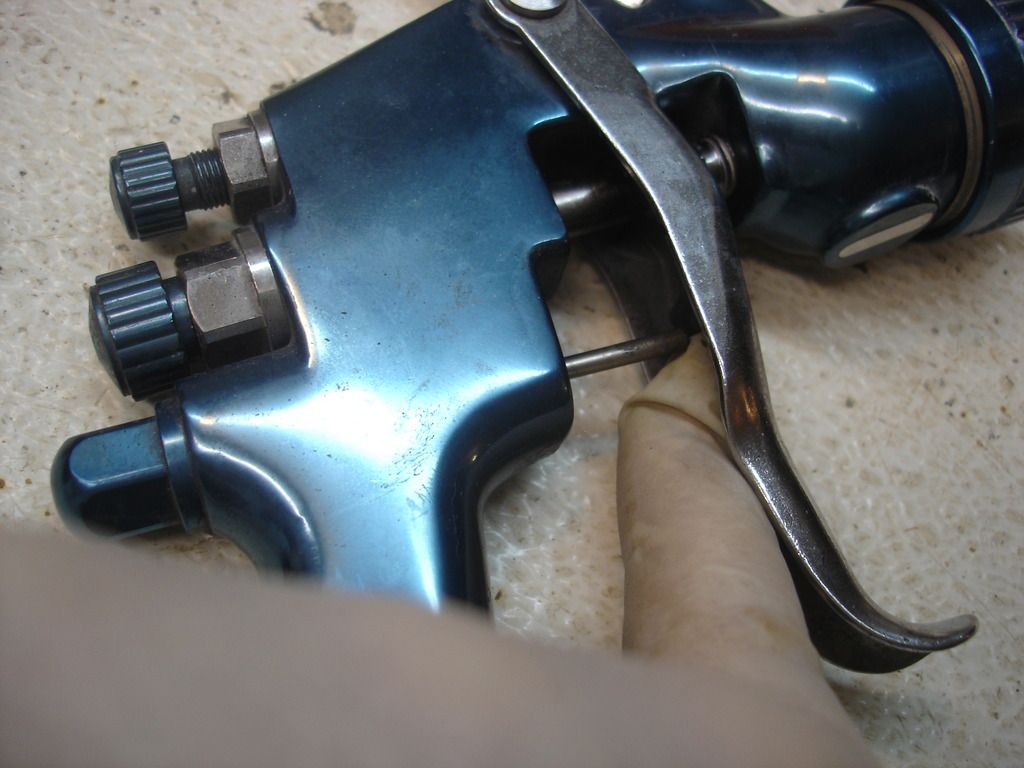
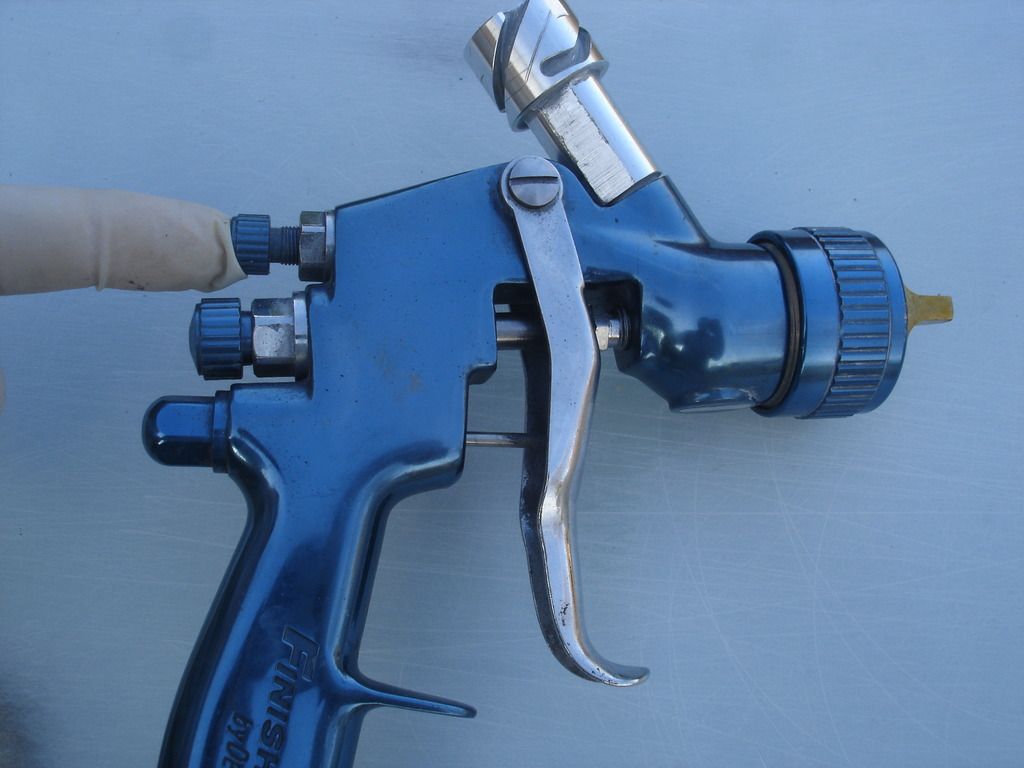
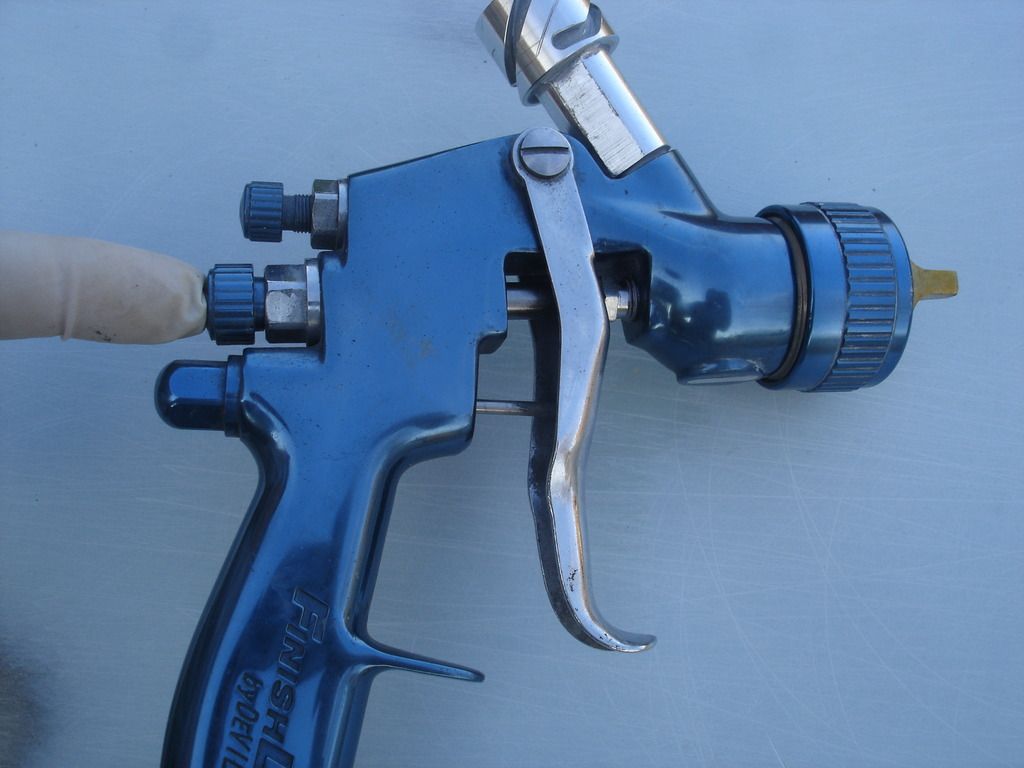
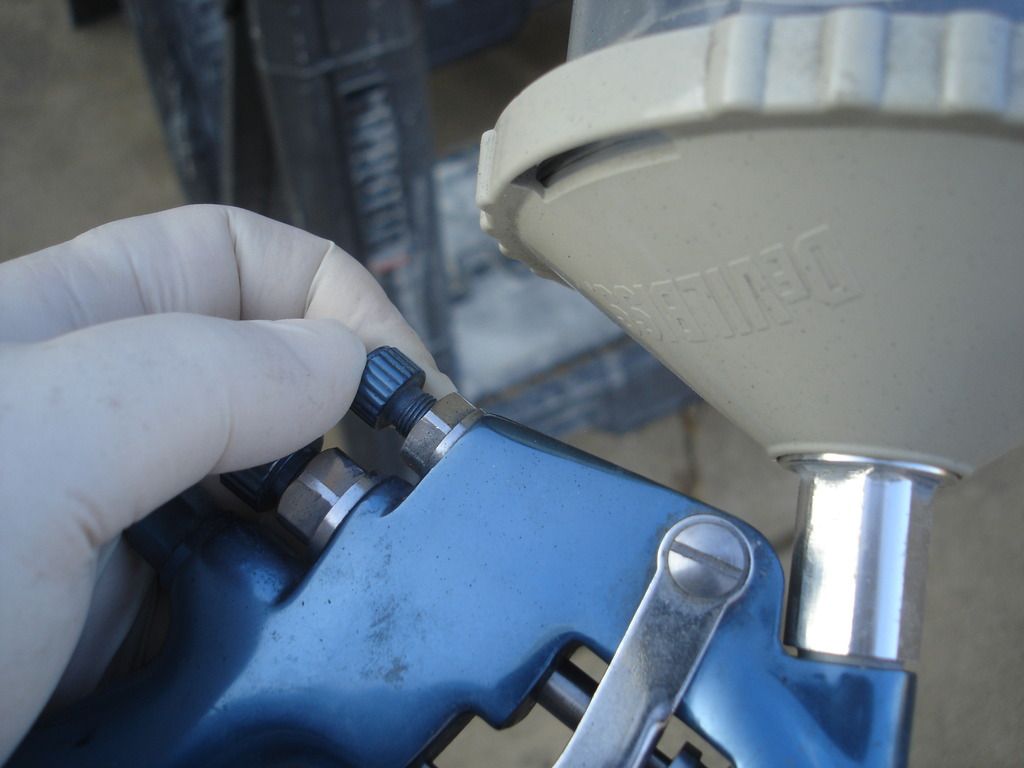
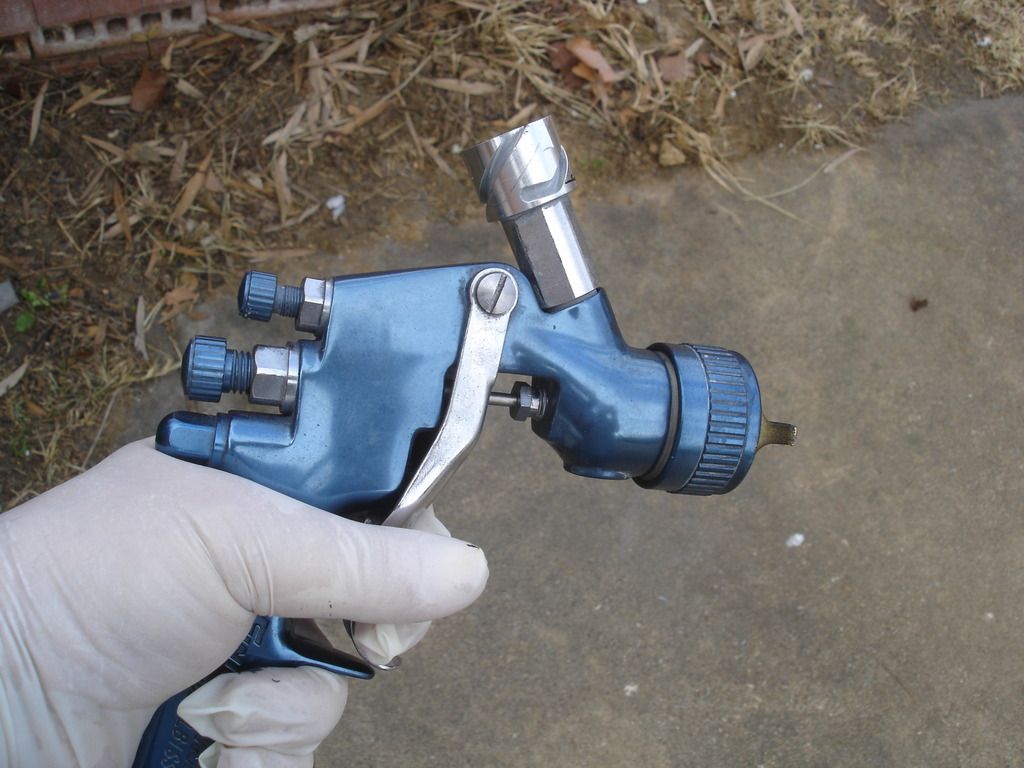
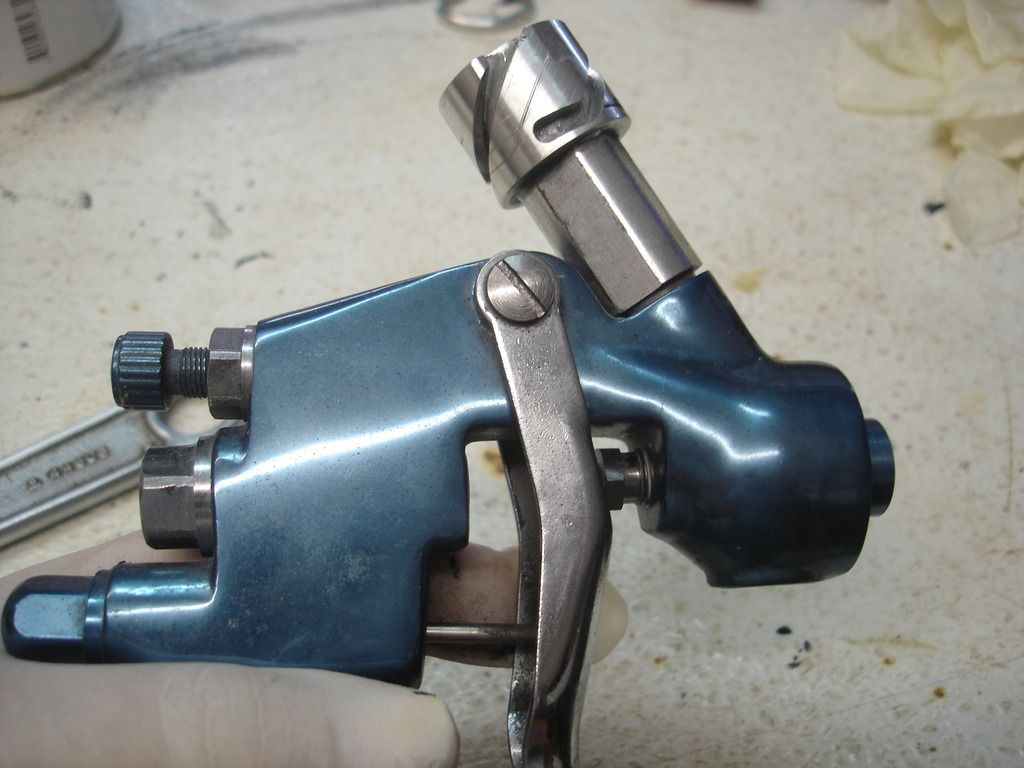
The 3rd nut is not an adjustment. It is the cap for the air valve, and should not be messed with unless the gun starts leaking air when the trigger is NOT pulled. It will last many years without trouble.
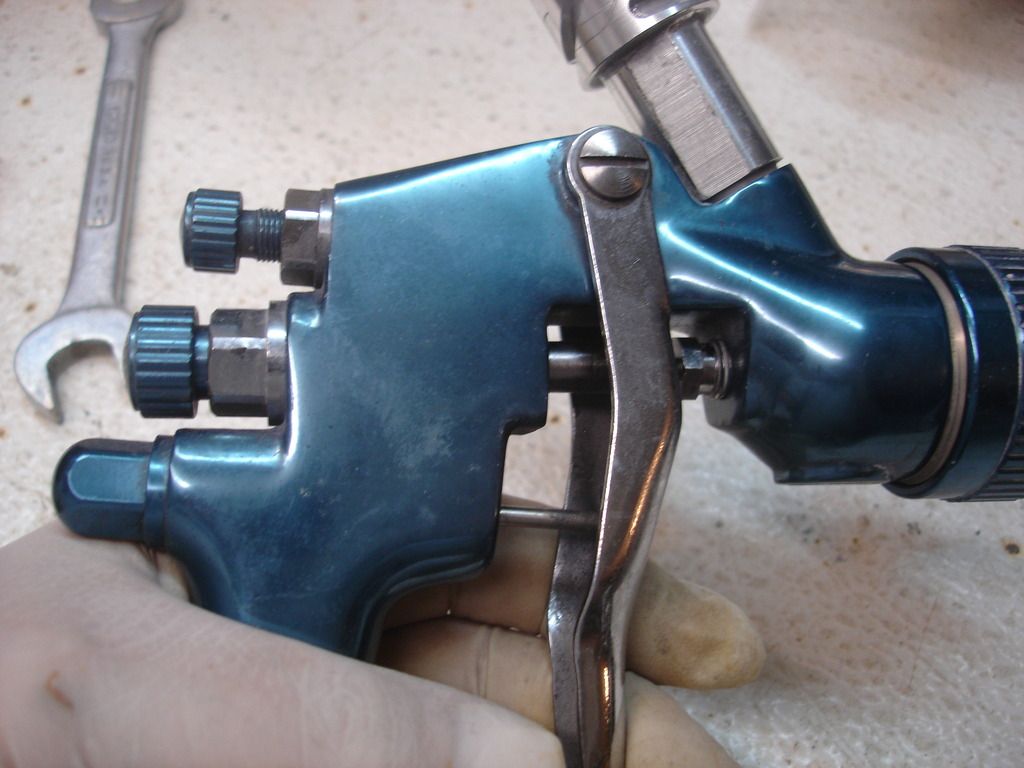
With the gun reassembled, you can see under the trigger all the parts. The silver rod at the bottom is the first thing hit when you pull the trigger...the air valve actuator. As you continue the trigger pull, it next contacts the shoulder of the ring on the paint needle. So you get airflow first, then paint flow. As you release the trigger, paint stops right before the airflow.
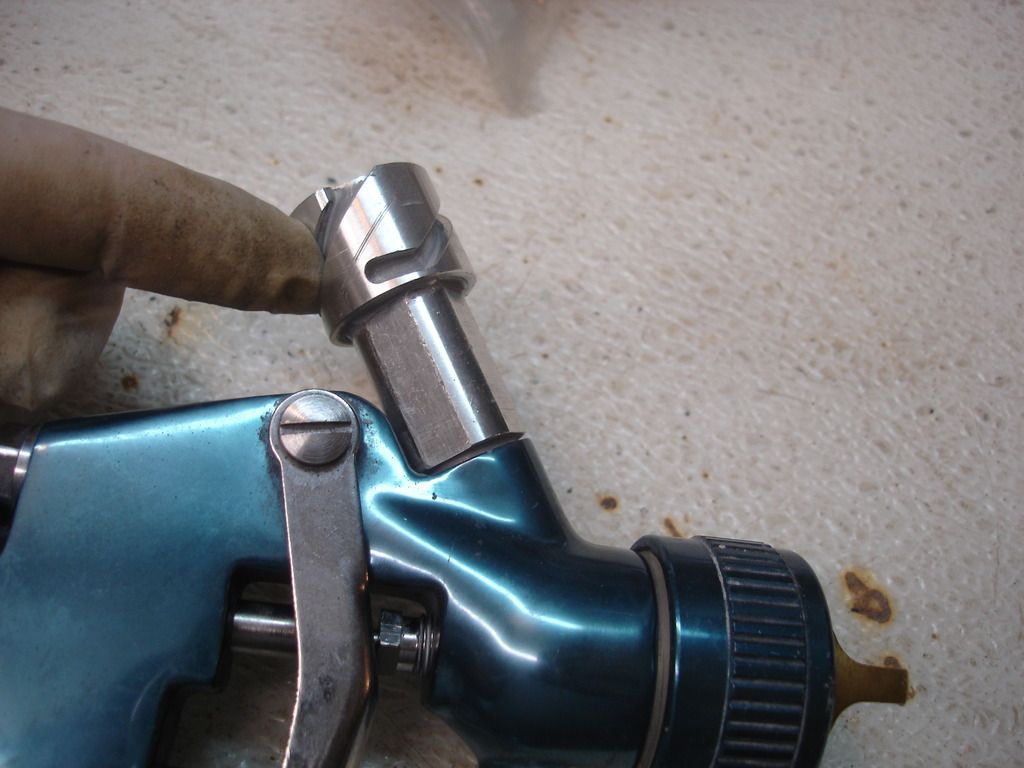
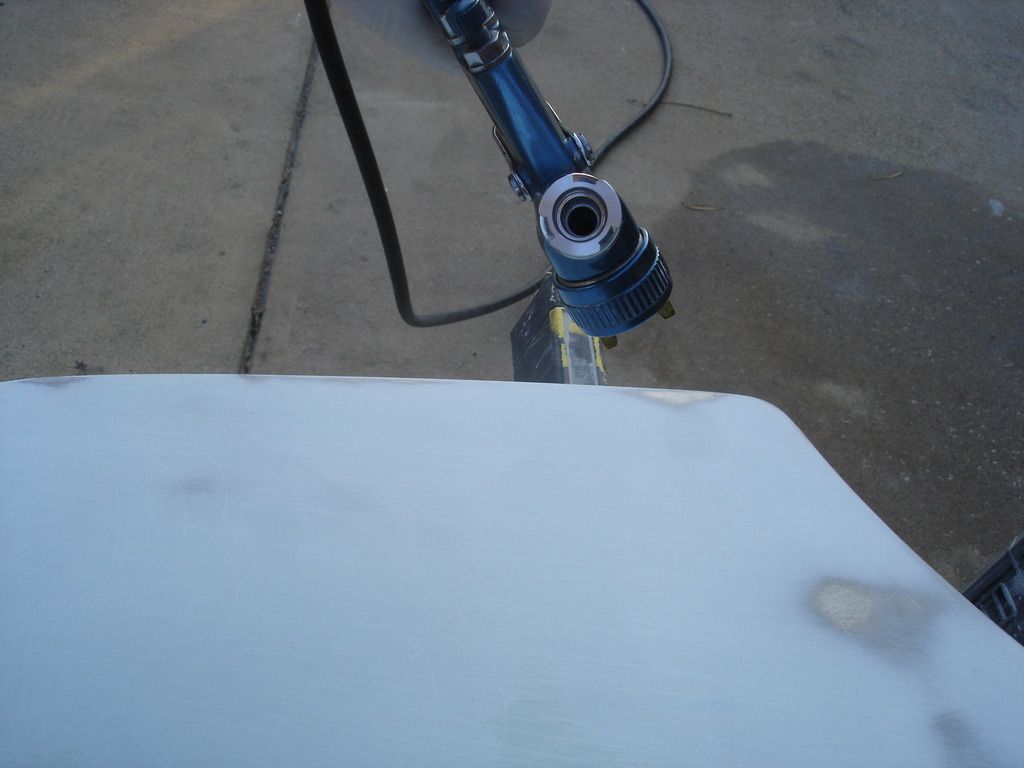
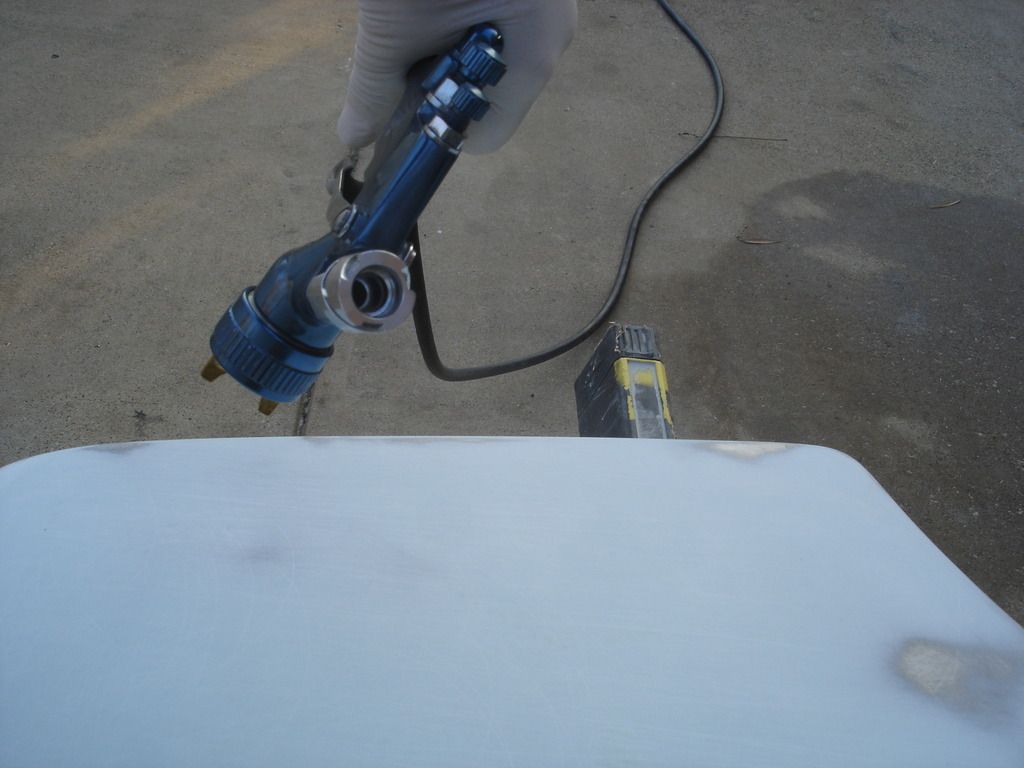
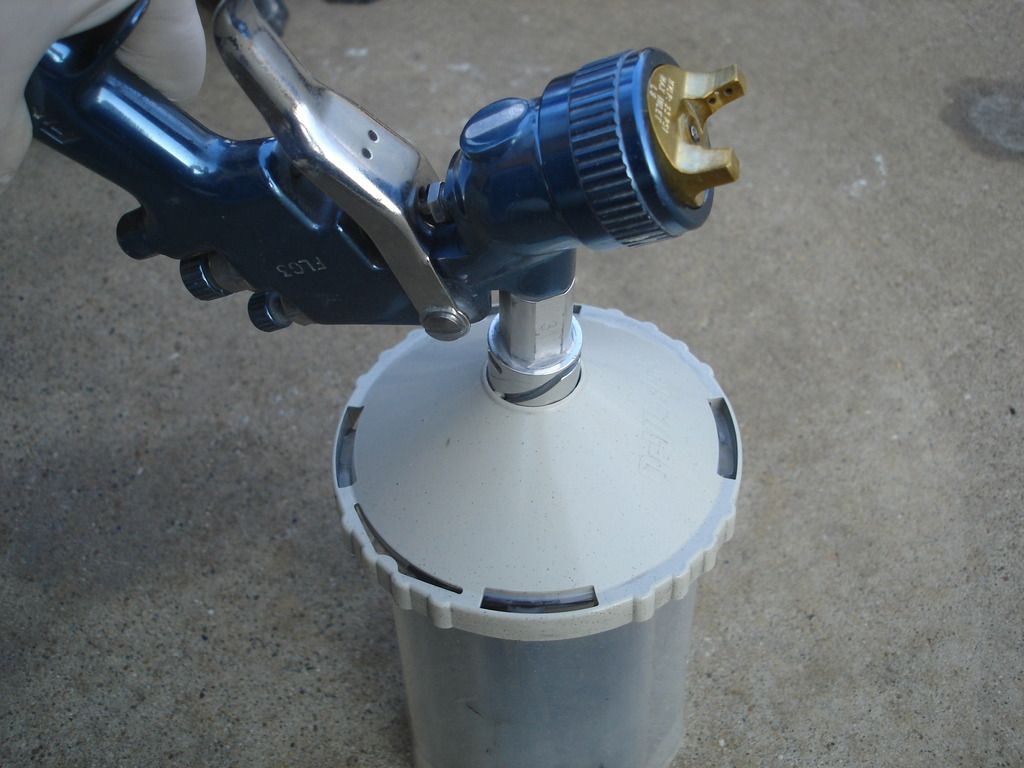
We have seen how the air and paint flow works. Here we look at the top of the gun to see how the paint gets to the needle and tip to begin with. I am pointing to a disposable cup adapter. The aluminum cup I showed earlier, and that came with the gun, would screw into the top of the gun where this adapter is screwed in.
For a solid cup, the paint simply gravity feeds from the cup down into the top of the gun and to the paint tip. Very simple...but simple is not always better. Disposable cups are the bomb! Let's look at how they work and why they are better.
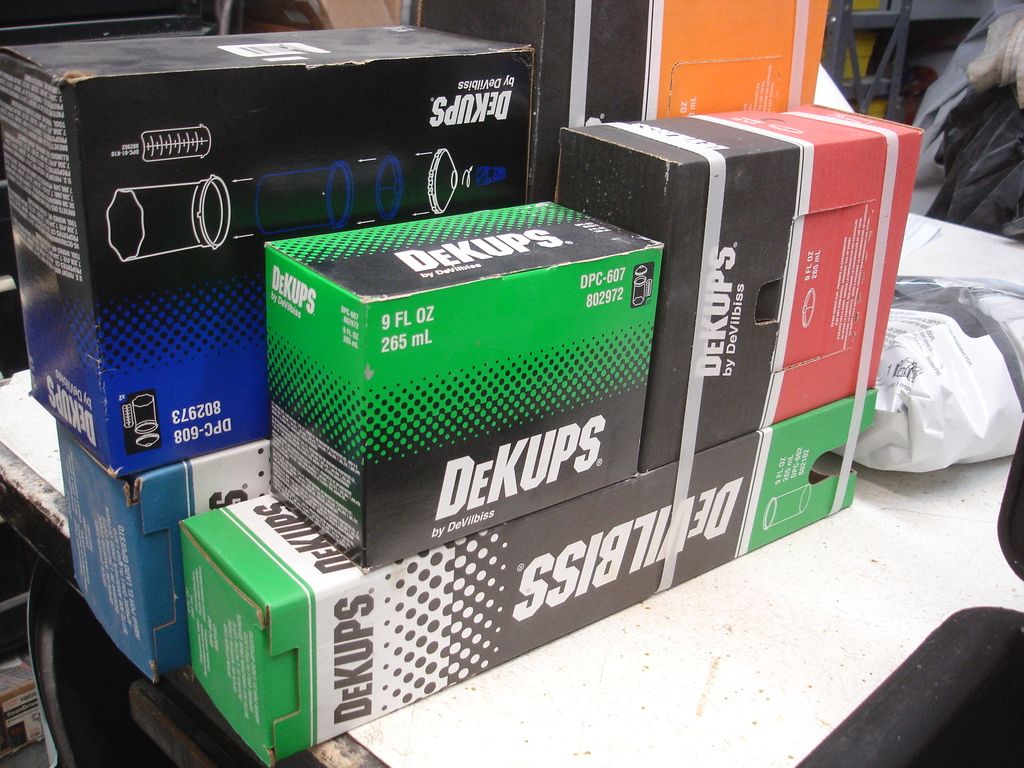
These are how you buy disposable cups. They include:
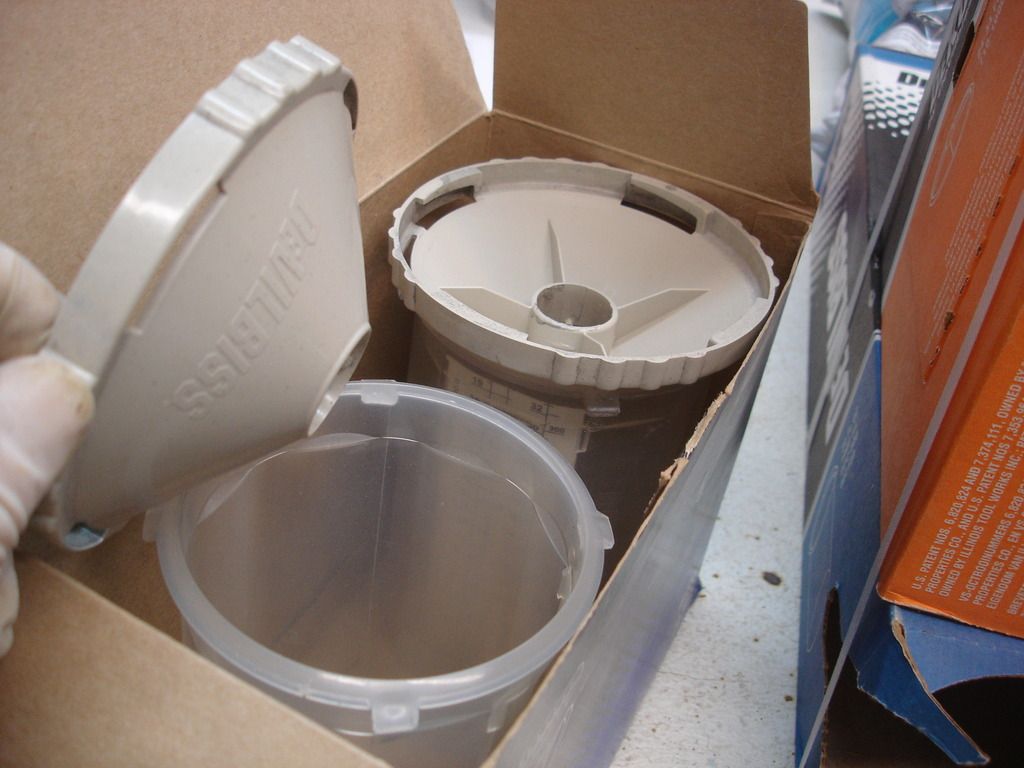

2 reusable cup holders. These are quart size, which is right for large jobs.
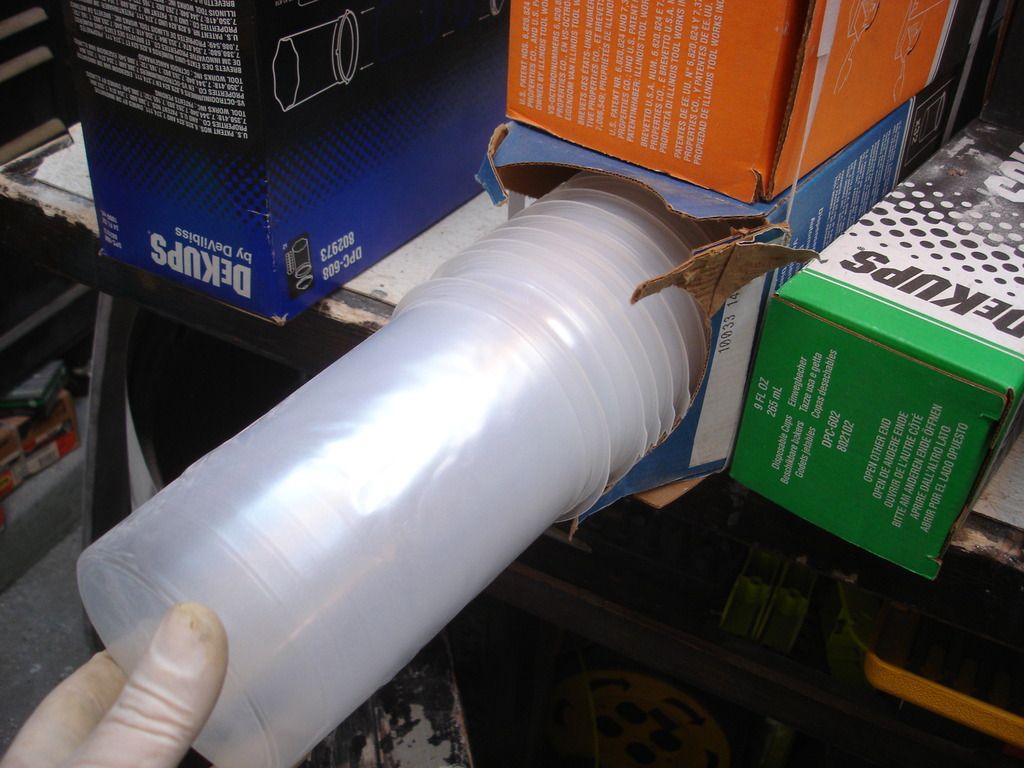


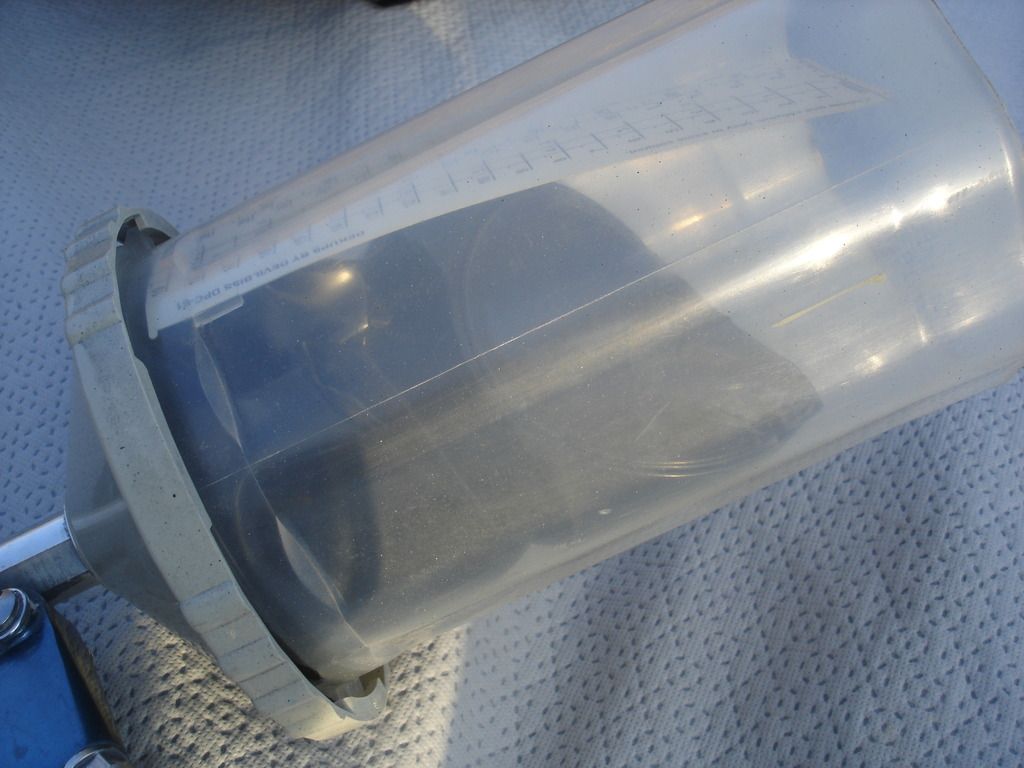
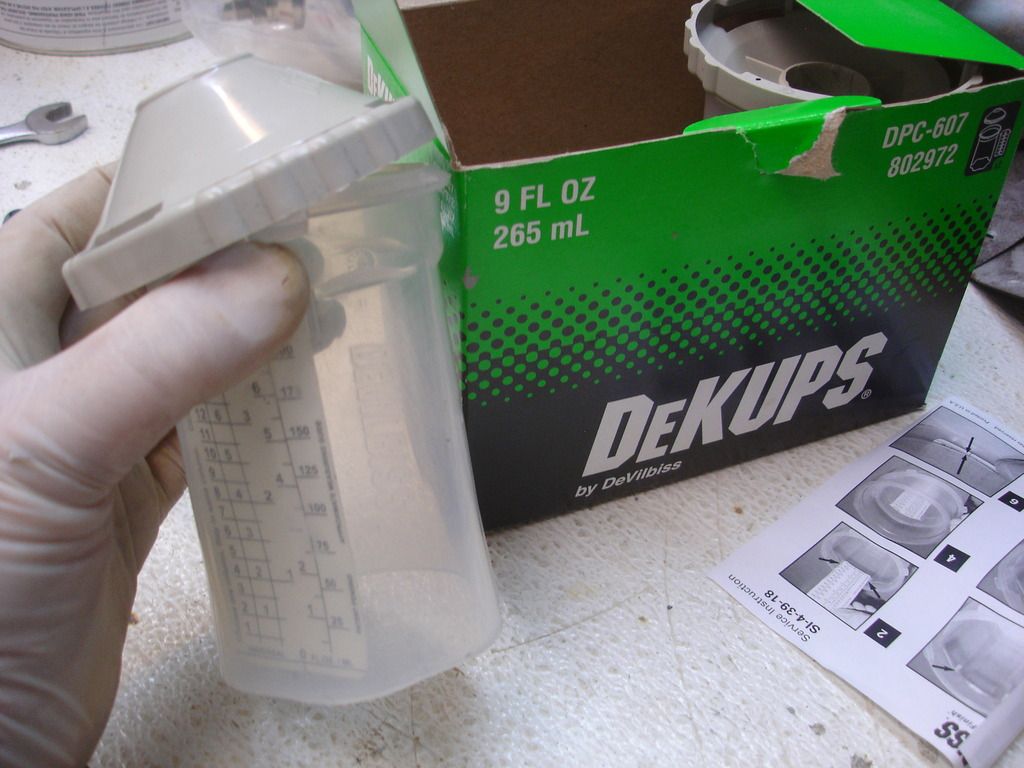
This is the disposable liner that goes inside the reusable cup holder.
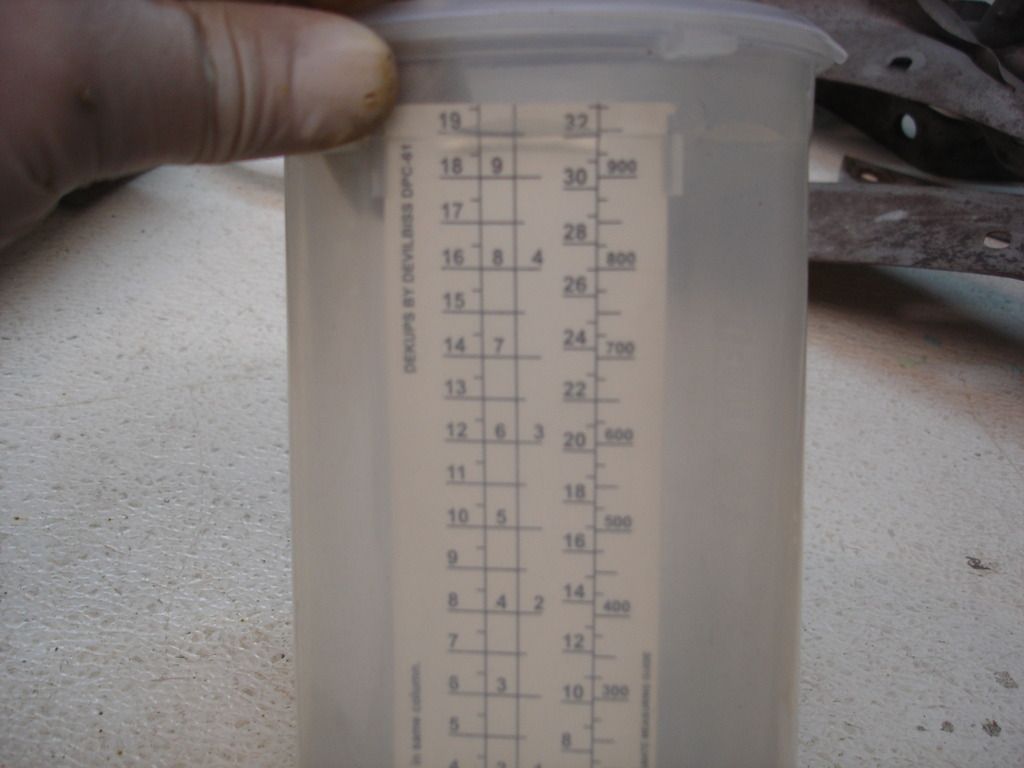
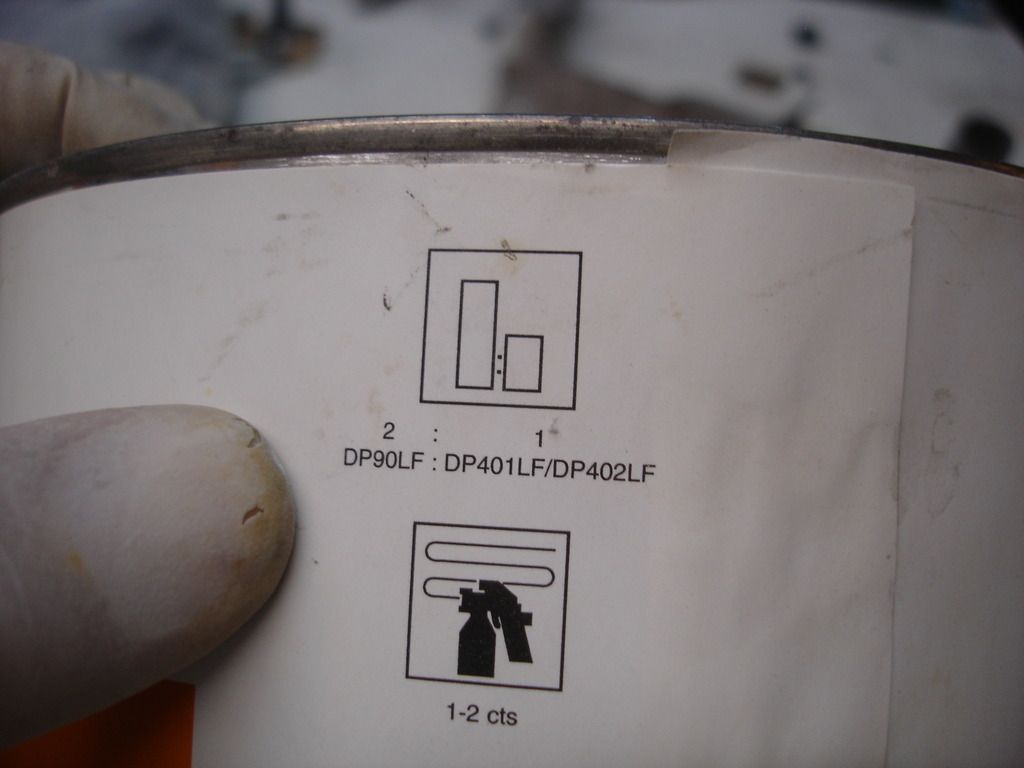
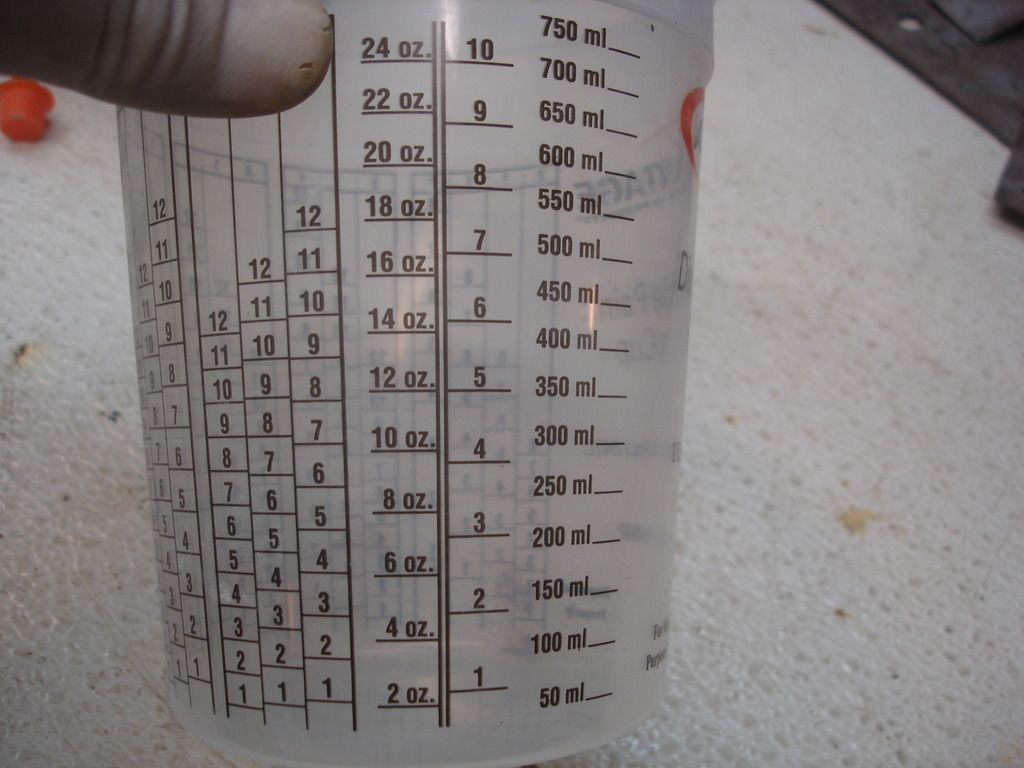
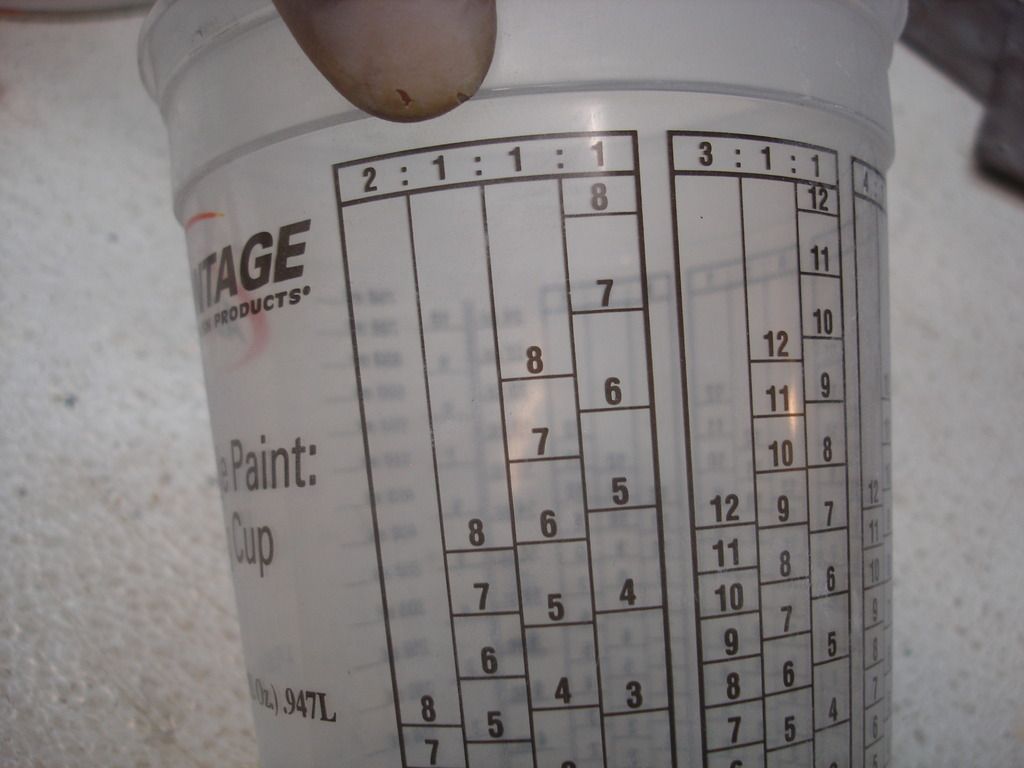
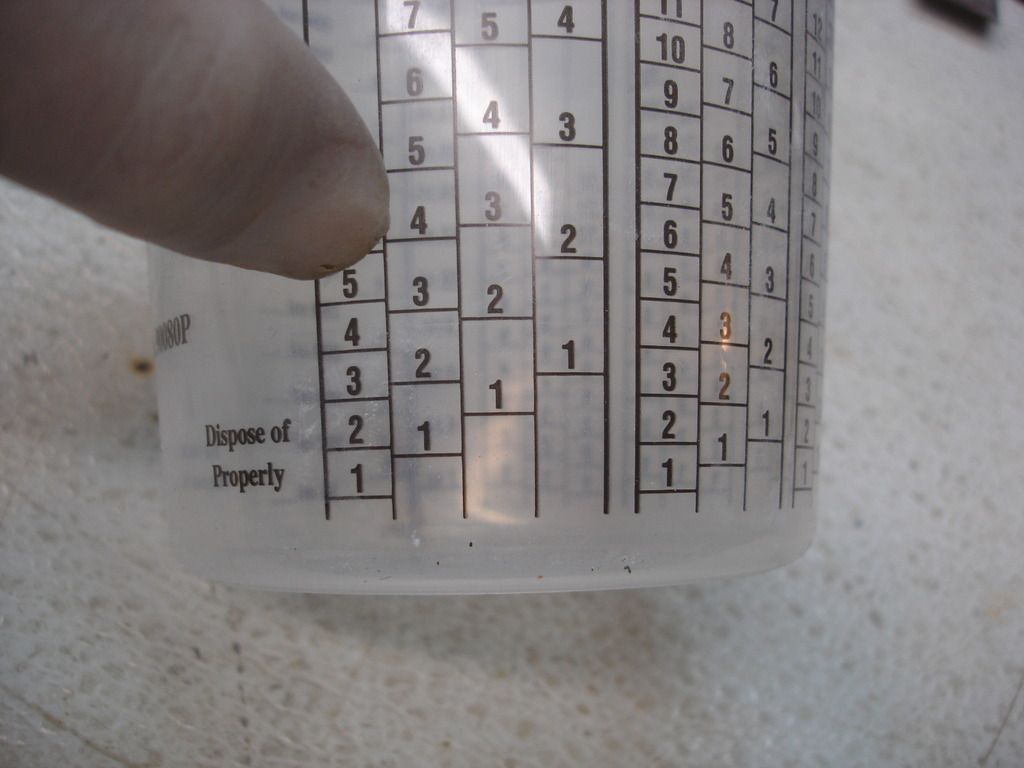
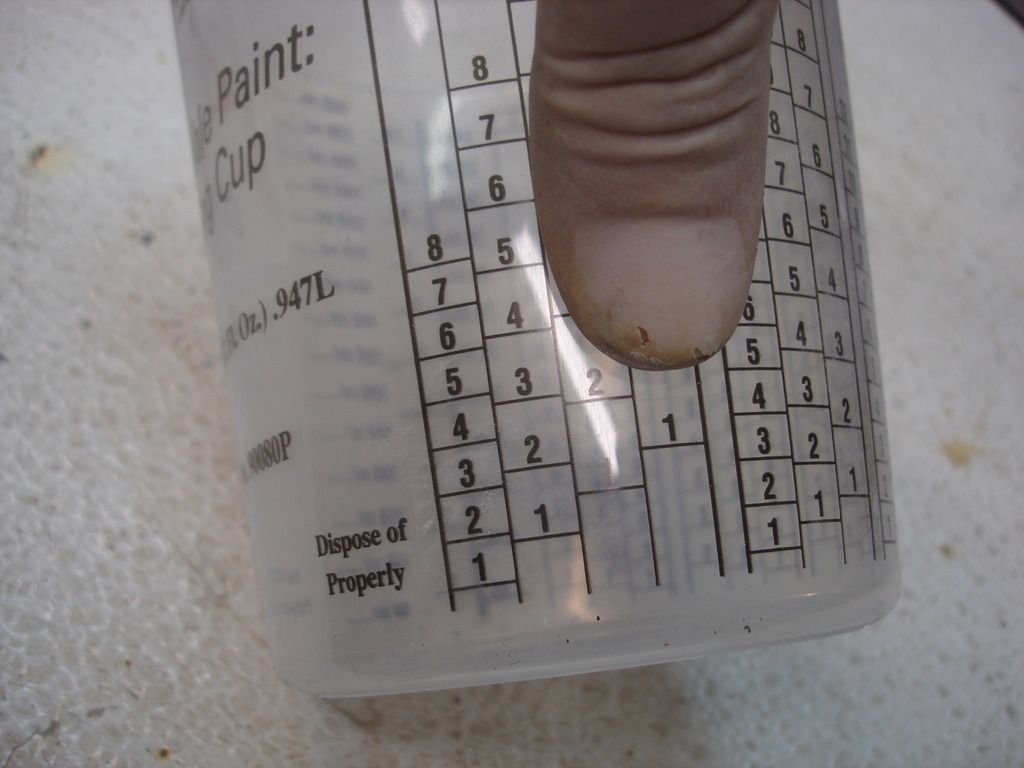
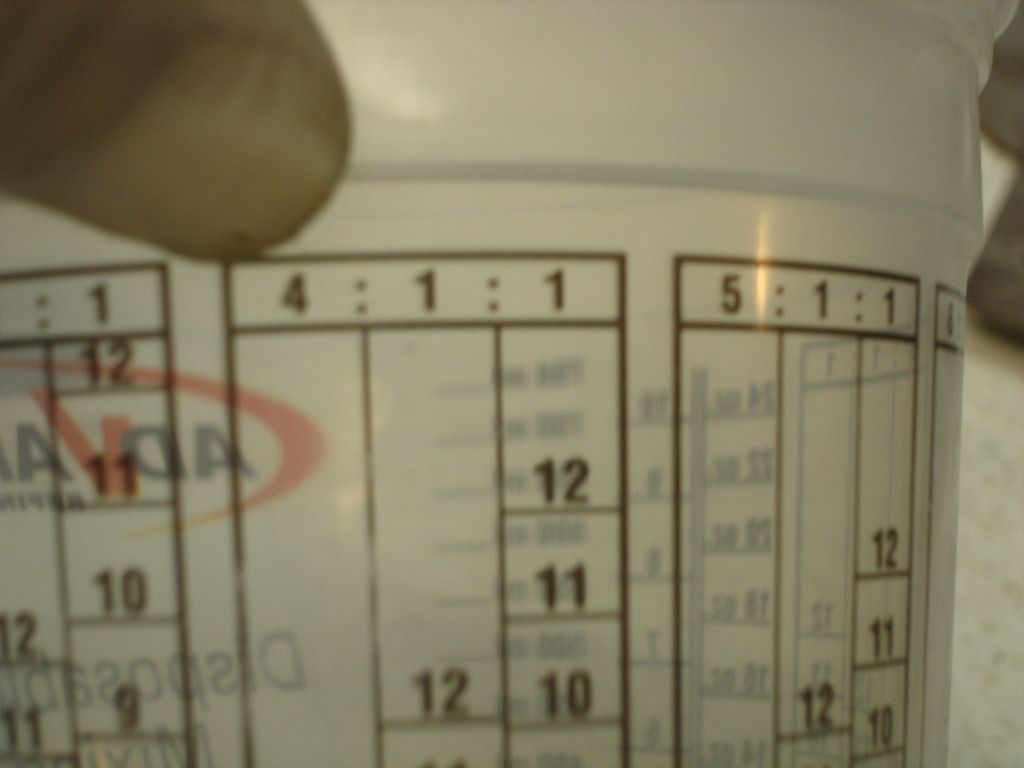
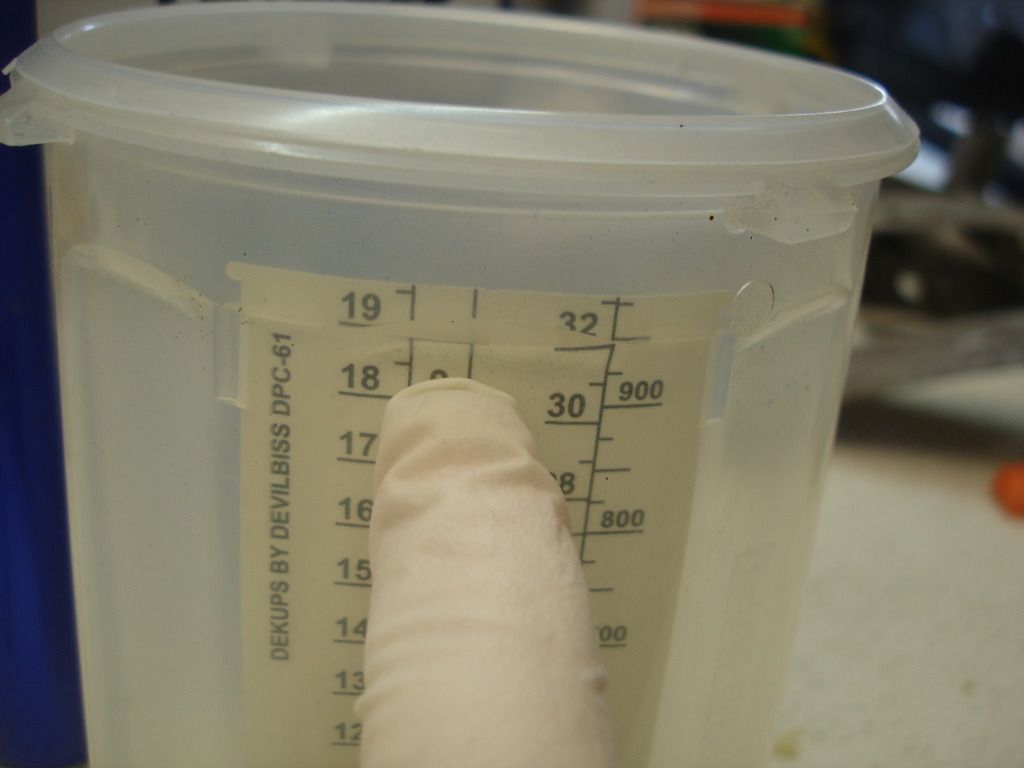
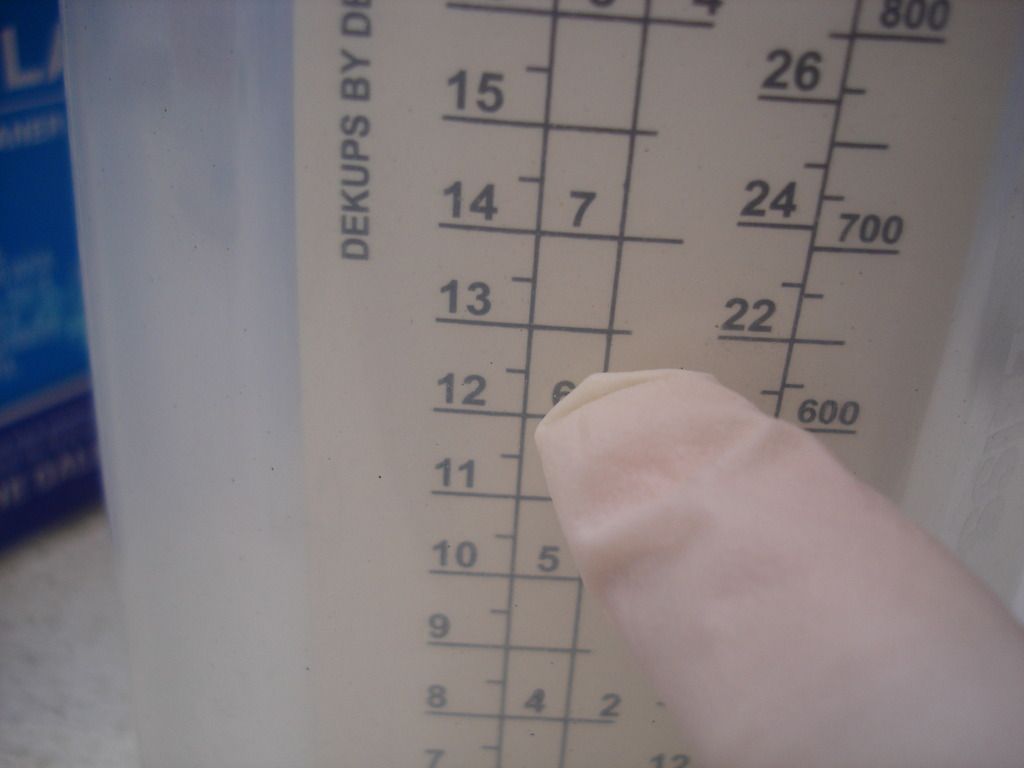
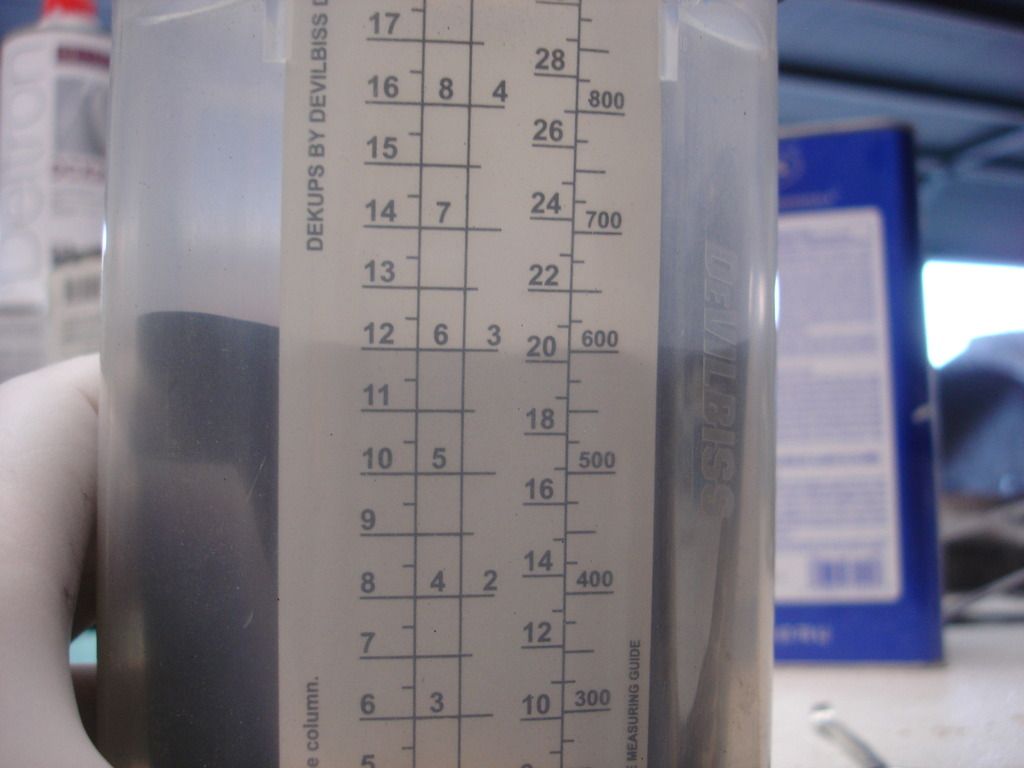
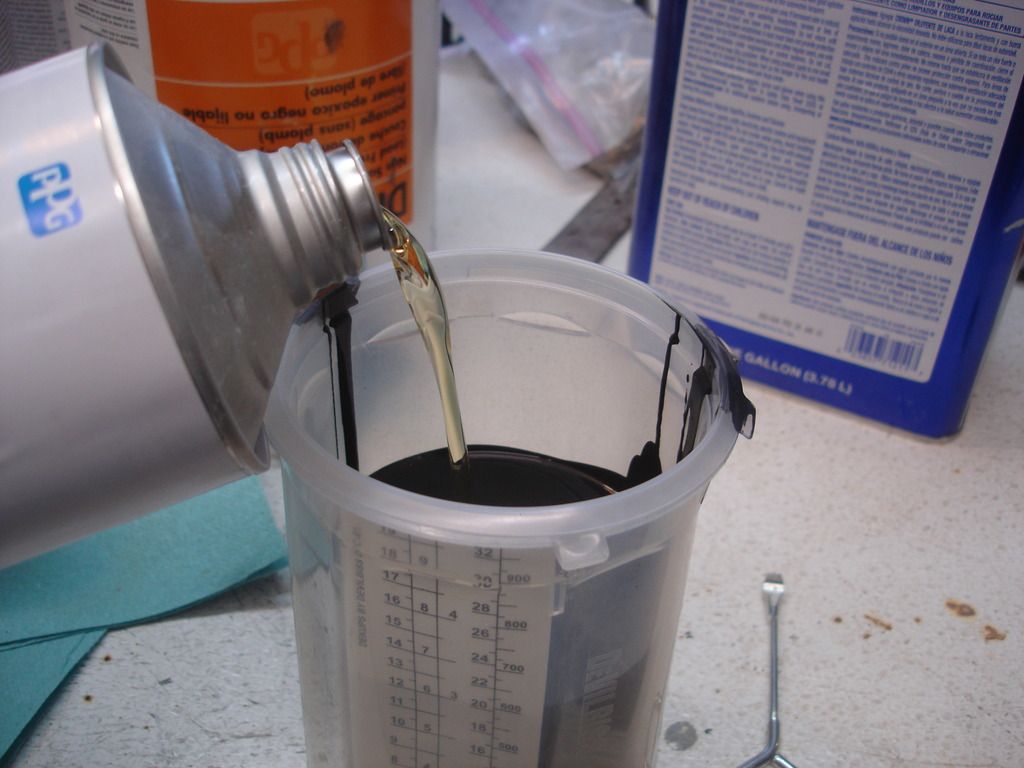
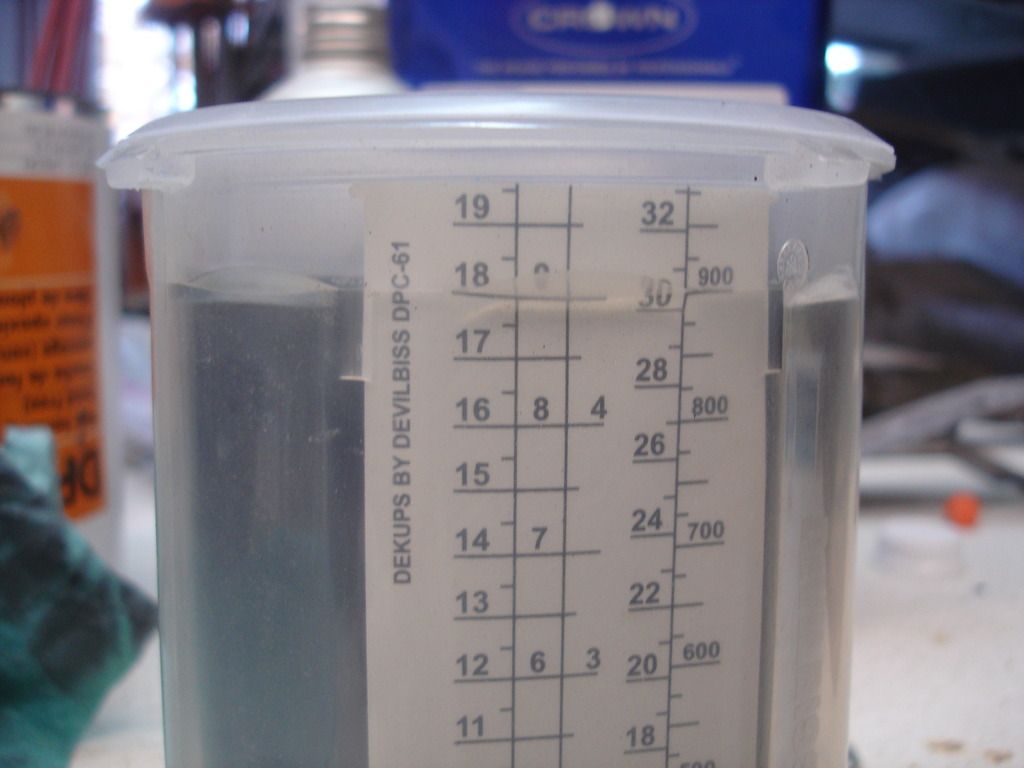
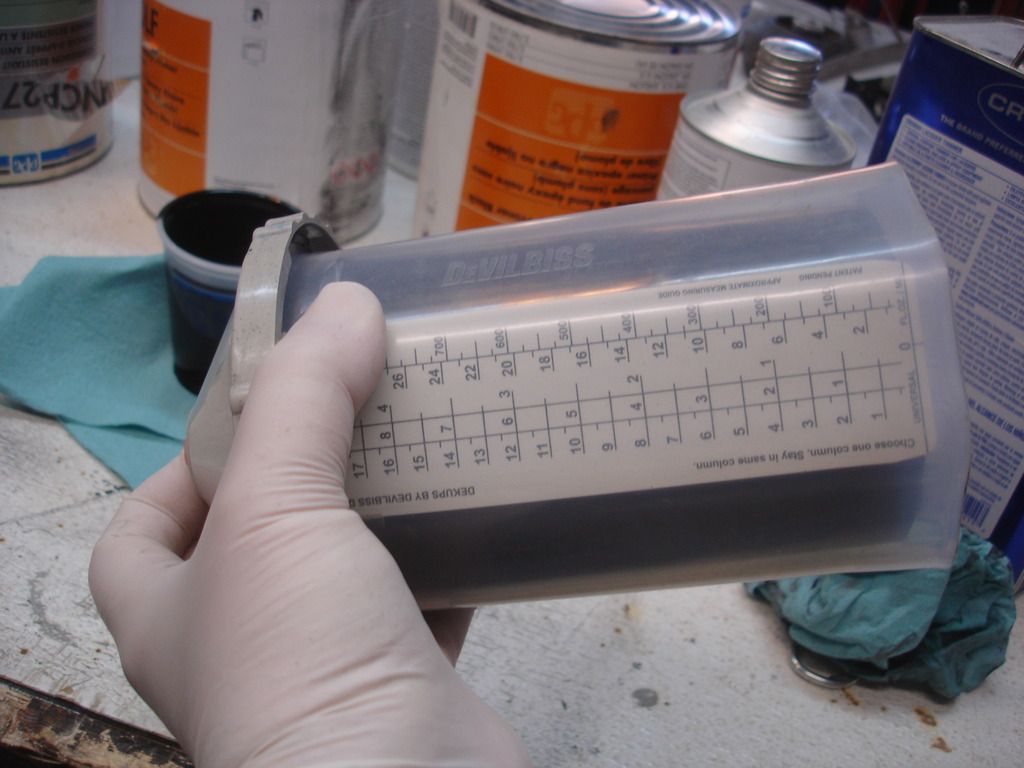
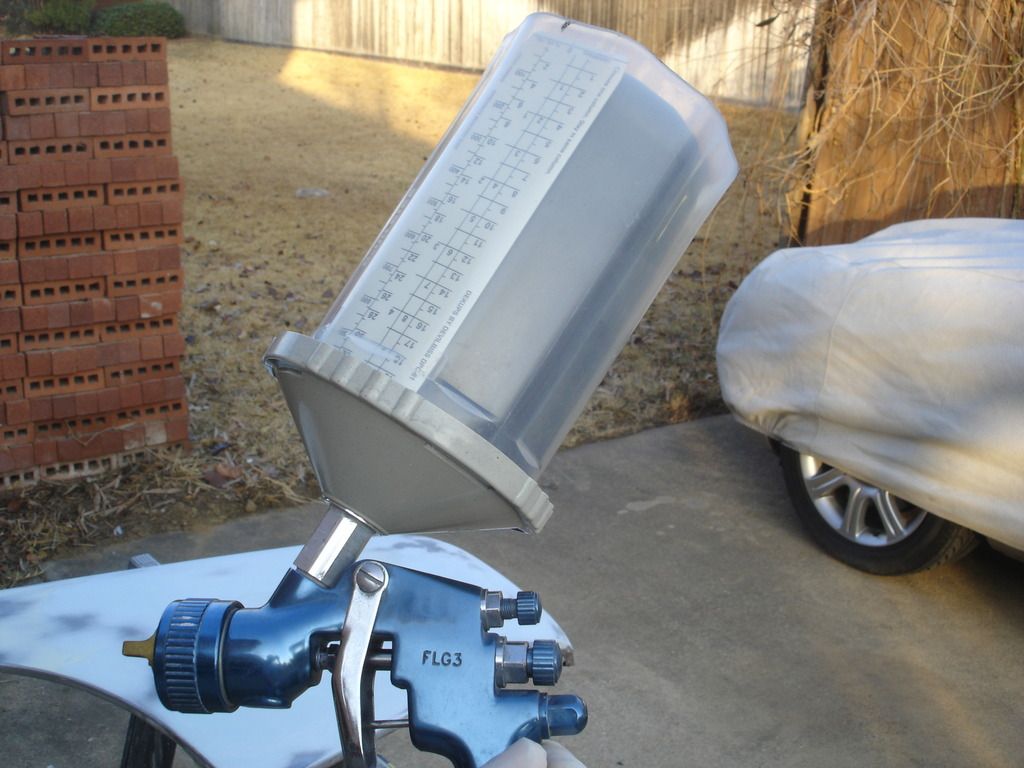
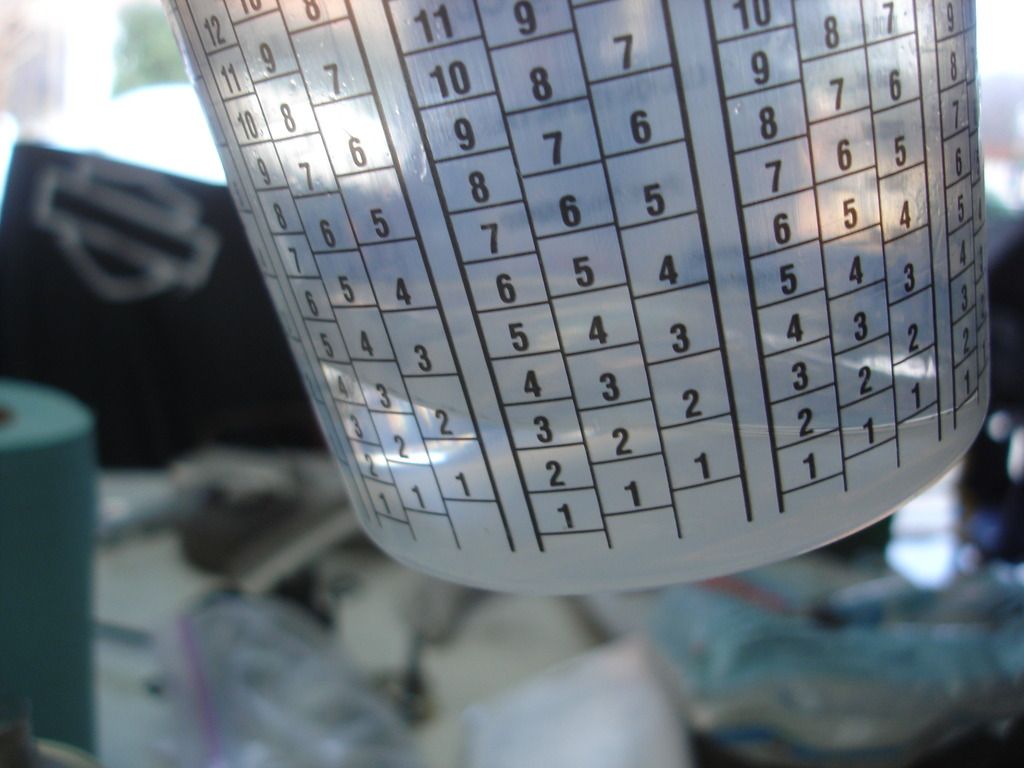
Once the cup is in the colder, you even get a scale on the side that helps measure paint and hardener. You can now mix the paint right in the cup!

The disposable liner is flexible. Think about that for a minute. With the aluminum cup, as the paint goes out, a vent must be provided for air to replace the paint, or you'll get a suction in the cup and the paint wil stop flowing.
With a flexible cup, the cup can collapse. No vent needed! Anyone who does not recognize the benefit of not having a vent has not had the exasperation of having the cup vent drip a glob of paint right on your near finished bonnet! Plus, you can now paint with the gun completely upside down...or at any angle in between. Nothing is more frustrating than trying to get in a tight space with a hard cup, and the paint flow keeps cutting out...in addition to the paint running out of the vent!
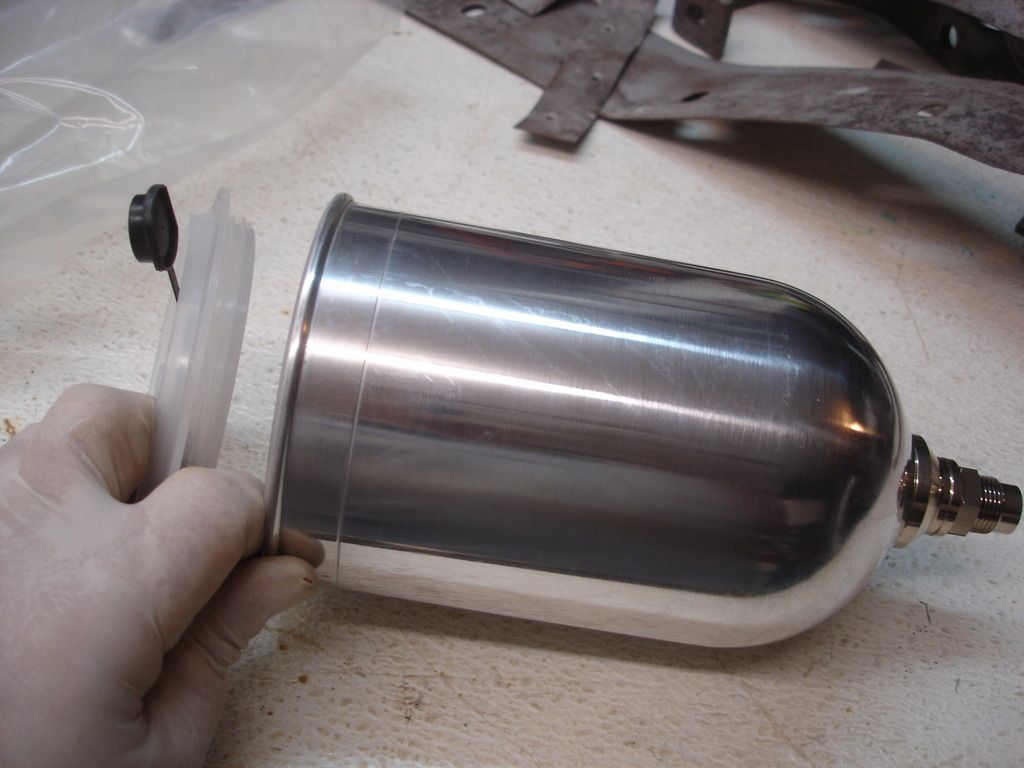
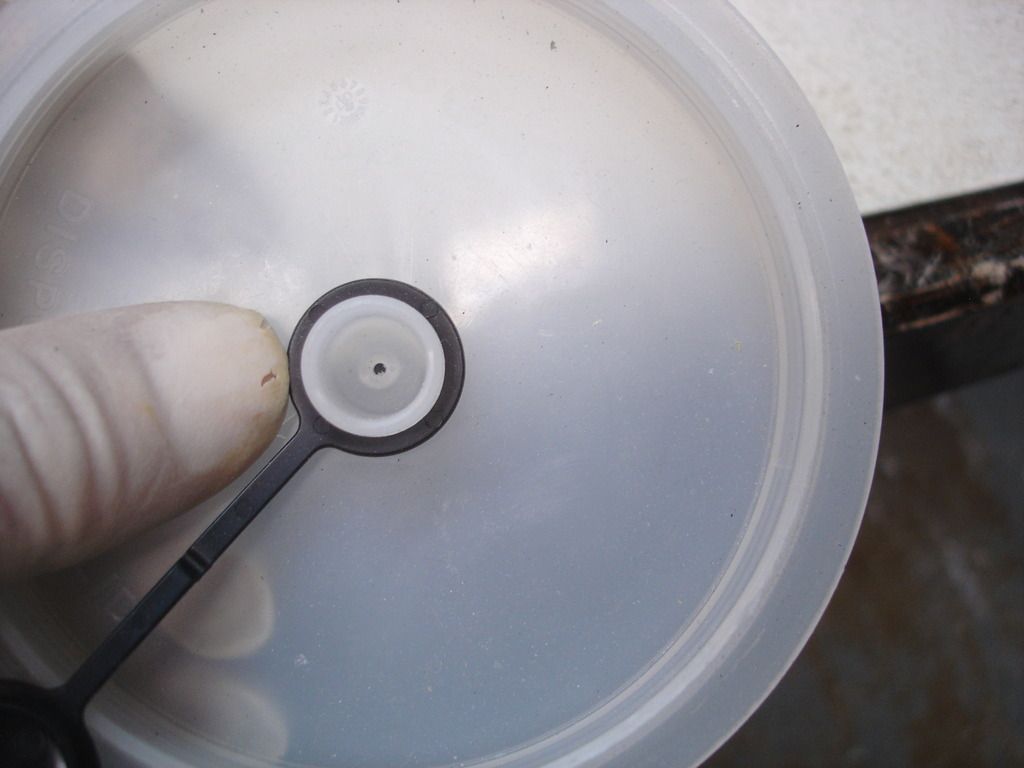
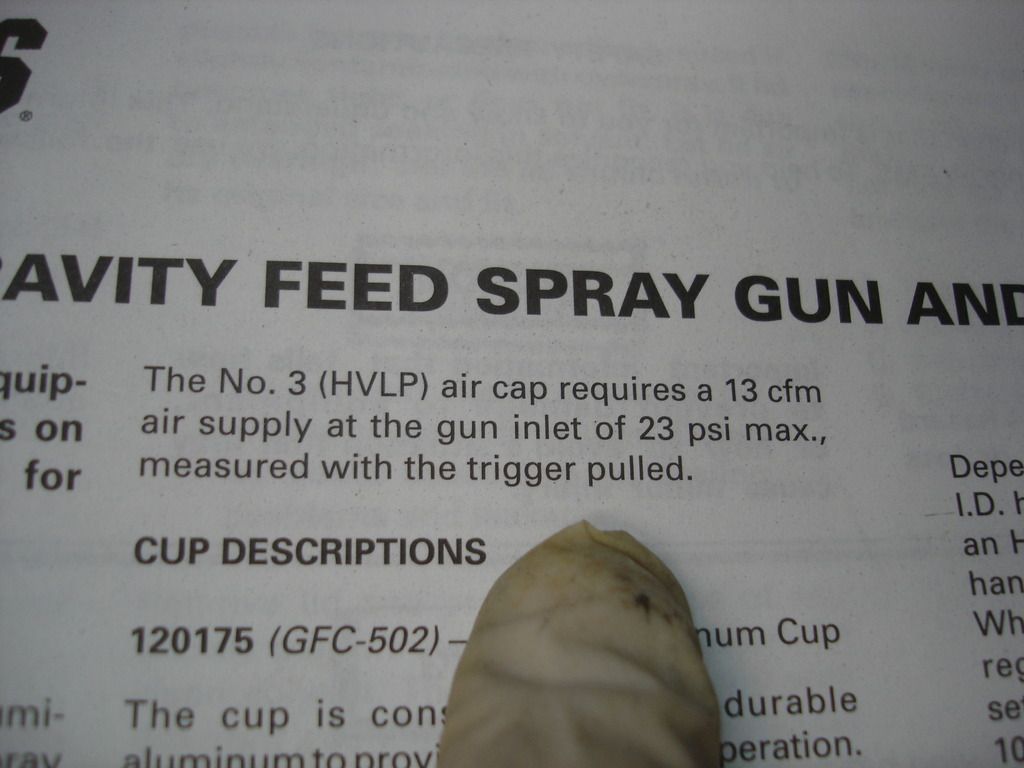
Here is the hard cup, showing the vent hole in the top. As hard cups go, and especially if you find yourself having to use one for whatever reason, this one is a decent one. Note it has a cover for the vent. So, if you needed to tilt the gun to reach an odd corner, you would close the vent and then tilt and spray. Of course you need to re-open the vent to let air in before too much of a vacuum is built up.
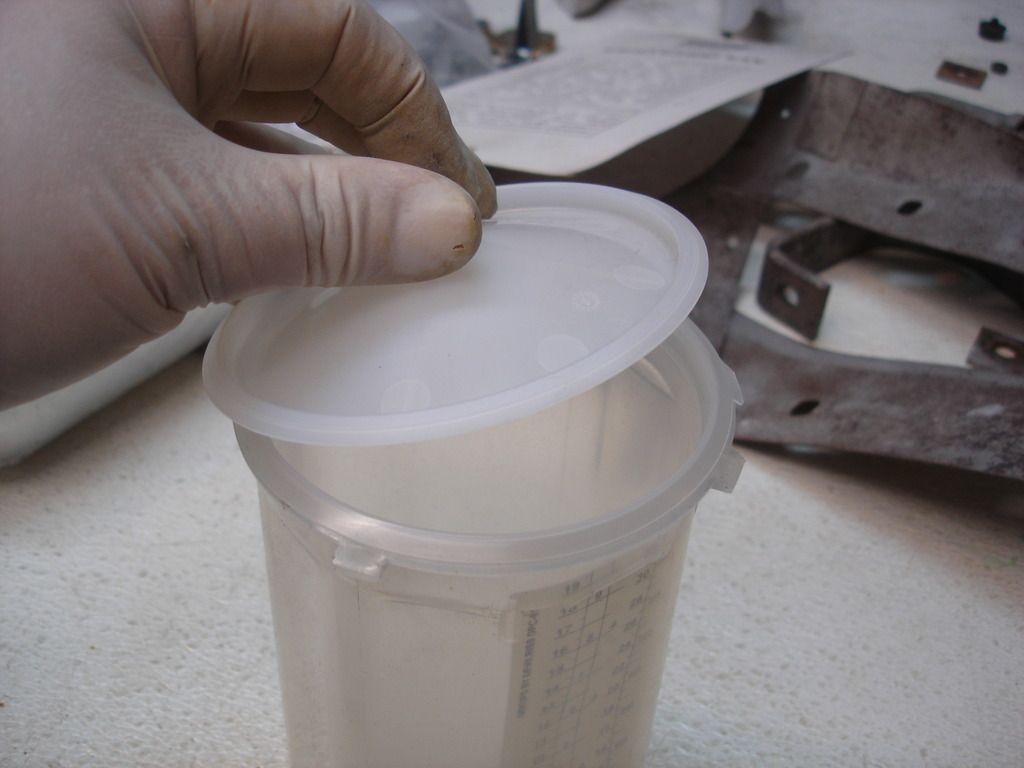
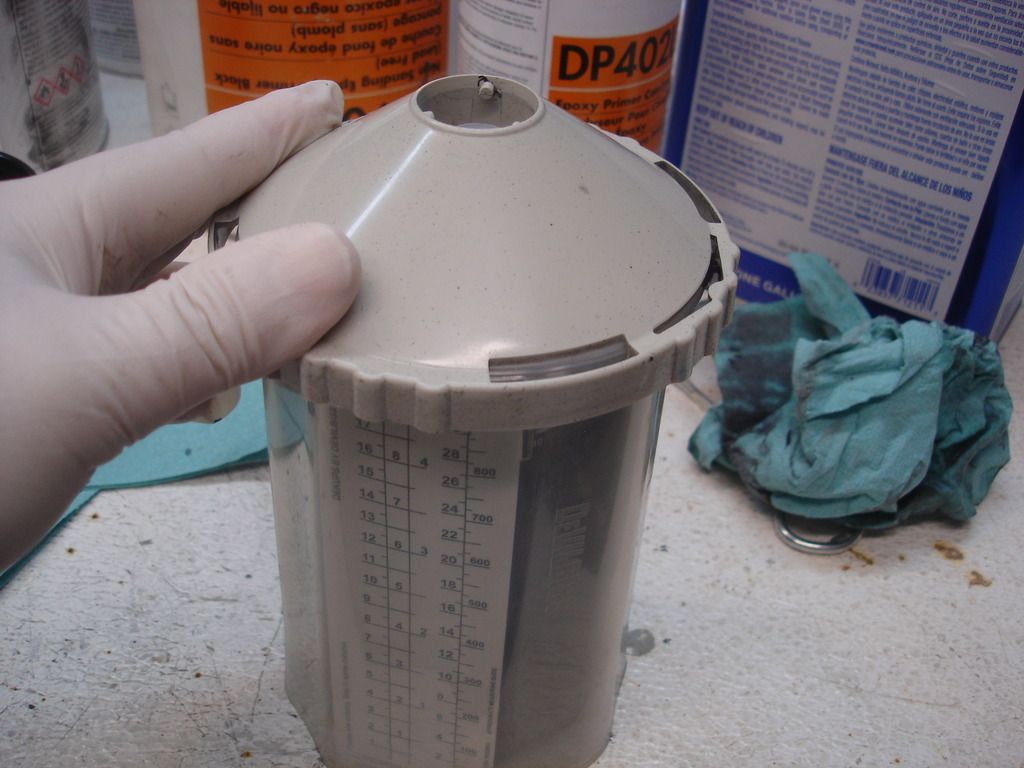
Continuing on...once the paint is in the cup, a disposable cap goes on, that seals perfectly around the sides.
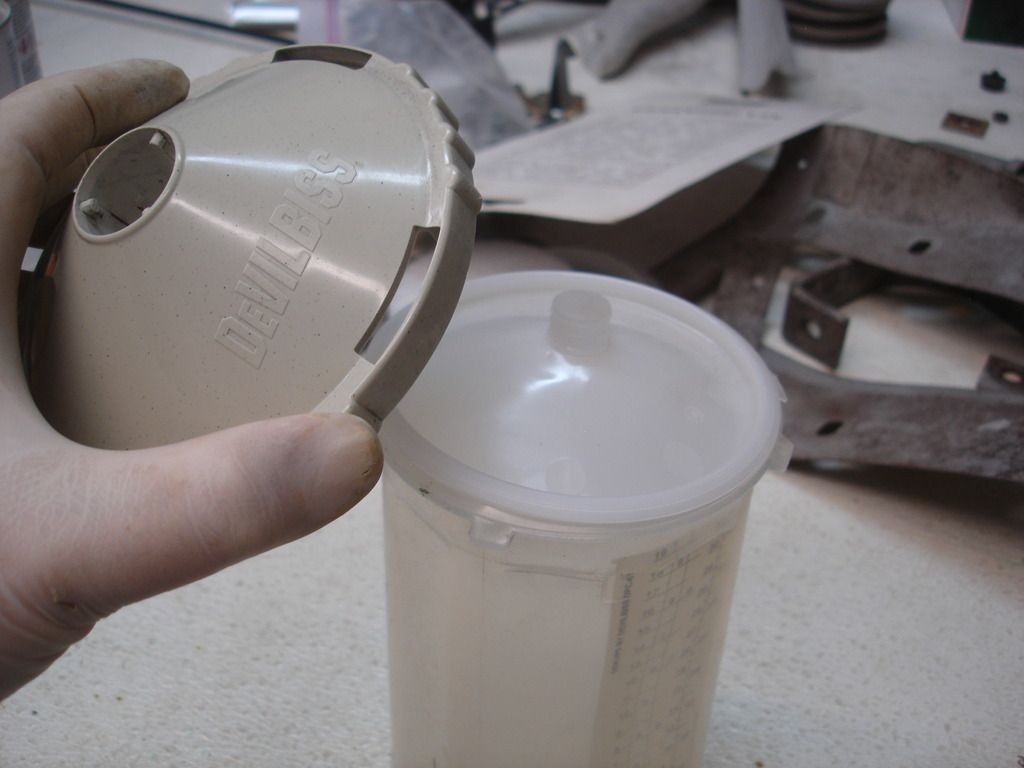
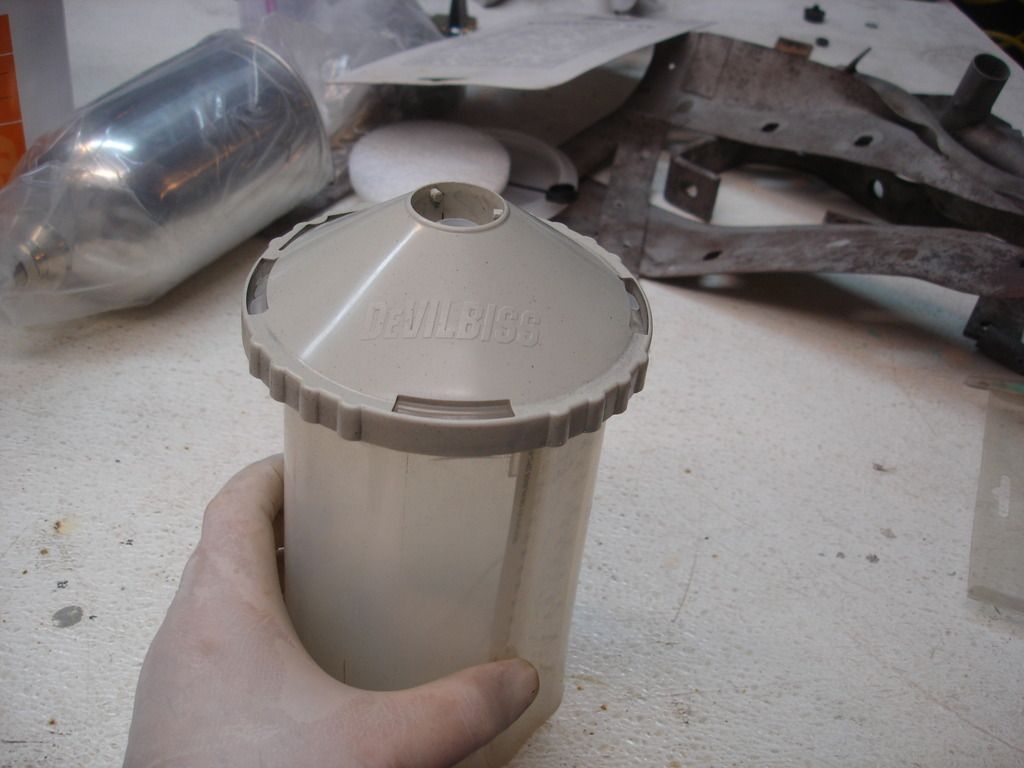
Then the reusable cap retainer screws on the holder.

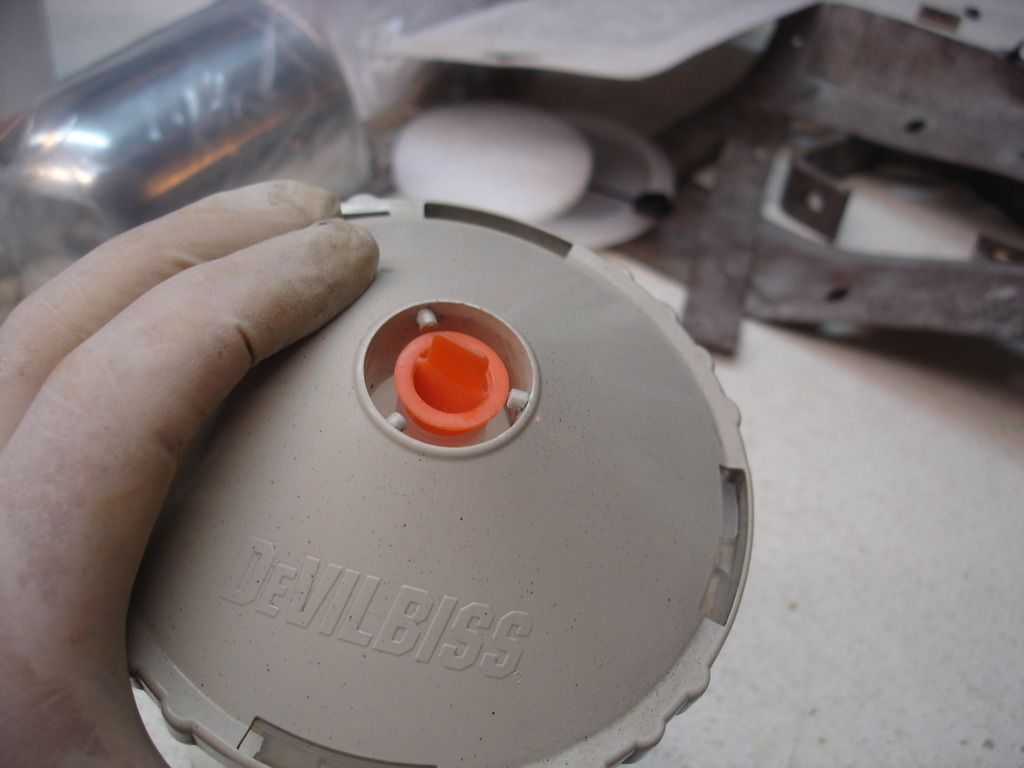

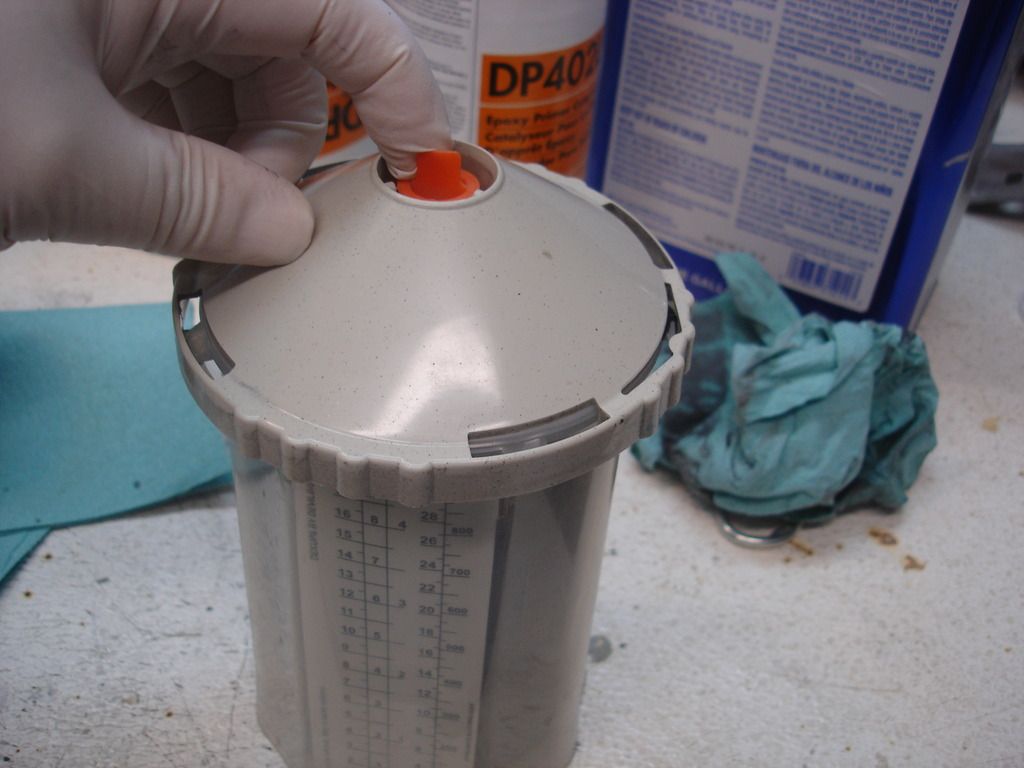
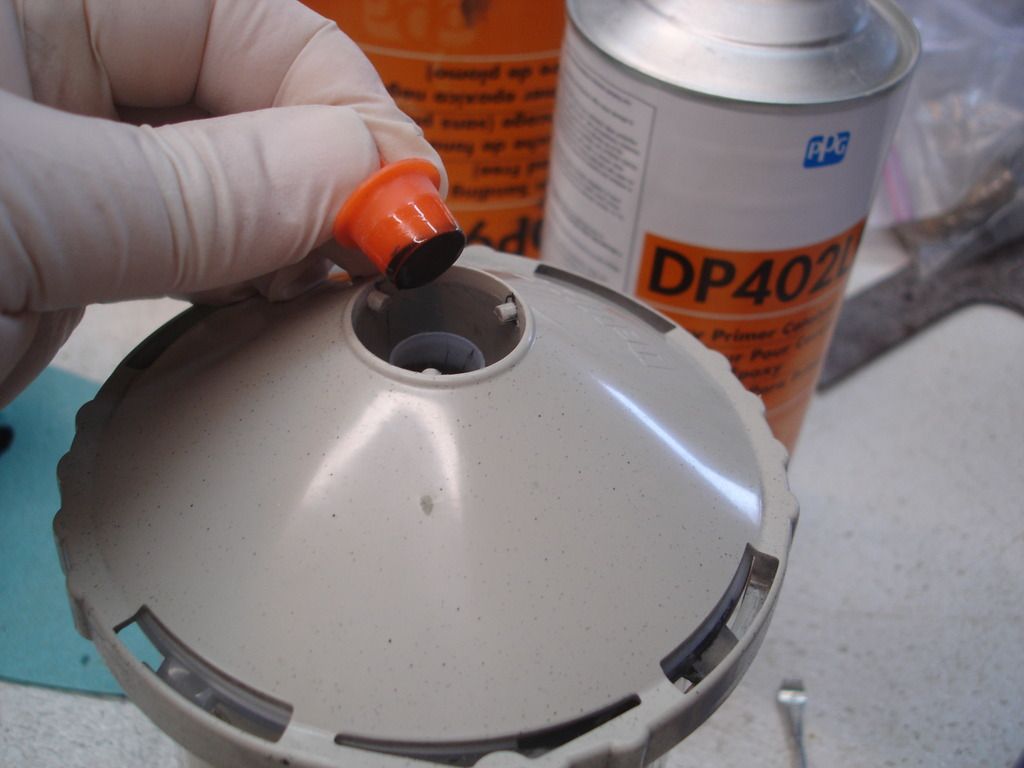
Once the assembly is together, there is still a hole in the top where the cup plugs into the gun. The liners come with these little plugs, so you can plug the top and mix the paint by shaking the cup. How cool is that!
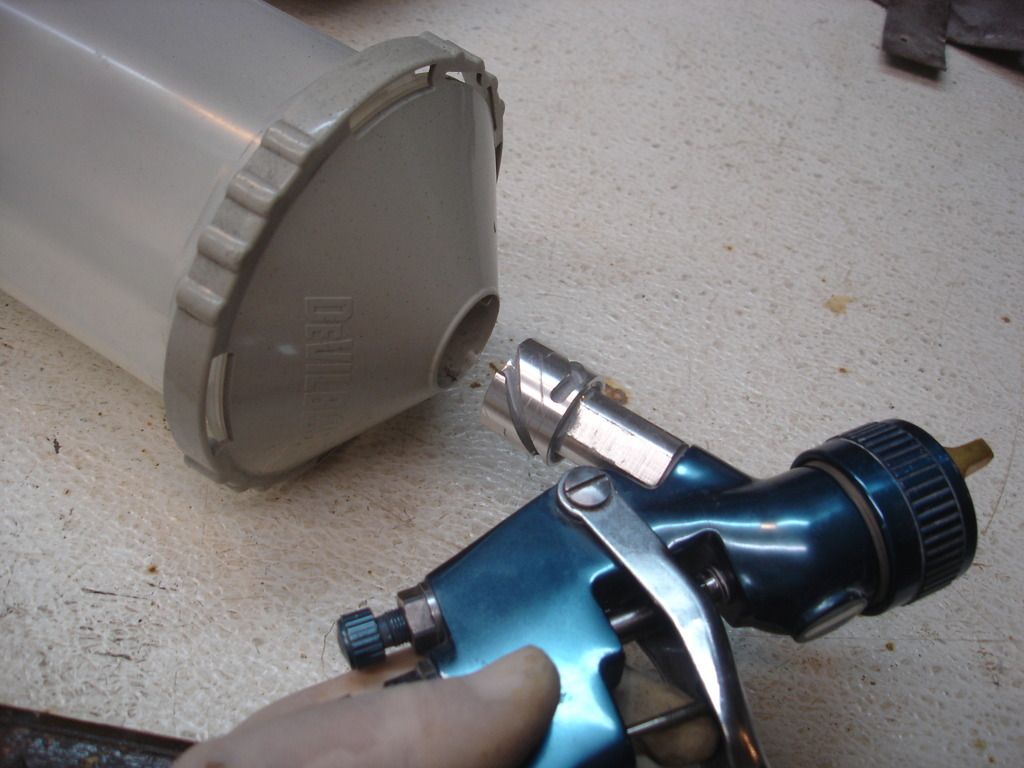
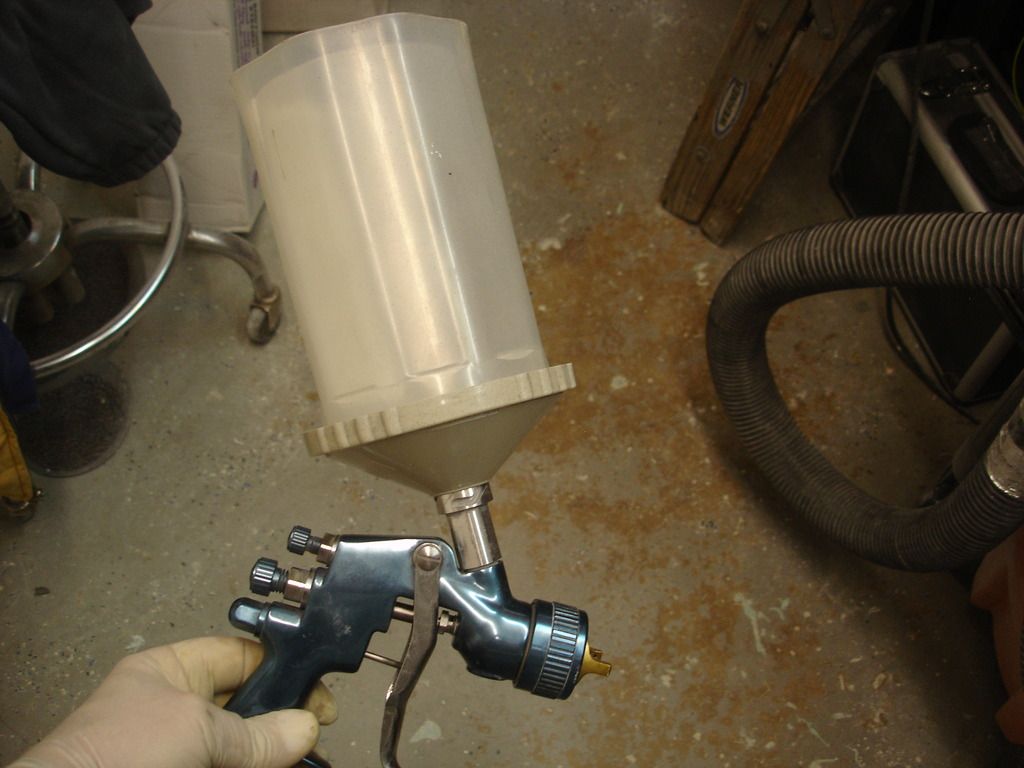
Now, to install the cup you remove the plug and push the cup onto the adapter with a quarter turn to lock it. Of course this would normally be done with the cup upright and the gun upside down. I didn't have enough hands to film and show it though!?!
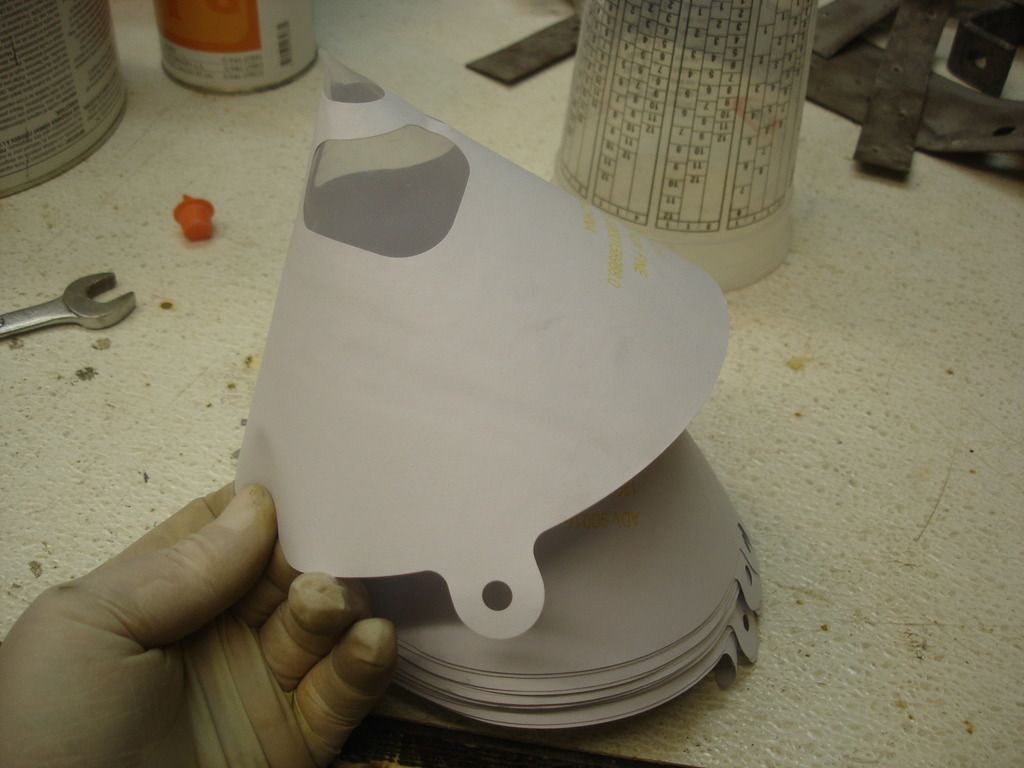
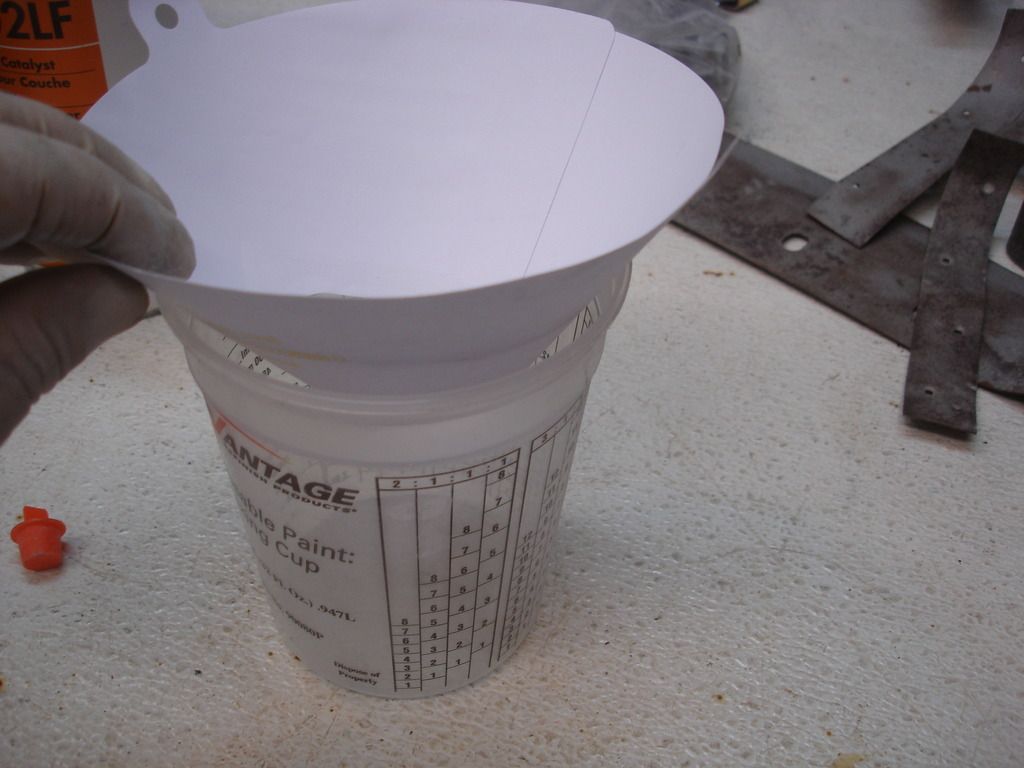
These paper filters are free at every paint supply I have used. Clean paint is as important as clean air, so they do help.
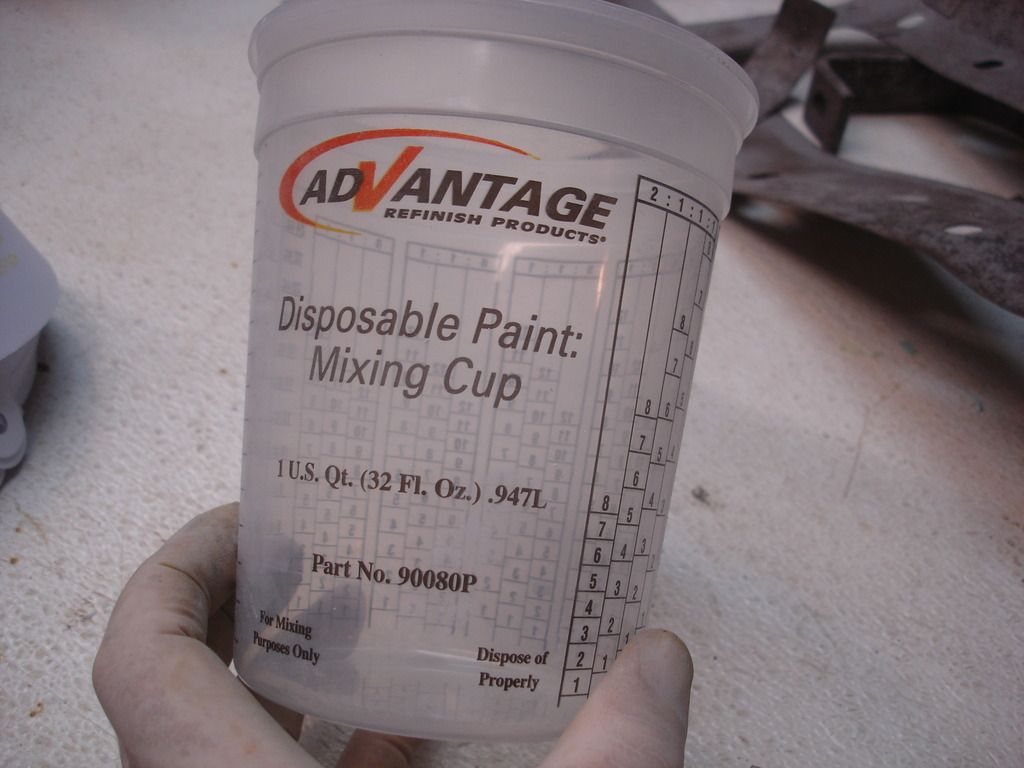
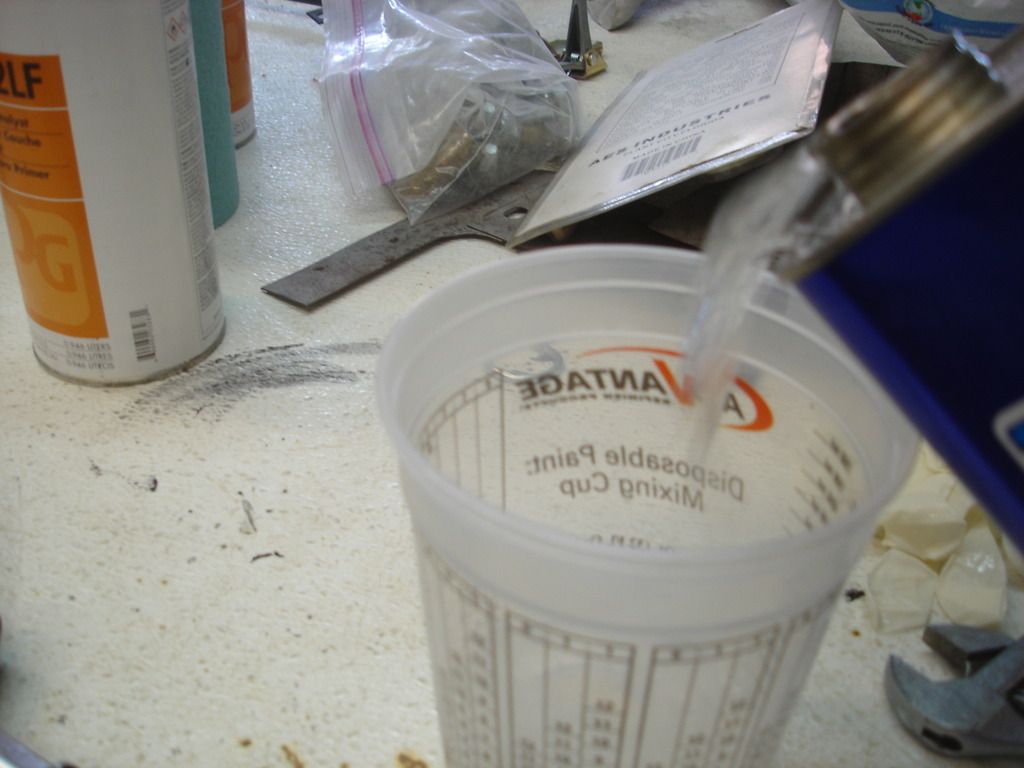
Also free, if you remember to ask, is a handful of these or similar mixing cups.
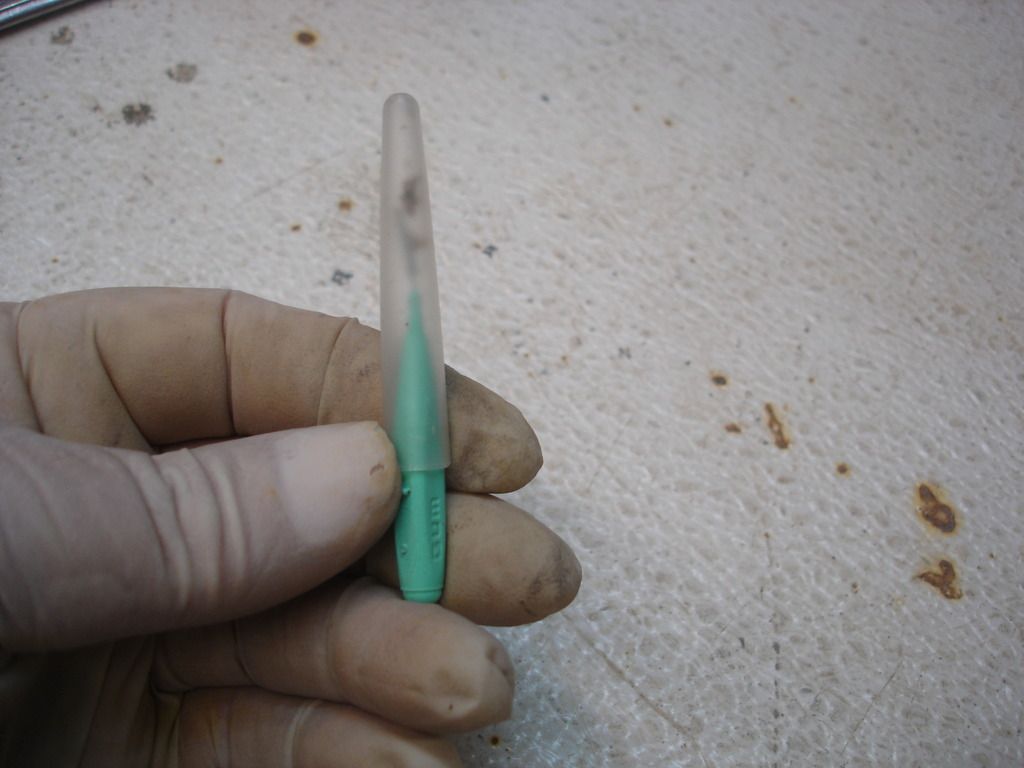
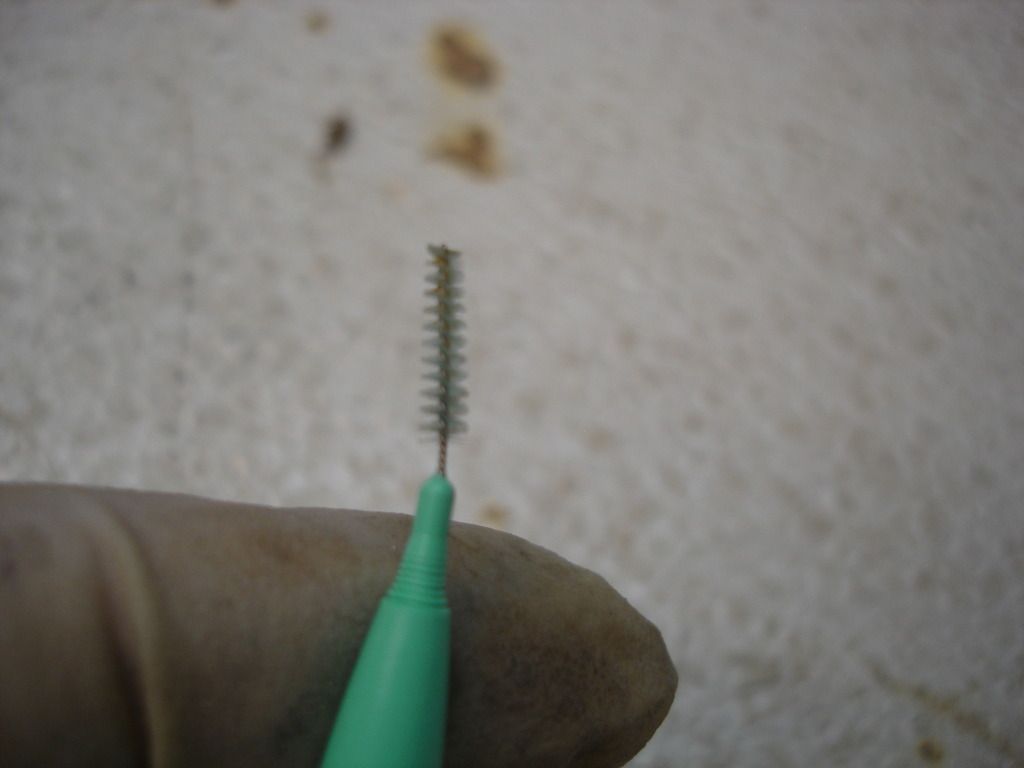
The last tool I recommend is a little pic like this one. These are sold at any paint supply, and they allow you to pic off a bit of dirt that falls on your work...or mosquito!?! It can't always save a job, but many times it has saved me from having to do a complete respray!
That's all I have time for. I'll get to the spraying next installment...

 Hi Guest!

 smilie in place of the real @
 Pretty Please - add it to our Events forum(s) and add to the calendar! >>
