CJD
Yoda
Offline
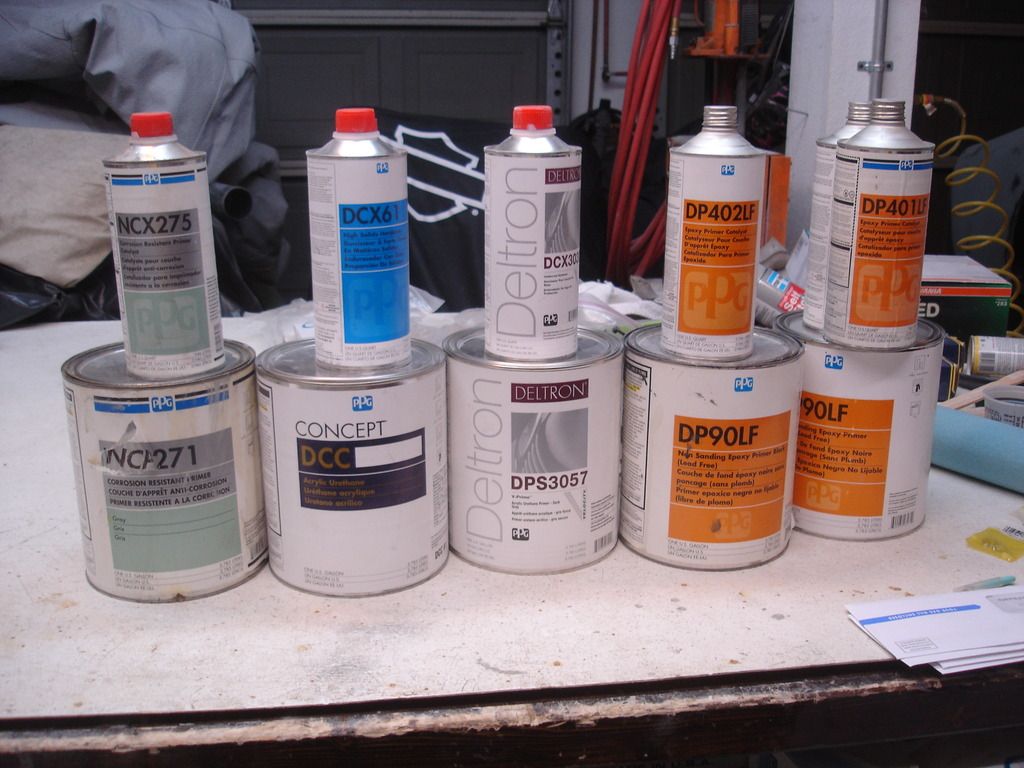
Today I spent several hours at 2 different paint supply stores. Good time! Really, it gave me a chance to catch up on the latest "trends" in painting. They weren't busy, so I bounced many of the ideas off them that you guys have suggested.
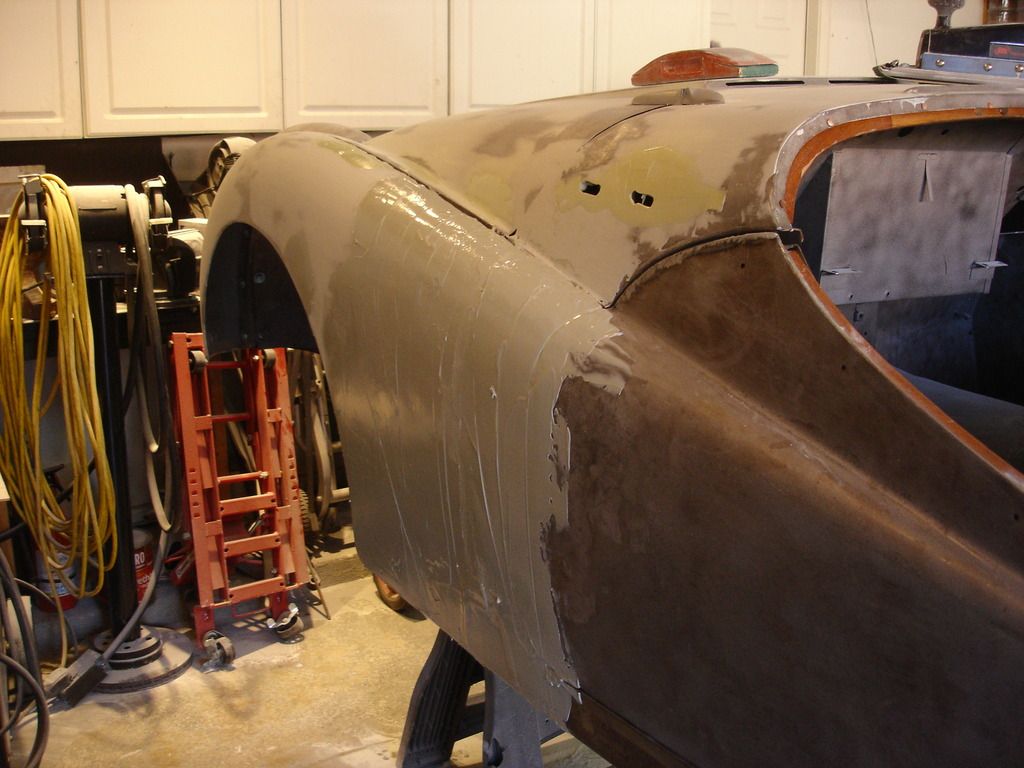
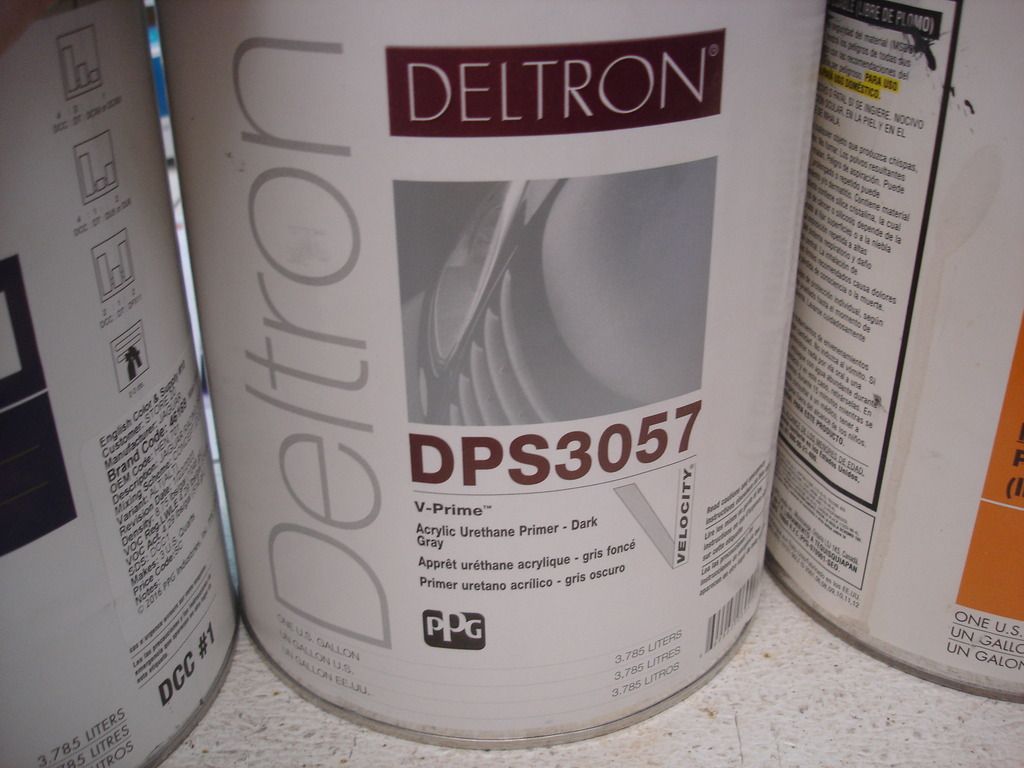
So, I learned that Bluemax's technique is correct for bare metal. The modern etching primers are designed to go on top of bare metal. Fillers are not. What that means to a layman like me is that if you are removing your old paint using soda blasting, chemical stripper, or if you are planning to start with a new, virgin panel...then you want to lay down a coat of primer FIRST. The primer bonds to the metal, allowing you to rough it and thereby provide a good bond for the filler.
I have always either sand blasted the metal, or at least roughed the surface well with 60 grit or coarser. That gives a good surface to bond the filler to. It turns out that is more of an old school approach. My way works, but Bluemax's is the mainstream norm now.
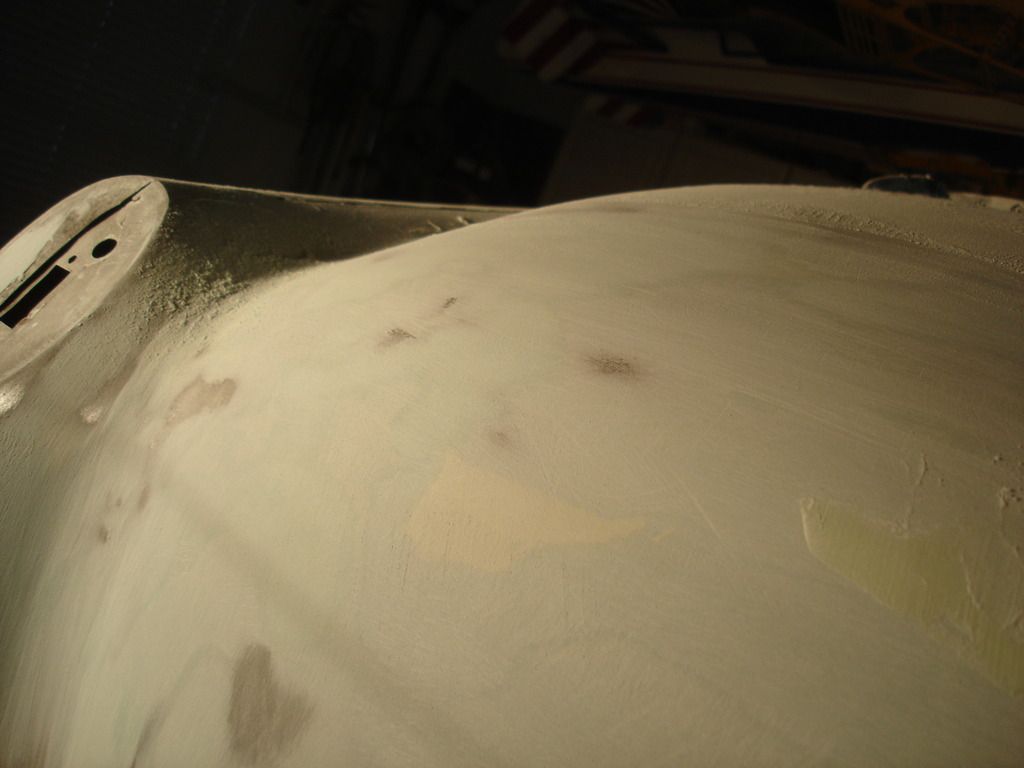
I also learned that I am still "old school" with the way I am using "guide coats". I always layed the contrasting guide coat first...so it is under the following primer coats. I use it as a tell for when I have sanded far enough...a marker to prevent hitting the bare metal. The more common use of guide coats is to spray a thin contrasting paint OVER the primer...then sand until the guide is gone. I can see the advantage of...well...either method. The cool thing is they are not exclusive. So you can actually use both techniques at the same time. An under guide coat to prevent sand through, and an over guide coat to tell you when you have sanded everywhere without missing any spots.
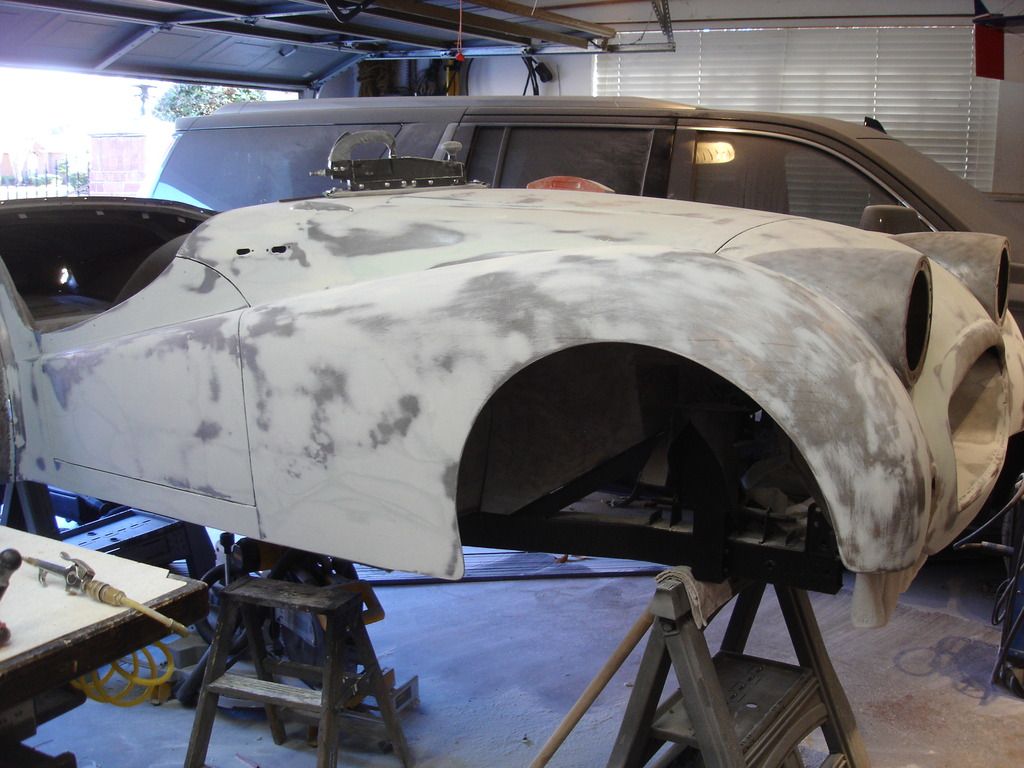
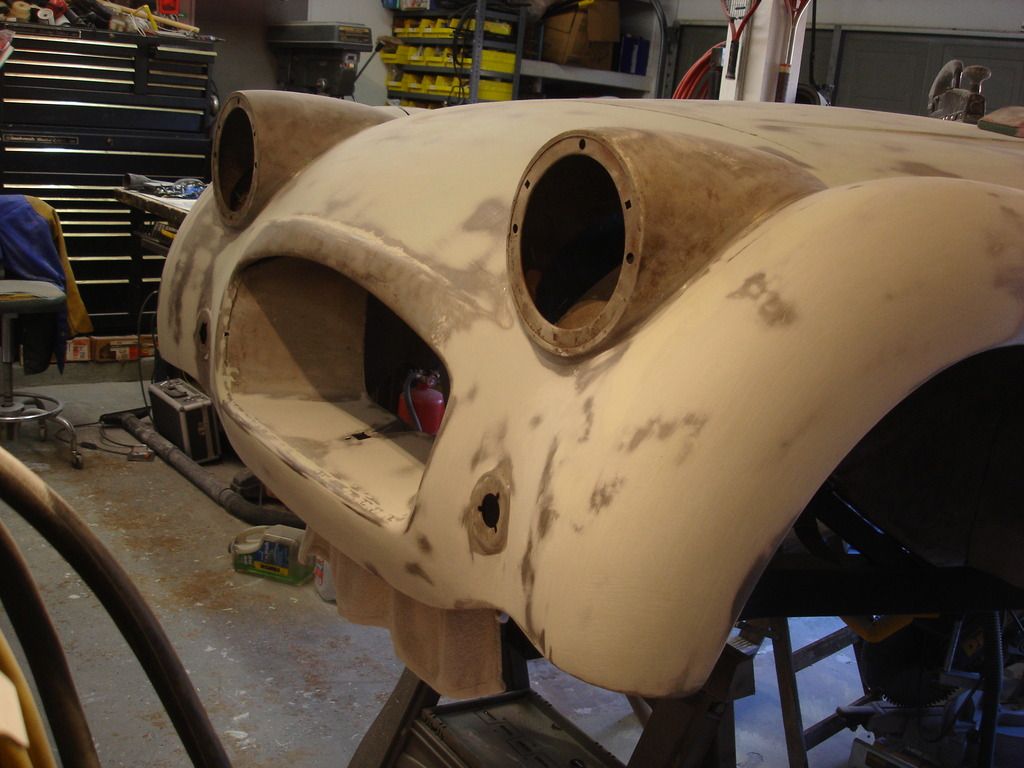
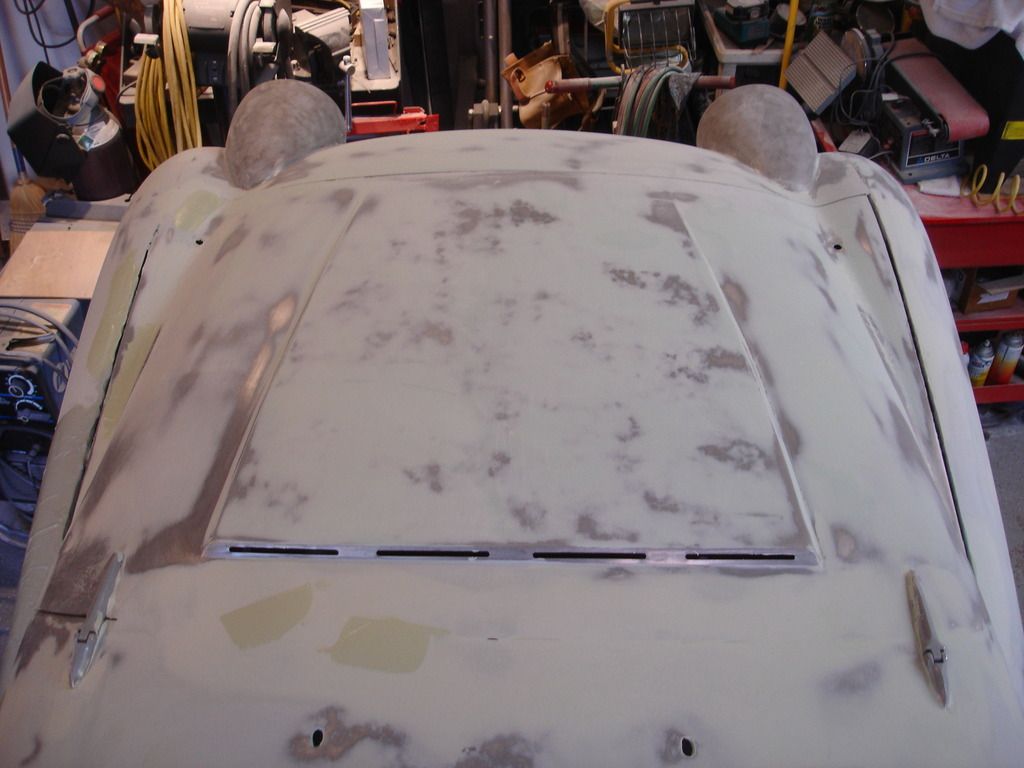
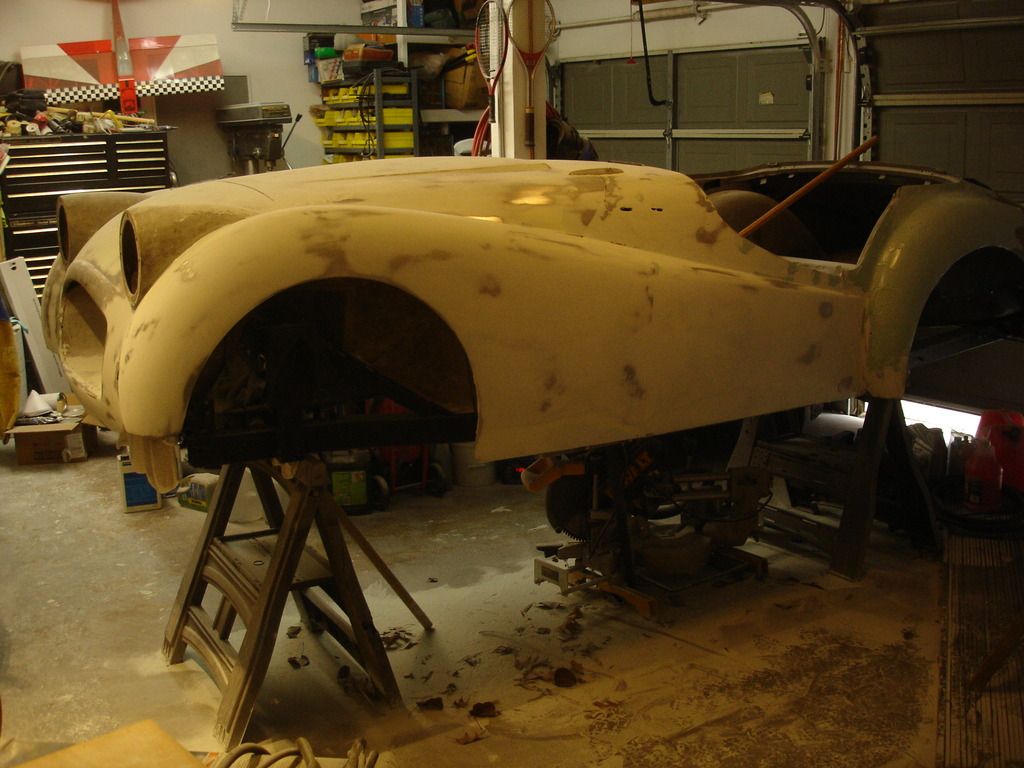
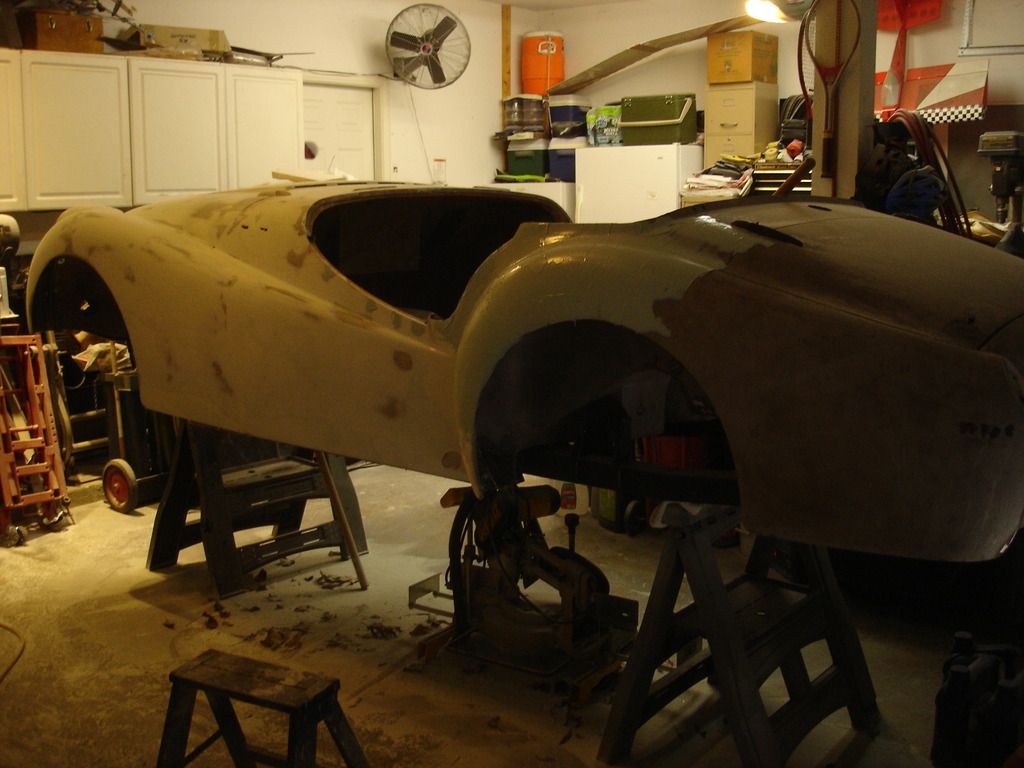
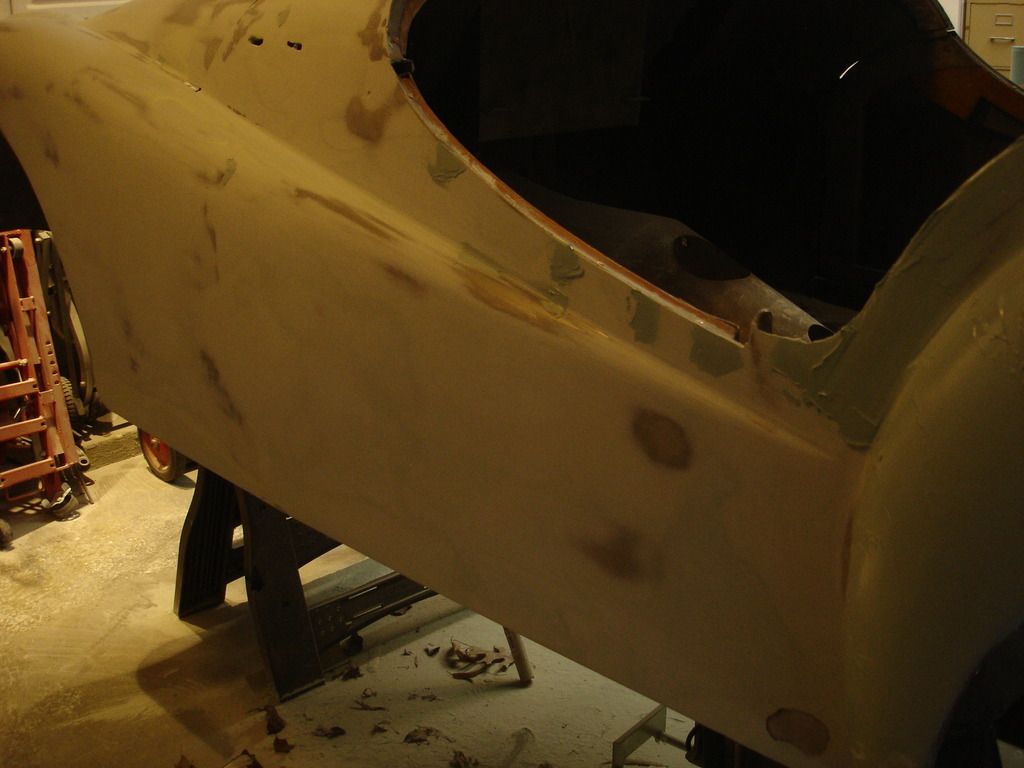
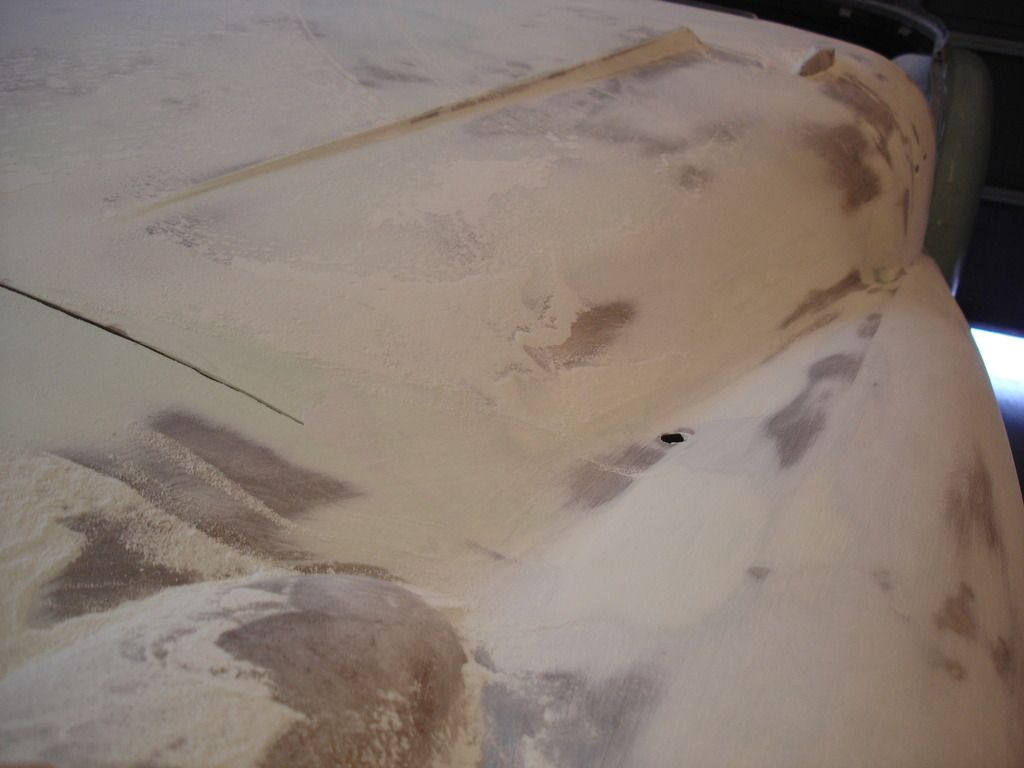
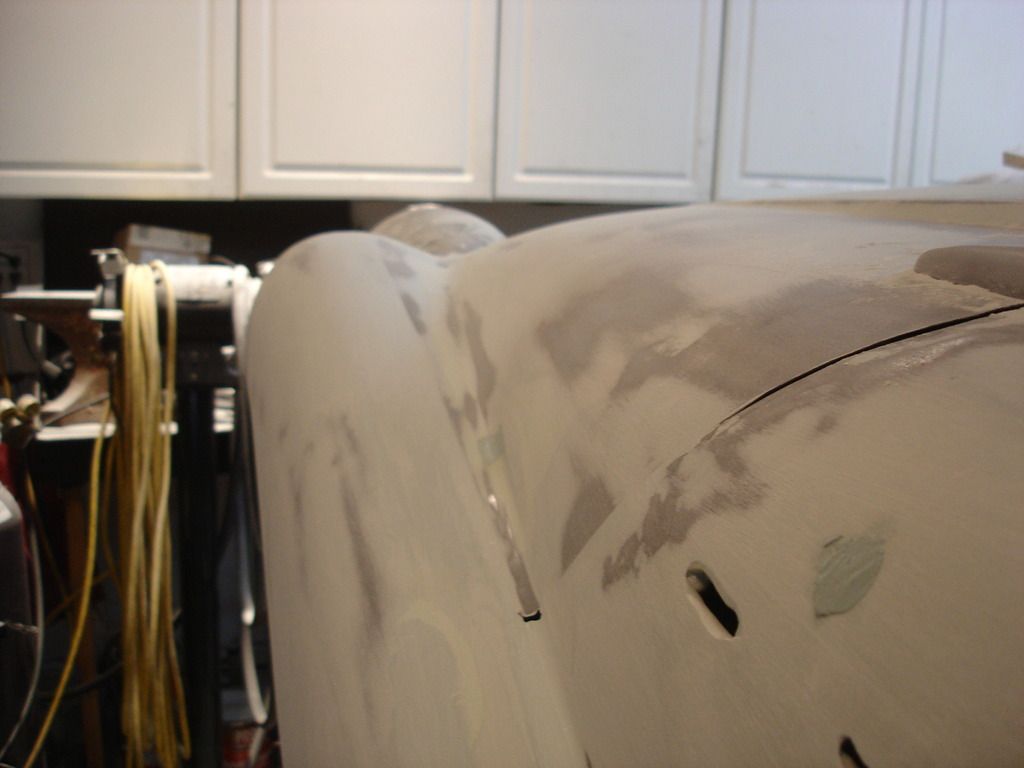
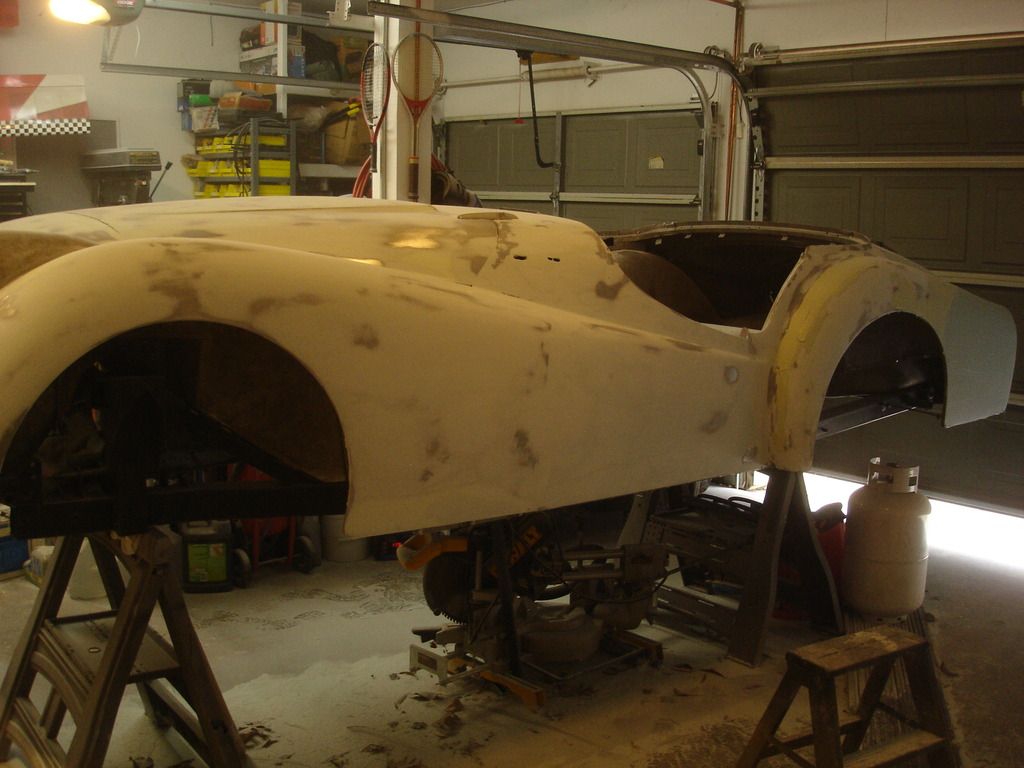
I'm still unsure if my way is truly old school, or more of a "show car" technique. As you guys will see, my methods are going to be very time consuming. But the results will be worth the time spent. Here is the general plan:
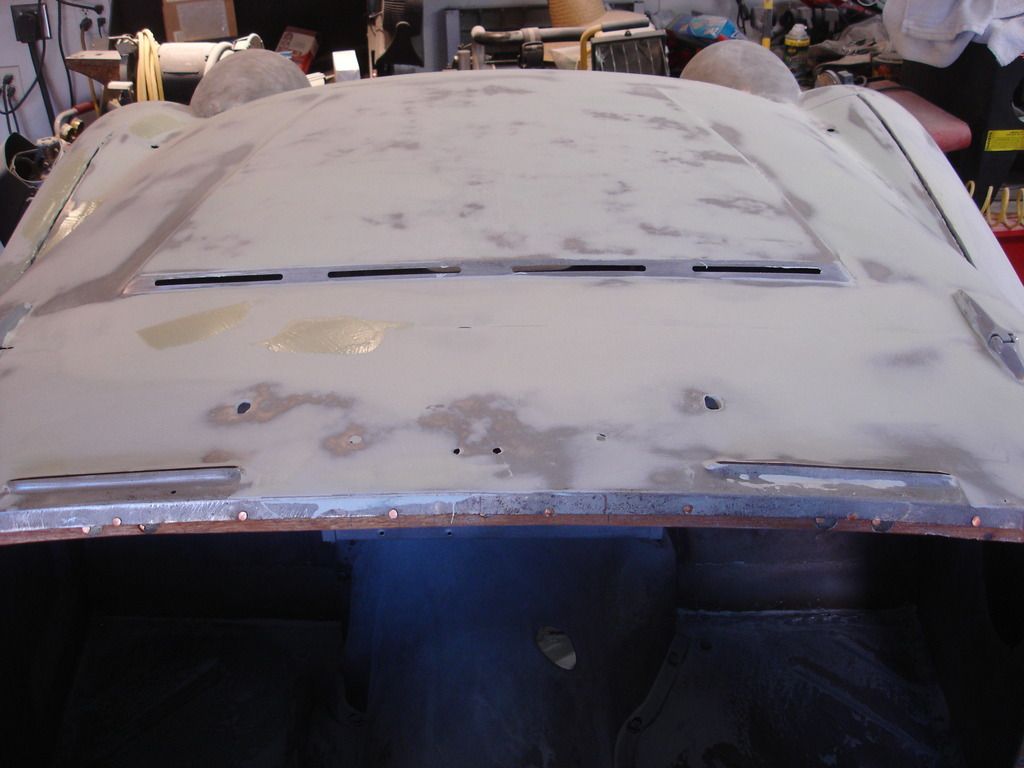
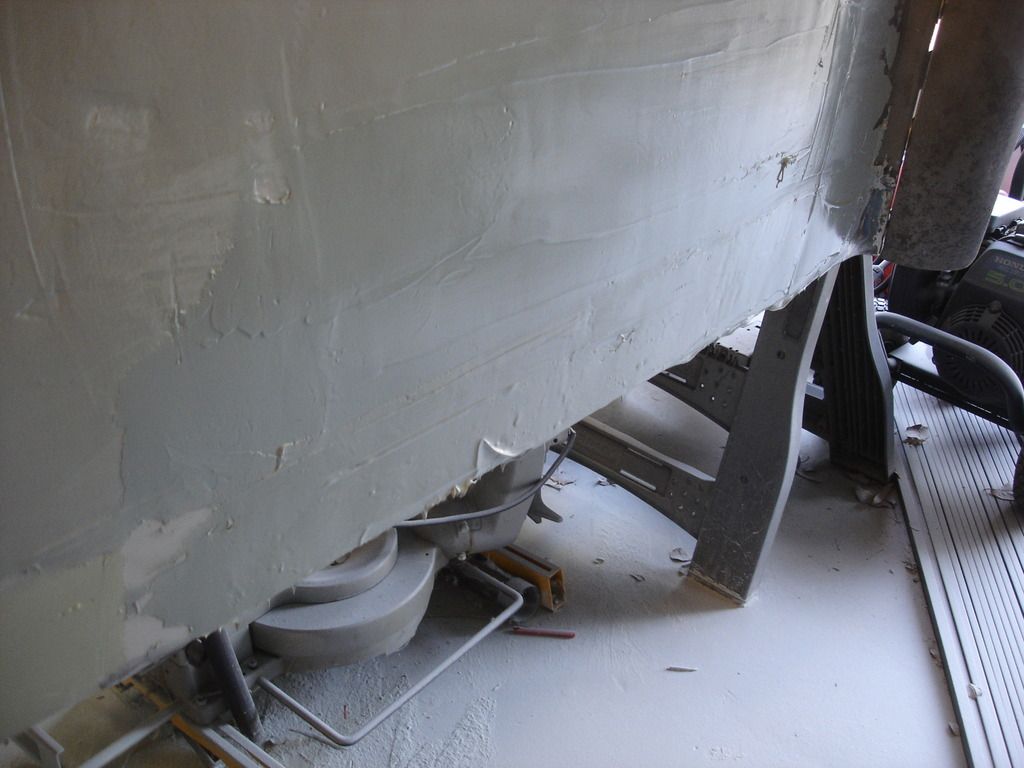
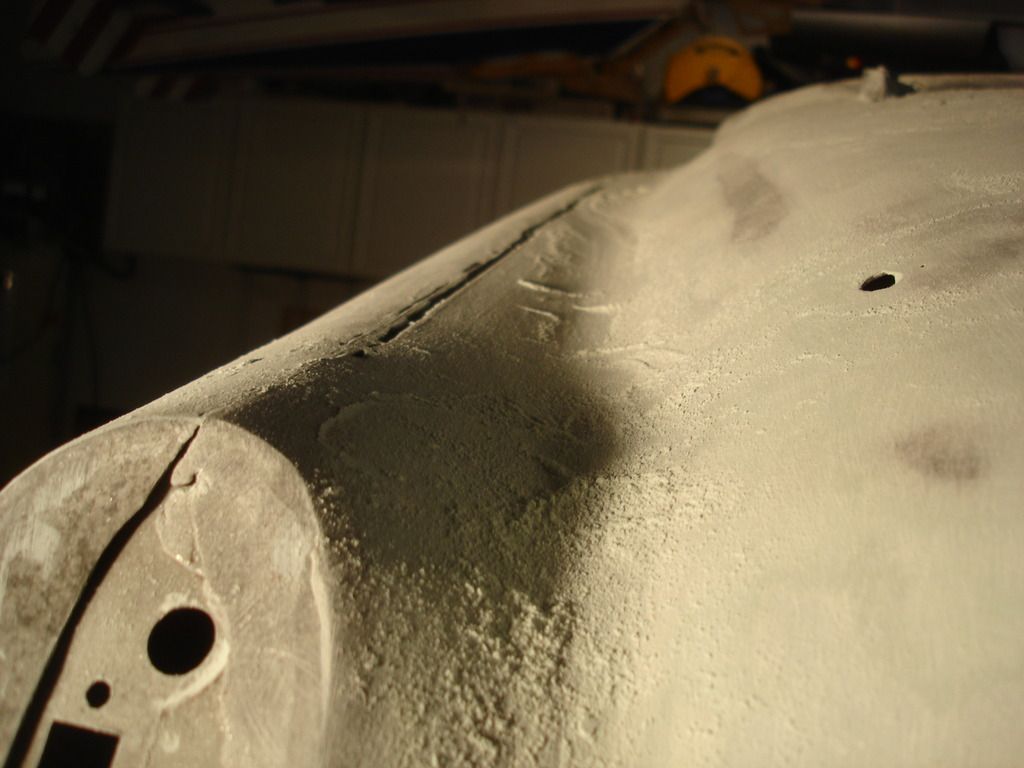
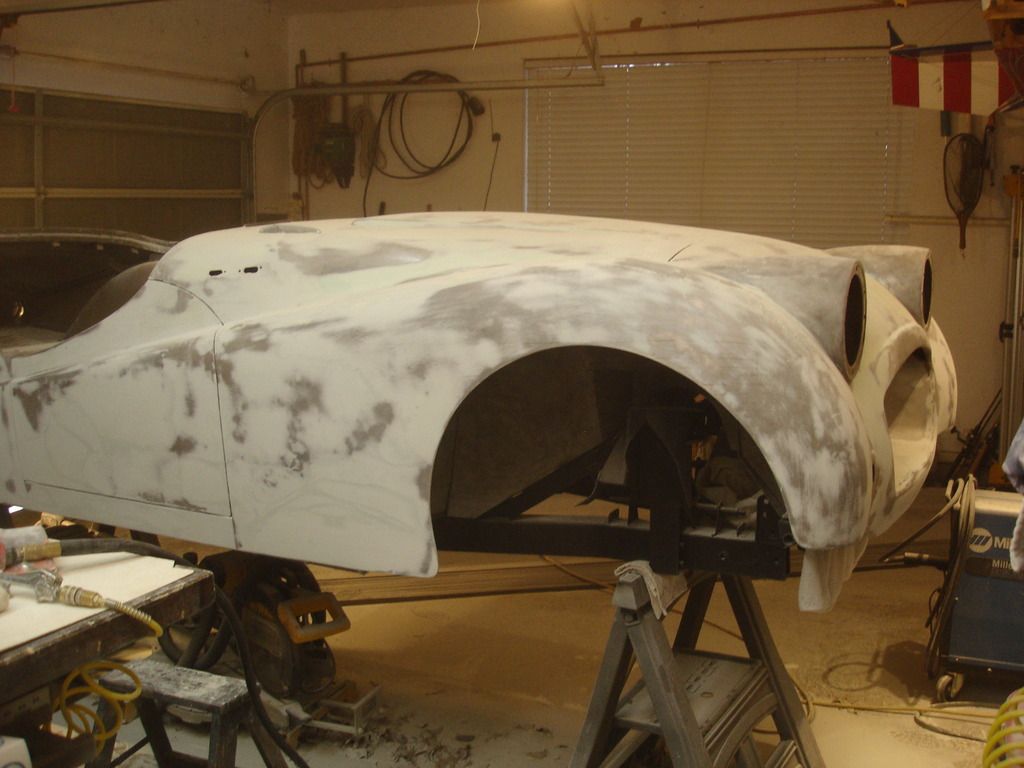
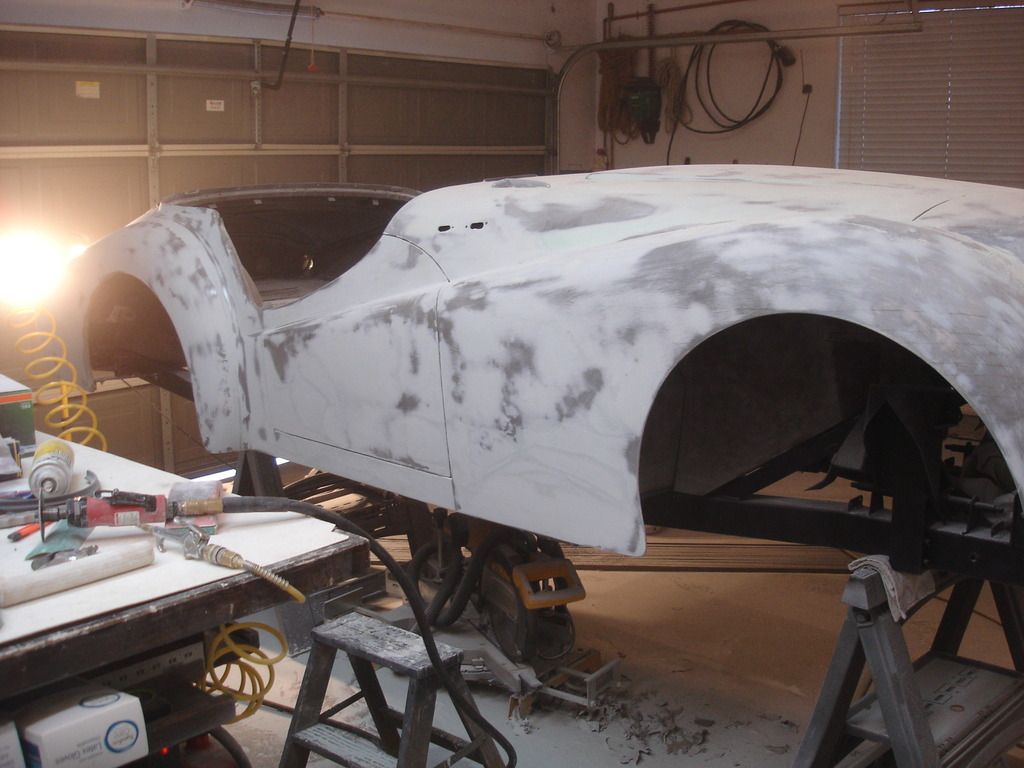
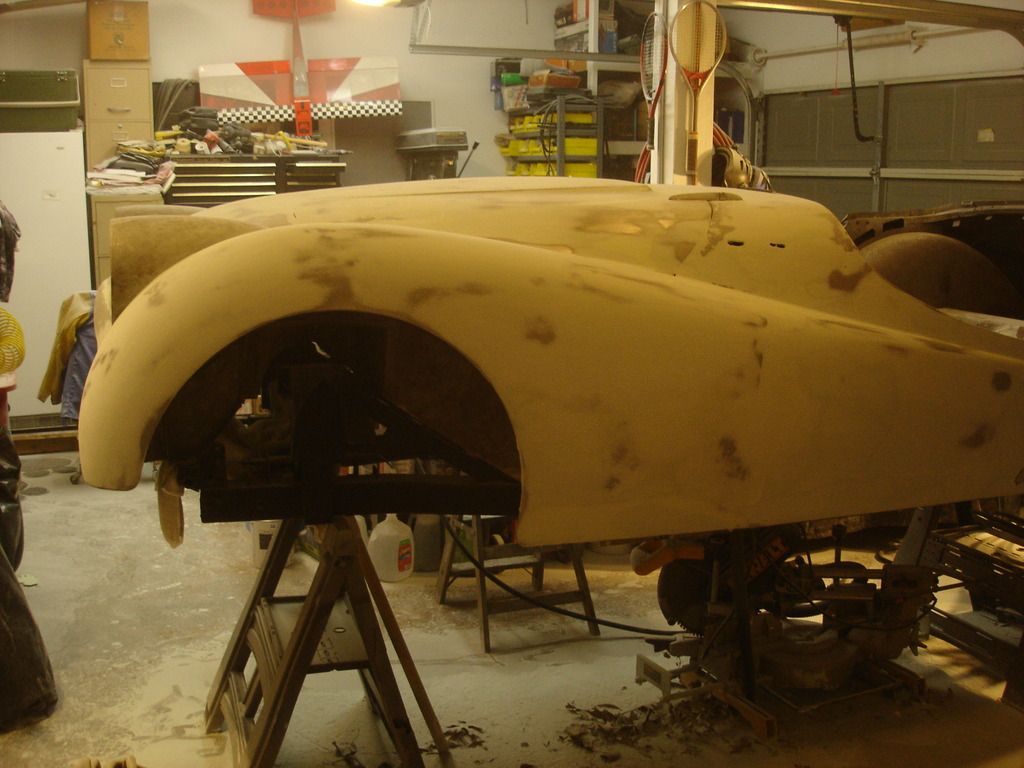
1). Once the body is leveled (i.e. Filled and sanded smooth), I will take the panels back apart.
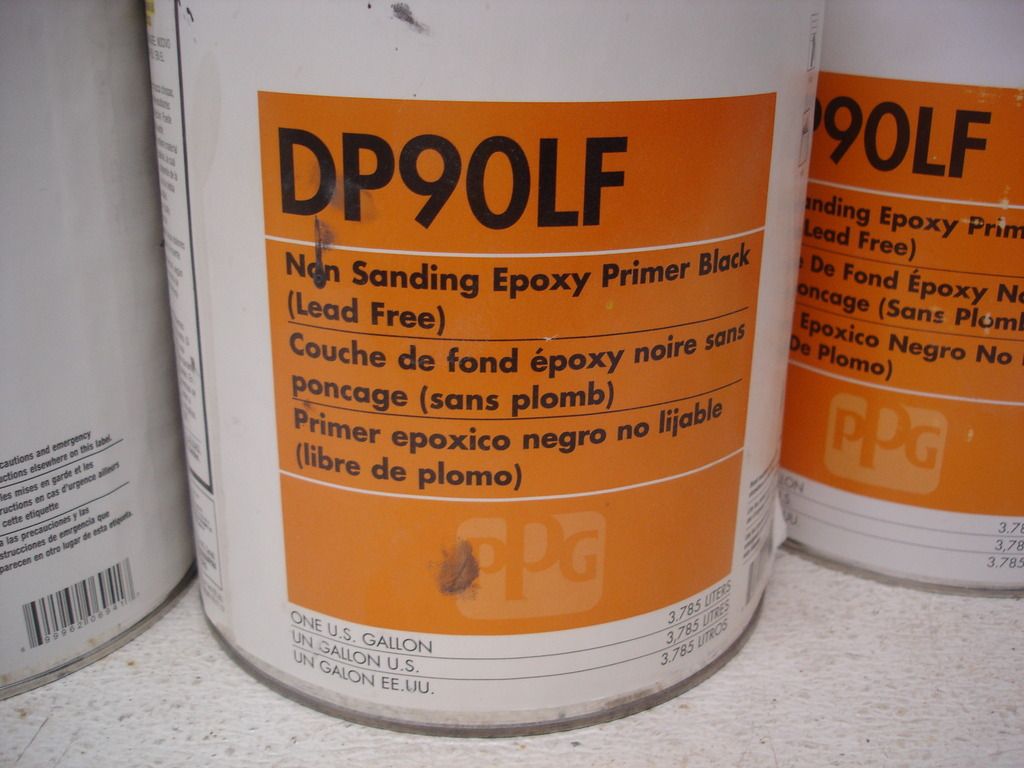
2). I will then spray each panel with black DP90L epoxy primer, front, back, and inside.
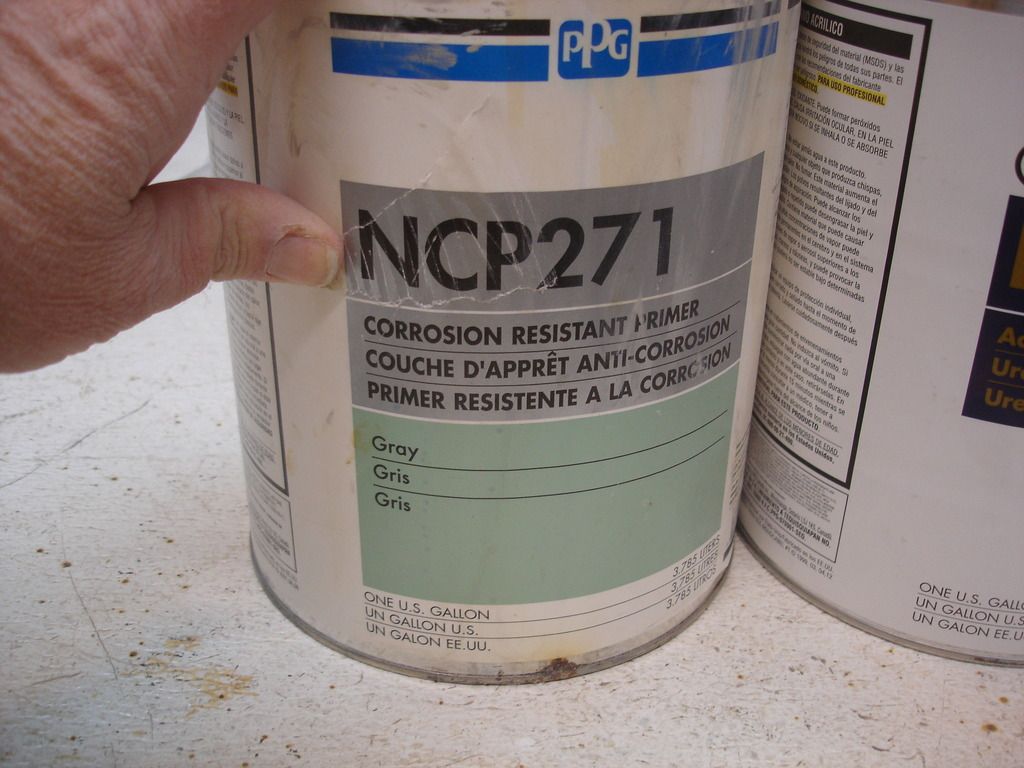
3). The front of each panel will be sprayed immediately with light grey epoxy primer over the DP90L.
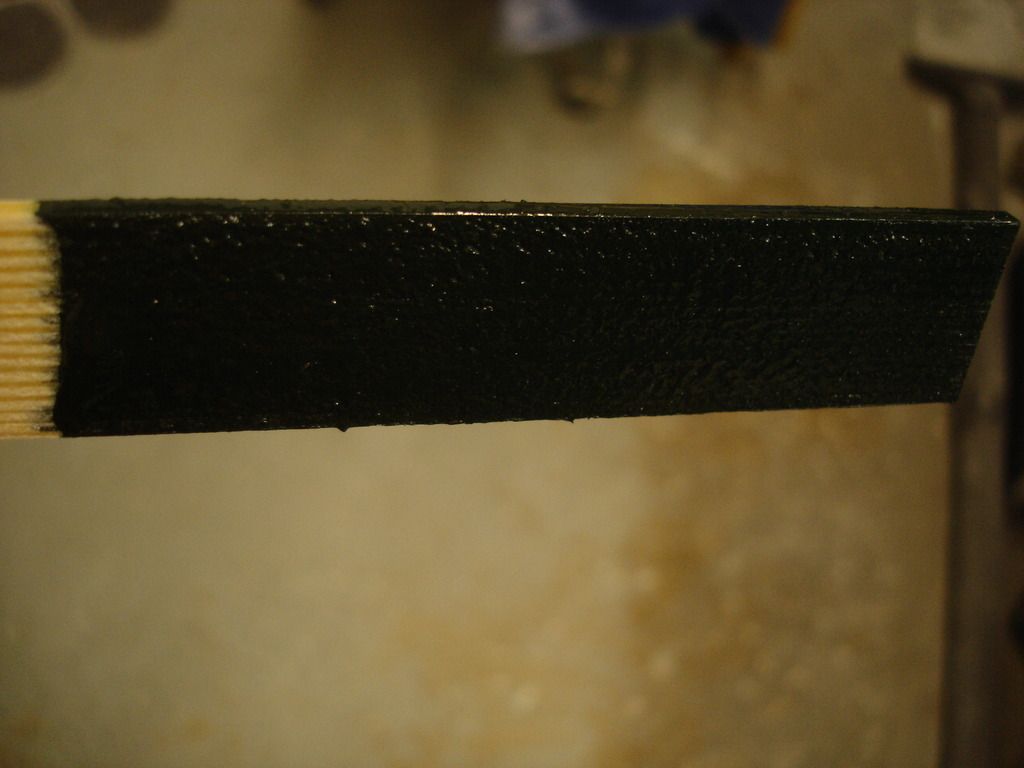
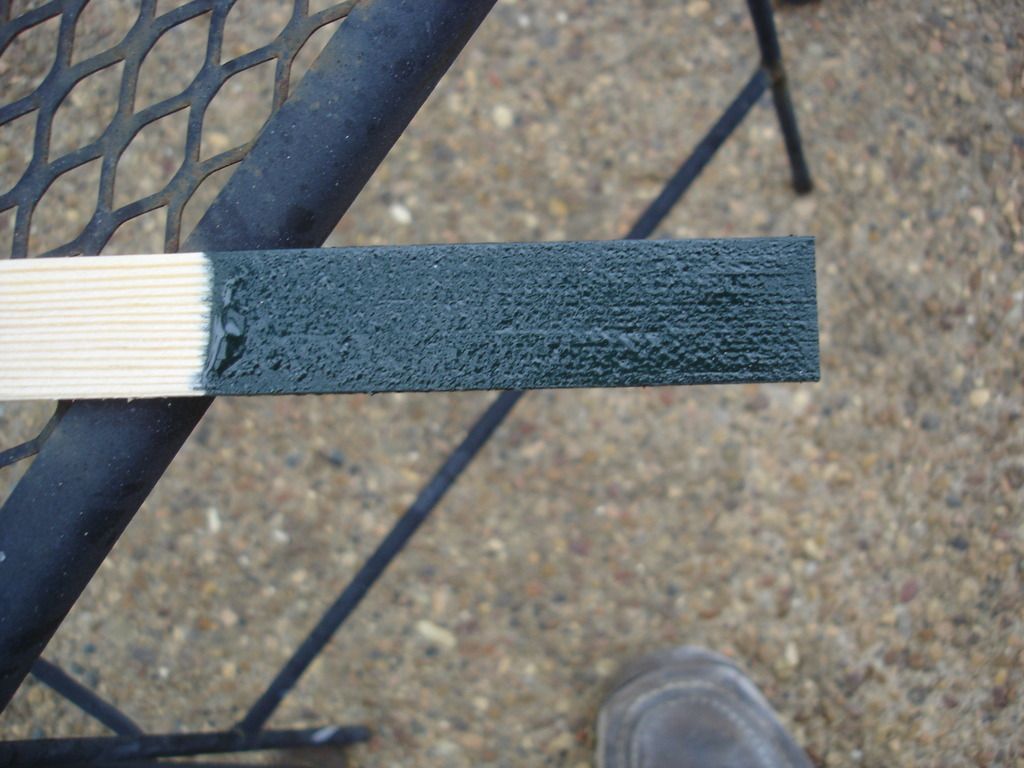
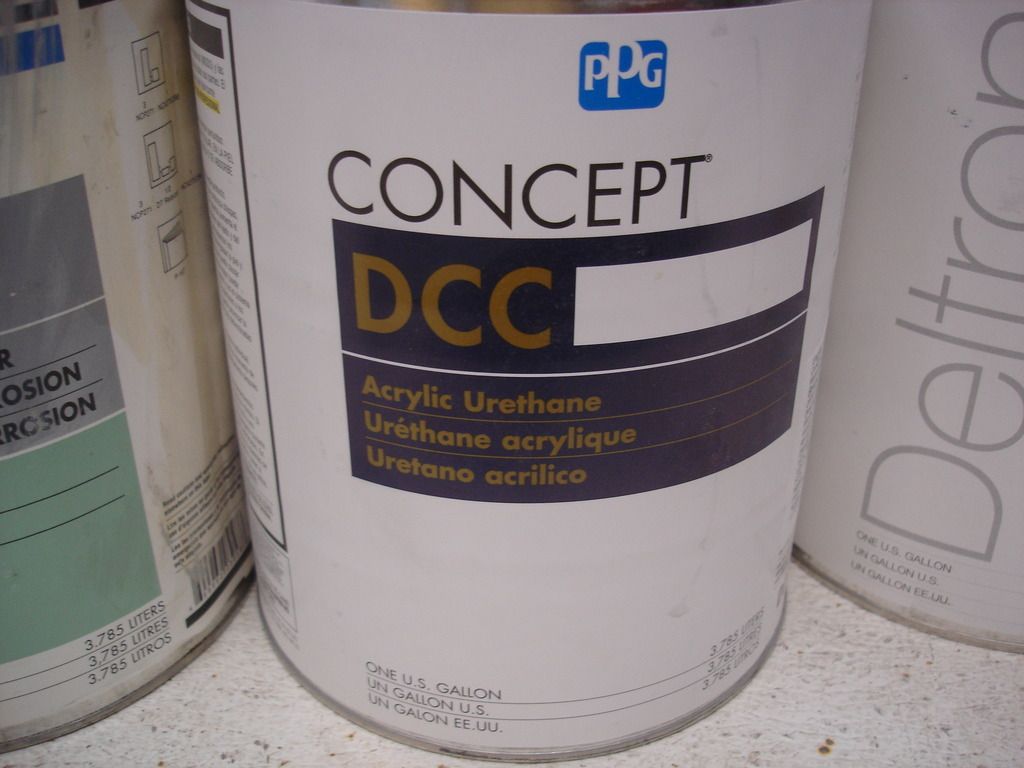
4). The back, bottom, inside, and engine bay of every panel will be immediately sprayed with the DCC one step urethane Racing Green.
5). I will let the body parts sit for at least several weeks allowing all the coats to cure fully while I build up the chassis.
6). I will reassemble the body back on the frame. Once together the first wet sand will take place with 220 grit paper.
7). I will then spray black epoxy primer and wet sand again, this time with 400 grit paper.
8). The black primer will be resprayed and wet sanded until I am completely satisfied that the entire car is level...with no highs or lows at all.
9). Only then will the final DBC base coat be sprayed, followed immediately by the DCU2002 clear coat.
My goal is to reach step 4 by next week. The final exterior paint goal will be early spring. I guess that means this thread will be coming to a conclusion here within a couple months. Hard to believe! It seemed unending when I started it last year.
I do plan to have a shorter thread on chassis assembly starting up as this thread dies down. Anyway...just writing out loud as I try to organize the home stretch.

 Hi Guest!

 smilie in place of the real @
 Pretty Please - add it to our Events forum(s) and add to the calendar! >>

