Hey Guest!

 Hey - did you know if you click on the title of a thread it will take you to the first unread post since you last visited that thread?
 but were afraid to ask:
  STOP!! Never post your email address in open forums. Bots can "harvest" your email! If you must share your email use a Private Message or use the
  smilie in place of the real @
 Pretty Please - add it to our Events forum(s) and add to the calendar! >>
OP

Offline
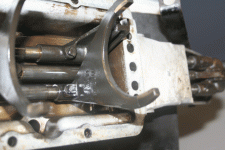
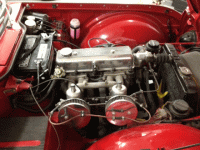
TR3driver said:Once the head is twisted off, you have to drill through the pin inside the shaft to get it to release.
Exactly. That's where my shop is at present: Staring at the smooth portion of the setscrew jammed into the shaft, with that hole they drilled through it, jammed so tight it's as if "welded" into the shaft.
The shop fully expects they'll get it out, but there is some head shaking that this will be necessary for all three setscrews, carefully drilling each time and hoping not to damage either the threads or the shaft.
Furthermore, when they drilled through the setscrew (or pin, but it's really not tapered) the fork still couldn't come loose until the upper part of the setscrew broke in half from a sharp blow applied to the shaft. Prior to then, the setscrew just sat nicely in place with a hole drilled through the middle. Neither an "easy out" nor any similar tool was able to extract the setscrew.