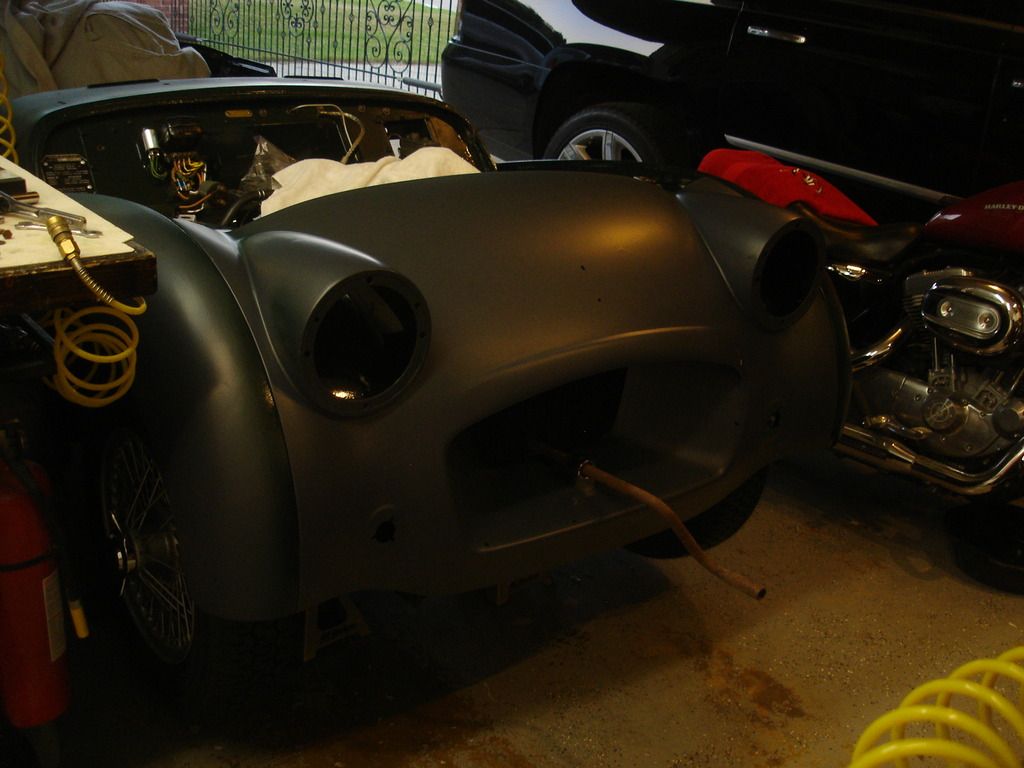
Well, I'm back, ready for the body work again. Let's show where I am at the moment...


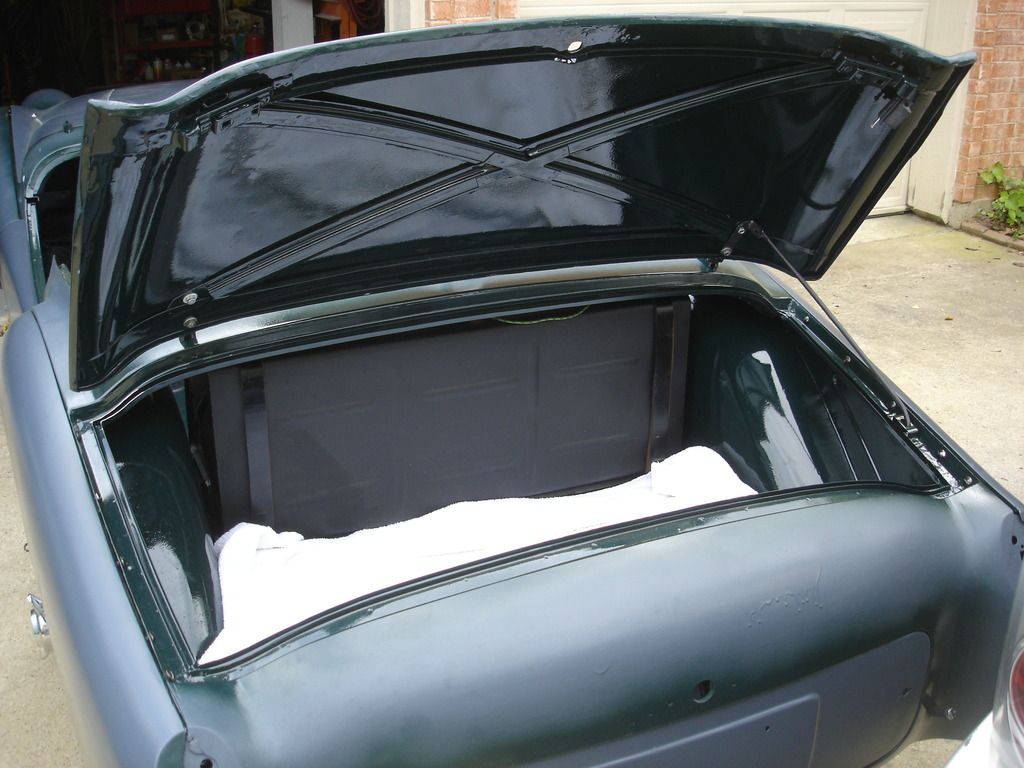
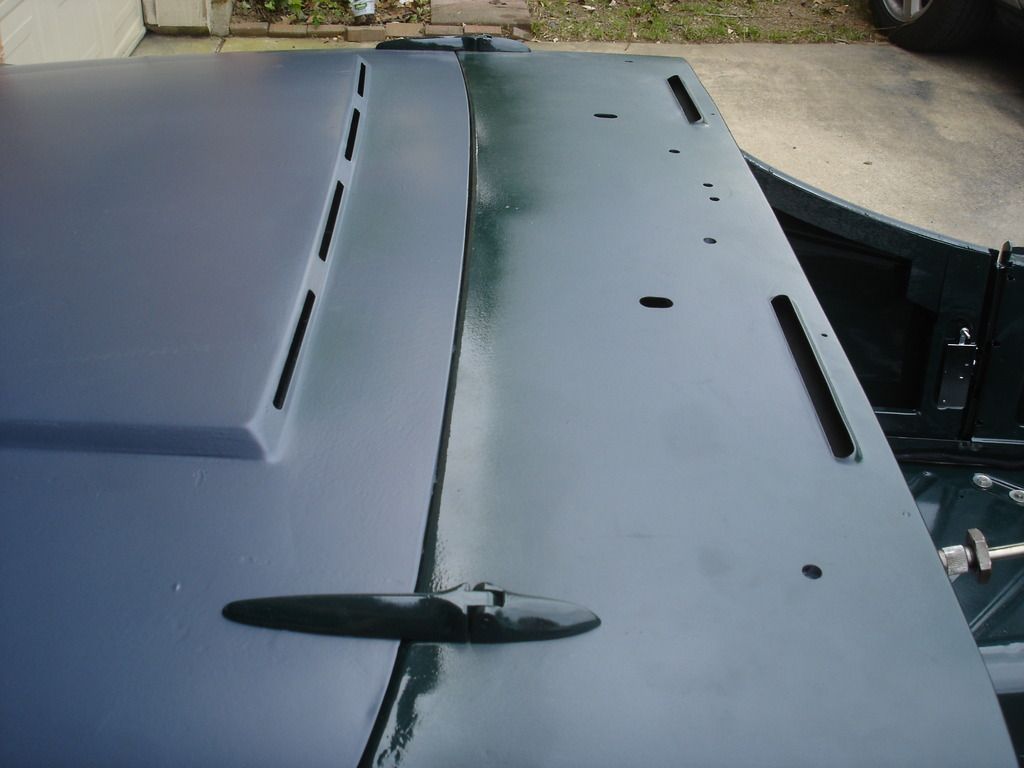
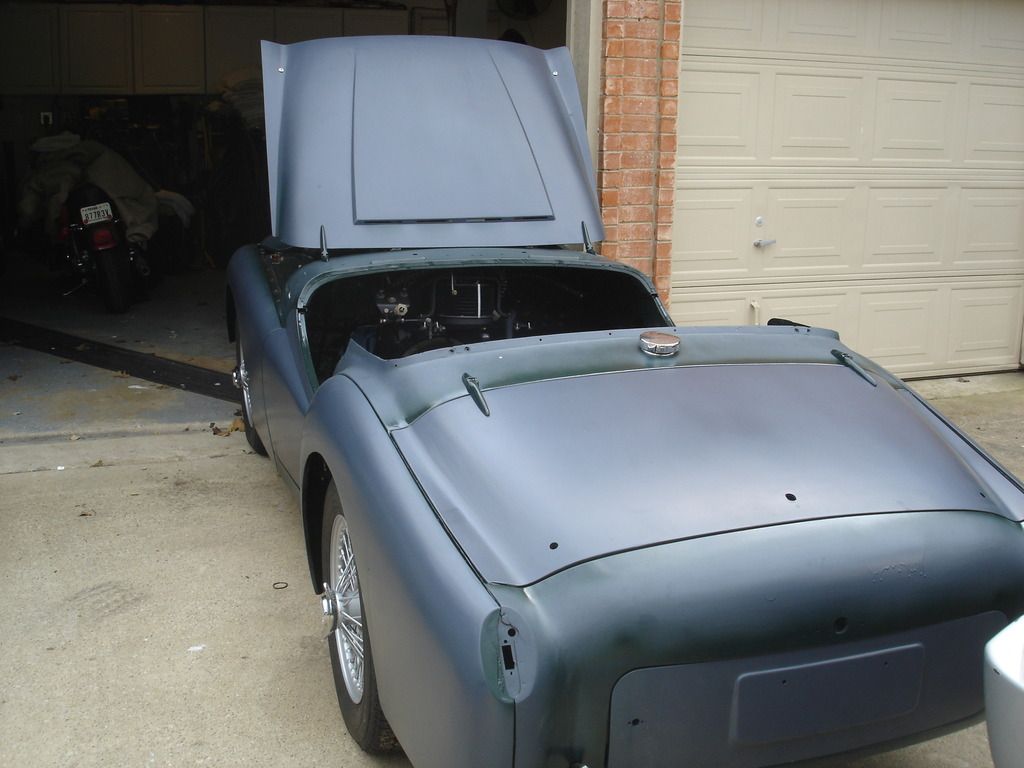
Here she is...taking the first little trip out of the garage in over 4 years! The body panels are back on, although they are not cinched down yet. That will come after the final prepping, when the beading is installed. Let's take a quick walk around.


So, after a 3 month break, let's get back to work on a decent paint job. To recap, all the panels are sealed with an epoxy primer, followed by a high build urethane sandable primer.
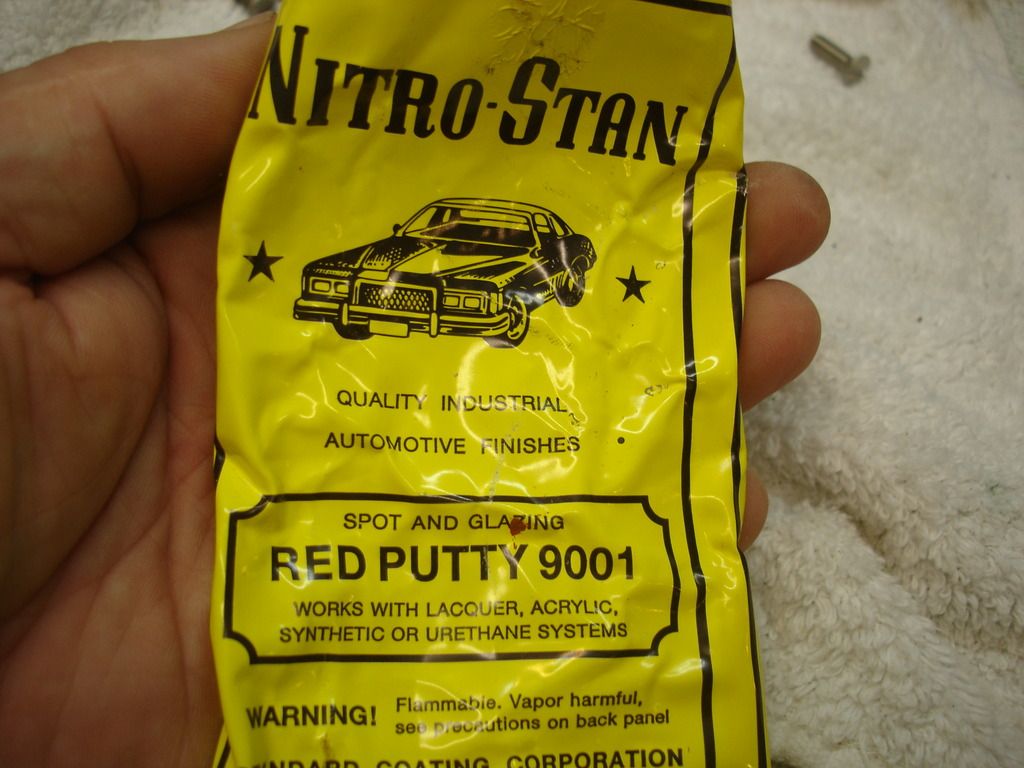
At this point there are a lot of little blemishes...and a ton of little pin-holes. We will start by filling the obvious flaws with a spot putty. This is the type I started using in Louisiana over 40 years ago. Every time I meet a new paint supply rep I ask what the best spot putty is...hoping that some new fangled super great stuff is available. They still unanimously recommend this! Hard to believe, but the old school putty is still the best going.
Things to remember about using this putty. First, it will actually soften ANY paint it it layed on, so it actually bonds to it. It WILL destroy good paint if you accidentally get it on a finished paint job, so beware. Secondly, it is a one part putty, so it does shrink. Put it plenty proud of the surface you are working on. Finally, allow overnight to harden. It will frustrate you to no end trying to sand it within a few hours of application. When dry it sands beautifully. When still soft it balls up and makes a mess.
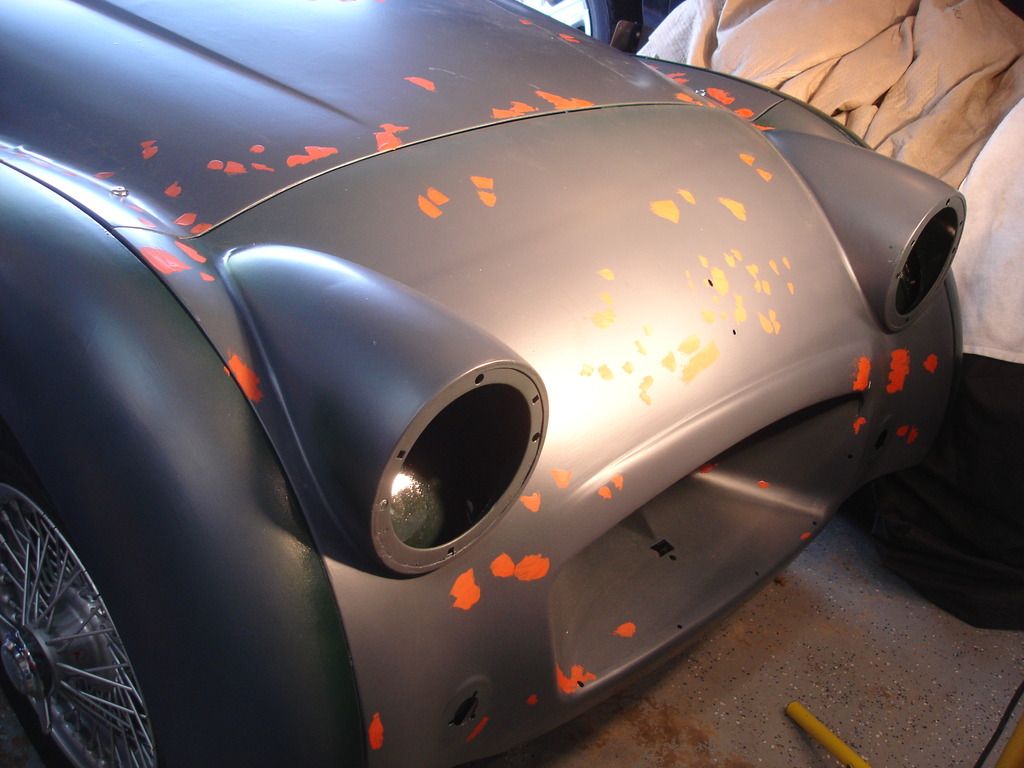

Here is how to use it...
Use a small putty knife or squeegee. Anywhere you see a low spot...smear the putty over it. Any pin hole...smear it in. I will allow this to dry for a couple days...and then we'll get busy sanding.

 Hey Guest!