• Hi Guest!
    You can help ensure that British Car Forum (BCF) continues to provide a great place to engage in the British car hobby! If you find BCF a beneficial community, please consider supporting our efforts with a subscription.

    There are some perks with a member upgrade!
    **Upgrade Now**
    (PS: Subscribers don't see this gawd-aweful banner
Tips
Tips

TR2/3/3A Beginning the TR2 Bodywork

Thanks, guys.

I finally got up the courage to ask permission to move the tub in the house for a couple months. Wife agreed, so the Triumph is moving in (sweet talked her by explaining either it comes in or her car moves out of the garage). The thrill of working out of your garage!?! Next project I will have a shop like you built, JP!
 
Smart man, John, asking permission after the tub is painted and looking so clean and purty. It is a thing of beauty. To me, putting the paint over all the body work you did is the best transformation of all, as it suddenly looks like a perfect body that was right from the start! Everything looks really nicely done. Thanks for sharing all the photos and information.

Dan
 
A friend in England rolled up the Dining room carpet and started to strip his motor cycle while his wife was at work. By the time she got home it was too far along for her to do much about it. He said at least it is not the Morgan and I did roll up the carpet.

David
 
That's funny!

In Air Force pilot training my Camaro engine died, so I rebuilt it in my bedroom in the apartment I was living in. I later discovered that military bases have really cool auto-workshops. Who knew?? Getting a family put a damper on things like motorcycles and car engines in the bedroom, though!?!

In general the wife is pretty supportive, as she knows it'll look good in the end and she'll get to ride in it!
 
Get some pictures of the Tr2 in the Living room. I mention it to my wife when she complains about the Tr4 in the garage.
 
I will trade your project in it current finished state for the lift!?!?

Thanks, guys.

I finally got up the courage to ask permission to move the tub in the house for a couple months. Wife agreed, so the Triumph is moving in (sweet talked her by explaining either it comes in or her car moves out of the garage). The thrill of working out of your garage!?! Next project I will have a shop like you built, JP!
 
My friend with the motor cycle in dining room had the nick name Darth Vader. He was always up to something strange. Had several Morgans including a very old 3 wheeler.

David
 
I have become addicted to this thread. Not sure if I can make the next few months without at least an occasional update from John...

I was planning to start the thread up with the frame assembly this week...but I am in Waikiki helping my oldest daughter out of a bind. I should be back on the job in a couple weeks...
 
John, I am 10 minutes from Waikiki so if you need anything give me a call. I have sent my contact information by pm.

Dan
 
A little follow-up before the tub went in the house.


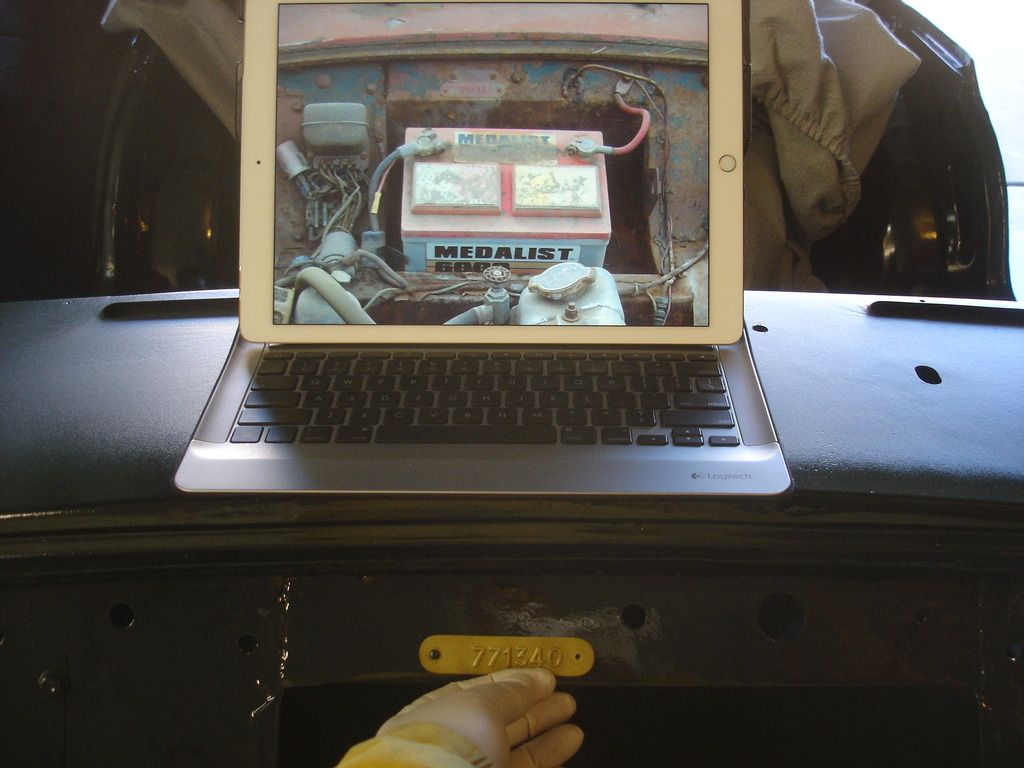
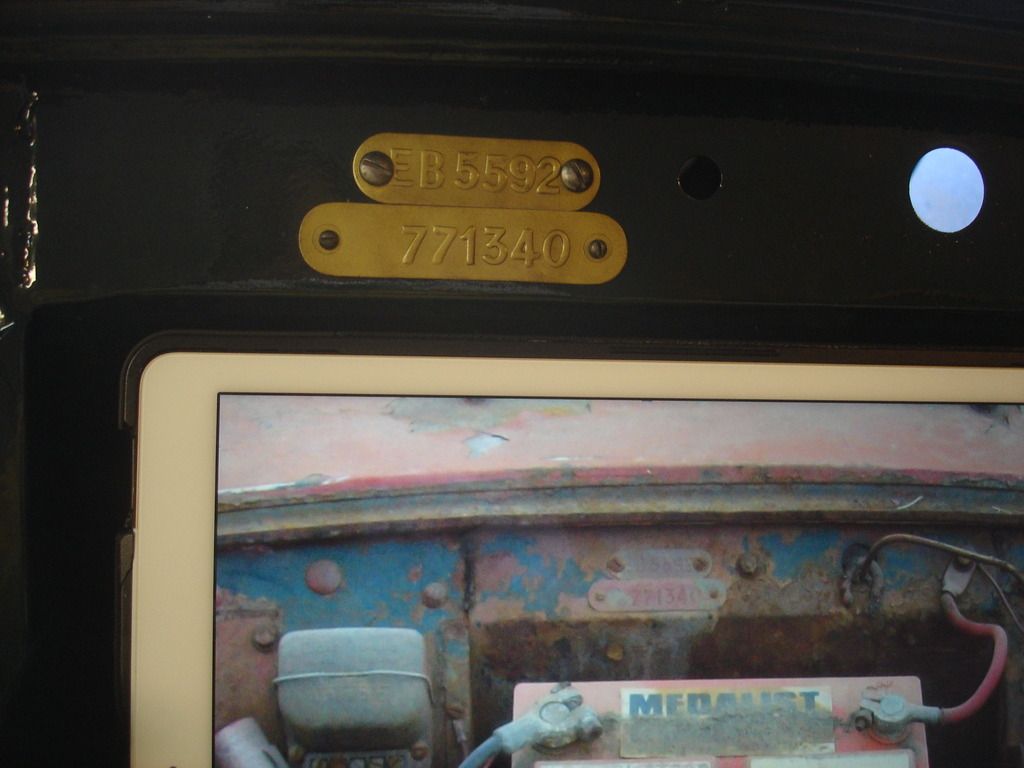
As with all big projects...some things get missed. I forgot the brass plates. The EB plate will have to be sprayed body color...rather "should have" been sprayed body color!?!


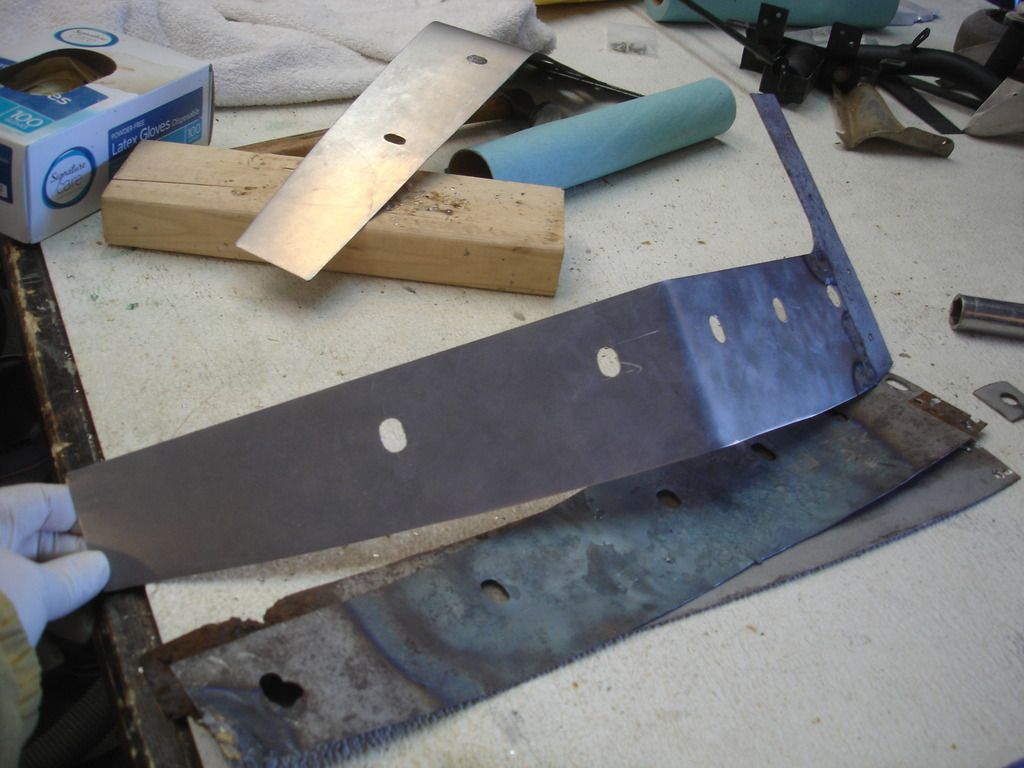
As I was clearing my bench these side sealing plates turned up. One was rusted beyond recognition, and the other was wadded up like a ball of aluminum foil. After a half hearted attempt to straighten the one...I decided it was easier to just fab them from scratch. I did re-use the upper pieces from the original seal plates.

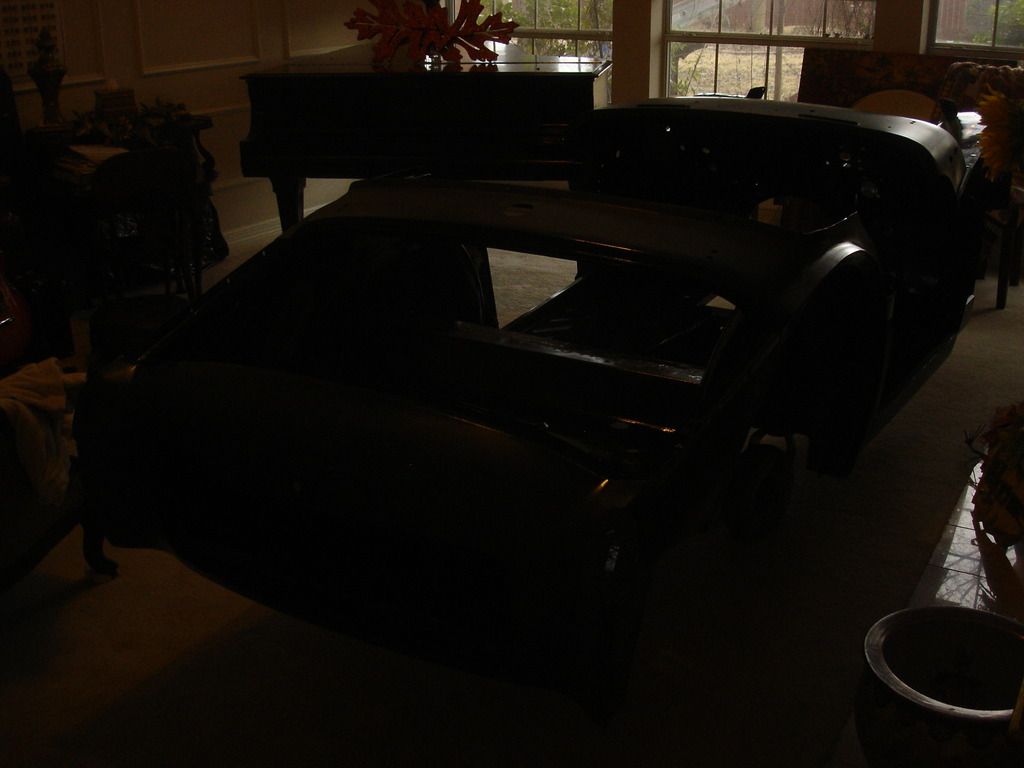
And...what everyone has been waiting for...


The Triumph in the living room!
 
Don't mind me. Just tidying up over here on this thread. It's almost time to move back in...so need to clean the cobwebs and dust a bit.

I am starting to re-mount the body panels again. This should be the last time, so long as I don't run into any snags.

DSC06045.jpg


DSC06044.jpg


DSC06043.jpg


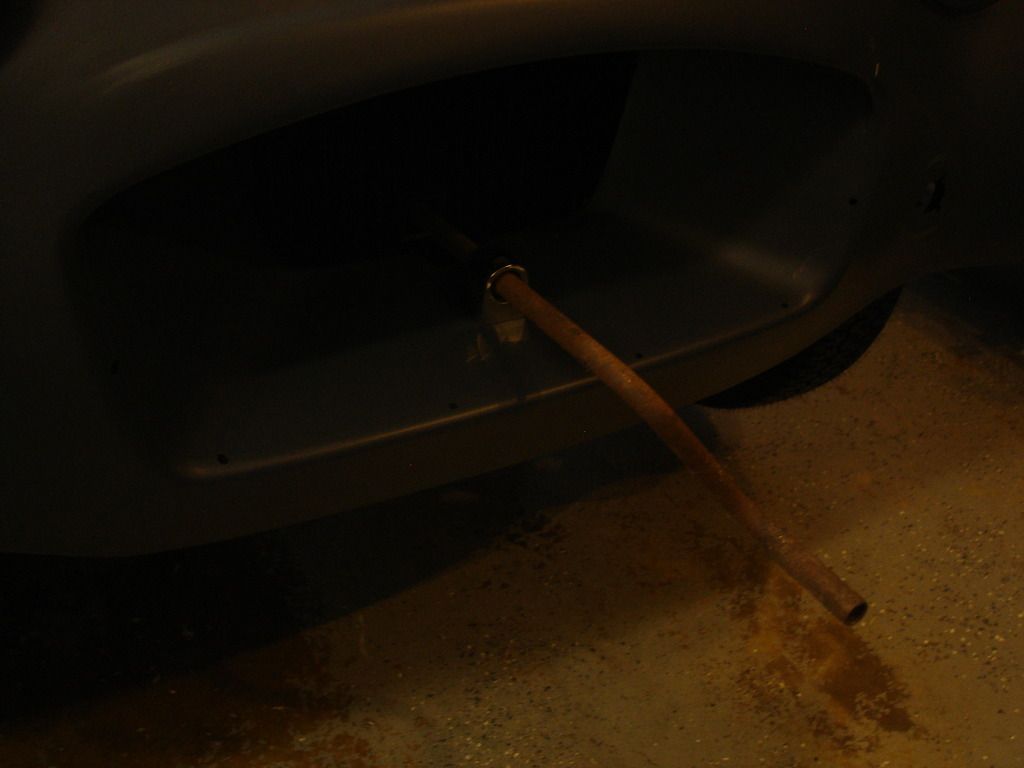
Here are some pics showing the front wings and front apron installed. One thing that I find amazing is that the rusty old crank is the original. Everything this car has gone through...the abuse and neglect...and the original crank was still in the boot!

So, just unloading a few boxes of pics. I'll be moving back here shortly!
 
Last edited:
Well, I'm back, ready for the body work again. Let's show where I am at the moment...


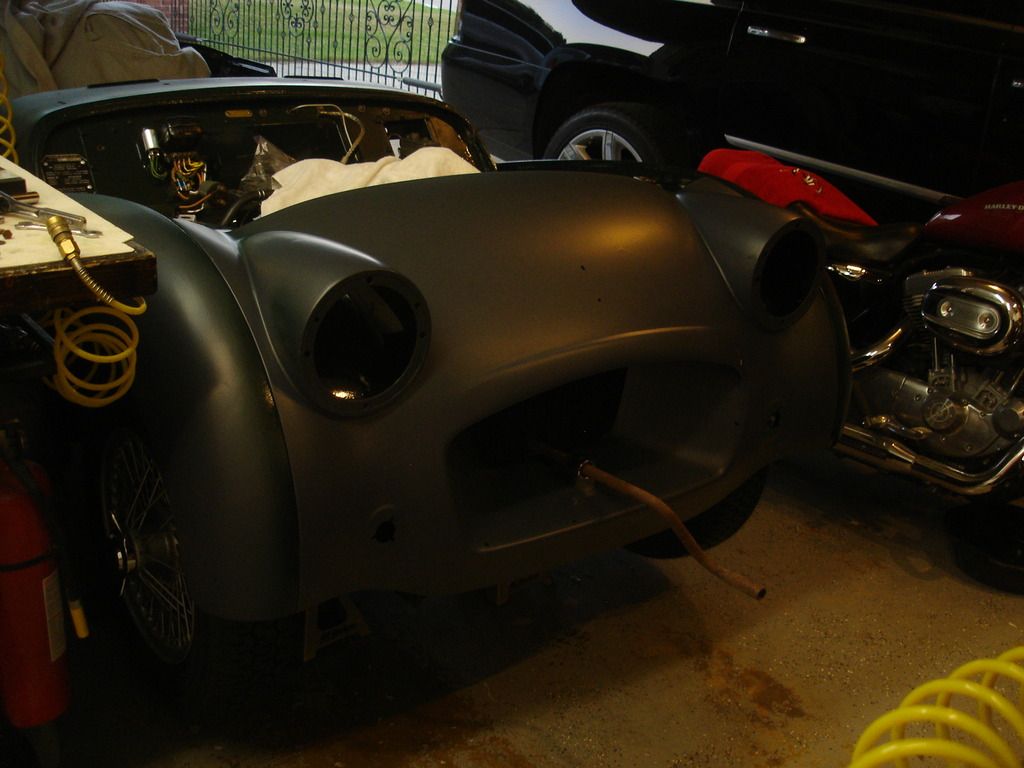
Here she is...taking the first little trip out of the garage in over 4 years! The body panels are back on, although they are not cinched down yet. That will come after the final prepping, when the beading is installed. Let's take a quick walk around.


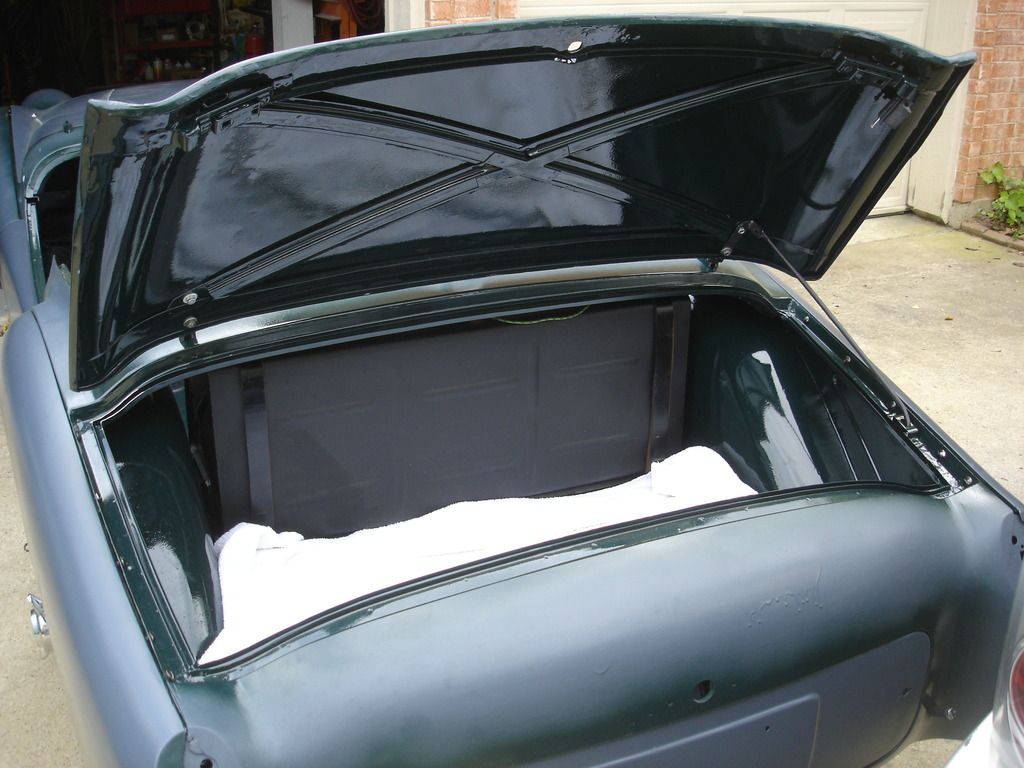
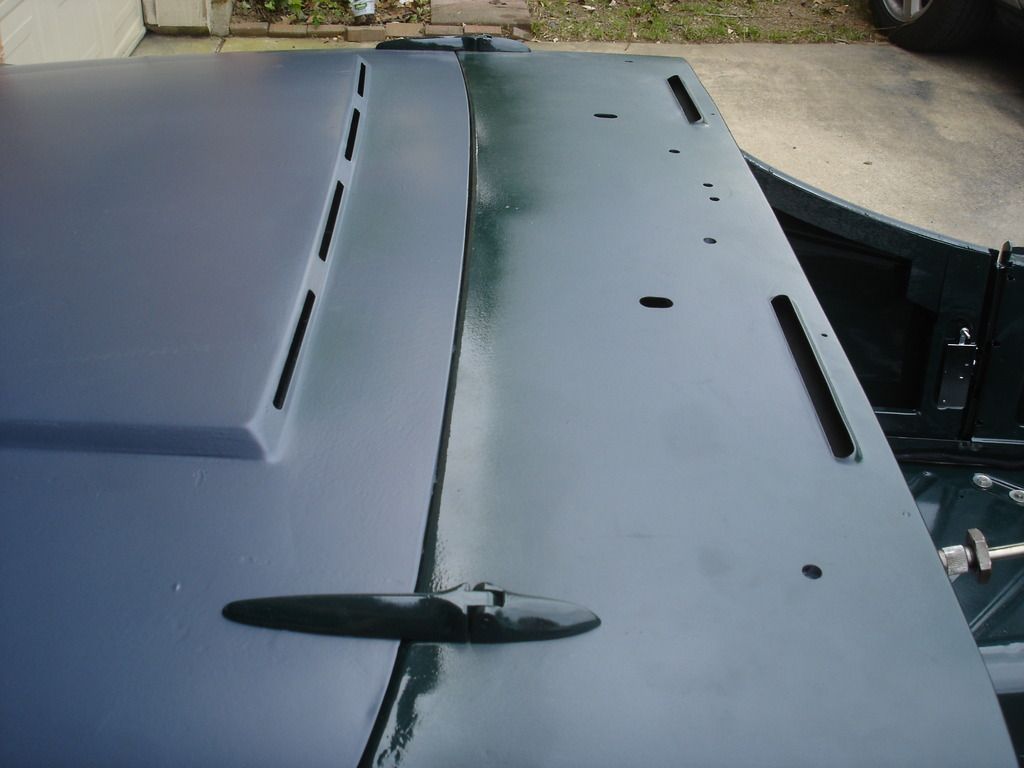
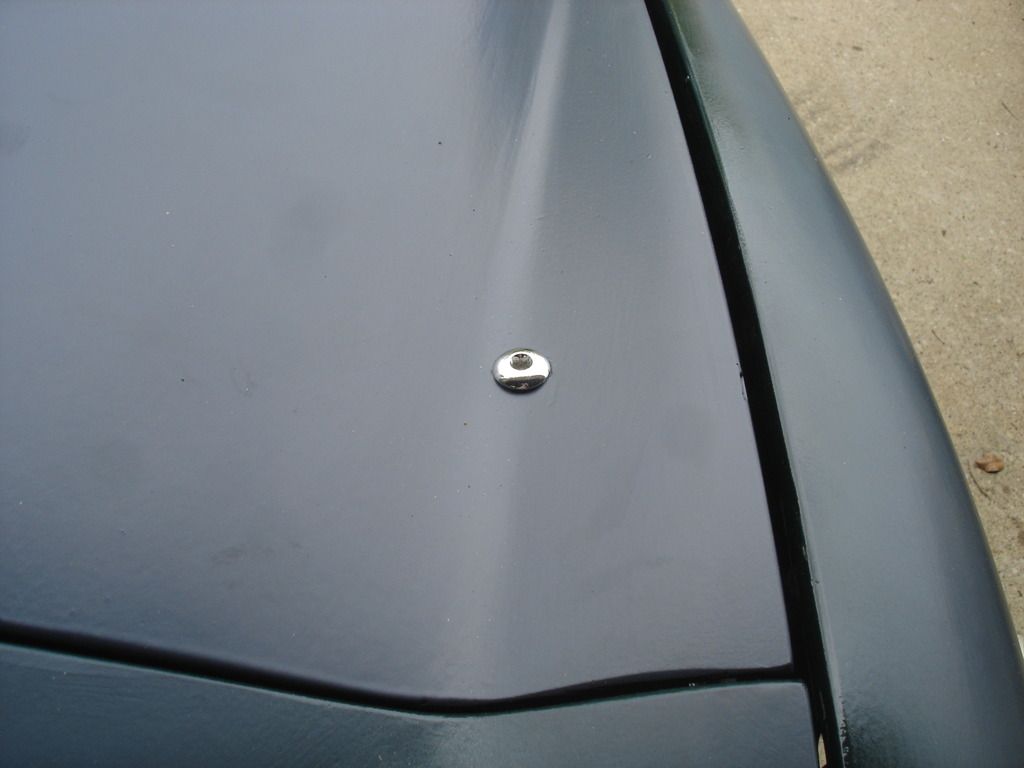
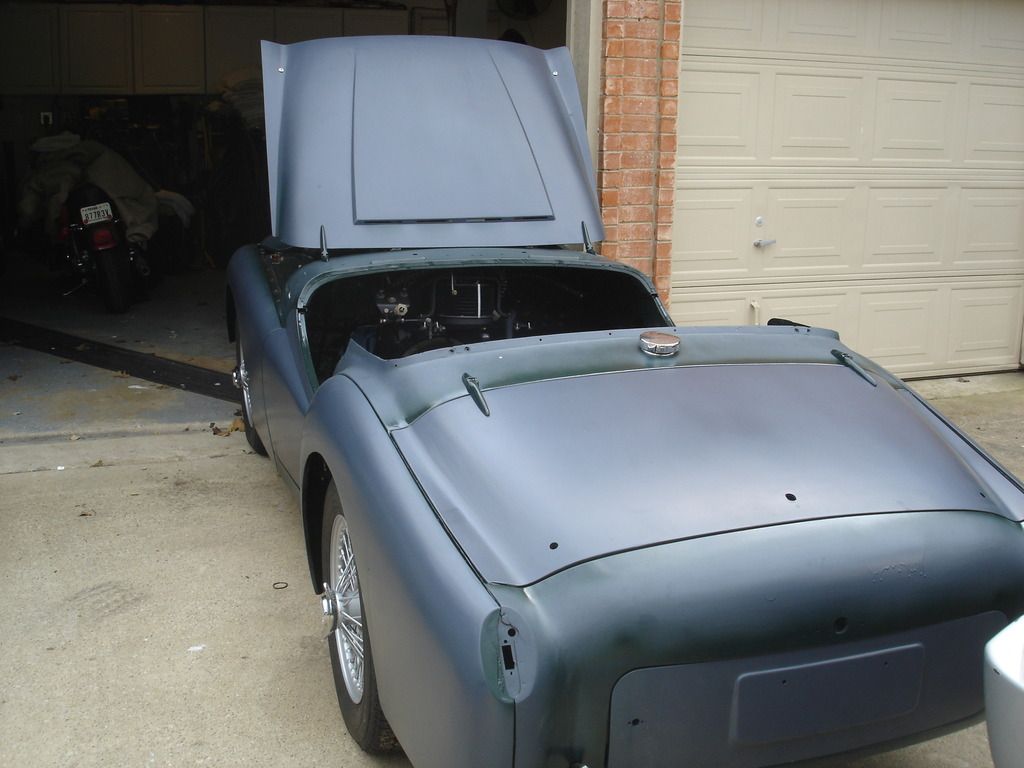


So, after a 3 month break, let's get back to work on a decent paint job. To recap, all the panels are sealed with an epoxy primer, followed by a high build urethane sandable primer.
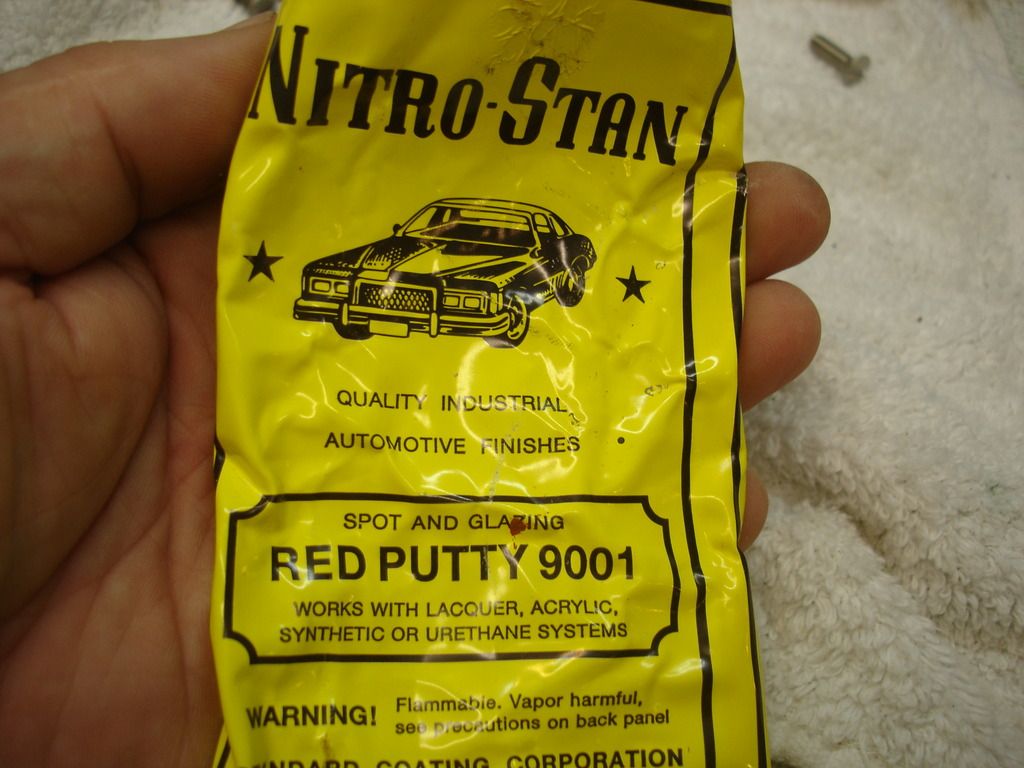


At this point there are a lot of little blemishes...and a ton of little pin-holes. We will start by filling the obvious flaws with a spot putty. This is the type I started using in Louisiana over 40 years ago. Every time I meet a new paint supply rep I ask what the best spot putty is...hoping that some new fangled super great stuff is available. They still unanimously recommend this! Hard to believe, but the old school putty is still the best going.

Things to remember about using this putty. First, it will actually soften ANY paint it it layed on, so it actually bonds to it. It WILL destroy good paint if you accidentally get it on a finished paint job, so beware. Secondly, it is a one part putty, so it does shrink. Put it plenty proud of the surface you are working on. Finally, allow overnight to harden. It will frustrate you to no end trying to sand it within a few hours of application. When dry it sands beautifully. When still soft it balls up and makes a mess.
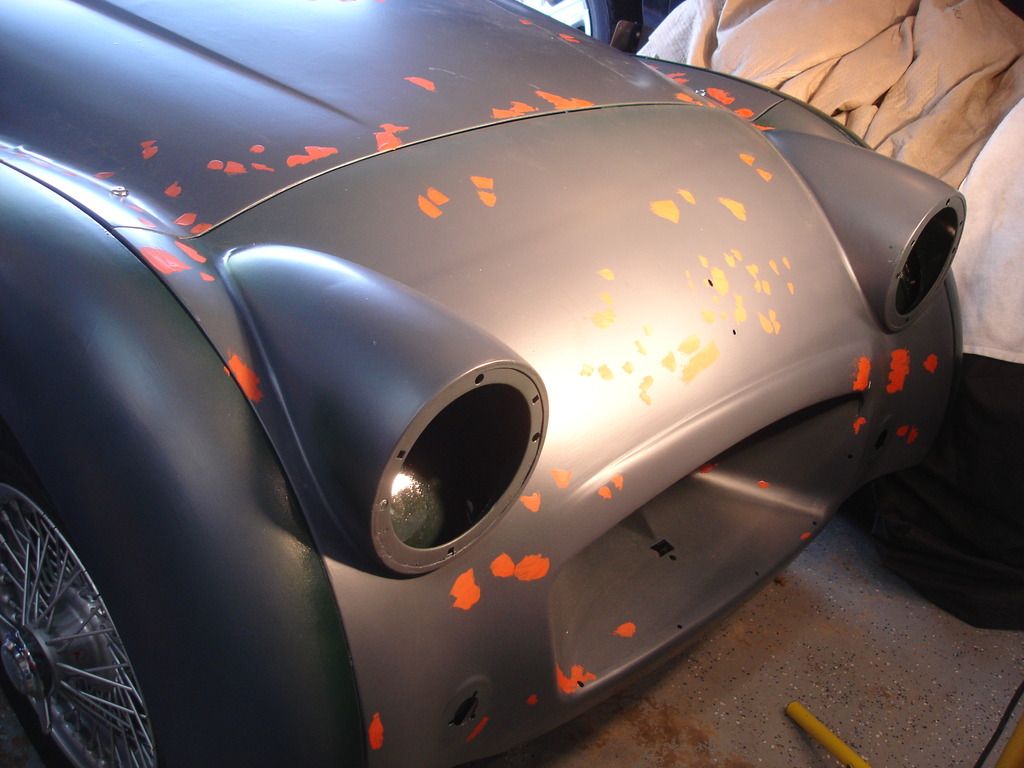


Here is how to use it...

Use a small putty knife or squeegee. Anywhere you see a low spot...smear the putty over it. Any pin hole...smear it in. I will allow this to dry for a couple days...and then we'll get busy sanding.
 
Great work, John. That eBay car would be a piece of cake after what you've done with yours. And if you're still looking for a transmission inspection plate, check the driver's seat in the seat picture. The head & carbs at least are not TR2.

Jeff
 
Thanks, Jeff. If it makes at least $5k, then I'm vindicated on what I paid for mine plus my parts car. If it goes lower then I could have done better?!? It looks like a better body than mine was...I bet the whole engine is newer, though.
 
Where there any photos of the frame? I see the floor is gone on one side.

It is located about 100 miles from where I am working. I notice a lot of older cars/trucks around here suffer badly from rust.

David
 
Back
Top