• Hi Guest!
    You can help ensure that British Car Forum (BCF) continues to provide a great place to engage in the British car hobby! If you find BCF a beneficial community, please consider supporting our efforts with a subscription.

    There are some perks with a member upgrade!
    **Upgrade Now**
    (PS: Subscribers don't see this gawd-aweful banner
Tips
Tips

TR2/3/3A Beginning the TR2 Bodywork

I bought one from TRF for my 1960 restoration. I managed to get it to fit ok. The major problem with them is that the channel for the spare tire cover is way too shallow. I had to trim the back of my cover way down to get it to fit half decently. Some video here...

https://youtu.be/xH_jgp8aYvc

Cheers
Tush
 
Week 69

Hey Zitch...I don't have any experience with the German panels either. All I could possibly add is that new panels are usually many times more work than fixing an original. That's assuming, of course, that there is enough of the original to work with!?! Tush's videos are very worthwhile!!

Well, this week was both good and bad. I got a lot done, but had a few set-backs too. After a while, you just plan on things going wrong in bodywork. That way the successes seem better. So here we go:


Here is the tub, once again completely stripped to the bone. I had naively thought I would pop the panels off and be ready to spray the tub the next day. That was beyond naive! There are more little corners that need finishing once the panels come off than I recalled. I also forgot that I had not completed the underside welds. Suffice to say it took most of the last 2 weeks to get the tub ready to spray. As of tonight it is ready...but the wind is ripping at 40 mph. Spraying will have to wait for a decent day that I am also off. Could be tomorrow...could be next month. I'll cross my fingers.

I actually sprayed the bottom of the tub earlier this week. Unfortunately I got caught in the only 5 minutes that we got drizzle...all day! When it's not your day, it's truly not your day. The color got water spots, and there is nothing you can do for that but sand it smooth and spray again.


So, here are all the pretty body parts. After the setback trying to rush the black epoxy sealer, I had a successful day finishing them. They are all sprayed with black epoxy sealer/primer. Once the black was dry to the touch, I sprayed the dark grey urethane primer on the outer sides. I then finished up by spraying the inner sides with the single stage urethane color.


This is the boot lid, showing the dark grey urethane sanding primer on the top side.


And here is the under side of the boot lid, showing the dark "Jag Racing Green". I'd rather a cool metalic or pearl...but Triumph colors are pretty limited. Even though this isn't technically a Triumph color...it's a valid argument that it "could be". And the wife approves...that's what really matters!?!


One thing to mention, so others don't forget...

Triumph assembled the latches on the boot lid and spare cover before painting. I primed the panels first, and then assembled the latches to the covers before spraying the color. This pic shows the result.


Now I started making trips to the storage shed. On each trip some panels went into storage (thus the diminished number in the background), and the lift came out and back. I was going to see if my son and I could lift the body off together. He was too busy, and I decided to do it "solo" once again. Notice the yellow body strap. I bough that 25 years ago to lift mid year Corvette bodies off frames. It has come in handy for a hundred projects since then.


So, body out, down, and over. I know many will cringe at this. What can I say...without a real shop I gotta do what I gotta do to geet'er done.

Of course, this is when I noticed the missing welds under the floor.


Here is the $30 dolly I built 5 years ago for the TR3A. Just 4 wheels from Northern...2 caster type and 2 not. The wood is scrap from the back yard pile. The ends fit nicely into the 4 mounting pads where the outriggers ride.


Now the body is on the dolly, and the frame will go back inside for a couple weeks.


Believe it or not, I got all the panels sprayed one afternoon. The next morning I got the panels stored and the tub pulled off the frame...and the frame put away. I even finished the welds on the body in short order. This is when I got cocky since everything was going so well. I figured I could spray the bottom of the tub, and this is the pic of my tilting it over to spray.

I then proceeded to get caught in the drizzle as I was spraying the finish coat.

Bummer. But, it happens.


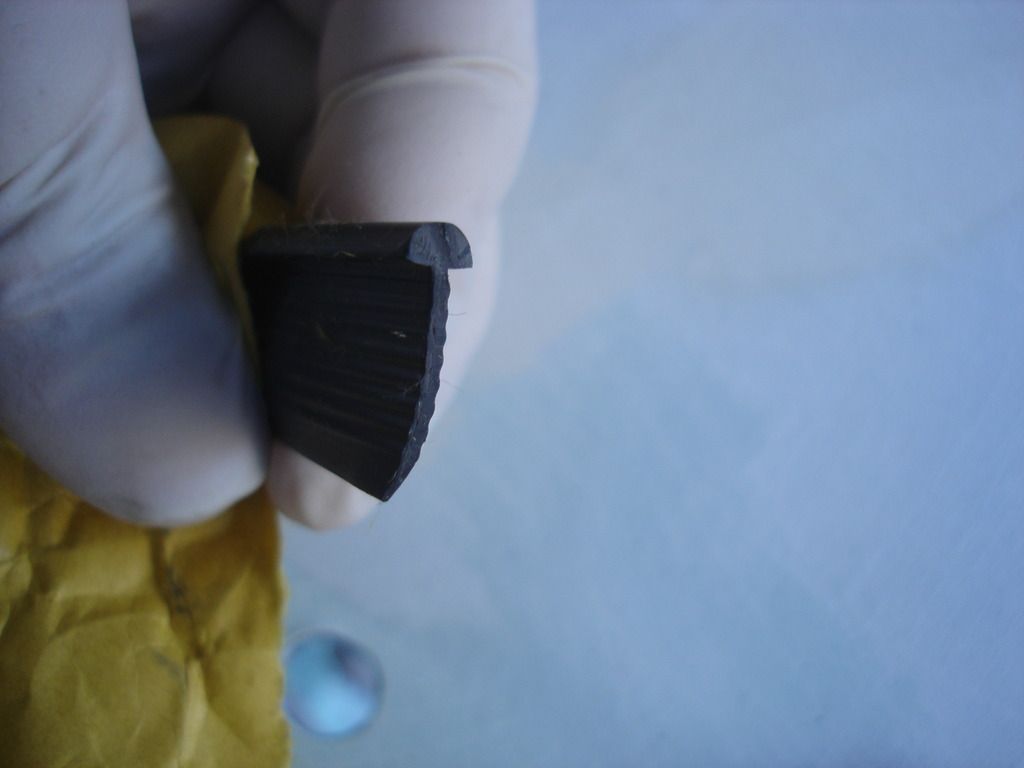
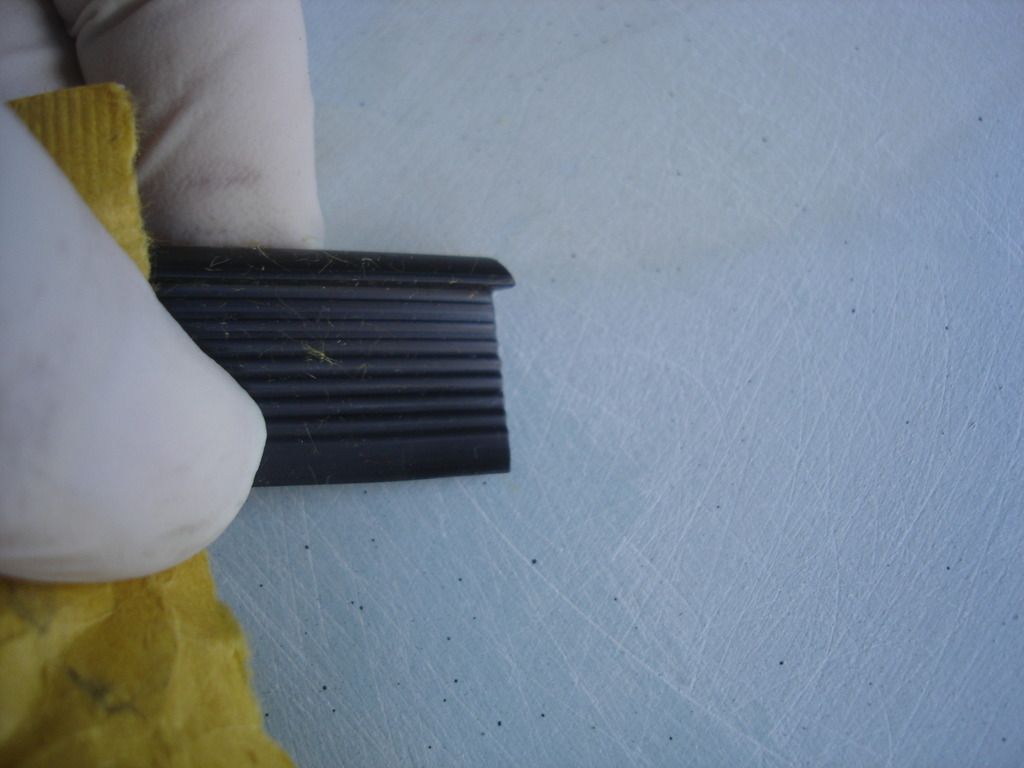
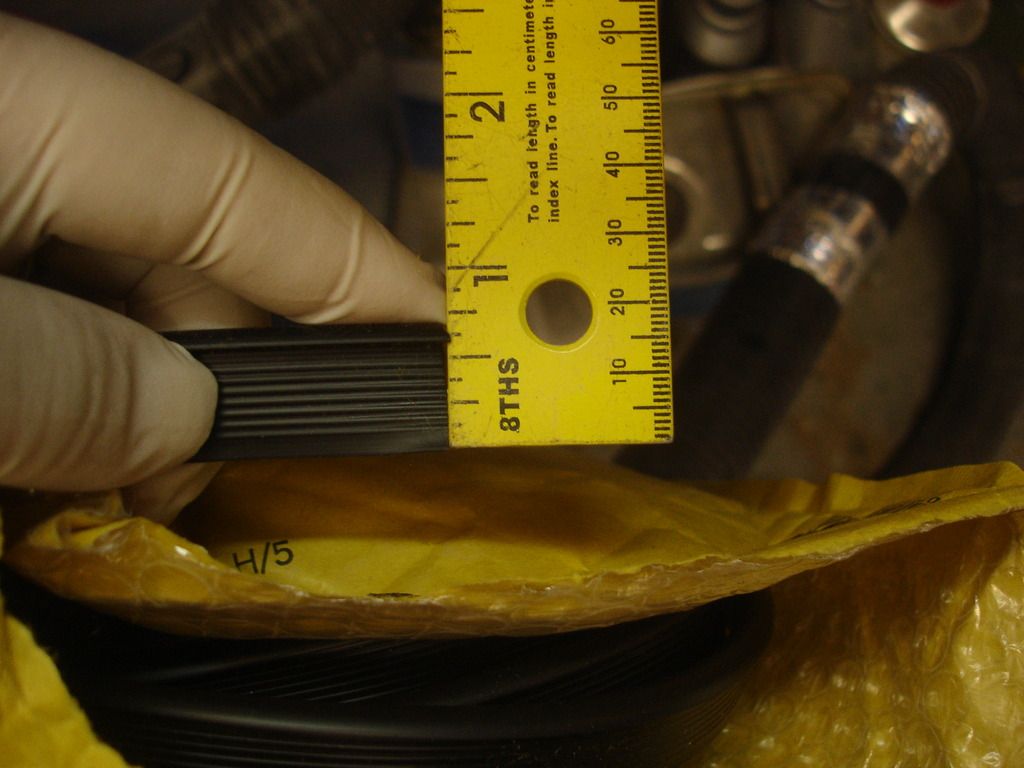
On a side note, the black beading came from Woolies in England. I will also re-post these picks on the beading thread. Not much to be said...it smells like vinyl, and seems to be just like the Moss version, except for the color. I have to cycle this into the paint rotation somehow.


Now, Steve pointed out that he and I have issues with pitting in the metal we didn't replace. Shoot, I even have pitting in metal I DID replace! So, a lot of the time prepping the tub was spent glazing all the areas that are pitted. This should smooth it right out to look like a fresh stamping. Only the bodyman knows what's underneath!


Now we move on to the crisis of the week. I was reading Tom's thread on replacing his boot floor...and OMG!...I realized I had forgotten all the wire loom tabs on the new floors!!

This oversight made it worth the fact I messed up spraying the tub. Because, welding the tabs in will burn the paint I sprayed anyway. In the end all worked out, but my hands are sore cutting 18 tabs!


While I was making and welding the tabs, I took the time to turn up the tabs on the car, just enough to get paint under them. Standard didn't do this, so there is bare metal under every tab from the factory. By lifting them a bit, I can spray under, and then bend the ones that won't be used right back flat against the floors or bulkheads.


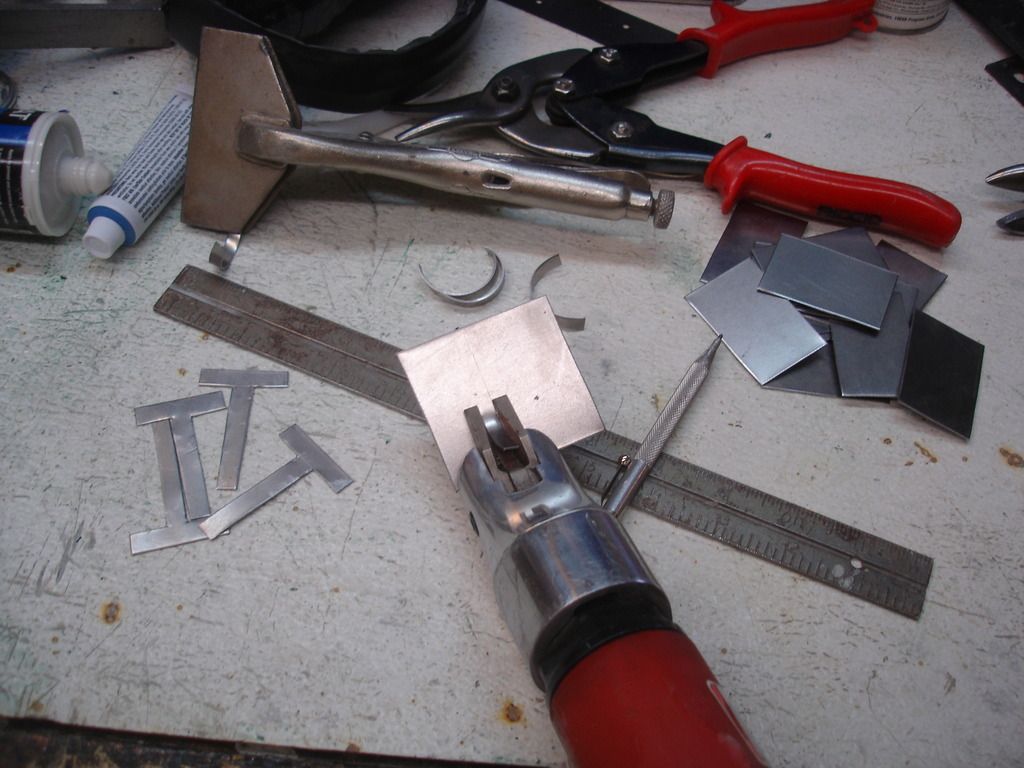
This is my wire tab production line. What a tedious job!


More pits...plus the wheel well repair I inherited.

Also notice I am using sealer along all the body panel seams. Last car I used a 3M body sealer. It hardened and cracked. That is NOT what you want in a sealer. It should remain flexible for the life of the car. Most cars in the 50's and 60's used that black, gooey, tar stuff that would stick to anything it touched. I think it was the basis for the McQueen movie "The Blob". I can no longer find that stuff.

This time I am trying a new sealer from Evercoat, the same company that makes the filler I am using. We'll see in a few years if I like it or not.


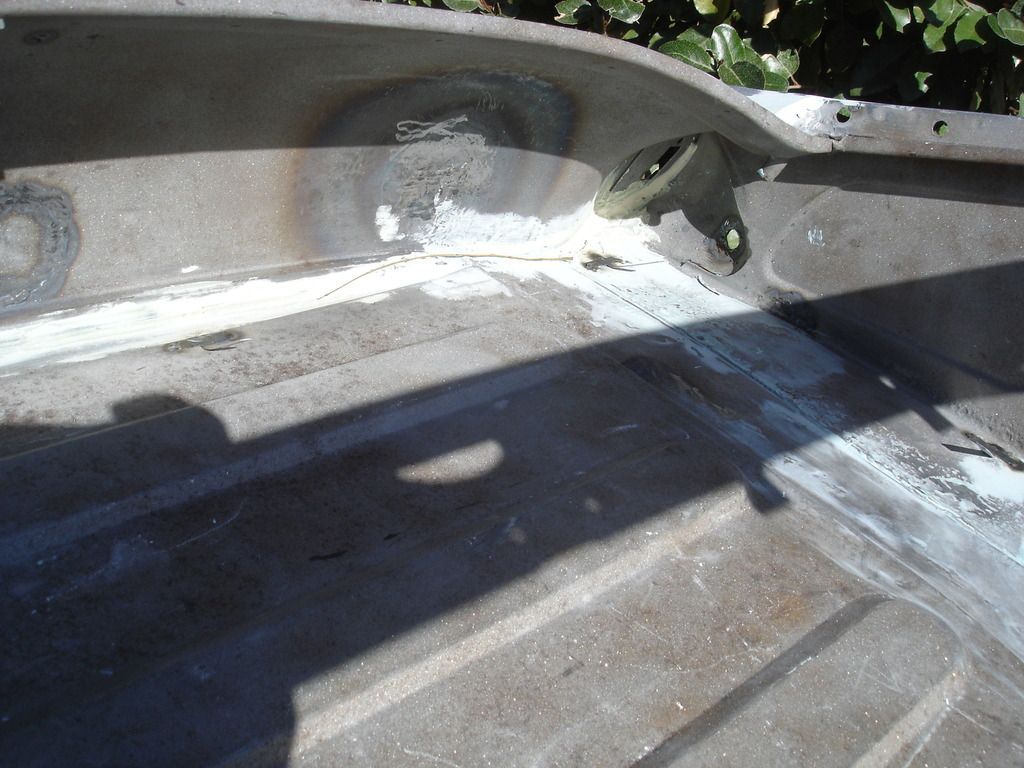
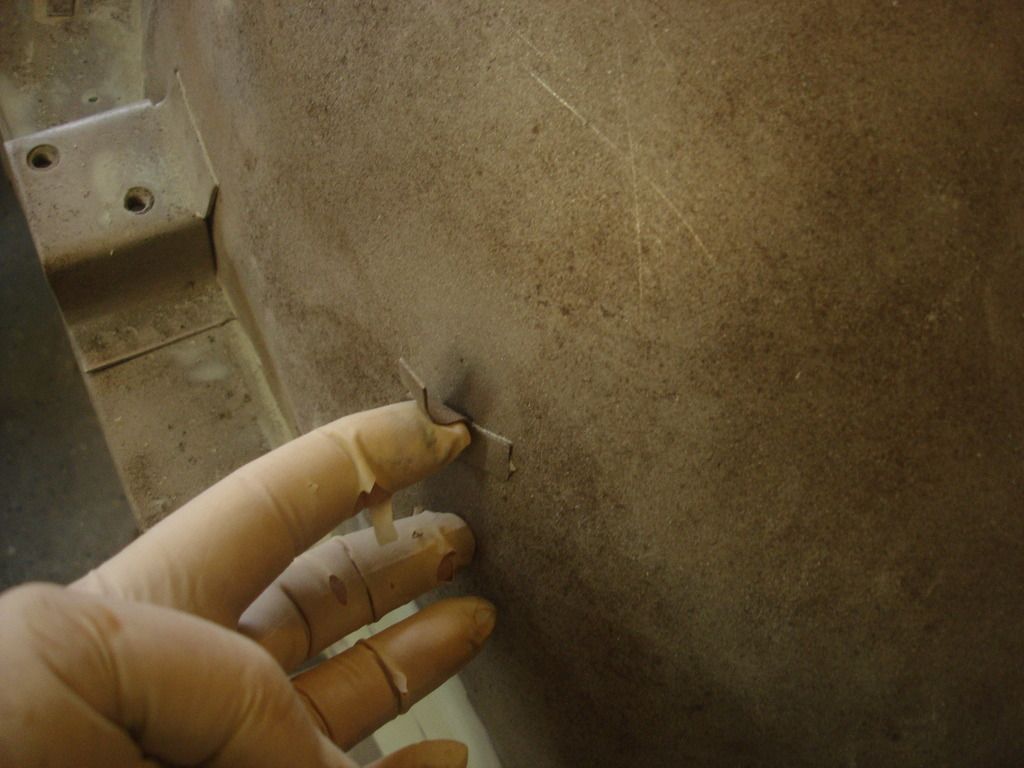
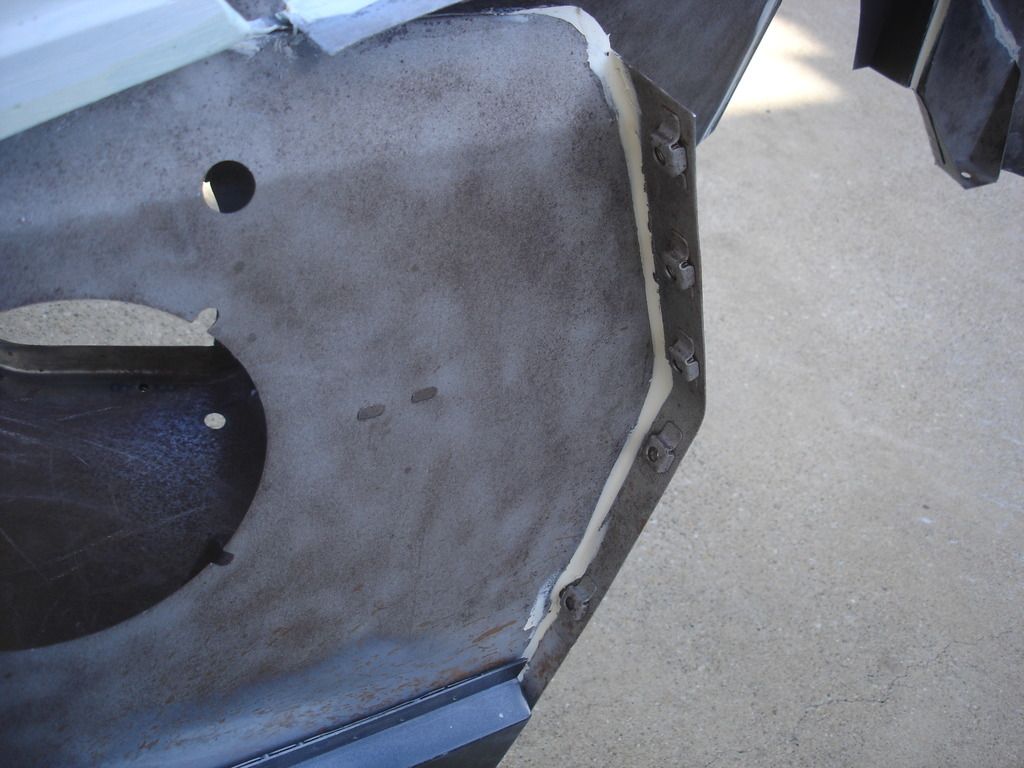
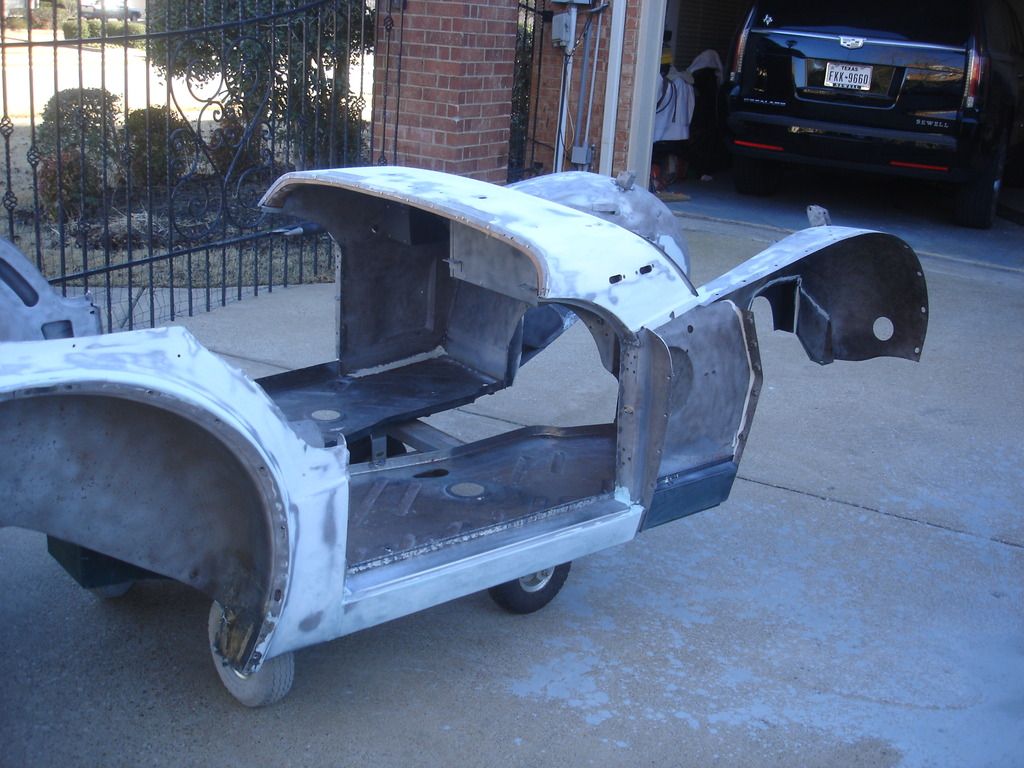
These are some shots of where the wire loom tabs go on a TR2. You can just make out 2 under the rear valence. There are actually 2 on the other side too.


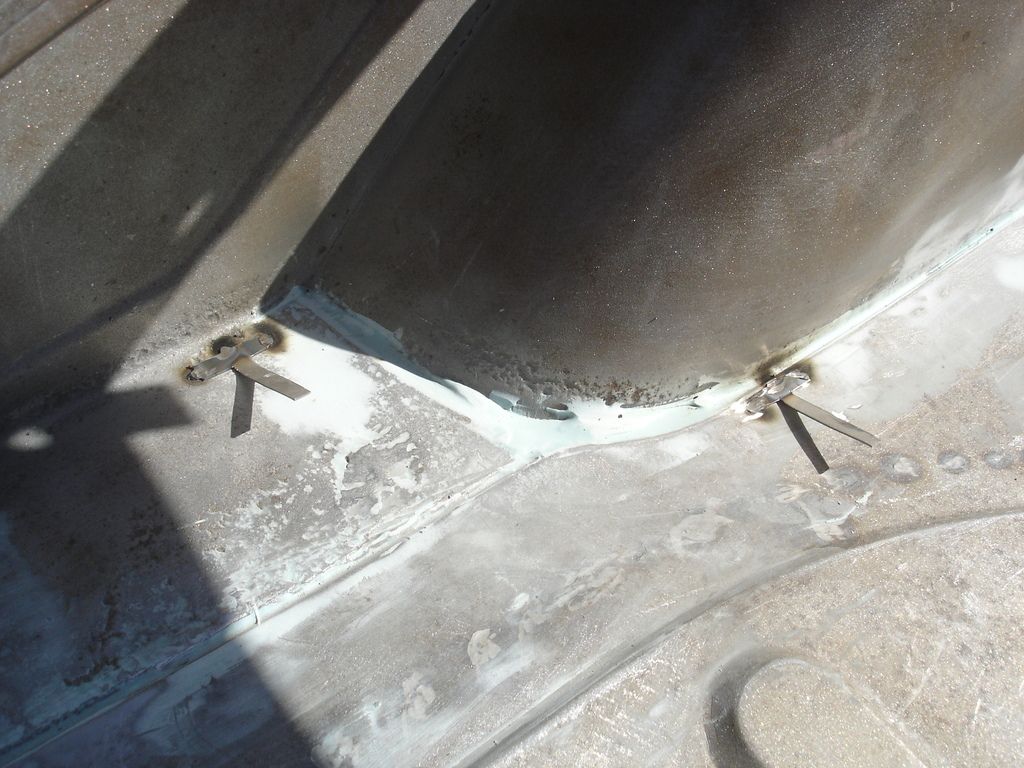
The boot floor on the sides get 2 more each. I placed these off the original tub. I had to study it for an hour to even see the remains of the tabs, since it was so rusted out.


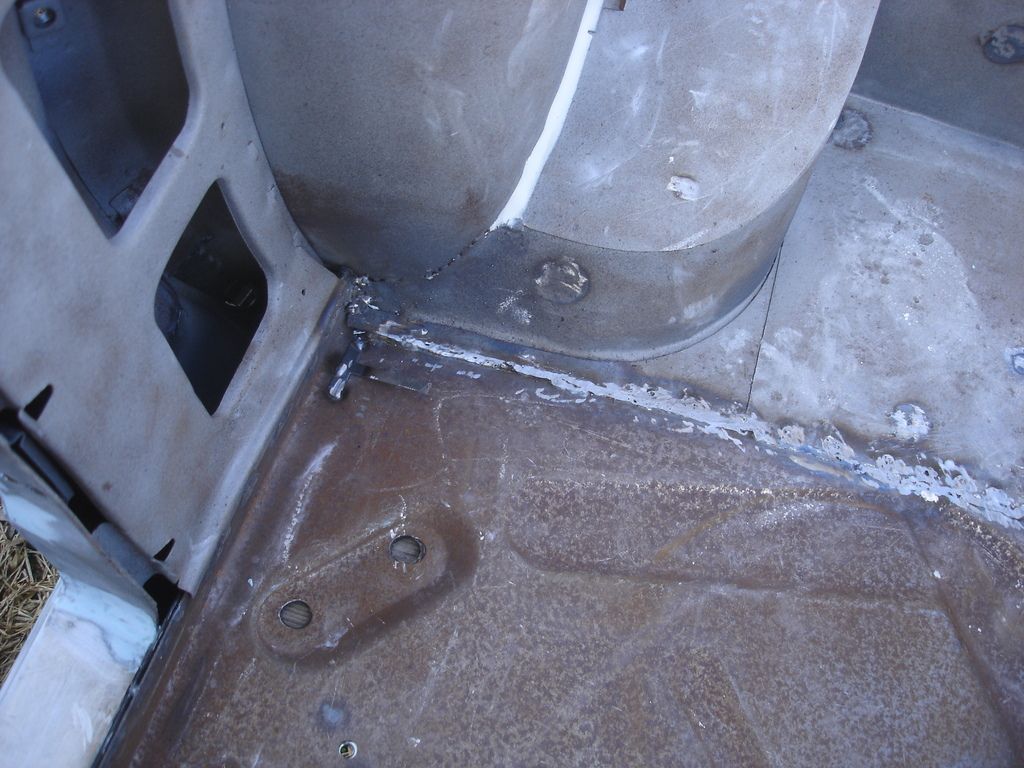
Moving forward, there are 2 on the sloped panel behind each seat (not shown). Here is shown the rear tab on each side of the floors.


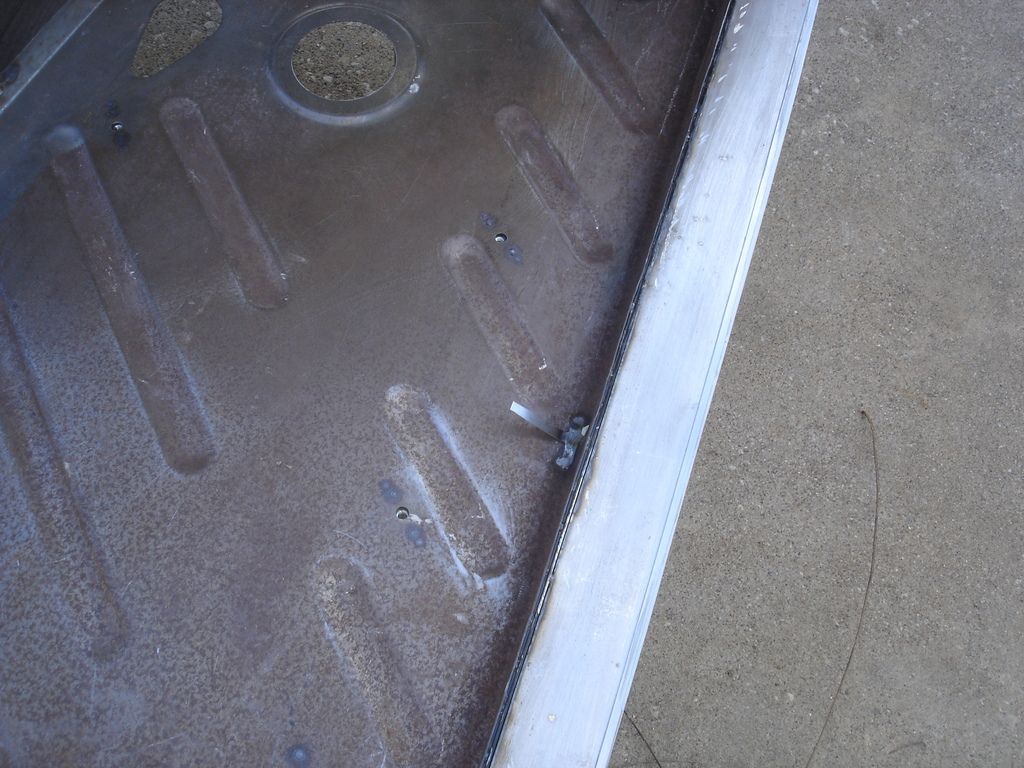
Another tab each side about mid span of the door opening.


2 tabs on the forward floor...and notice there is one where I had to replace the metal on the front floor panel/firewall.

So, in all I had forgotten 18 tabs. How's that for a last minute catch? I really owe Art a beer for bringing the tabs up in Tom's thread. If he hadn't, I'd be cussing up a storm when it came to install the wiring next spring!! He also sent me several pictures that I will try to repost, showing several of the tab locations.


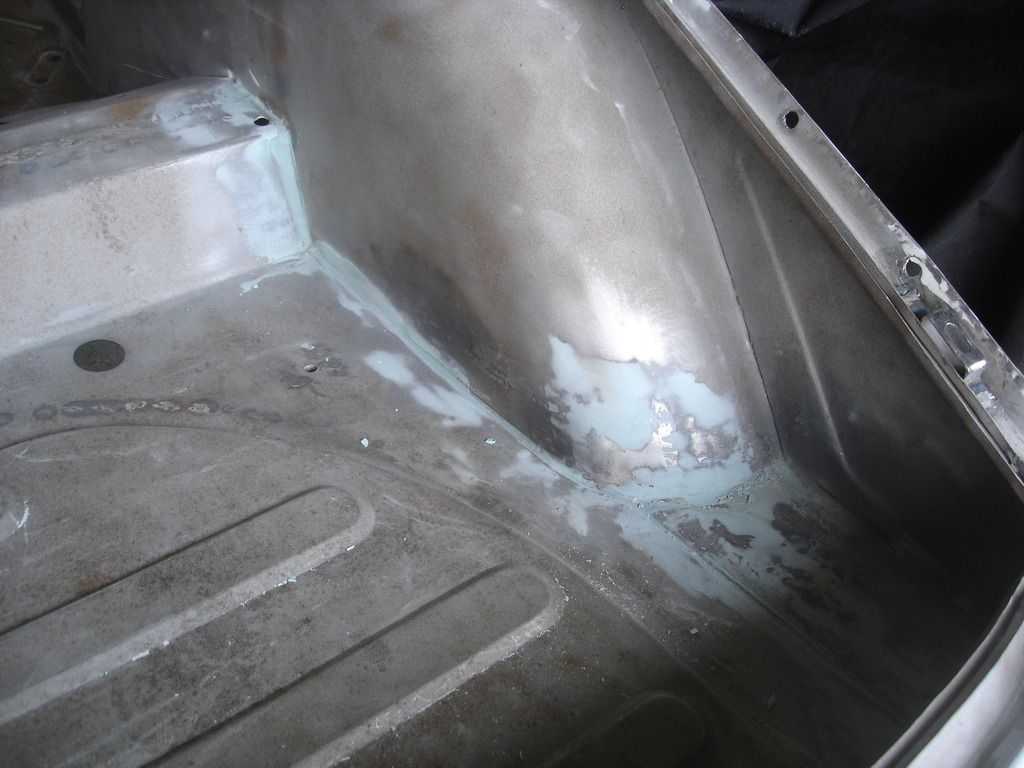
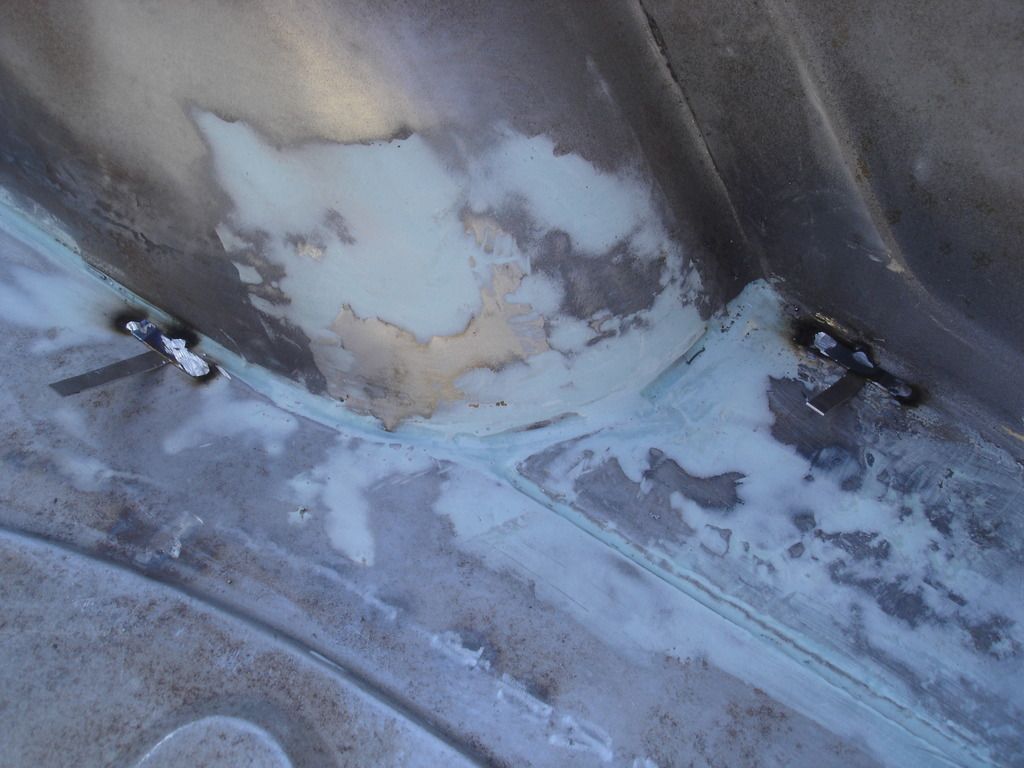
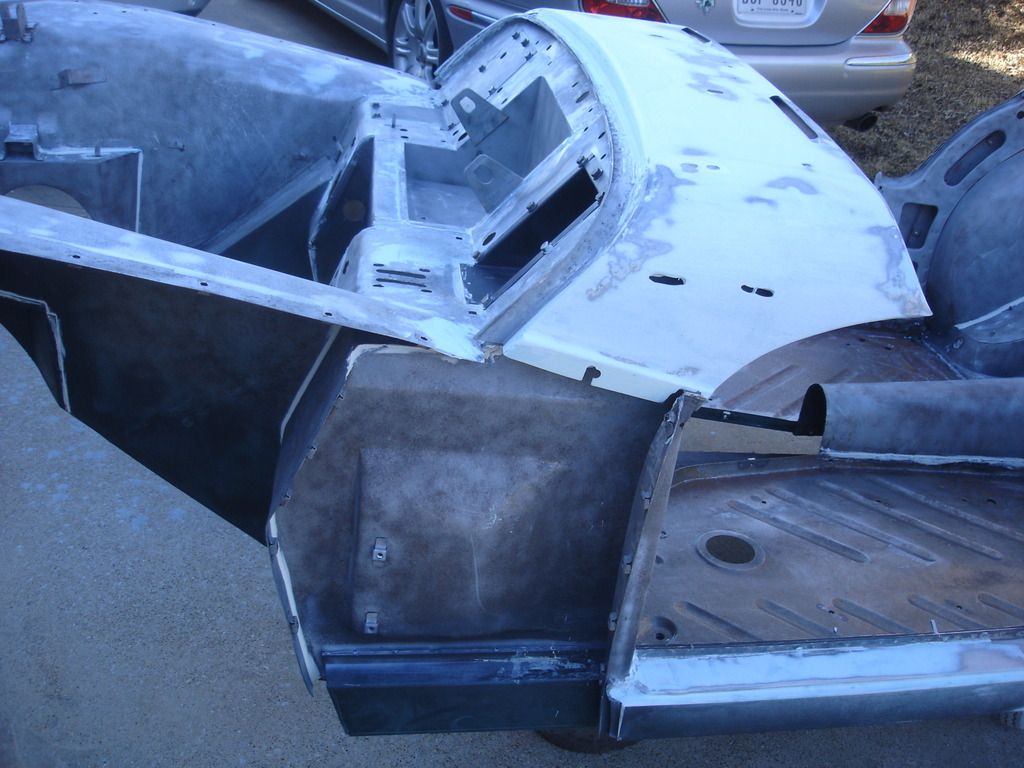
The following pics are close-ups of some areas that need to be addressed before paint. In this one, you can see that the battery box must be sealed, or it will leak on the interior tunnel cover. The judging manual states that the edges of the box may be glazed, but should be obvious. In other words, the edges must show, even though it would look better to cover them right over !


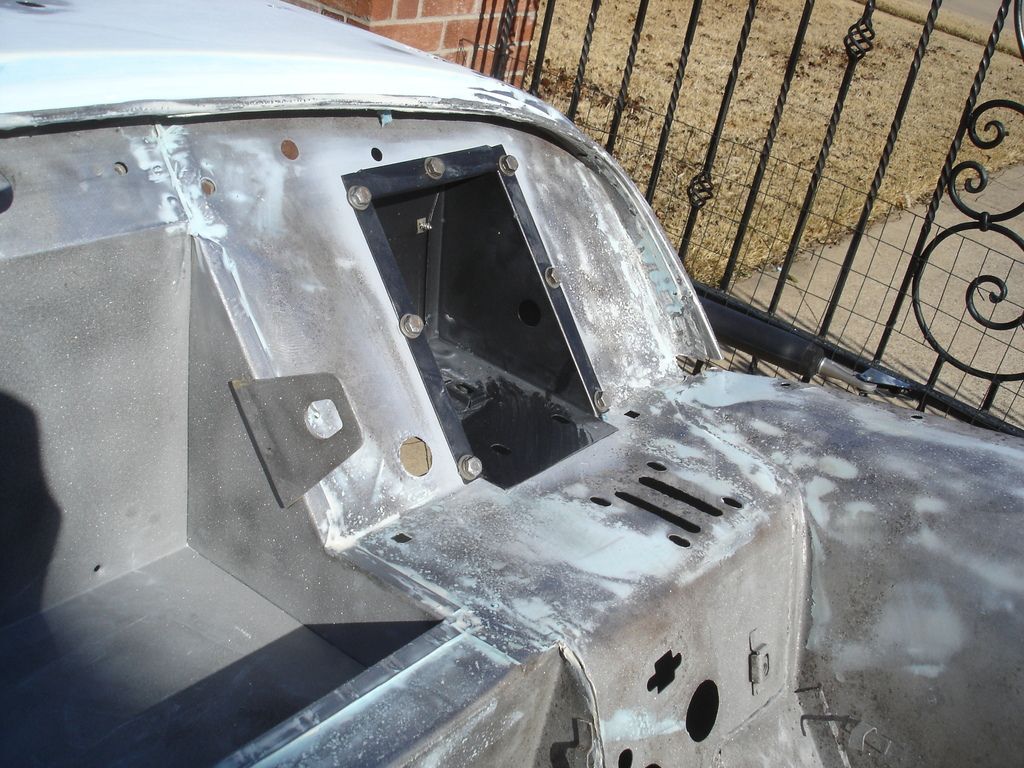
I also sealed the bottom of the brake box on the driver's side. If the master cylinder leaks, I do not want brake fluid all over the carpet.


Standard was not big on sealing body panels. Originally, they only sealed a few, leaving many to trap moisture and then rust. I have sealed any panel joints that I think would leak into the cockpit if not sealed.


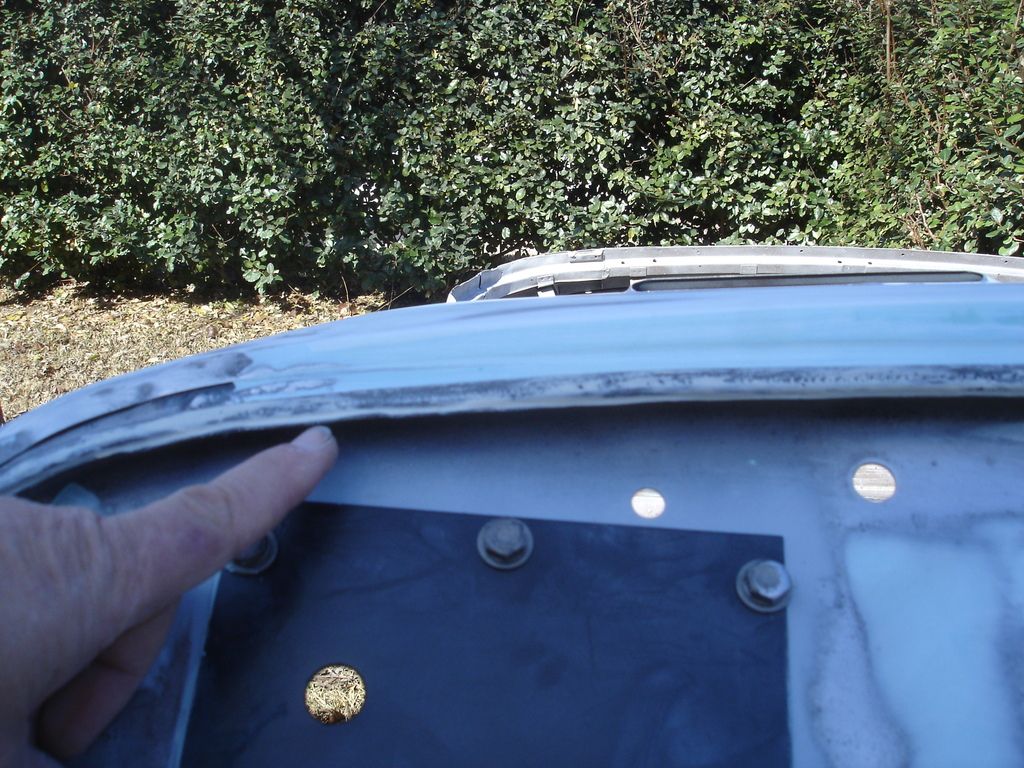
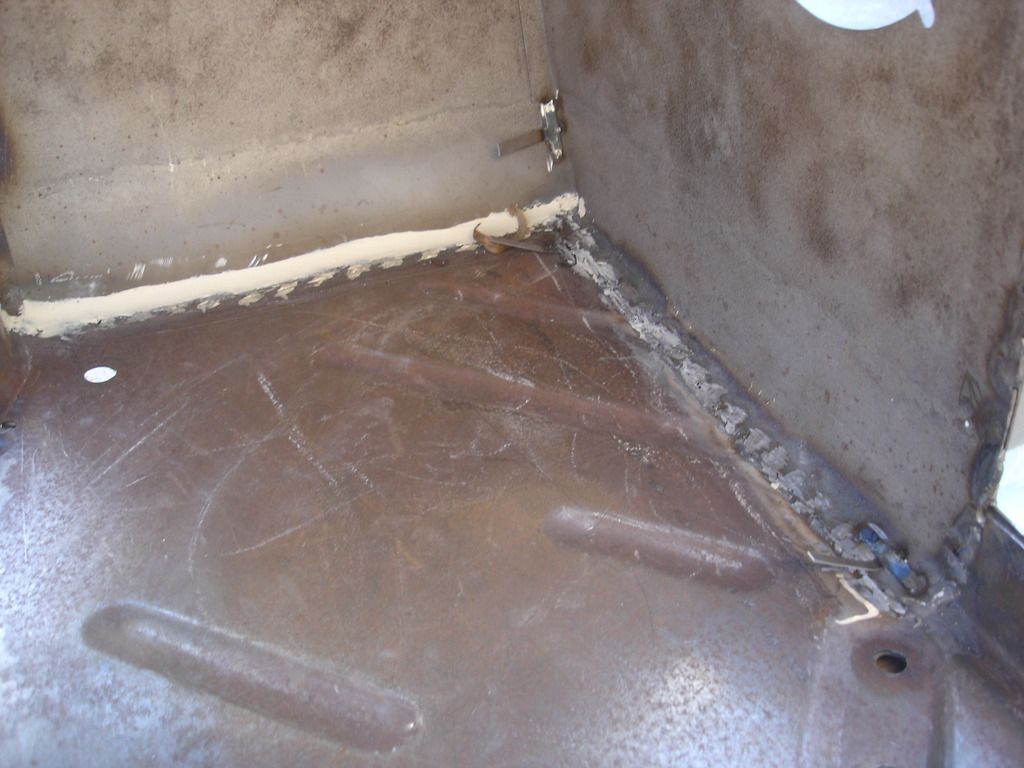
Here is one that is easy to miss...where the scuttle drip rail meets the firewall stamping. the TR2 bonnet has no drip lip on the bonnet rear edge, so water will drip down onto the firewall. If these seems are open, water can come right inside and down the carpeted footwell.


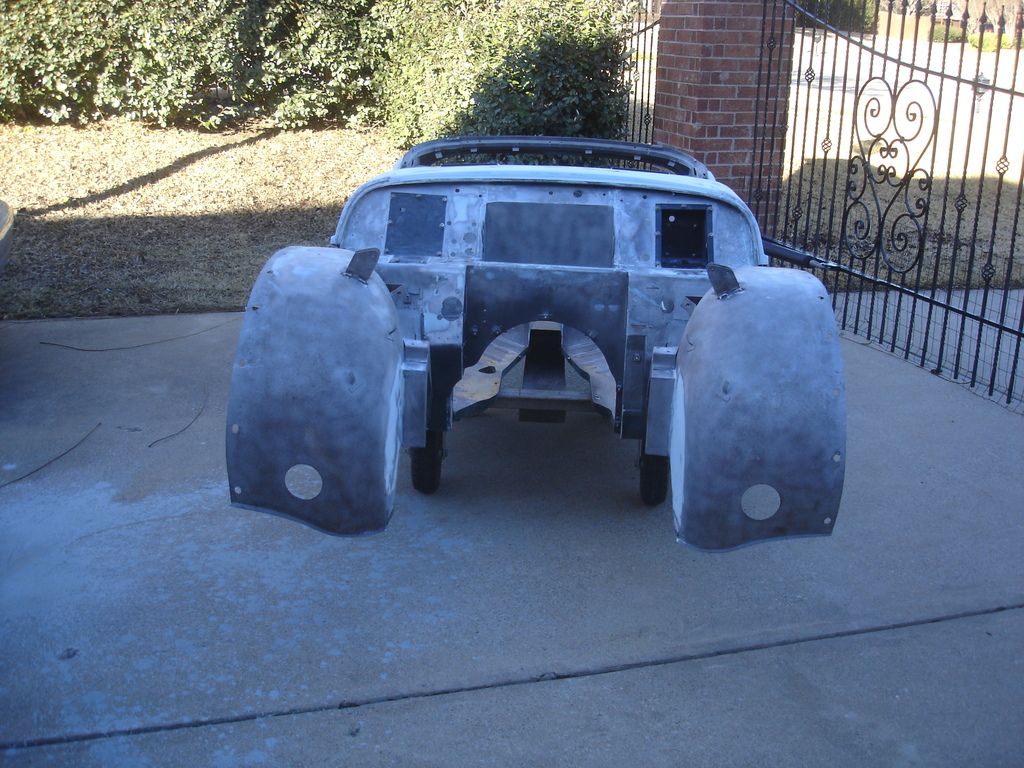
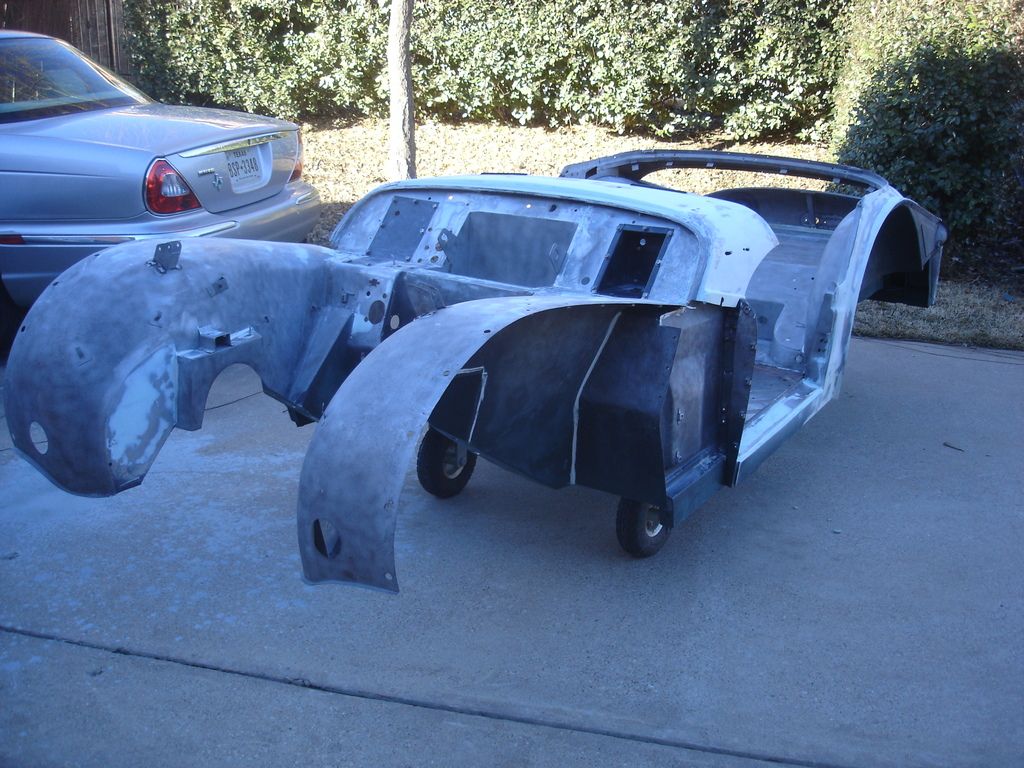
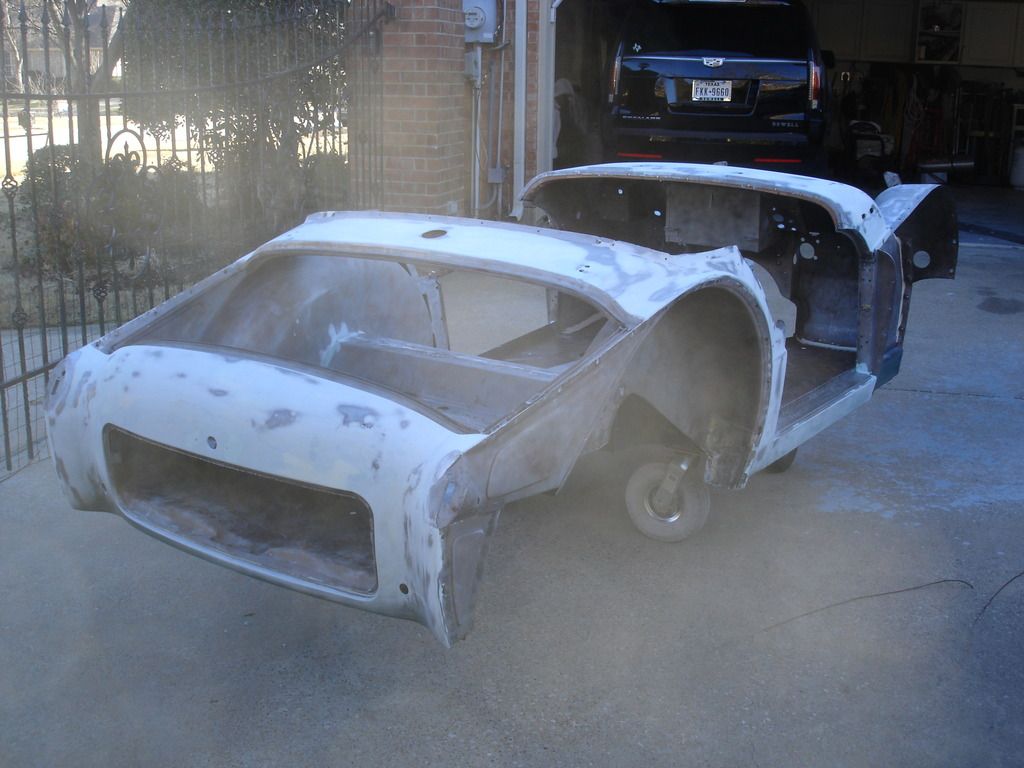
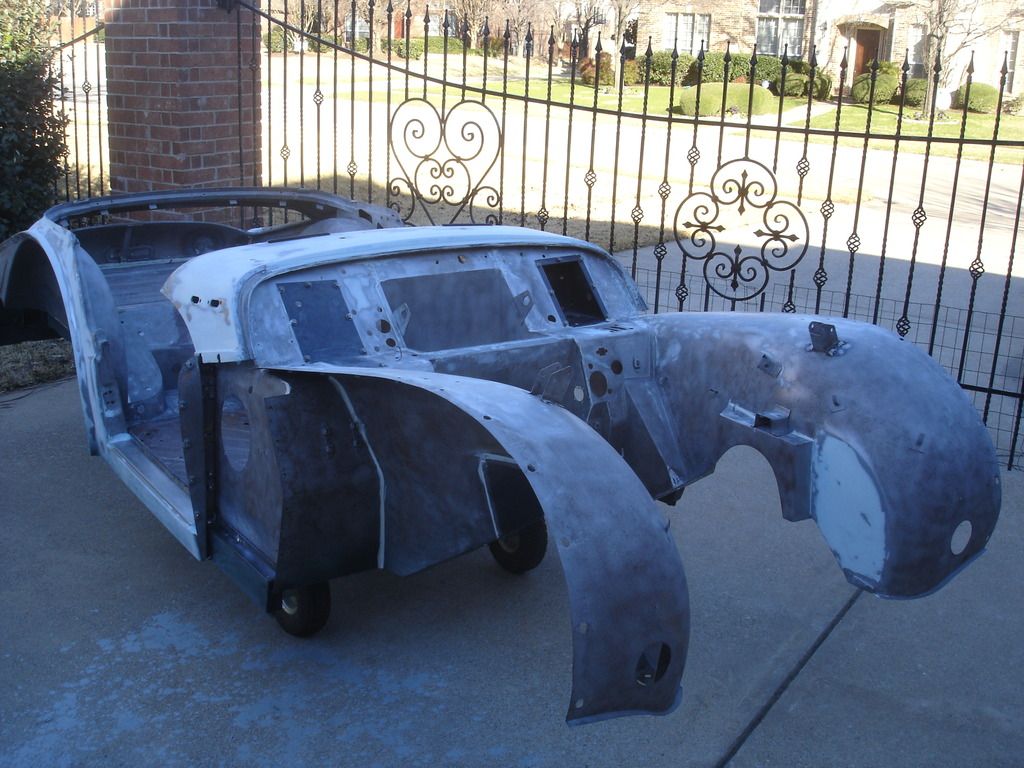
These pics are the final walk around after prepping the tub. I forgot to show that I spent almost a day perfecting the seems where the outer sills meet the quarters and the front wing. Those are the little things that really make the car "pop", as they say on the house shows my wife watches.

So, that's it for now!
 
Hello John

Looking good.

It looks like you are lifting the tub from the frame mounting points. I have made a frame that lifts from the bonnet hinge holes and the body in front of the rear wheel well with a bar between them.
I found transitioning the tub from vertical to horizontal to be tricky doing it solo. Have a similar rolling dolly, longer than yours and it has supports to rest the tub against.

So the bottom got Black epoxy sealer/primer then a coat of primer followed by a coat of single stage colour. Is that the plan for all non external parts?

David
 
I have a sheer that will make the wiring tabs a simple job. It is a 90 degree sheer that I bought from work when they were closing up some areas.

I remember last year you did some of those tabs and a quiz.

David
 
John, I understand perfection and that's got annul written all over it. Welcome to the club. Great job.
I did the same today with a GT6 bonnet, up front is a bear, a six band aid job, of course at 76 a little nick turns into a panicked wife. If the part doesn't have my blood on it, something got missed. LOL

Wayne
 
Hey David...I'd love to have an angle sheer! It would have saved about an hour with snips. I'll update later this week, but all the painting is complete for now. The inside of the car and engine compartment is all painted with the final coat of single stage urethane. So, those areas are finish painted. The panels that face outward are only primed, and will stay that way for a couple months.

Wayne, I figure a project isn't worthwhile unless you leave a little blood behind!
 
Hi John
How do you like shooting the PPG single stage urethane? Does it flow out well? Much orange peel? Need for significant color sanding and buffing?

Just curious.

Pat
 
Hey Pat,

I used the 1.5mm tip, and the DBC sprayed well. I tried spraying without thinning, and it tended to clump a bit. But when thinned at 2 parts to 5 it flowed well, covered completely in one coat and had no orange peal. No runs at all spraying the color. I just layed each area down until it flowed into itself and stopped. I did use the warm thinner (DT885), which in the cool weather I was spraying gives the paint more time to flow out. My only issue was related to lighting. I missed a couple spots when the sun was in my face, but they will not be hard to fix later. I'll post the pics later this week...
 
I'm glad to hear you are having so much luck the the paint. I found the PPG basecoat/clearcoat system to be super easy to shoot. The basecoat went down so smooth I couldn't believe an amateur was behind the spray gun. A couple questions:
1) How many times did you slice open your hands on those electric wire loom tabs before you just decided to grind them off and replace later? Sanding around those is nearly impossible and a bit dangerous to blood vessels. I ended up using a modern loom and loom clips so didn't need to weld them back on (but my resto is not stock).
2) What are you doing for protection from harmful vapors with the catalyzed paints? I used the HobbyAire supplied air system. Takes some getting used to painting with a hood on, but not breathing that crap was totally worth it. I built a ventilated booth, so I was really working in a vapor cloud with the highly atomized clearcoat.

Looks great John. This thread will go down in TR2 history as the primer for bodywork and paint!

pat
 
Looks great John plus I get some much out of your posts. Oh and you are way ahead me, so when your done……
Steve
 
Steve, I saw your sidescreens in the shed when I was storing the panels. I've actually reached a point where I'm starting to think about ordering material for both our screens. Hard to believe the project is reaching that point after so many years of drudgery. I'm even toying with the idea of doing the upholstery myself. As those of you who have ordered the interior kits know, it's about a $2k bill for the interiors. If I order the material I can make sure that everything matches perfectly...and possibly save a grand or so. But I may chicken out and just go the easy route.

The last real issue I will have in finishing the car by Spring is the seat bucket issue. Next week I will have to get serious about that. I have parts from 6 different seats, but I don't think any of them would hold water in the bottom pan.

Pat, it sounds like I was lucky to have forgotten the tabs until last! One thing I forgot to post...the light grey urethane primer that I had been spending so much time keeping mixed, had gone bad. That was a bummer, as I planned to use it as a middle layer of primer of contrasting color. I have kept the DP90 for years with no problems using it. The grey was only about 9 months on my shelf...and it had gone bad. I tried spraying it, and it kept clogging the nozzle. I thinned more, and shook the cup to the point the DeKup came loose and grey paint exploded all over me and the driveway!! Truly a huge mess. I walked back into the garage and $*&t canned the rest of it. It was hardening before I could spray it. I had trouble with it when I first bought it 9 months ago for my son's car, so I suspect I got an old can off my supplier's shelf.

So, although the spray wound up well, I did have some set-backs.

For reference...

It takes about 1 gallon of primer (before adding hardener), to cover ALL parts inside and out.

It takes about 1/2 gallon of paint (again pre-hardener) to cover all the tub and panel insides.

I estimate it takes about 1/2 gallon (pre-hardener) of color base to cover all the outside panels well.

That should give everyone an idea of how much to buy. Be aware that those numbers are assuming all goes well. In my case I had to respray some of the primer and an extra pint of color.
 
Week 70

The painting is over for at least a couple months. Here is how the tub painting went:


Here is the tub after the first cup of paint. It's important to paint the tub from the INSIDE out. In other words, you have to paint the under dash, under rear scuttle, and under the rear valence BEFORE you paint the outside. If not, you will find yourself bumping hte already painted floors and outerwork. So, in this pic I have painted all the under sides, and I'm about to start working from the center drive tunnel outward from there.


And here is the second cup of paint later. This primer is merely the sealer for the metal and filler. As long as you paint over it within a week, it may be covered without sanding. So, by the time I cleaned the equipment, I layed the following coats right over this sealer/primer.

Wife's ready for lunch...back in a bit...
 
Cliffhanger :cool:


The next paint sprayed was the dark grey sanding urethane primer. This only went on the outer panels. Later, this will be wet sanded to arrive at the flat and smooth surface for the color coat. That will be at least a couple months from now. That amount of time will allow the polyester filler, epoxy sealer, and urethane primer to all cure completely. Then it will not shrink any more, which would change the surface of the final paint job.

A paint job can be done in a few days, and is all the time at the big paint shops. If at all possible, though, always allow your base primers to cure for several weeks/months. So not necessary with modern paints, but still an old school technique of creating a stable paint job that will last decades without shrinking, wrinkling, or cracking.


Now I have to re-spray the bottom. If you recall, last week I just started spraying the color on the bottom when I got caught in the drizzle. So it got spotted. Because color can only be sprayed on for the first 24 hours after it is sprayed, I had to rough the entire bottom with 400 grit paper. Here I have tilted the body and cleaned the sanding dust off. I had to wait 5 hours after spraying the primers, to make sure they were cured enough to not get damaged when I tilted the tub.


As soon as I sprayed the bottom, I rotated the tub back onto the dolly. The dolly only contacts the outrigger mounting pads, so it does not damage the paint as it continues to cure. I then sprayed the Jag Racing Green on all the panels EXCEPT those that will face outward when the car is assembled.

As you can see in the pics, the color is just what I was looking for. From some angles and lighting it appears solid black. Then, when you get a different angle with more lighting, it turns green. I wasn't so sure about it at first, but if I have to go with an original racing green...I like this one!

At this point my bodywork thread is going dead for a while. The tub will get parked in the living room of the house while I build up the chassis. I'll pick up in a few months when the body goes back together and the block wet sanding starts in preparation for the finish painting.

It's been a long road getting to this point. After the prep put in so far, the finish sanding and painting should happen fast once it starts!
 
Looks awesome John!

Cheers
Tush
 
John,
What a great instructional piece of work you have published here. While I may be quite a bit behind you I hope to put everything to use over the next couple of years. Hopefully not too much in over my head.
Will be watching for a "chassis" thread!!
Take care,
Kerry
 
Back
Top