Week 66
Happy New Year to all!
I'd love to be out working on the Triumph, but I'm sitting at the computer doing all my quarterly memory backups. If I leave for even a minute it'll hold for me to answer an obvious question...so good time to post the update.
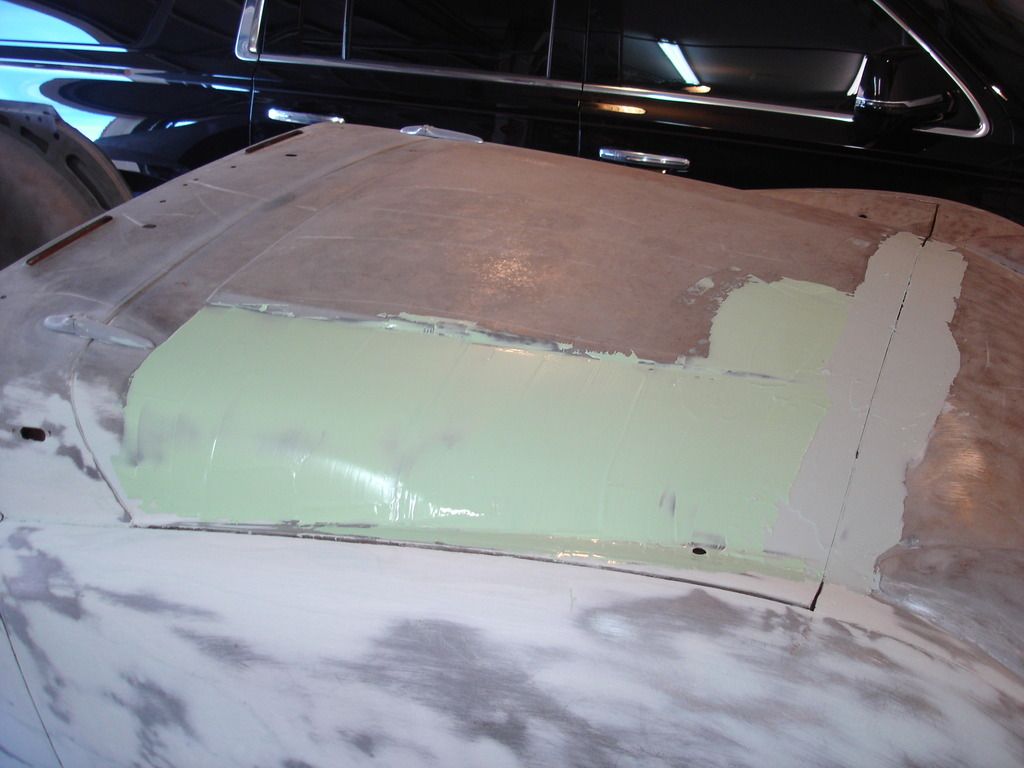
This week I have been (slowly) working my way around the body. The next up was the bonnet:
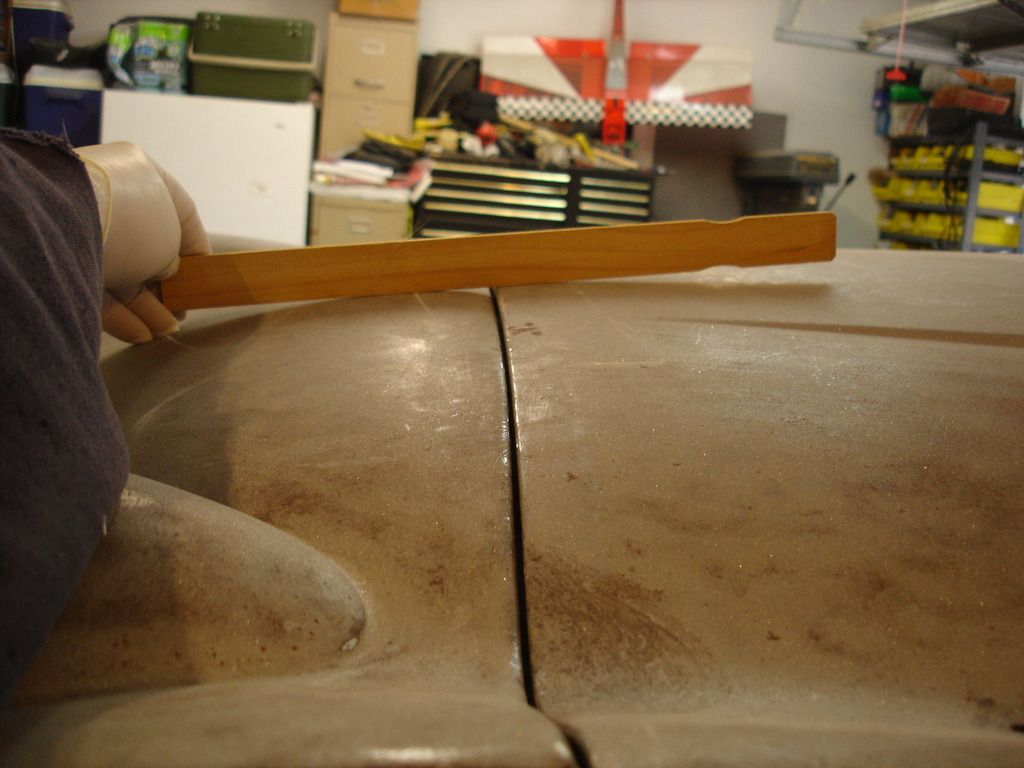
This shot shows the meeting line of the front apron and the bonnet. You will note that the gap is aligned, but the angle of the metal of each is not correct. This is very common, even with new cars, and the eye tends to overlook it. I should say "most" eyes! It bothers the heck out of me when I see it on finished cars. Anyway, you can probably guess that the bonnet cannot be altered without disrupting it's lines, so the adjustment must be applied to the apron. THEN, the apron has a flange welded to it, and opening that weld will also open a real Pandora's box of issues. This is the case where a bit of filler is at it's finest.
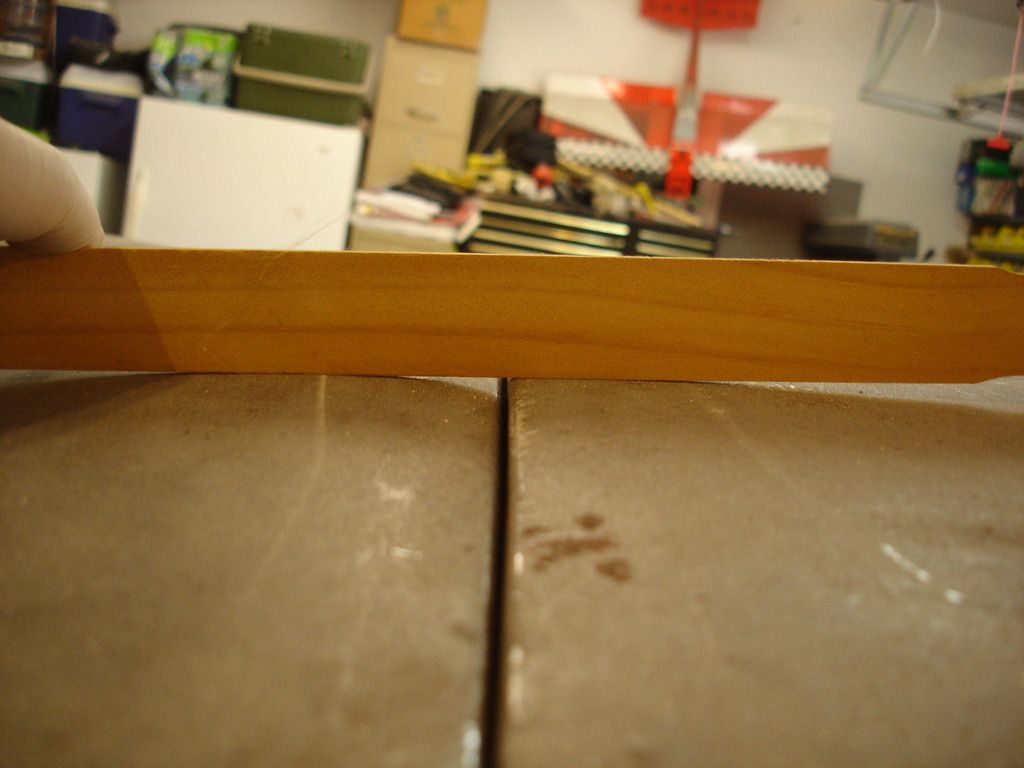
In the pic you can see that I could lower the bonnet, but then the "bump" on the apron will be higher than the bonnet line...and that would mean adding a foot or so of filler to the bonnet to fair the line back into shape.
The lesson here is to always minimize any high spots. This applies to any bodywork. If you work a panel and leave a high spot, then you must fill the entire area around the high spot to fair it in. Whereas, if you work a panel and eliminate the highs, but leave low spots...then all you have to fill are the lows. That means MUCH less filler!
So, always err bodywork on the low side to minimize filler blend work later.
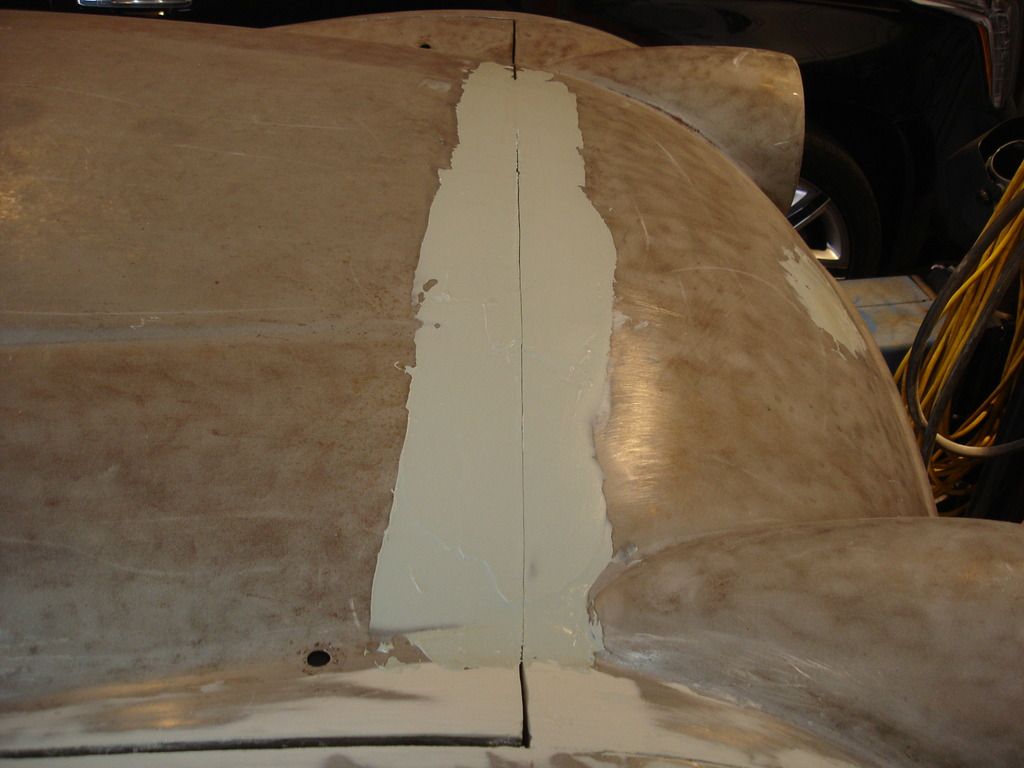
Here I am starting on the bonnet blending. Only mix filler in small batches, rather than trying to mix the entire bonnet in one. This is because the greater the amount of filler you mix, the higher the chemical heat generated. This reaches a point that I have started fires by mixing too much filler at one time. Important safety tip!! Even if you don't get that much heat, the extra heat generated reduces your working time for the batch to zero. You do not even have enough time to mix it before it lights off.
So, keep filler batches relatively small...like what you can spread in a minute or two.

If you remember from last year, I actually spent 2 full weeks bodyworking the bonnet, so it is pretty smooth. Because of that, and the fact the bonnet it horizontal and will not get sags or runs, I will use the glaze for the rest. of the work. I used filler for the bonnet to apron seam, since I needed more build in this area. I am now using the glaze to get a smooth, even, and thin spread across the bonnet.
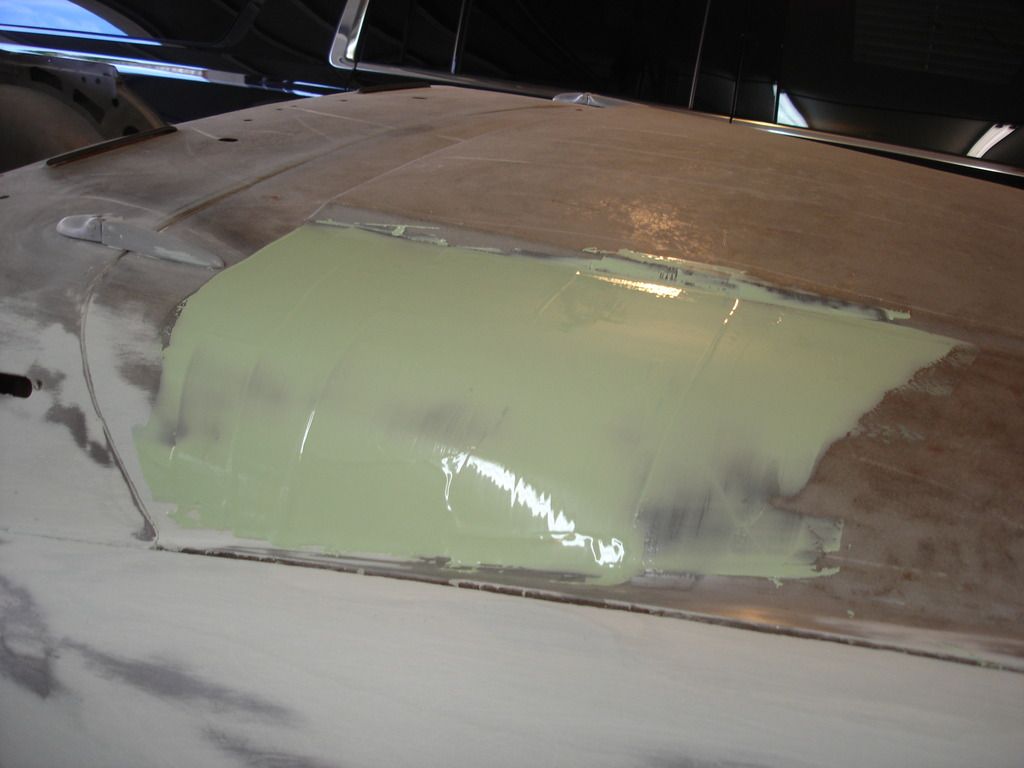
This is about how much I mix in one batch.
Since I can spread the glaze very consistently compared to the filler, I do not need to pause to cheese grate the first batch. So I am laying down the second batch right away.
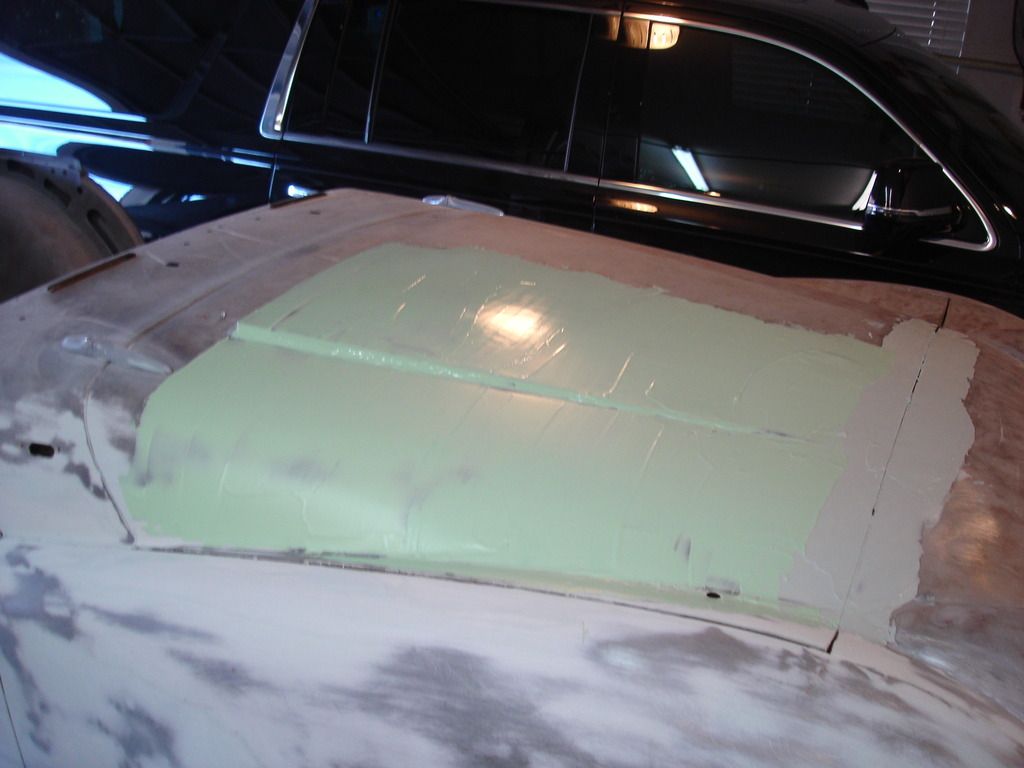
And the 3rd batch.
While I am waiting for those batches to full harden (no sticky feel to the surface), here are a couple tips...
Tip 1) If you try to sand your filler too soon, like while it still has a sticky feel to it, you will find you get build up on your sand paper, like the little white dots you see in this pic above. The clumps hold the paper off your surface, which both gouges the surface AND prevents much useful sanding from occurring. No problem!
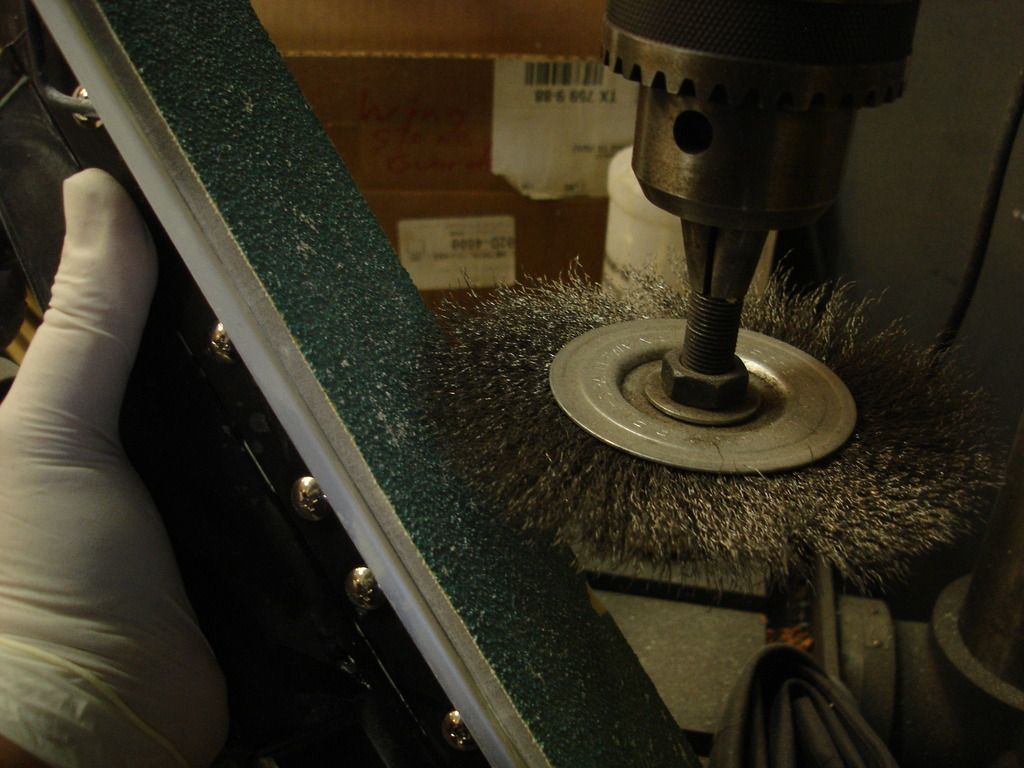
The sand paper can be easily cleared of filler clumps by brushing it with a wire brush. A hand brush is fine...I use the power brush for convenience. So you can extend the life of your paper for a good while!
Tip 2) Well, actually more of a fun fact?!? You may wonder about the "sticky" feel to the filler, that sometimes never fully goes away. Here's the story behind it:
Polyester will not cure when exposed to air. Seems like a funny statement, seeing as it always DOES cure in the air!?! Polyester resin was designed, first and foremost, to build fiberglass structures. Picture trying to lay down the fiberglass for a 50 foot boat...it can take a week or more. Well, so the workers can go home at night, the top layer of polyester is exposed to air...and it does not cure. The next day the workers can come back and just pick up where they left off, and still have the fresh layers chemically bond to the previous days work just fine.
So, the question is "WHY" does our filler cure all the way through?? The answer is that the filler has a wax compound added to it. Once laid out, the wax migrates to the surface and blocks the resin from the surrounding air. The slight sticky feel left on some batches is from not having the can of filler mixed well, so the correct amount of wax was not present in that batch...or to much wax migrated up. Either way, the result is a tacky feel to the surface. Either way, you can't do anything about it...other than stirring your filler or glaze before each use. The good news is that it really doesn't hurt anything, except maybe to gumm up your sand paper when you first start to sand a fresh batch. But then you know how to clear that quickly now!
To follow up the story, when laying out a boat hull, the crew will lay out the final layer of glass using polyester having the wax included. If you ever do repair work to a fiberglass hull, you need to pay attention to the resin you buy. Layout resin has NO wax, so you can go to lunch between layer layups. If you buy "finishing" resin, (as available at most parts houses) then you must lay down all your layers at one time, as finishing resin has wax and WILL harden completely if you go to lunch in the middle. Once finishing resin cures, you MUST roughen the surface before laying down more glass, in order to achieve a mechanical bond. When you lay on an uncured surface you get a chemical bond. Chemical bonds are far more reliable than mechanical bonds.
Enough history lessons...

 Hey Guest!


