Sorry, got side tracked...
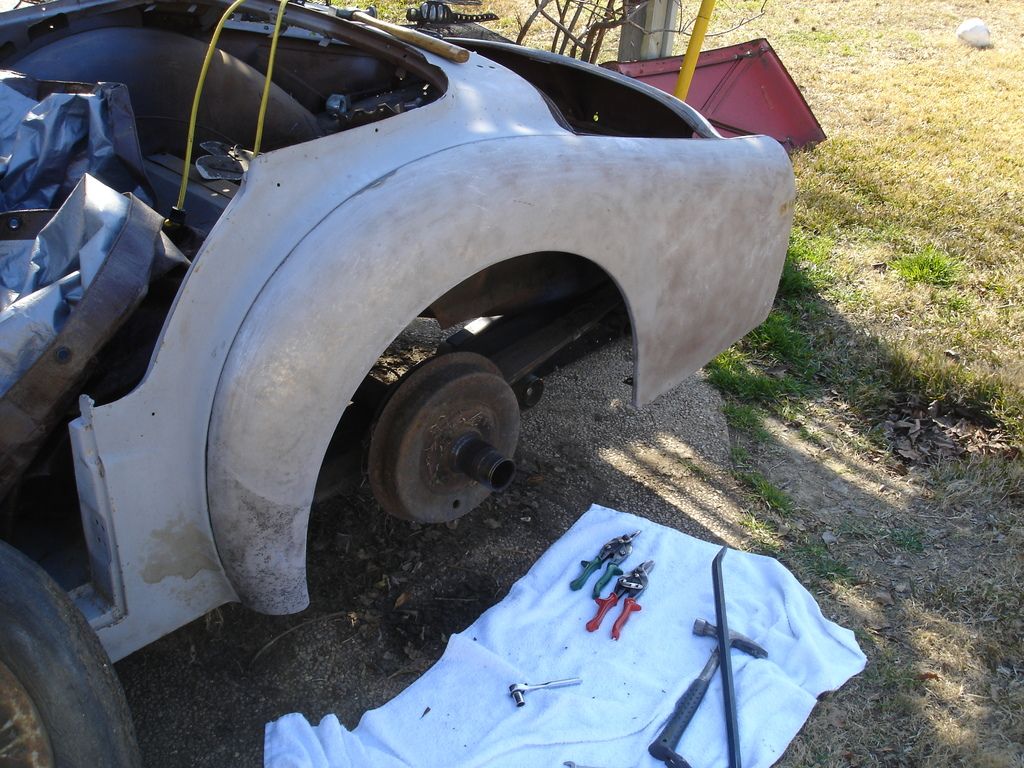
Next, I ordered repro stone guards from Moss. I did this now, while the wings are bare, because I remembered how much the guards have to be messaged to fit. They are very definetly not a "plug and play" part. So, the new guards fit pretty well on the right wing. They were too large...by about 1/2" on the left wing, though. At first, since I have 1 TR3 wing and the other is a TR2, I figured that it was an issue with "early" vs "late" wings. I pulled the spare rotten wings out of the scrap pile...and learned that it was the same case for both early AND late wings.
The stone guards are identical mirror copies of each other. But the wings are not! Bummer. The problems with hand-made car parts. So, the following sequence is what I had to go through to fit the repro guards to both sides.
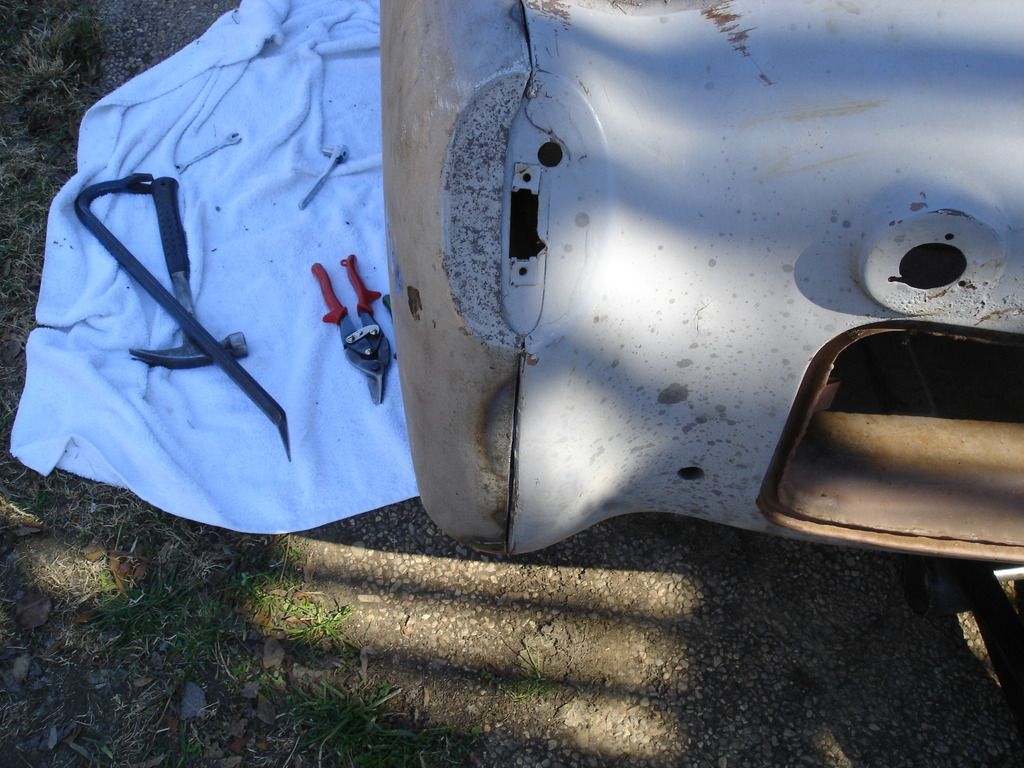
Important safety tip...you cannot fit these to a finish painted car without a lot of tears. If at all possible, fit them to bare metal.
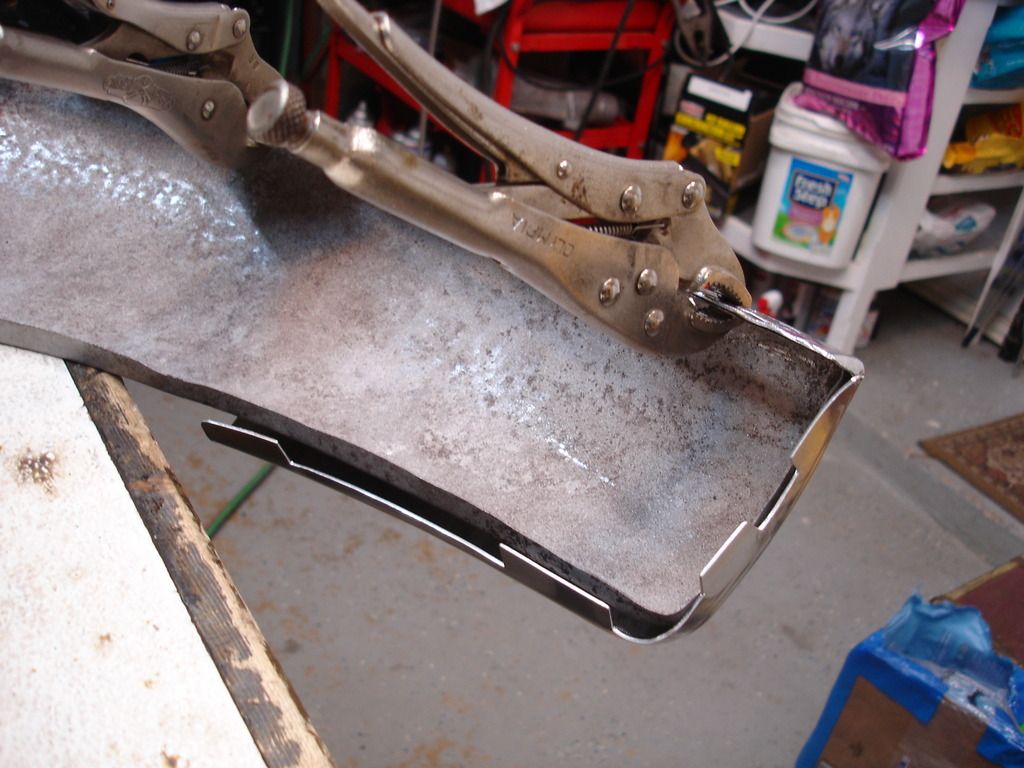
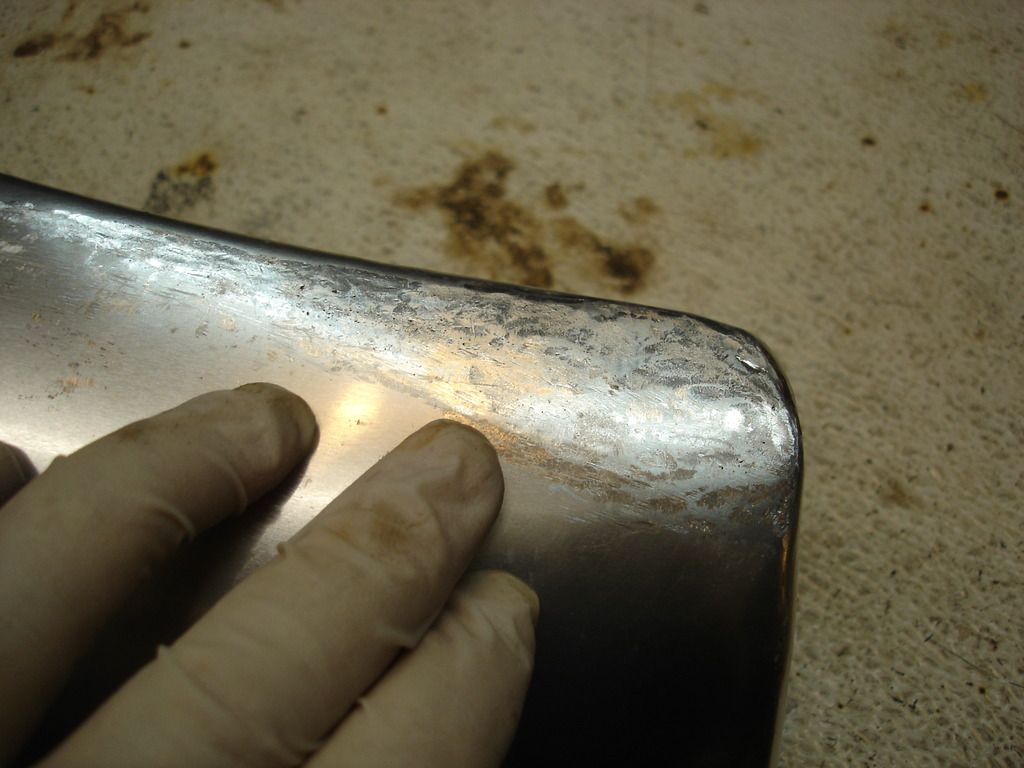
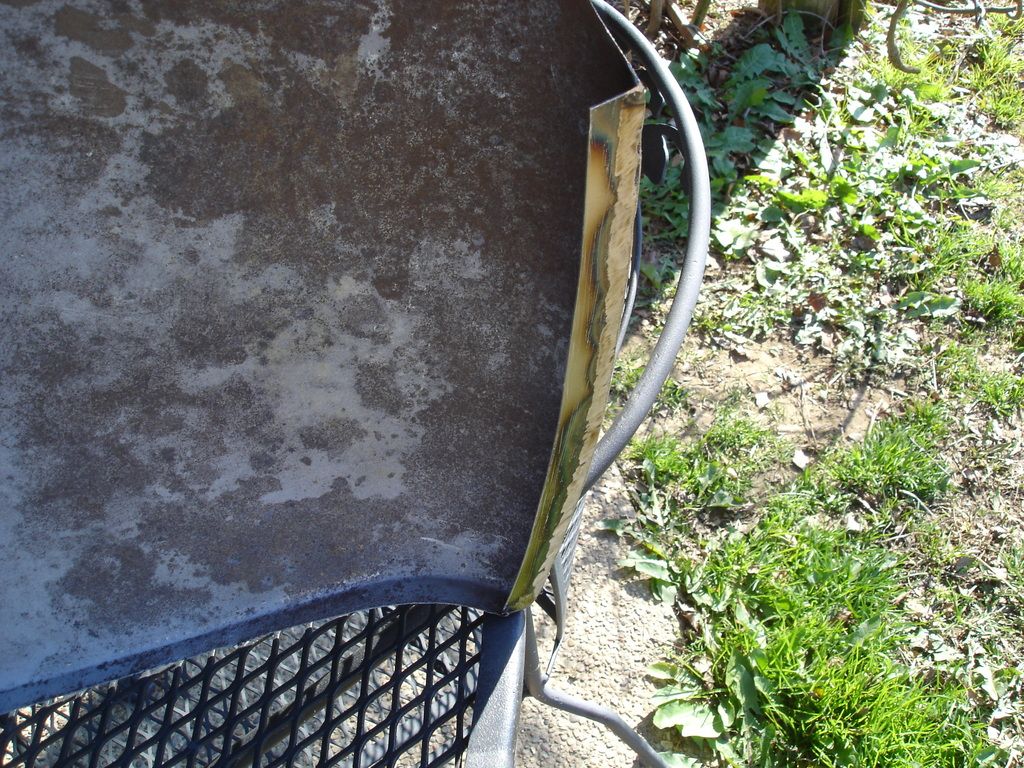
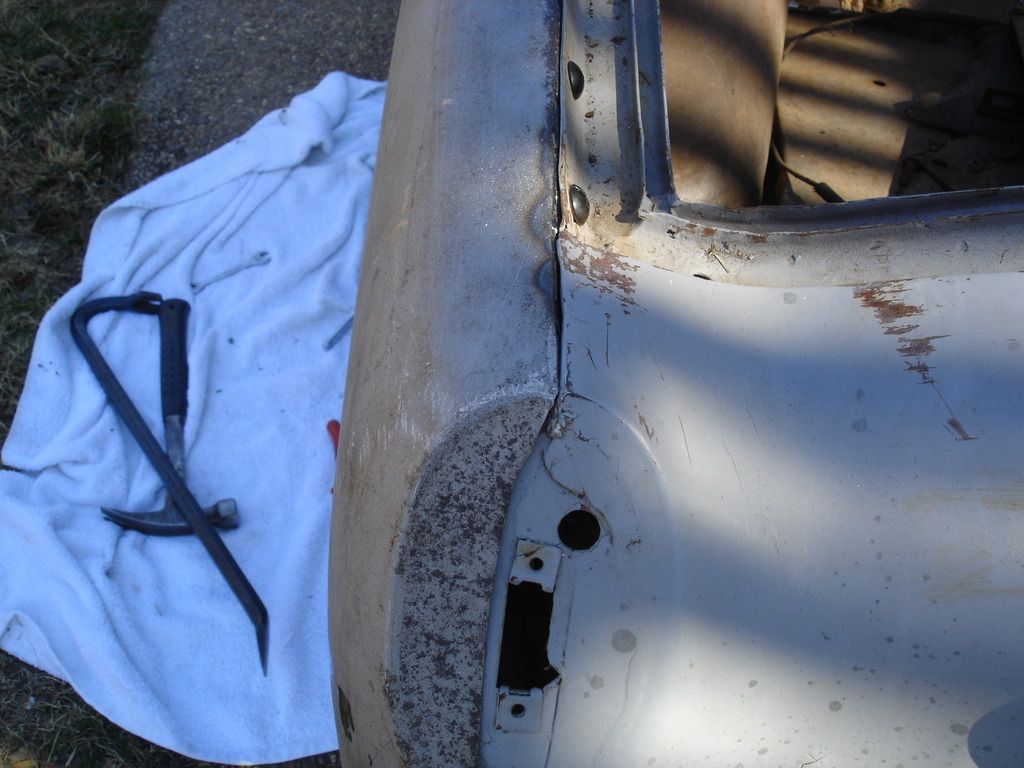
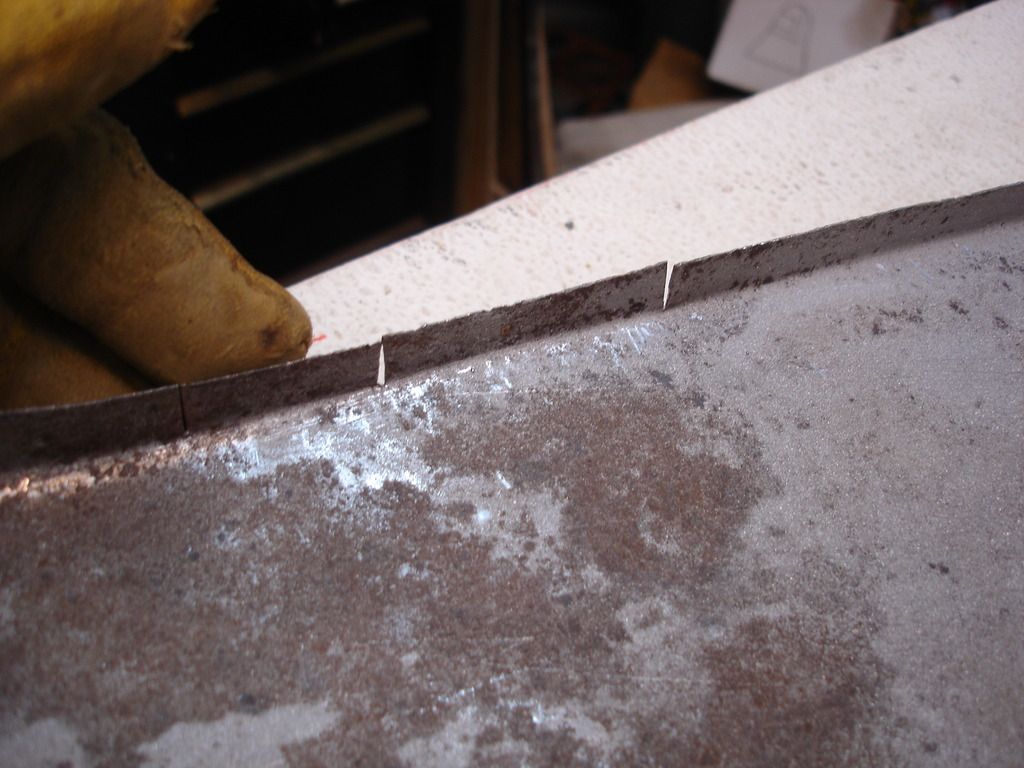
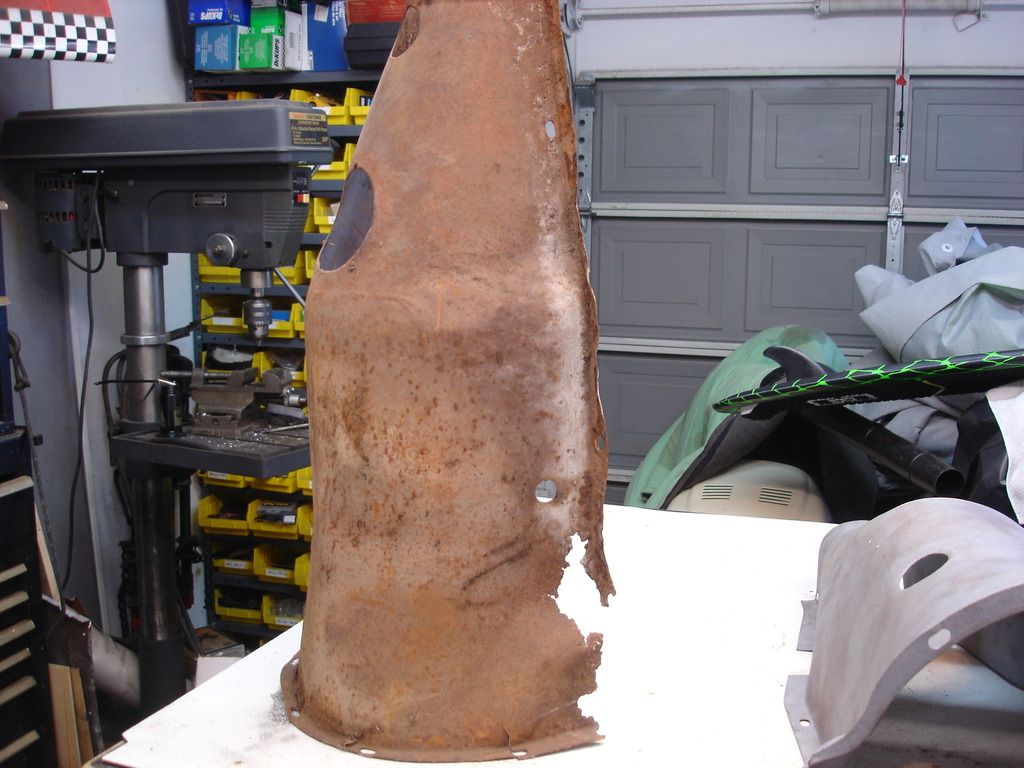
This shows the biggest problem side.
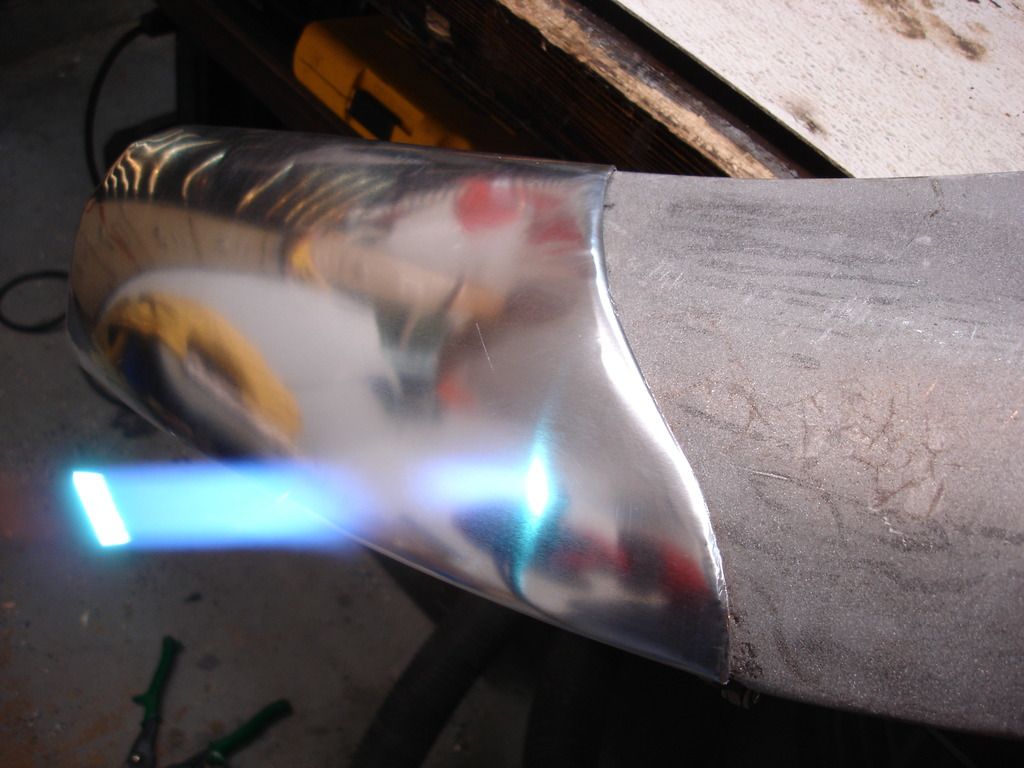
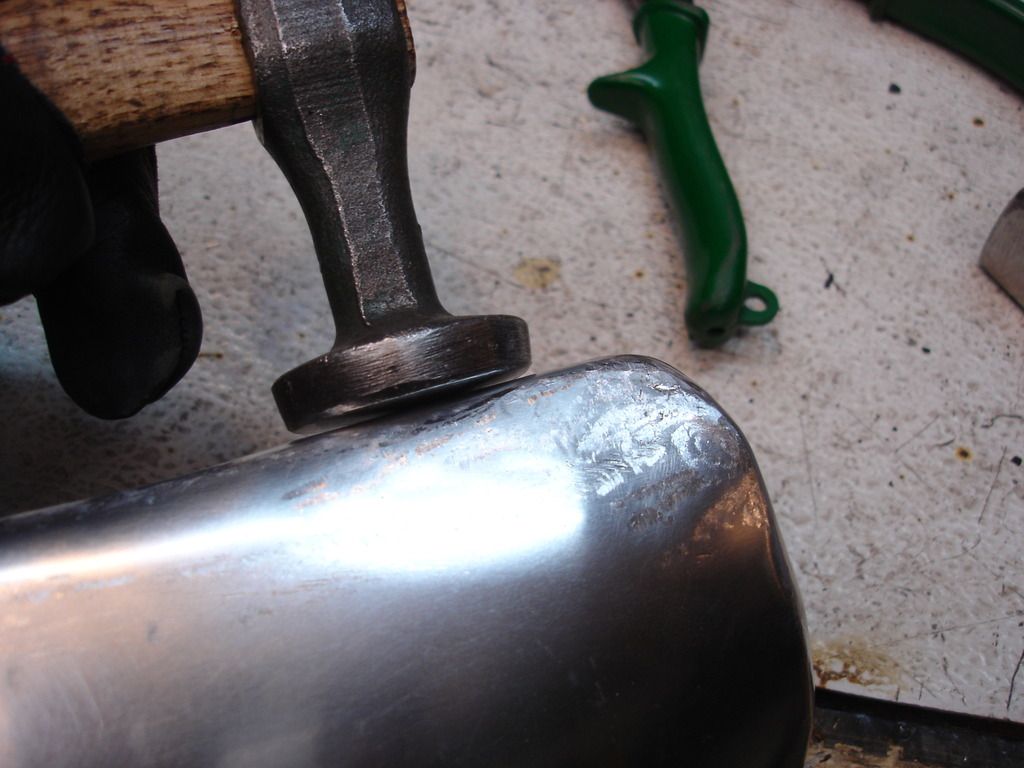
Aluminum is very docile with even a minimum of heat. Here I am torching it to soften the edges. I will then roll those edges over for a good fit.
Of interest...the side that fit well right off the bat had misaligned mounting holes. I had to open them up to match the holes on the wing. The side that fit like crap had the mounting holes perfect. Go figure!?!
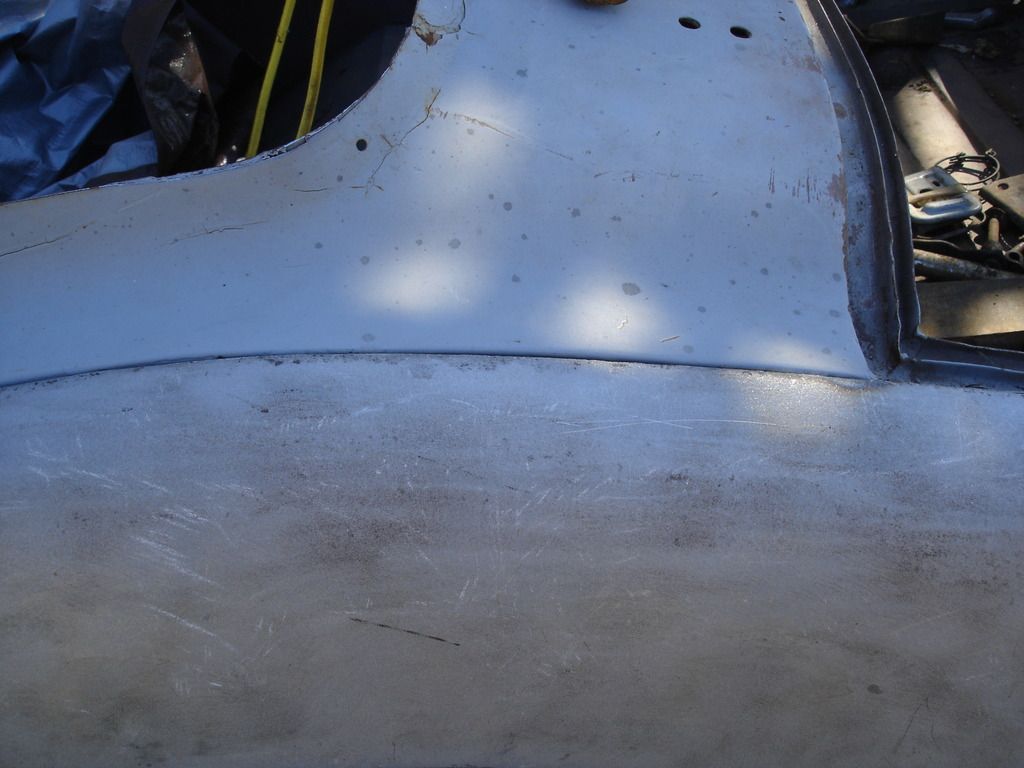
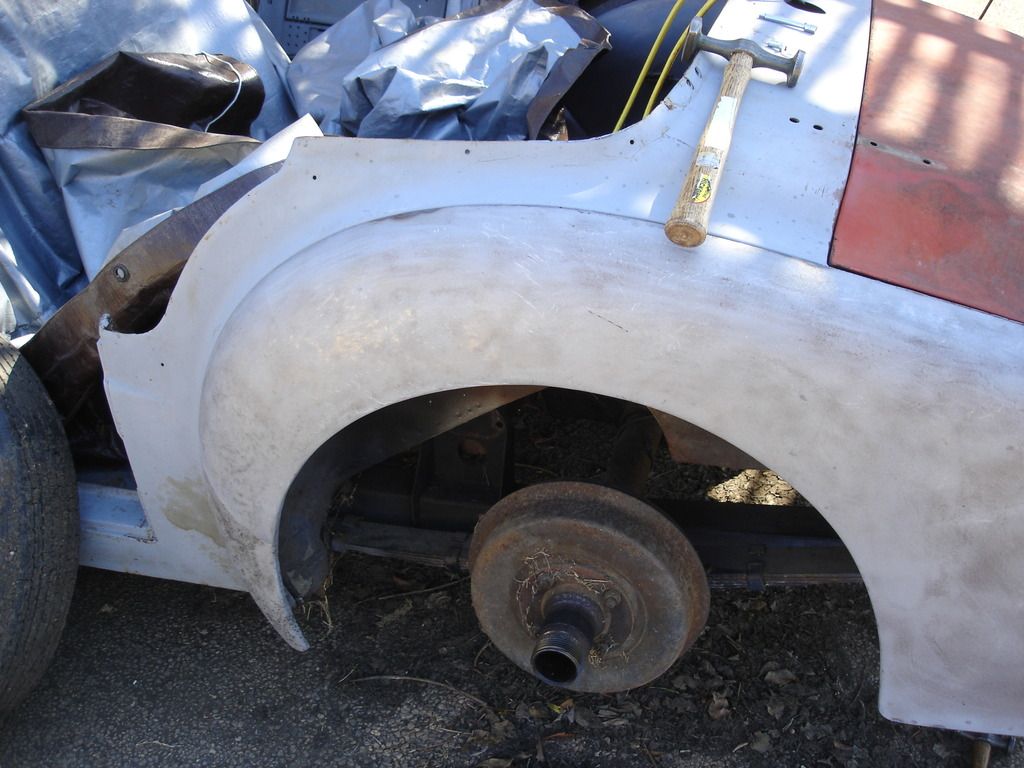
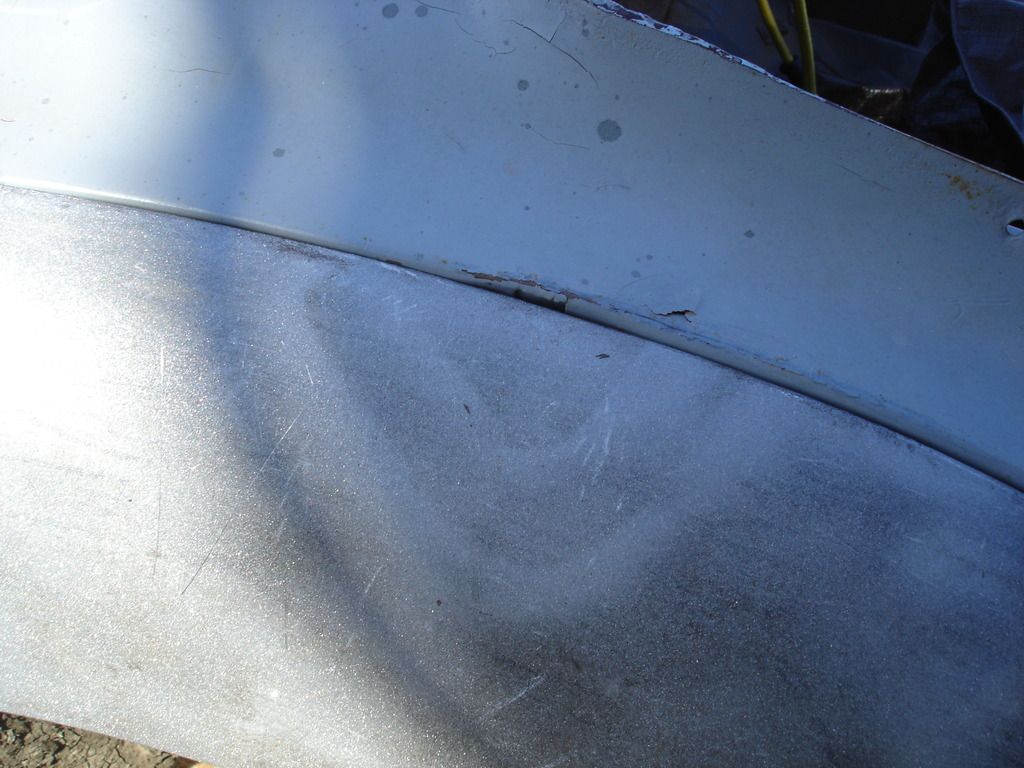
Here, I am heating the aluminum to soften it, and tapping the edges around to match the wing. Essentially, I am using the wing as a mold. Notice it beggars up the finish on the guard. That's not to be helped at this point. It'll be fixed later.
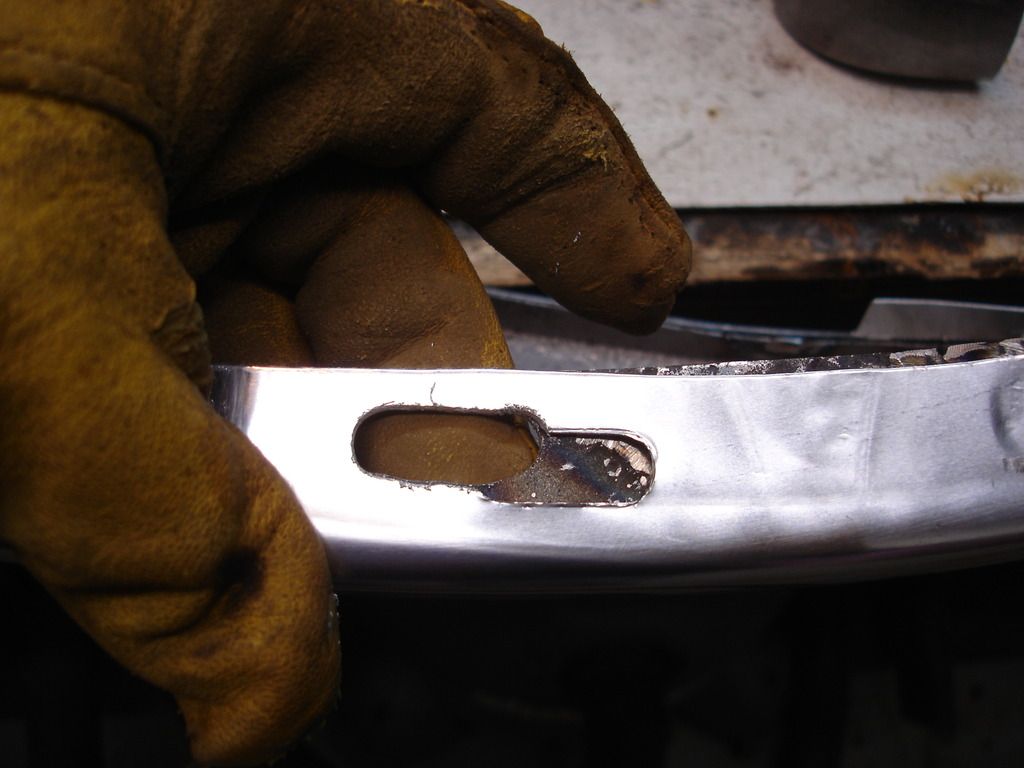
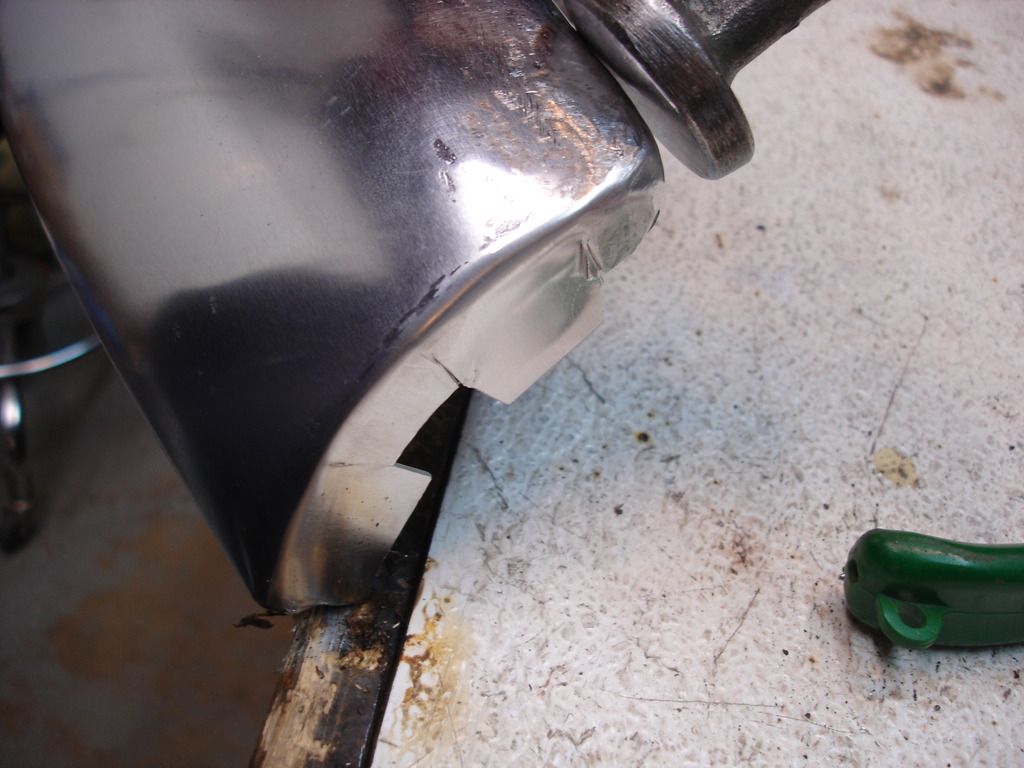
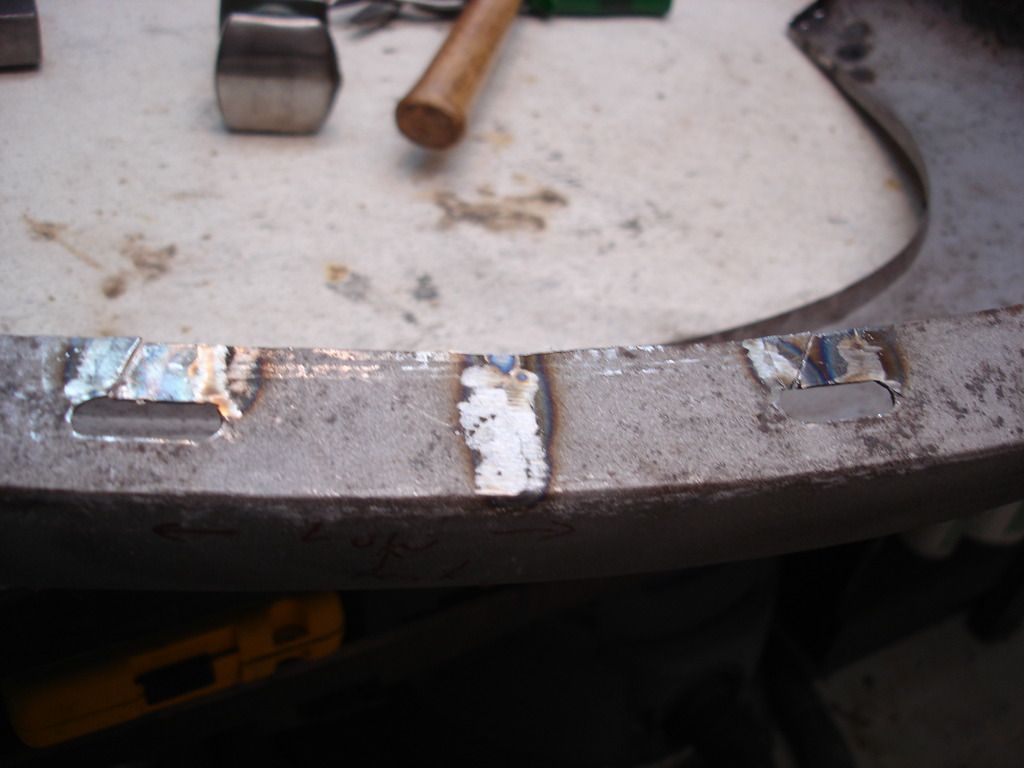
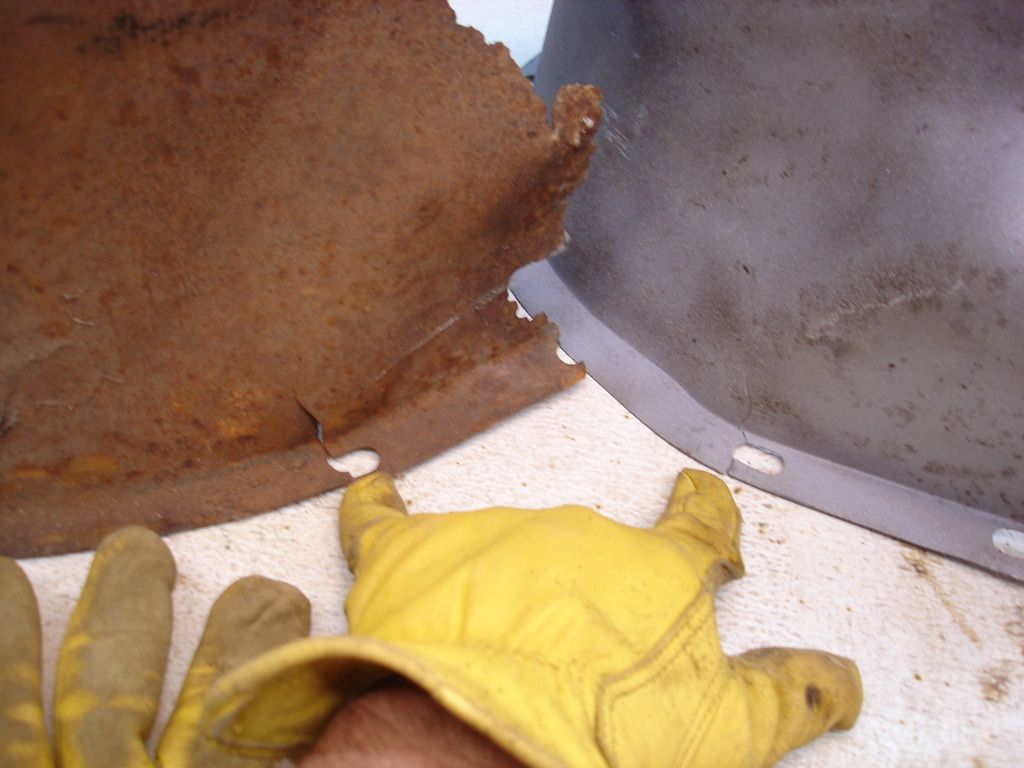
As you fold over the edges, the extra metal on the sides gets longer. Also, the curvature makes it necessary to slit the selvage at the bottom. This area will not be visible unless you put the car on a lift. On the sides, I trimmed the extra, and stretched that with a lot of beating.
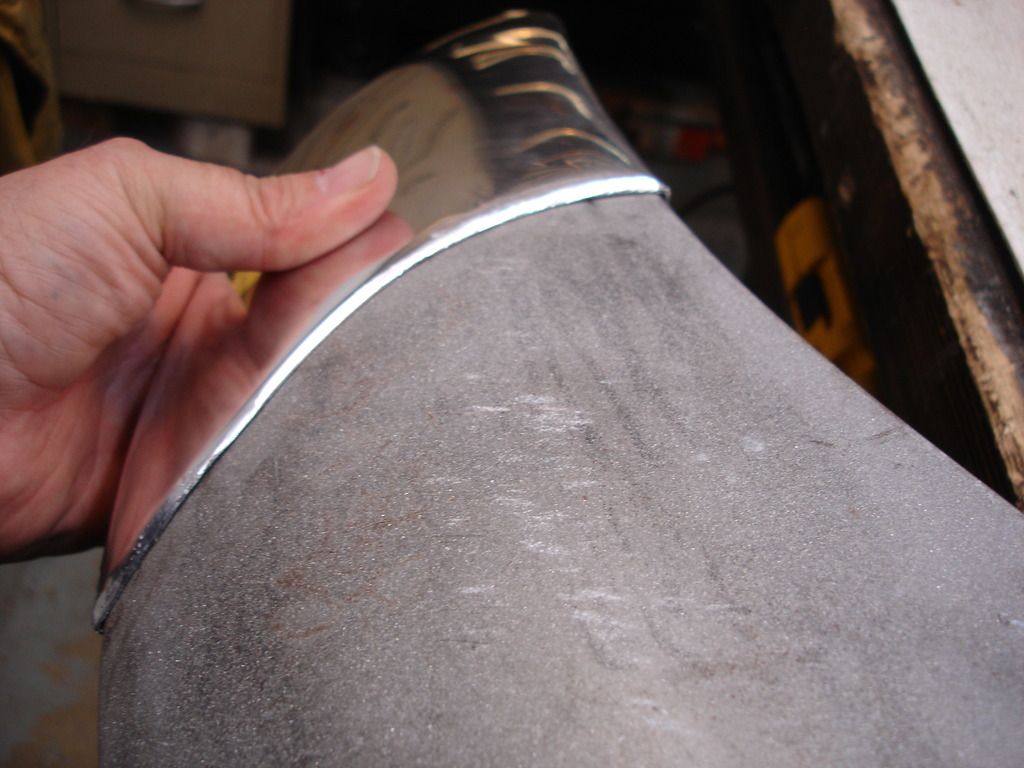
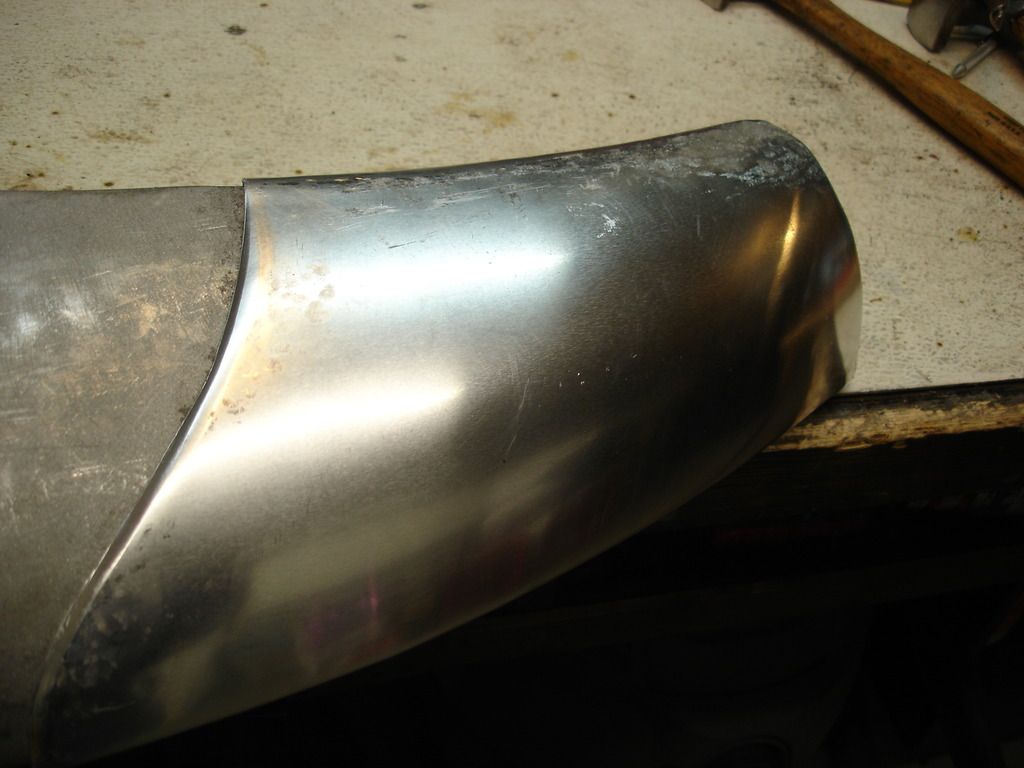
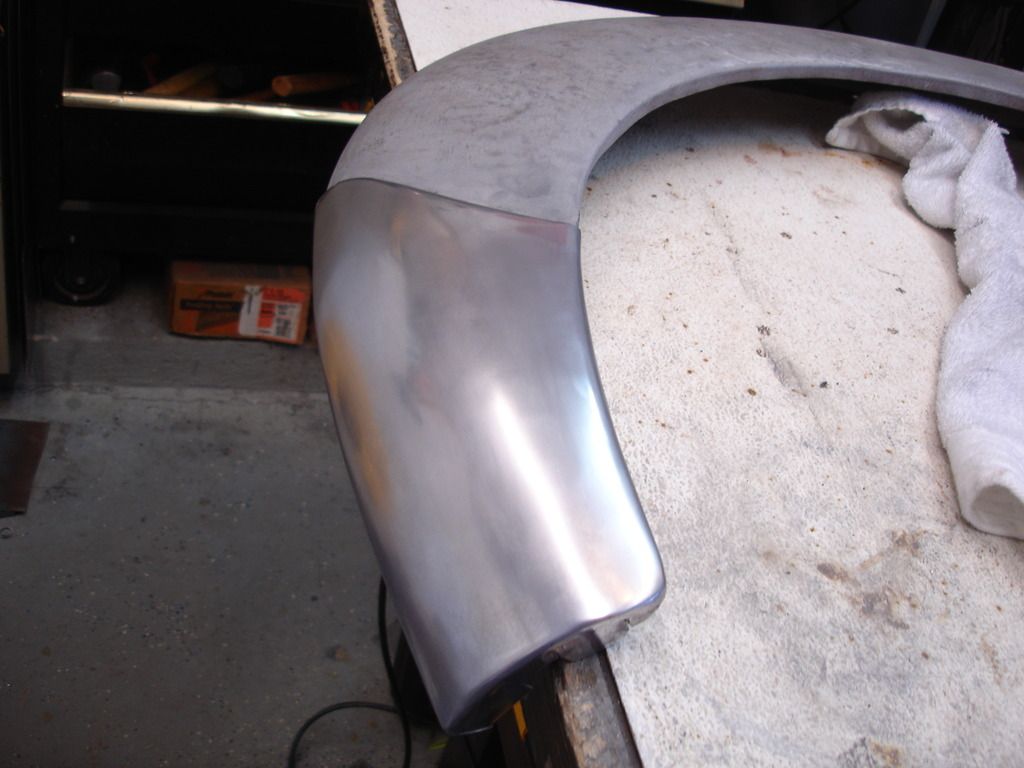
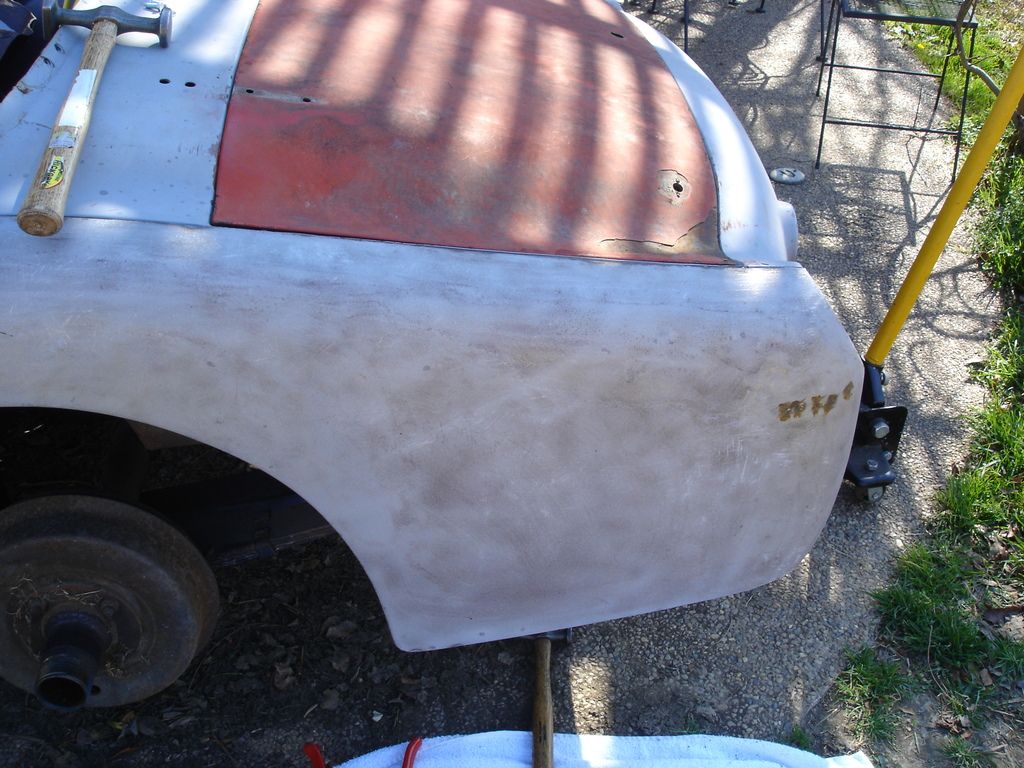
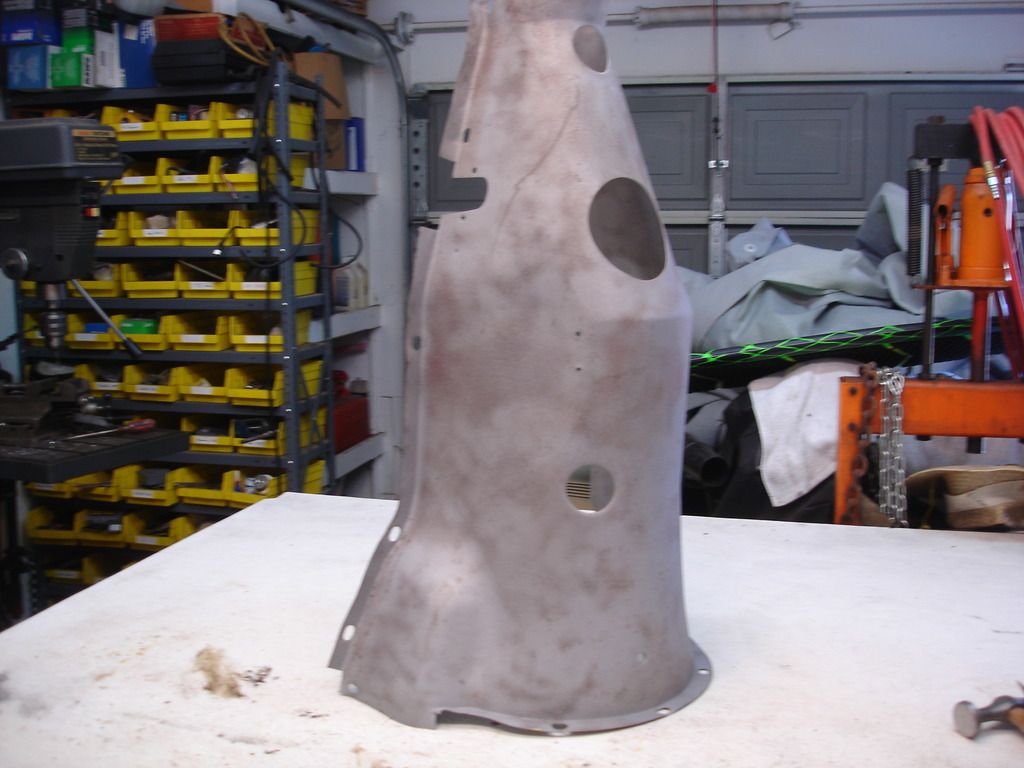
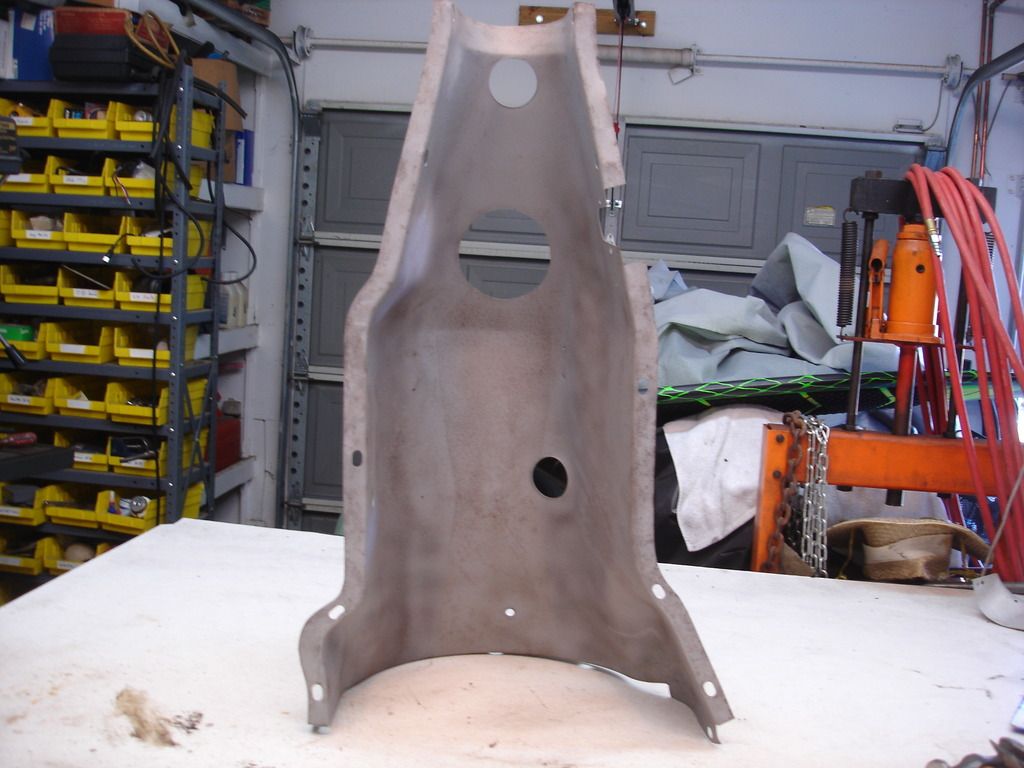
At this stage I am getting somewhere. It is finally looking like the 2 parts were meant to go together.
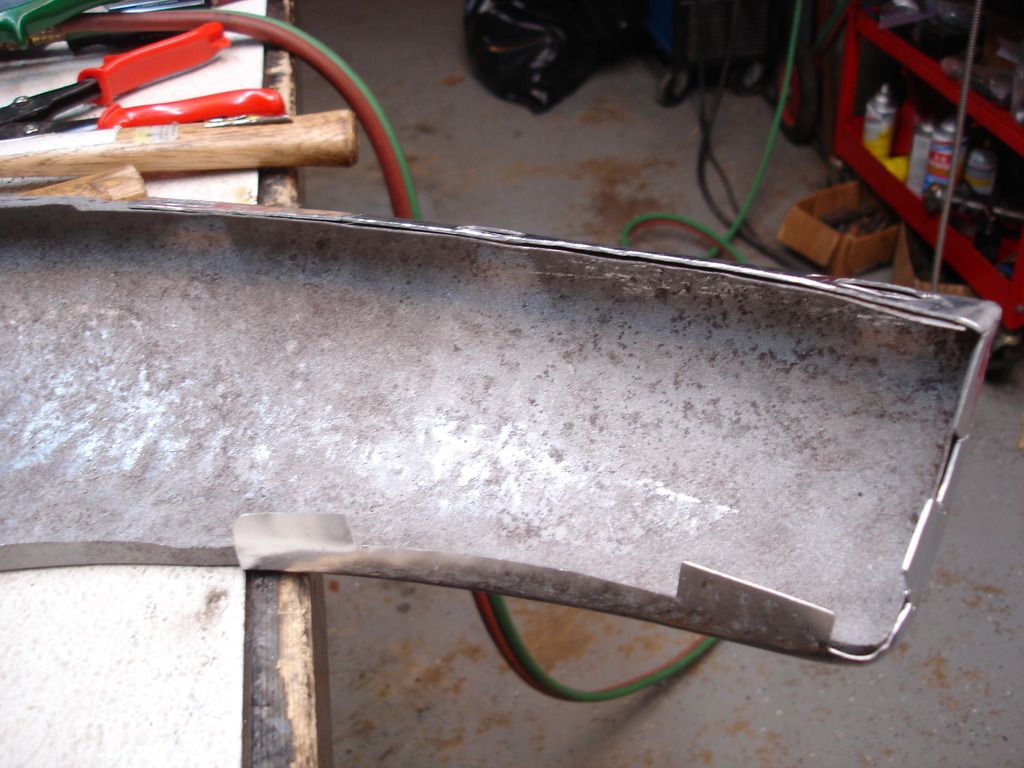
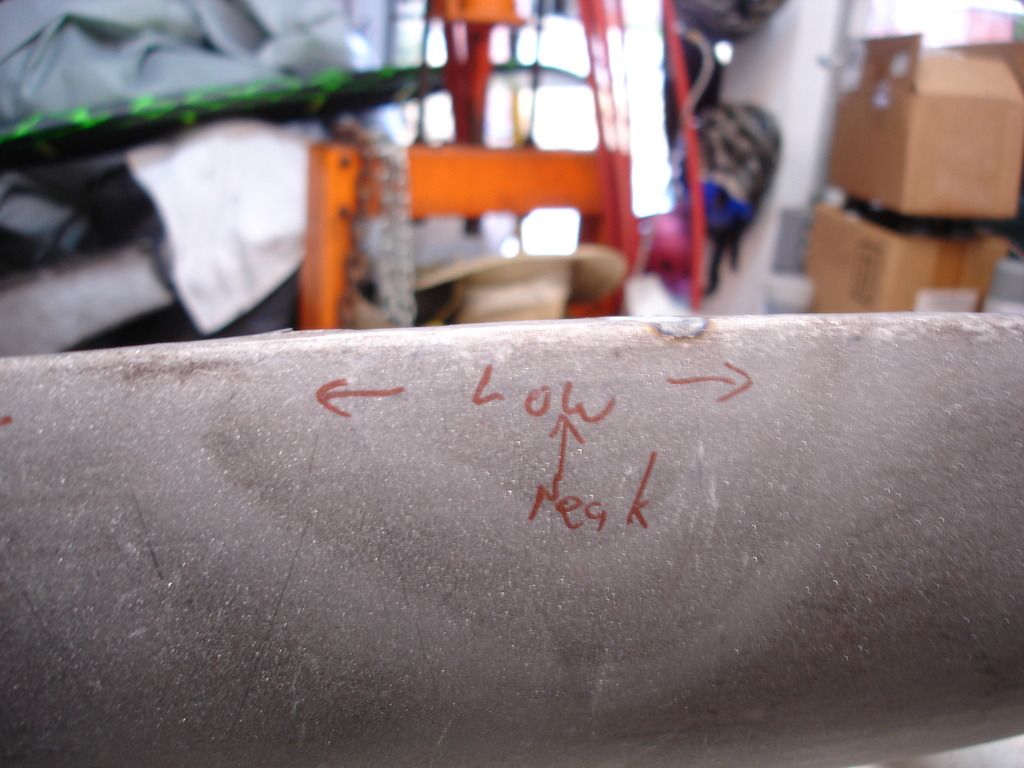
The wide selvage that gets pinched against the tub was too wide to shrink. On my wing the guard was not curved enough. That requires shrinking the edge selvage. You can see I attempted to shrink it by putting crimps along it. That was not enough...I eventually had to put some slits in this area too.
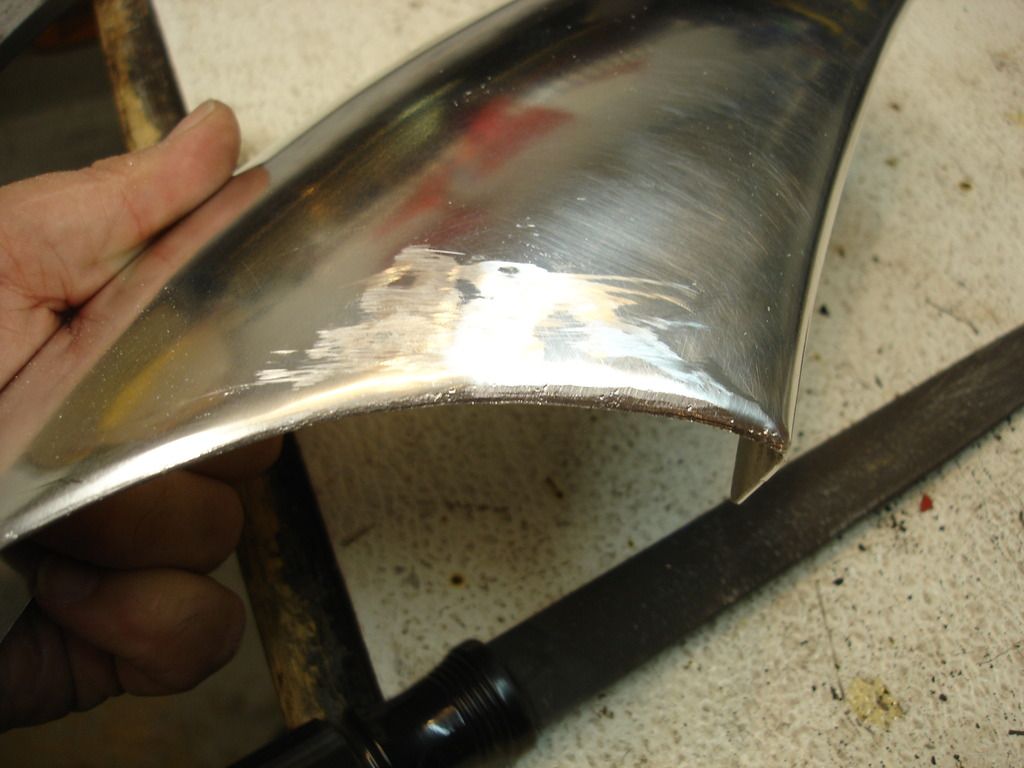
Here the guard is fit. Notice the areas I had to work a lot are no longer shiny. It's time to take care of that by polishing the guards.
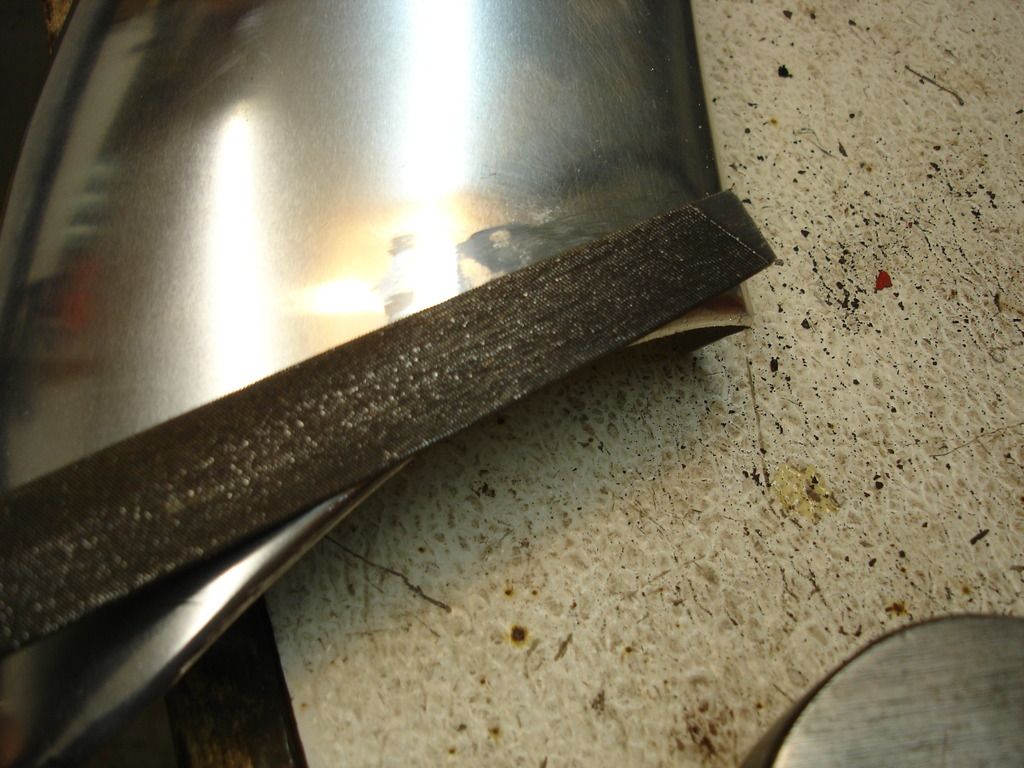
First, the rough areas get filed smooth.
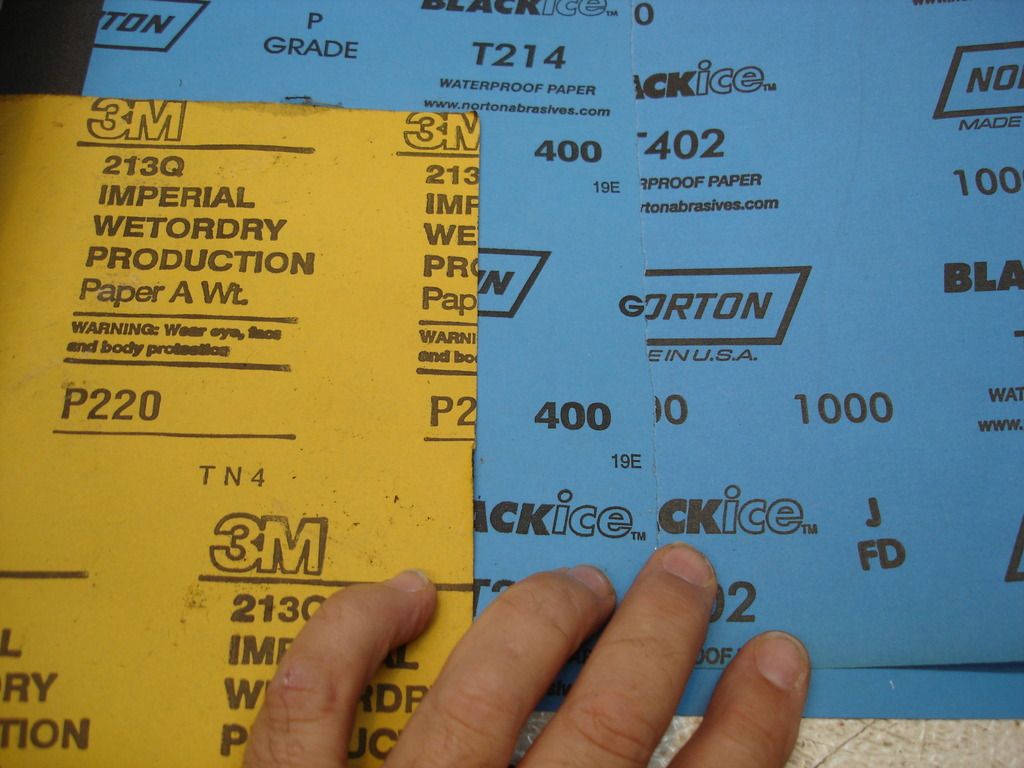
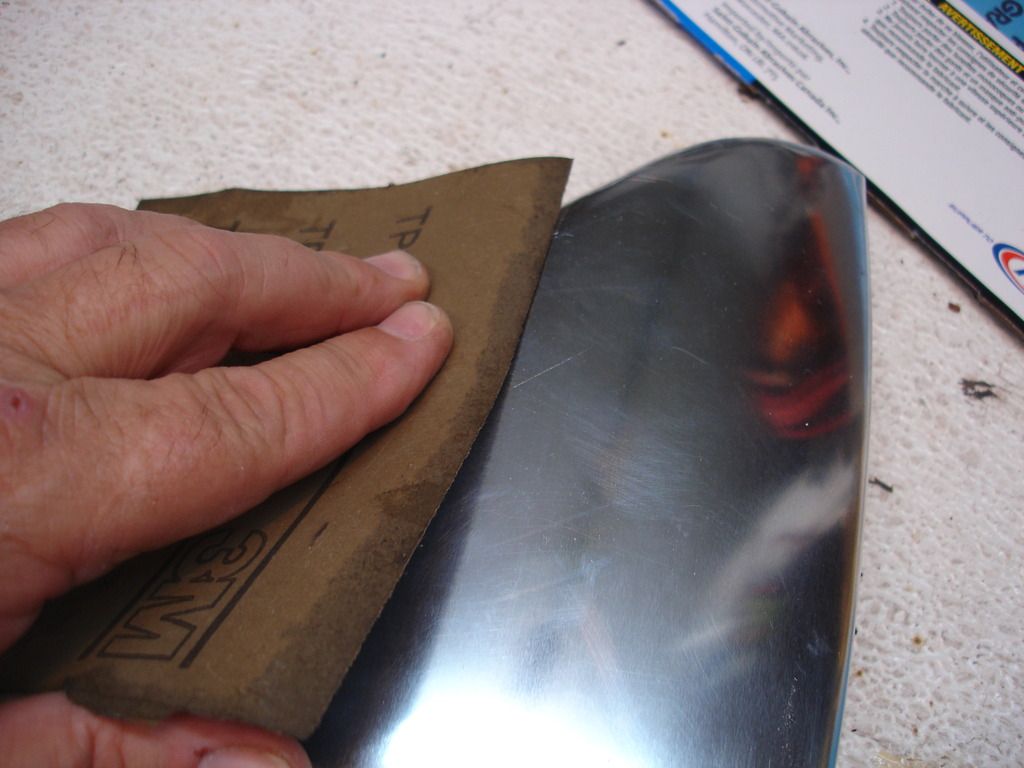
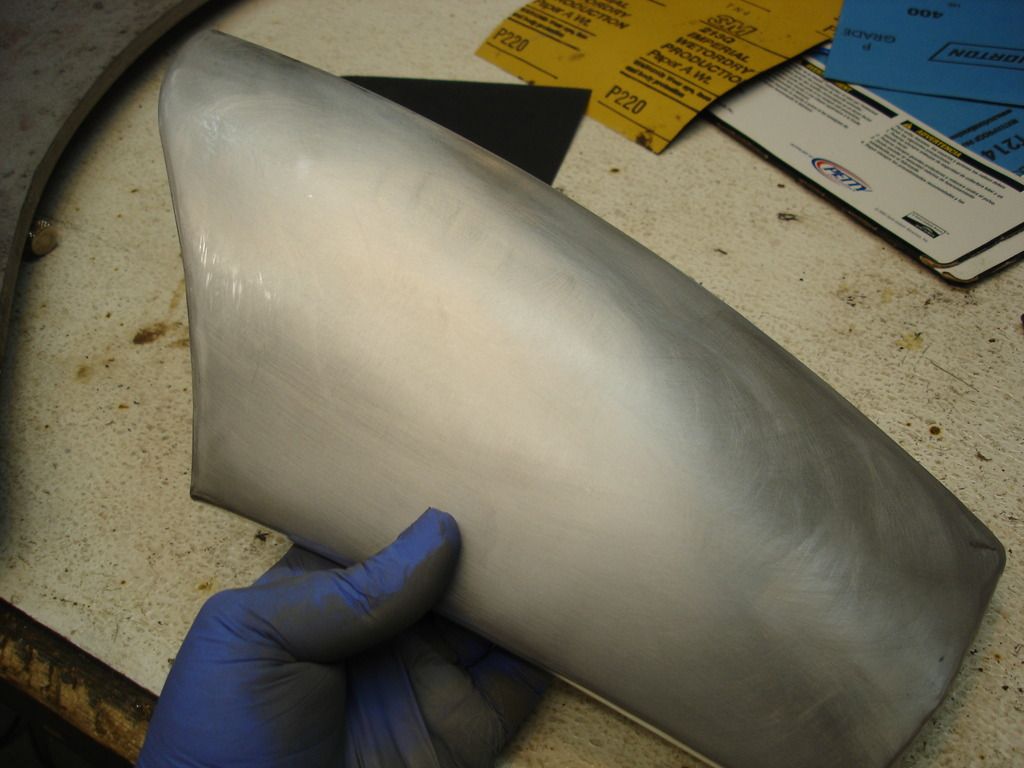
Now I sand the guard with progressively finer grit paper. I started with 220 to remove any dimples or gouges...and finished with 1000 grit. Each new grit is used until the marks from the previous, rougher grit, are gone.
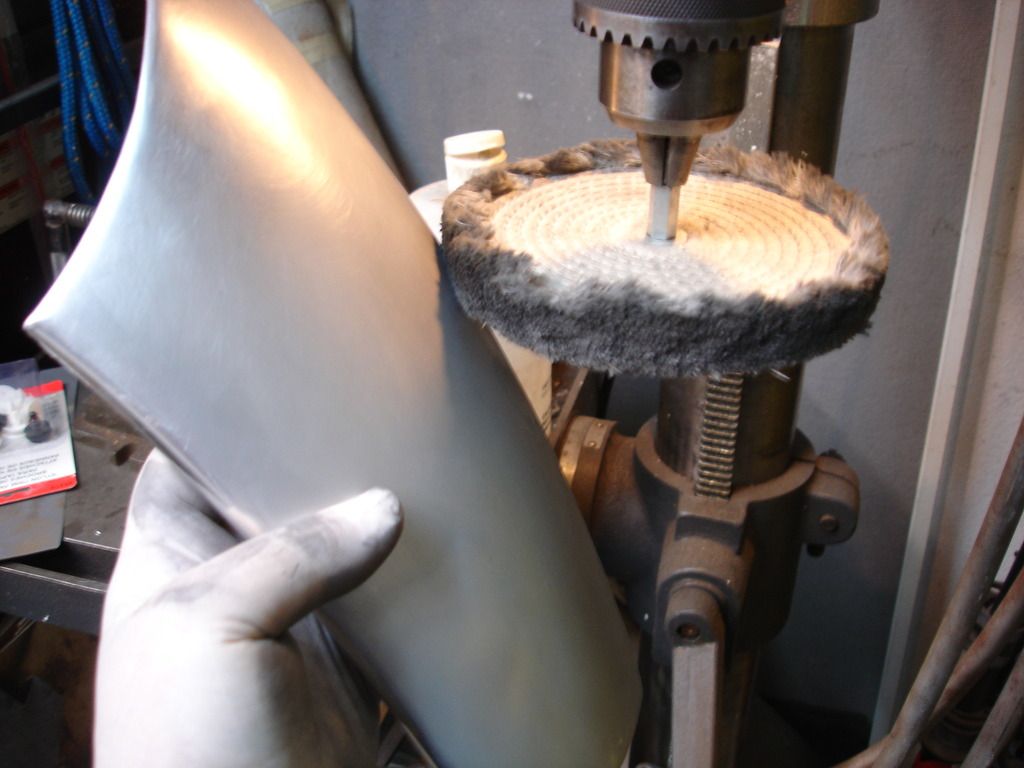
You end up with this...a smooth, mat finish having absolutely no gouges or scratches. Now I turn to the buffing wheel.
I am a bit bummed about the finish. It seems the material they used for these guards does not shine up as well as it should. It looks decent...but with the hours of buffing I put into them, they should be like mirrors. I assume that's the cheap sheeting they are using for them....oh well.

 Hey Guest!
 you would be welcome anytime!


") I'll be waiting.
I'll be waiting.