• Hi Guest!
    You can help ensure that British Car Forum (BCF) continues to provide a great place to engage in the British car hobby! If you find BCF a beneficial community, please consider supporting our efforts with a subscription.

    There are some perks with a member upgrade!
    **Upgrade Now**
    (PS: Subscribers don't see this gawd-aweful banner
Tips
Tips

TR2/3/3A Beginning the TR2 Bodywork

I think I can finally see the path to the end. I figure I can finish the rear wings in mid March, which marks about 50% of the total bodywork. So, starting the tub in March means painting in late summer. That would lead to a driving car about this time next year.

I'll need a break after this project. Perhaps a road trip up north...like Newmarket...

:cool:you would be welcome anytime!

Cheers
Tush
 
That is some fantastic work there John
 
Week 22

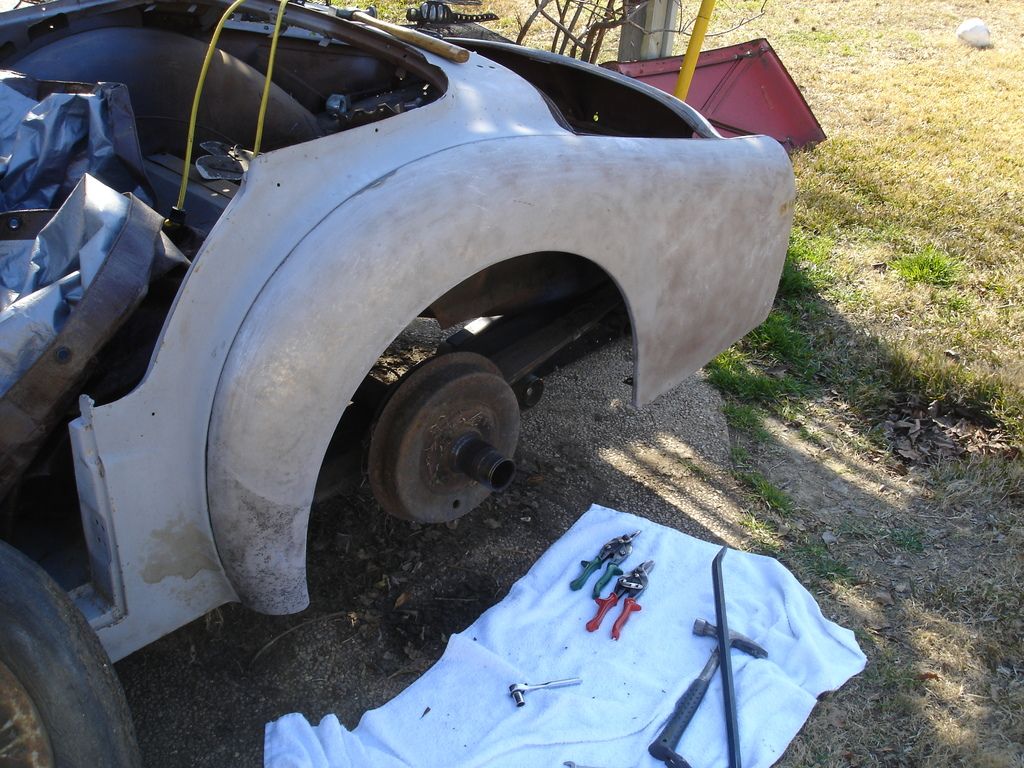
Gotta get a quick update in before the Superbowl pre-game. This week I started on the last of the "detachable" body parts...the rear wings. I got a lift when I checked the price of these things at Moss while I was ordering some parts. These babies go for $1295 new, plus $100 shipping. Funny how when you realize how much you are saving in a job it tends to pep you up! Frankly, these are probably not worth $100, but if you can't find them, they are worth what they bring. On Ebay they start at $500-$900, and those all have rusted out spots too. I'm drifting, again.


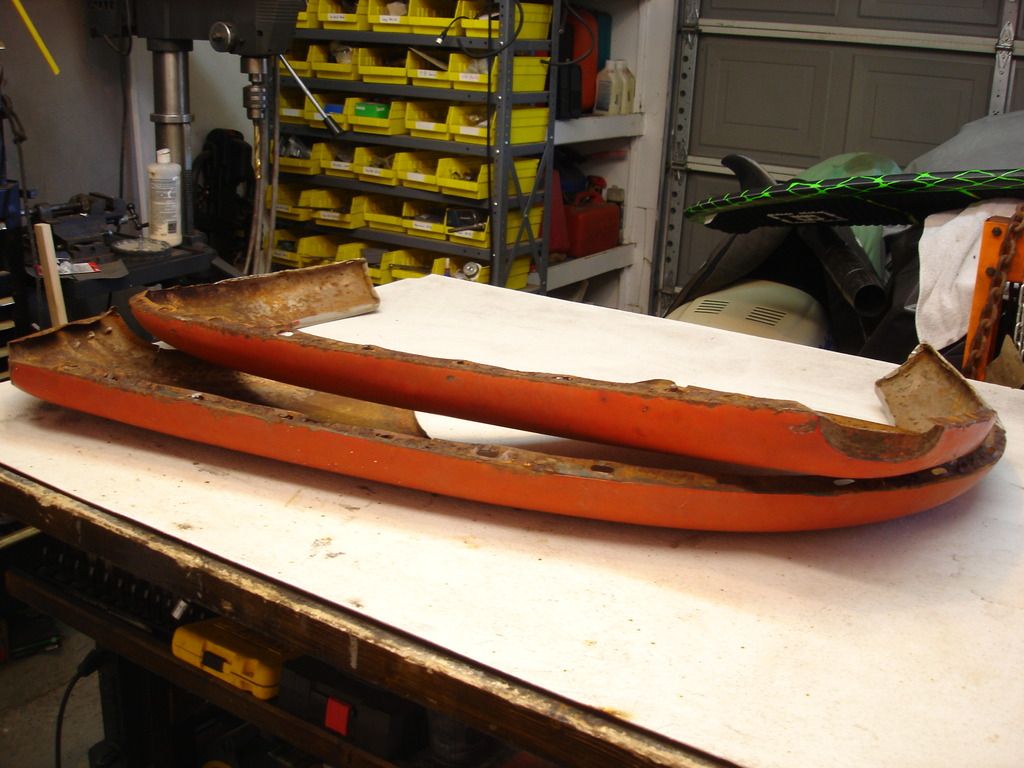
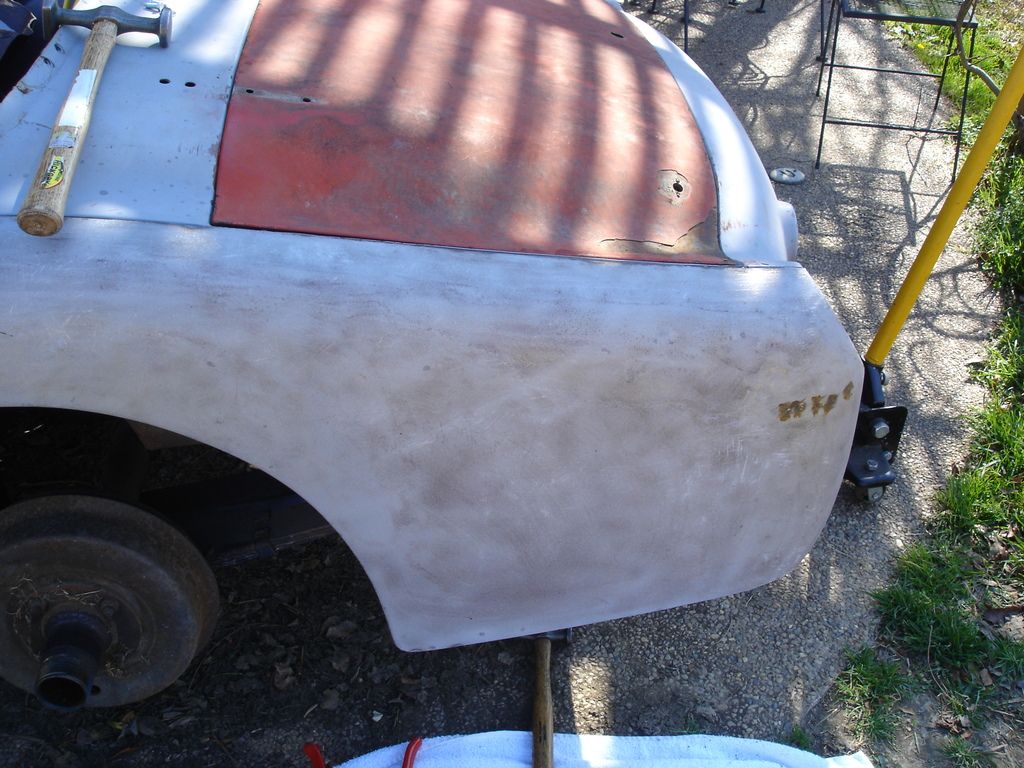
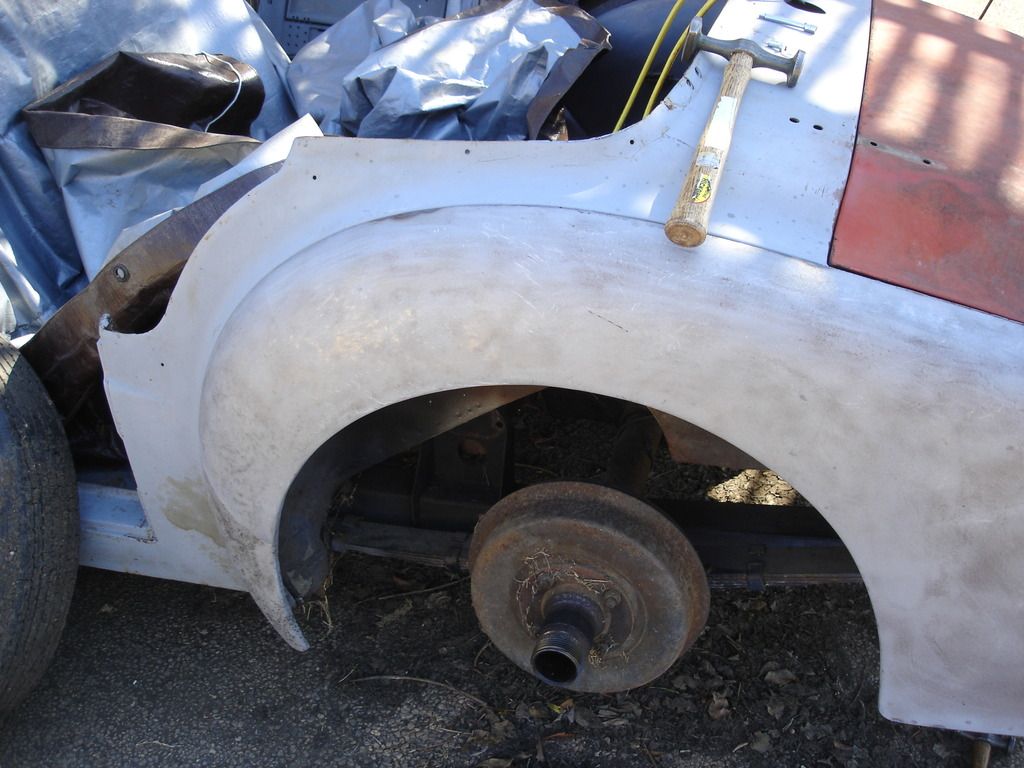
So, here are the 2 original TR2 rear wings. Compared to the front wings, there is little to them. They are merely a single sheet stamping. The only bracket is the small stabilizing bracket that is about 2" by 1". I also pulled the wings off the donor car, and it turns out I will be using the left from the original car, and the right from the donor.


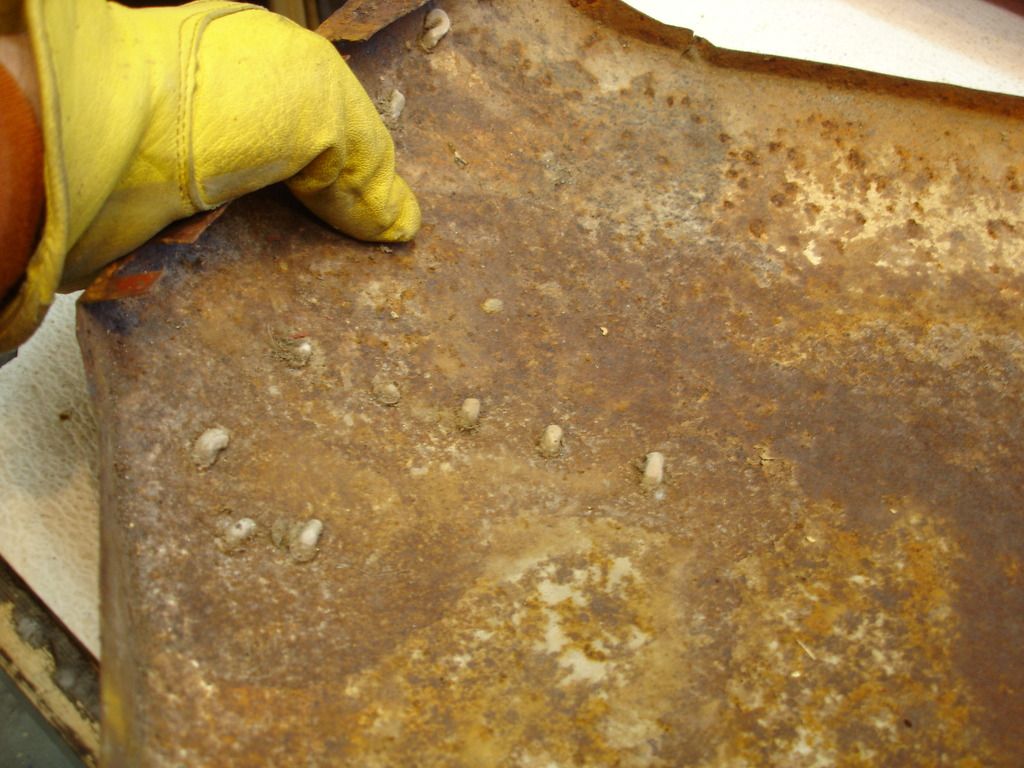
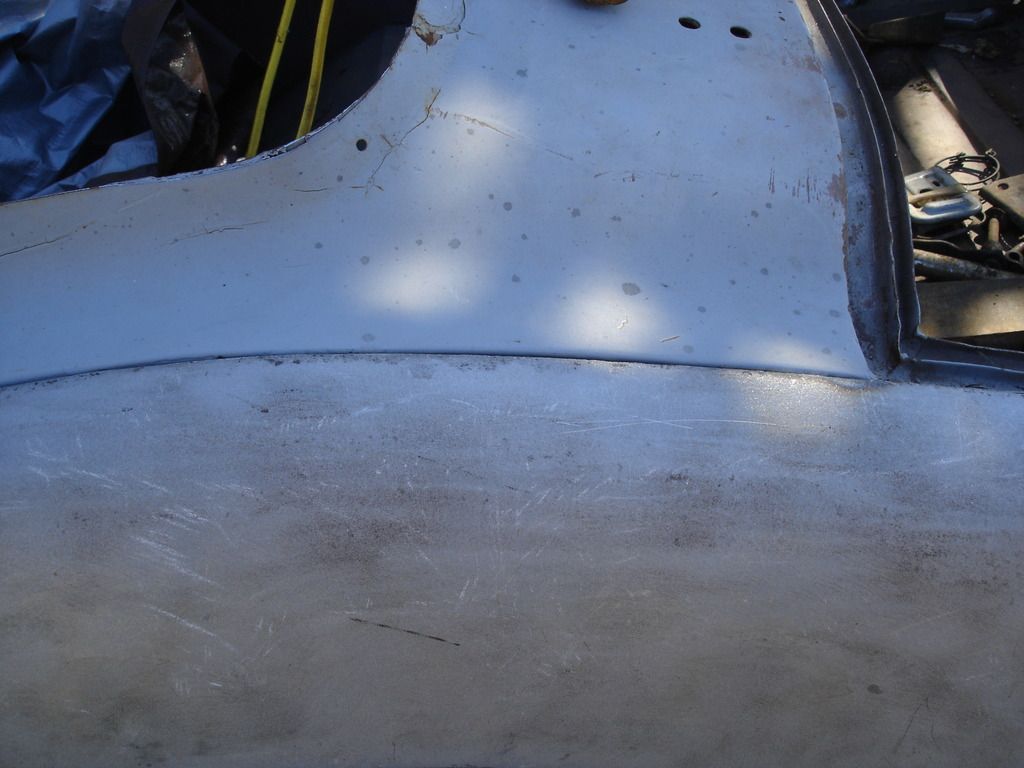
Quick preview shows there is bondo and drilled holes in the right wing at the rear.


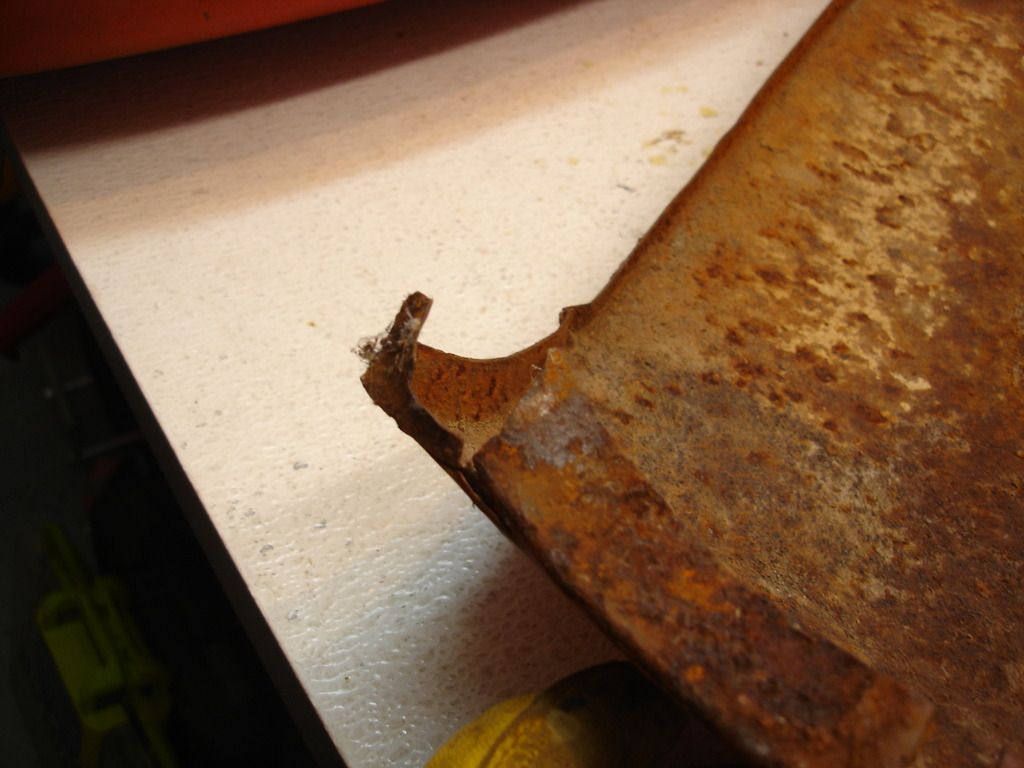
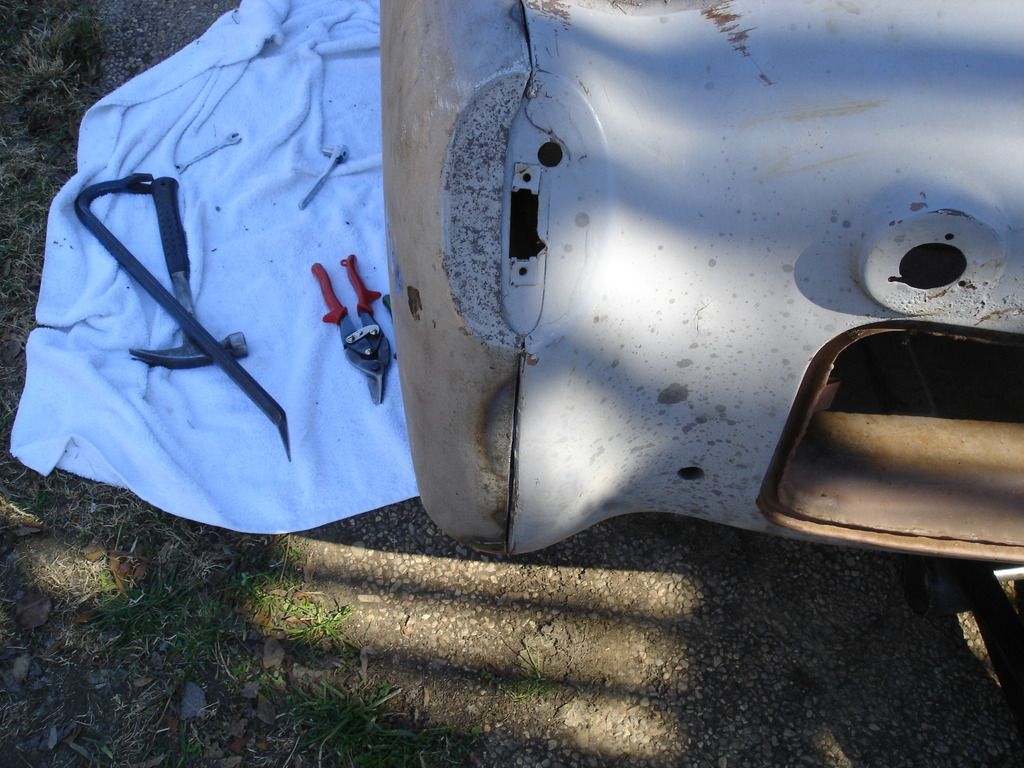
This is the lower rear corner where it bolts to the rear valence panel. The tab is torn.


As mentioned, the stabilizer bracket used to be here. No telling where it went. Luckily they are still on the donor car panels, so I can get one from there.


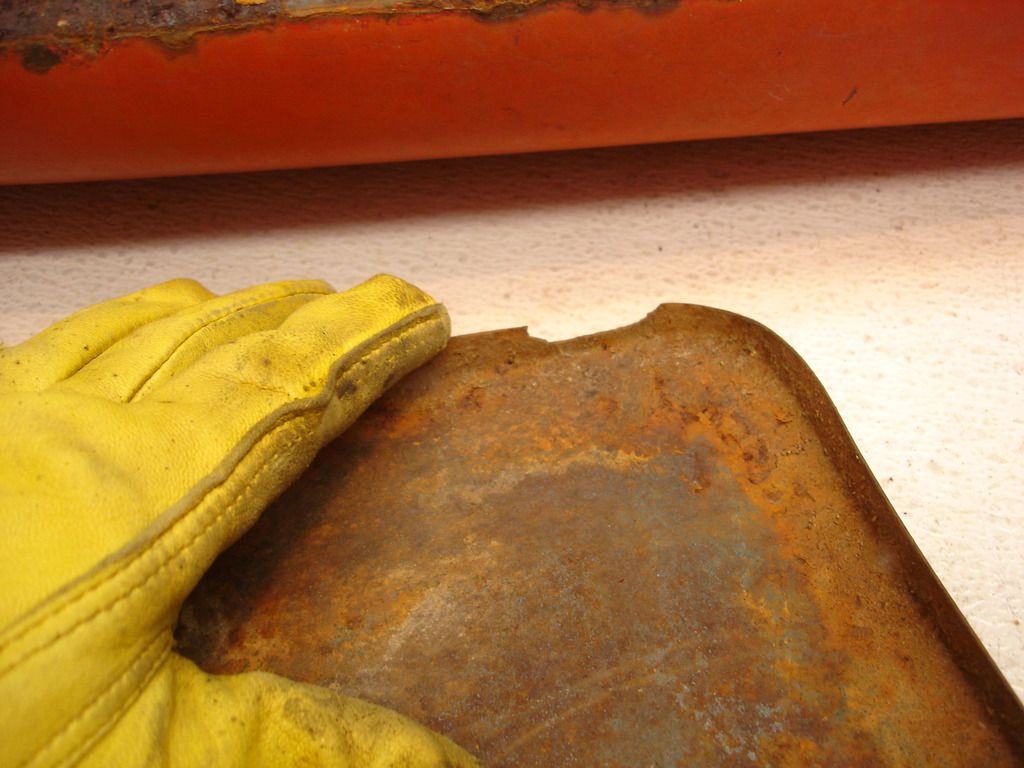
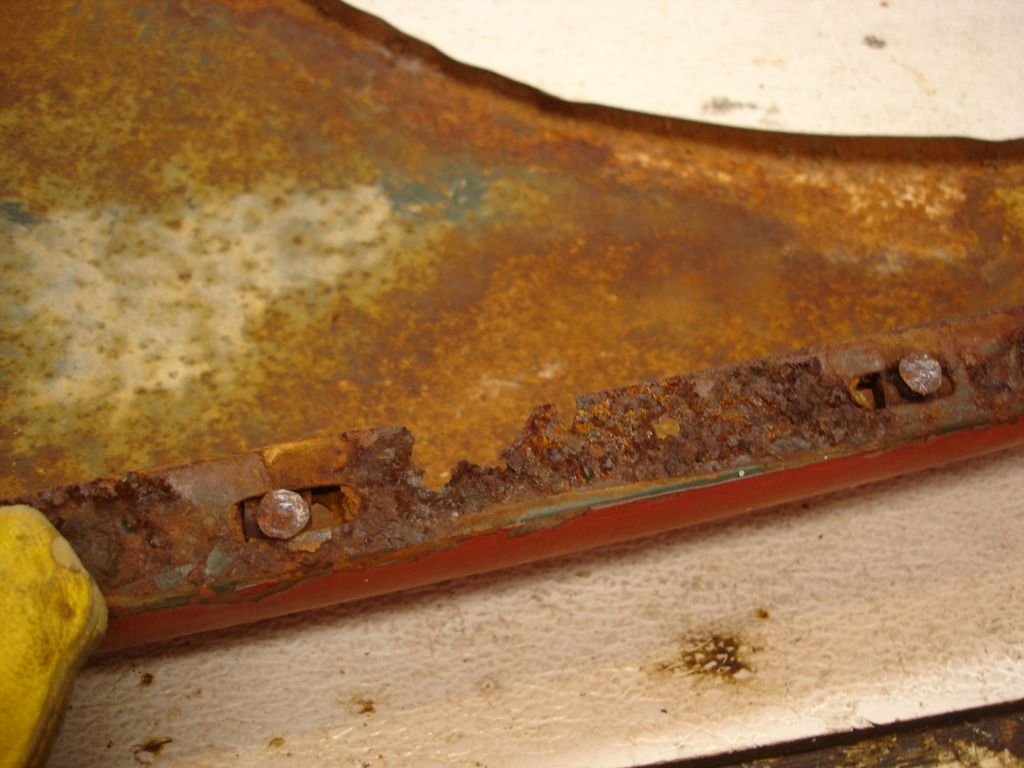
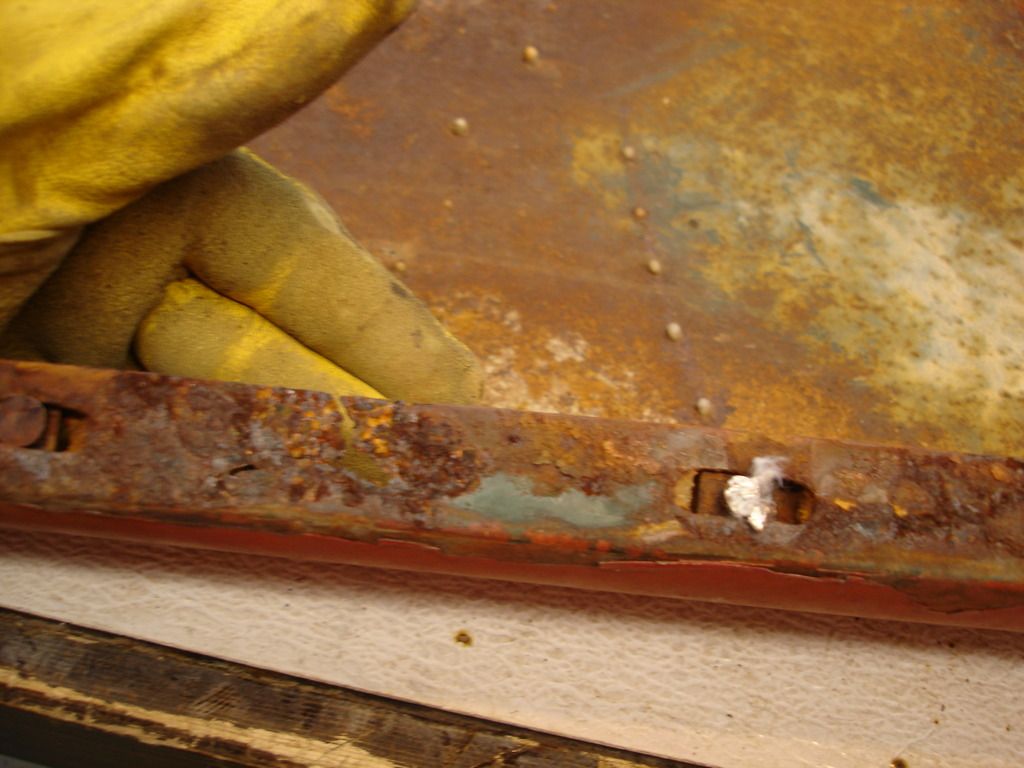
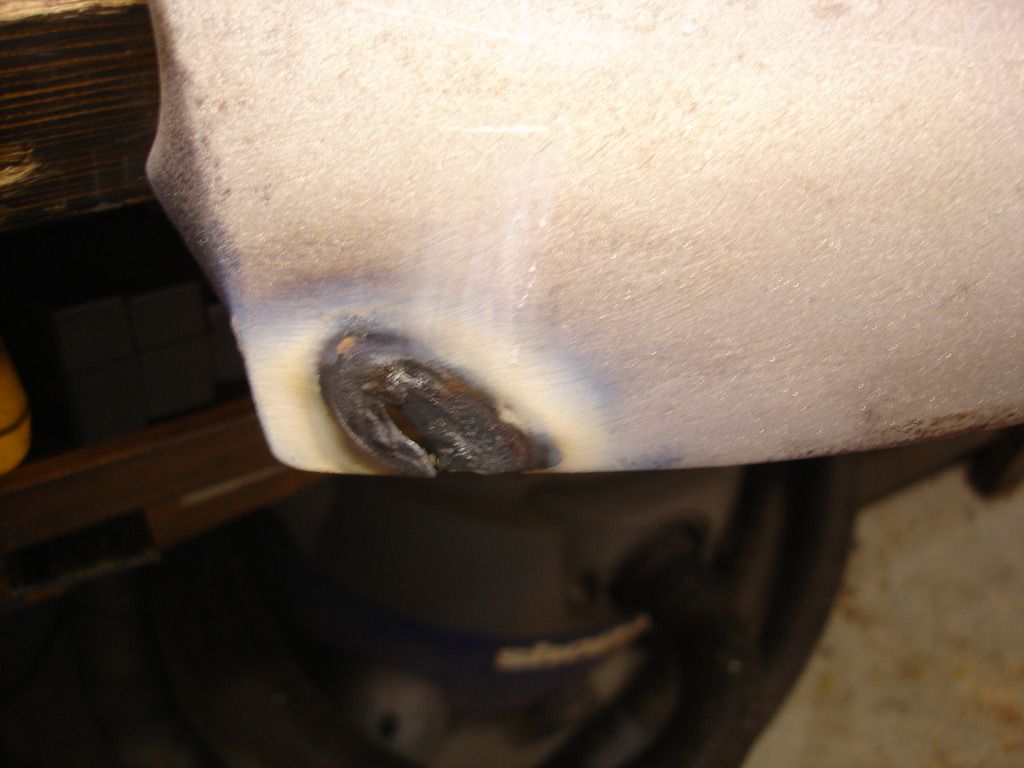
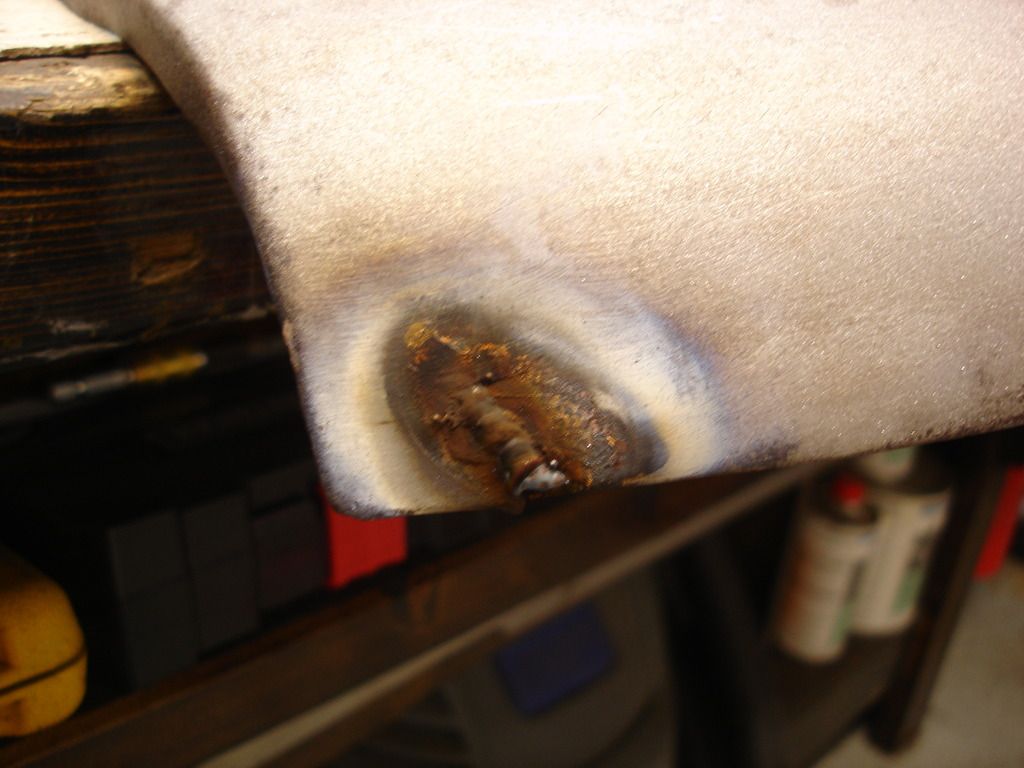
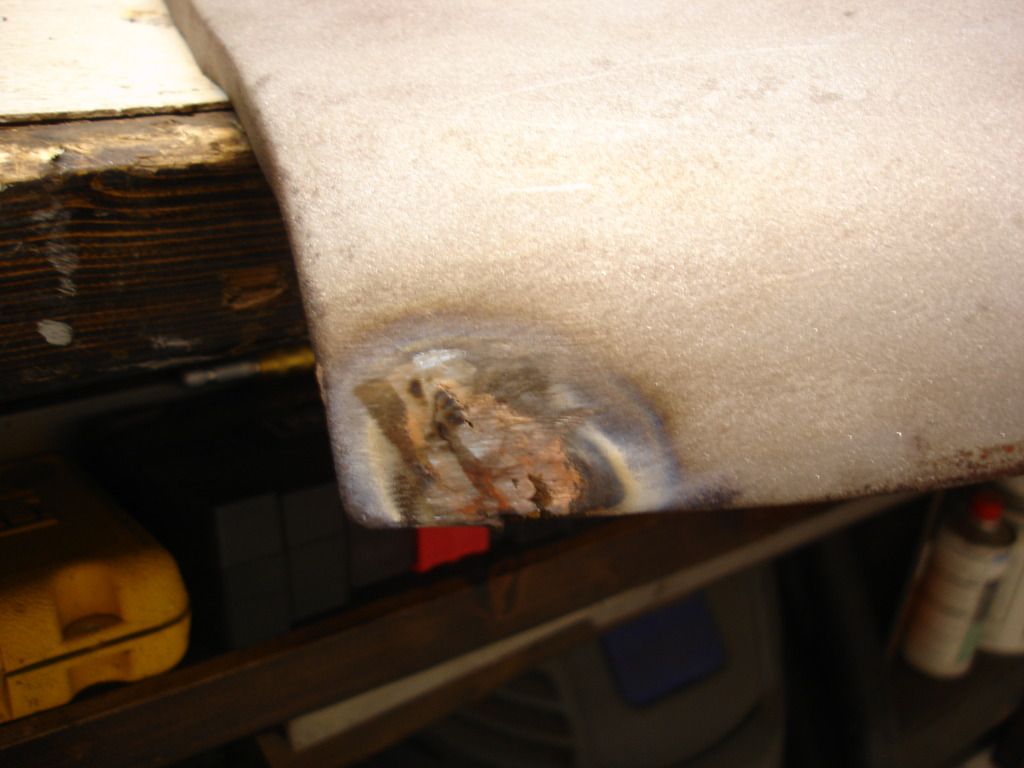
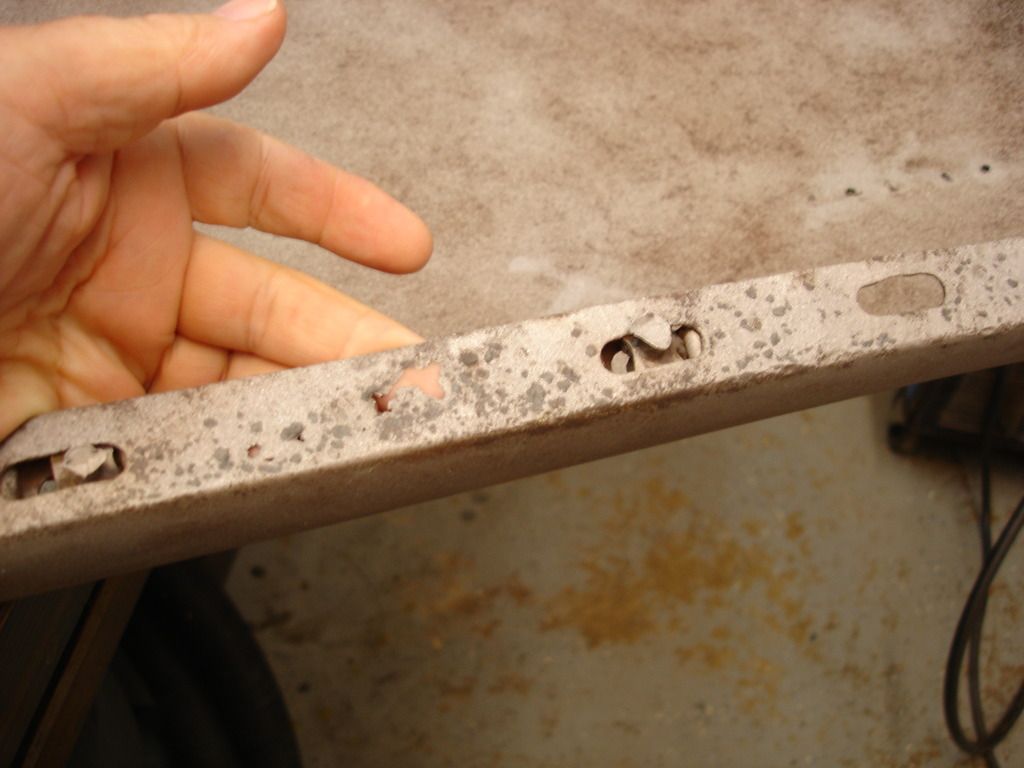
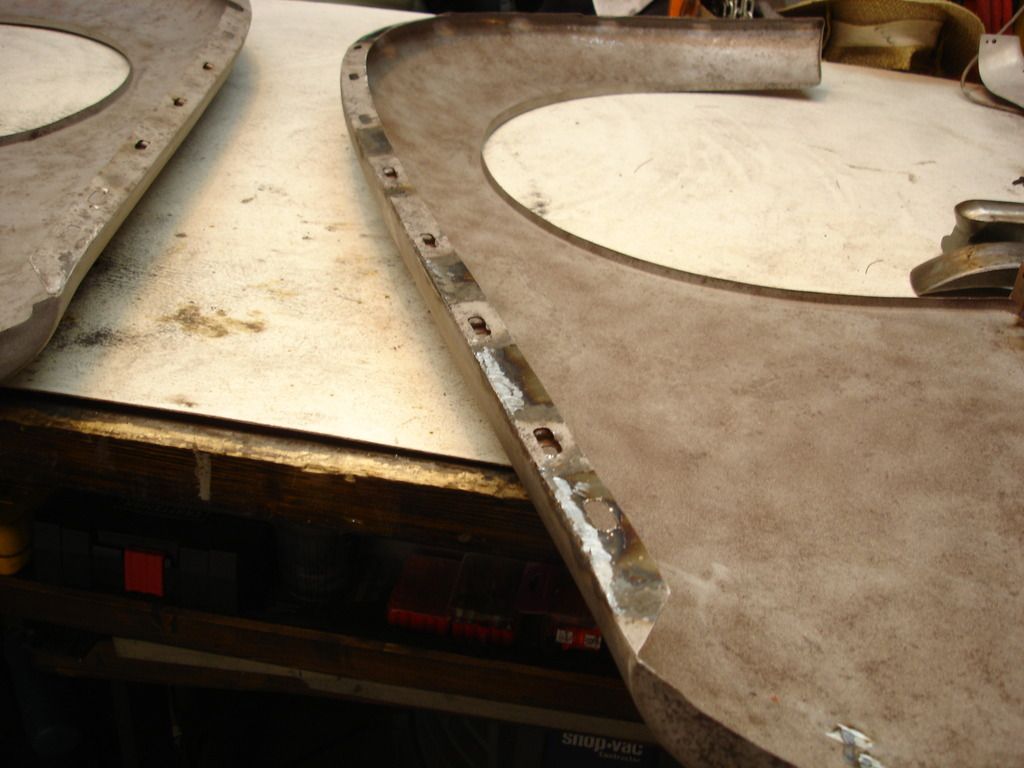
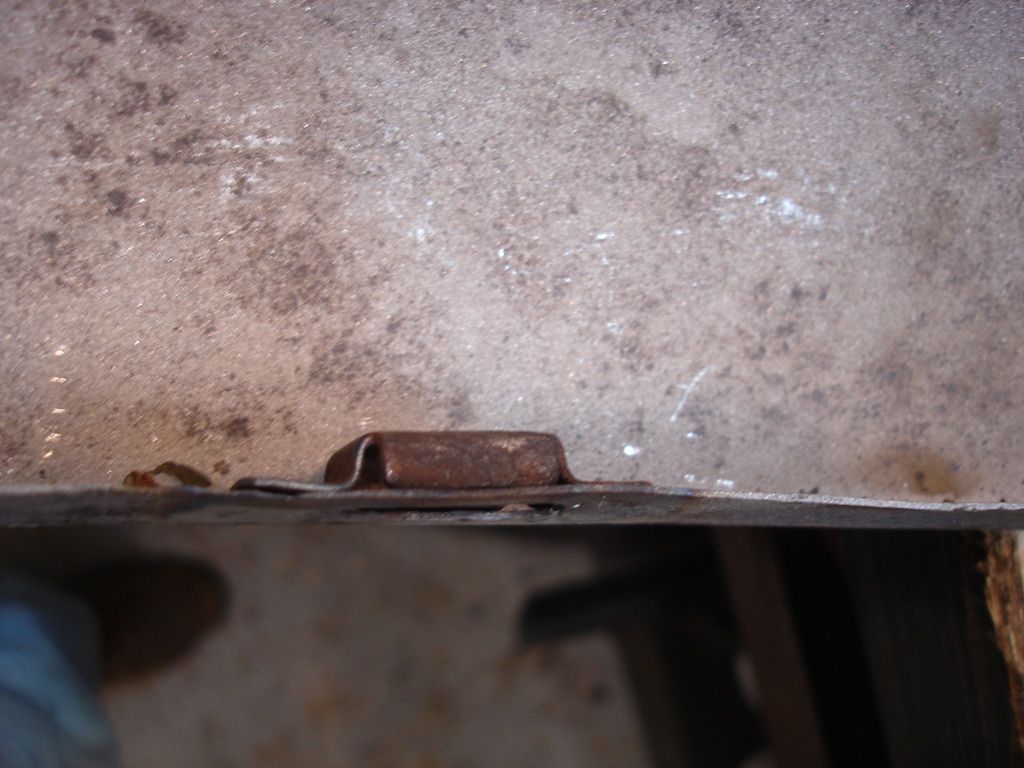
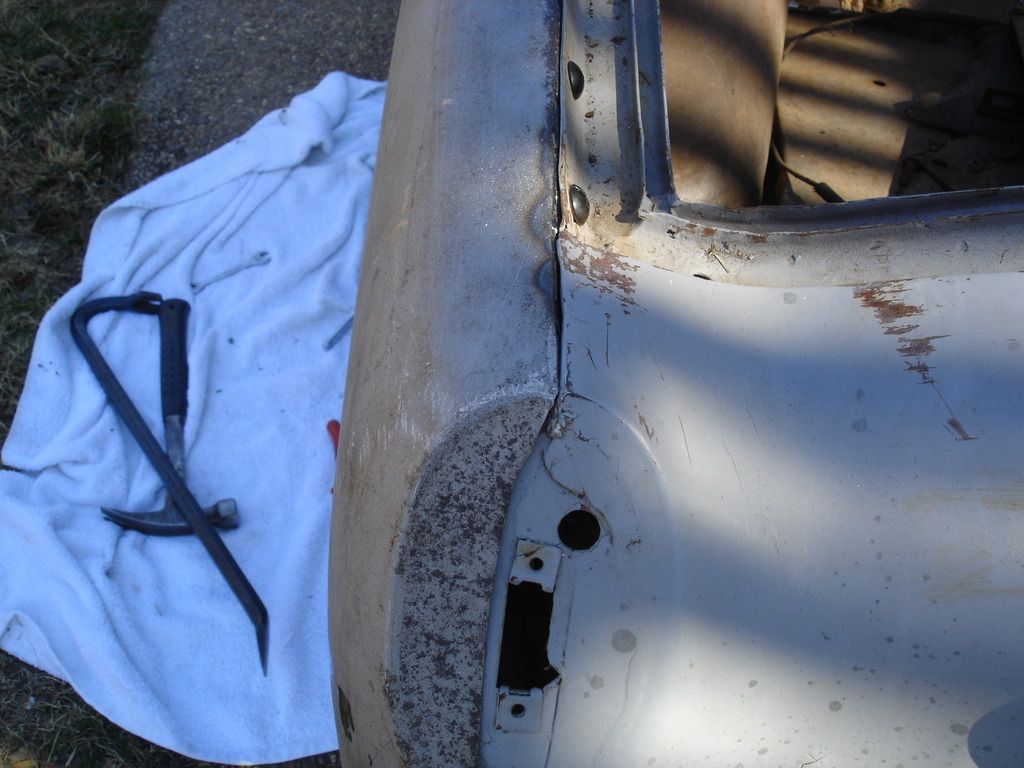
The main damage on ALL of the panels is the mounting tab along the top. Here you can see the tab is rusted away, and all the bolts had to be cut to remove the panel.


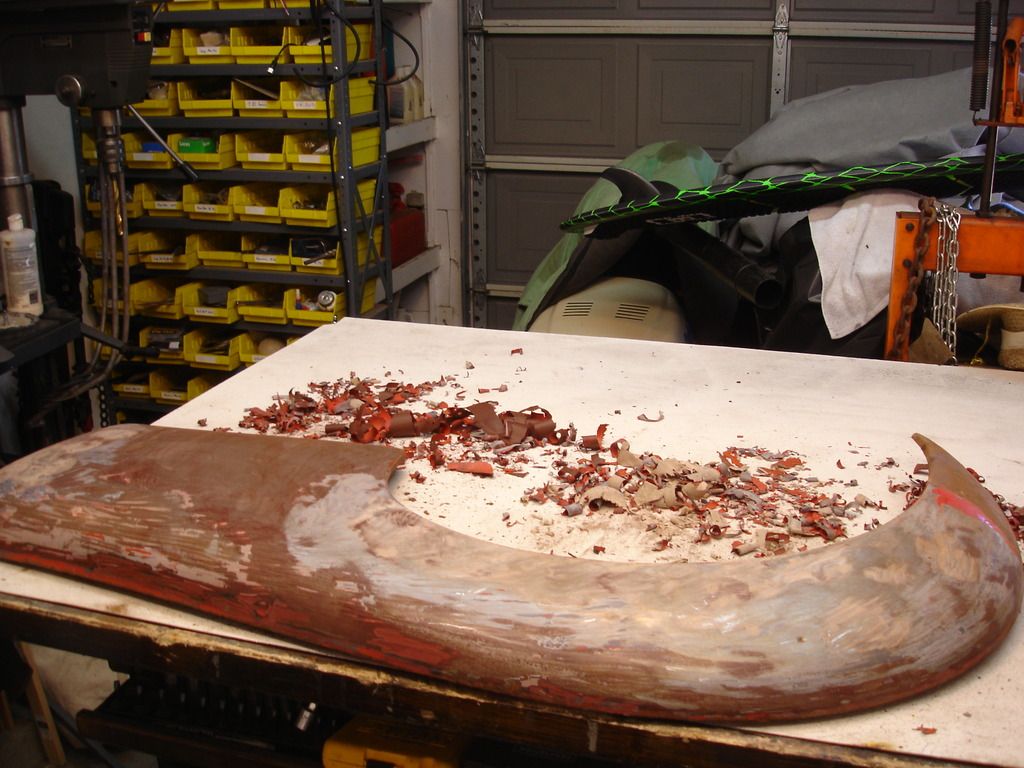
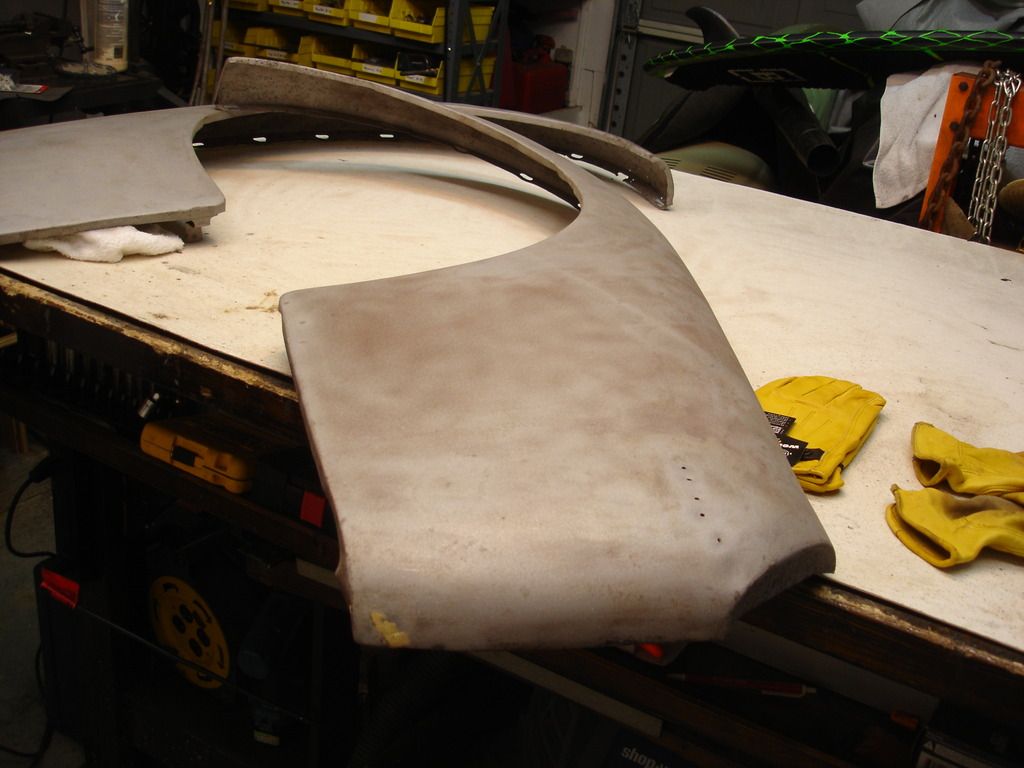
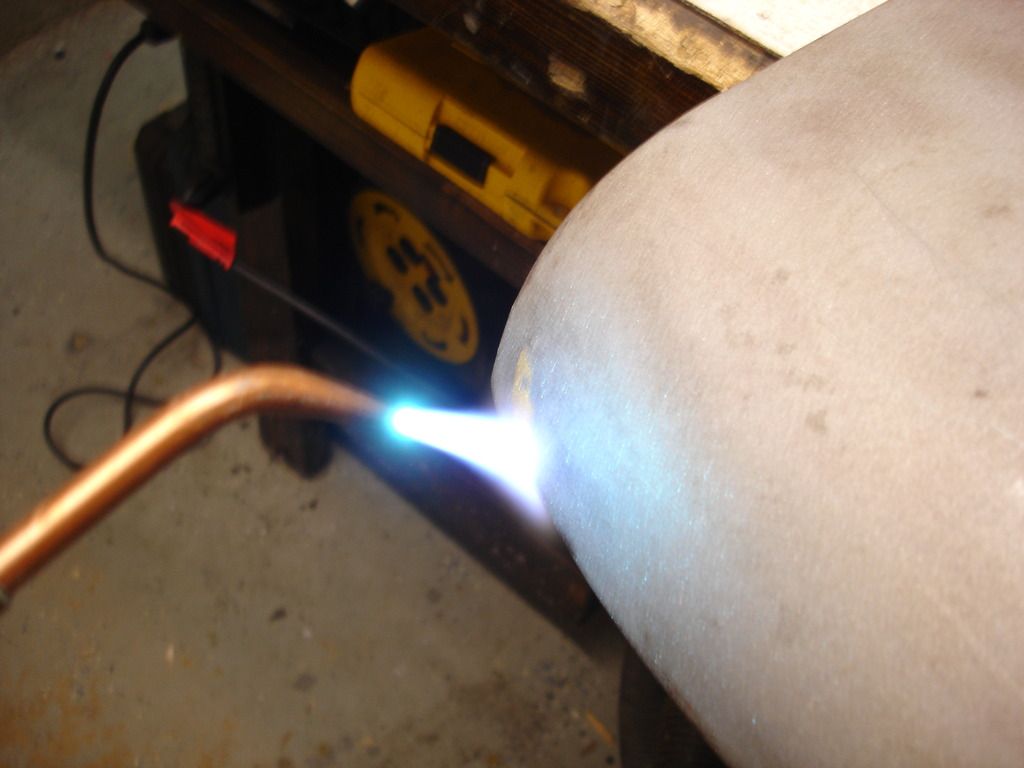
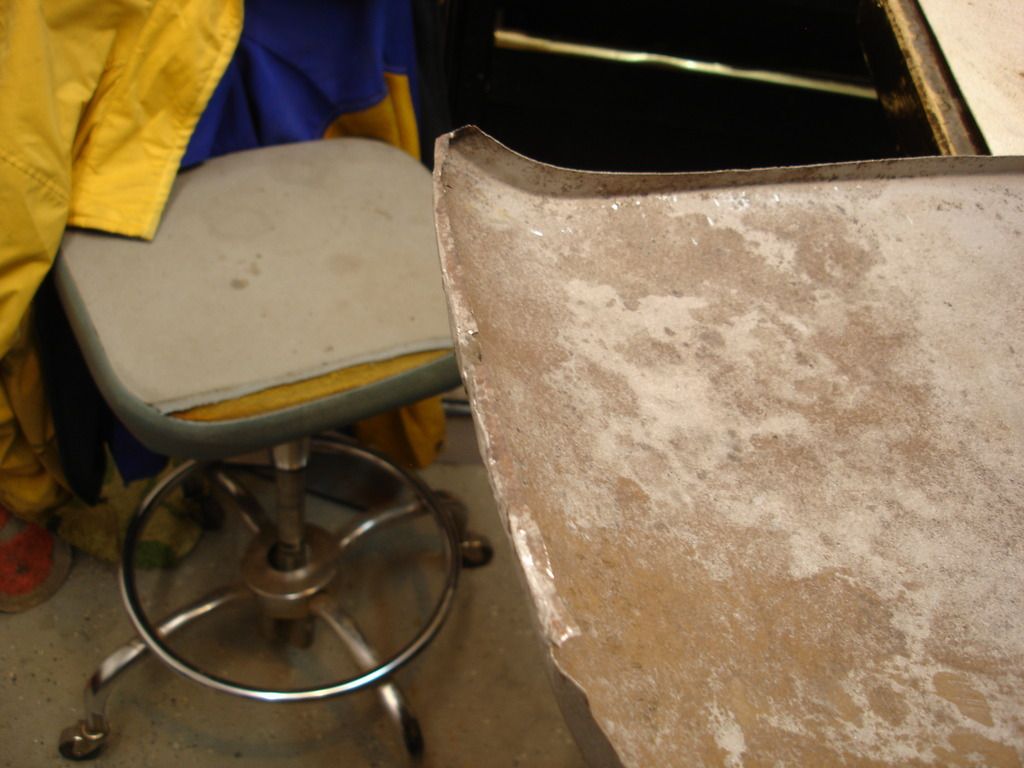
With the preview over, it's time to get to work stripping. Here is the original left panel I will use after heating and scraping with the torch and gasket scraper. It's actually much better than I was expecting. The main body is NOT rusted through for a change! Bonus! The main issue will be replacing the rusted out mounting tab.


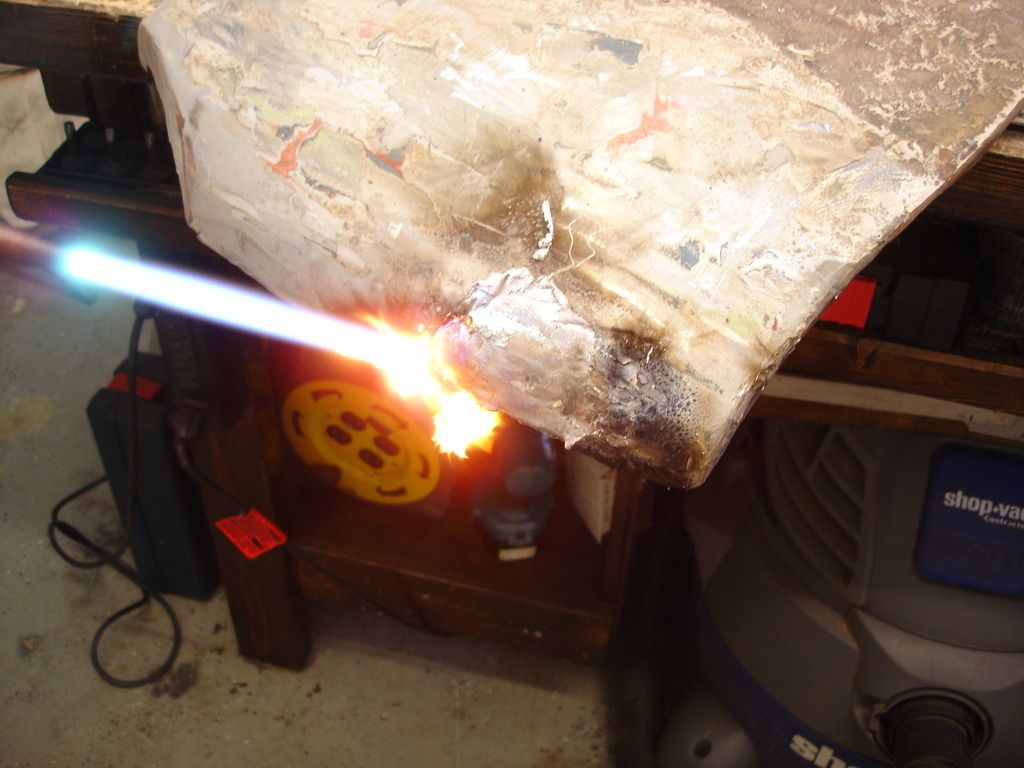
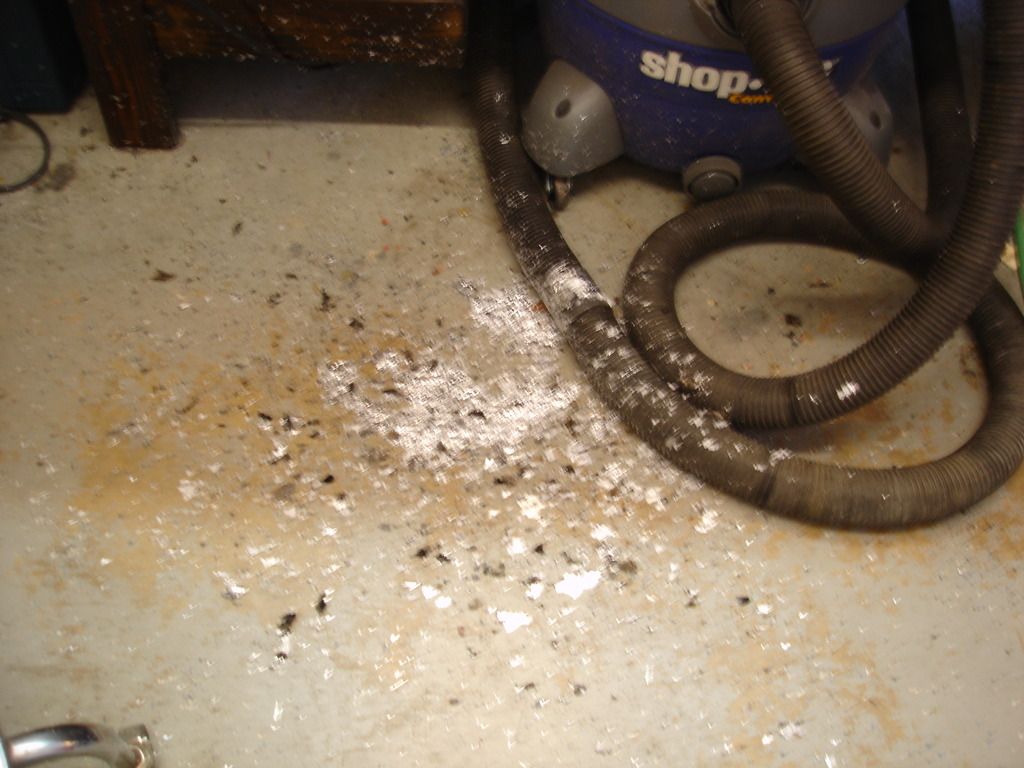
The donor car is another story. When I picked up this wing, it weighed more than double what the other wings weighed. Lead! No problem, though. Once again the torch comes out and the lead drips off. Guess I should have moved the vacuum hose. Bummer. It took longer to clean the lead off the hose than it did to get it off the wing.


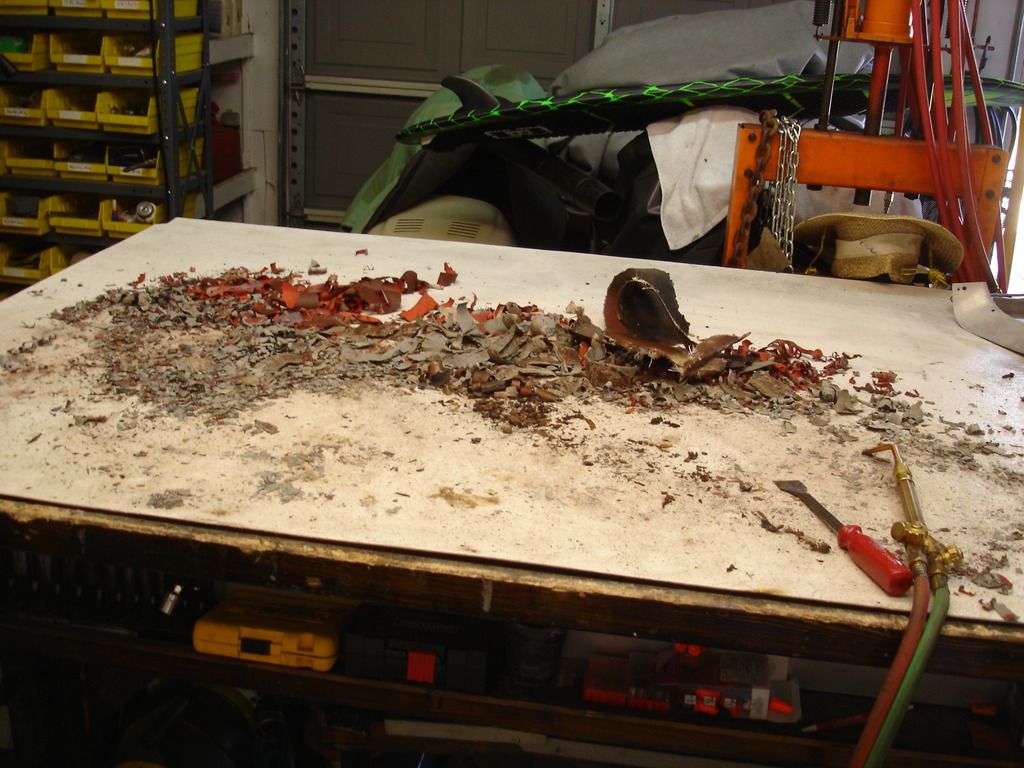
In addition to the 10 pounds of lead on the floor, this is the bondo that pealed off. You can see some fiberglass cloth in the pile. This was on the donor wing. I am not certain what the PO's thing was with glass cloth...but he/she seemed to put it everywhere. And, of course, every time I peel it off, there is always a surprise underneath. On the front wings, the surprise was that the wings had been beat with a ball peen hammer. This time the surprise was that the panel is good underneath...for a change!
 

Here we are after a trip to the sand blaster. For once there were no new surprises...bonus!


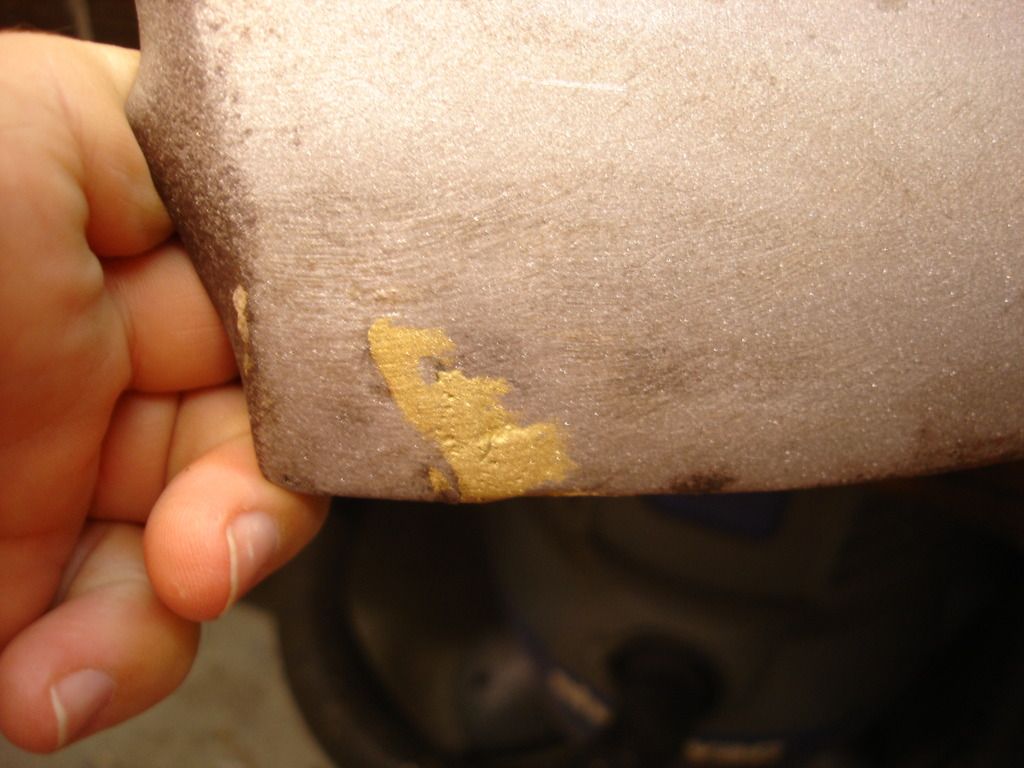
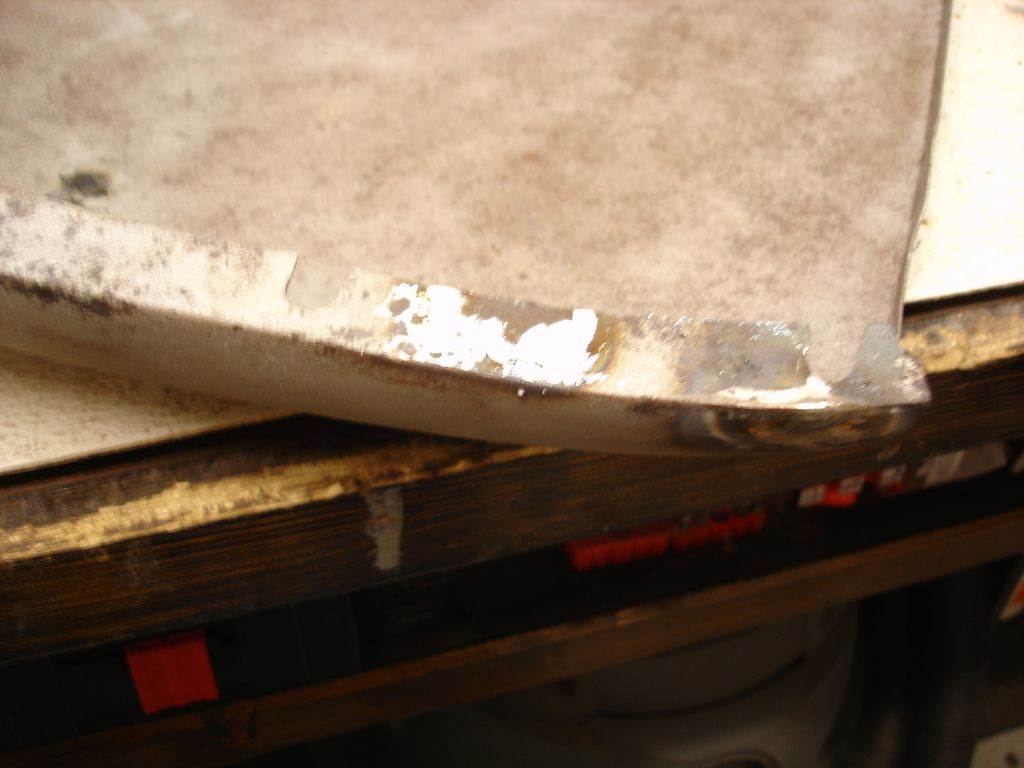
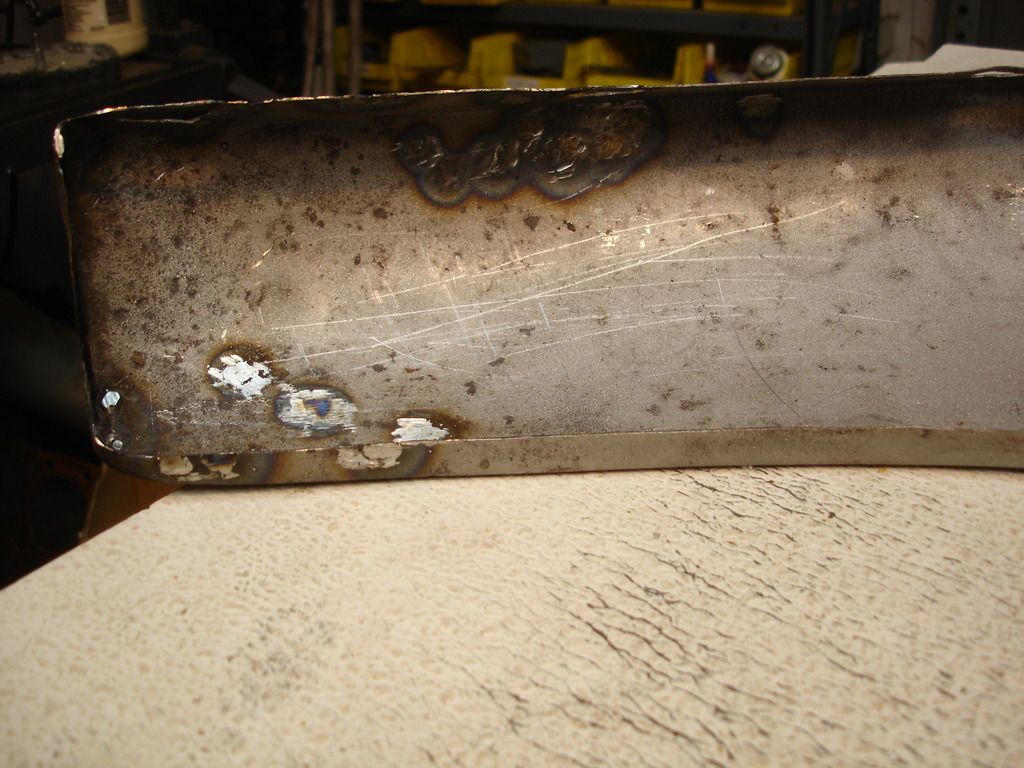
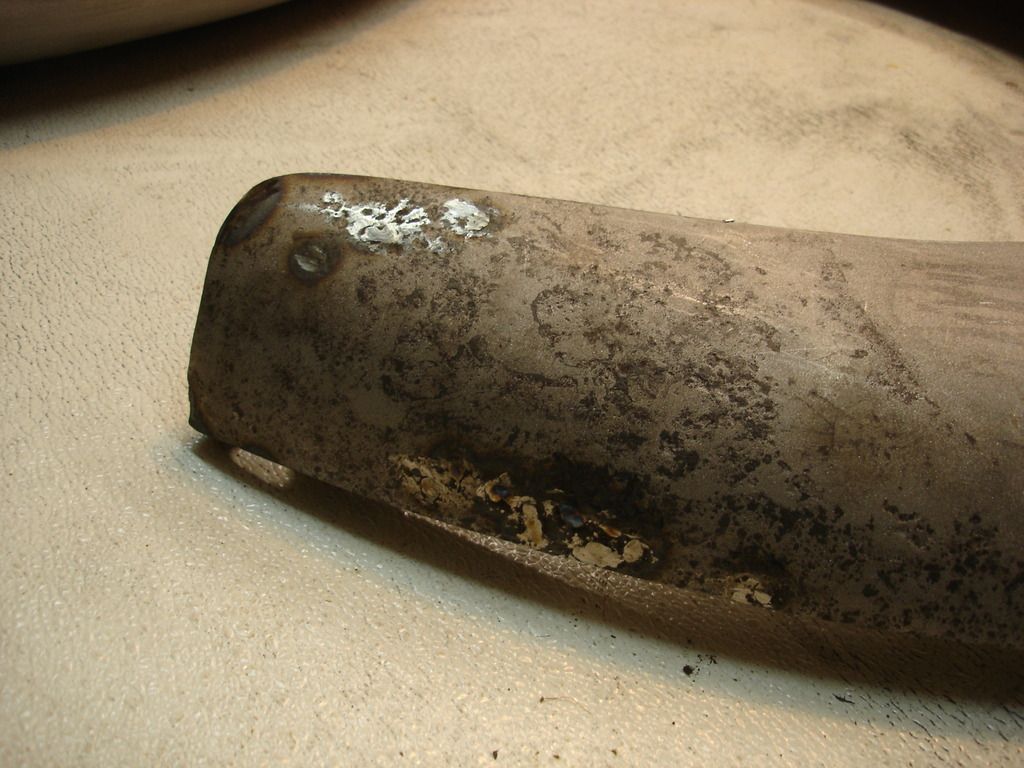
This is the lower rear of the left wing. I really don't get body shop's infatuation with brazing. It takes an oxi acetylene torch, bronze rods and special flux to braze. If you have a torch, why not just weld it?? You already have the torch, flux is not needed, and you can use any scrap steel you have as filler. I have even used old couch springs in a bind. Oh well. Like the lead, this will come off.


The area gets heated until the steel glows, and then I rapped the panel on the table. The bronze falls free.


And I'm back to basics...just a steel slice that needs to be welded closed.


Like so.


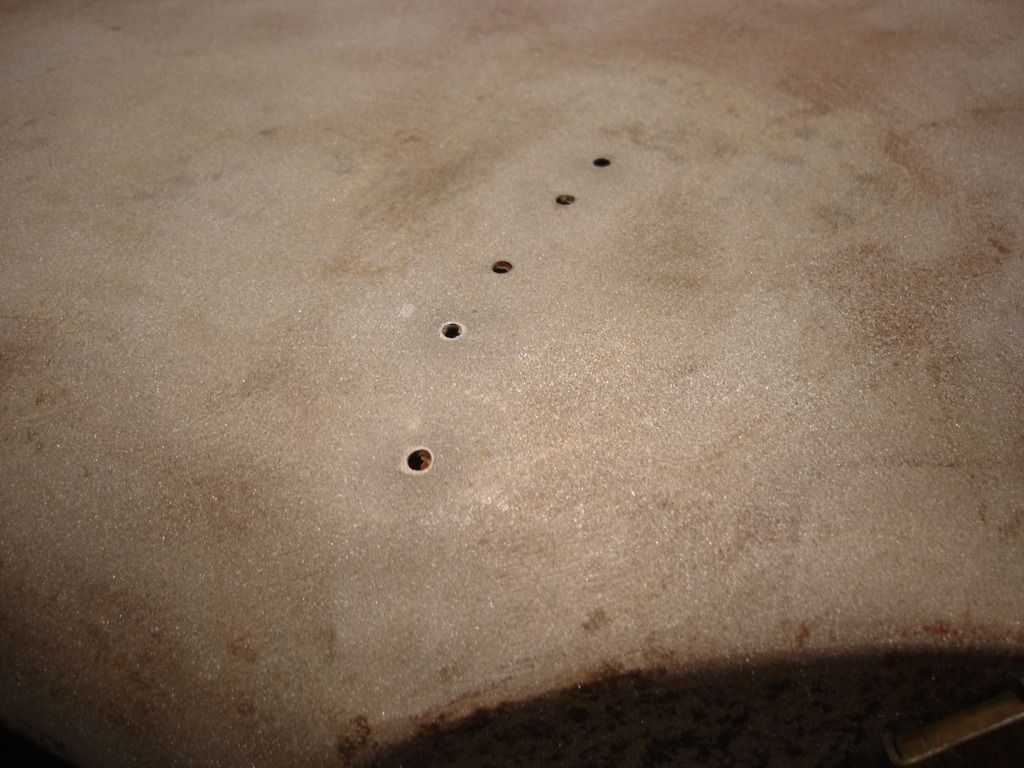
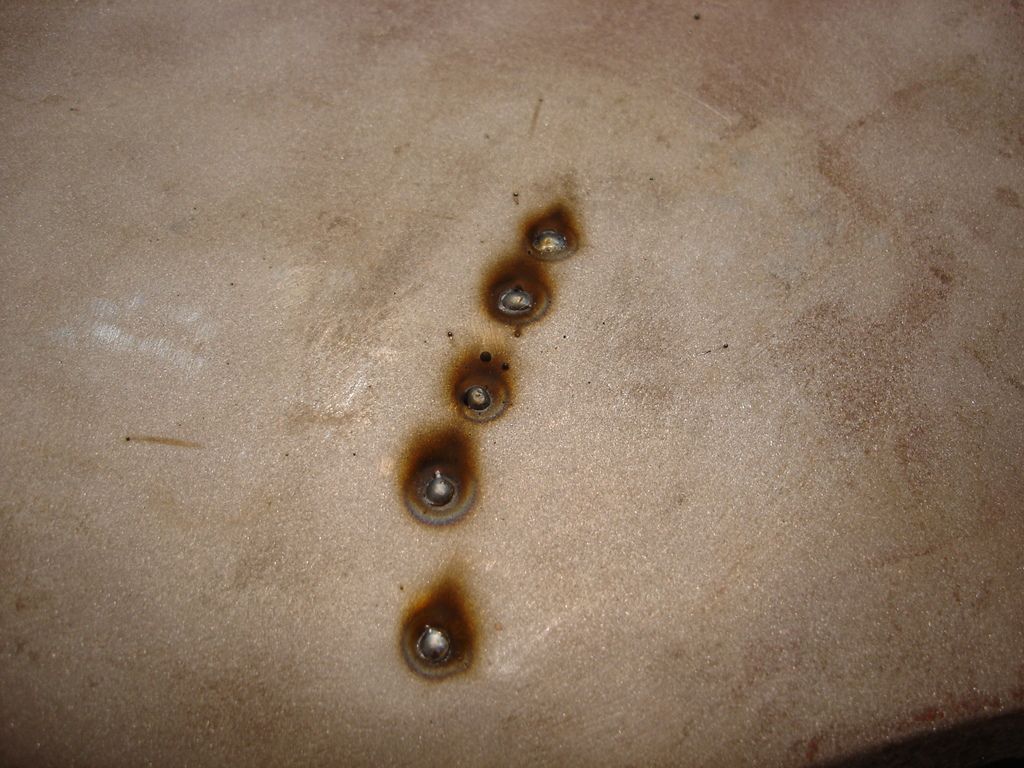
Next are the holes drilled by the last body shop.


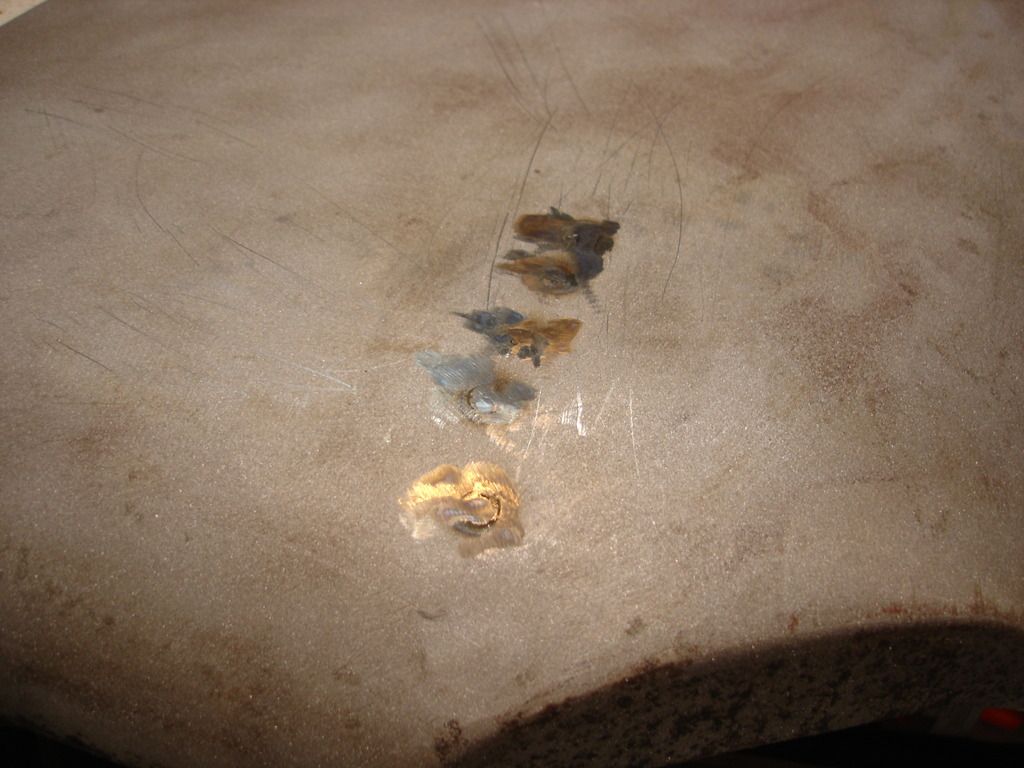
Here I have hammer and dollied the area to straighten it out. You do not want to weld the panel if it is deformed. That would lock in the deformation, making it very difficult to straighten later.

I find it interesting that the first thing I have to do to fix THEIR damage is to properly fix the wing the way it should have been done to begin with! I assume most body shops had no idea how easy it is to unbolt these panels to work on, negating the need for these drill and pull techniques needed with welded-on panels.


15 minutes later the holes are filled and smoothed. Moving on....


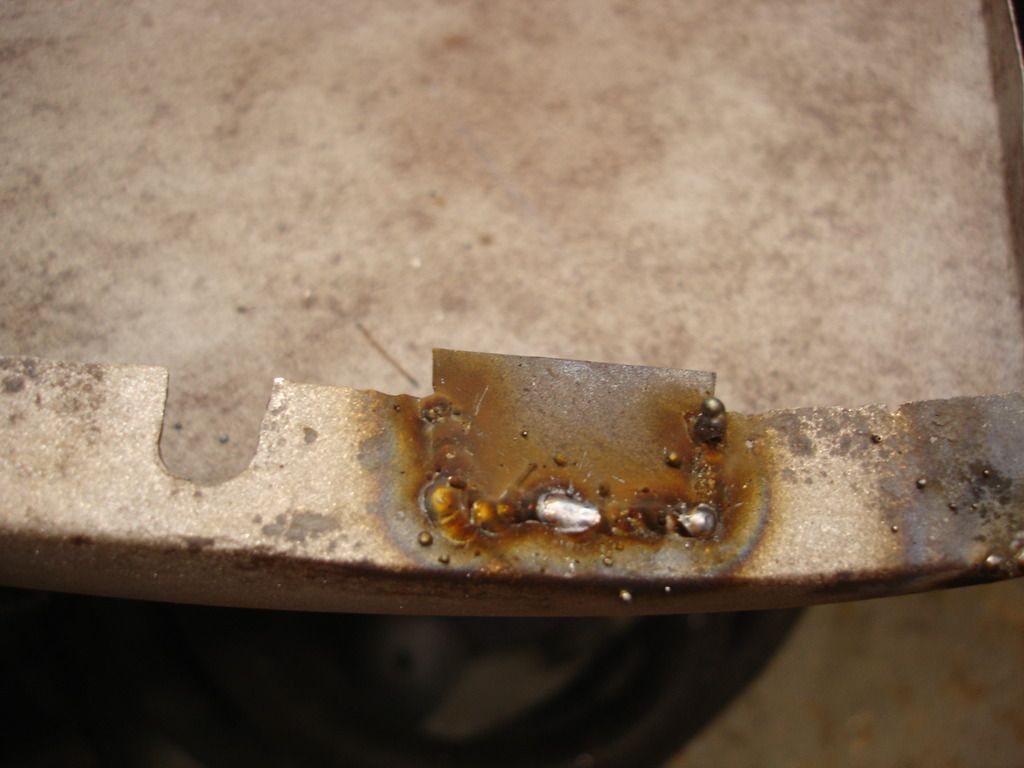
I counted 5 areas on the mounting flange that will need patches. Here I am starting at the rear end of the left wing with the first...


And methodically moving forward. Notice that as I go I am removing the square nuts from the cages. The cages are decent, so I merely pry the side of each cage open and pop out the square nuts. There are too many, so I have ordered a dozen nuts from Moss.


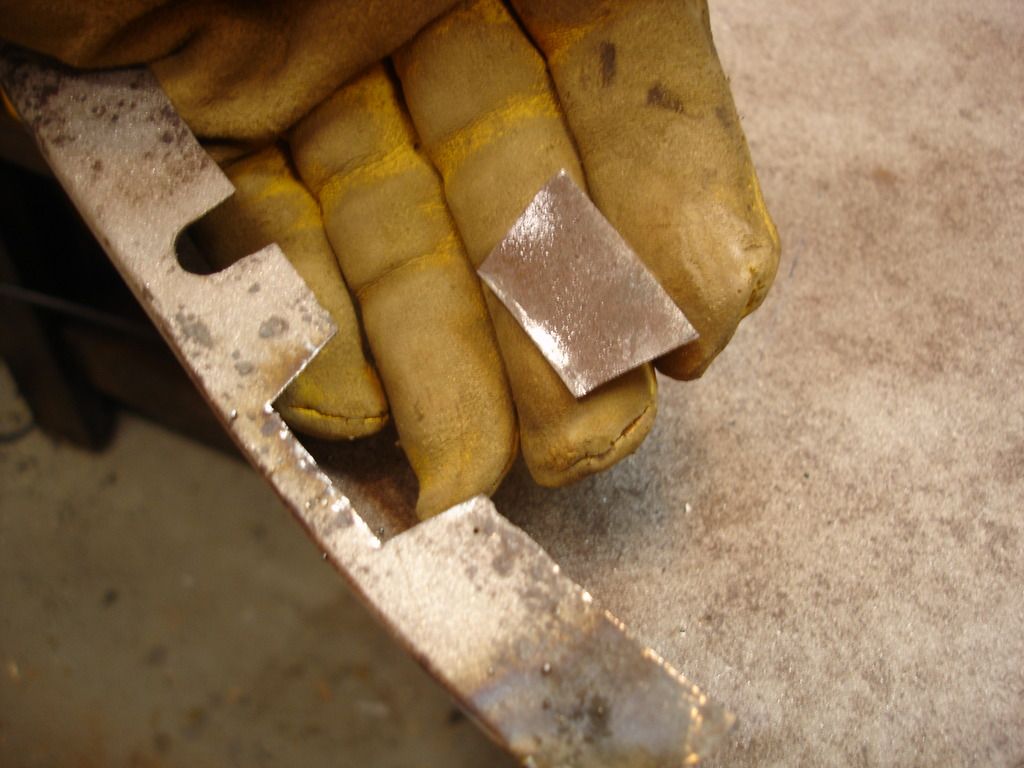
Finishing the week, I have only 1 more flange patch, and will have to transfer the stabilizer tab over to this spot on the left panel.

I didn't get a whole lot done...but it is something. The key is to do at least a bit each day, so the project doesn't die in the back yard like so many others have.

Gotta go watch the superbowl...GO, (whoever you're for)!!
 
John did you notice how the nut cages are longer on the rear fenders? Did you happen to find source for them? Yours looked pretty good, but on mine the PO cut them off. I guess I could bend something up or just hold a wrench on the backside. Or cut them off a worse looking fender….OH great work, I learn a lot from following along. I tried some butt welding that I saw you do and fixed the hood prop by fabbing up a piece and welding the two together without a lap then grinding the piece to shape. I would not have tried it, but you make it look too easy, so I had too try.
Steve
 
Really Nice Work.

Cheers
Tush
 
John did you notice how the nut cages are longer on the rear fenders? Did you happen to find source for them? Yours looked pretty good, but on mine the PO cut them off. I guess I could bend something up or just hold a wrench on the backside. Or cut them off a worse looking fender….OH great work, I learn a lot from following along. I tried some butt welding that I saw you do and fixed the hood prop by fabbing up a piece and welding the two together without a lap then grinding the piece to shape. I would not have tried it, but you make it look too easy, so I had too try.
Steve

Since I've been reusing all the cages, I hadn't noticed about the rear cages being longer, but it seems like I do remember something like that when I was doing the TR3. On that car I replaced the cages and nuts on every location that the nuts were bad. The TR3 was in very decent shape. I'll see if I can find the old receipts to see if I bought different style cages and where they were from.

This TR2 is so bad that I am saving anything that is remotely reusable to keep the cost down, and so far I have only had to buy a single cage. If it comes from Moss as too short...I will likely take another used one off the extra wings. If you need any used ones I'd be happy to pop some more off for you...I don't plan to keep the extra wings around after I'm done. Other than the cages they are pretty sad. If it is only 1 or 2 cages, and that was holding me up from finishing a panel, I'd even be tempted to fab them from 20 gage steel. They're only $.95 from Moss... and I'll let you know which size arrives.

Both the butt welding and the grinding are technically a "no-no" in welding. But in a restoration, strength is not a problem and it's the only way to do it without having any sign of the repair. Another technique I have tried, but haven't been successful with is "hammer welding" . That's when you start with an overlap of the patch. You heat both sides of the overlap red hot and them hammer them together to join them. I have had many old heads swear by it, but every time I try, I end up stretching the panel where I hammer. It also seems to require 2 workers to do it well, one to work the torch and the other the hammer and dolly while it's still red hot. I rarely have any help. But, if anyone out there has been successful with hammer welding, I'd love for them to chime in...
 
Steve, just got the new nuts and cages. The Moss cages are smaller. You're right, the originals are longer. The original nuts are larger than the ones from Moss too. I had to remove the used cage from one of the old wings. I used the new nuts, but you have to crimp the cage to prevent them from falling out!

Always something with repro parts...
 
Thanks, Tim. Is it the "tab" cages at the bottom of the page? They would work, but don't look like they give the same freedom of adjustment that the originals did.

The cage/nut situation is worse than I initially thought. I have plenty of the original cages to remove from the other nasty wings...but the new square nuts are so small they spin in the cage AND fall out! I just did a search, both by feet and Google for nuts. There are none. 1/4-28 is not available anywhere.

Right now I am vacillating about whether to weld tabs on the tiny nuts from Moss, or just fab my own square nuts from bar stock. It's funny how many minuscule problems slow you down on a full restoration. This should be a non-issue, but it turns into a show stopper. I waited a week for these nuts/cages to arrive.

Oh well.
 
Week 23

This week marks a milestone. With the exception of the interior trim, I have completed repairing/restoring/replacing every single part that detaches from the main tub. All that is left is the tub....Huyah!

Now, although that sounds wonderful, it still only represents 50% of the total body work. Not only that, with the twins now driving, space in the garage is at more than a premium. The tub will be a challenge in every sense of the word...from it being a mess to not having anyplace to keep it out of the weather after it is converted to bare metal.

On to the week's work...


As I left off, this bracket had to be cut off the old donor car and welded to the left rear wing. Done!


Here is a look along the left wing, showing all the patches that had to go in along the upper flange. Not hard, but it took a while.


The donor wing was a sieve behind the stone guard. These guards cause more damage than they prevent. Here I have plugged all the tiny pin holes.


The rear mounting flange on the donor wing was also a mess. The PO had tried to rough in some metal to replace the bad area, but it was not up to my liking. Here I have cut all the bad out. It will be replaced with a decent patch.


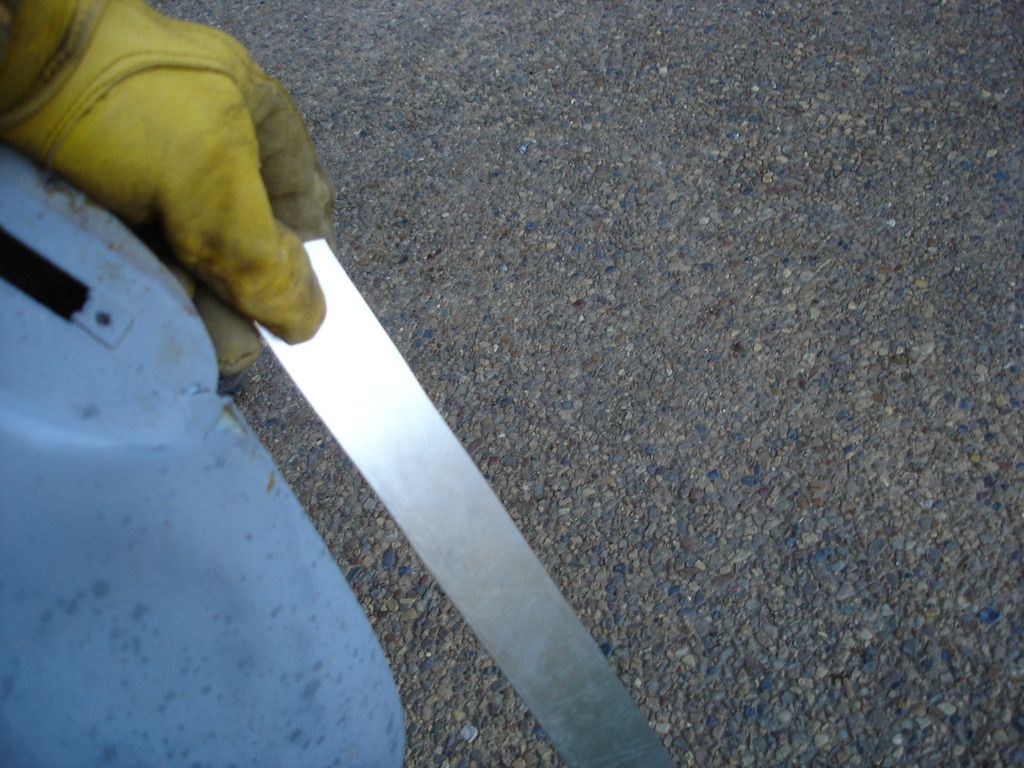
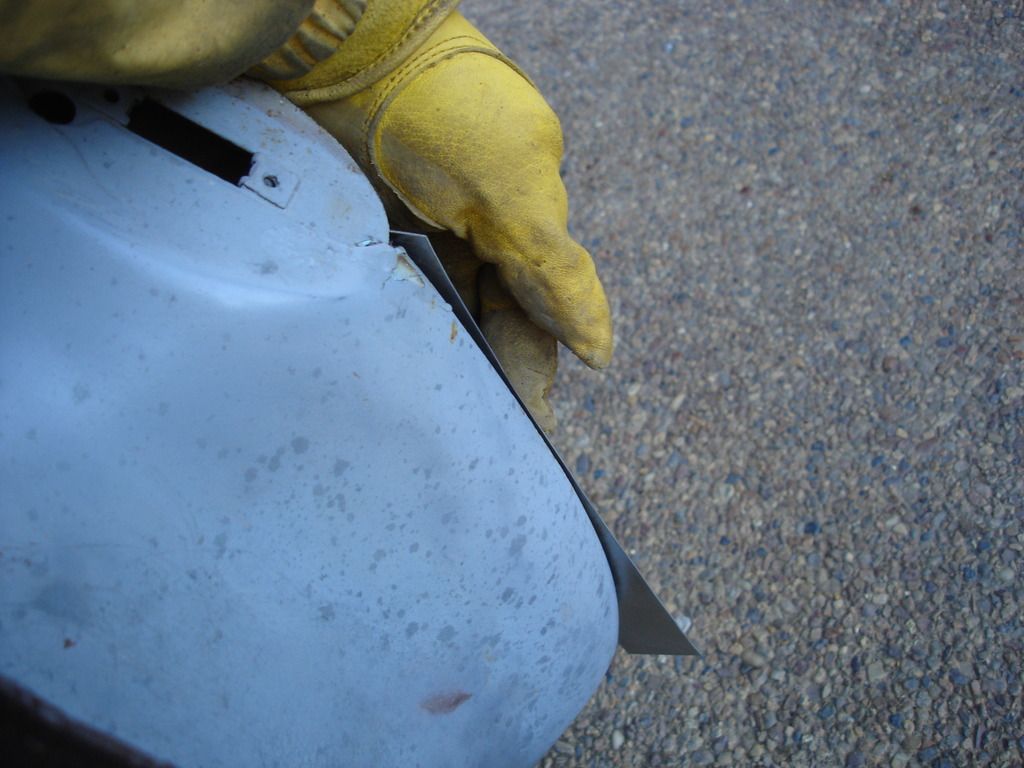
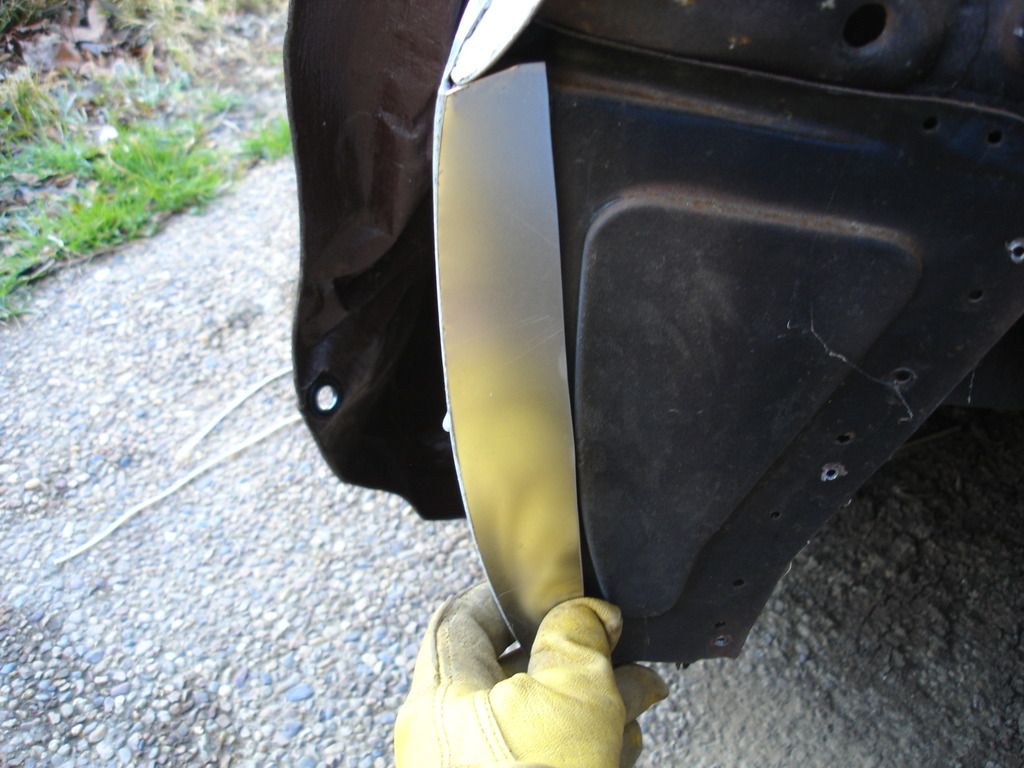
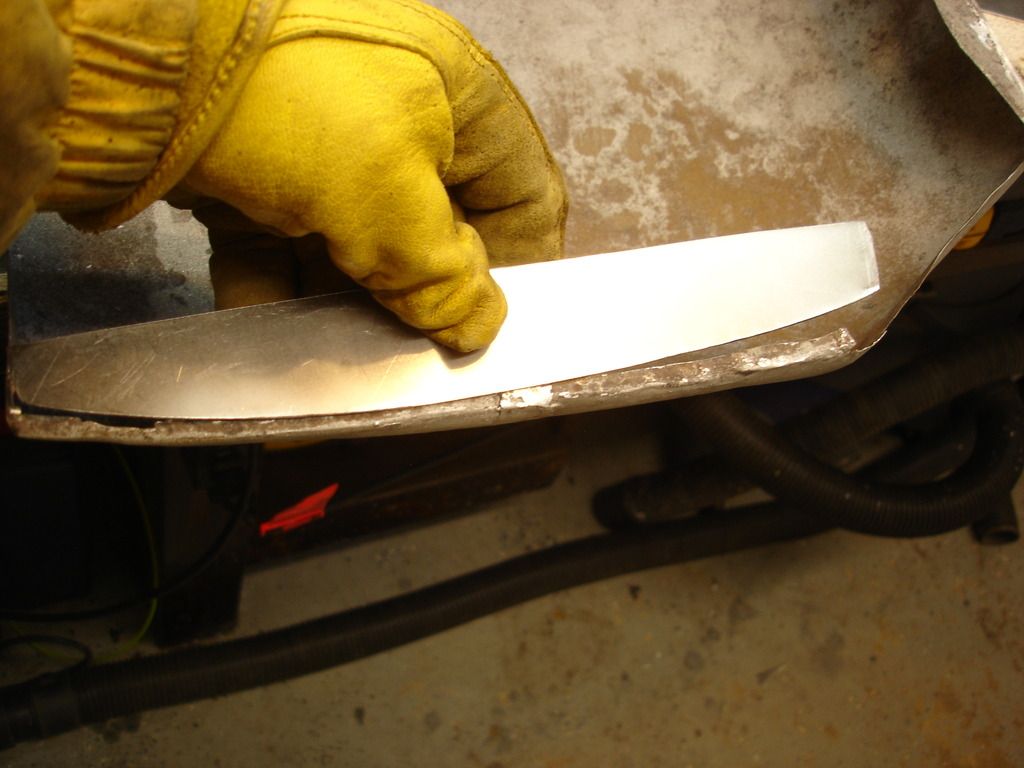
The evolution of the new patch, from a strip of metal, I marked the proper curvature using the tub.


And trimmed it to match.


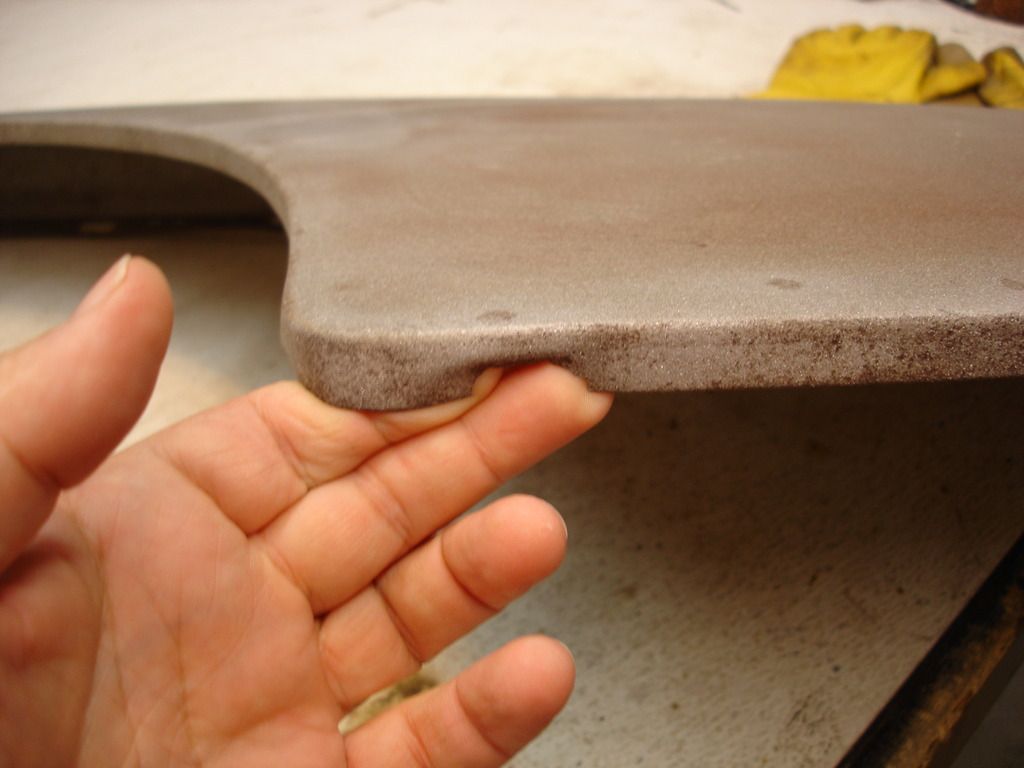
Now that's a flange I can live with! I will save the cutouts for the mounting bolts for the trial fitting of the wing onto the tub.


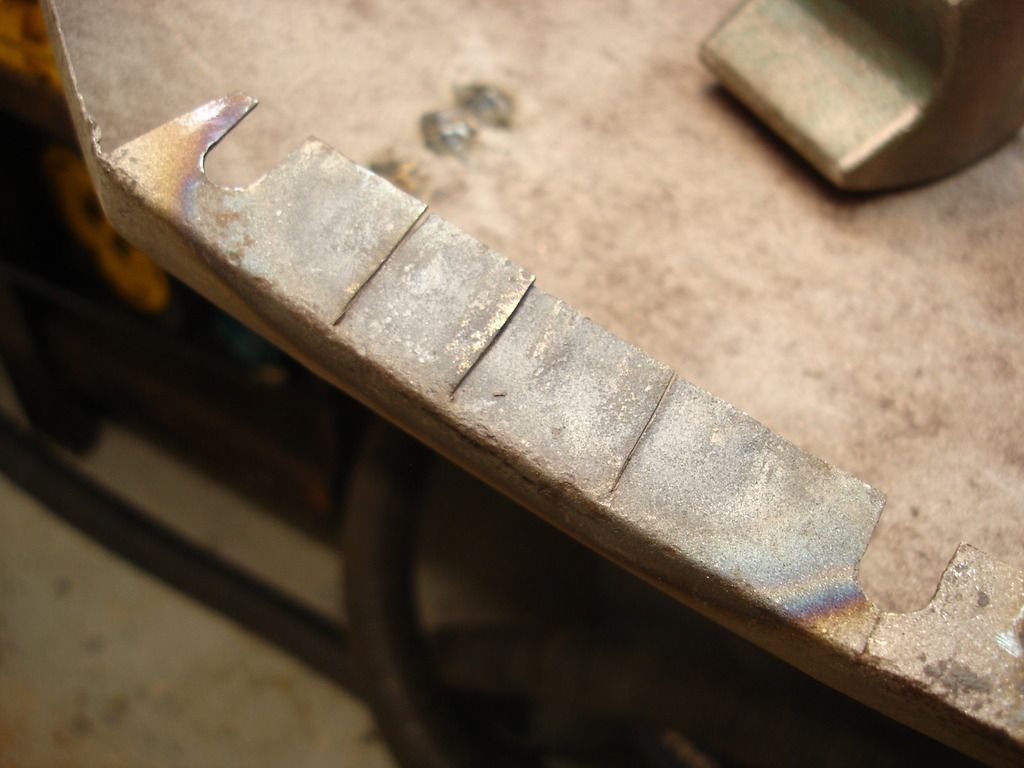
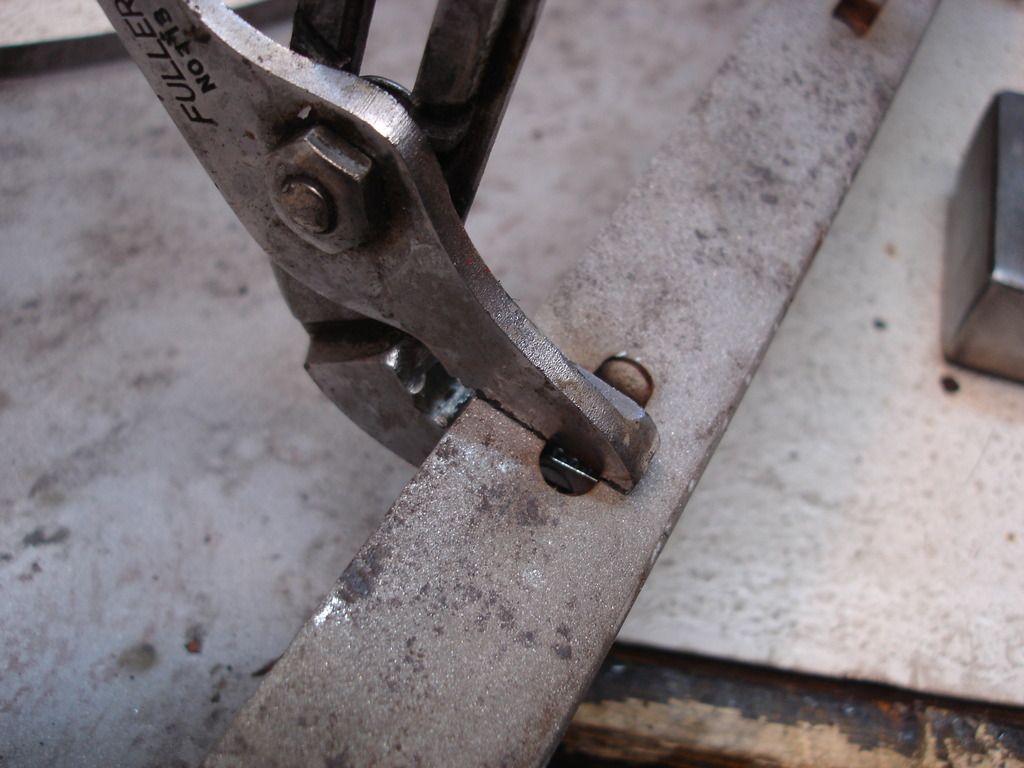
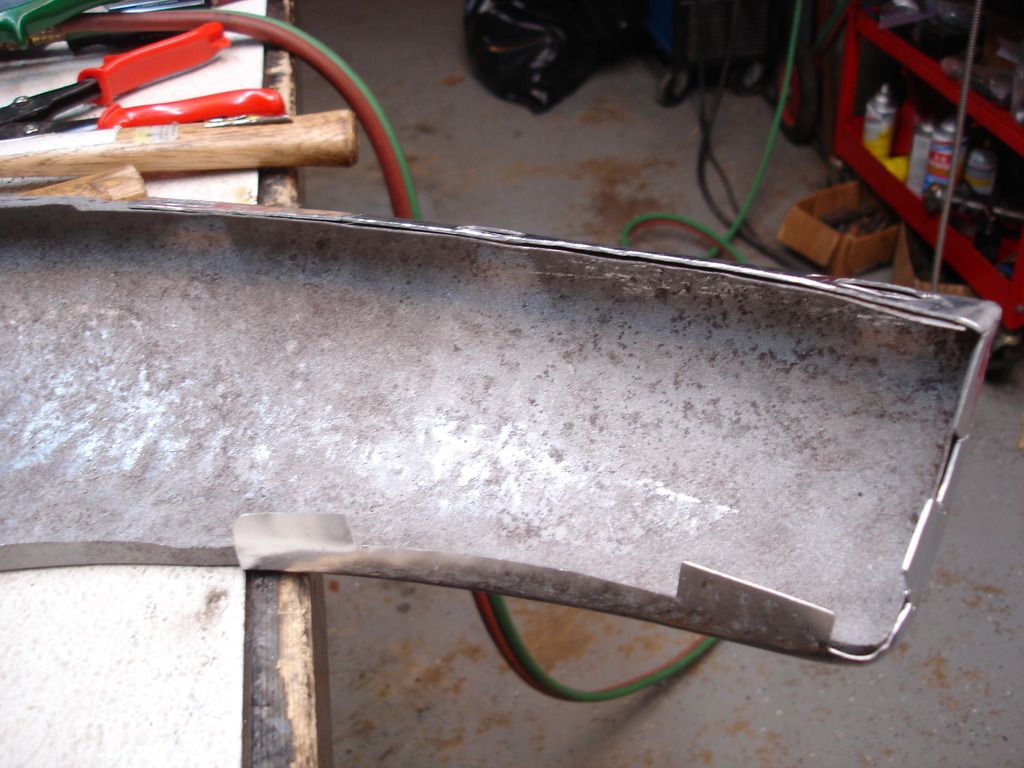
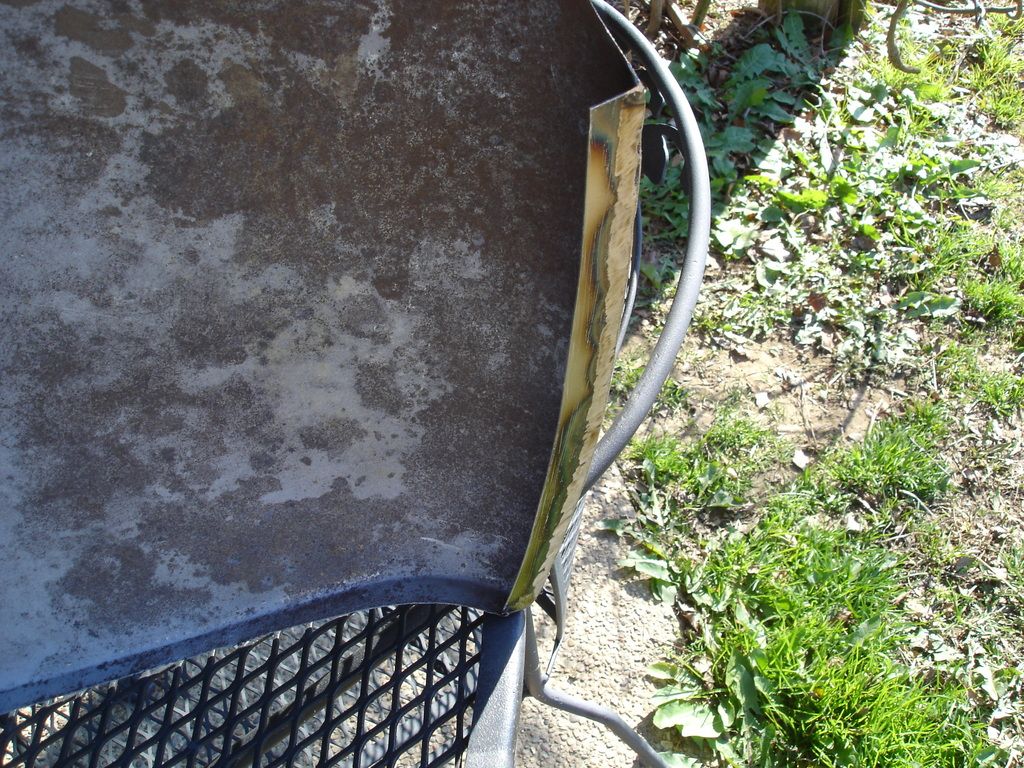
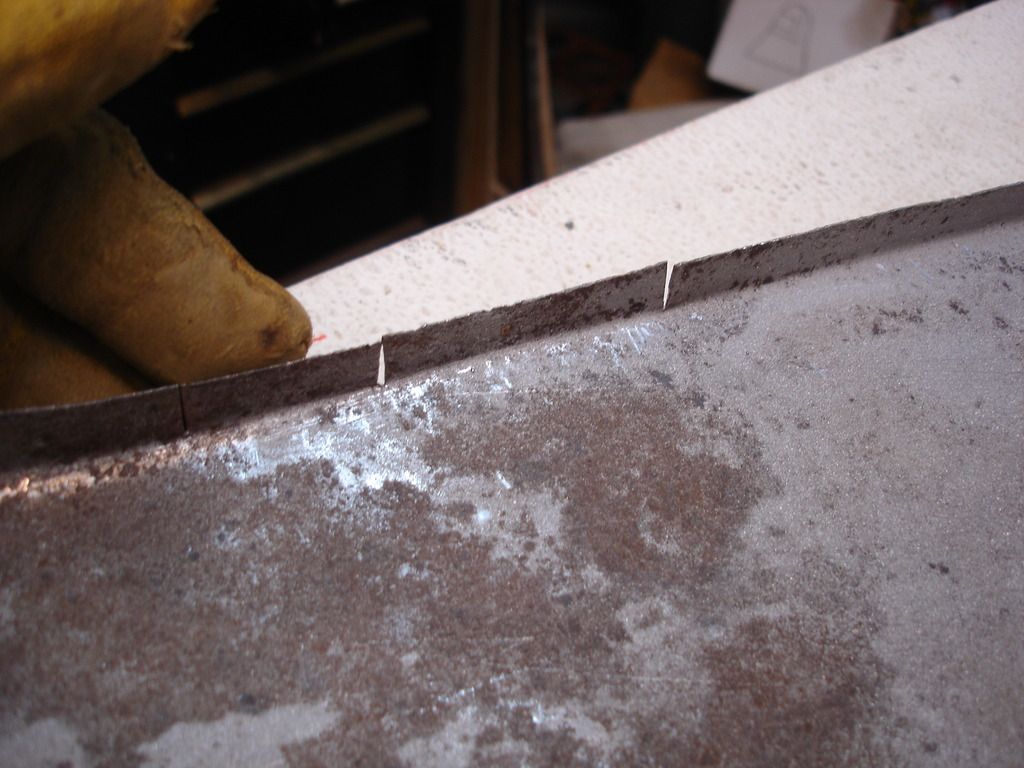
I held the left wing up to the tub and realized that it was not formed properly to match the tub. Obviously another long forgotten fender bender. I neded more curvature, but the flange would have to be shrunk WAY to much for using heat. So, here I have trimmed the flange with slits. These will be bent to overlap, re-trimmed, and the welded closed again. This process is the "other" way to shrink metal...that is, cut it out and reweld it closed.


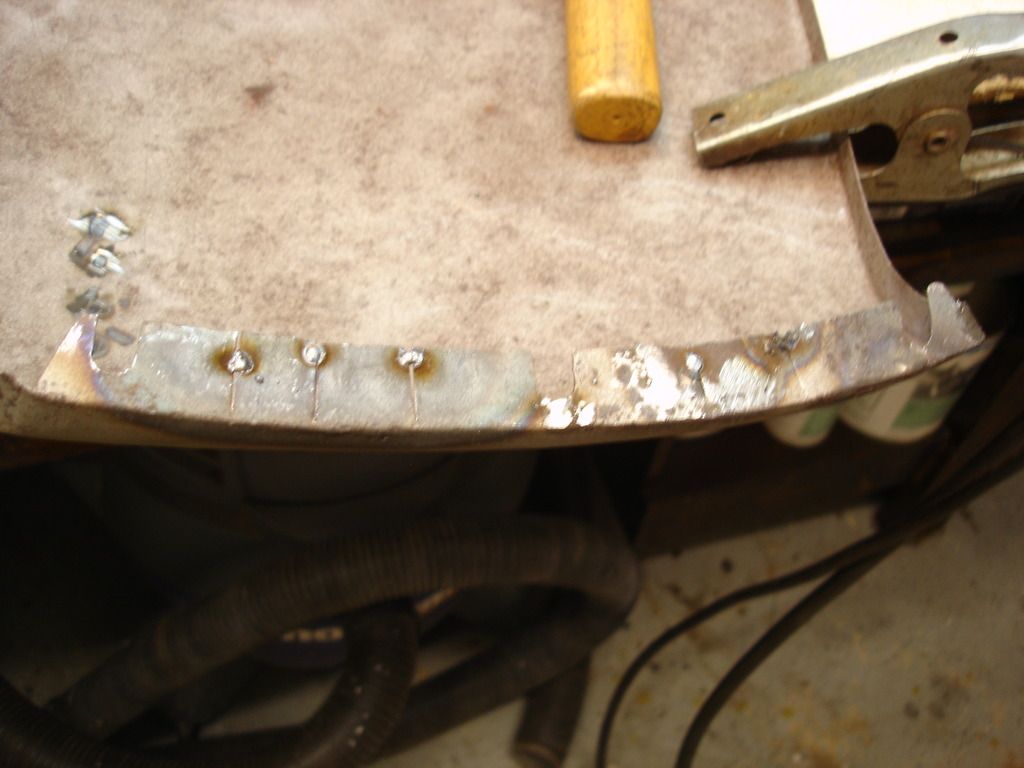
Tacked to the proper shape.


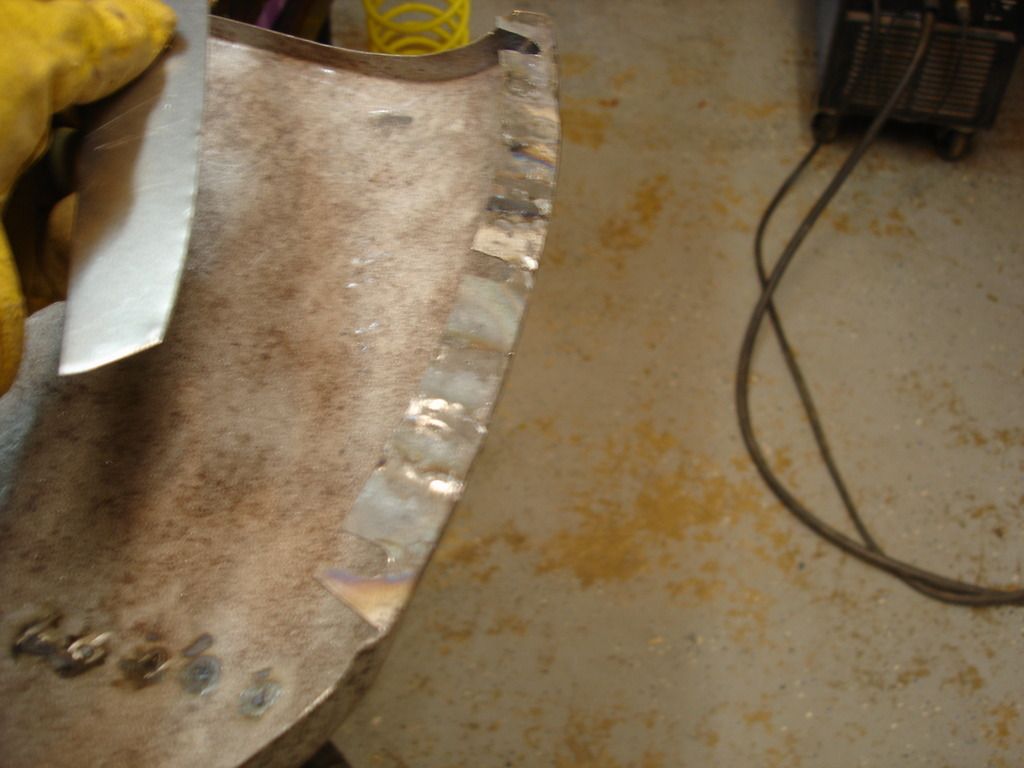
And finish welded.


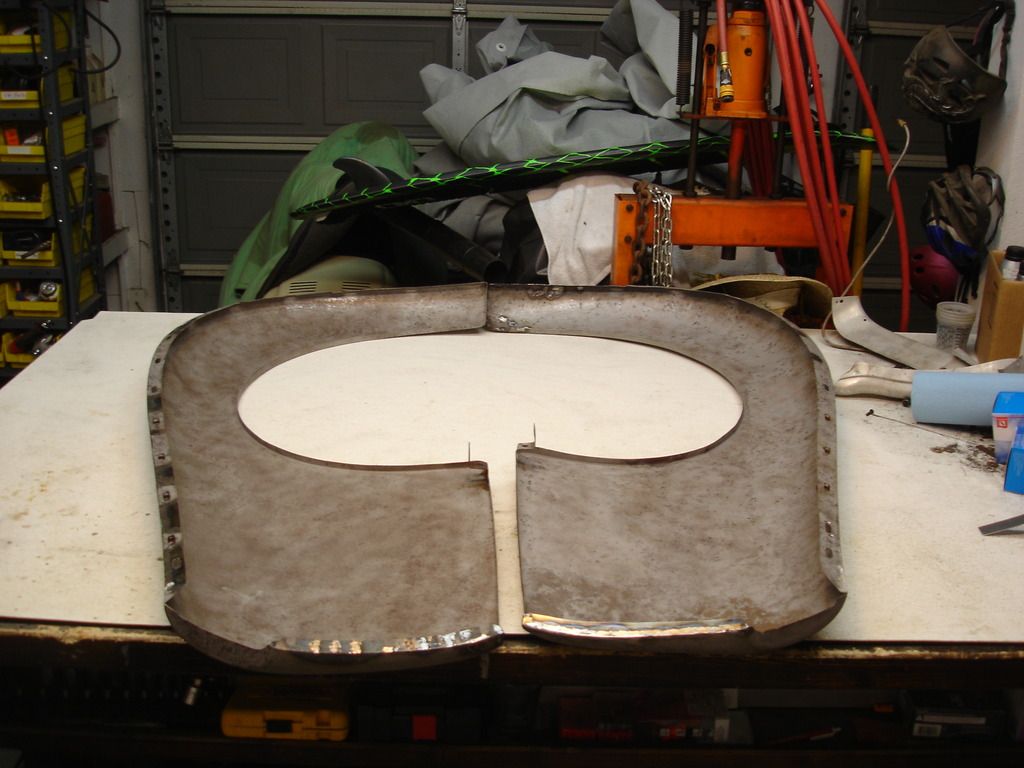
At this point the 2 rear wings are intact. No more bends, bondo, or lead. I spent 2 more days tapping the shape into them, but they are about done.
 

The next "issue" were the cages. The original are longer than the repros currently available. I wound up pulling a couple replacement cages off the spare trash wings. But, then another problem arose....


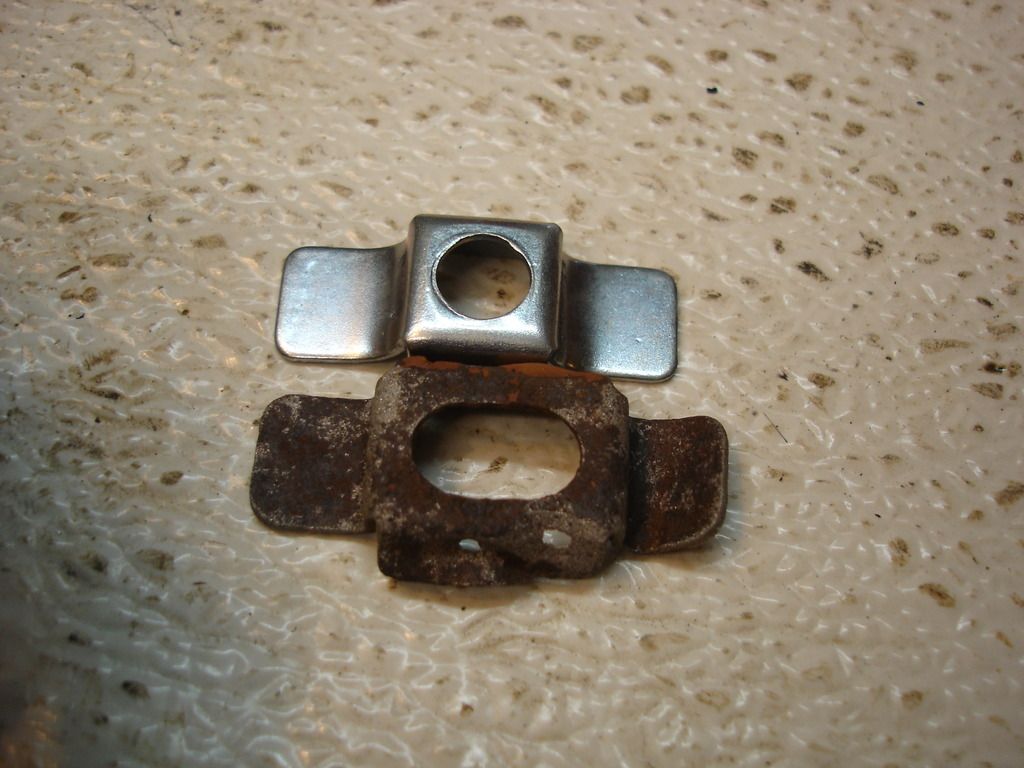
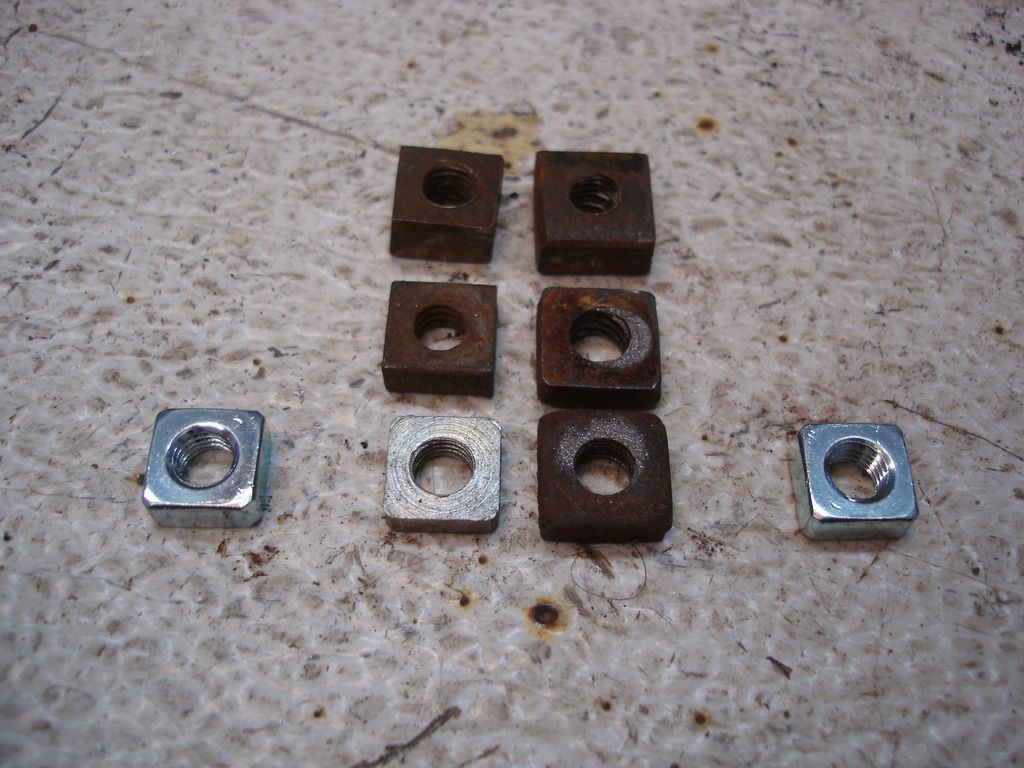
Namely, the repro nuts do not fit the original cages! Rats! Here is the entire selection of square nuts I accumulated. The 2 on the outsides are what come from the big 3 suppliers. They will work with the cages the suppliers provide, but they are too small for most of the OEM cages. For the rear wings, I needed the largest size nuts...1/2", shown at the lower right of the factory nuts. All of these nuts came off TR2's/TR3's. Gotta love the consistency!

At first I thought they would work. But, after installing them all in one wing, I picked the wing up and they all promptly fell right back out. The nuts are so small they fit through the openings in the wing and cage! I searched for fine thread 1/4" square nuts across the entire internet enabled world. There are none. They have to be 1/2" square to keep from falling out. The repros are 3/8". All of the originals were frozen to the bolts and un-restorable.

I had to move to plan "C".


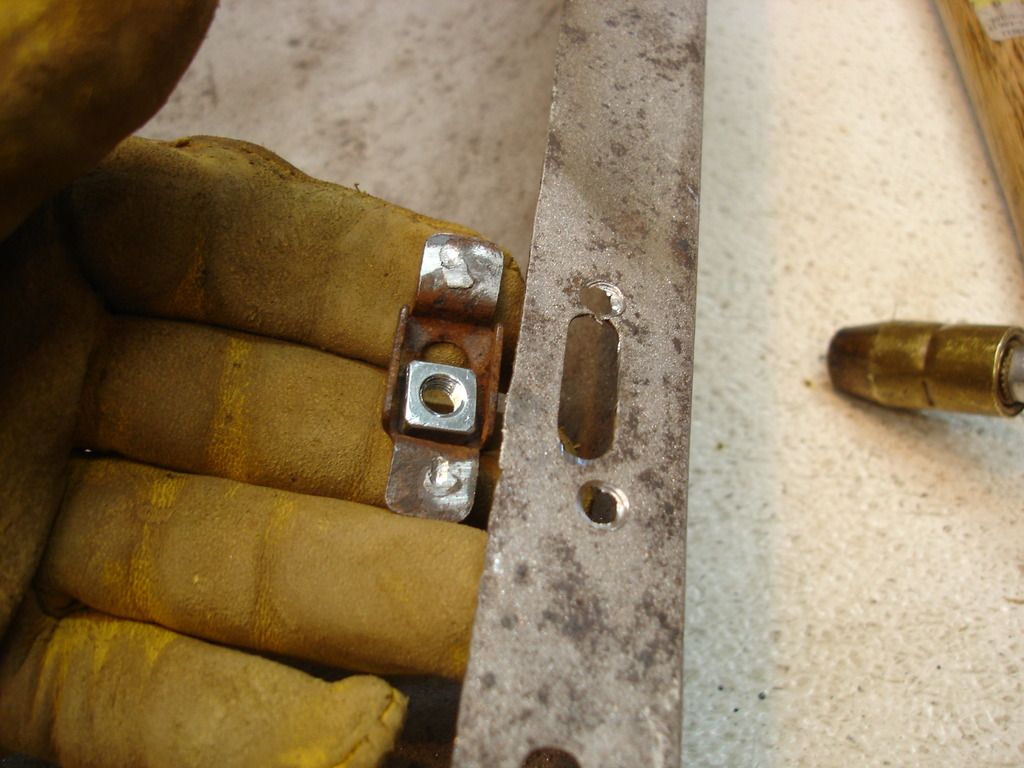
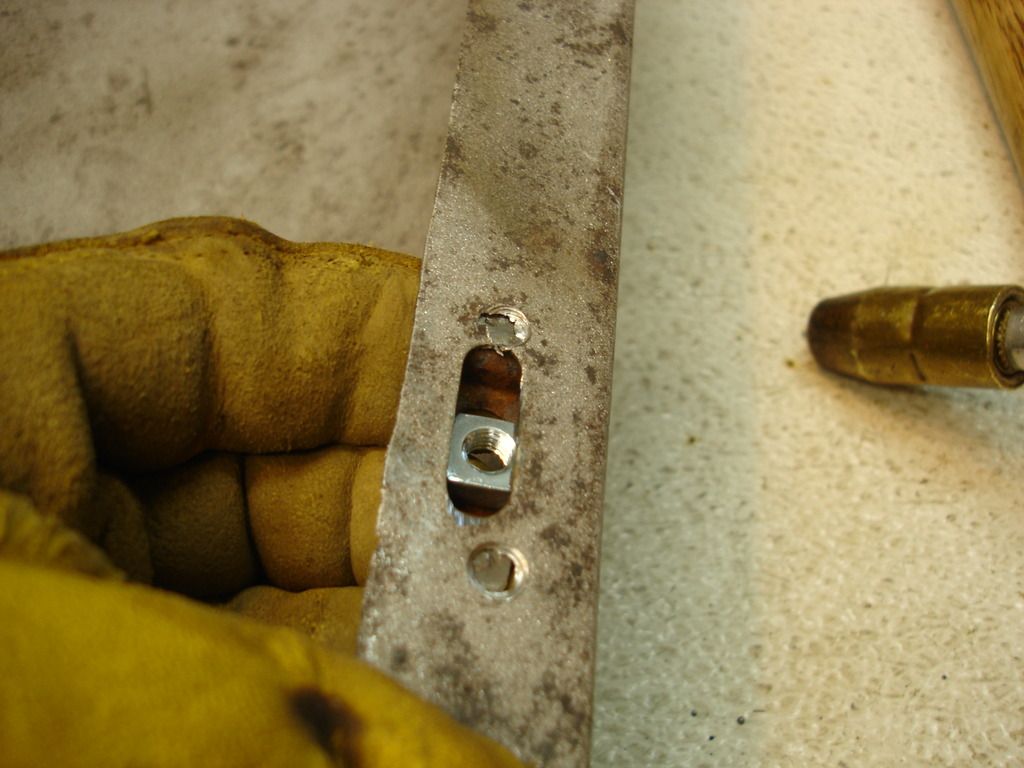
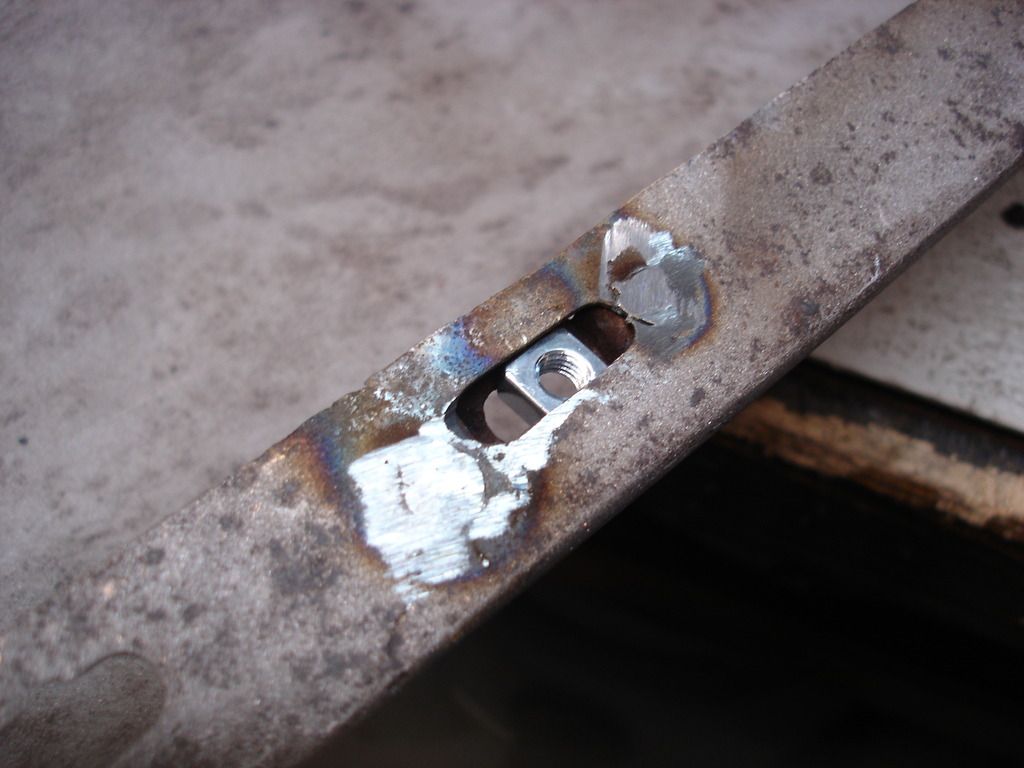
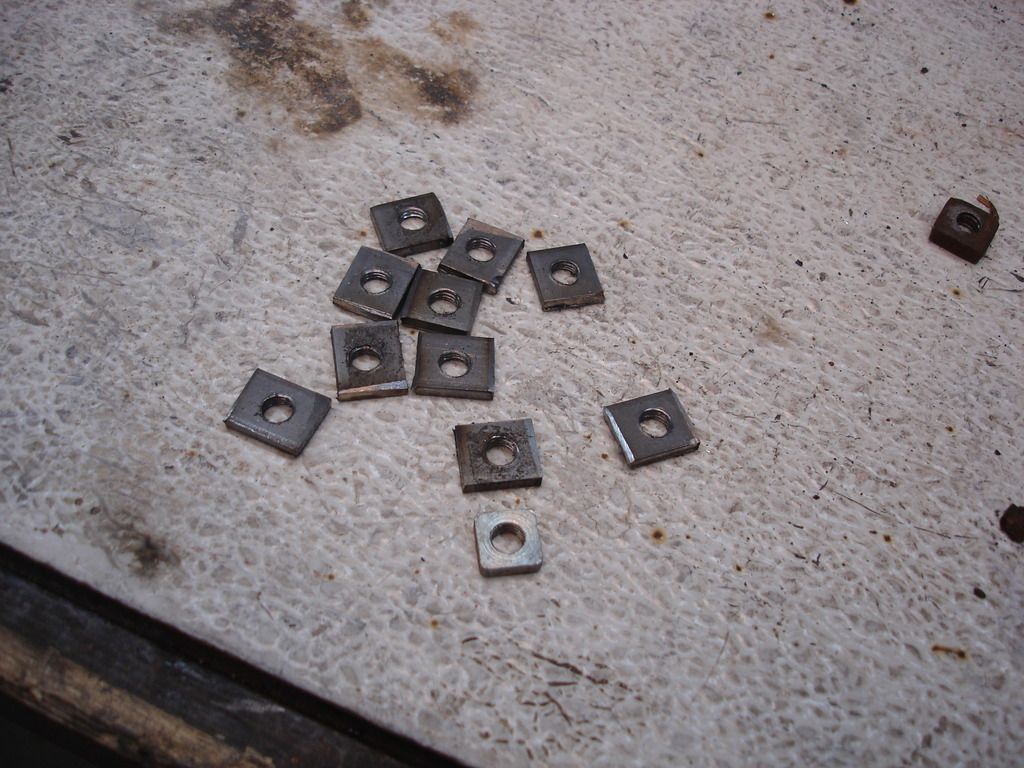
I bought some 1/2" by 3/16" thick steel bar stock and cut my own nuts. Sounds like a real pain, but it actually took much less time than searching the internet and hardwares in vain.


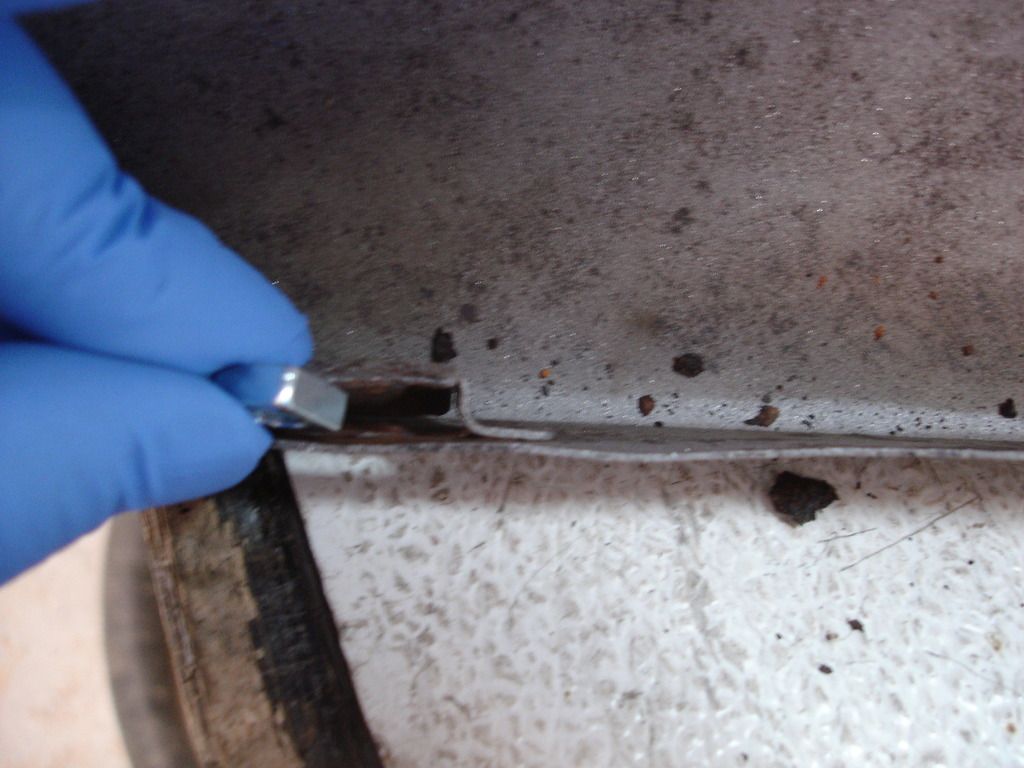
So, in they go and the cages got tapped back closed. Job done...finally! The dumbest little issues cause the most grief.
 
Last edited:
Ok :smile: I'll be waiting.

Cheers
Tush
 
Sorry, got side tracked...

Next, I ordered repro stone guards from Moss. I did this now, while the wings are bare, because I remembered how much the guards have to be messaged to fit. They are very definetly not a "plug and play" part. So, the new guards fit pretty well on the right wing. They were too large...by about 1/2" on the left wing, though. At first, since I have 1 TR3 wing and the other is a TR2, I figured that it was an issue with "early" vs "late" wings. I pulled the spare rotten wings out of the scrap pile...and learned that it was the same case for both early AND late wings.

The stone guards are identical mirror copies of each other. But the wings are not! Bummer. The problems with hand-made car parts. So, the following sequence is what I had to go through to fit the repro guards to both sides.

Important safety tip...you cannot fit these to a finish painted car without a lot of tears. If at all possible, fit them to bare metal.

DSC03811.jpg


DSC03812.jpg


This shows the biggest problem side.

DSC03801.jpg


DSC03802.jpg


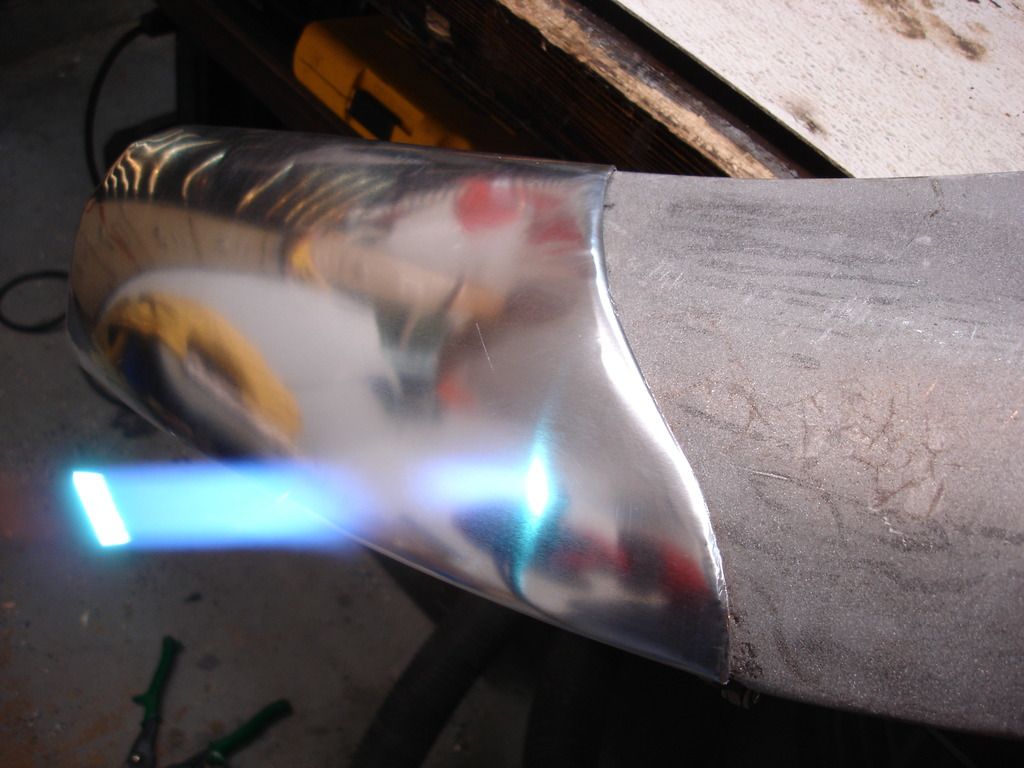
Aluminum is very docile with even a minimum of heat. Here I am torching it to soften the edges. I will then roll those edges over for a good fit.

DSC03805.jpg


DSC03806.jpg

Of interest...the side that fit well right off the bat had misaligned mounting holes. I had to open them up to match the holes on the wing. The side that fit like crap had the mounting holes perfect. Go figure!?!

DSC03813.jpg


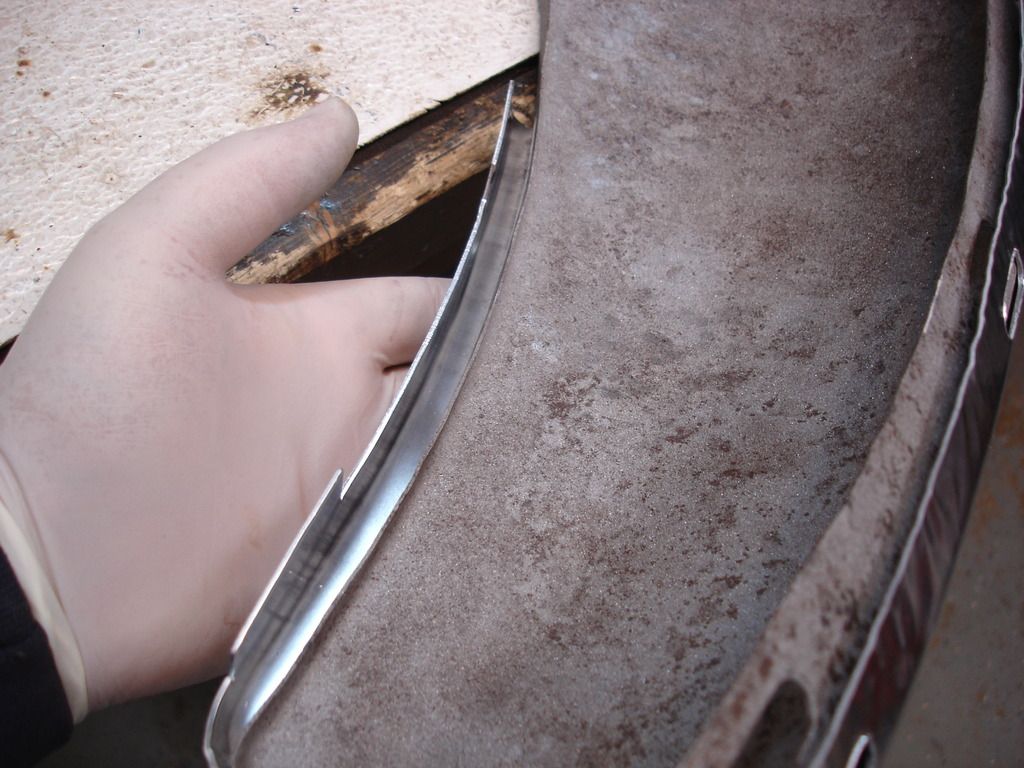
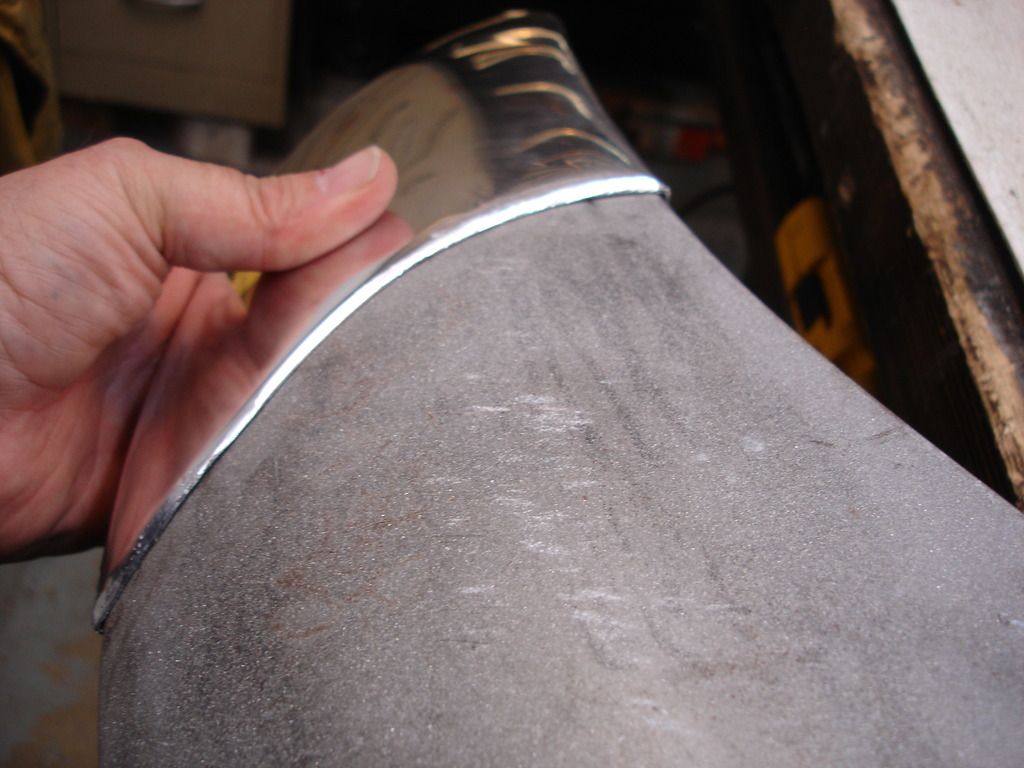
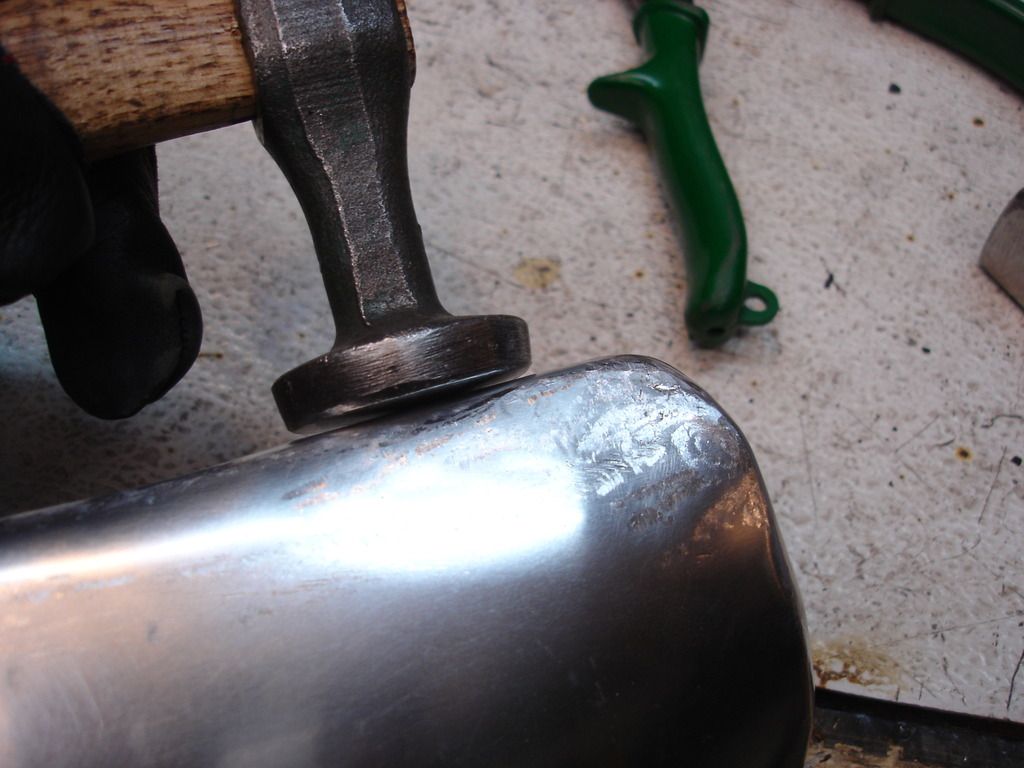
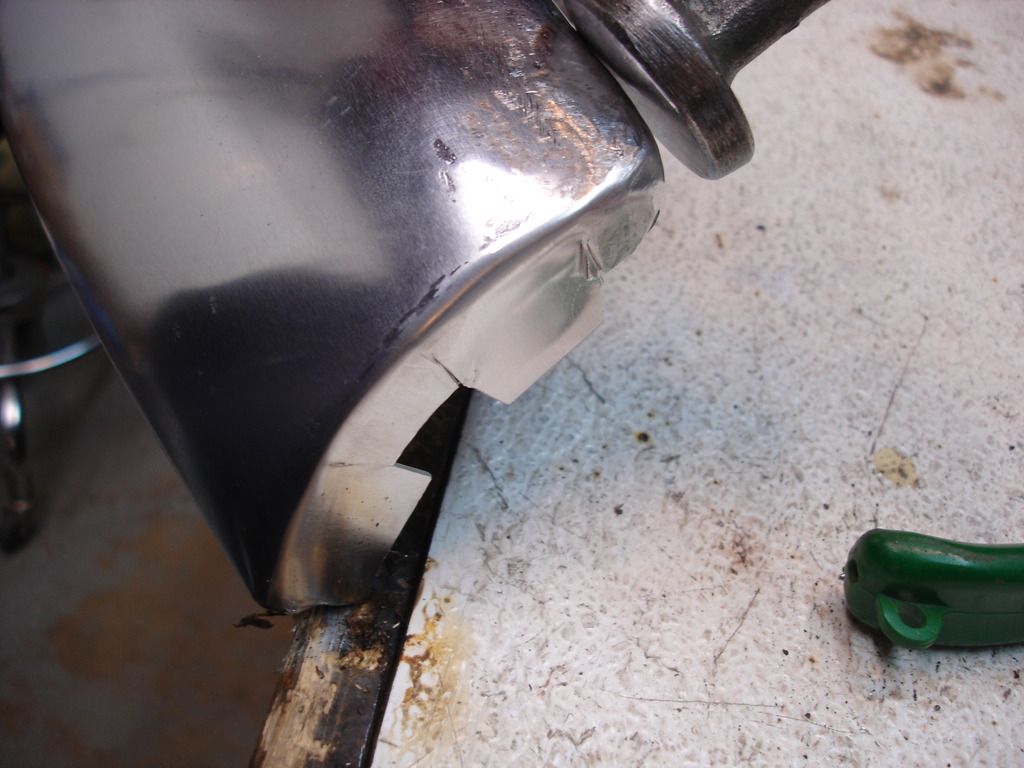
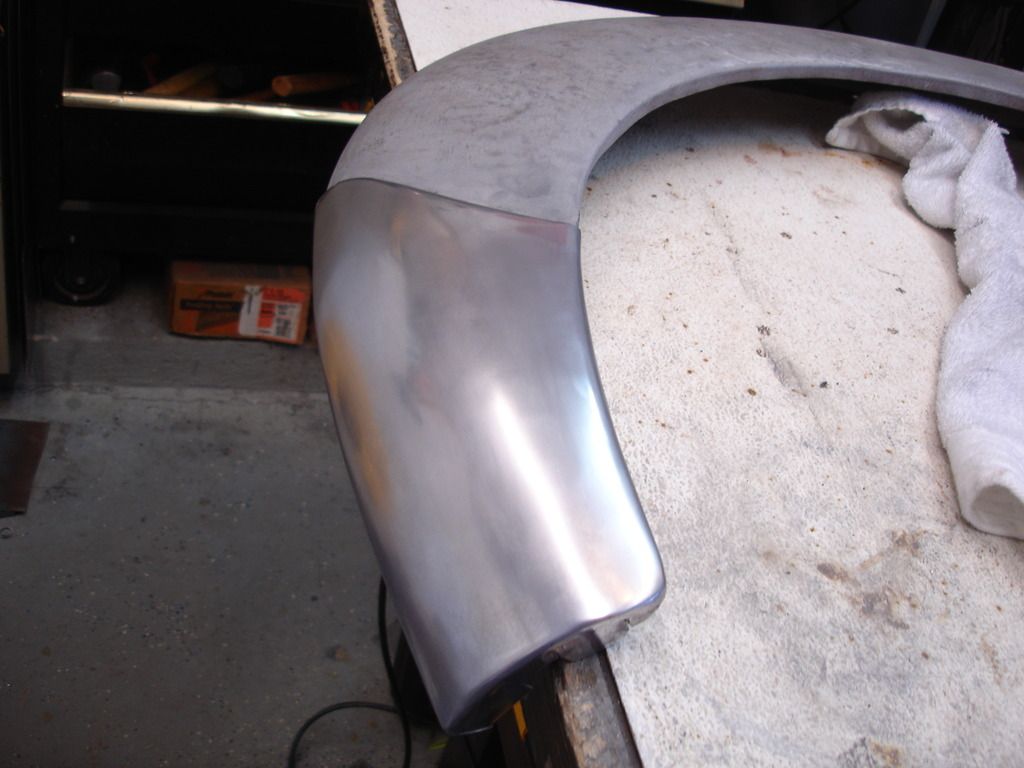
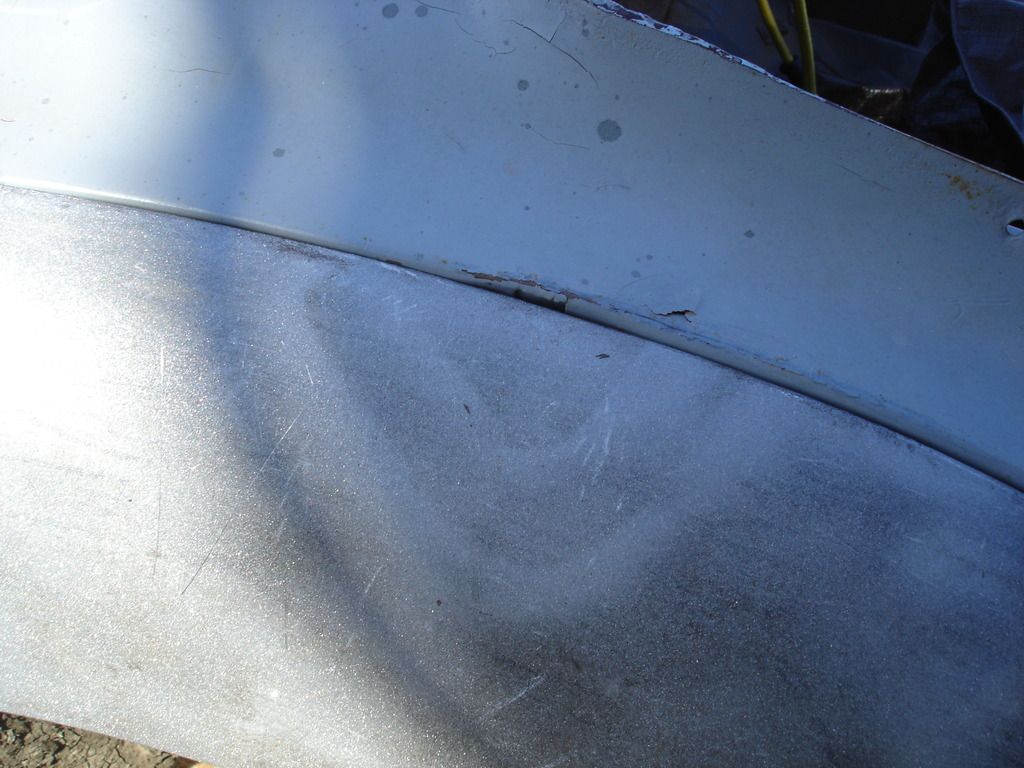
Here, I am heating the aluminum to soften it, and tapping the edges around to match the wing. Essentially, I am using the wing as a mold. Notice it beggars up the finish on the guard. That's not to be helped at this point. It'll be fixed later.

DSC03814.jpg

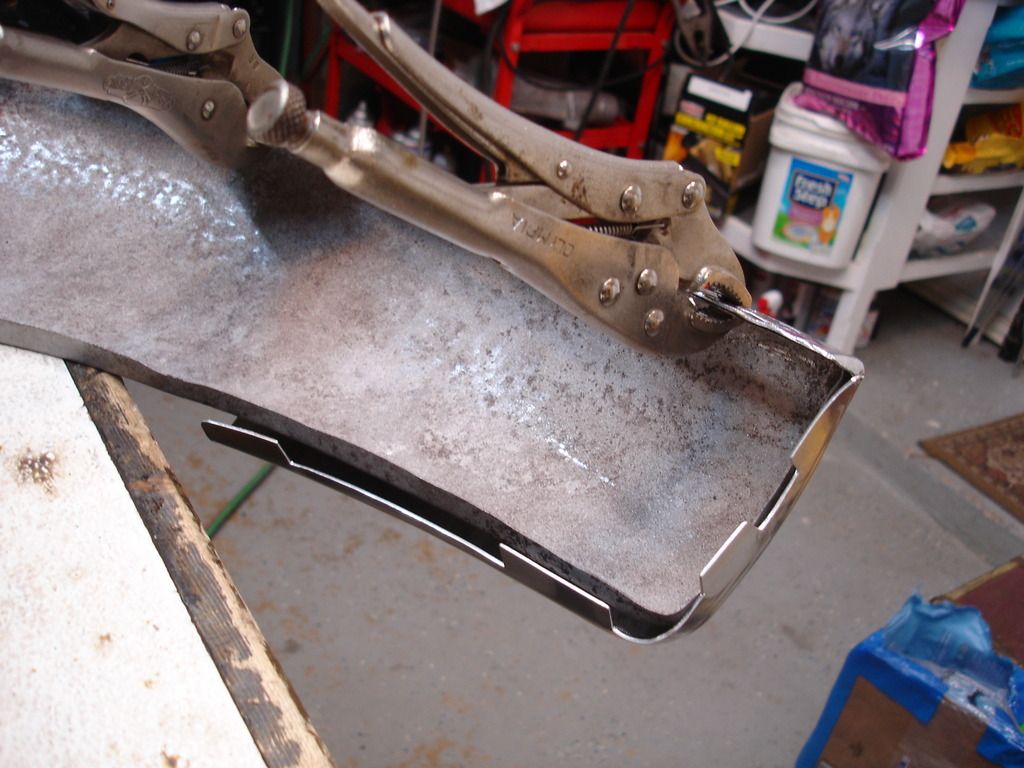
As you fold over the edges, the extra metal on the sides gets longer. Also, the curvature makes it necessary to slit the selvage at the bottom. This area will not be visible unless you put the car on a lift. On the sides, I trimmed the extra, and stretched that with a lot of beating.

DSC03815.jpg

At this stage I am getting somewhere. It is finally looking like the 2 parts were meant to go together.

DSC03816.jpg


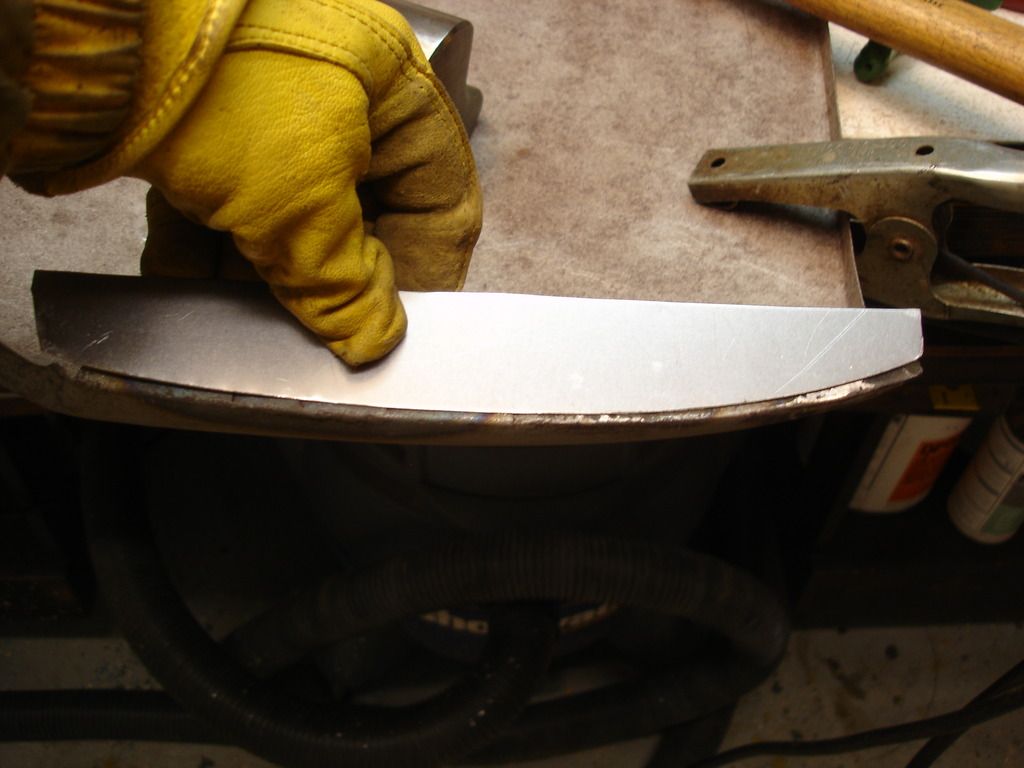
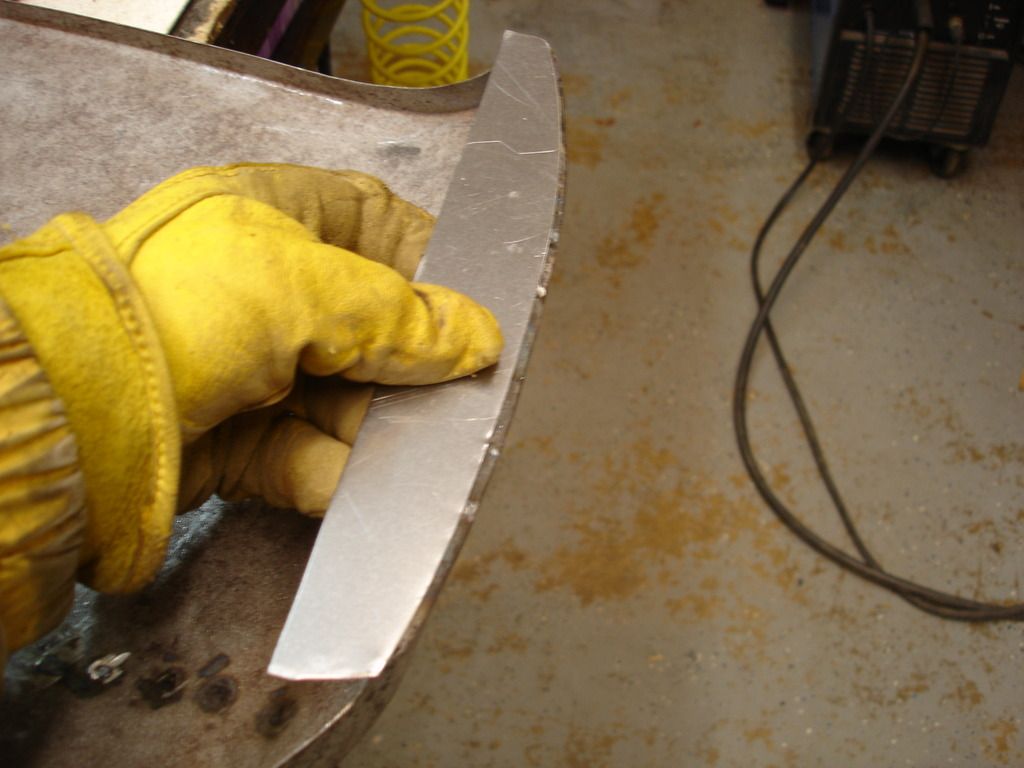
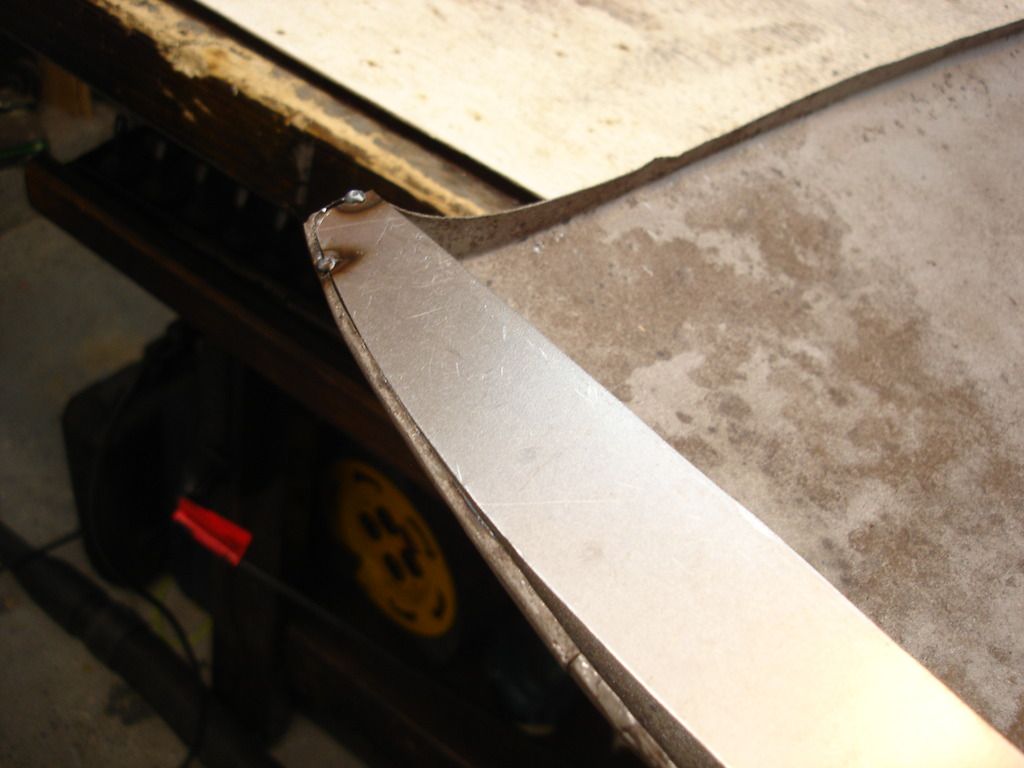
The wide selvage that gets pinched against the tub was too wide to shrink. On my wing the guard was not curved enough. That requires shrinking the edge selvage. You can see I attempted to shrink it by putting crimps along it. That was not enough...I eventually had to put some slits in this area too.

DSC03817.jpg


DSC03818.jpg

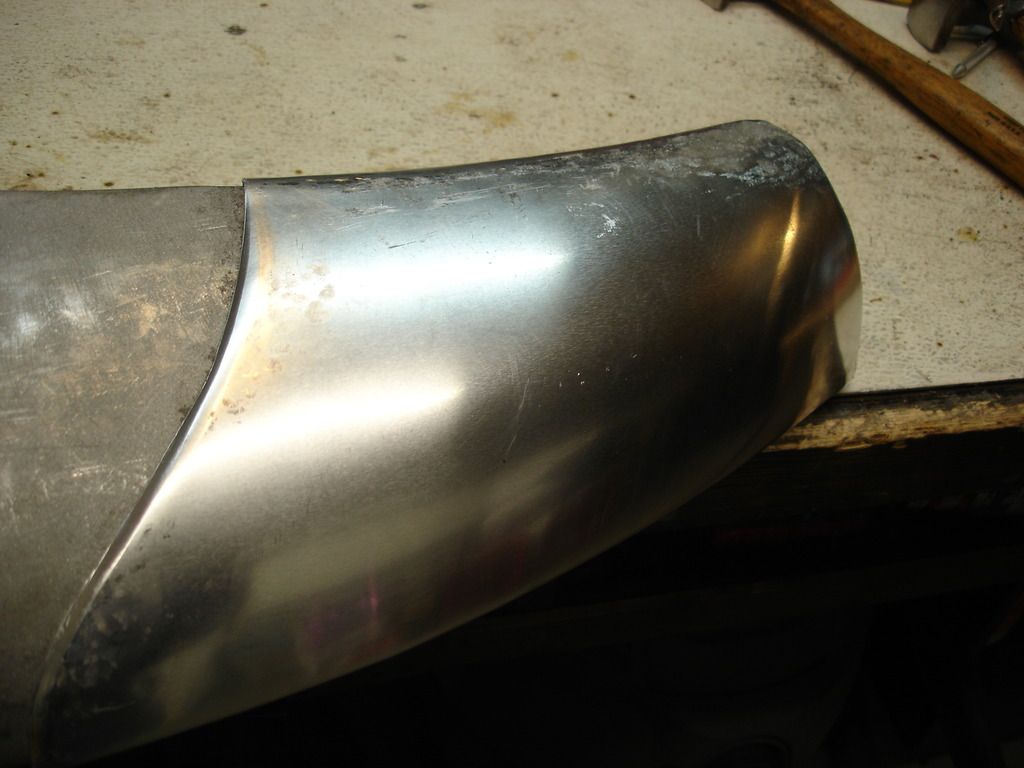
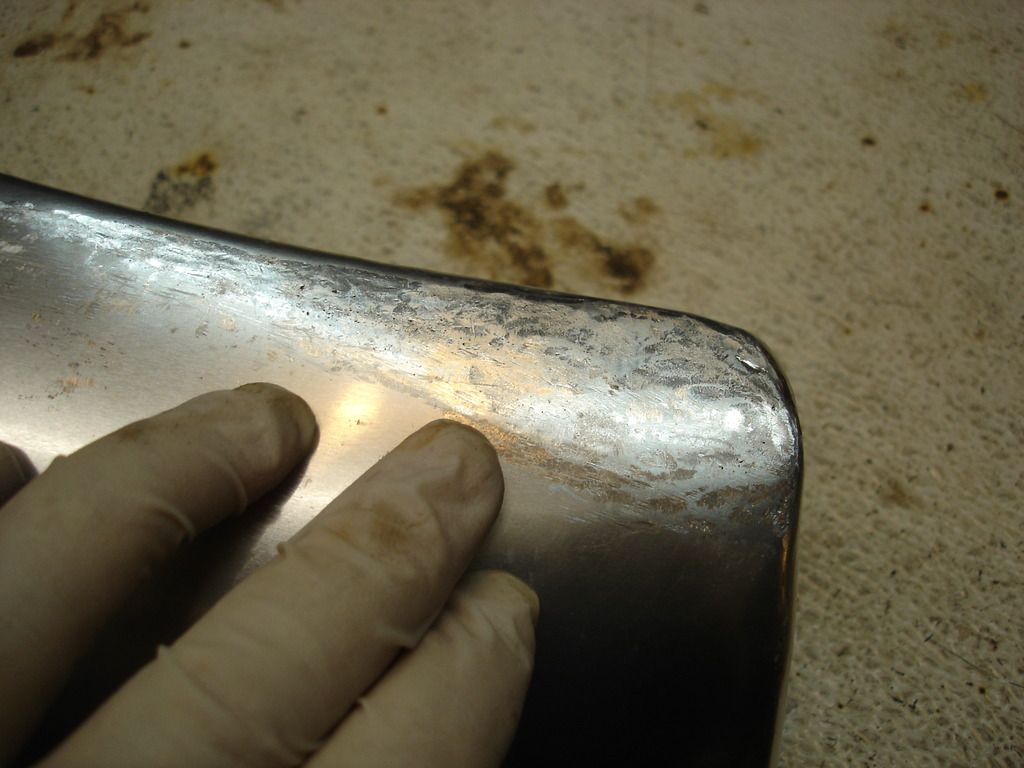
Here the guard is fit. Notice the areas I had to work a lot are no longer shiny. It's time to take care of that by polishing the guards.

DSC03803.jpg


DSC03804.jpg


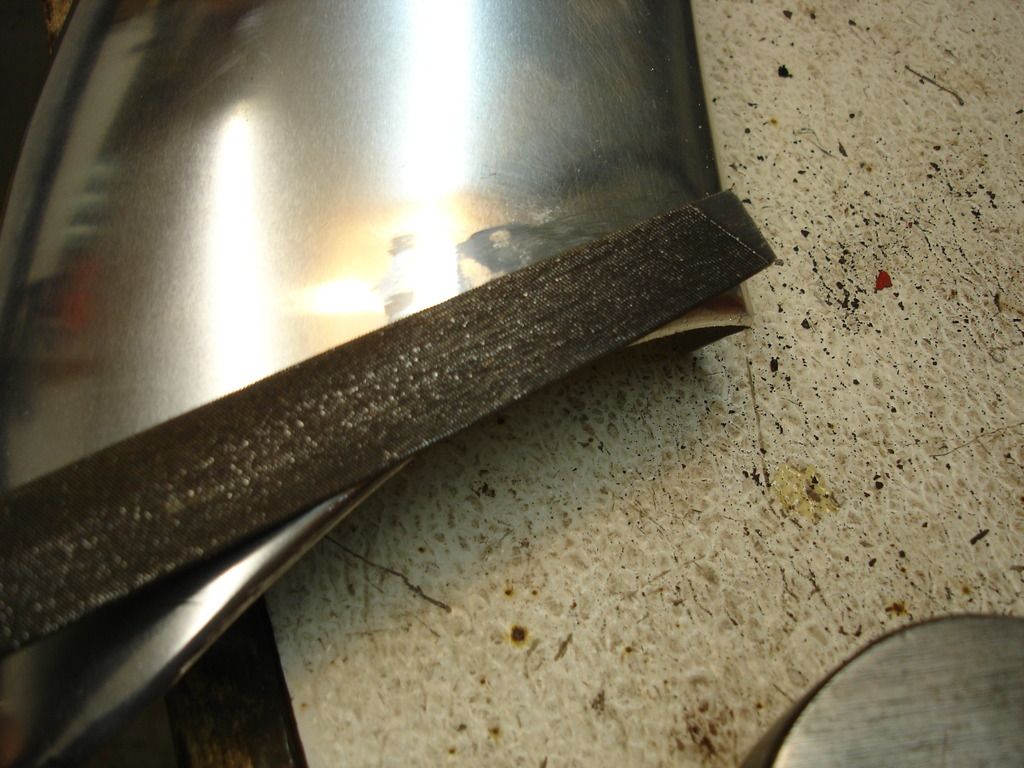
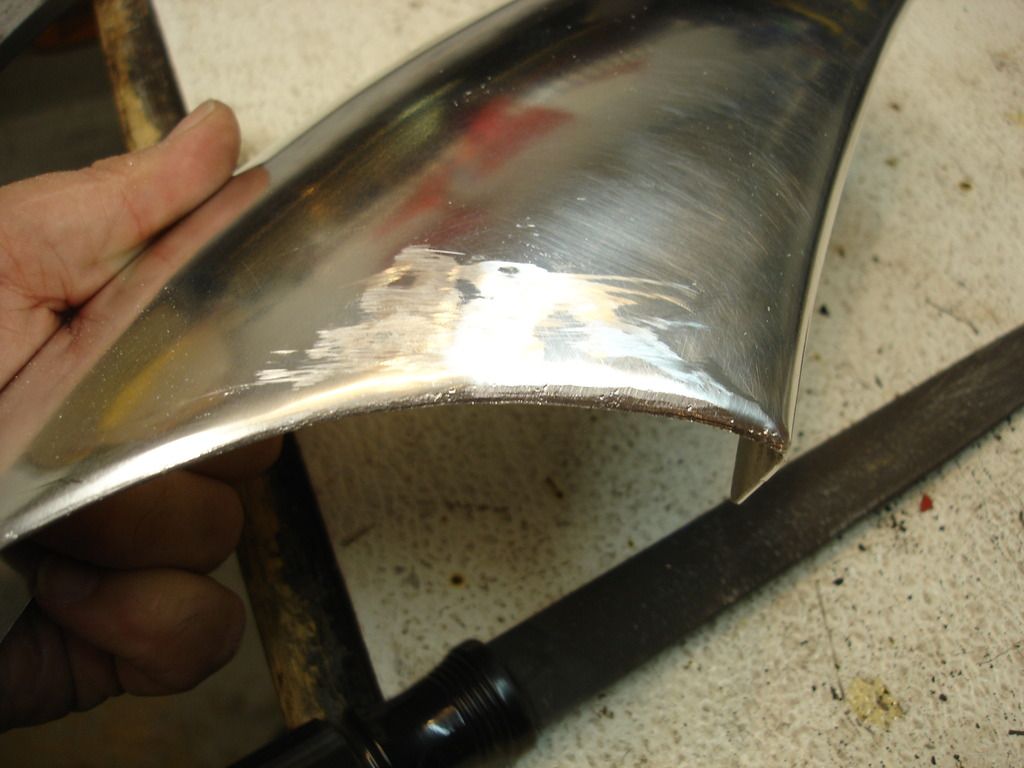
First, the rough areas get filed smooth.

DSC03807.jpg


DSC03808.jpg


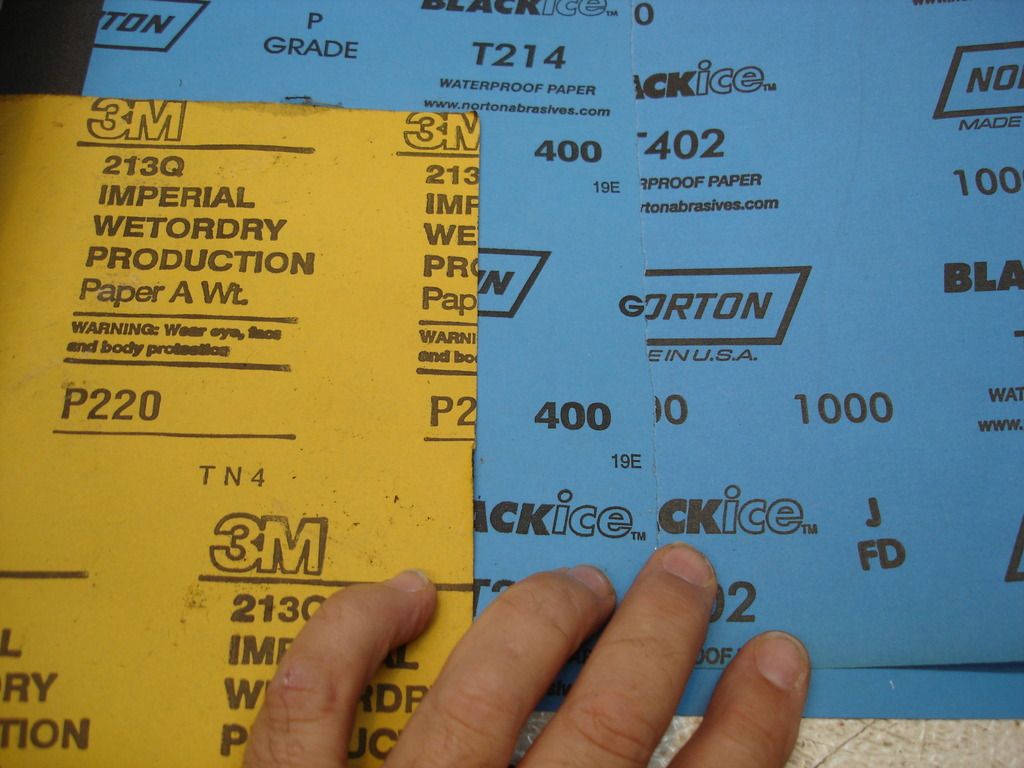
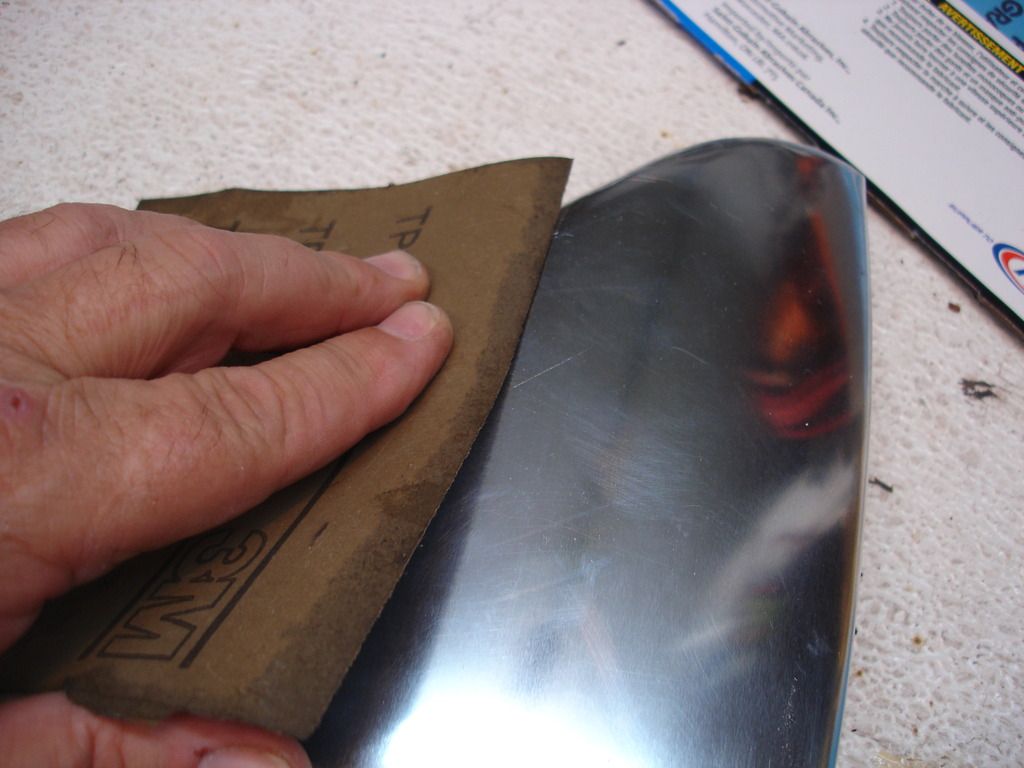
Now I sand the guard with progressively finer grit paper. I started with 220 to remove any dimples or gouges...and finished with 1000 grit. Each new grit is used until the marks from the previous, rougher grit, are gone.

DSC03809.jpg

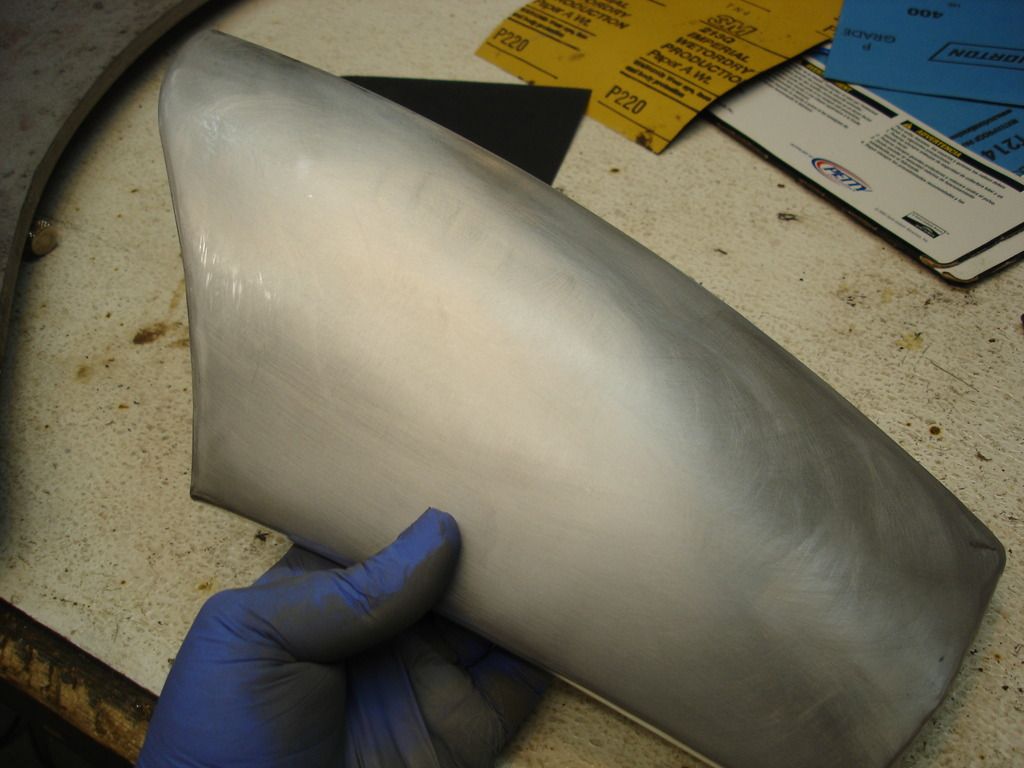
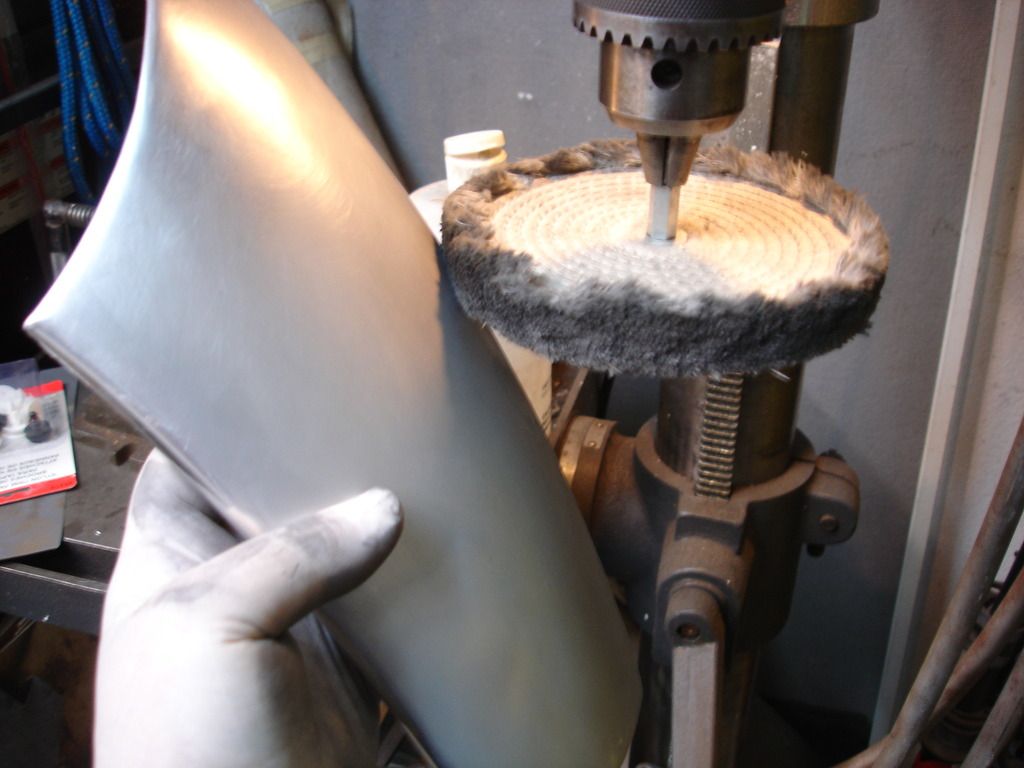
You end up with this...a smooth, mat finish having absolutely no gouges or scratches. Now I turn to the buffing wheel.

DSC03810.jpg


DSC03820.jpg


I am a bit bummed about the finish. It seems the material they used for these guards does not shine up as well as it should. It looks decent...but with the hours of buffing I put into them, they should be like mirrors. I assume that's the cheap sheeting they are using for them....oh well.
 
DSC03824.jpg


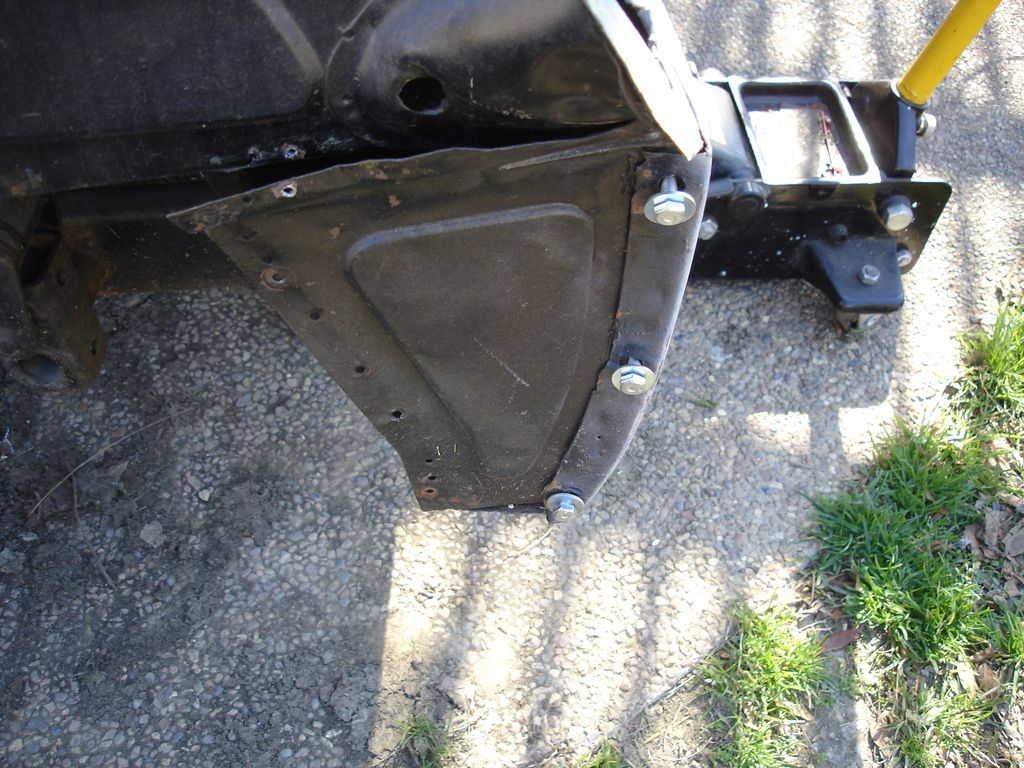
Now the show went outside, to trial fit the wings to the tub. In mounting wings, always start at the rear, by installing the 3 rear bolts and washers. Extra long bolts make the fitting easier.

DSC03825.jpg


DSC03835.jpg


DSC03836.jpg

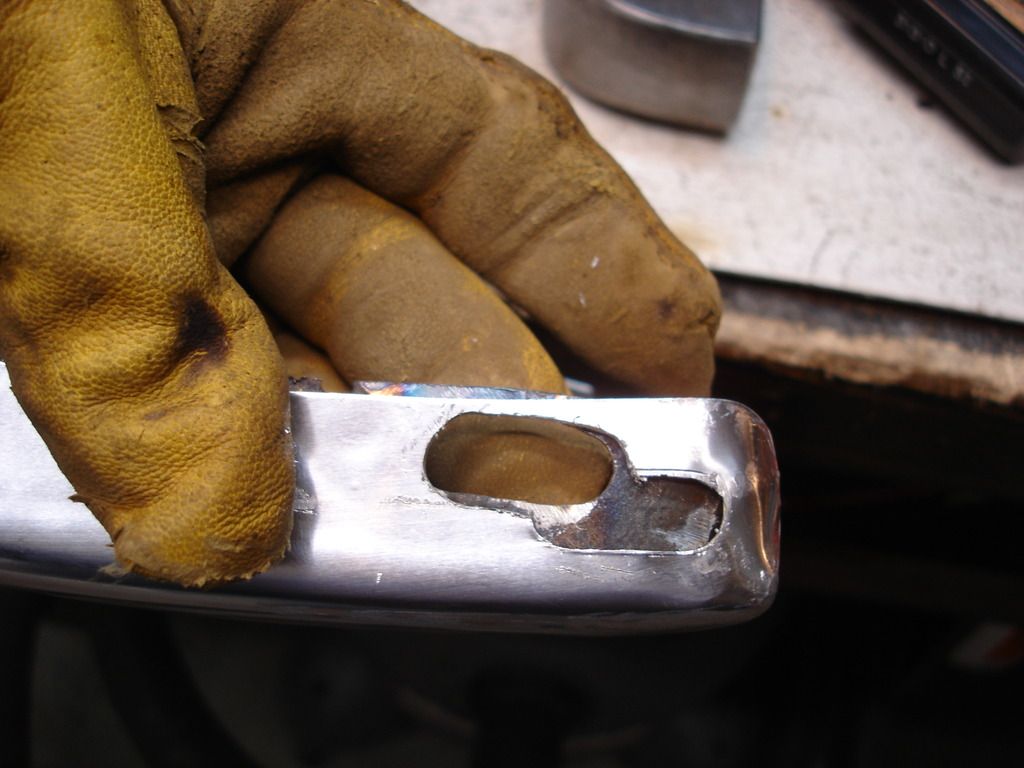
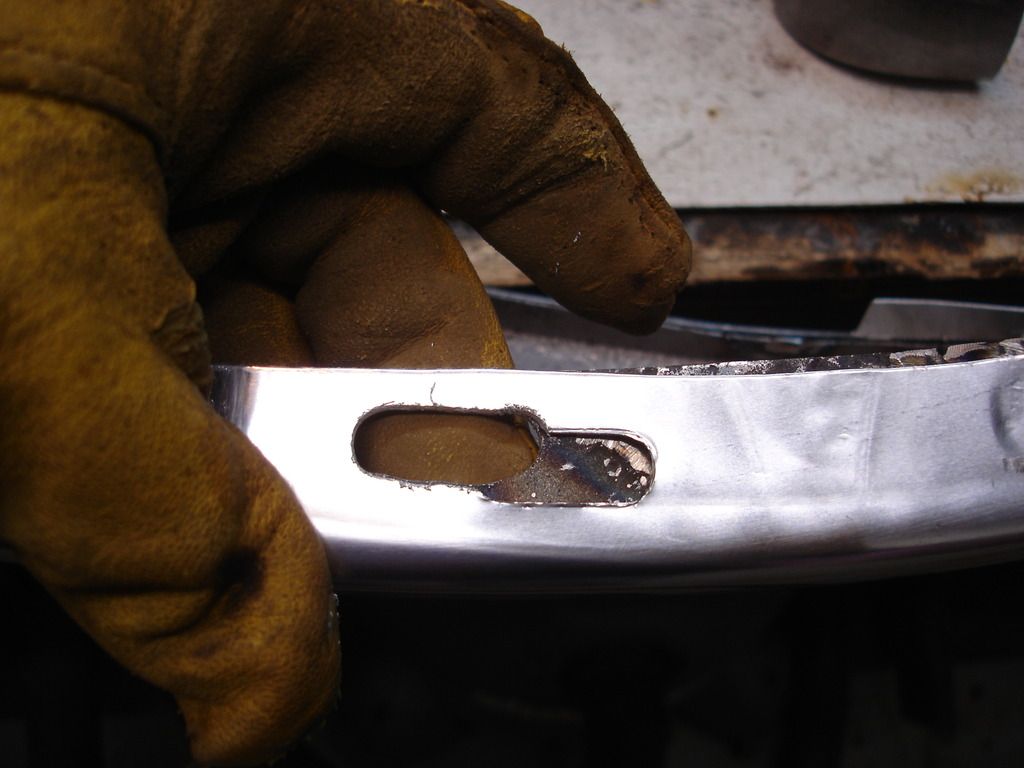
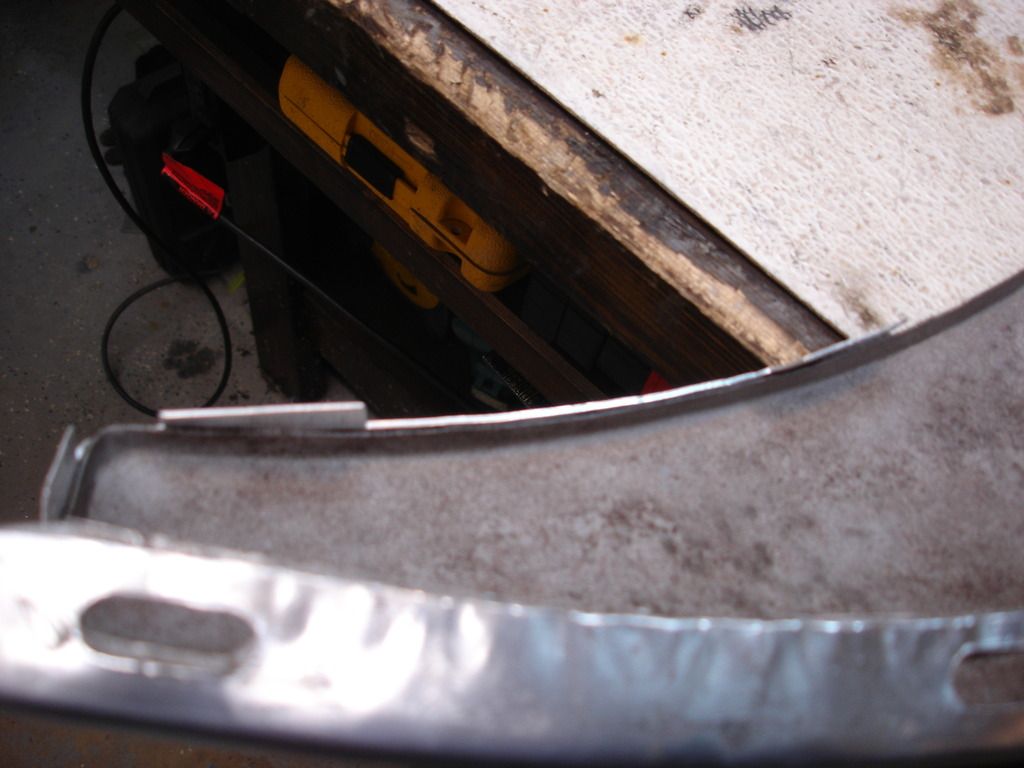
I then had to mark and cut the slots into the rear mounting flange that I replaced with a patch.

DSC03826.jpg

Hold the wing up to the tub and hook the slots to the 3 bolts at the rear. Slide it forward and the bolts will hold the backin place. Then, reach under and start any one of the forward bolts. At that stage you can let go of the wing and it will stay in place. Now you can take you time installing the remaining bolts. Once they are all started...start at the back and snug them down. Not tight! you are dealing with 20 gage metal, so snug is all you ever need for those bolts!

As you come to each next bolt forward, push the panel into alignment with the tub...and then snug it. Move forward to the very next one and do the same. If you try to start in the middle, you will frequently run into a misalignment situation that cannot be fixed without starting over.

DSC03827.jpg


DSC03828.jpg


DSC03829.jpg


DSC03830.jpg


DSC03831.jpg

This is the fit you are trying to get. It did not start out this good...I had to convince it with a body hammer!

DSC03842.jpg

I found this interesting. Notice the outside of the bolt hole web has been slit with snips. The factory did this when the wing did not contour perfectly with the hand made tub. Do not be afraid to do this yourself for any problem area as you work forward tightening bolts. You do not have to take the wing off to snip these areas...or even loosen any previously titghtened bolts, for that matter.

DSC03844.jpg


To get the lower wing edge contour right, I actually had to snip the edge that is bent inward. I had to cut small "V"'s, and then they got welded back together after the fitting was done. This took the wings from a concave curve in this area to the slight convex curve that is correct.

DSC03841.jpg


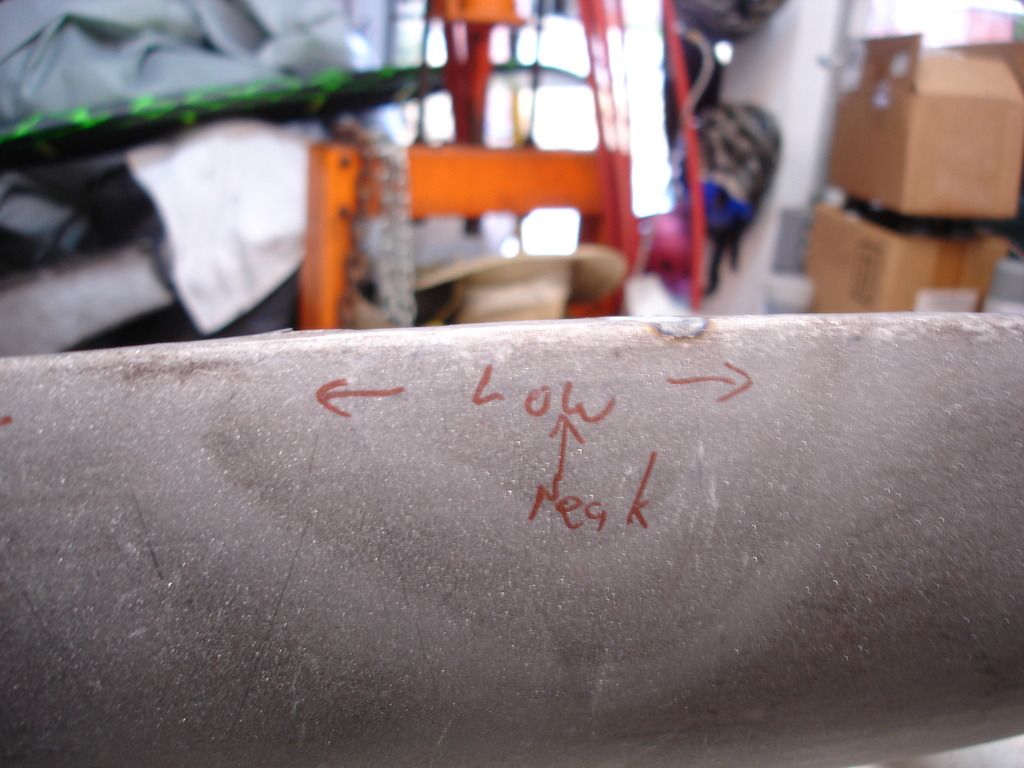
The right wing had one area that I absolutely could not get to match the tub. This is at the high point of the wing arch. I could not take care of this spot "in situ", so...

DSC03845.jpg


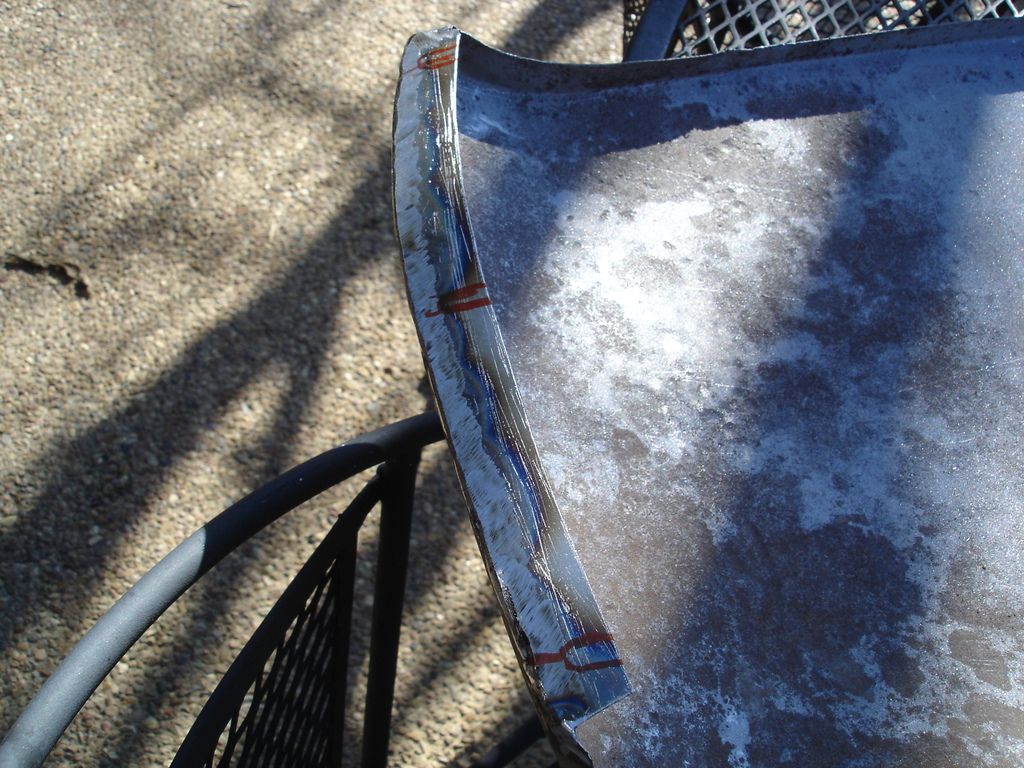
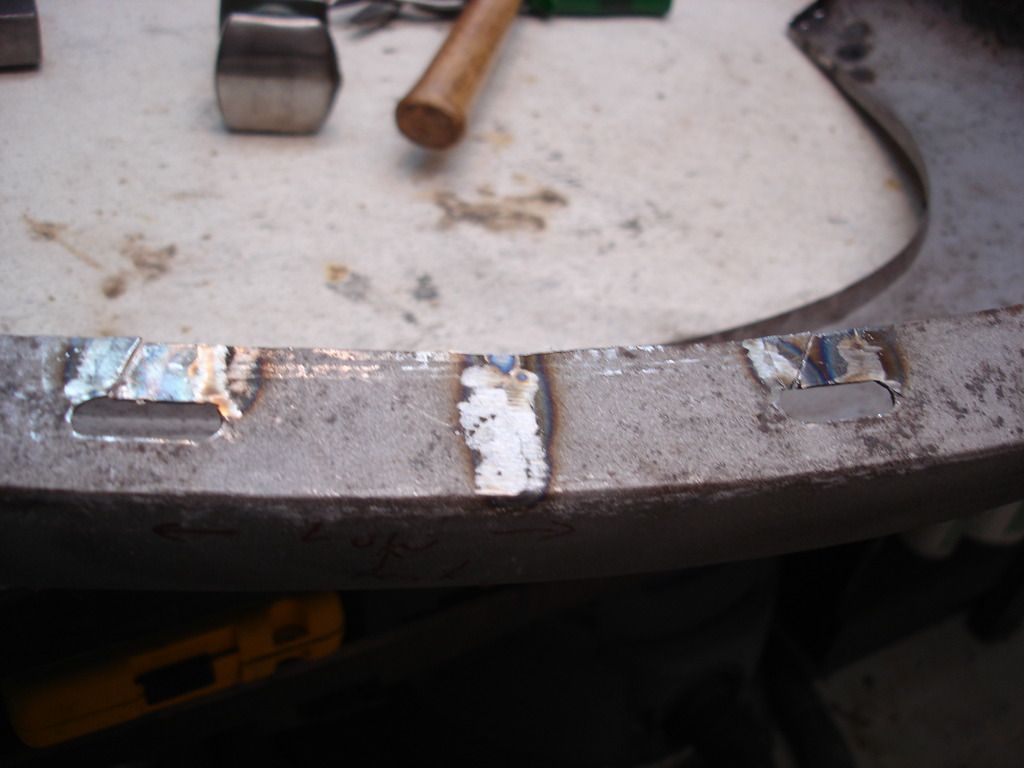
I marked it well while it was on the car. I then had to shrink the selvage by cutting slits to pull the area in and increase the curvature.

DSC03846.jpg


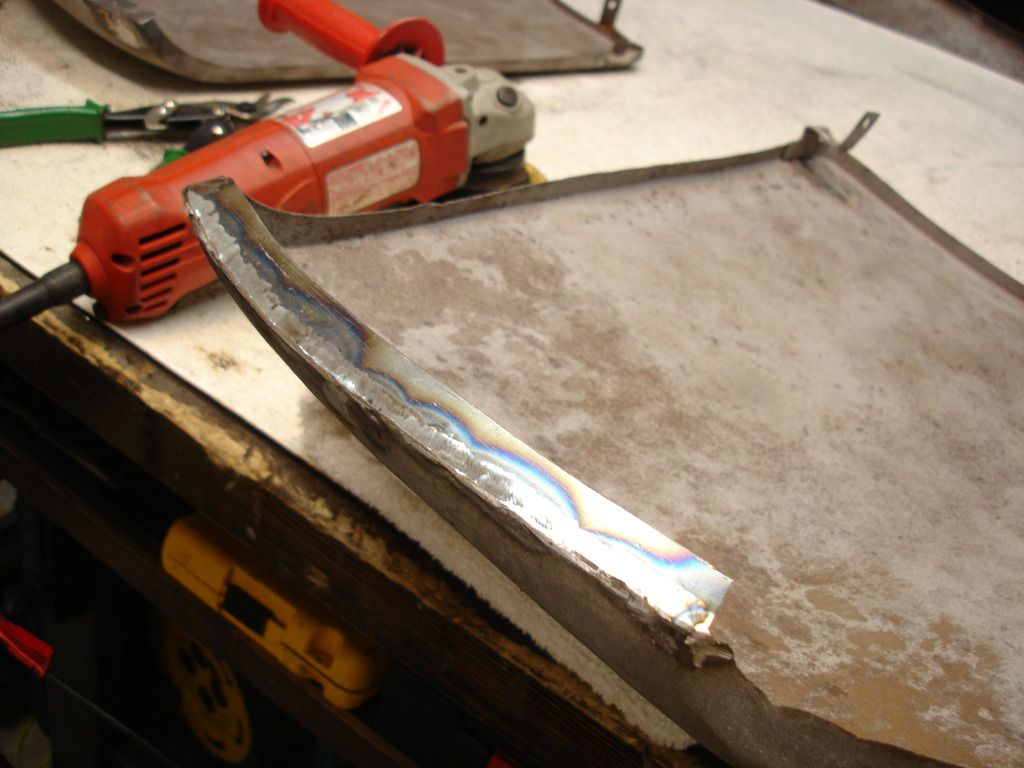
This is the same area, showing the spot where I slit and welded the edging.

And that finished the rear wings. No more loose body parts....except...
 
Last edited:
DSC03850.jpg


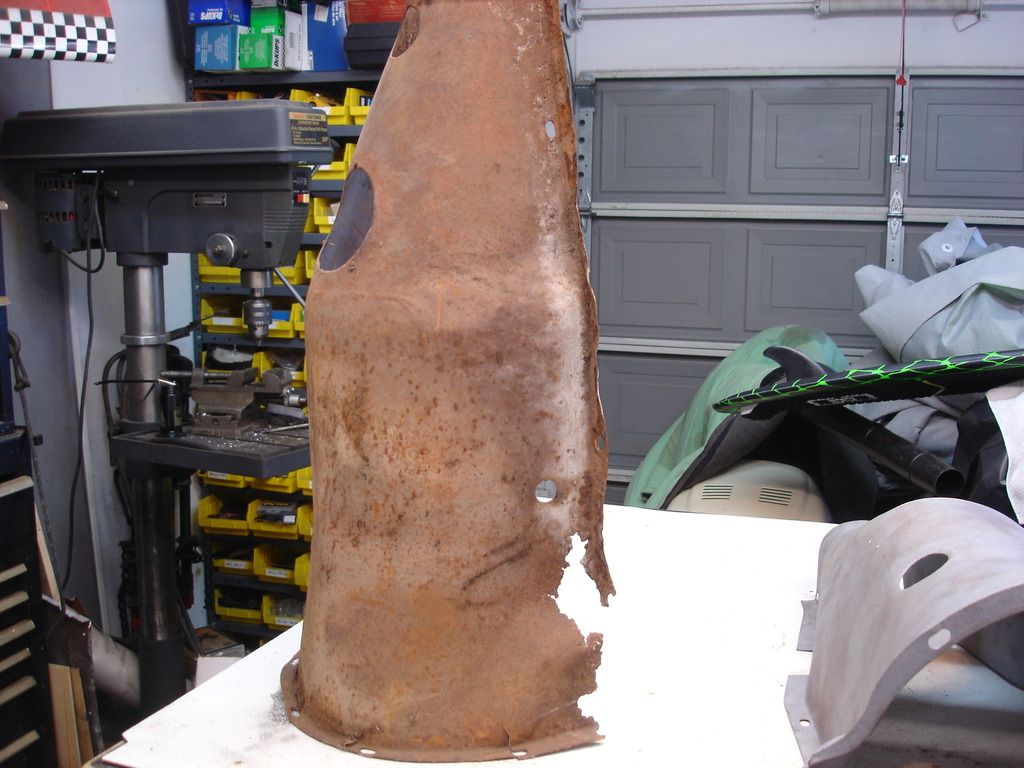
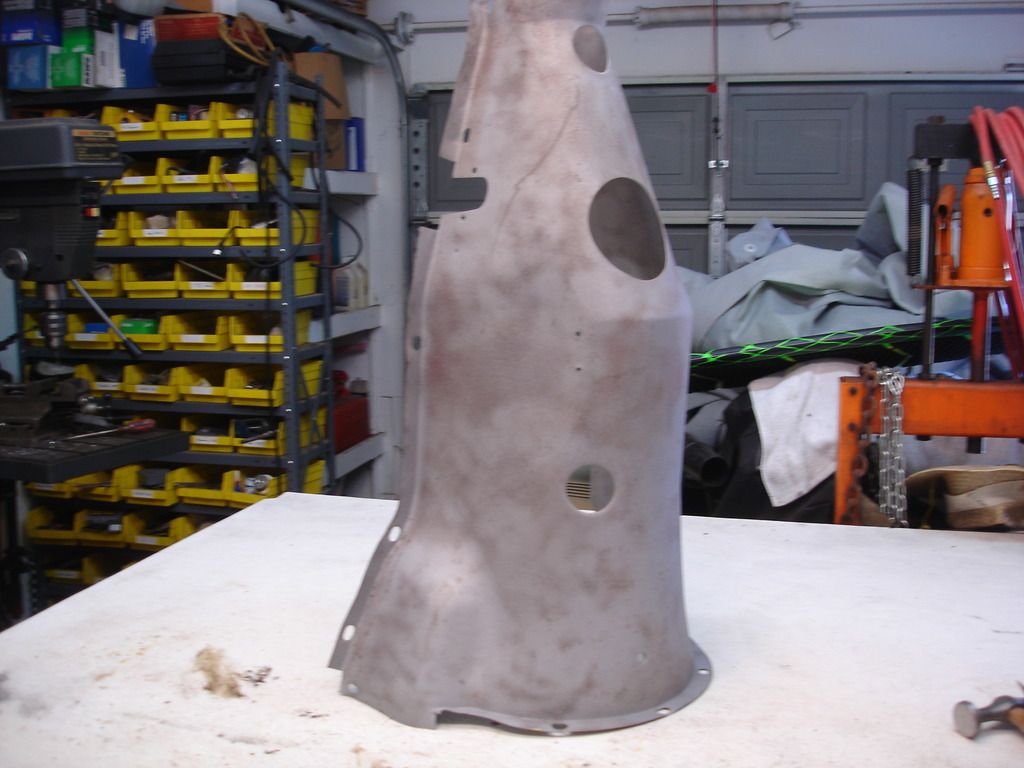
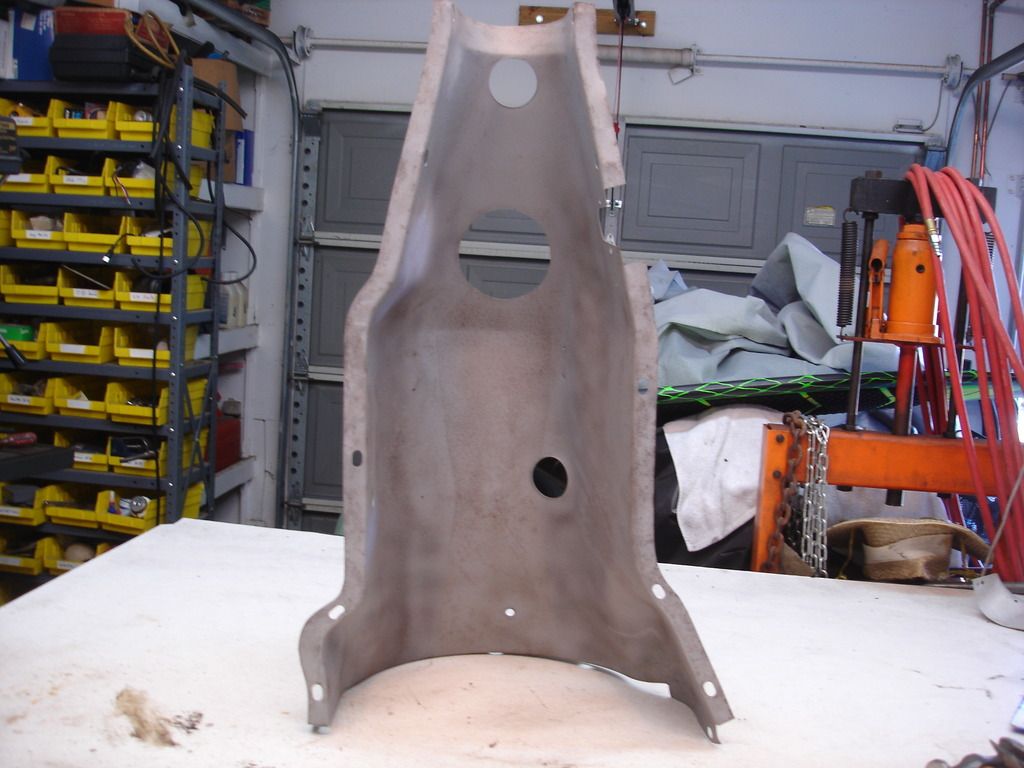
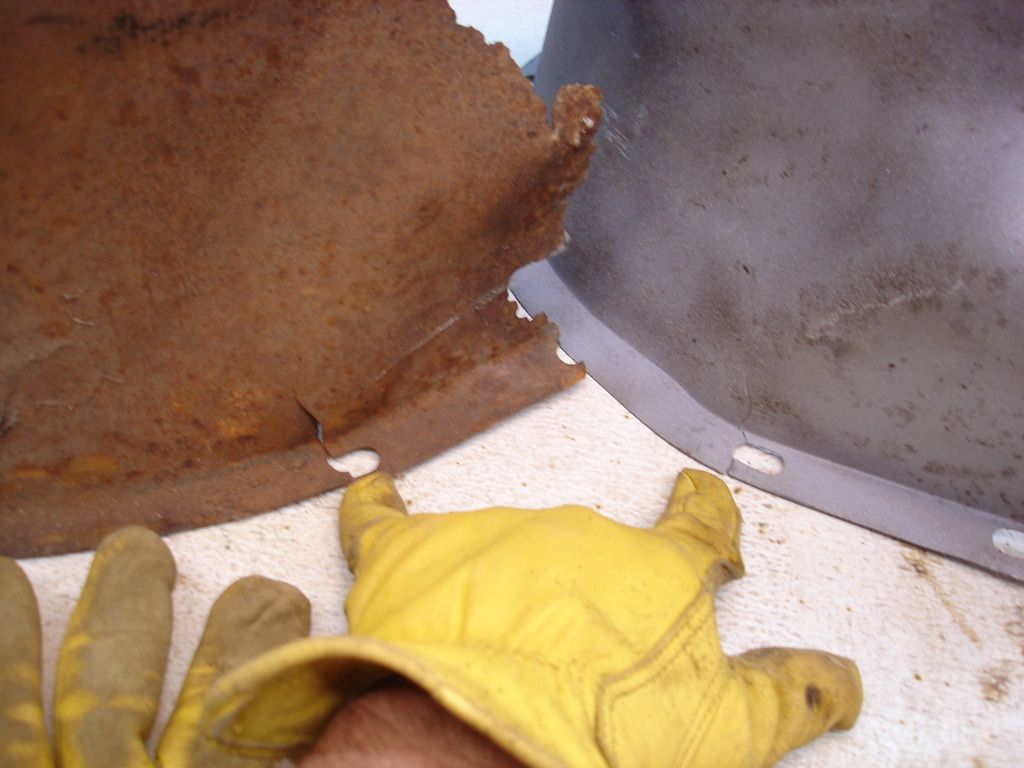
I found the tunnel cover. Well, it's sorta body. This is the original. It sucks. But, I bought a decent one from Marv 3 years ago. Finally I caught a break!

So far, every part I have worked on took a week or more. Sometimes MUCH more! The tunnel came out of the shed yesterday...

DSC03848.jpg


DSC03849.jpg


...and it went back today. Huyah! So nice to catch a break.

DSC03851.jpg


I did have to do some very minor repair and modifications, to bring the TR3 tunnel to TR2 standards. Here, I thought it was interesting that BOTH tunnels were cracked in the exact same location. I then plugged some extraneous holes that were in the newer tunnel.

But it's done. It was very strange standing in the storage shed and not have a single body panel to grab to work on. But it was good strange!

Next week I will be starting on the tub. The TR2 tub is a wreck. I only counted 2 panels on the entire unit that are not holed. The rest makes the Titanic look salvageable. No lie! I have the donor car...but fear what lies under the glass cloth and bondo. We'll see shortly.

It will start with sand blasting...which is long and laborious. I won't bore you with that, so I won't be updating until the blasting is done. It could be a few weeks.

Cheers until then!
 
It's looking good, very fine work to date and thanks for the superb pictures, it's gonna help me when I start the panel beating.
You've said it's strange to walk into your shed and see so parts, I'll offer some of my tr2 parts that need reshaping/welding if your searching for something to do! :smile:. One day I'll be where your at I hope
 
Back
Top