• Hi Guest!
    You can help ensure that British Car Forum (BCF) continues to provide a great place to engage in the British car hobby! If you find BCF a beneficial community, please consider supporting our efforts with a subscription.

    There are some perks with a member upgrade!
    **Upgrade Now**
    (PS: Subscribers don't see this gawd-aweful banner
Tips
Tips

TR2/3/3A Beginning the TR2 Bodywork

It's looking good, very fine work to date and thanks for the superb pictures, it's gonna help me when I start the panel beating.
You've said it's strange to walk into your shed and see so parts, I'll offer some of my tr2 parts that need reshaping/welding if your searching for something to do! :smile:. One day I'll be where your at I hope

It's only been in the last month that I can see a path to the end of this project. Before that it was just a matter of working on something, anything, to keep it moving forward. I hope you caught the floor sale at Moss?? I missed it, because I couldn't be sure whether my floor pans will work or not. I'll be bummed if I end up having to replace them and missed the sale...
 
John,
Try some Semichrome polish on your stone guards. Bikers use it alot on their aluminum engine covers. It makes aluminum look like chrome. You can find it at most motorcycle shops. A small tube will last forever. Nice photos of your work, went through the same process with my 60 TR3. Have a good day!

John
 
Thanks, John...that gives me an excuse to visit the brand new Harley store here. It takes up an entire city block!
 

Thought I'd show everyone what an empty work bench looks like. It hasn't been empty since I bought this jalopy 3 years ago!
 
Must be a great feeling!

Cheers
Tush
 
Just big enough for you and your son to heft the tub up on! Excellent workmanship with unimaginable diligence - you sure you have a day job?

Jeff
2x TR6 (& stored '59 TR3A)
 
Almost, Jeff! Tush, the feeling was short lived, as the party went outdoors!

Week 24

This week was one of organization. The junk had to be removed from the inside of Marv's donor car, which kicked off a (free) auction. I realy didn't think I'd have any takers, but I now have 7 boxes packed and ready to ship tomorrow. Glad the parts are going to people who can use them...!


But, even with all the packing, I managed to make headway on the organization front.


Working alone, here is the cherry picker about to do its work...pulling the tub off the donor car


This pic shows that the tub will NOT come off without first removing the carbs. I had to try!?!


Phase one complete. The tub is off, so I could then remove the motor/tranny/ and odd parts that are left on the frame. I will use this frame as the jig as I cut and patch the tub, so everything that is removable will come off.

It occurred to me at this point that I have now taken apart 3 TR's...but only reassembled 1. That's a 33% average...I'm not doing very well on that front!


Here is the bare frame. I left the wheels and suspension on for now, so I could roll it around.


Here is my very high-tech tub transport device. It costs $100...mainly for the 4 castors from Northern. I had to build a second dolly, since I will be playing with 2 tubs...The original, to be used for a pattern for the final tub. And, the donor tub, which will provide the majority of the metal for the finished masterpiece.


The bottom of the donor tub is relatively decent. One inner sill looks bad at the rear. The floor has a few bad areas. Some poor replacement patch work has to be dealt with...but it could be worse!


So that's where we leave off. The frame can roll. The 2 tubs can roll.

AND I'M PROCRASTINATING DOING THE BLASTING.

It started raining this morning, so I can be guilt free for the day. But, at some point, I will have to dive in with the blaster and spend a full 3 days getting cut by sand. The plan is to fully blast the donor car tub to bare metal. That will then give me an idea of how much metal has to be replaced or patched.

I then will likely remove a few panels from the original tub to splice into the newer one. Areas that will be challenging include:

1) The TR2 scuttle uses a wood frame for the dash edge. The newer scuttle is all metal.

2) The TR2 has no vent in the scuttle, but the donor does. The scuttle may get spliced in as a whole.

3) the TR2 does not have dual brake lights. The TR3 does. Those pintels will have to be removed and patched.

4) The TR2 inner wings are very different than the TR3 wings. I will need to study that situation.

5) There is a lot of bondo and fiberglass cloth on the donor tub. I am sure there are some real good surprises waiting under all that filler.

Time to get back to wasting time while it's raining!
 
Approaching Week 25

OMG

I'm procrastinating. The tubs are every bit as bad as I thought they were. In another thread I recommended to Steve to sit back and assess the situation with a beer.

I bought a whole case this week.

Rather than beat around the bush, I'll post pics showing the situation. There are 2 main issues going on at once. First, I bought the TR3 tub to replace the TR2 rusted out tub. They look the same at first glance, but there are many more differences than appears at a quick glance.

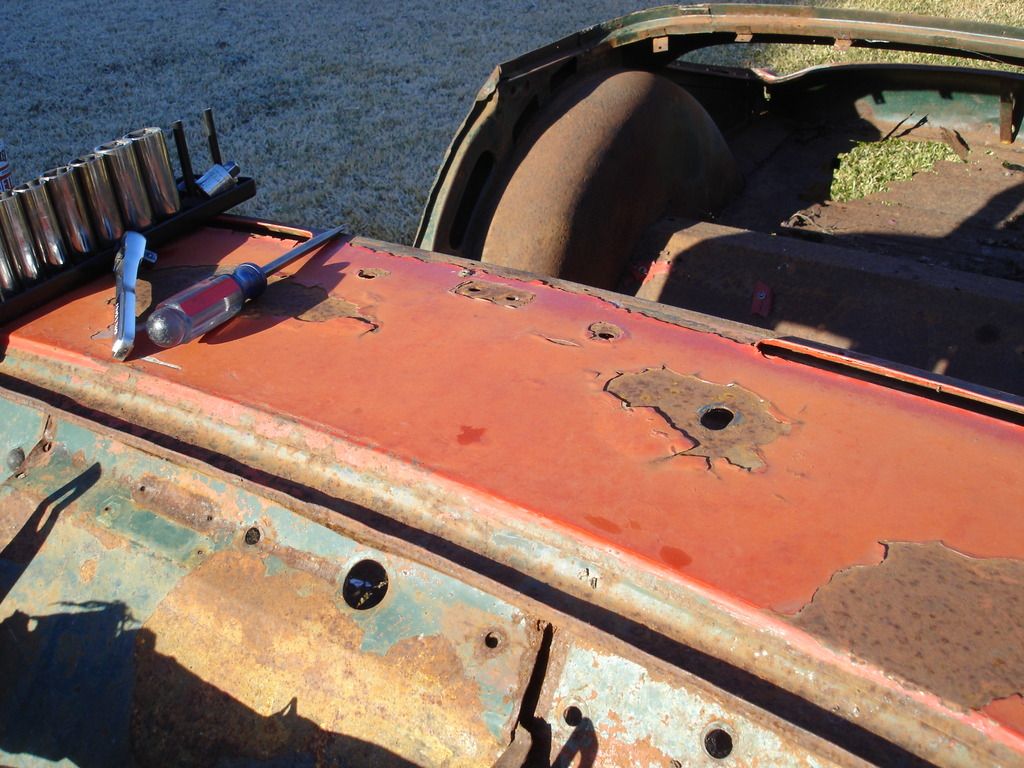
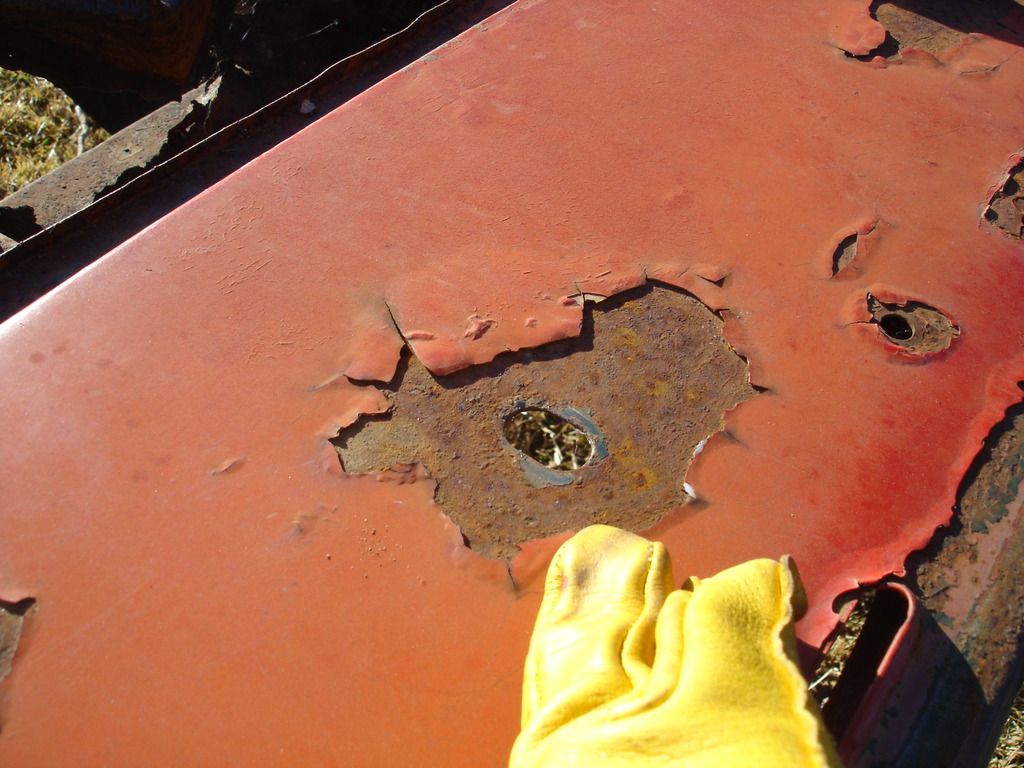
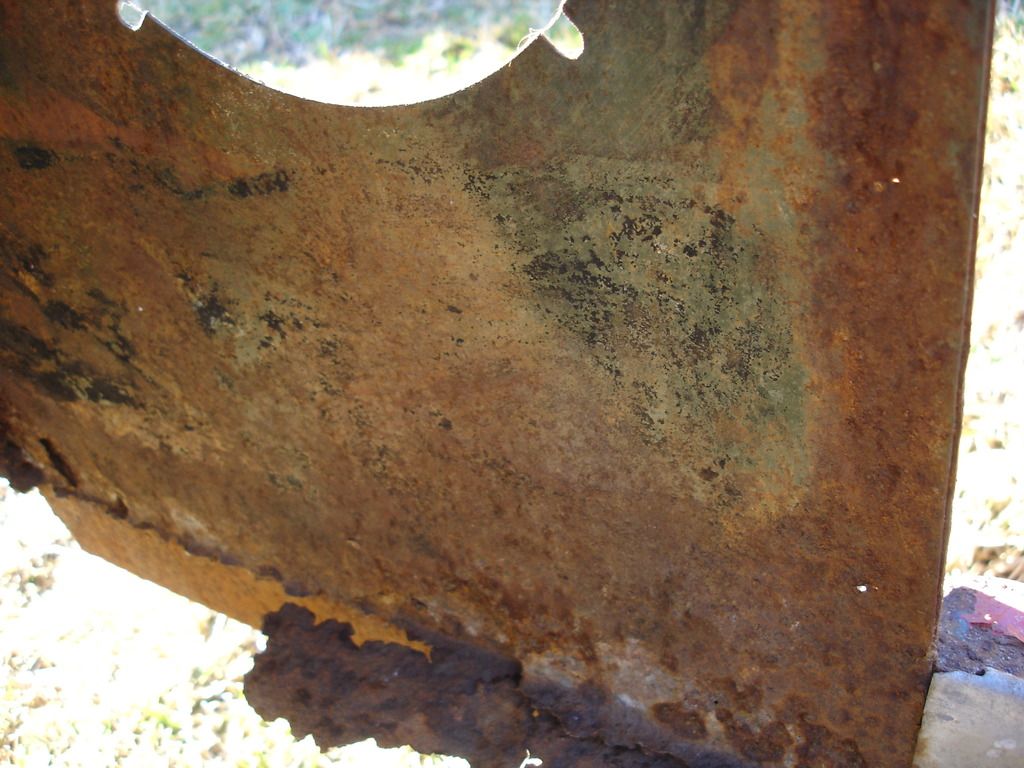
Second, some parts of BOTH tubs are rusted out. The donor tub has been patched with fiberglass. That sucks. The floors are holed worse than I initially thought. Bottom line, the donor tub sucks.

TR2 Vs TR3 Differences


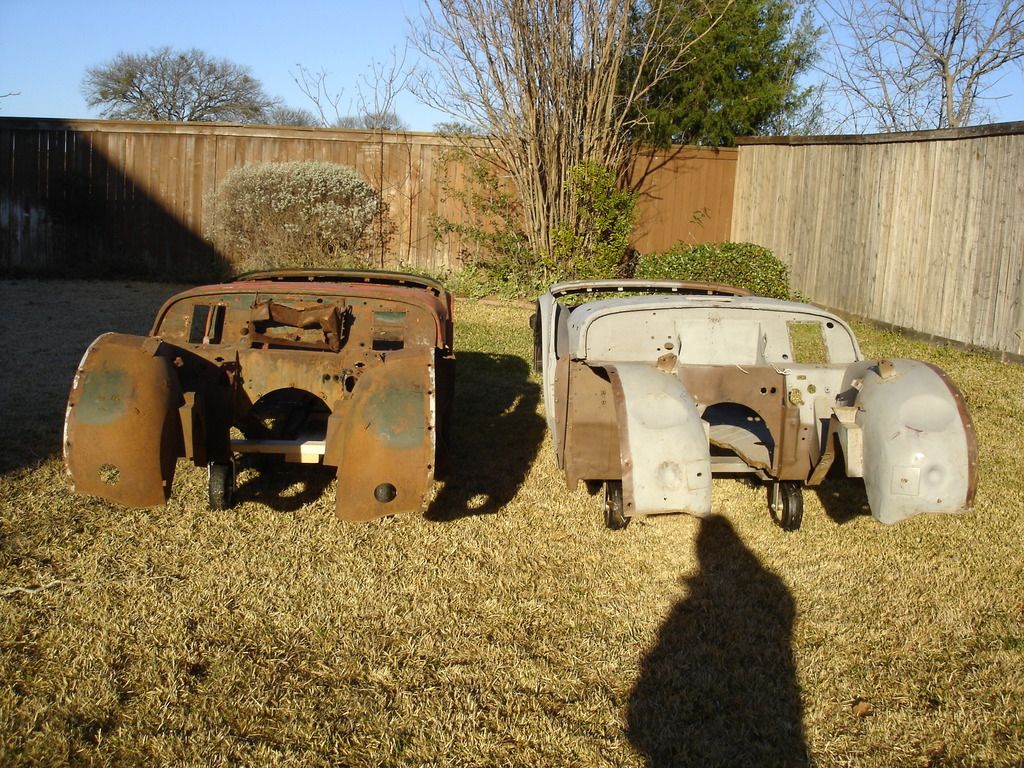
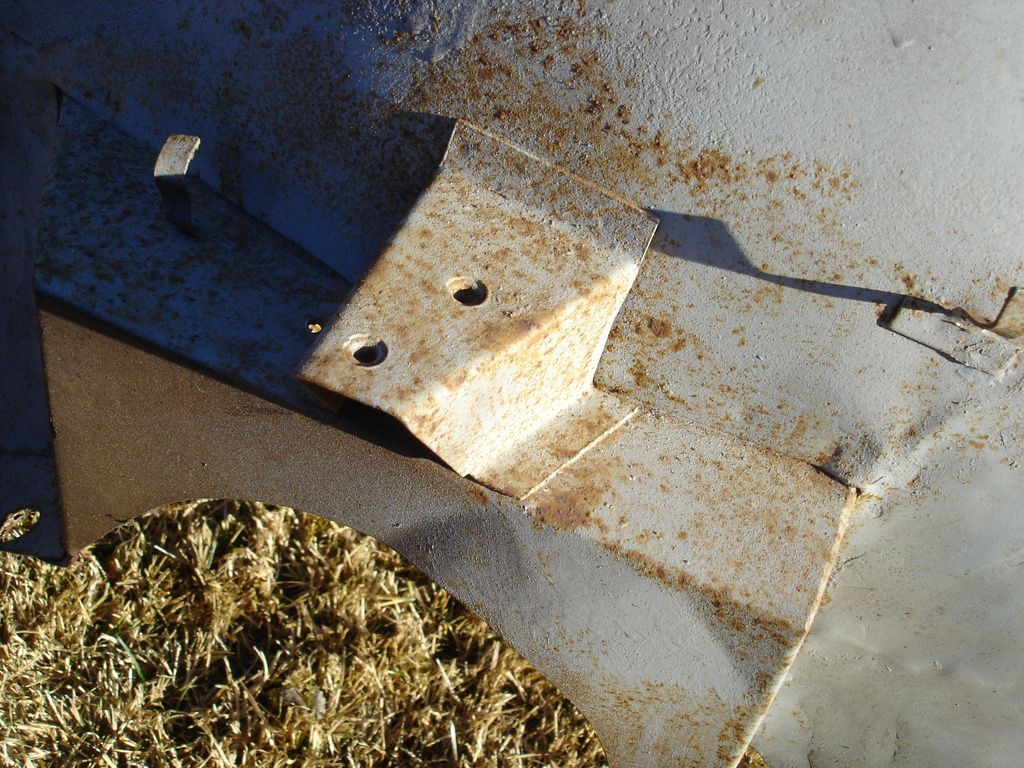
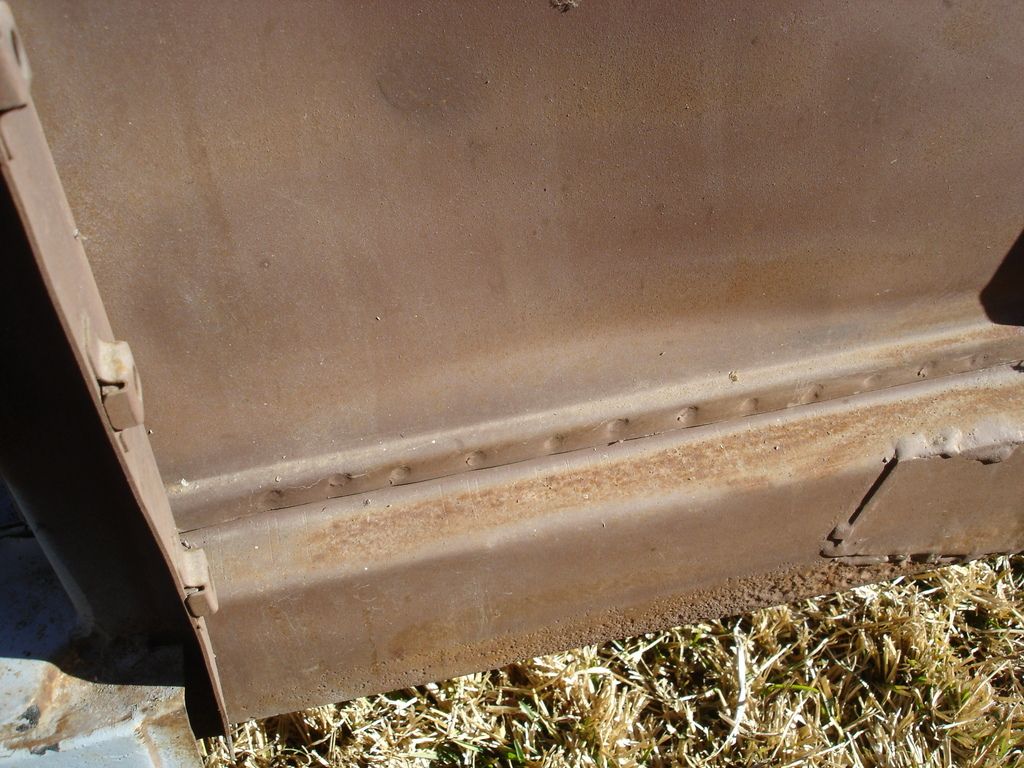
These are the 2 tubs. For the first time in 3 years I am to the point they are completely dissassembled and can be set next to each other for comparison. First glance not to bad?!? It gets bad...


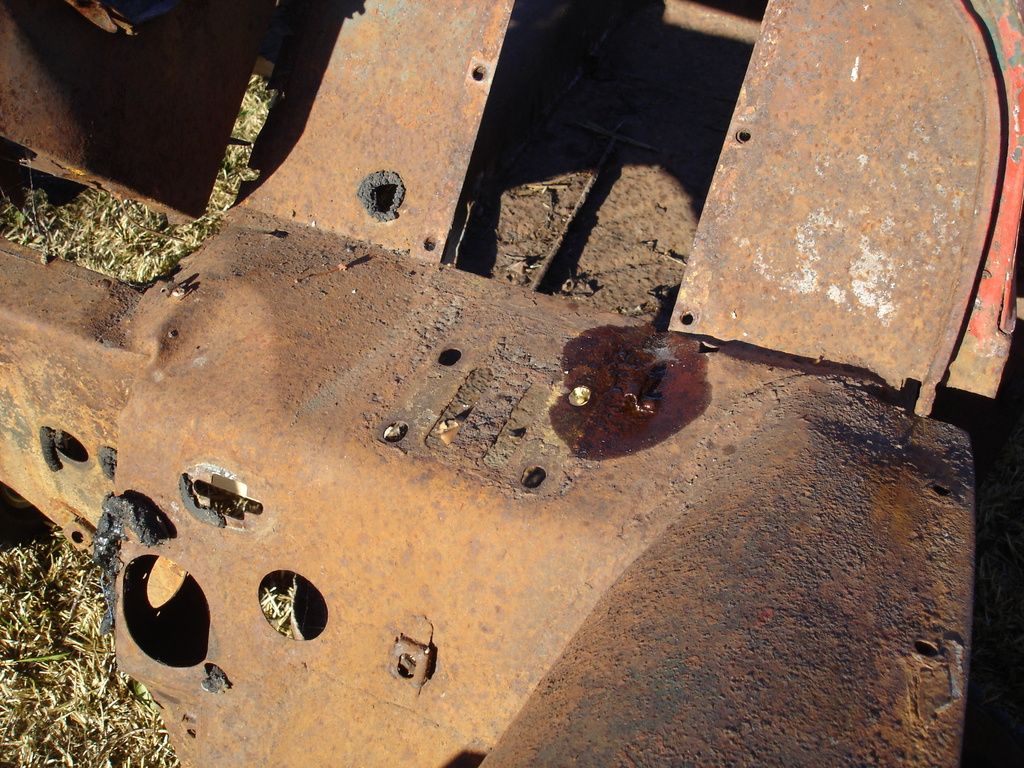
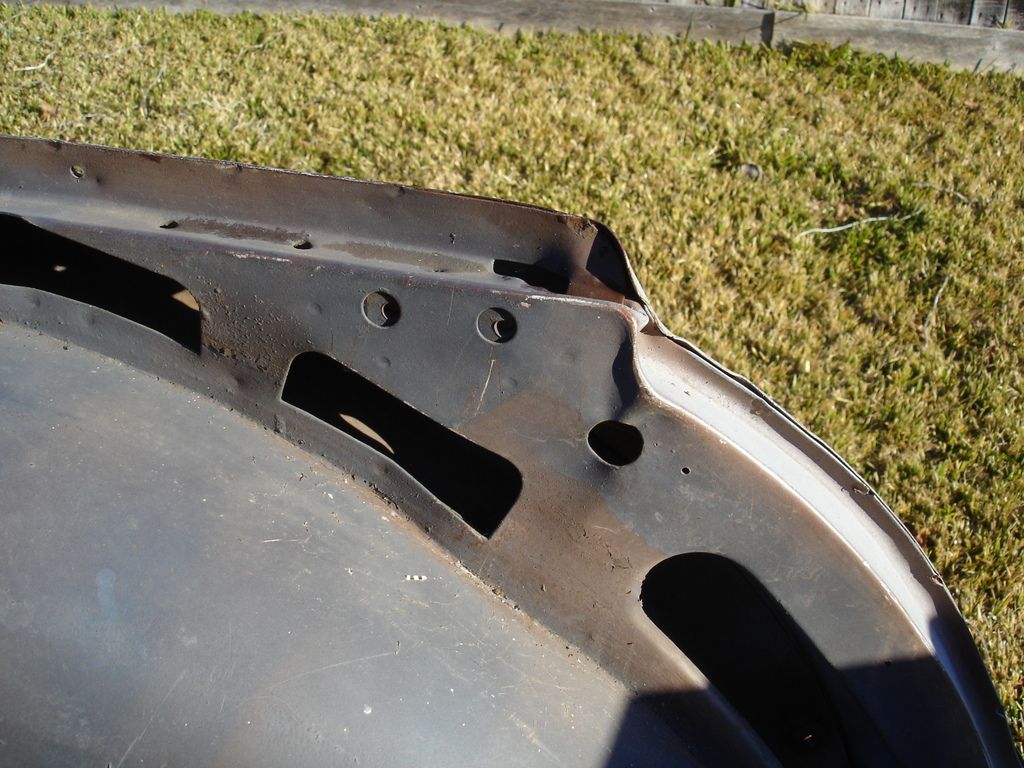
Starting at the front, this is the headlight relief for a TR2. Just a hole.


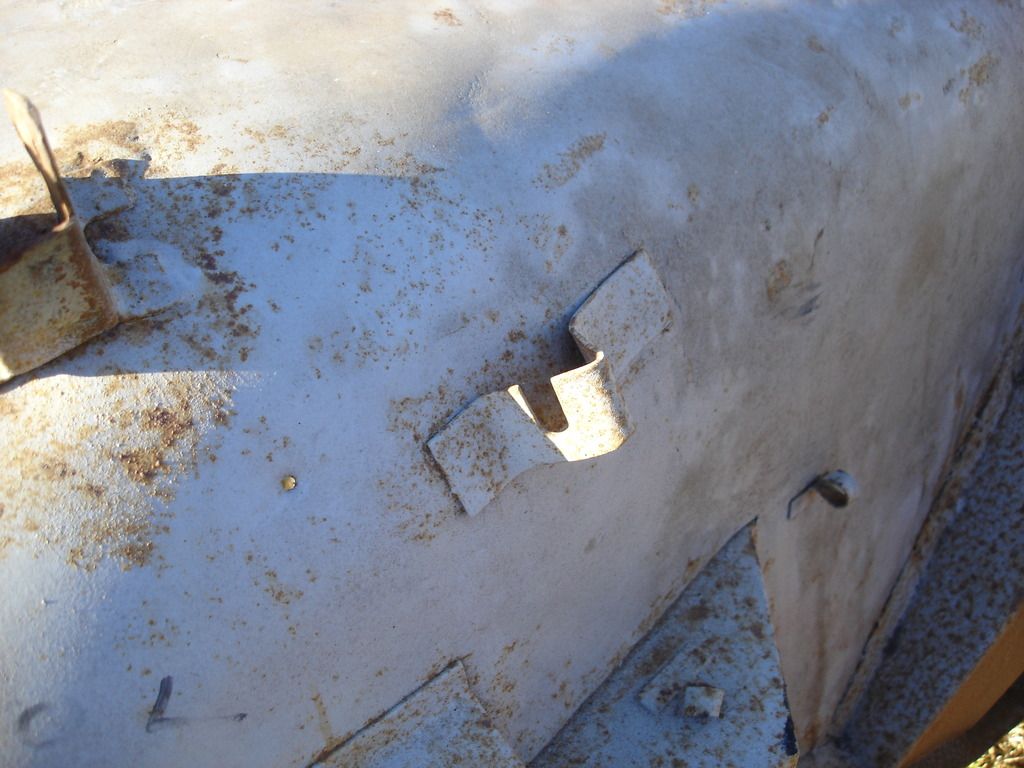
TR3...has a hole for the bumper mount, no hole for the headlight, a reinforcement patch, and a relief for the headlight. Uhg. If you guys have learned anything about me, it's that I am annul when it comes to restorations. I can not just leave this in TR3 style and in good conscience pass the car off as a TR2.

Continuing...


It's been so long...I think this is the TR2 horn mounting pad?


TR3 horn pad. Different shape and hole spacing.


TR2 has the hole for a RHD steering column.


TR3...nope.


TR2 radiator brace. It uses just a hole for the brace rod to bolt to.


TR3...a slot.


TR2 has the brake/clutch opening for RHD.


And, of course, the TR3 not.


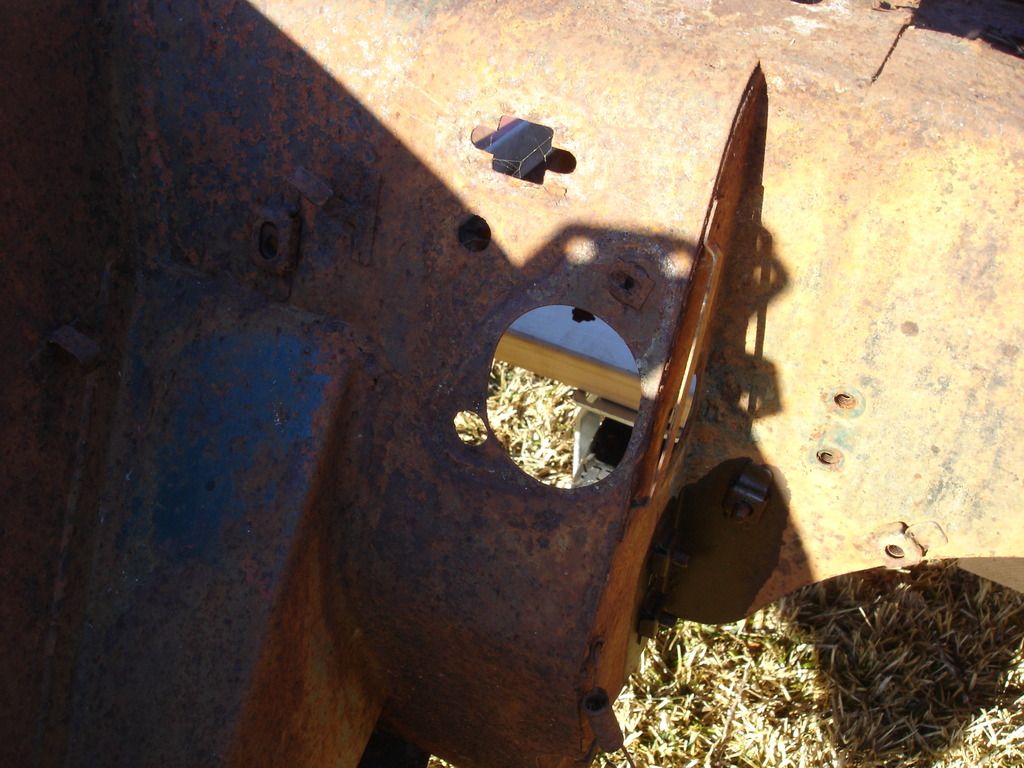
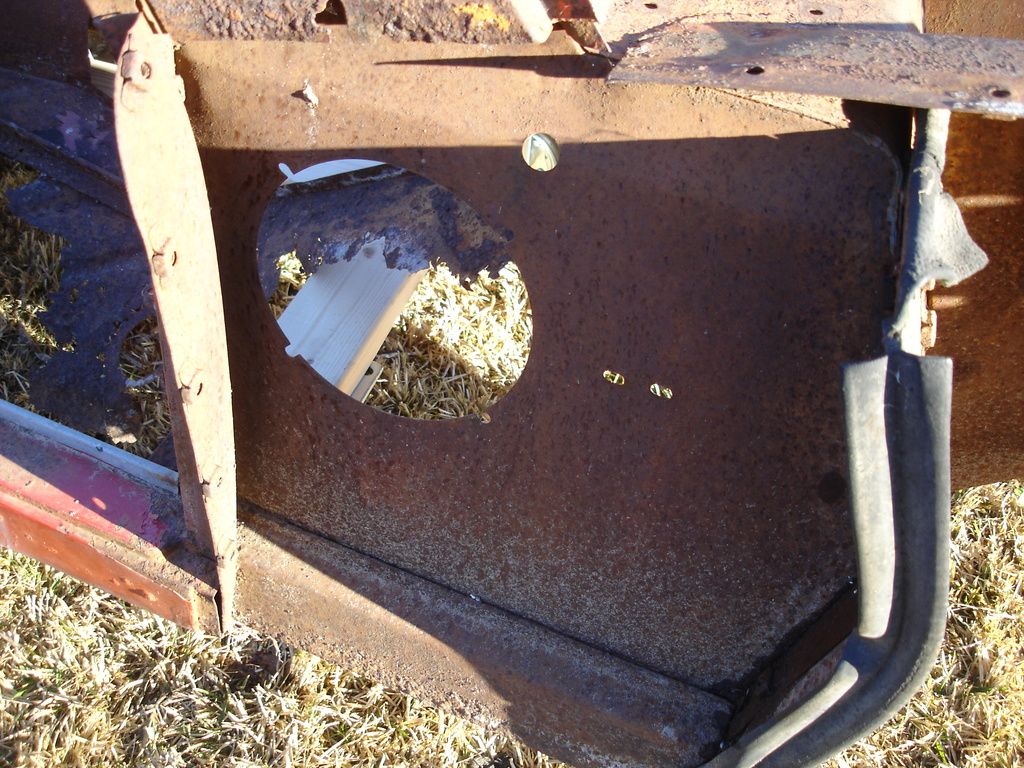
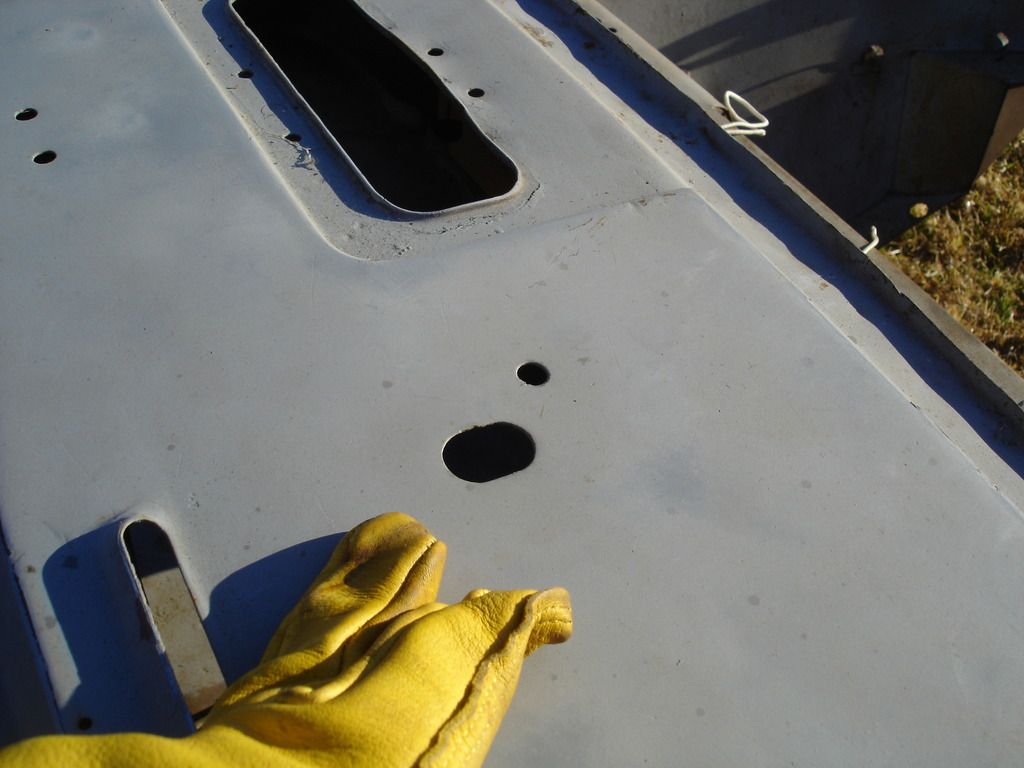
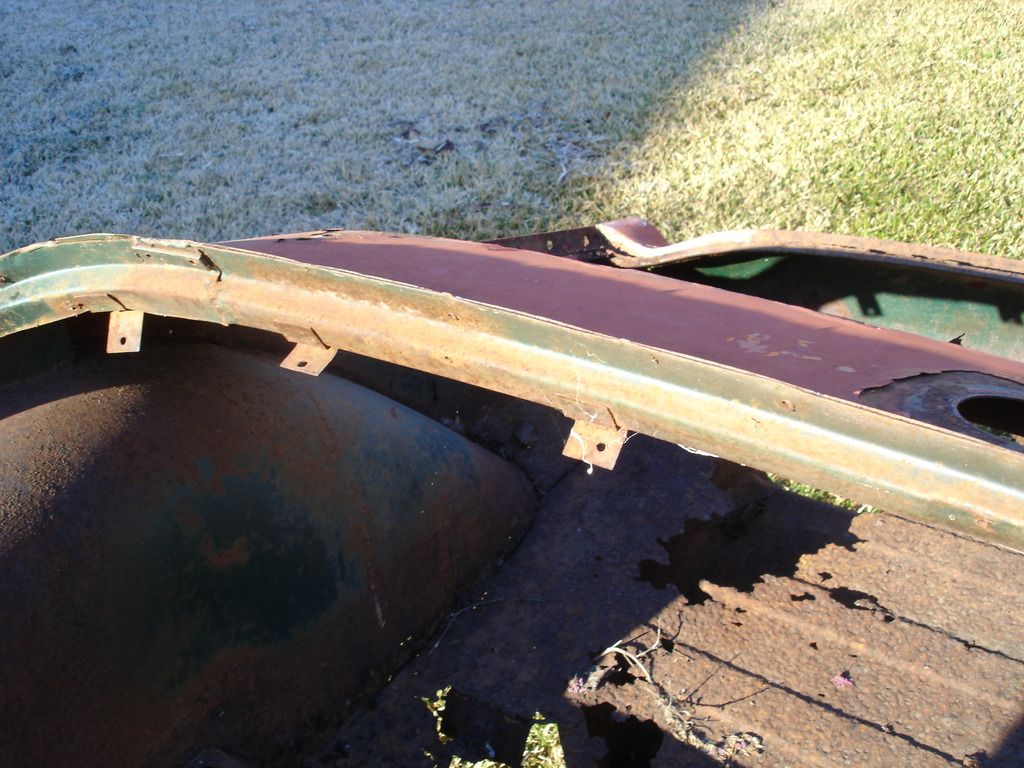
TR2 has no front scuttle vent.


You guessed it...TR3 does.


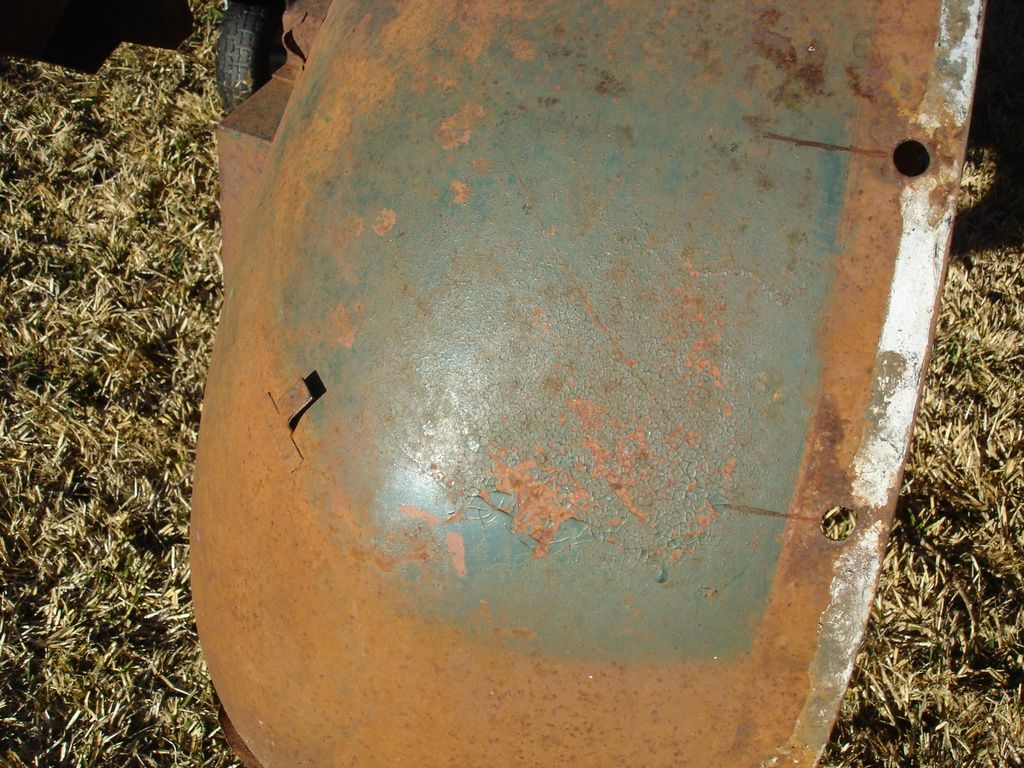
Funny illusion on this pic. I am trying to show the thin slots for the brake and clutch pedals...but the rust from the floor seems to fill in the holes. Rust, rust, rust...I am so tired of looking at rust.


TR3 has larger slots for the disc brake set up.


Speaker hole TR2.


None TR3


TR2 has these factory holes to mount the small windscreens.


They went away by the TR3


No cleaner sprayer holes for the TR2 windshield.


TR3 has sprayer holes by the wiper slots.


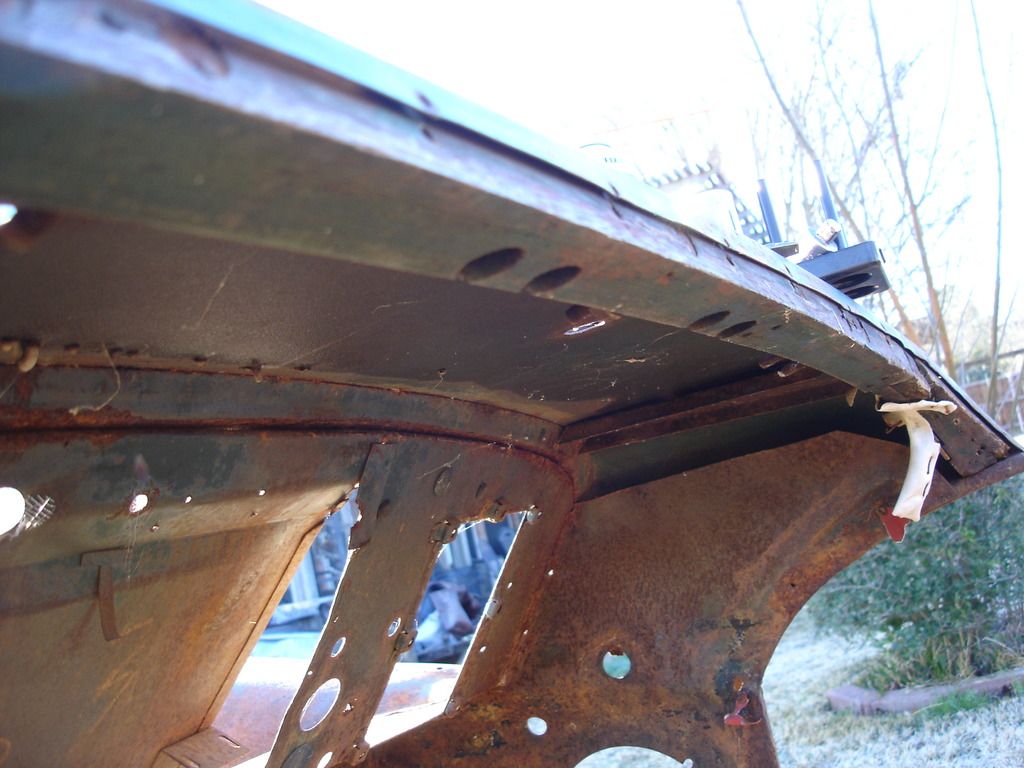
Just like the door frames, the TR2 uses a wood insert for the dash edge.


TR3 went with an all-metal dash edge


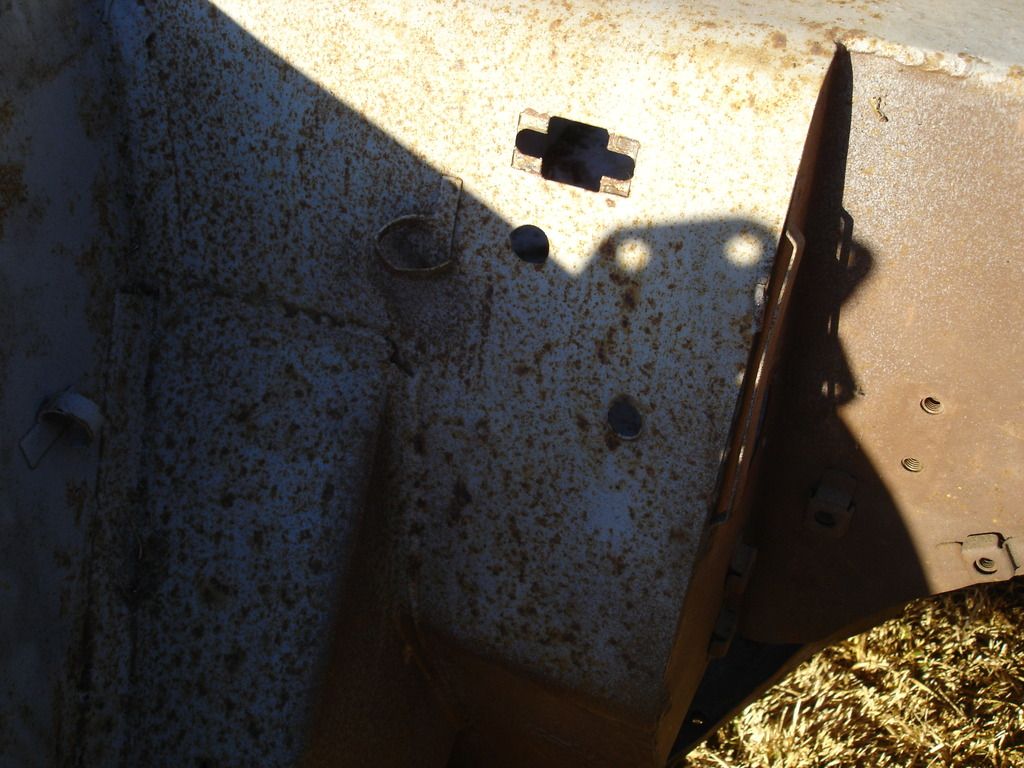
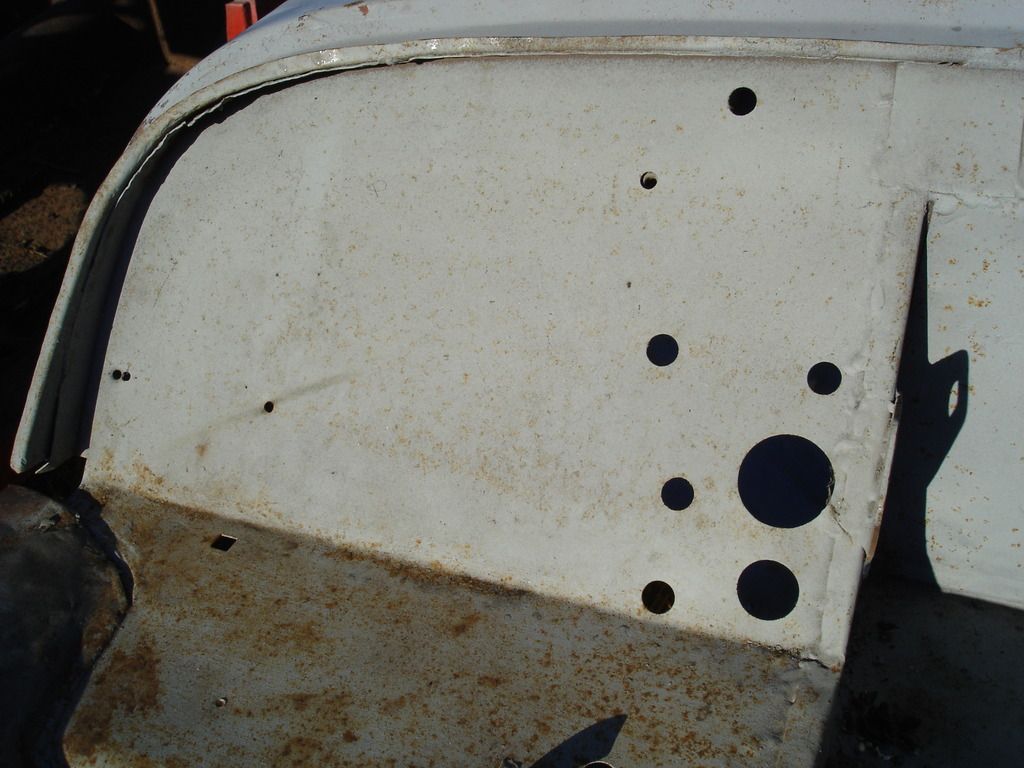
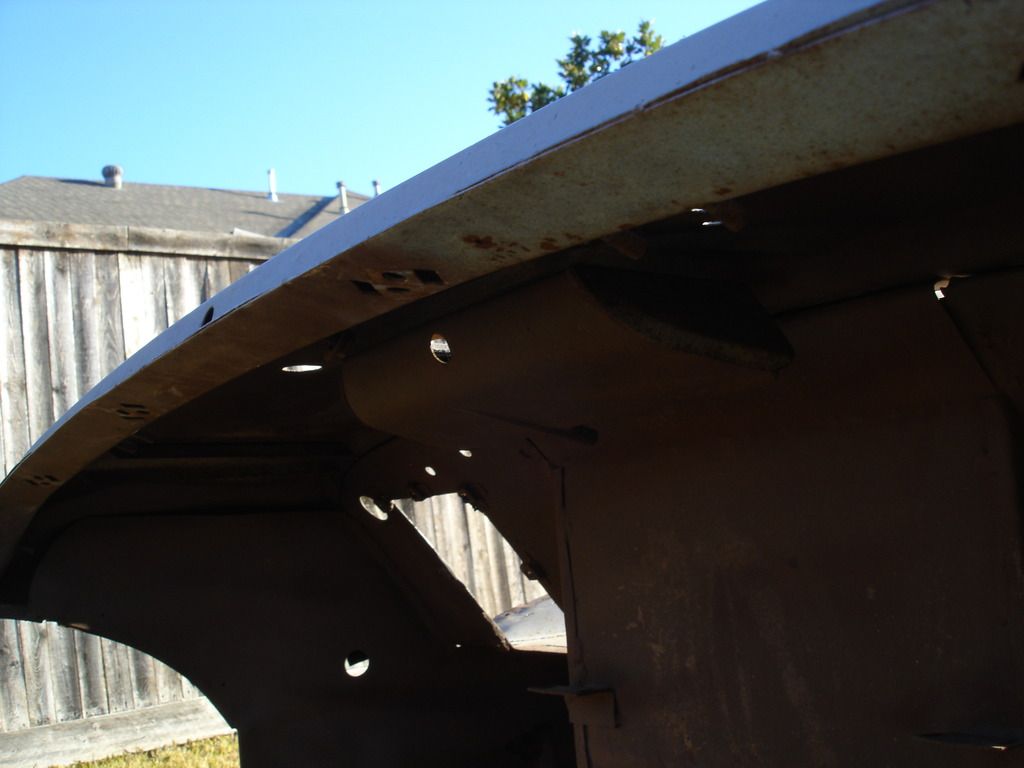
TR2 rear cockpit edging has few holes.


TR3 added a bunch of extra holes.


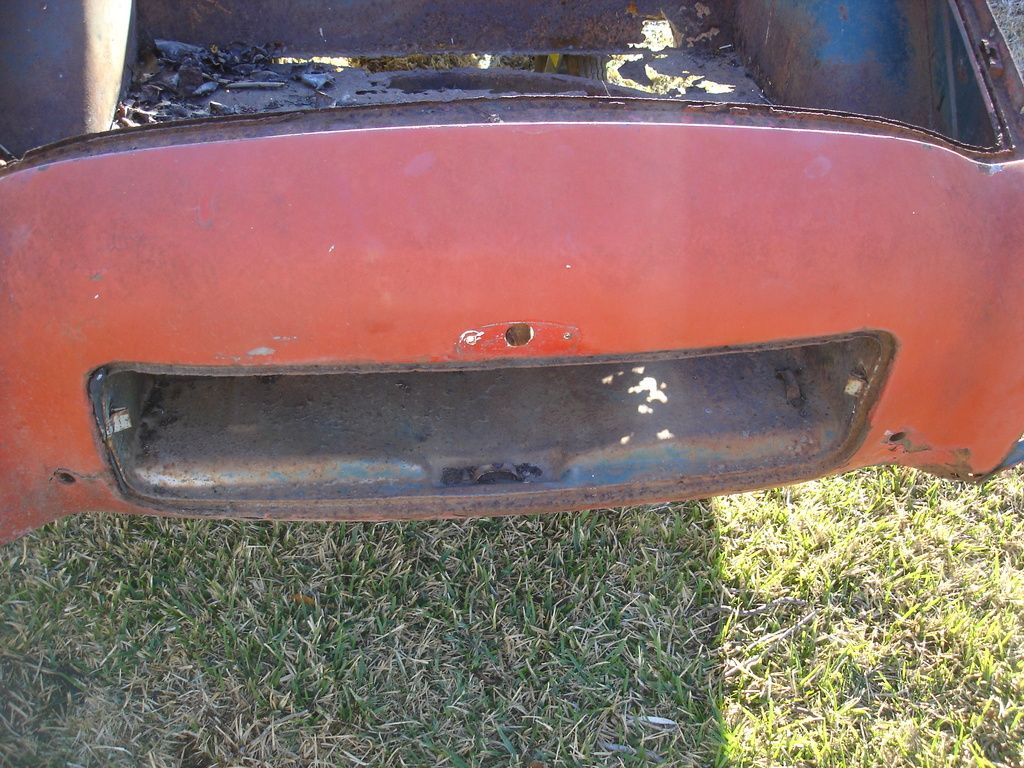
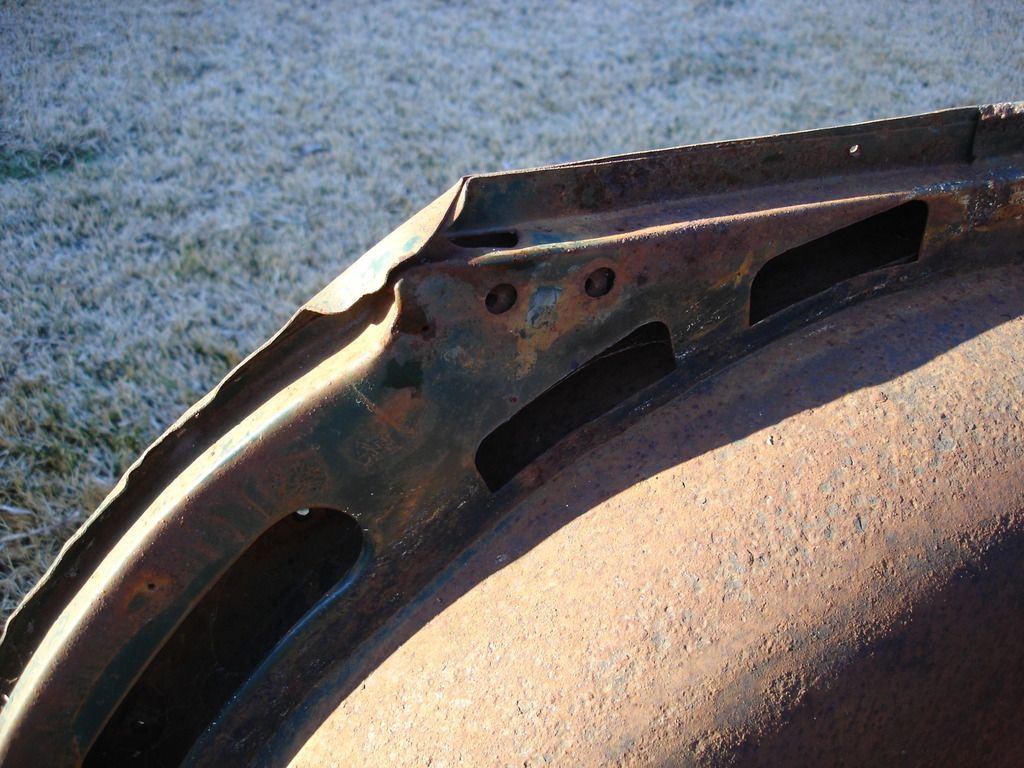
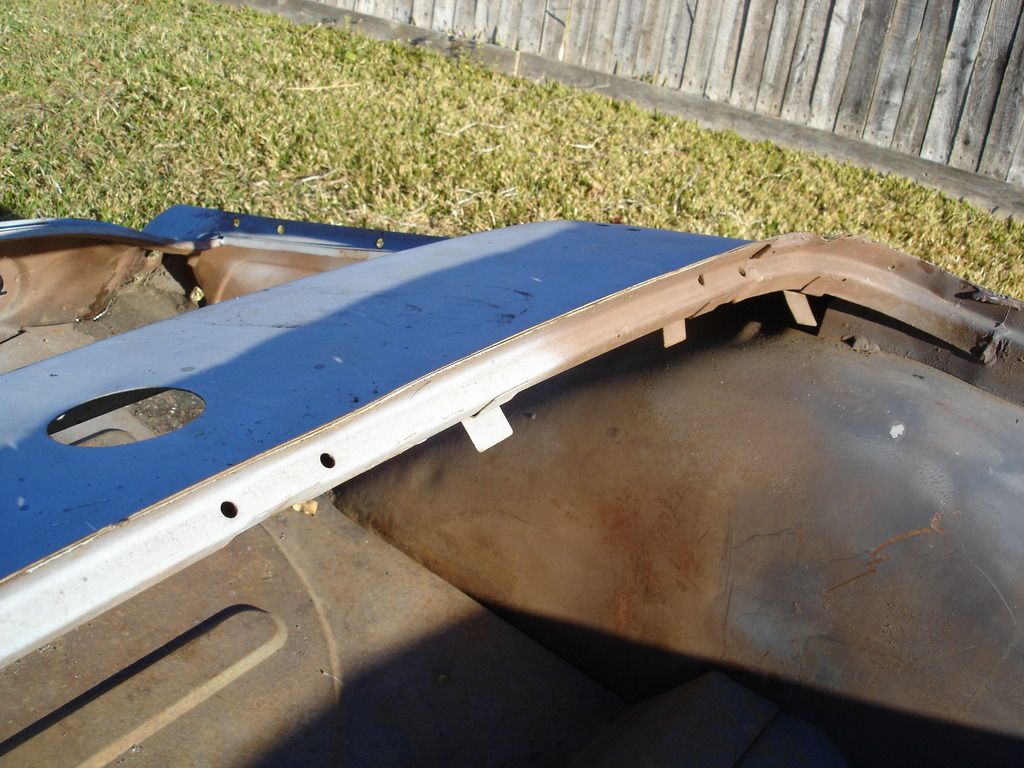
TR2 rear valence has no extra brake light pintles. The brake light is in the license plate light assembly.


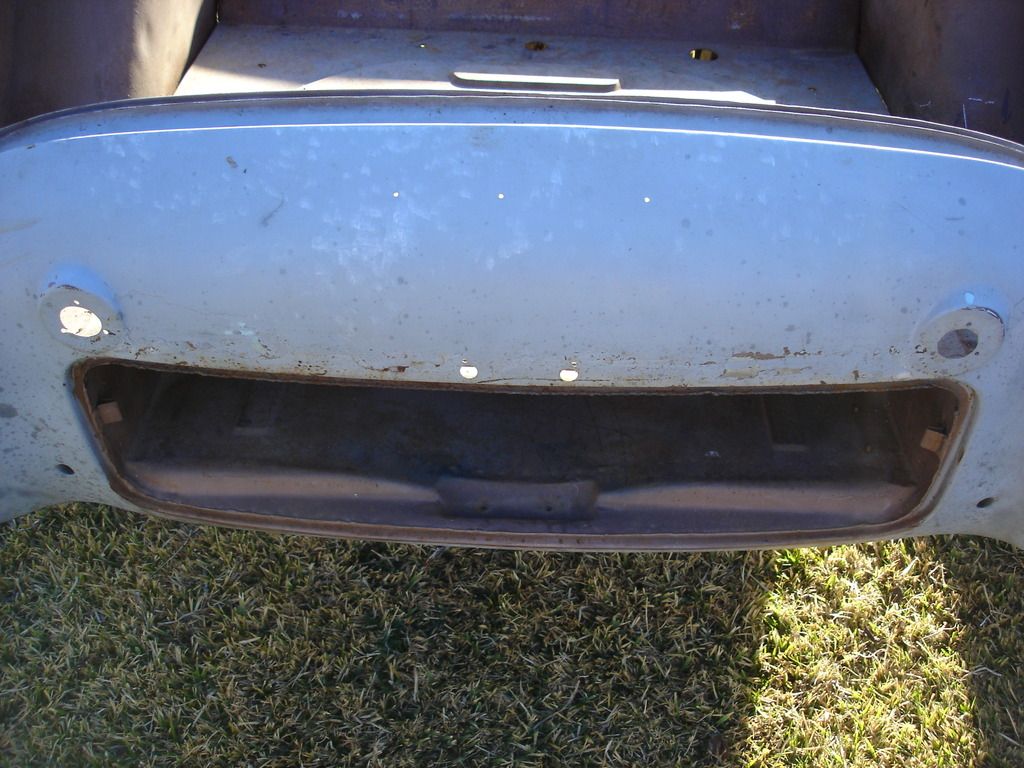
Gotta get rid of the TR3 pintles.

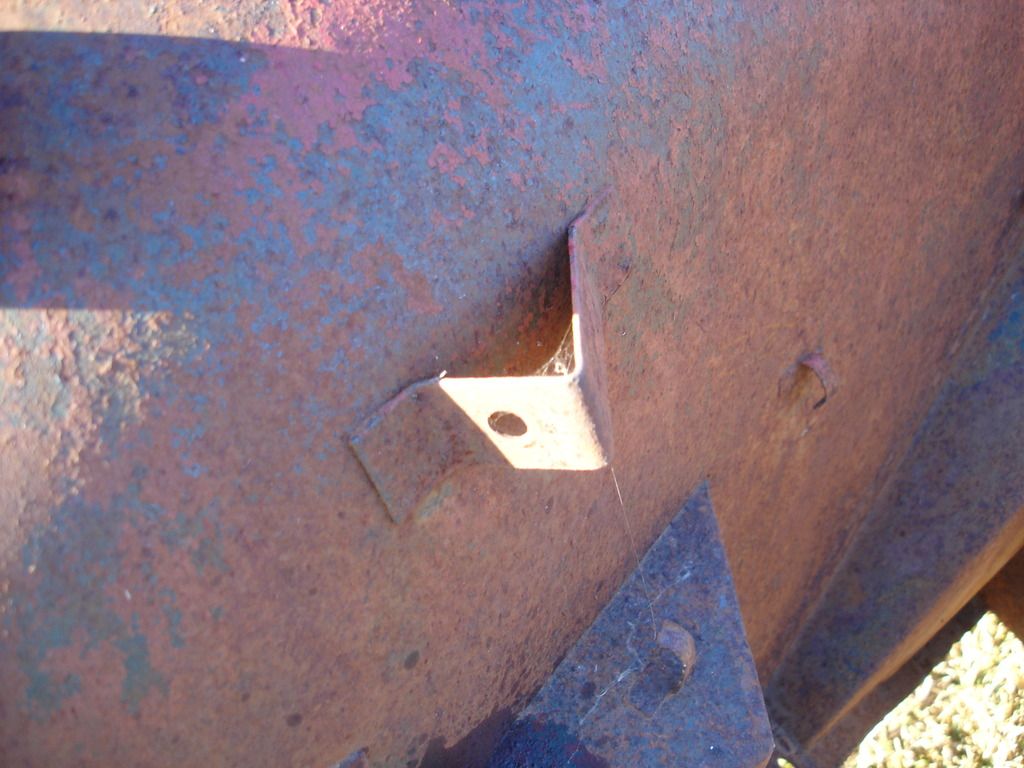
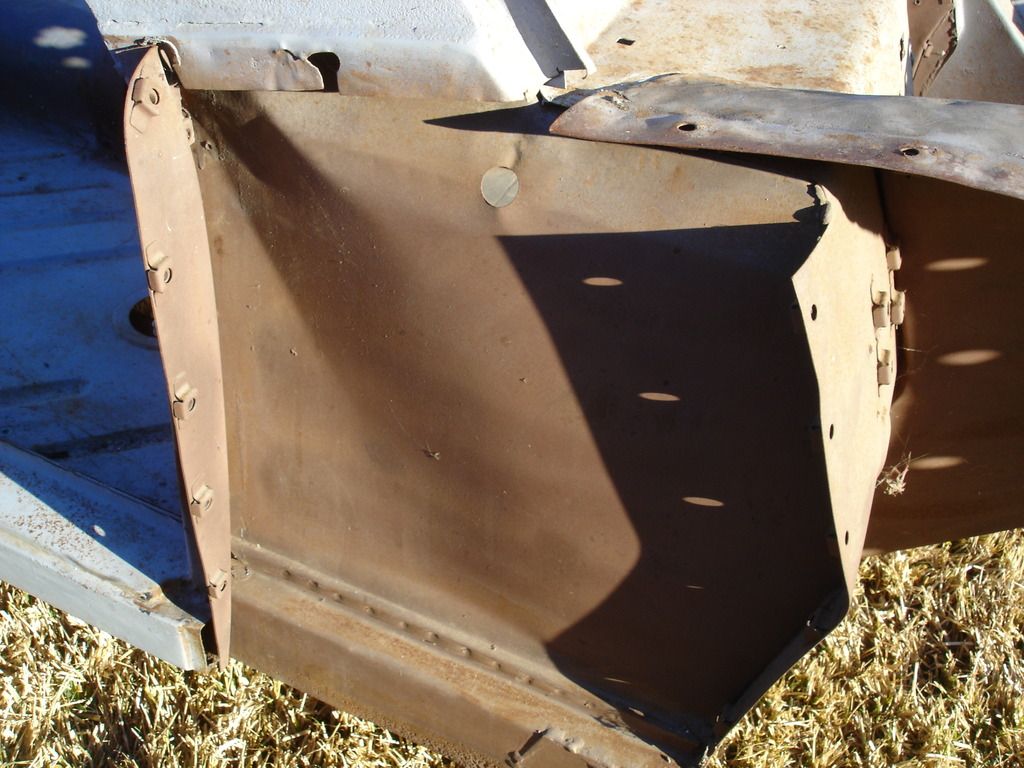
AND just when I thought I had caught all the differences...I found a subtle one with the way the kick panels attach. The tr2 kick panels are full length, extending all the way down to the floor boards.


OK, I know what you're thinking..."what floorboards?" I hear 'ya!

This is a view of the outside of the kick panel where it disappears inside of the inner sill.


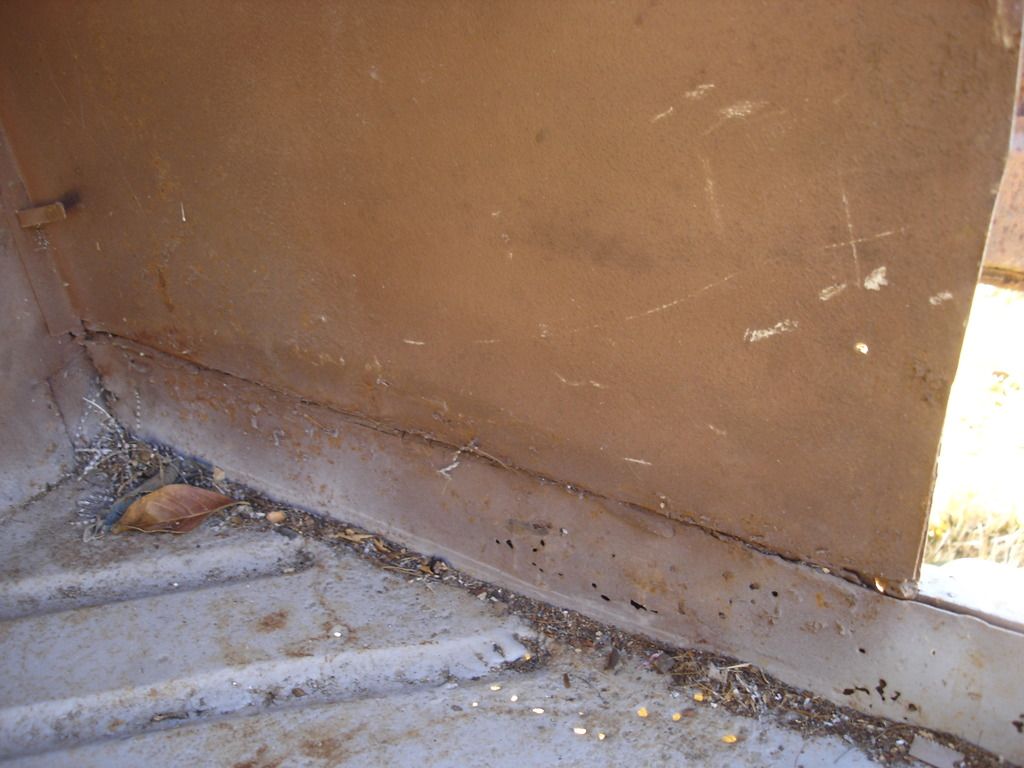
The TR3 stops at the top of the sill and is spot welded to it there.


Gotta take the wife to lunch. The tubs aren't going anywhere soon. When I get back I'll show the pics of the damage problems, which adds complication over and above the simple "difference" complications. Bummer...still before noon so too soon to start drinking.

Or is it??
 
Definitely quite a few small differences that add up to a BIG headache!

Cheers
Tush
 
Yep, early beer day!

So, now for the rust and accident damage.


This is the TR2 tub, the back side of the forward body mount. Water got between the body mount plate and the wing, so both are compromised. Except for this area on both sides, the inner front wings look usable.


This is the right TR3 kick panel. Not sure what's going on with it, but it is not straight. TBD.


TR3 front body mounts. That's a lot of bondo oooozzzing through rust holes. I don't know if I even want to make the effort to strip these inner wings. If it looks this bad bondo'd, it sure won't look any better bare.


TR2 floors are really non-existent. There is only enough of them left to cause Tetanus.


TR3 floors. Better, BUT. I have not stripped them yet. I see bondo across them. And...


In my experience, if there are this many rust holes showing BEFORE I strip the bondo, it is not going to look any better afterward.


TR3...someone took a BFH to the top of the quarter panel. TBD


TR2 boot floor...missing.


TR2 boot seal channel...missing.


TR3. The boot floor is new. Look at the gap between the new floor and the rear wheel well. Something is going on there. I would much prefer a screwed up original car than having to figure out how some PO tried to repair.


TR3 outer boot floors. Yes, that is fiberglass cloth. Yes, When I shine light under the boot, I can see the light through the fiberglass. NO...that is not normal. It escapes me why some bozo would replace the floor and then fiberglass holes right next to the new metal. If a job is worth doing, it is worth doing right.


These are the seal panels that go inside the front wings to seal the tub to the wing. The one was in a pretty good accident, that even bent the "A" post. I would absolutely rather have to deal with this damage than to deal with crappy repair work. As bad as these look, with one having rust holes and the other crumpled like tin foil, I will re-use both of these! They will look as good as new when they go back in.


Just a few shots of the general tubs.

I have a lot of decisions to make. Neither tub is usable as-is. I don't know if I can even find enough good metal to splice a decent tub out of the 2. I will need new floors. I will need MANY patches. I will need beer!

Did I mention that I was so bummed about the sorry condition of the tubs that I bought a motorcycle? I needed something to do to keep from festering about the abysmal job ahead. Enough beer and a few spring rides and I'll dive in.
 
Last edited:
On the bright side...while it was raining and I was procrastinating with the tubs, I found a little side job to work on...the radiator. The story behind the radiator is that the TR2 came with one that looked like the fan had spun into the cooling fins...in fact, now that I think about the nature of the accident the car went through, I am sure that is what happened to it.

I hoped for a decent radiator from the donor car...but no luck there. The cans were decent, but the core had been run over with something large.

I could not bring myselft to spend $500+ on a new radiator, and after 3 full years of Ebay shopping, one that LOOKED decent turned up for $150. I bought it a few months ago. The good news, it had a good core. The bad news is the cans were all beat up. I have no idea if the dents just didn't show up in the Ebay pics, or if it took hits in shipping. No matter...it was ugly.

So, 3 radiators, none decent, but each with it's own decent parts. Time to mix and match! Here is the photo sequence of taking apart radiators and putting them back together. It may be obvious to some of you, but I bet a few have never seen the inside of one.


The starting point...3 clunkers. The reason the neck is missing from the center one is that it is the Ebay radiator. I removed the neck to try to beat the dents out of it. What I did not know is the neck is not open, but merely has 3/8" holes in the tank end. That idea failed.


Heat and prying is all it takes to break the solder bonds all around.


This is the donor car core with the tank off. The tanks from that radiator were the best, so they will go on the Ebay core.


Yes...that is a rat's nest IN the radiator!


I am not using this core, but you can see the dark brown deposits at the end of the coolant tubes. That is from years of Stop Leak. Once in, it never comes out, and it provides an insulating layer on every surface. If you have cooling problems, this may be one of the reasons.


Here is a close-up of the Ebay tube ends. Notice all the little rust, rocks and junk that slowly clog the tubes. Each piece reduces your cooling power a little bit, until it finally is unable to cool your car anymore. Notice this core has NOT had any stop leak added...bonus!

All of that junk gets picked out, blown out, or shoved out with a welding rod.


I chose the best of the build plates to go on the finished Frankenstein.


These are the best of the 3 parts. They will eventually be put back together for a nice radiator.


Here they are after blasting. The core is copper. The side rails are steel, and the tanks are mostly brass...except for the filler neck that is tin. That is why solder is used for these...it's the only way to hold together so many dissimilar metals.


Only one issue...if you look closely at this blurry pic, you can see that one tube is blocked. I am not sure with what, but I was unable to unblock it. This single tube will be blocked off, so it will not be operable. I did this just in case it was plugged by a shop because it was leaking.


Here is the same tube soldered shut. No more issue! Yes, in theory it will reduce the cooling by 3%.


I thought about taking pics of the soldering, but I did not have enough hands to operate the radiator parts, torch, flux, and solder...and still snap pics.

It was boring anyway.

The core did not look that good when it arrived. I spent over an hour with a thin comb and tiny needle nosed pliers, straightening each and every cooling fin. The fins are perfect! But as with every radiator...they won't stay perfect for long. Oh well.


The final thing I did before painting is to seal off the openings and pressurize to 5 psi with air. I then painted soapy water all over to check my soldering for leaks. The only area I had to re-touch was around the neck. Funny thing is my TR3 radiator went to a real radiator shop. When I got it back I installed it and it leaked...around the filler neck! It has a warranty, but the value of the warranty is nothing compared to R&R'ing a TR3 radiator. I had to solder that leak with the radiator installed in the car. I was too lazy to take it back out!

Here is the finished Frankenstein. That's the good news. The bad is I have to go back to those blasted tubs now. Oh, wait...no I don't! I bought a bike!
 
Last edited:
Great tip...thanks! I shot an inquiry to see if I can talk him into shipping.

Floors were on sale 2 weeks ago at moss. I'm a day late and a dollar short!
 
John what was the commission number on that donor tub? My 59 3A had a commission number around 45000 and it had the speaker hole plus the right side hole for the steering column.
 

Thought I'd show everyone what an empty work bench looks like. It hasn't been empty since I bought this jalopy 3 years ago!

Whew, for a minute I thought you were showing us what was usable from the original tub! :D
 
John what was the commission number on that donor tub? My 59 3A had a commission number around 45000 and it had the speaker hole plus the right side hole for the steering column.

This car is 35580. I thought it would have both drive options too, but no luck. Standard must have mixed the tubs throughout production. I just drew the wrong type for a donor car.

Peter, it's not over yet...you may be more right than you know!

Here here for Coventry beer!
 
Nice job on the rad rescue John. What type of bike did you get?

Cheers
Tush
 
Back
Top