 Hey there Guest!
 Hey - did you know if you click on the title of a thread it will take you to the first unread post since you last visited that thread?
 but were afraid to ask:
  STOP!! Never post your email address in open forums. Bots can "harvest" your email! If you must share your email use a Private Message or use the
  smilie in place of the real @
 Pretty Please - add it to our Events forum(s) and add to the calendar! >>
M_Pied_Lourd
Darth Vader
Offline
Hi Guys,
Had some free time today to get back on the 3A project and was looking forward to making some progress when I find myself back inside on the computer typing out this message.....
Frustrated....
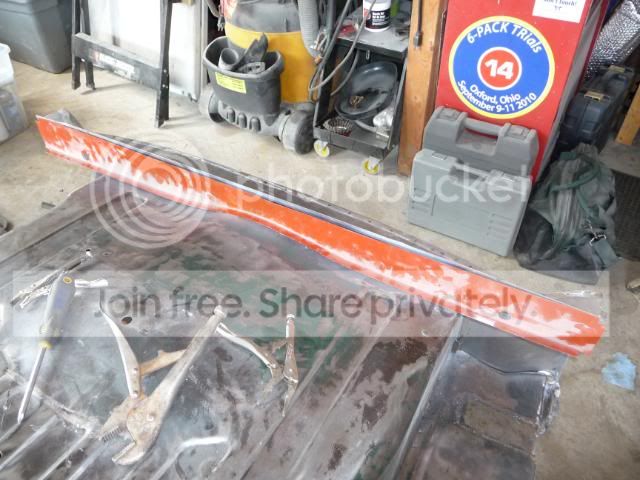
Ok. Here is the problem. As some of you might recall, I bought a new rear valence for the car and welded it in a few weeks back. I decided to continue on trying to get the rear of the car back into shape and planned to start this morning on the close out panel that runs vertically from the bottom of the spare wheel pan where it joins the bottom section of the valence. Here is where I have the issue.
There are two ways to potentially install this piece with the bottom flange that runs along the spare wheel pan pointing to the rear of the car (which is correct I suspect) vs pointing to the front of the car.
Here are some pics (and you will see my issue)
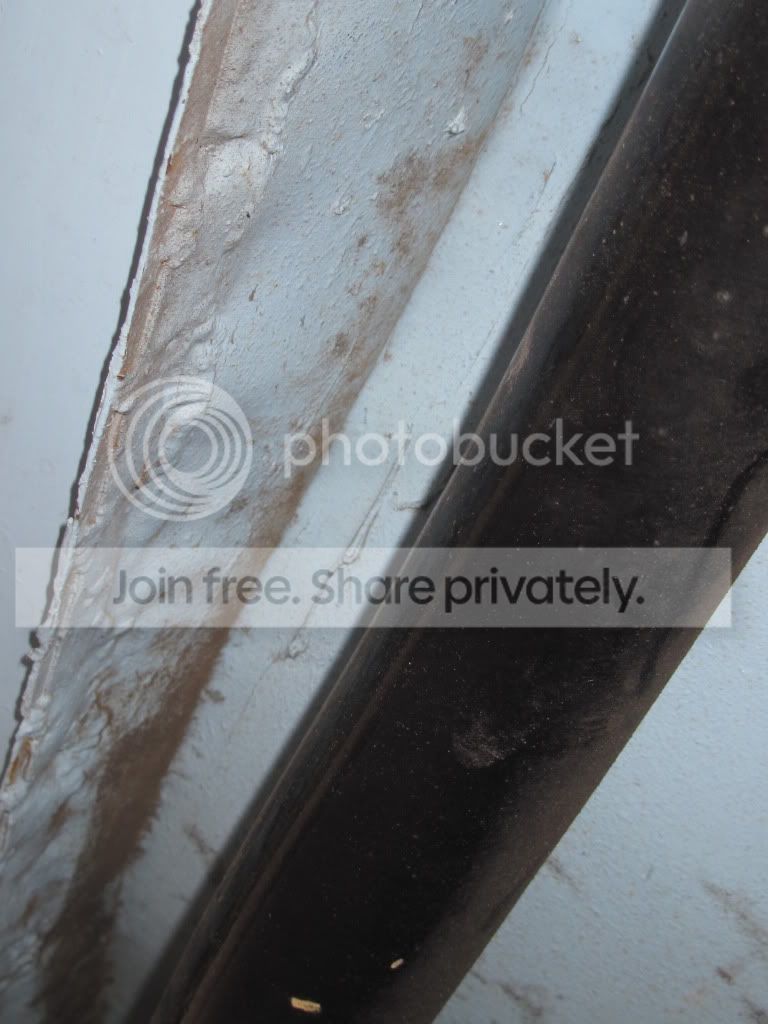
Flange pointing to the front of the car.
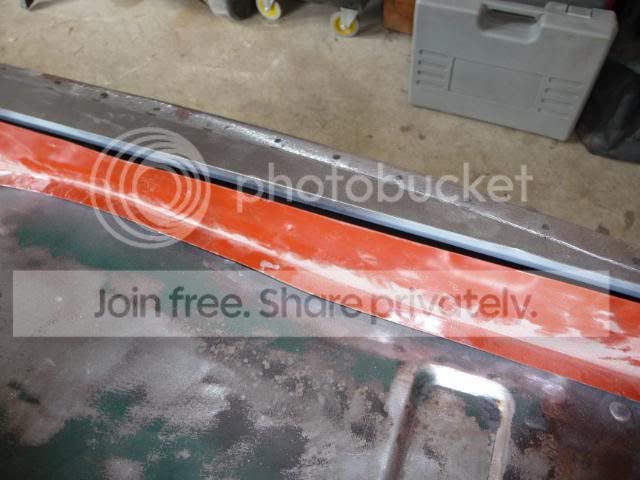
Flange pointing as I believe it should to the rear of the car.
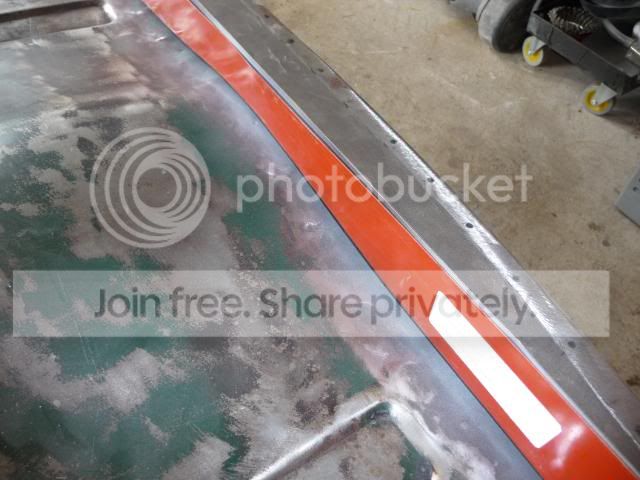
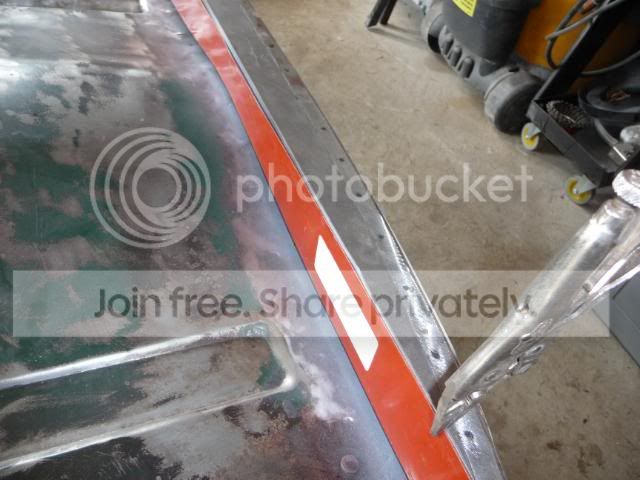
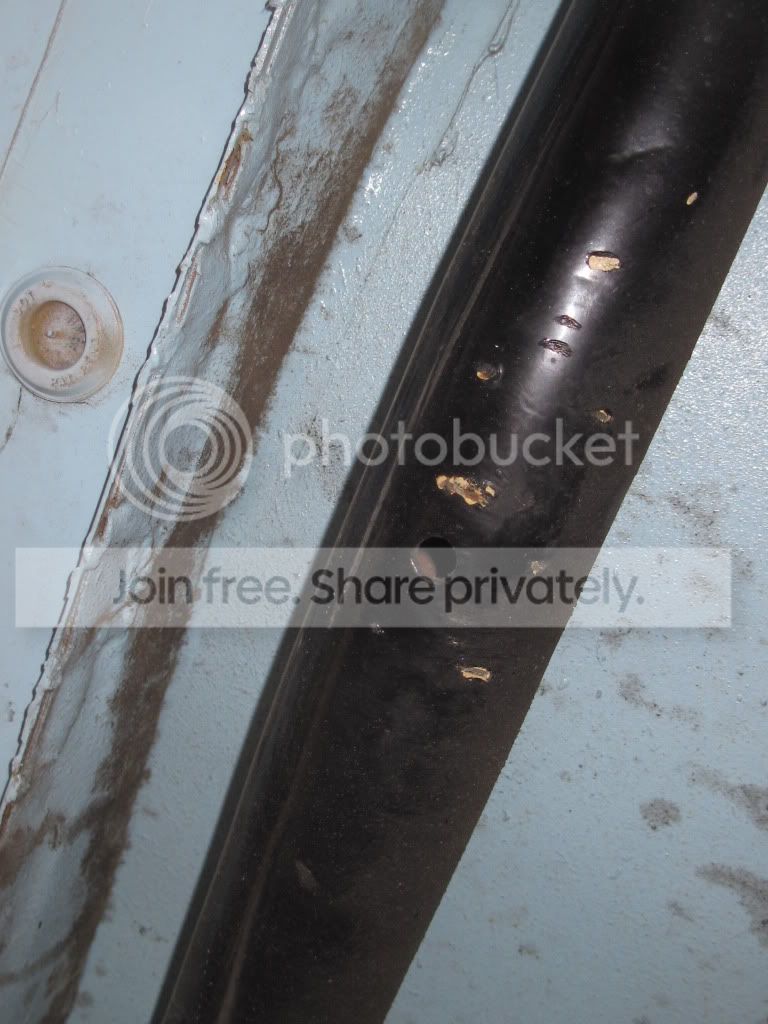
Here is a pic of how the old panel was installed from the factory I beleive.
Flange pointing towards the rear of the car.

Now what upsets me( if this is correct) is that the Valence that came from the vendor allready comes with the bottom horizontal closing panel installed. With this panel installed, if gives me no access to be able to weld the bottom flange to the spare wheel pan. In order to do this, I would have to drill out the horizontal close out piece from my brand new valence. How stupid would that be...
Anyway, if someone could confirm that the flange should be pointing to the rear of the car it would be appreciated before I get my drill out to spend the morning drilling spot welds instead of welding.
Cheers,
Tush
Had some free time today to get back on the 3A project and was looking forward to making some progress when I find myself back inside on the computer typing out this message.....
Frustrated....
Ok. Here is the problem. As some of you might recall, I bought a new rear valence for the car and welded it in a few weeks back. I decided to continue on trying to get the rear of the car back into shape and planned to start this morning on the close out panel that runs vertically from the bottom of the spare wheel pan where it joins the bottom section of the valence. Here is where I have the issue.
There are two ways to potentially install this piece with the bottom flange that runs along the spare wheel pan pointing to the rear of the car (which is correct I suspect) vs pointing to the front of the car.
Here are some pics (and you will see my issue)
Flange pointing to the front of the car.
Flange pointing as I believe it should to the rear of the car.
Here is a pic of how the old panel was installed from the factory I beleive.
Flange pointing towards the rear of the car.
Now what upsets me( if this is correct) is that the Valence that came from the vendor allready comes with the bottom horizontal closing panel installed. With this panel installed, if gives me no access to be able to weld the bottom flange to the spare wheel pan. In order to do this, I would have to drill out the horizontal close out piece from my brand new valence. How stupid would that be...
Anyway, if someone could confirm that the flange should be pointing to the rear of the car it would be appreciated before I get my drill out to spend the morning drilling spot welds instead of welding.
Cheers,
Tush


 A friendly reminder - be careful what links you click on here. If a link is posted by someone you don't know, or the URL looks fishy, DON'T CLICK. Spammers sometimes post links that lead to sites that can infect your computer, so be mindful what you click.