 Hey there Guest!
 Hey - did you know if you click on the title of a thread it will take you to the first unread post since you last visited that thread?
 but were afraid to ask:
  STOP!! Never post your email address in open forums. Bots can "harvest" your email! If you must share your email use a Private Message or use the
  smilie in place of the real @
 Pretty Please - add it to our Events forum(s) and add to the calendar! >>
I posted this on another site and thought I would post it here also just in case it may help someone out there.
I am planning to upgrade my alternator to a 60 amp unit. Of course the original was a 30 amp and my car (1972 TR6) came with an ammeter. I didn't want to use a volts gauge so I decided to see what I could do with the original ammeter.
Yes I realize I could have just added a shunt but I don't like the idea and wanted to come up with something better.
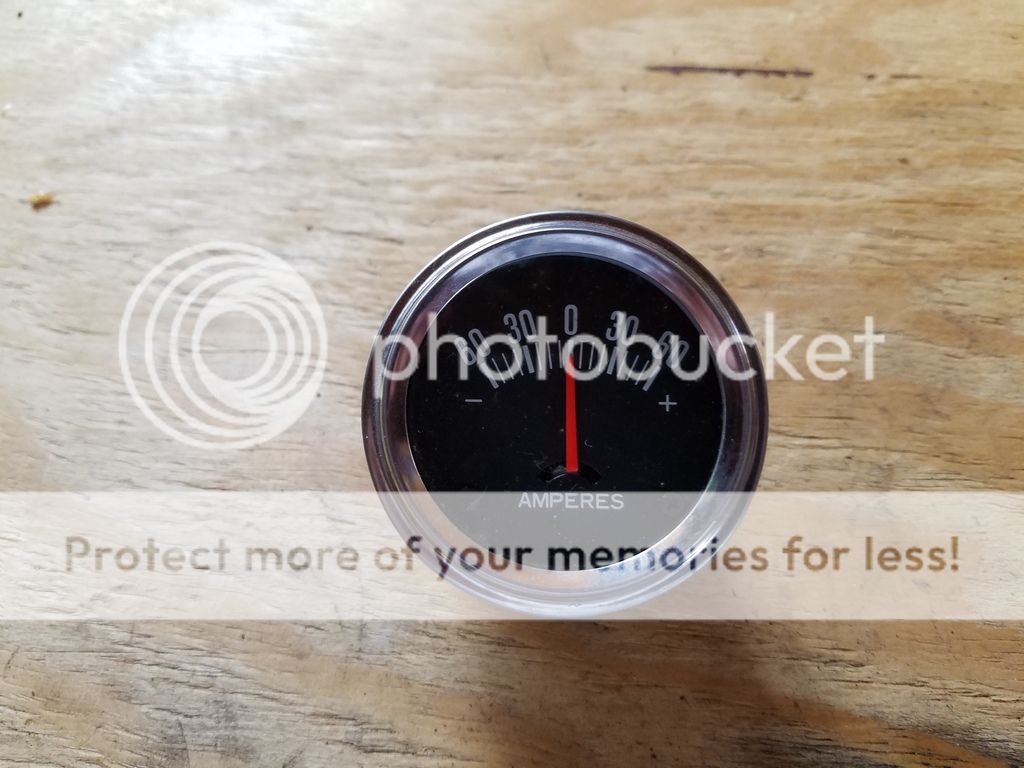
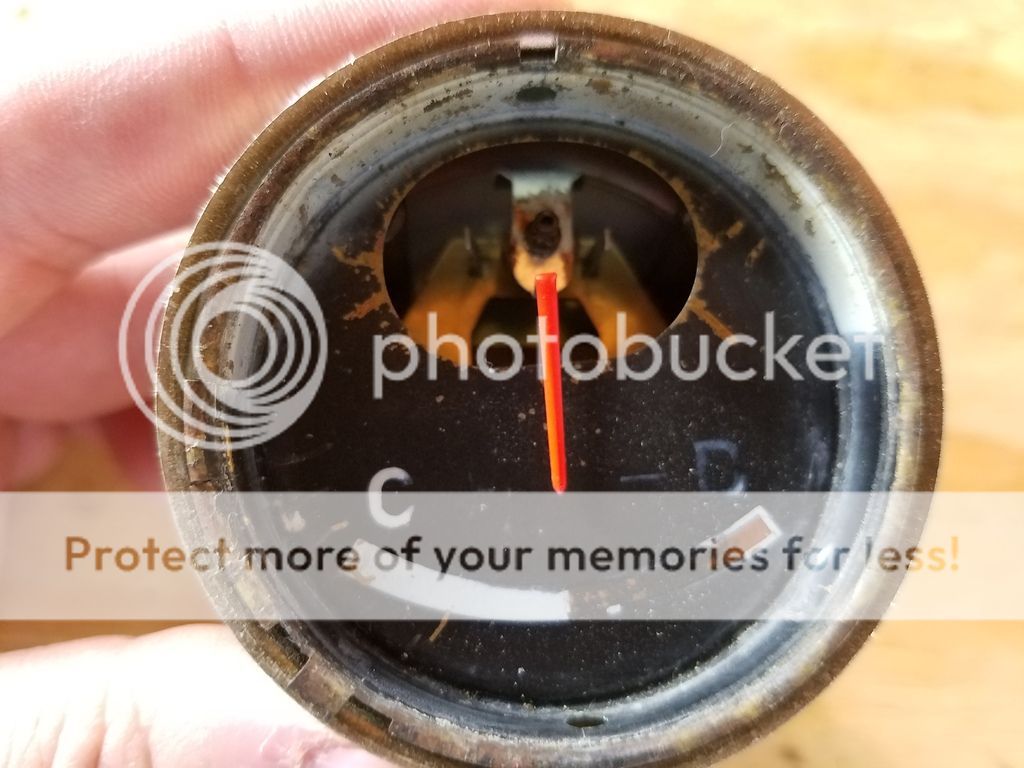
This is the 60 amp ammeter I started with.
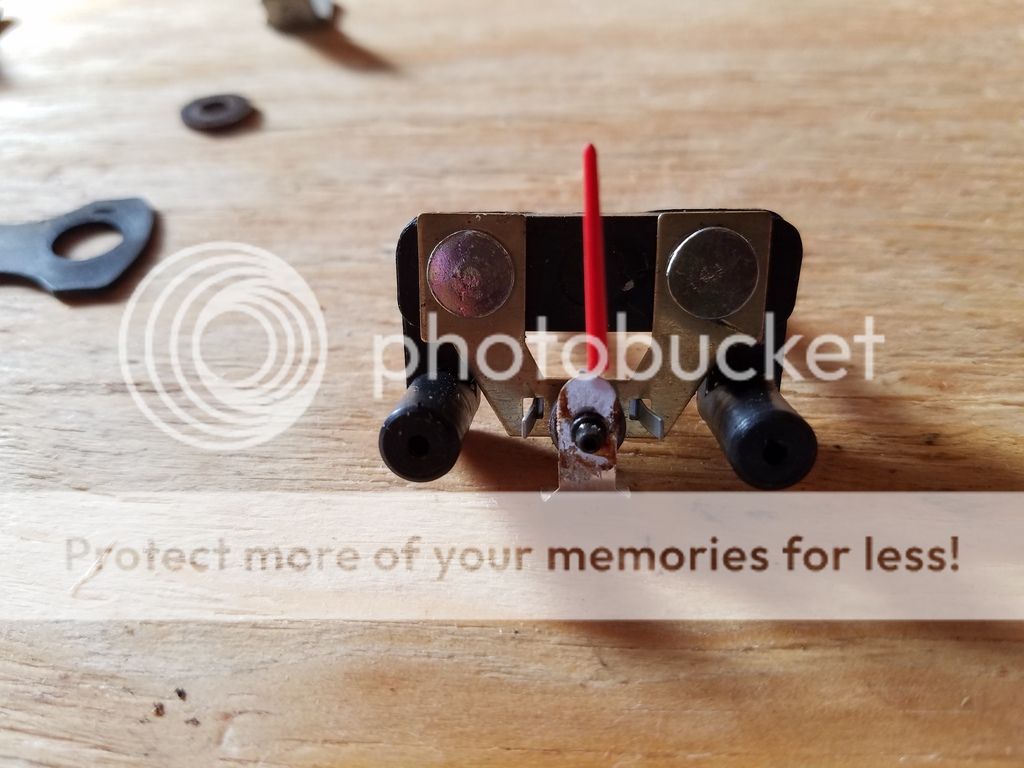
This is what the insides of the 60 amp ammeter looks like after I got it out of its case.
You can see the black cylinders to the left and right of the needle. These are made of plastic and were originally used to fasten the face to the gauge. These had to be trimmed to allow the 30 amp face to sit far enough into the case.
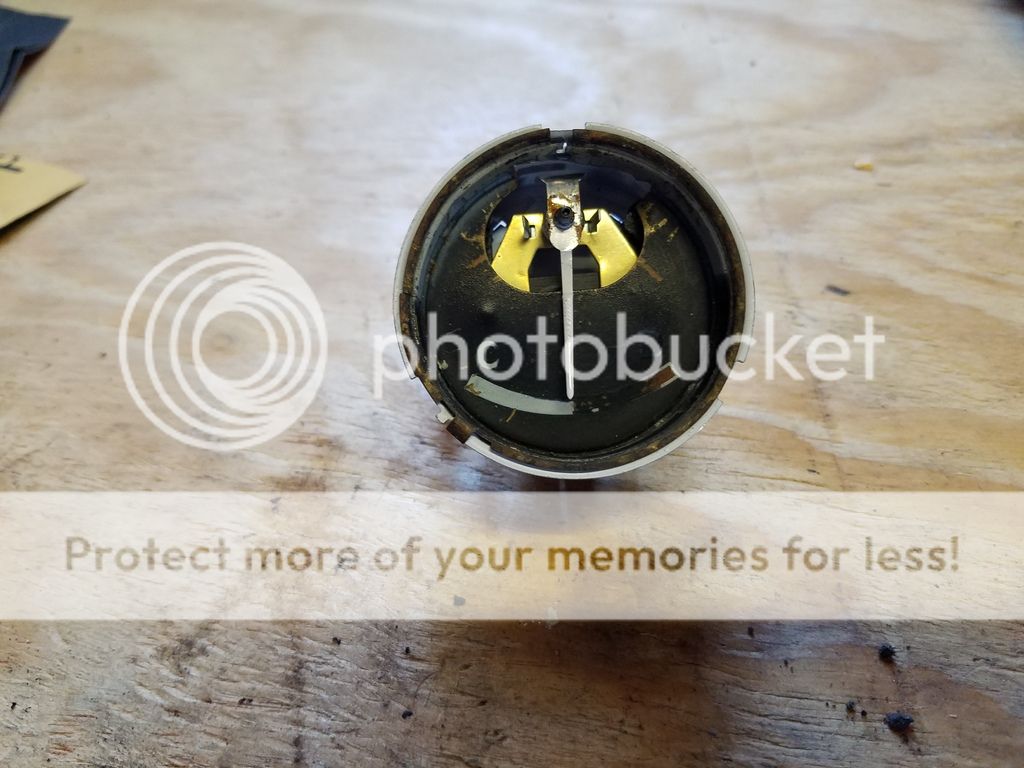
I happened to have a spare 30 amp ammeter that was toast. Here is the insides of it.
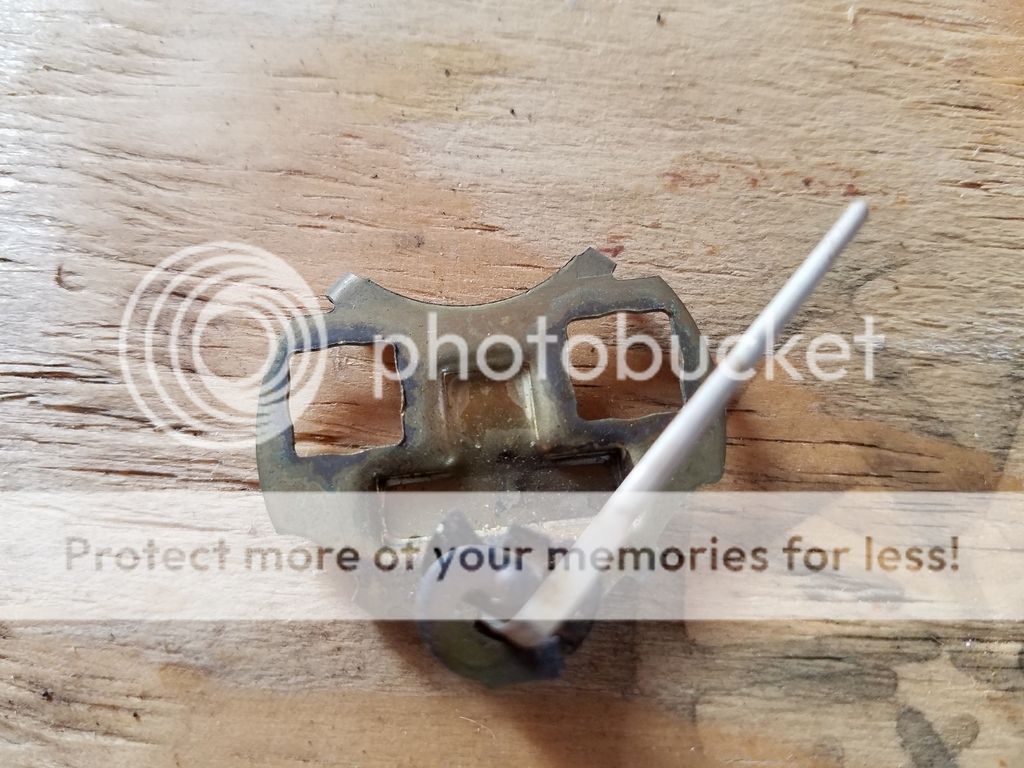
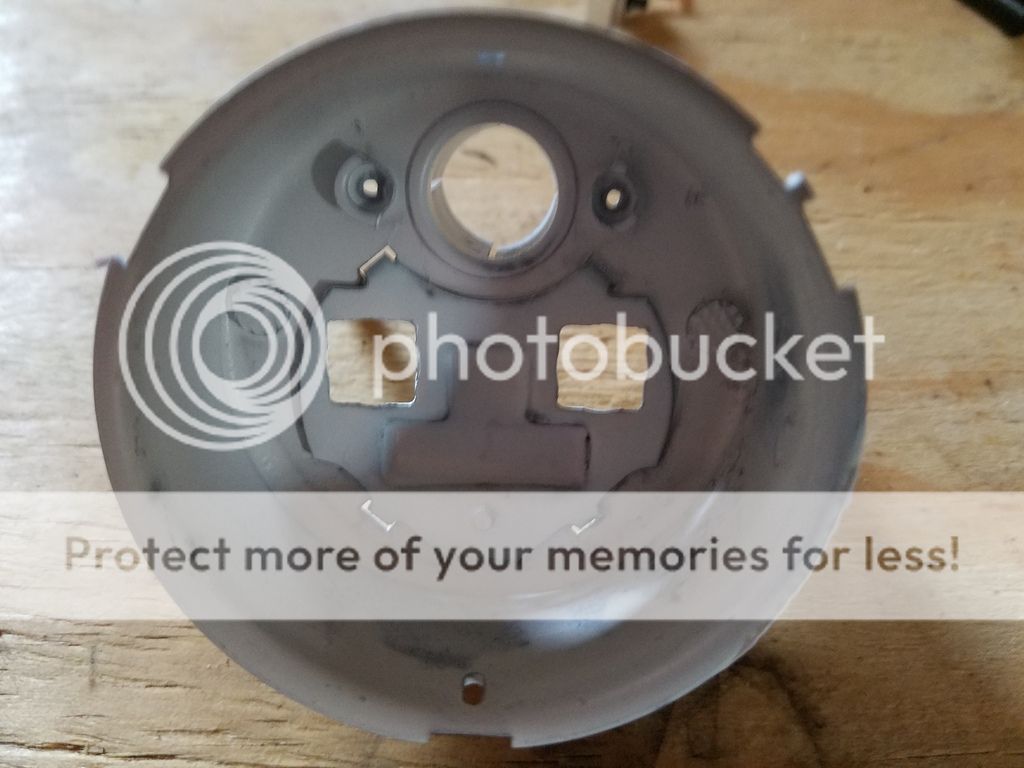
I cut the needle and the parts of the 30 amp away to create a plate for the back of the 30 amp case. I wasn't planning to use this case until I decided to go with a 60 amp alternator. So the paint that is in it isn't the best. I will blast and clean and paint the case much better once I find out if this will even work.
Here is the 60 amp mounted in the 30 amp case. I am using a spare case and the face from an old gauge that is toast just to mock all of this up and see if it will even work.
Here is the 60 amp mounted in the 30 and with the original face. It is starting to look like this will actually work. The 60 amp internals are mounted upside down to emulate the 30 amp Lucas. Luckily with an ammeter you can turn it upside down and it will read dependent upon how it is connected.
I straightened the needle to give it more length and painted it white.
And it actually worked. This is the 60 amp ammeter mounted inside the 30 amp case.
Now I will use the good face that I have and clean and paint the bezel as well as blast and clean the case and glass.
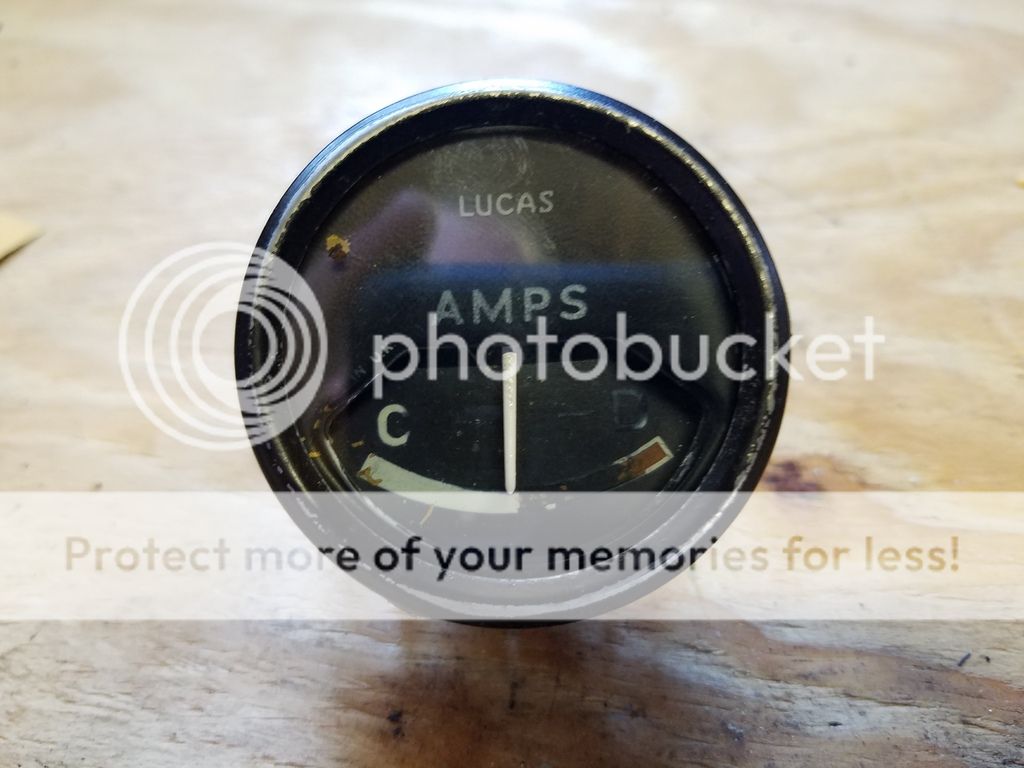
And here is the finished product. I now have a 60 amp ammeter to match my alternator. This one goes on the shelf to await final assembly and installation.

I am planning to upgrade my alternator to a 60 amp unit. Of course the original was a 30 amp and my car (1972 TR6) came with an ammeter. I didn't want to use a volts gauge so I decided to see what I could do with the original ammeter.
Yes I realize I could have just added a shunt but I don't like the idea and wanted to come up with something better.
This is the 60 amp ammeter I started with.

This is what the insides of the 60 amp ammeter looks like after I got it out of its case.
You can see the black cylinders to the left and right of the needle. These are made of plastic and were originally used to fasten the face to the gauge. These had to be trimmed to allow the 30 amp face to sit far enough into the case.

I happened to have a spare 30 amp ammeter that was toast. Here is the insides of it.

I cut the needle and the parts of the 30 amp away to create a plate for the back of the 30 amp case. I wasn't planning to use this case until I decided to go with a 60 amp alternator. So the paint that is in it isn't the best. I will blast and clean and paint the case much better once I find out if this will even work.

Here is the 60 amp mounted in the 30 amp case. I am using a spare case and the face from an old gauge that is toast just to mock all of this up and see if it will even work.
Here is the 60 amp mounted in the 30 and with the original face. It is starting to look like this will actually work. The 60 amp internals are mounted upside down to emulate the 30 amp Lucas. Luckily with an ammeter you can turn it upside down and it will read dependent upon how it is connected.

I straightened the needle to give it more length and painted it white.

And it actually worked. This is the 60 amp ammeter mounted inside the 30 amp case.
Now I will use the good face that I have and clean and paint the bezel as well as blast and clean the case and glass.

And here is the finished product. I now have a 60 amp ammeter to match my alternator. This one goes on the shelf to await final assembly and installation.

Last edited:
 A friendly reminder - be careful what links you click on here. If a link is posted by someone you don't know, or the URL looks fishy, DON'T CLICK. Spammers sometimes post links that lead to sites that can infect your computer, so be mindful what you click.