petnatcar
Senior Member
Offline
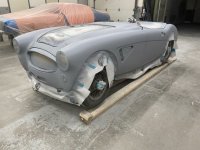
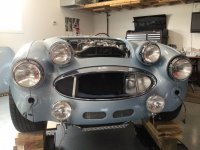
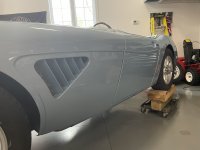
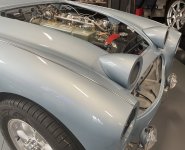
Things are moving along at the paint shop. It should be getting some primer in the next few days.
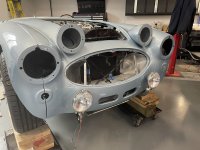
Can you tell me why the grill surrounds are installed before painting?
Thanks,
Pete

 Hey Guest!
Things are moving along at the paint shop. It should be getting some primer in the next few days.
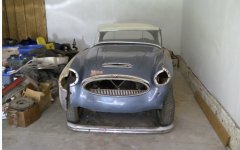
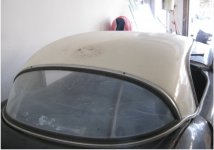
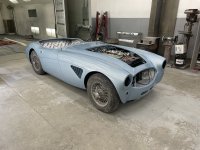
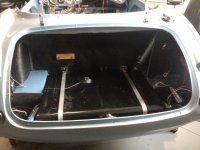
Not yet but it’s come a very long way from the decrepit state it was in when I bought it as an abandoned project in numerous boxes.Can you start to see the finish line....
 .
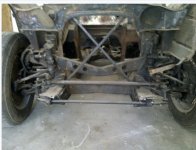
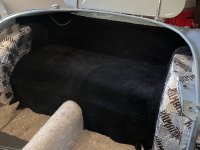
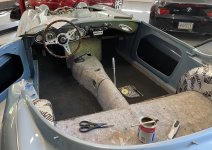
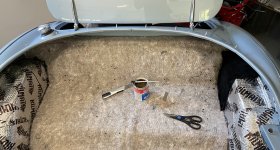
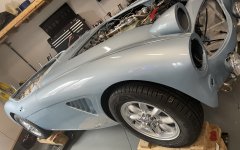
.It's lookin' great!! Congrats on getting to this point!! The end is in sight... sorta if you use a long lens!... which I tend to do!So I got the car home yesterday (Sunday) , got her up to a nice working height on my custom Dolly blocks . Gave her a good cleaning that sanding dust gets everywhere .
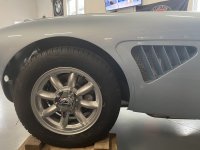
Started to add some parts , she’s looking like that little rally car already .