Offline
It has been some time since my last update - not for lack of progress, but while I have the right buts to make progress, I’d rather spend free time working.
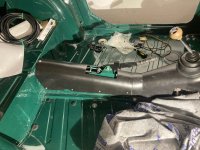
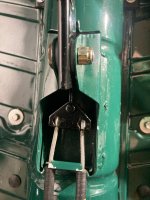
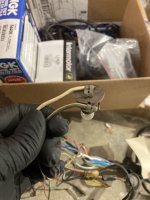
After the transmission tunnel, I installed the handbrake cables. Because I installed them on the brakes first, this resulted in some loss of paint on the handbrake area. I should have attached cables to the handle before the drums.
Installing the handbrake cover was a bit fiddly, in that I wanted to reuse the original holes in the sheet metal. Using calipers, I carefully measured the hole locations and transferred to the poly cover. Lucky me, of the eight holes I only had to “slot” two of them in the cover. The cover does require a bit of trimming in the back - easily achieved with sandpaper on a block. (I’ll have to trim some more after installing the rear bench carpet.)
Next up was installing the windshield frame. Some posts suggest the bolts cannot be accessed after installing the dashboard, and suggest to align the doors prior to installing the dashboard. I found the bolts are darn near impossible to get in the holes with the dash installed, but adjusting them is possible (awkward, but possible). Finger crossed I’m right!!
Before installing the frame, I glued the vinyl trim on, using Weldwood landau adhesive. Love the stuff, brush it on, but use a well ventilated space!
I used a piece of wire to pull out the seal flap when installing the windshield frame gasket (the one between frame and body, at the bottom of the frame.) I placed the wire on the body, lowered the windshield frame, tightened it a little, and pulled the wire out. Worked a charm.
As a side note: I used 14-ga house wire with insulation here and later when installing the windshield. I did this basis a video from “Rusty Beauties” - and find the wire is (1) stiff enough to stay where you put it, and push into places, (2) strong, and (3) the smooth insulation is slippery.
Worked for me, and I have no other experience to compare it to.

 Hi Guest!

 smilie in place of the real @
 Pretty Please - add it to our Events forum(s) and add to the calendar! >>


