• Hey Guest!
    British Car Forum has been supporting enthusiasts for over 25 years by providing a great place to share our love for British cars. You can support our efforts by upgrading your membership for less than the dues of most car clubs. There are some perks with a member upgrade!

    **Upgrade Now**
    (PS: Upgraded members don't see this banner, nor will you see the Google ads that appear on the site.)
Tips
Tips

Small Victories.....for Mac

Hi There JP,

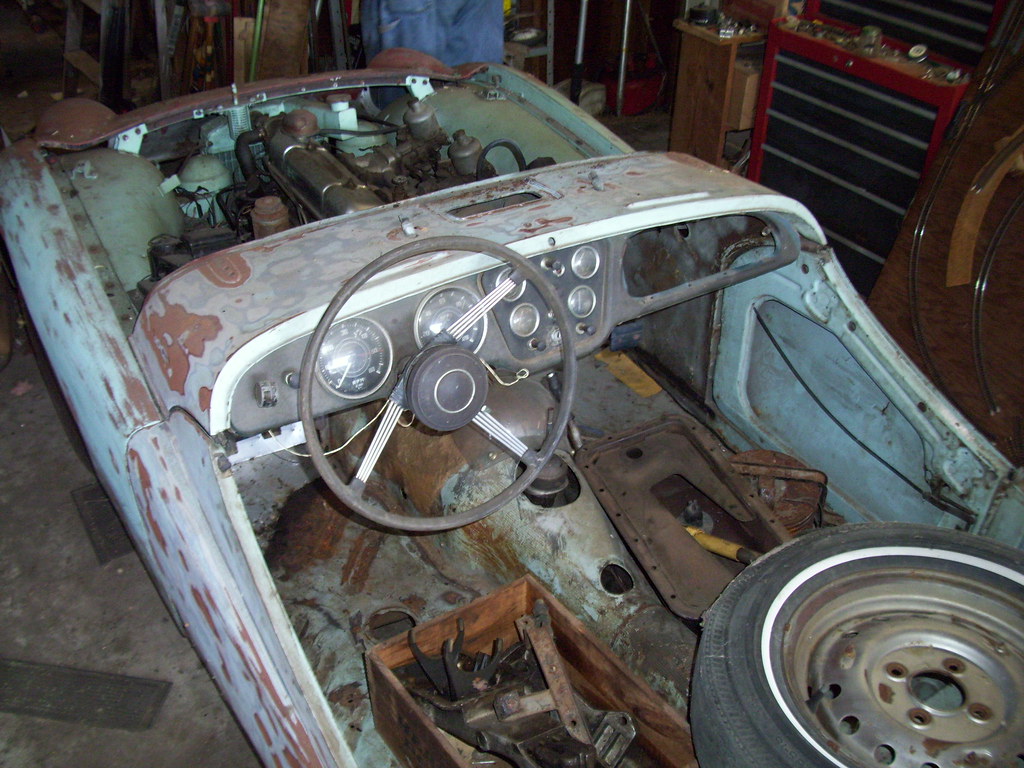
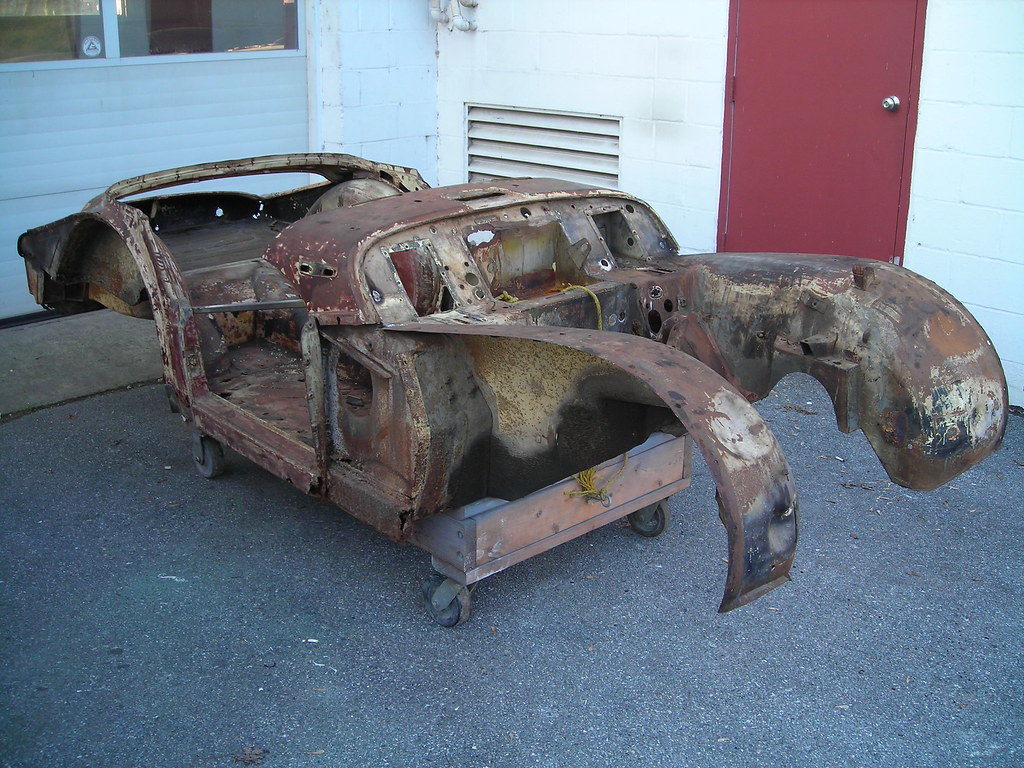
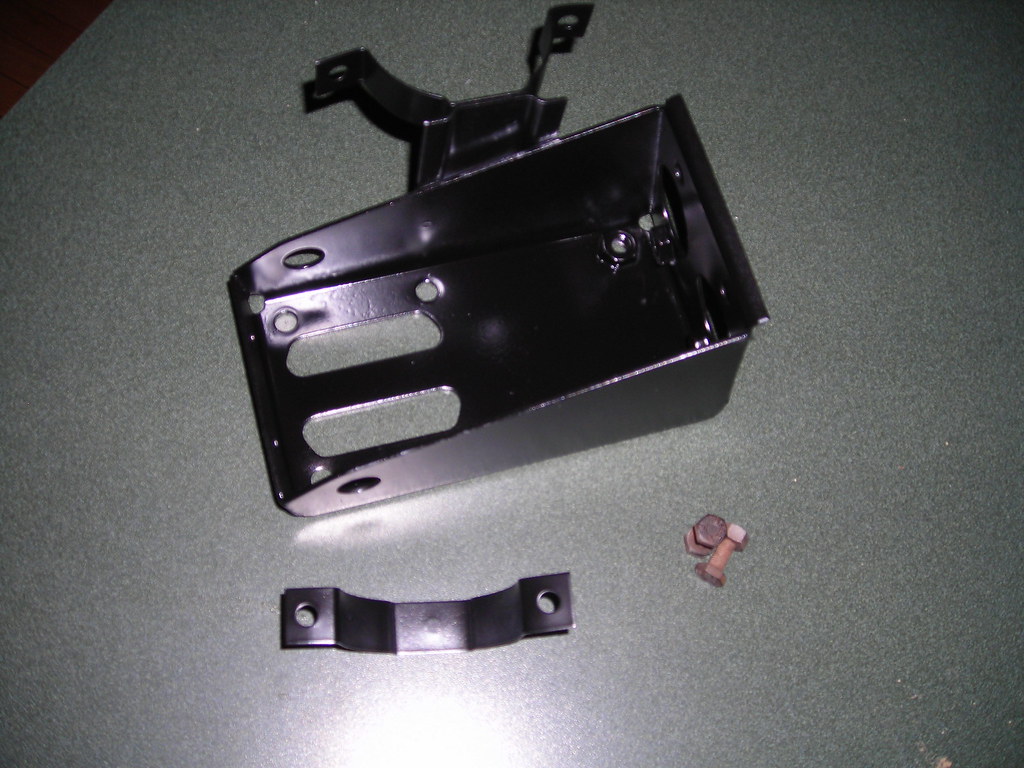
Those nicely primed pcs are mounted onto the Front of your "Inner Fenders" and the Bonnet Dzus fasteners lock into the coiled spring to hold down the Bonnet. I keep looking at the way I spelled "Bonnet". It just does`nt look right. Would someone please correct me if it is infact spelled "In-Correctly".

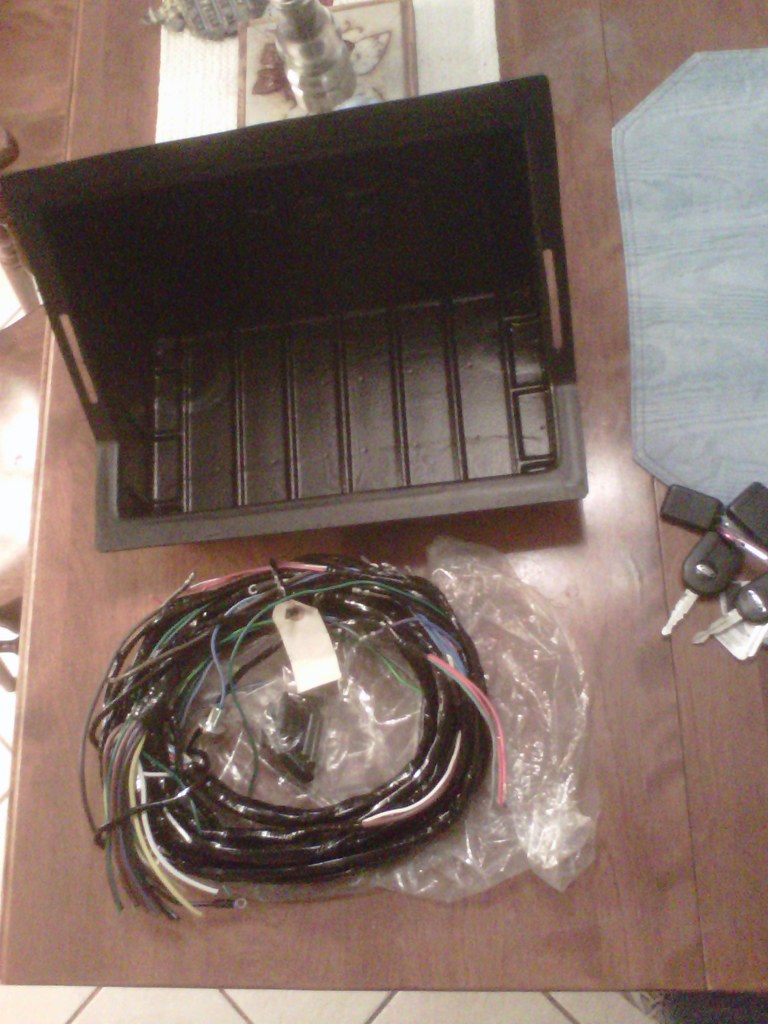
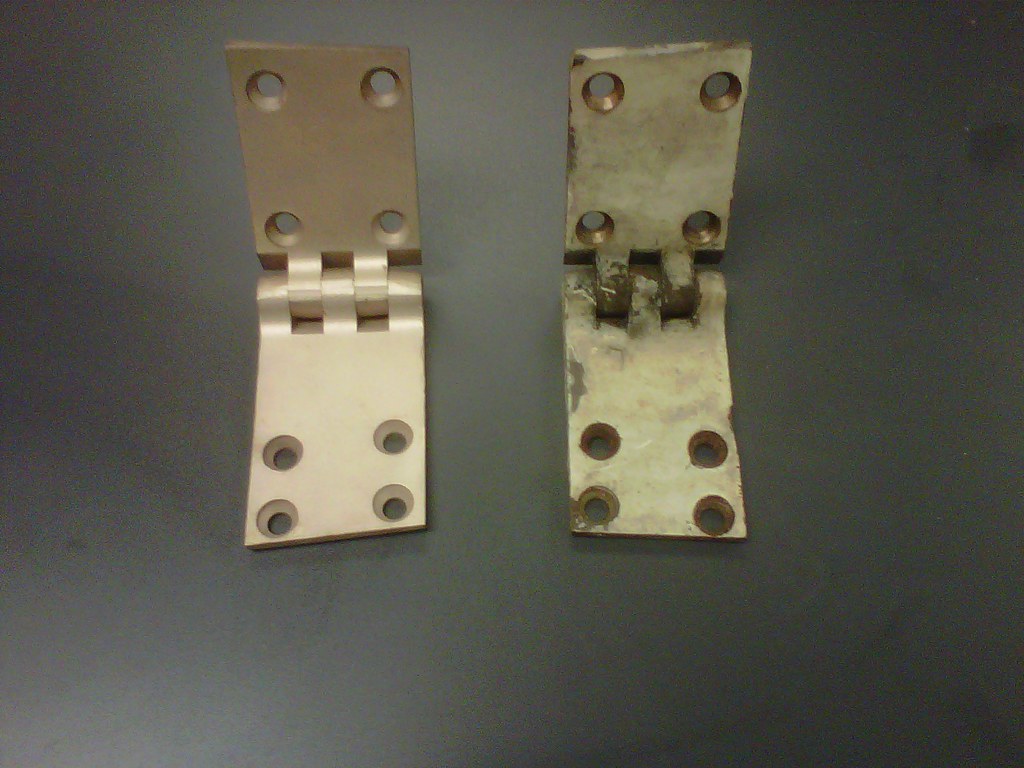
JP: This is what I`ve done/been doing. After ea. pcs. is finished; I`d take the "Old Hdwr" down to the local Hdwr store & replace it with new Flat, Lock Washers etc & attach the Hdwr. to ea. pcs. This way; It does`nt cost a small fortune all at once & You know exactly "What goes Where".

Have Fun,

Russ

PS: I can`t tell how many reciepts I have from "Ace Hdwr" for all the Hdwr. or how much it adds up but you can bet; Its probably a pretty sizeable pcs. of change in Total & I`m not done yet!!!!!
 
Hi JP,

I look forward to the after pictures. Keep plugging away and you will be rewarded in the end.

Cheers,
M. Pied Lourd
 
Hey JP,

Well, mine is taking me much longer than anticipated as well but I am trying not to put any deadlines on it though....however, I would like to get it out by the summer next year.

I don't actually think that I am that far away as far as completing the metal repairs...really just the battery box to weld in, a hole in the passenger side footwell/bulkhead to fix, some cage nuts and the close out panels in the rear.

Afer that, I think that I am going to start applying some POR15 to the bottom and inside the tub and get that ready. After that, going to work on getting the body panels straight enough for paint when it is warmer in the Spring. I am going to be painting this car myself so wish me luck. After that, assembly...I am hoping that this will go fairly fast as I have redone most of the small parts allready.

Do you have a completion date in mind for yours?

Cheers,
M. Pied Lourd
 
So I am going to visit the parts car....which is in much better shape than the original car....but does not have the same sentimental value. Maybe I can get a list of all the extra items I have in waiting.

Wish me luck

6441397913_9fb4c7a5cf_b.jpg
 
Hey JP,
That looks quite promising! Maybe you can start on this one while the other one is away. Does the engine in this one turn over? If so, you should get it running again.
 
The black braces that were identified as the heater brackets: True, that's what they are but look close..They're seemingly symmetrical (they will go on either way) but that "U" shaped slot goes on the dashboard end, not the firewall end. That slot is for the trip meter reset arm to pass through. Install that bracket backwards and you will be scratching your head trying to figure out why your speedometer won't fit. I, of course, learned that trick the hard way! Label it now so you'll remember later.
Frank
 
OK so a banner day in one respect and not so much in another respect. The body is off for cleaning....Yeah. It looked pretty solid in most areas and the frame looks good as well. So hopefully we will not have to many surprises.

Now I need the motor gurus.....I may start another thread. The motor is locked up and had water in with the oil..... a lot of water. So I will check the other motor in the spare car but I would really like to get this one back in at some point.

How hard would it be to get this one apart?

Here is the car going out for cleaning....
6487295695_60d538e2a6_b.jpg


Fingers crossed..
 
Nice hinges!

All you can do about the motor is to try. Even with some rust, you can likely save the block and head. Hopefully it won't be too bad breaking it down...

John
 
Well....first on the list is try and get the frame stripped and redone..before the body panels need to be realigned.

What is the best method for frame cleaning? I will probably just paint it...

JP
 
This is great...you're really moving now!

I'm biased to sand blasting for the frame. It cleans great, and leaves an etched surface that gives the paint something to bite into. Mine took 3 days to strip down myself. The blaster is reasonable...like $170 from Northern...but you do need a decent air source to run it.

Wire brushing works, but is difficult to get all the grease out of the cracks. If you don't get all the grease, the paint will not stick. Sand takes everything off.

Good luck!

John
 
Hey JP,

Looks like we are finally in sync on something... I'm currently in the process of stripping and painting my frame, so far I've done just the bottom. I've been degreasing, powerwashing, using a wirewheel on my grinder, and using some phosphoric acid to etch the metal before painting it with Rust Seal (https://www.kbs-coatings.com/rustseal.html). I've heard and read that sand blasting is a better way to go, just not in my budget this time. Feel free to stop by and see how it looks... also need to talk with you about your Passat if you still have it.

Jason
 
Hi JP,

I think that sandblasting would be the way to go if you have the financial resources to do it. As this was supposed to be a budget build for me, I decided to go the wire wheel and elbow grease route. Once that was done, a good cleaning and metal etch follow by POR15 and it should be good for another 50 years.

img_0340.jpg


img_0357.jpg


Good luck with yours.

Cheers,
M. Pied Lourd
 
Around here you can get a small frame blasted and powder coated for around $250.00. If you get your frame blasted make sure you inspect it before painting or coated for any cracks.
 
Hi JP,

The frame was wire brushed and sanded by hand. Sprayed down with a power washer and then cleaned with POR15 marine clean a couple of times. After that, the POR15 Metal Ready was used to etch the frame. After that is rinsed off and then completely dry, the POR15 is used.

The POR15 was brushed on then followed by a couple of Coats of the POR15 Chassis Black in Semi Gloss. Fan looks great!

Cheers,
M. Pied Lourd
 
Back
Top