
-
 Hey Guest!
British Car Forum has been supporting enthusiasts for over 25 years by providing a great place to share our love for British cars. You can support our efforts by upgrading your membership for less than the dues of most car clubs. There are some perks with a member upgrade!**Upgrade Now**
(PS: Upgraded members don't see this banner, nor will you see the Google ads that appear on the site.)

Tips
- We have a special forum called "Member Articles" where you can submit actual articles for consideration for publication. Learn More
- Don't have an Avatar? If not, your avatar will default to the 1st character in your username. Go into "Account Details" to change your Avatar.
- Some basic forum navigation info: click
 Hey - did you know if you click on the title of a thread it will take you to the first unread post since you last visited that thread?
- Hey Guest - Is your British Car Club in our Clubs database? If not, send me a PM - Basil

- Looking for a local club? Click the "Clubs" tab above and browse hundreds of clubs world-wide.
- Add Android or iPhone APP: click
- Did you know - any picture or video you add in your posts in any marque-specific forum will also get added to the Media Gallery automatically.
- A few more tips about posting and replying: click
- Hey there Guest - be sure to keep your profile page up to date with interesting info about yourself: learn more
- More tips and tricks on Posting and Replying: click
 but were afraid to ask:
  STOP!! Never post your email address in open forums. Bots can "harvest" your email! If you must share your email use a Private Message or use the
  smilie in place of the real @
- Want to mention another member in a post & get their attention? WATCH THIS

- So, you created a "Group" here at BCF and would like to invite other members to join? Watch this!
- Hey Guest - A post a day keeps Basil from visiting you in the small hours and putting a bat up your nightdress!
- Hey Guest - do you know of an upcoming British car event?
 Pretty Please - add it to our Events forum(s) and add to the calendar! >> Here's How <<
- Hey Guest - you be stylin' Change the look and feel of the forum to fit your taste. Check it out
- If you run across an inappropriate post, for example a post that breaks our rules or looks like it might be spam, you can report the post to the moderators: Learn More
- If you would like to try some different "looks" or styles for the site, scroll to the very bottom, on the left and click the Style Selector.
You are using an out of date browser. It may not display this or other websites correctly.
You should upgrade or use an alternative browser.
You should upgrade or use an alternative browser.
Richmond VA 1960 Bugeye Bringing Miss Eva back to life.
- Thread starter hcallaway
- Start date


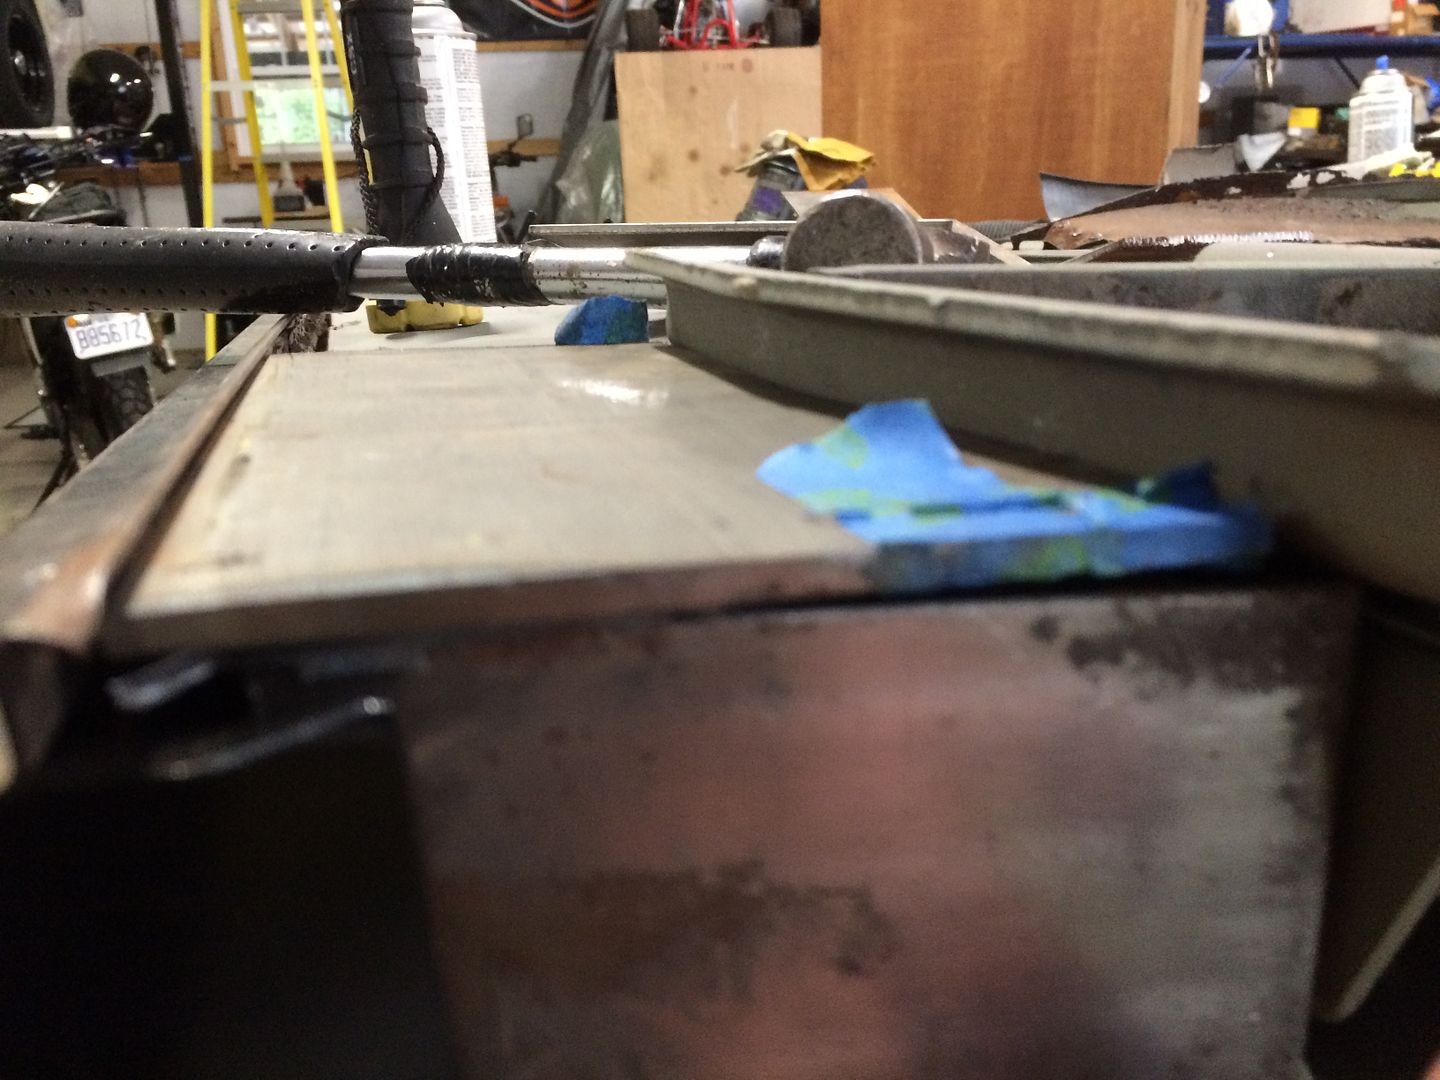
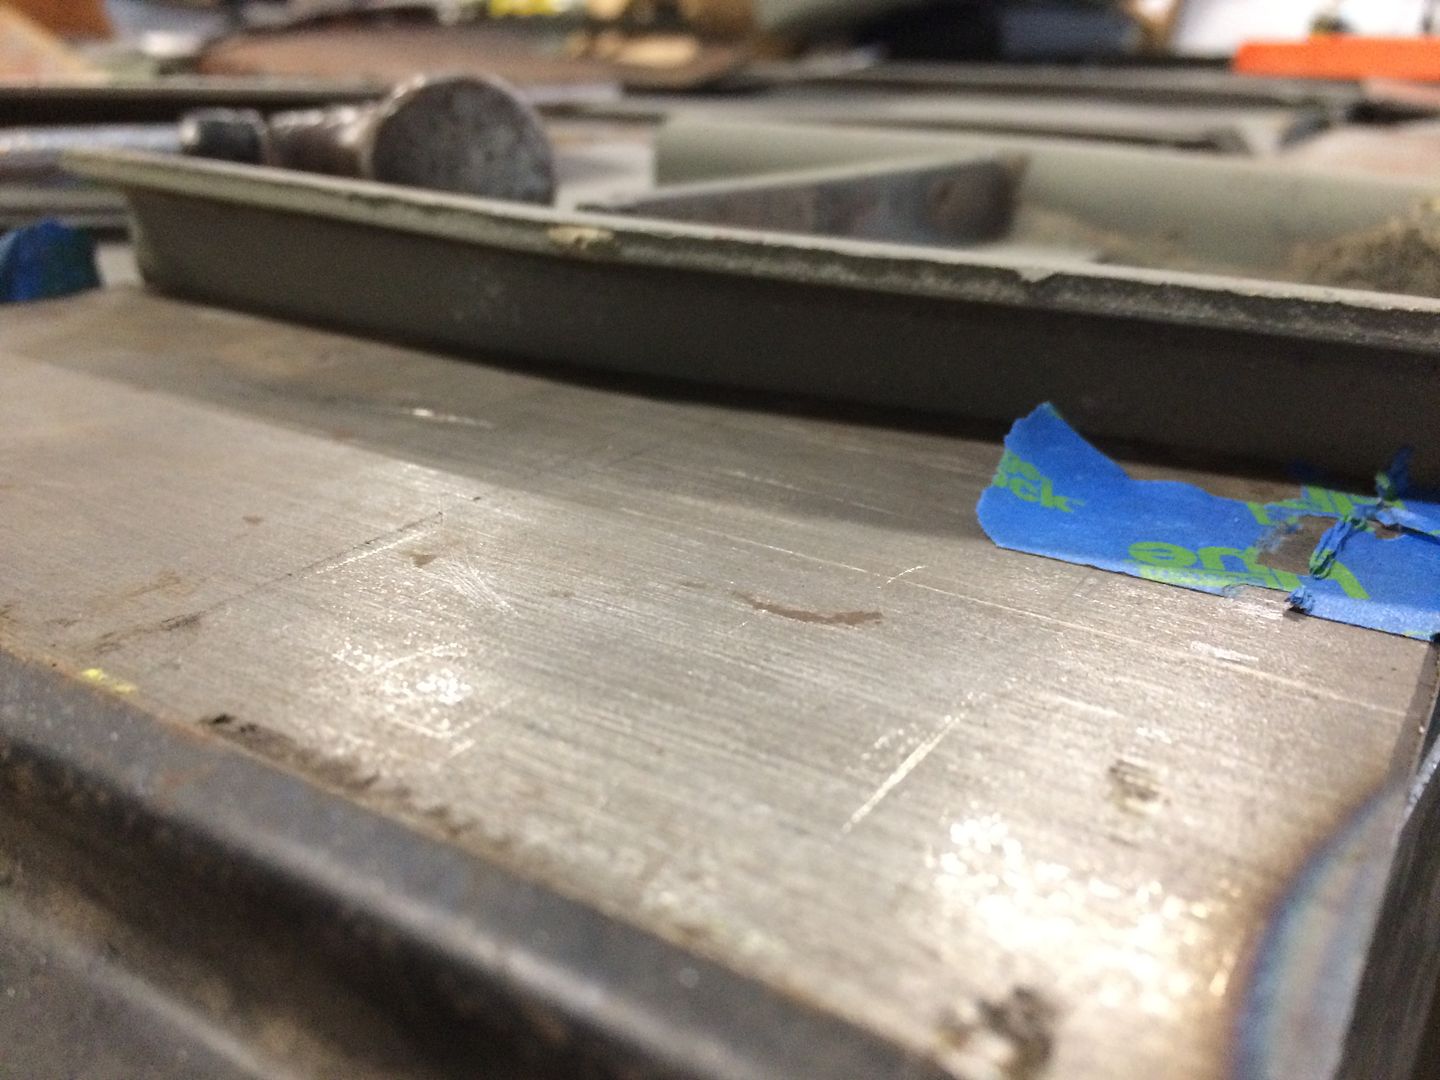
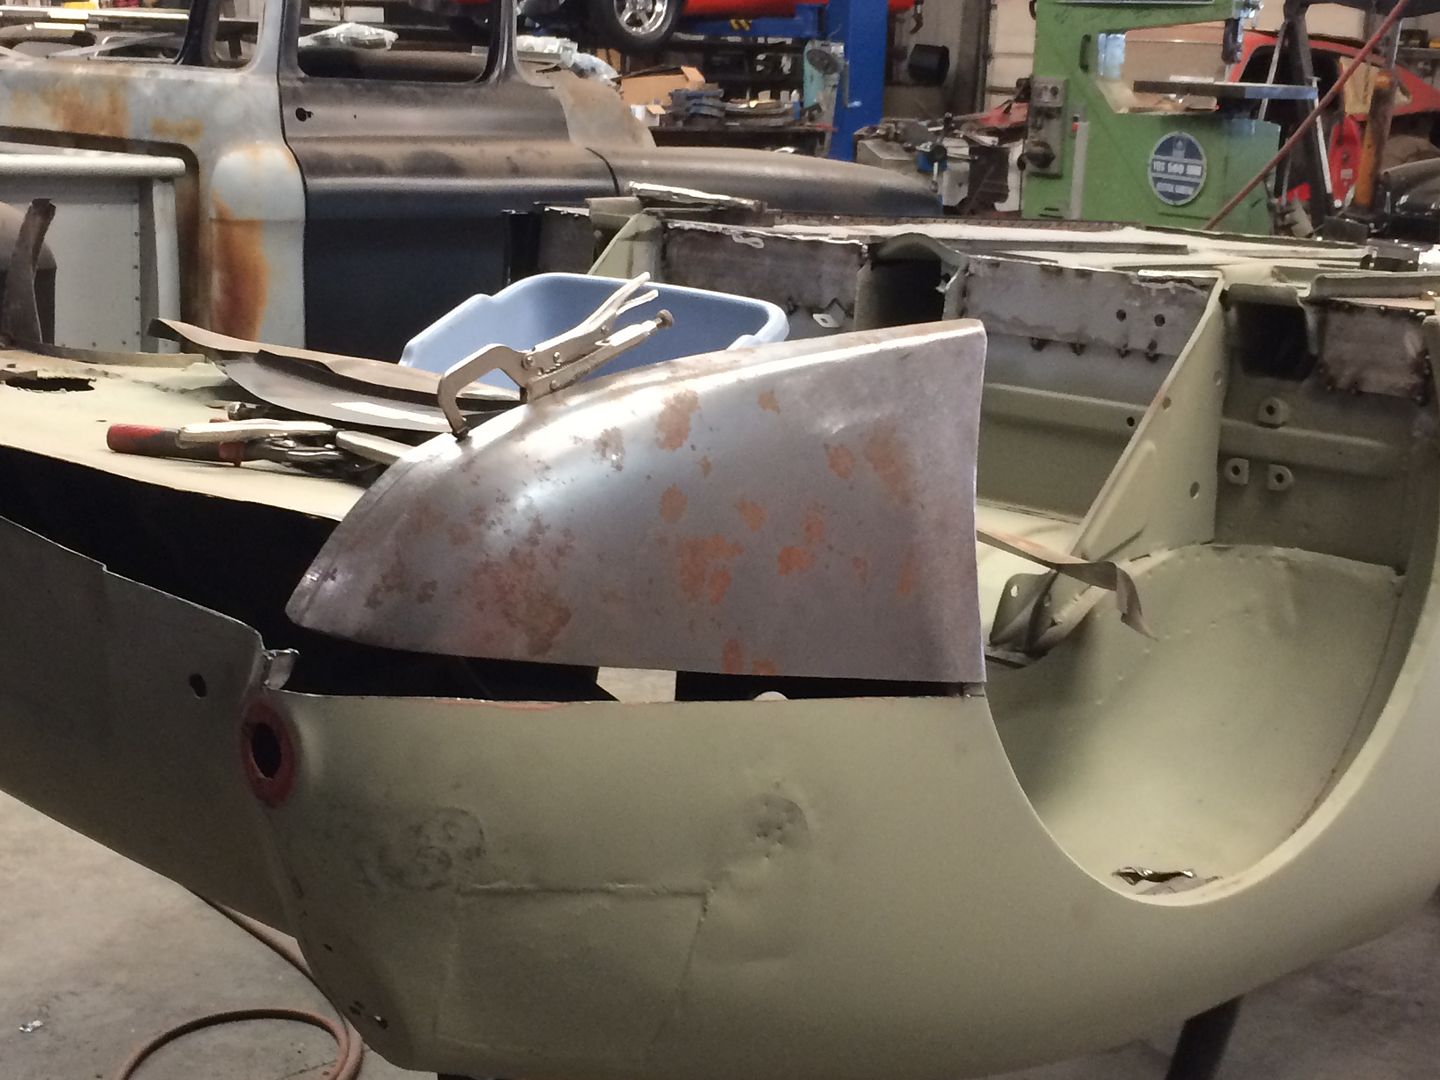
Flipped Miss Eva over. Seems like sort of a milestone in working the metal.

I knew the roll bar was the smart way to keep it off the important parts of the body.
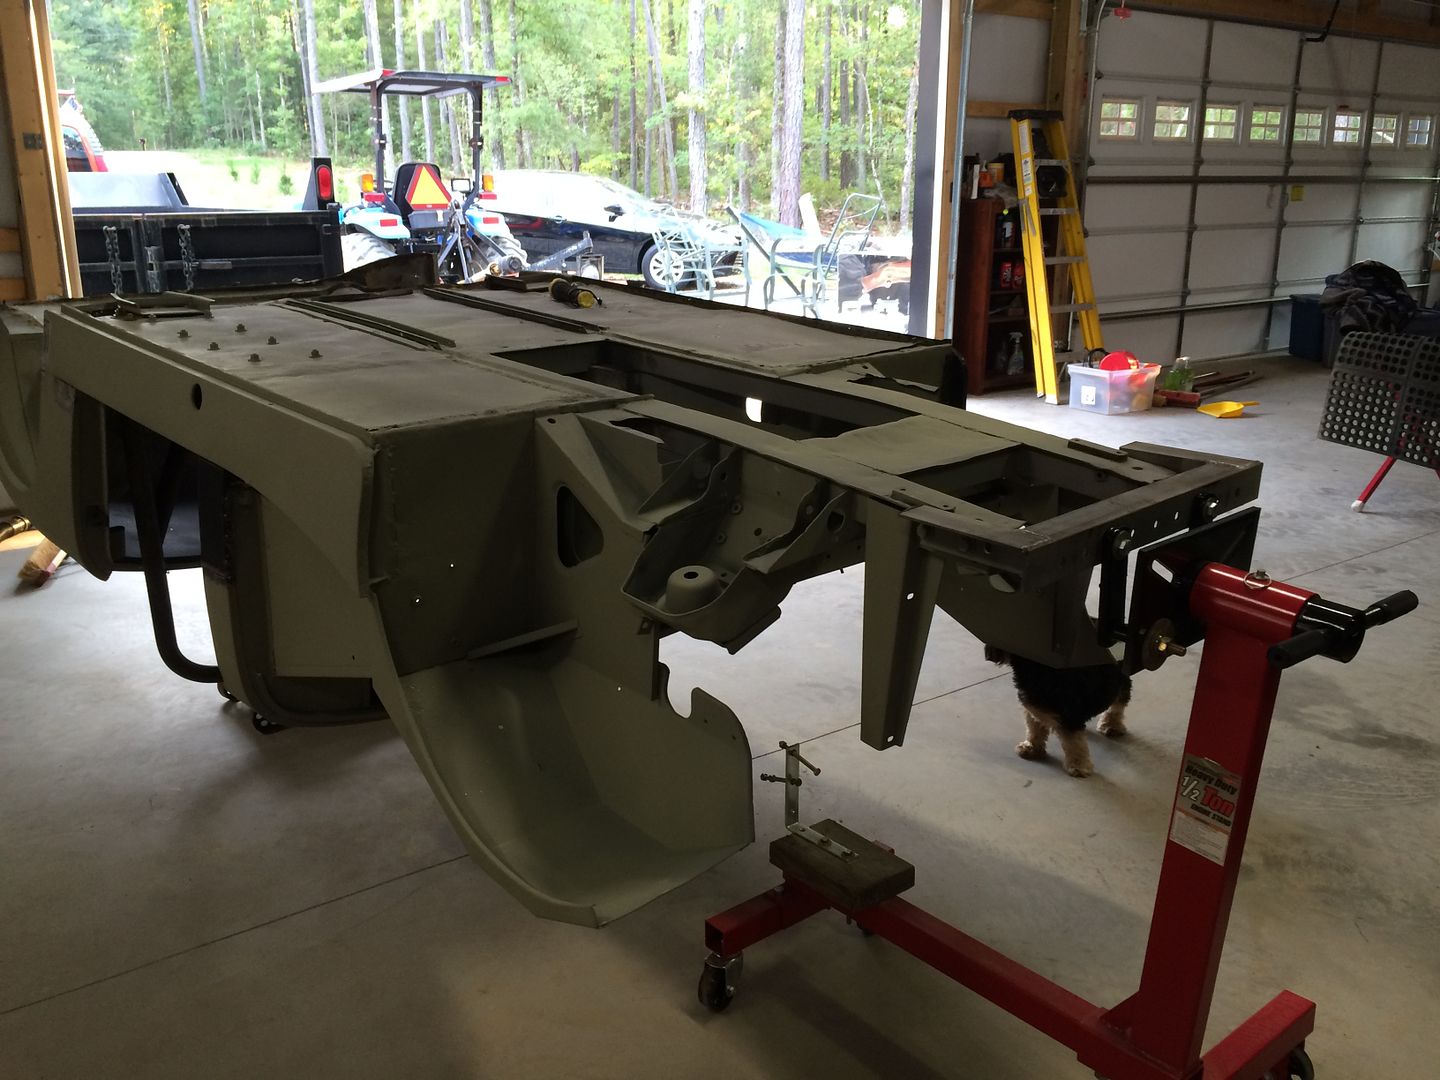
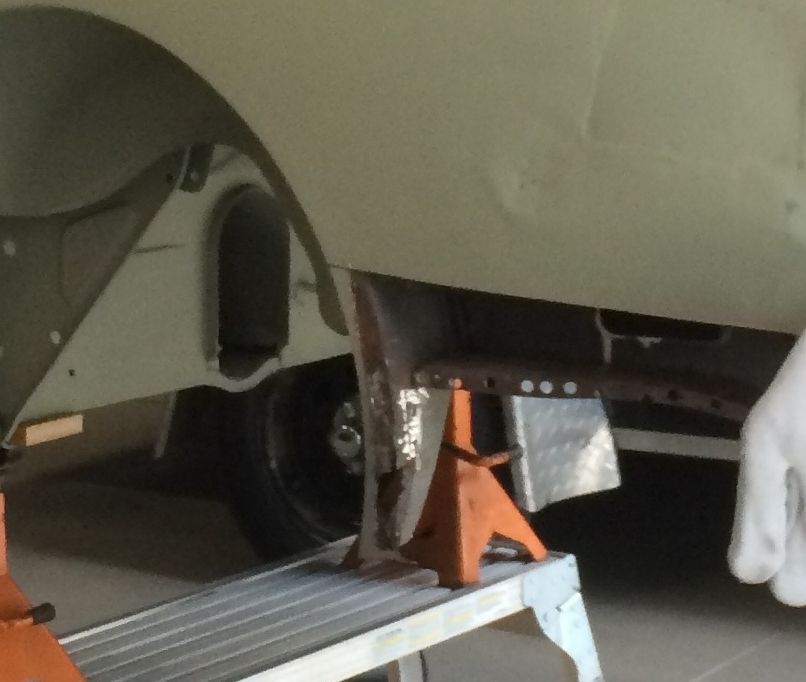
Much better access. The engine stand once again worked to hold the front end and it makes it easy to position in the garage by myself.
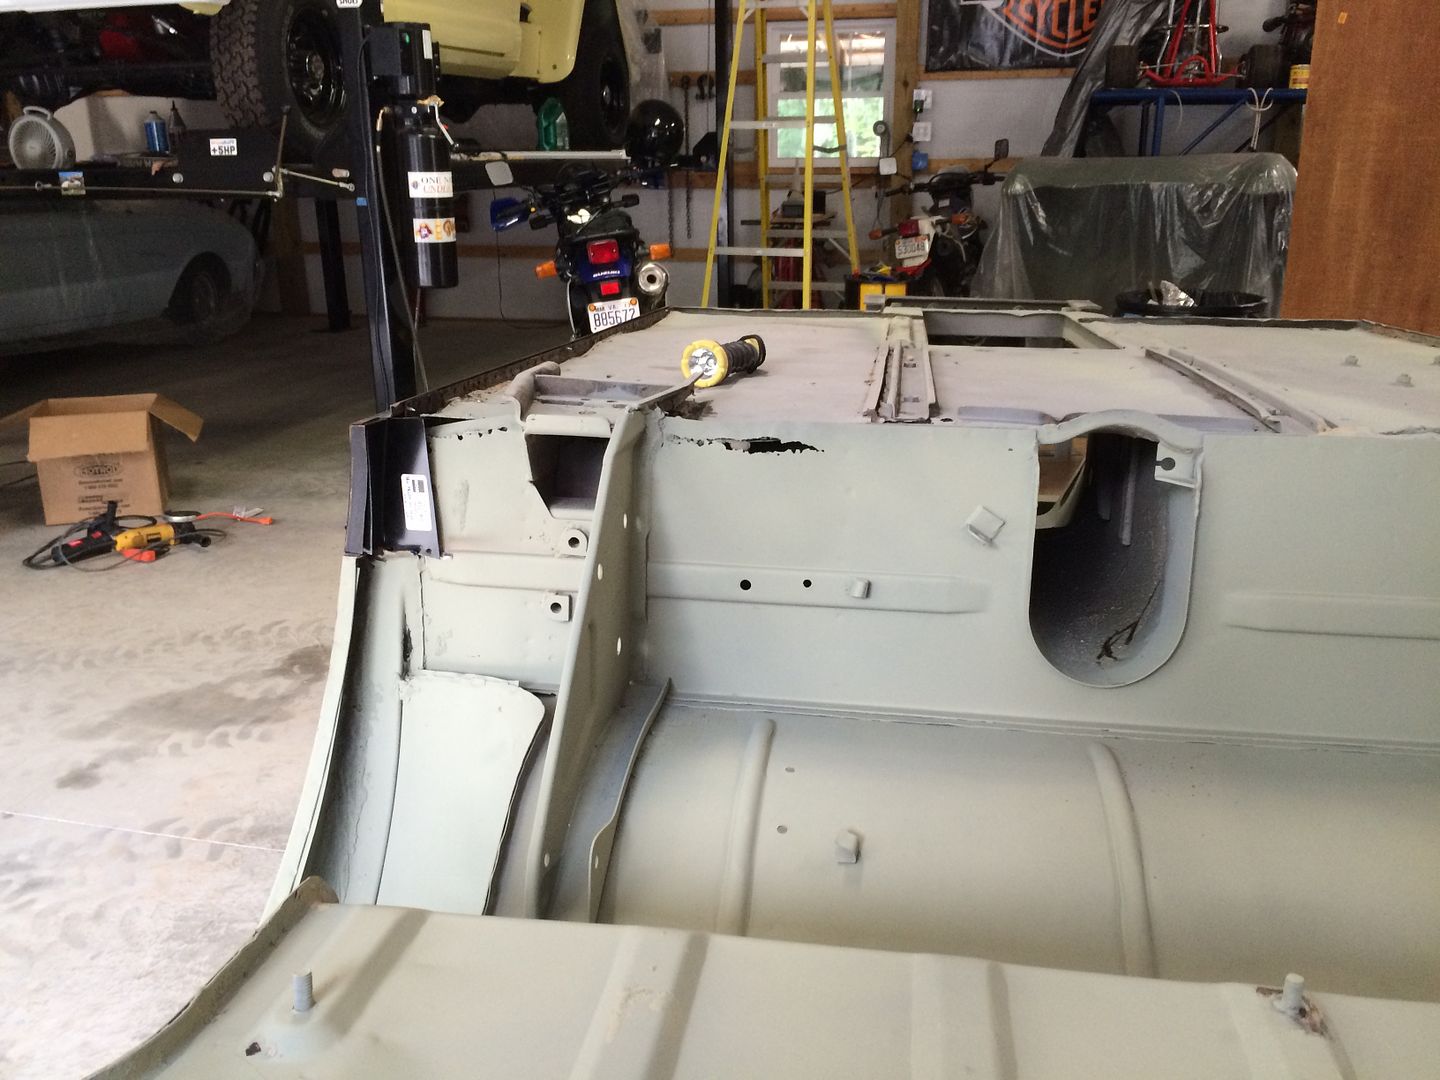
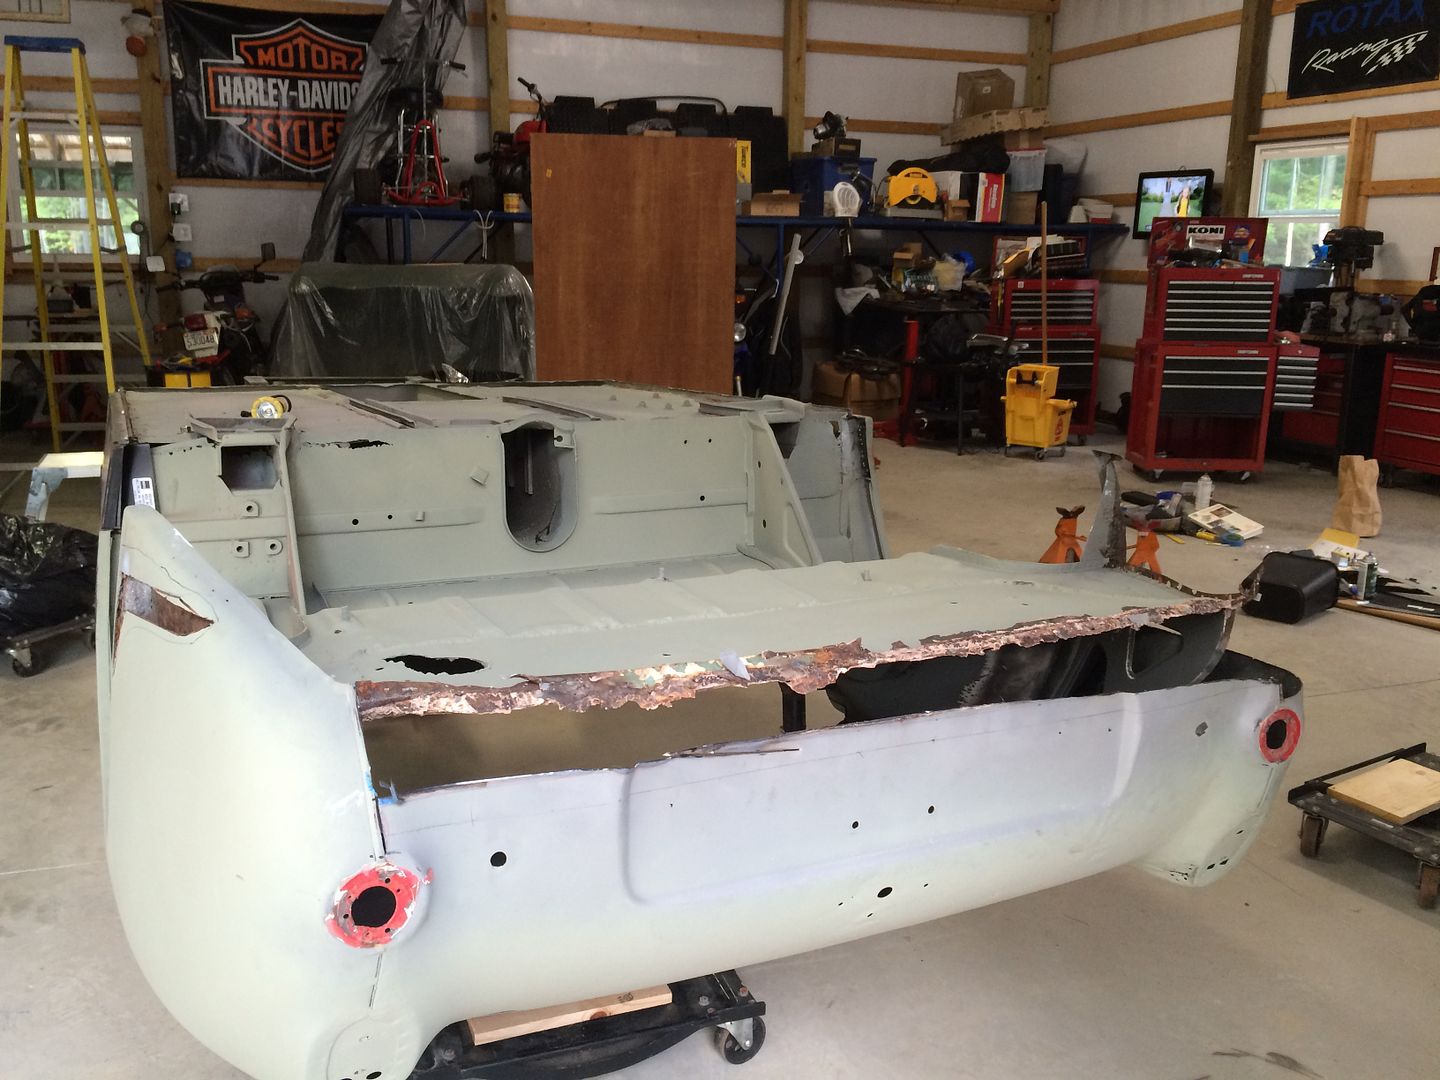
I may be at the point for some outside help on the rear of the boot.
He will appreciate the angle.

I knew the roll bar was the smart way to keep it off the important parts of the body.

Much better access. The engine stand once again worked to hold the front end and it makes it easy to position in the garage by myself.

I may be at the point for some outside help on the rear of the boot.
He will appreciate the angle.


I have searched for pictures that show building up Spring Perches. The hangers and associated parts are solid; however, the sheet metal where they sandwich the spring base plate and spring box was replaced. The metal is around a 22 - 24 gauge. I don't feel that is strong enough to support the rest of the spring hanger box if you were to really push the car at speed. I figured you can box in the area around the base plate and against the shut panel.
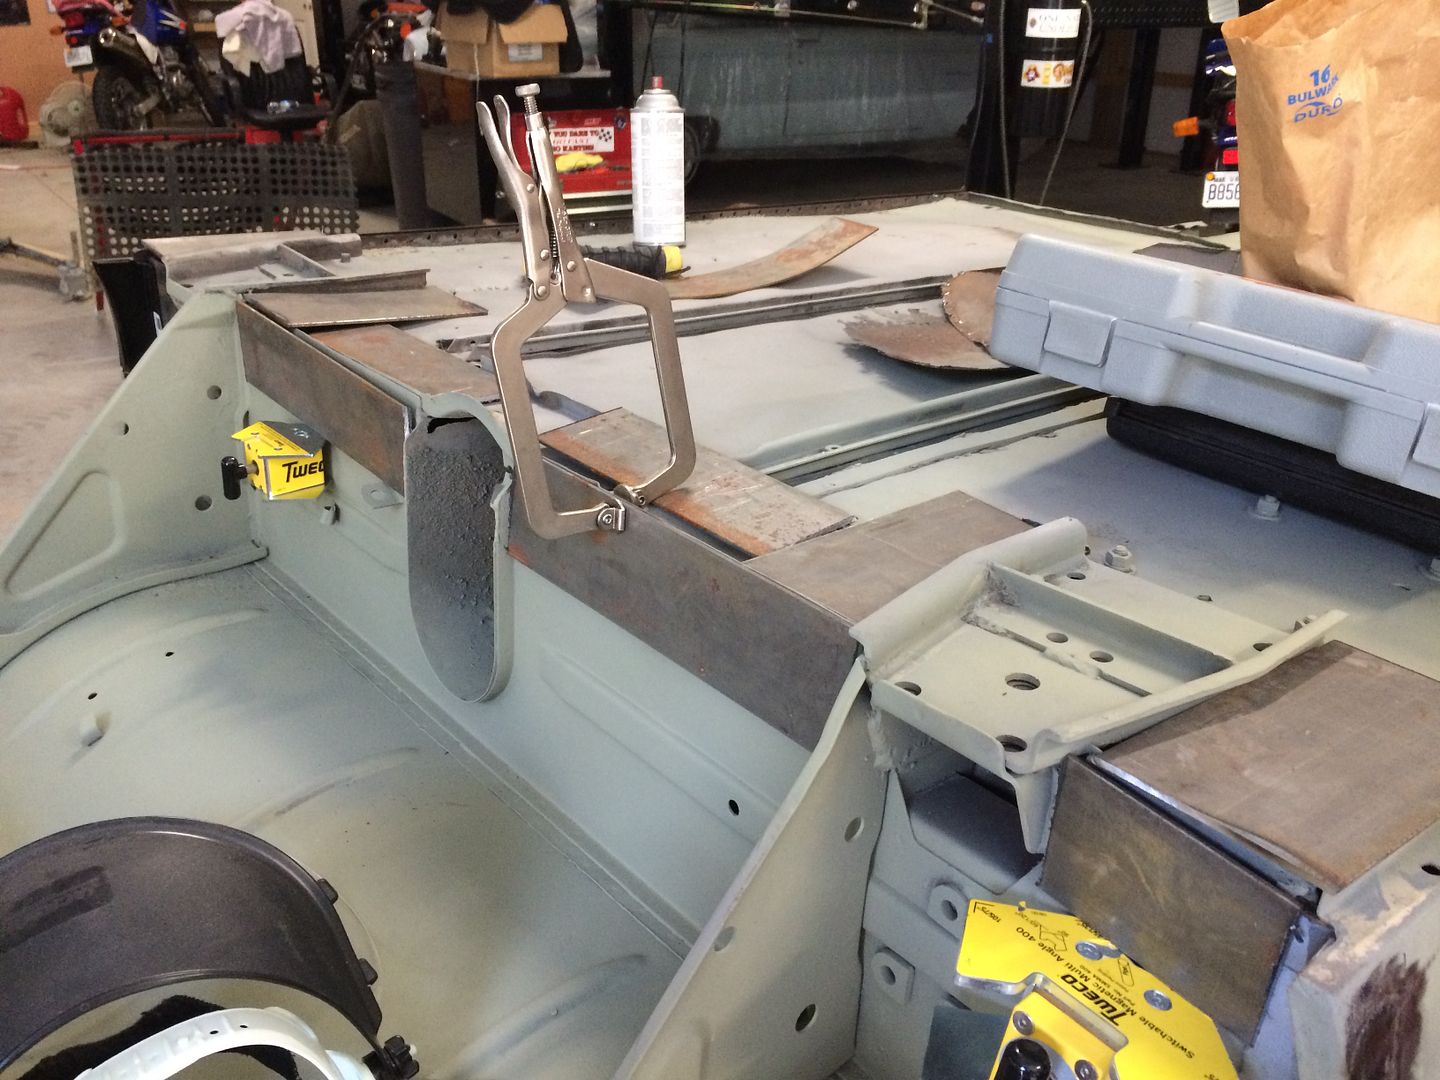
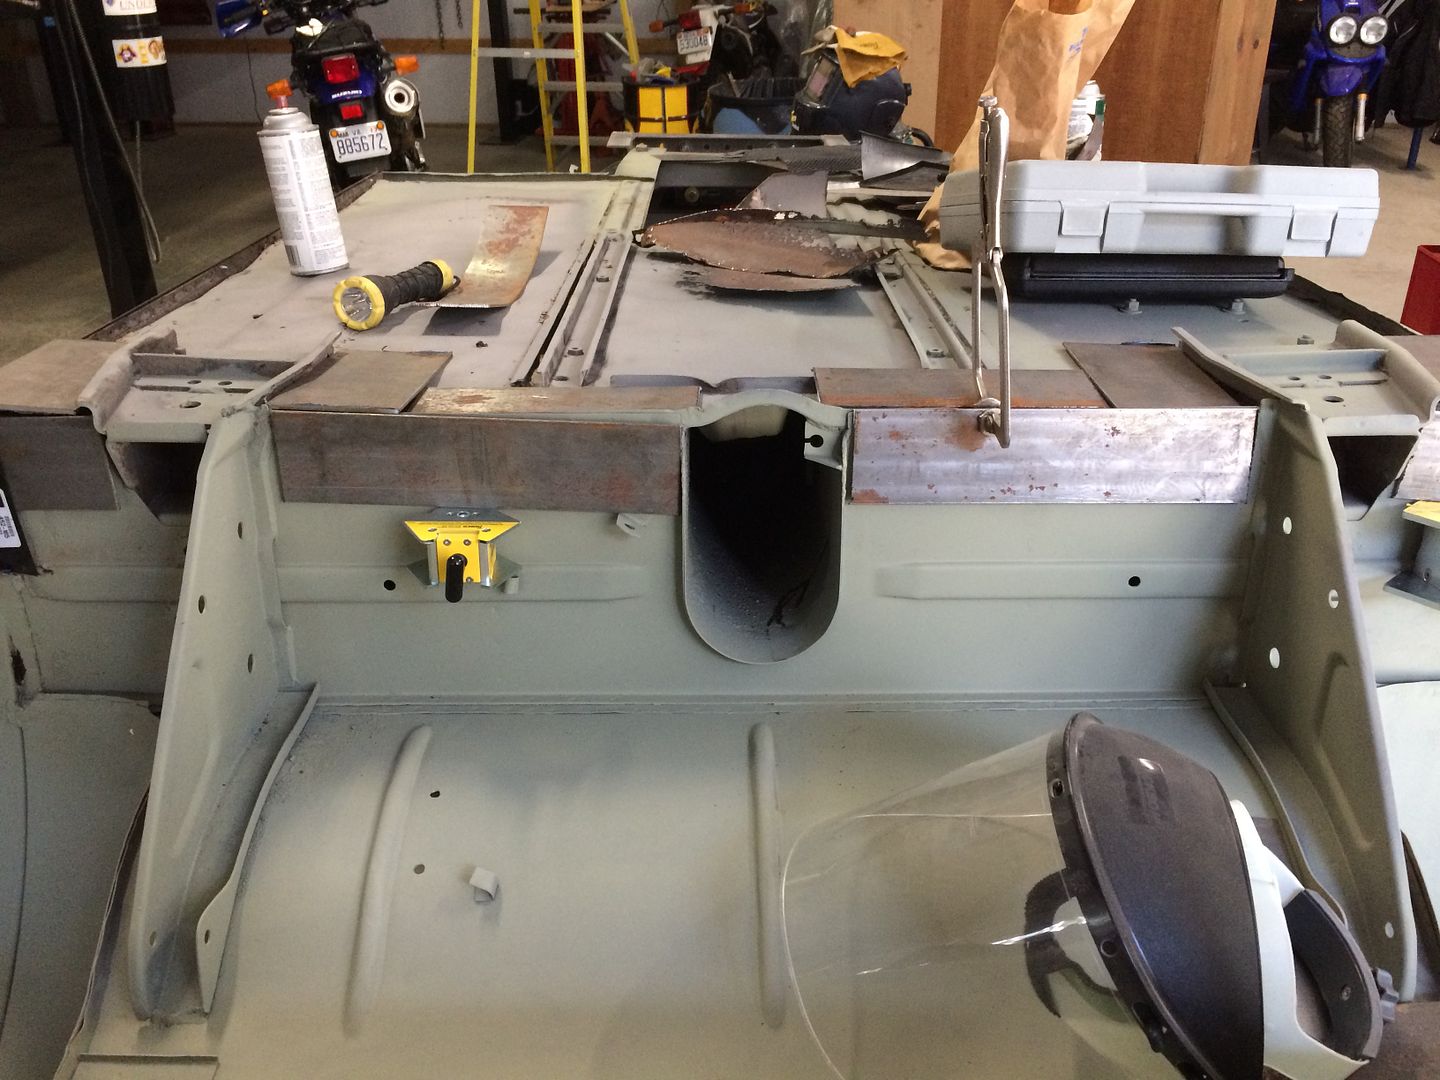
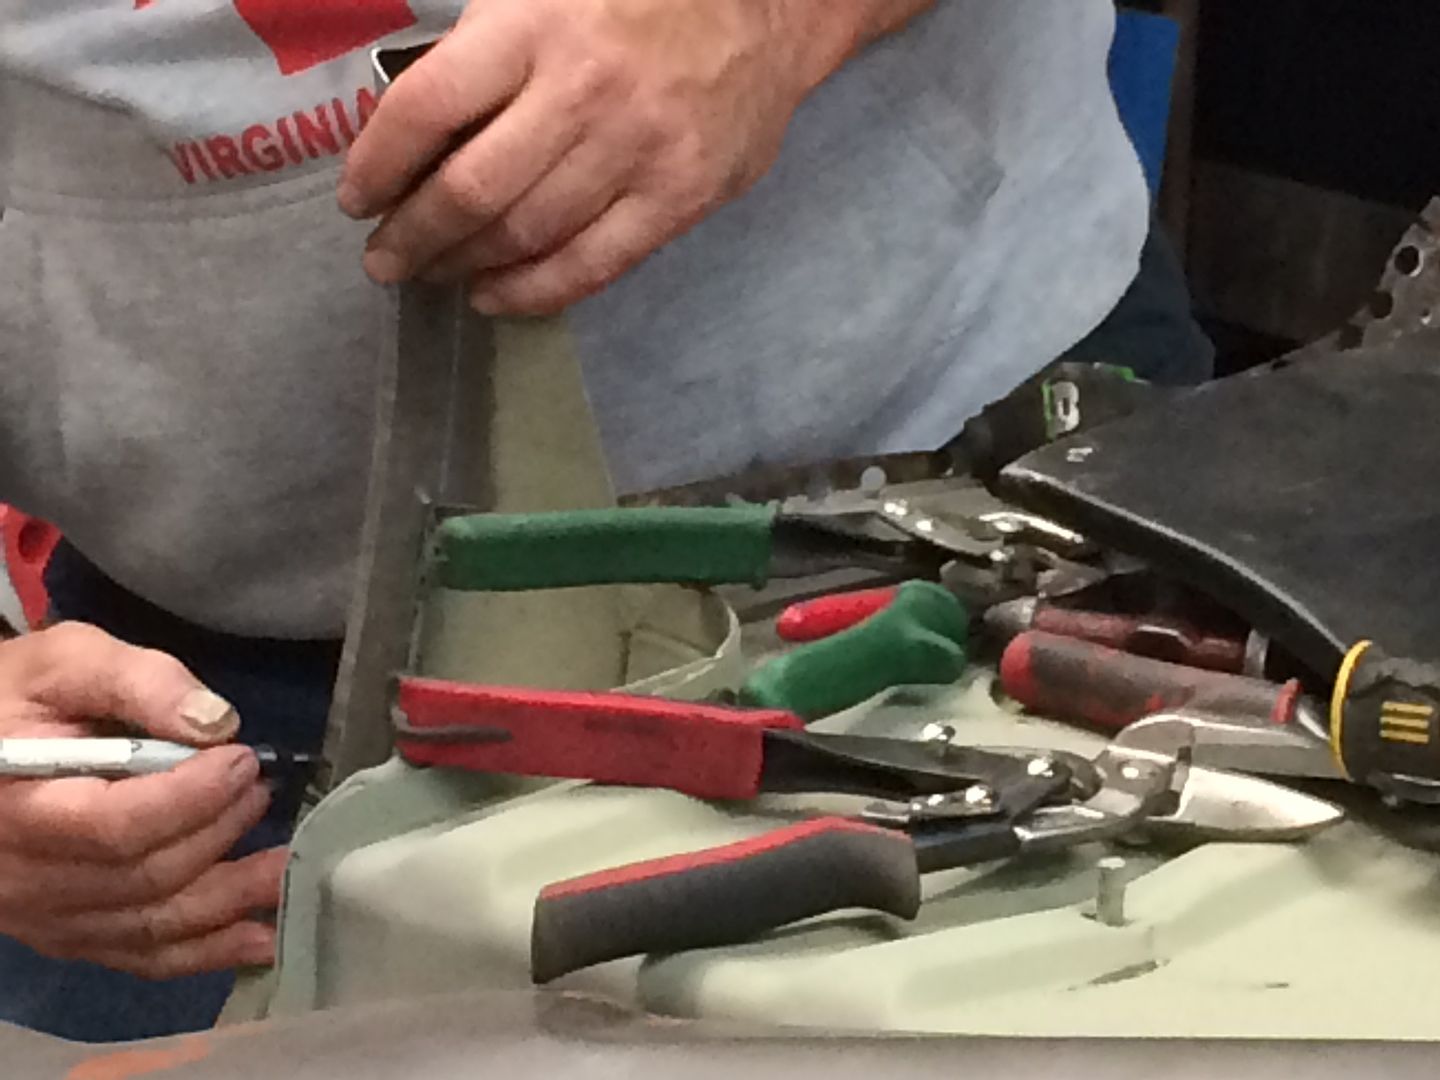
I had to trim 4 pieces around the base plate to make a tight fit for welding.
It seems like this should give the peace of mind i want and be a pretty simple fix.


I had to trim 4 pieces around the base plate to make a tight fit for welding.


It seems like this should give the peace of mind i want and be a pretty simple fix.


We finally got started on the rear quarters of the bugeye.
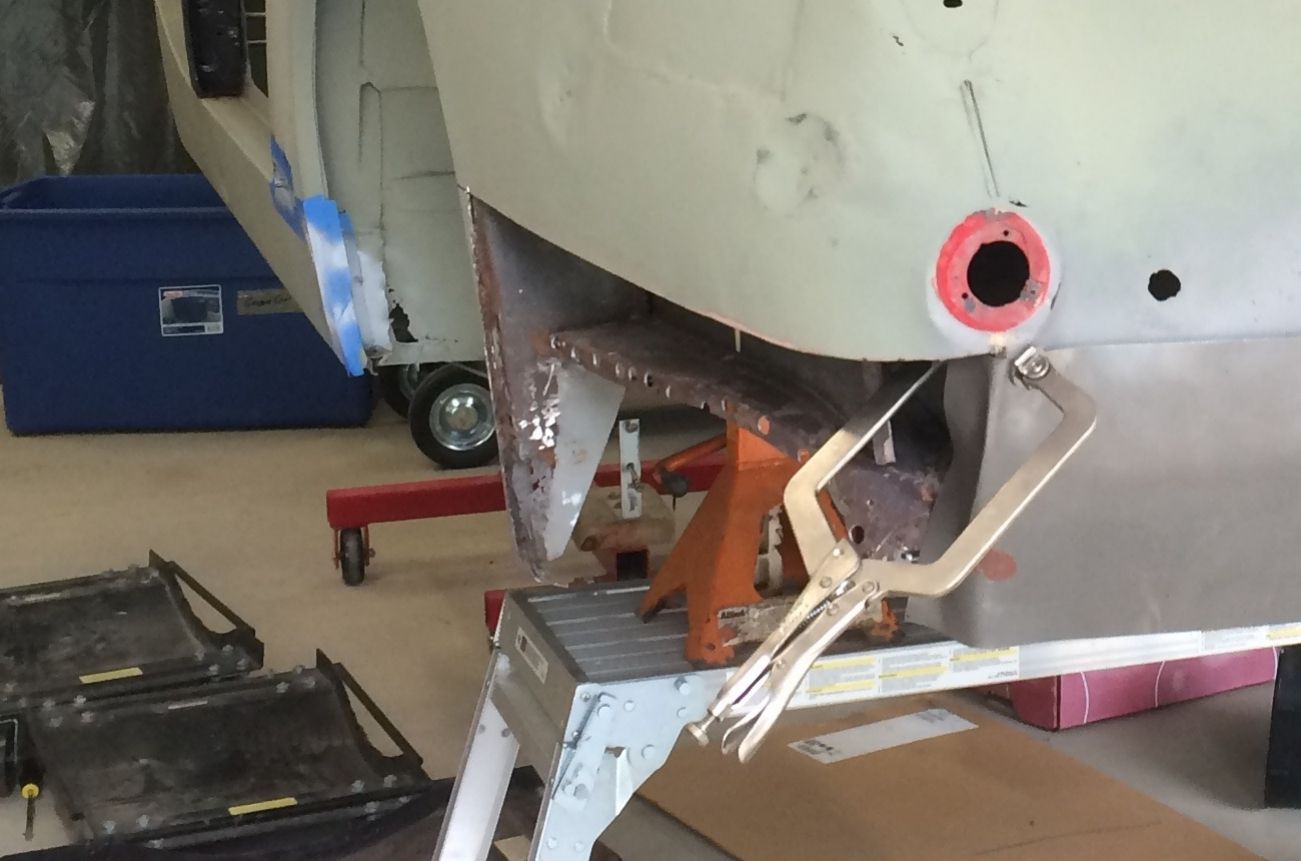
First Step was to copy the shape of the outside of the rear wheel arch. He was going to form the inside where the metal needed to be cut out to remove the rust.
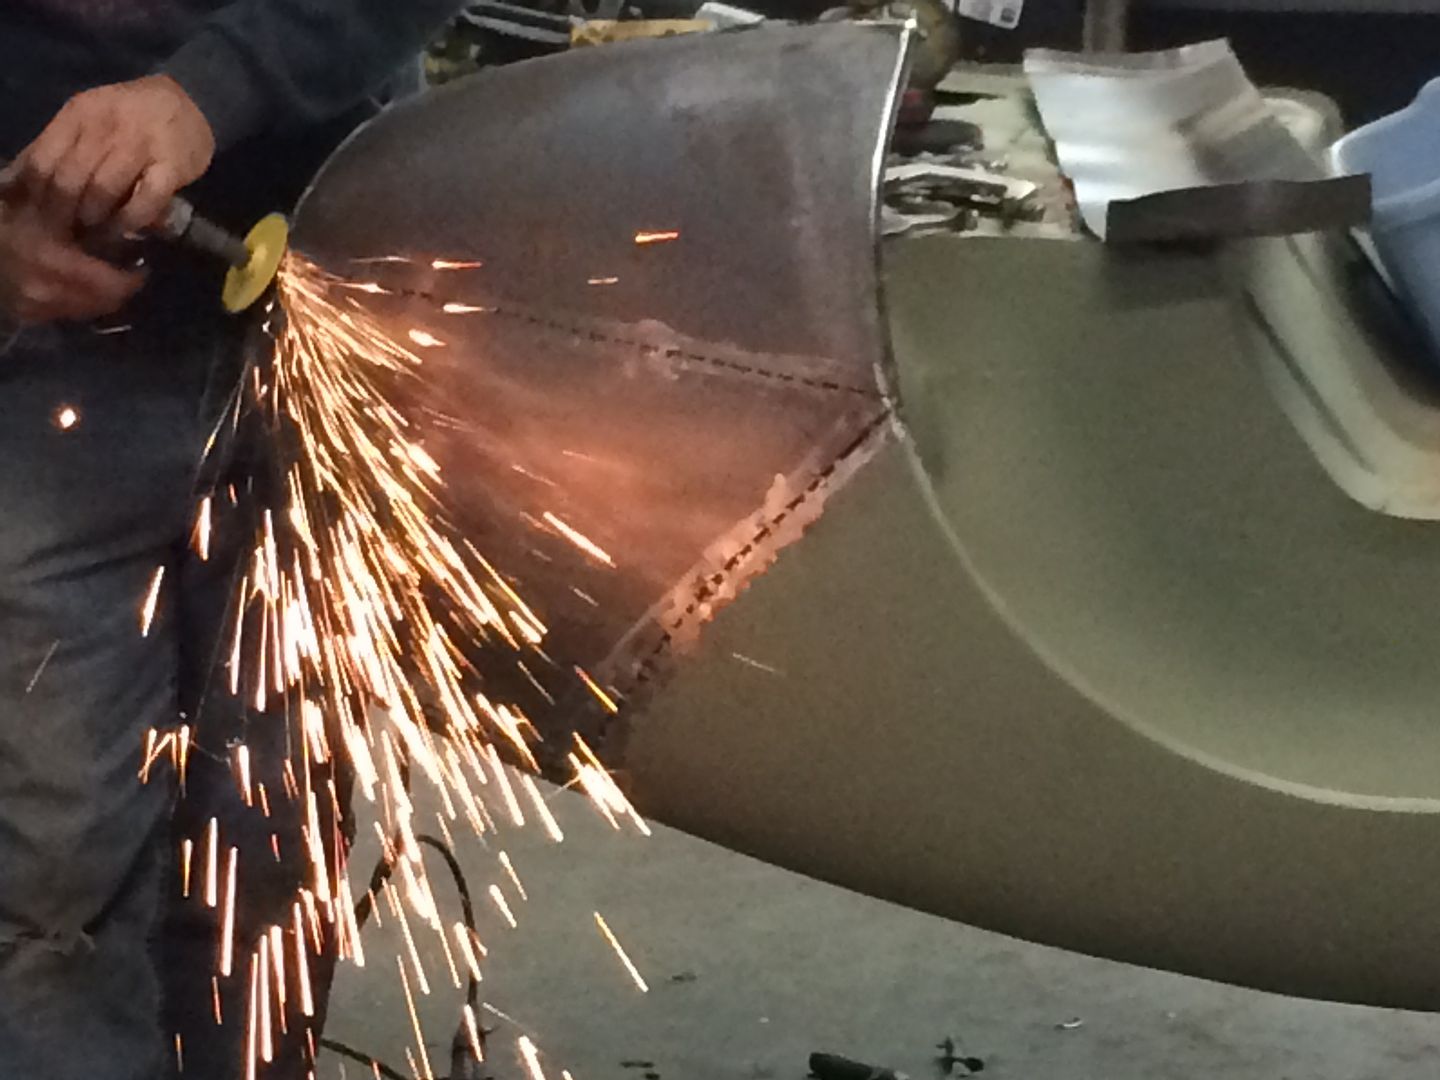
Step Two was to cut out the bad area and then match up the new metal.

Step Three was to fit and finish forming the replacement piece. Brett kept good measurements on the opening from wheel arch tip to tip and height off the floor.
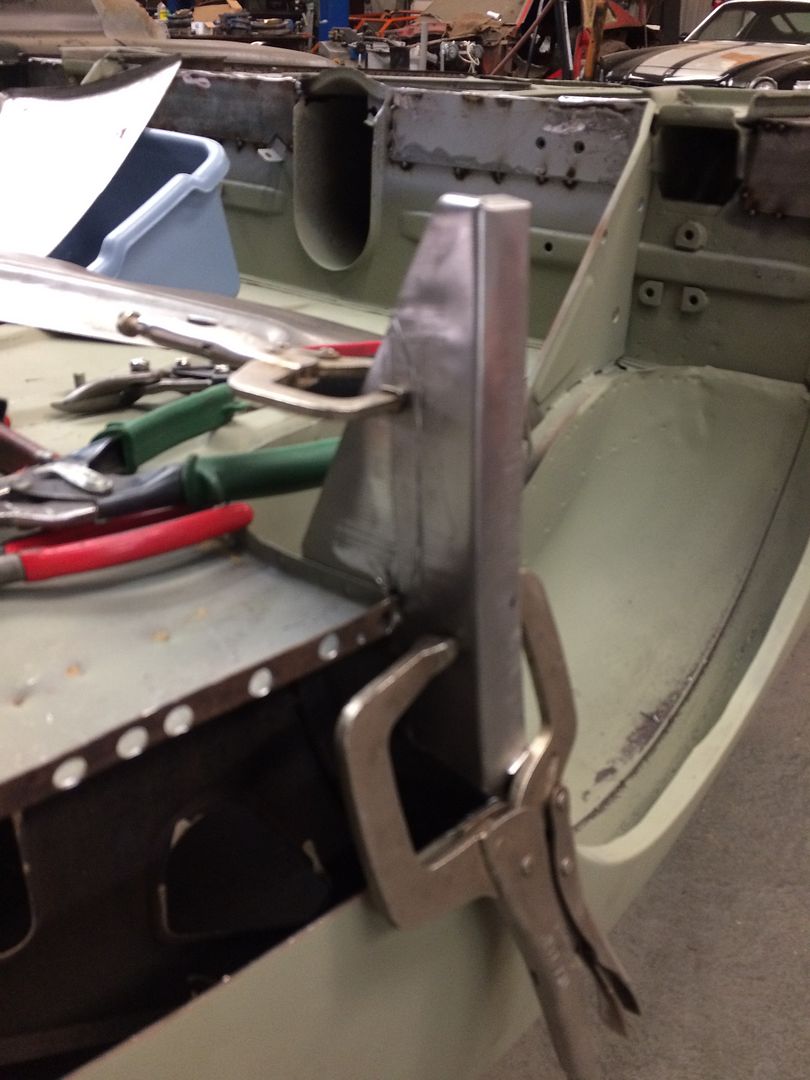
Step Four was to trim and flange the piece and then spot weld.
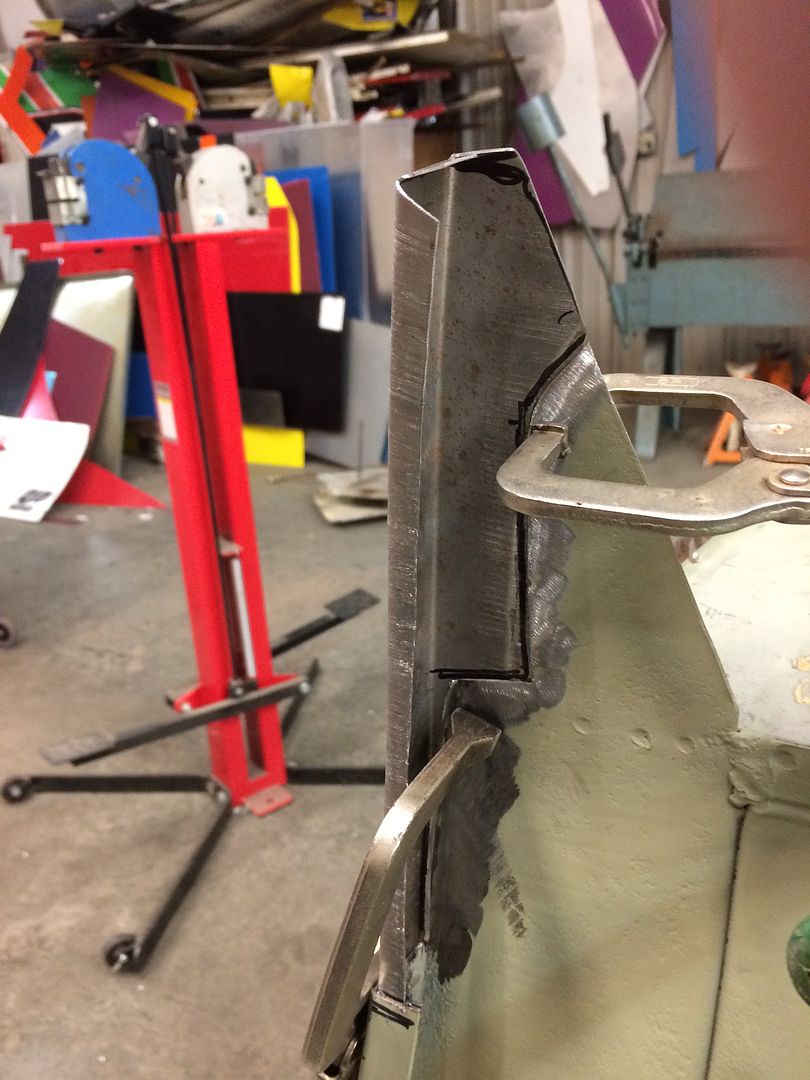
Step Five was to flange and fit inside corner closing panel. Panel was from Moss and the fit was excellent.
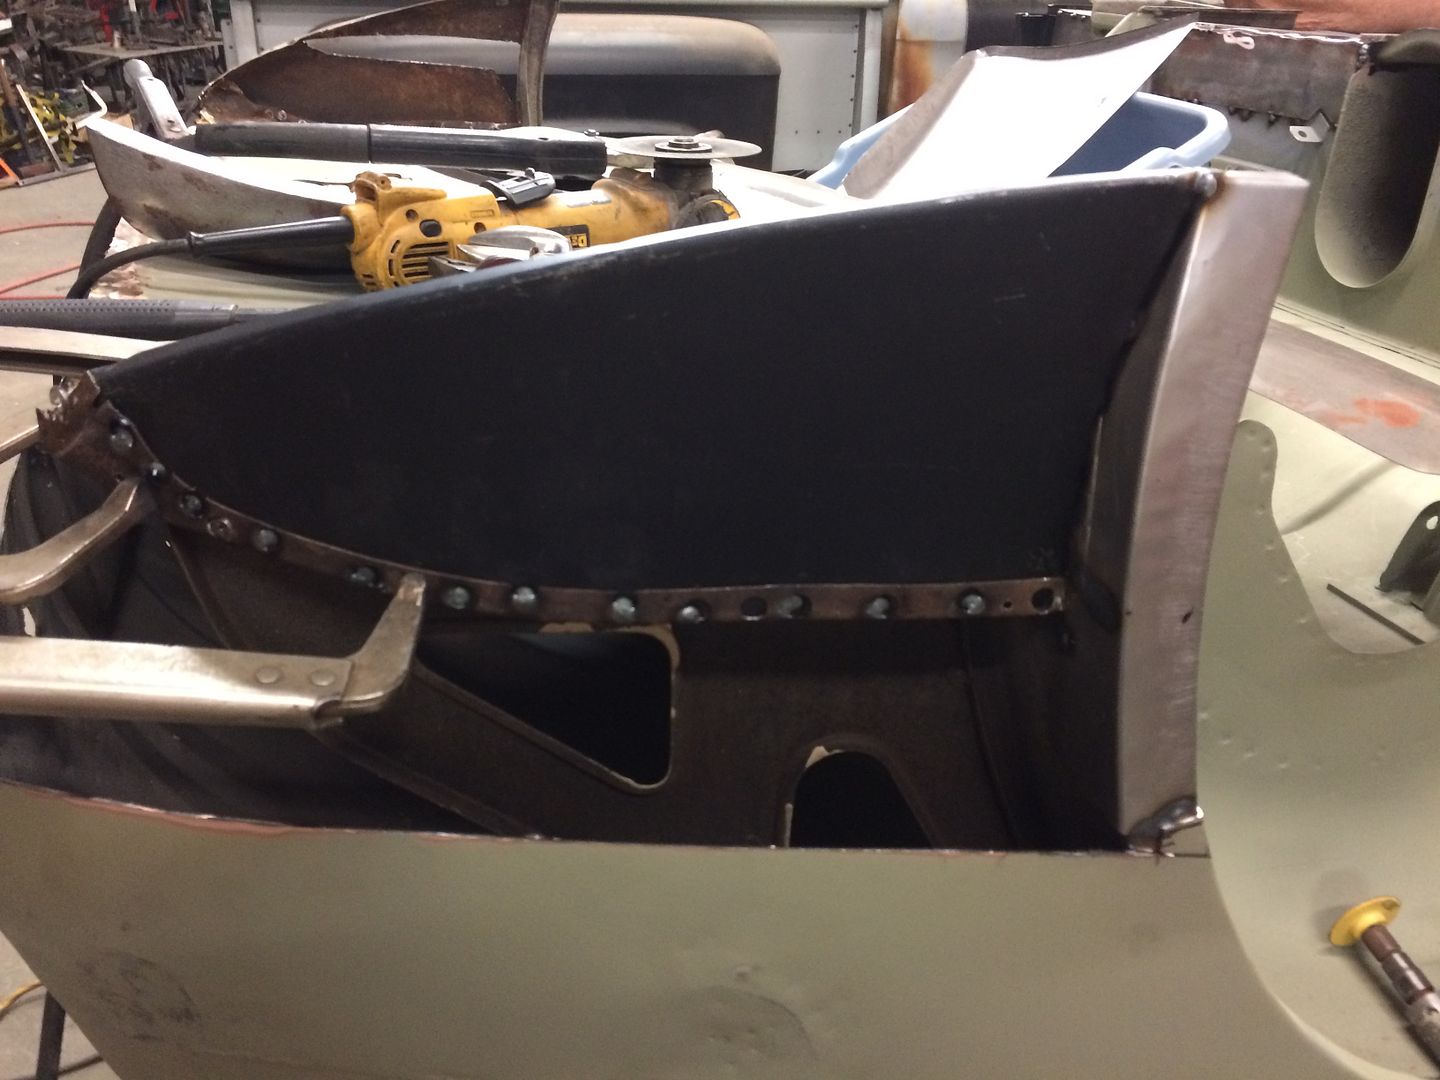
The start to finish on this area was about an hour and a half or less.
In the picture above you can see the edge of an old patch. We decided it would be easier and less labor to cut and replace the majority of the rear quarter.
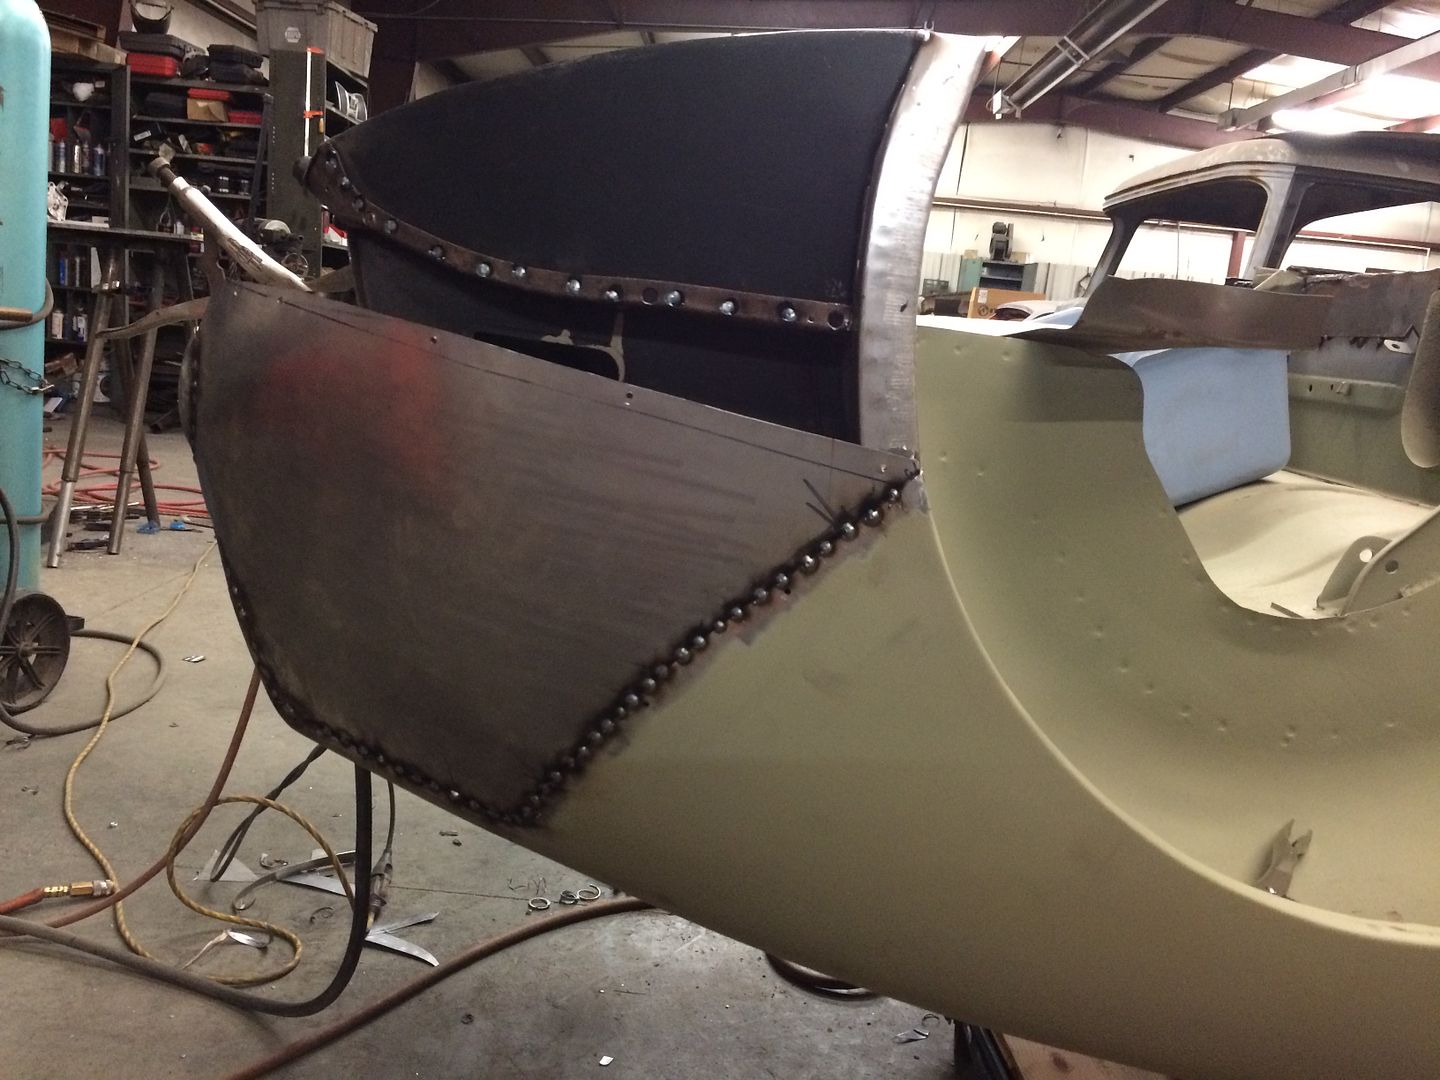
He is great at metal work in my opinion. I have dealt with many shops over the years both as a customer and supplying materials.


He is great at metal work in my opinion. I have dealt with many shops over the years both as a customer and supplying materials.


