
-
 Hey Guest!
British Car Forum has been supporting enthusiasts for over 25 years by providing a great place to share our love for British cars. You can support our efforts by upgrading your membership for less than the dues of most car clubs. There are some perks with a member upgrade!**Upgrade Now**
(PS: Upgraded members don't see this banner, nor will you see the Google ads that appear on the site.)

Tips
- We have a special forum called "Member Articles" where you can submit actual articles for consideration for publication. Learn More
- Don't have an Avatar? If not, your avatar will default to the 1st character in your username. Go into "Account Details" to change your Avatar.
- Some basic forum navigation info: click
 Hey - did you know if you click on the title of a thread it will take you to the first unread post since you last visited that thread?
- Hey Guest - Is your British Car Club in our Clubs database? If not, send me a PM - Basil

- Looking for a local club? Click the "Clubs" tab above and browse hundreds of clubs world-wide.
- Add Android or iPhone APP: click
- Did you know - any picture or video you add in your posts in any marque-specific forum will also get added to the Media Gallery automatically.
- A few more tips about posting and replying: click
- Hey there Guest - be sure to keep your profile page up to date with interesting info about yourself: learn more
- More tips and tricks on Posting and Replying: click
 but were afraid to ask:
  STOP!! Never post your email address in open forums. Bots can "harvest" your email! If you must share your email use a Private Message or use the
  smilie in place of the real @
- Want to mention another member in a post & get their attention? WATCH THIS

- So, you created a "Group" here at BCF and would like to invite other members to join? Watch this!
- Hey Guest - A post a day keeps Basil from visiting you in the small hours and putting a bat up your nightdress!
- Hey Guest - do you know of an upcoming British car event?
 Pretty Please - add it to our Events forum(s) and add to the calendar! >> Here's How <<
- Hey Guest - you be stylin' Change the look and feel of the forum to fit your taste. Check it out
- If you run across an inappropriate post, for example a post that breaks our rules or looks like it might be spam, you can report the post to the moderators: Learn More
- If you would like to try some different "looks" or styles for the site, scroll to the very bottom, on the left and click the Style Selector.
You are using an out of date browser. It may not display this or other websites correctly.
You should upgrade or use an alternative browser.
You should upgrade or use an alternative browser.
Richmond VA 1960 Bugeye Bringing Miss Eva back to life.
- Thread starter hcallaway
- Start date
This was a mystery patch. I knew it was for an antenna. Not sure if this was the factory location.
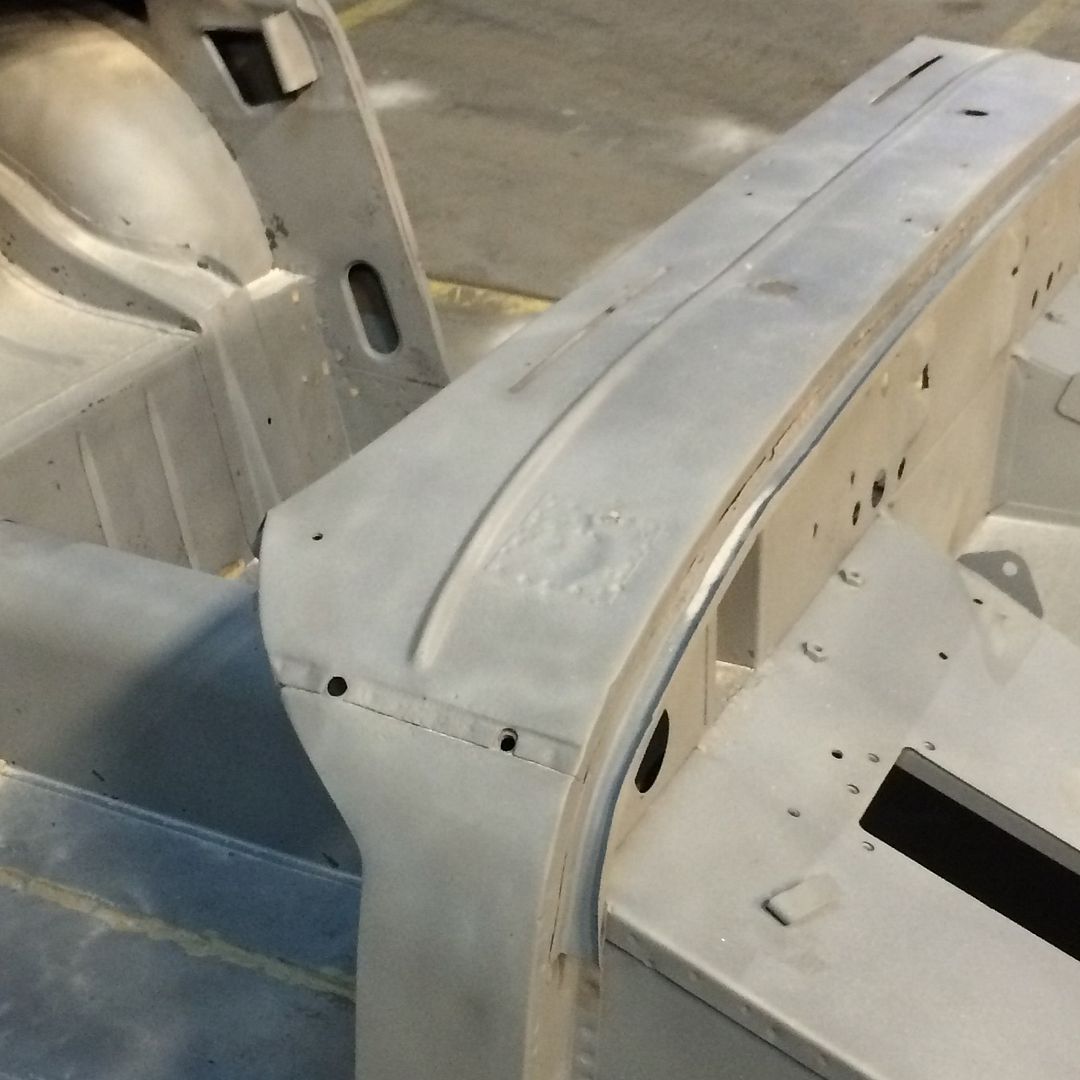
I would almost promise the patch was done at the factory. The metal is so thin, the spot welds were so small and precise. It would take a factory craftsman for the skill to do this. I cannot imagine why they would have done it unless it was a mistake of some kind. The metal under the patch was bare metal that had never been primed. I wonder if anyone has seen this before.
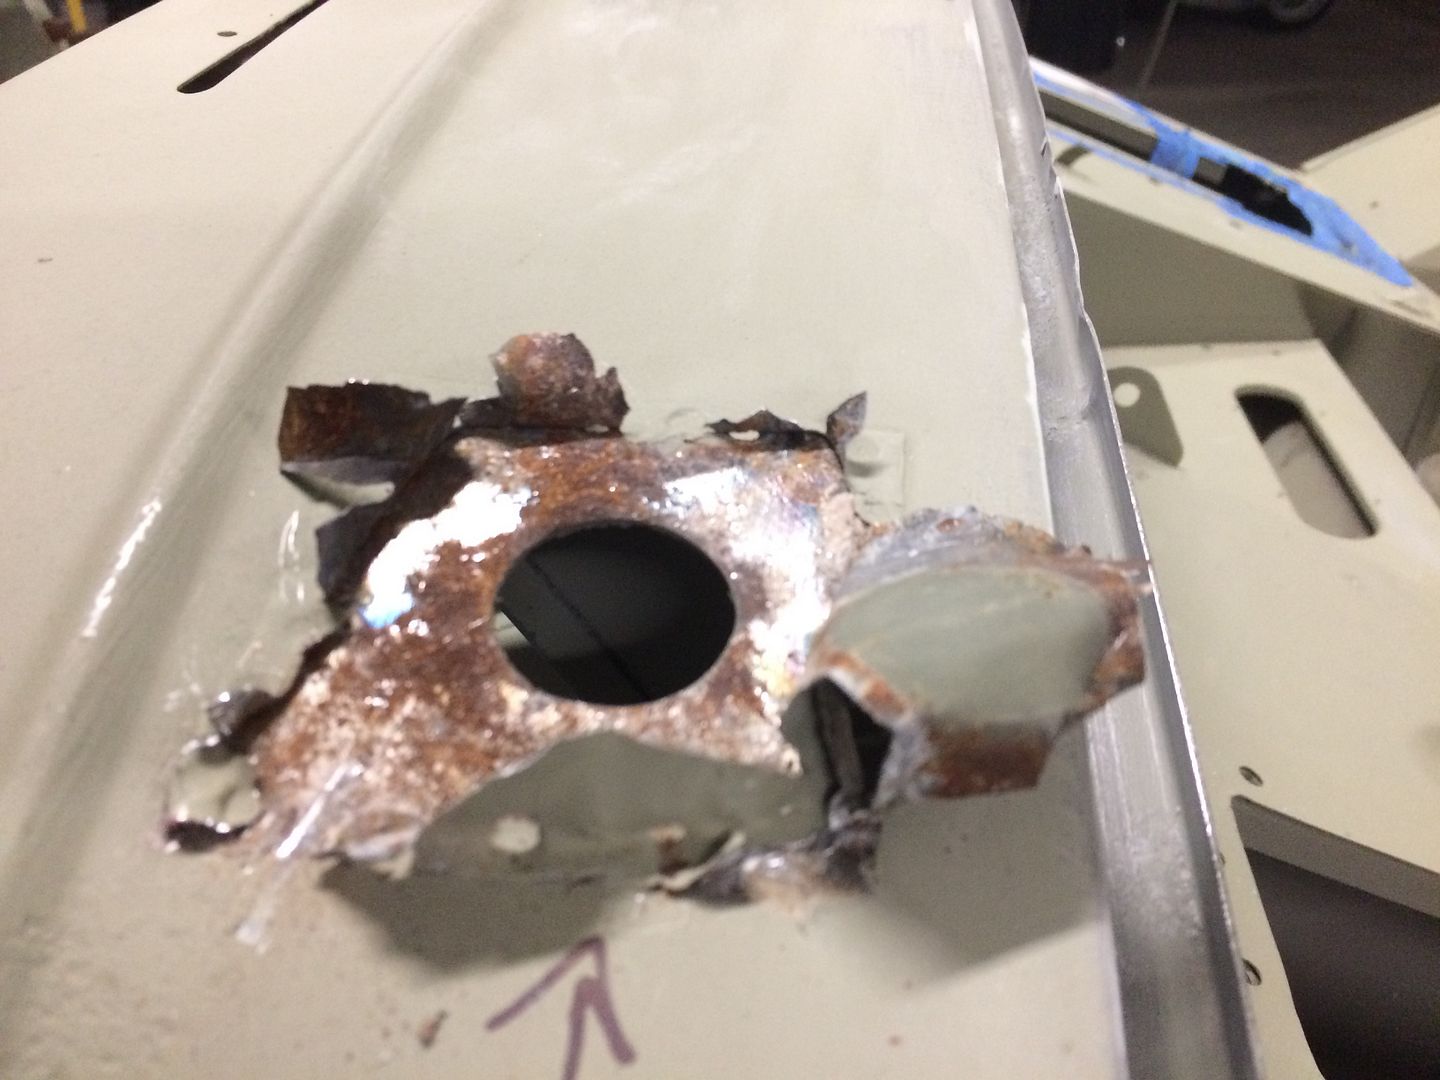

I would almost promise the patch was done at the factory. The metal is so thin, the spot welds were so small and precise. It would take a factory craftsman for the skill to do this. I cannot imagine why they would have done it unless it was a mistake of some kind. The metal under the patch was bare metal that had never been primed. I wonder if anyone has seen this before.


Jim_Gruber
Yoda
Offline
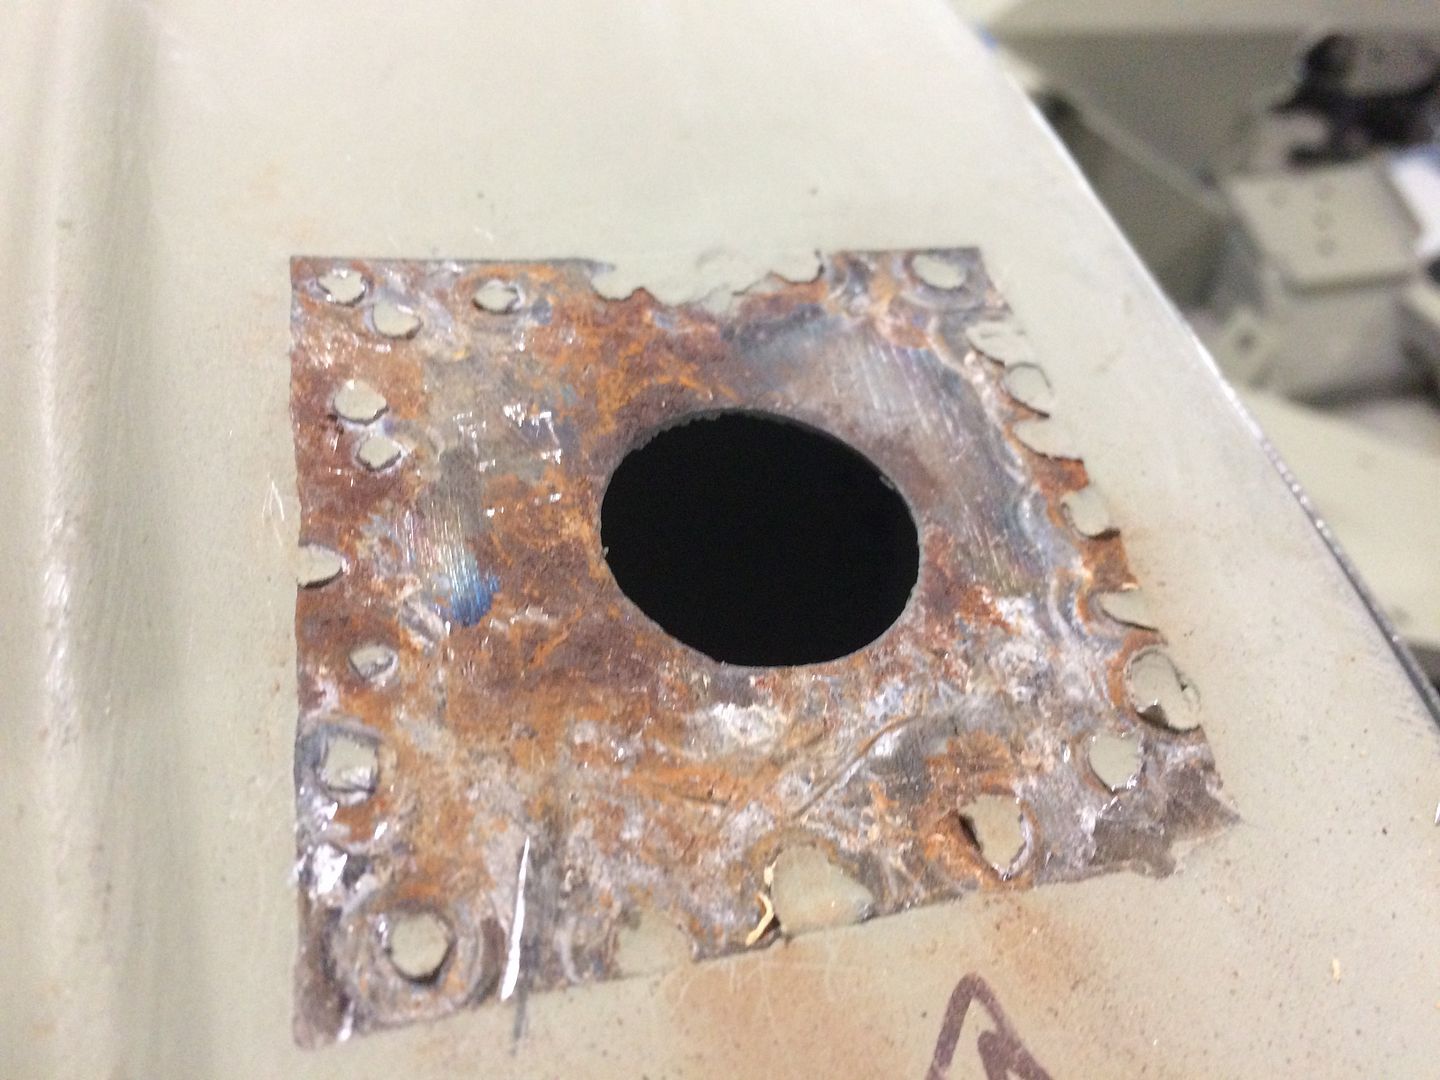
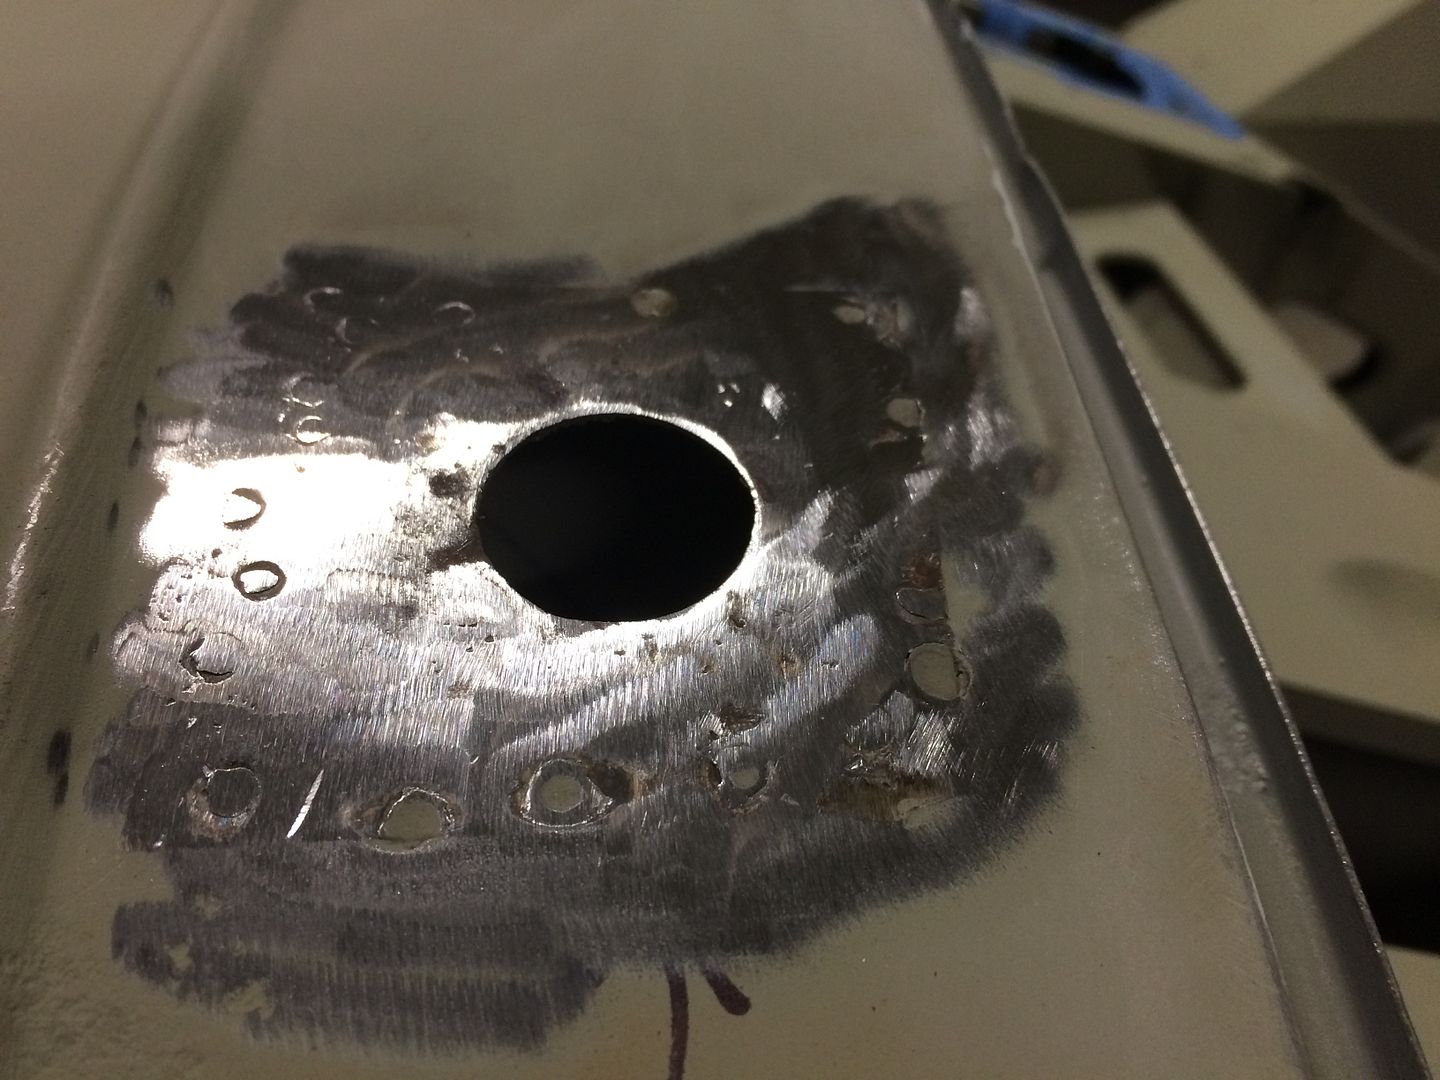
That hole was for radio antenna. Got the same thing on Bugsy IV.
BlueMax
Jedi Warrior
Offline
I too had the dealer installed antenna which I didn't want. I made a round plug and flush mount welded in place. I also lead filled that area prier to epoxy priming. It's all in the details when your looking at the final outcome, your doing a great job on your car!!


Jim_Gruber
Yoda
Offline
Alan,
On the list of things to do on Bugsy when he gets to paint next fall. I like the way you did this one,. I had a similar idea on how to fix.
Speedhut Gauges we discussed are ordered.
On the list of things to do on Bugsy when he gets to paint next fall. I like the way you did this one,. I had a similar idea on how to fix.
Speedhut Gauges we discussed are ordered.
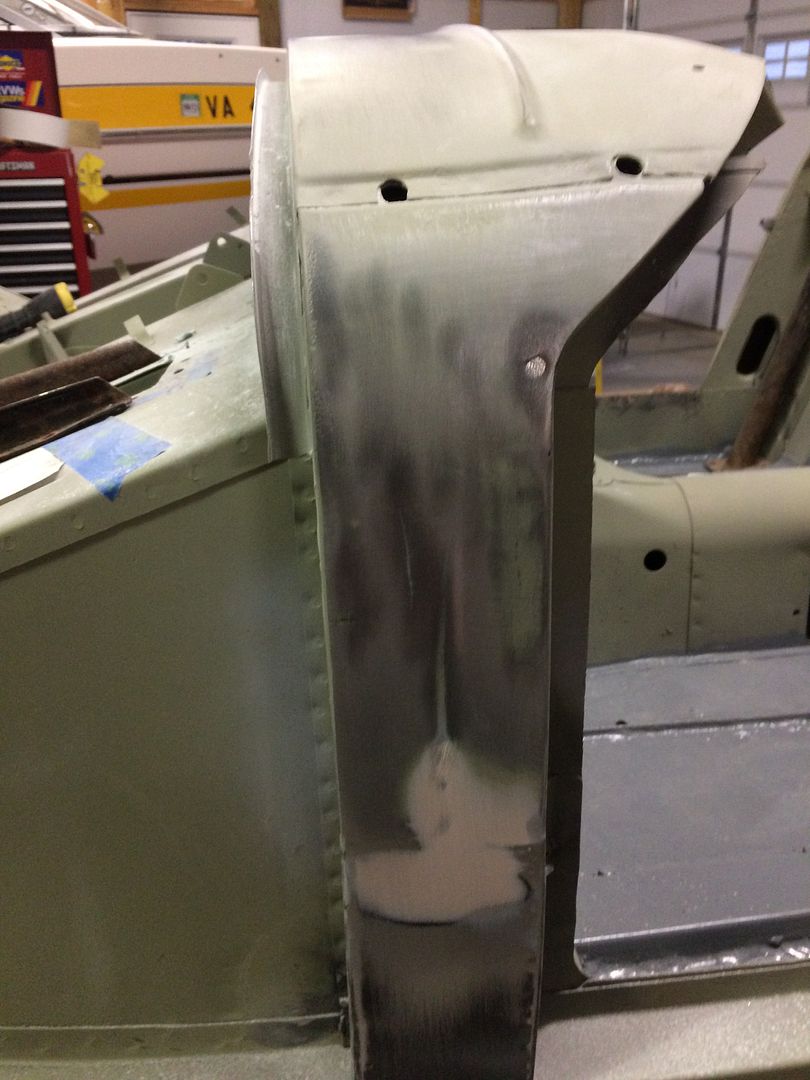
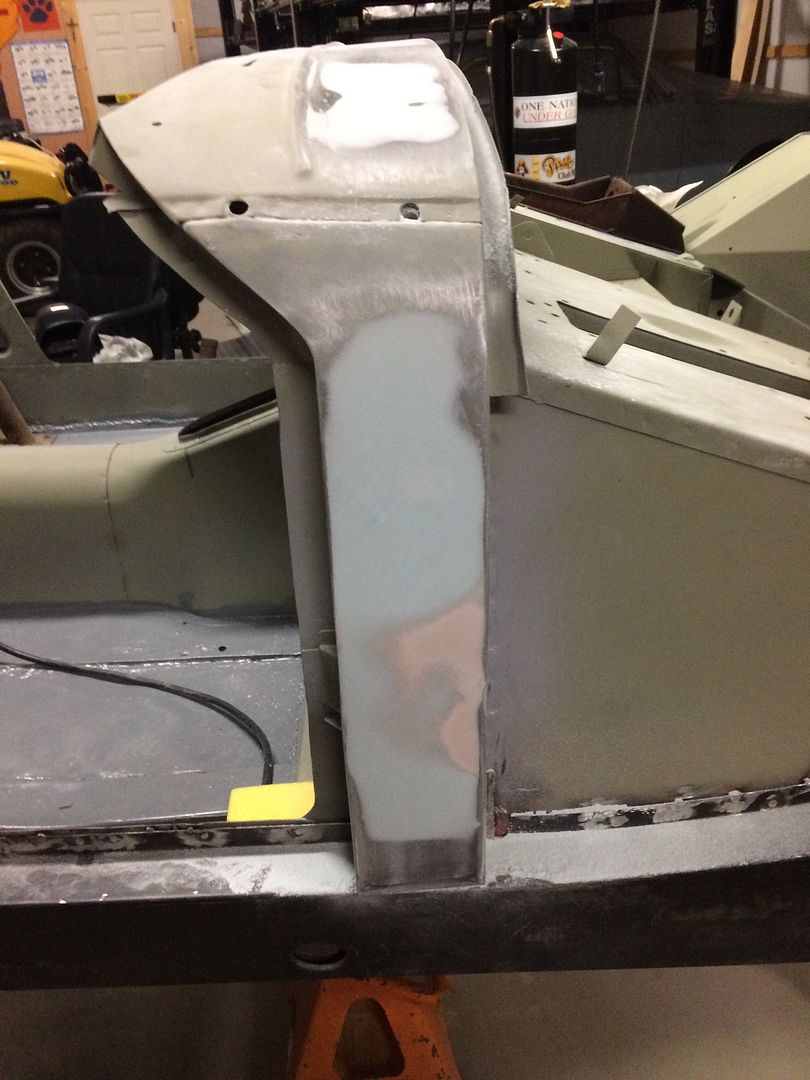
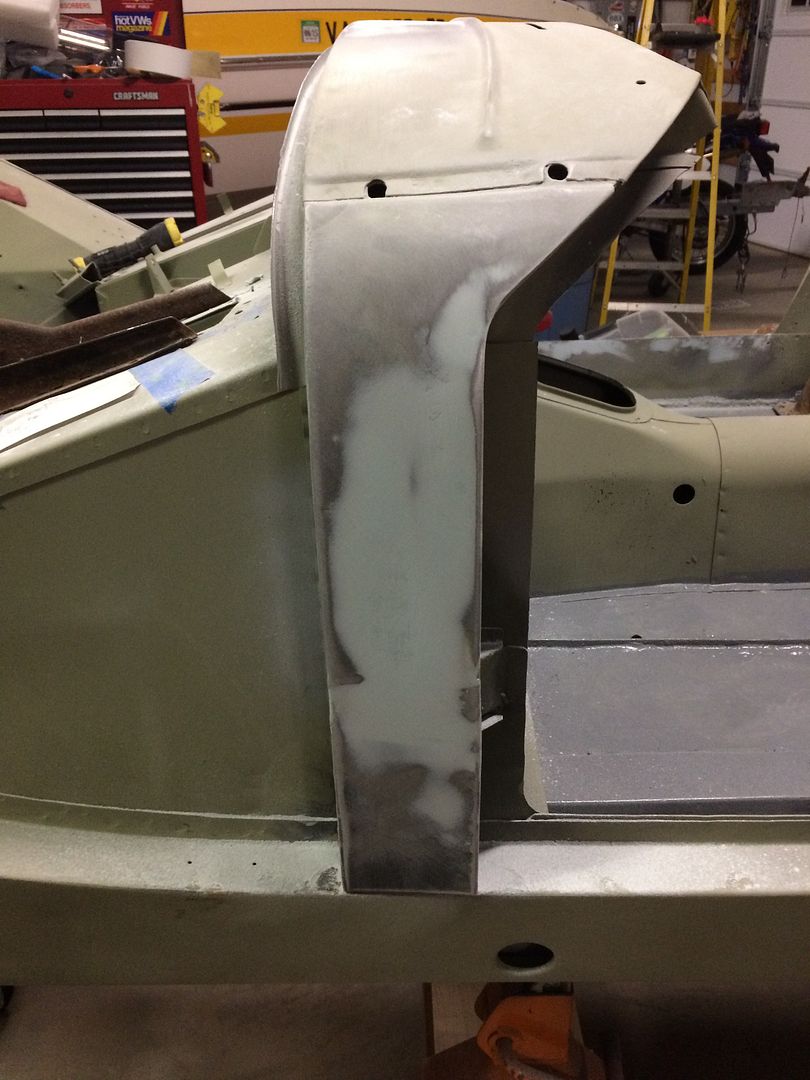
Starting to work the "A" Posts on both sides. Even with a number of pictures I still have at least 3 shots that could have been taken of filler then sanding then another application. Still will have to be blocked when I have addressed the entire body. I know I should stay on one section until completely blocked but I have to move around to keep my interest up. Also it seems when I come back I tend to see it differently.

Missing several sanding sequences.
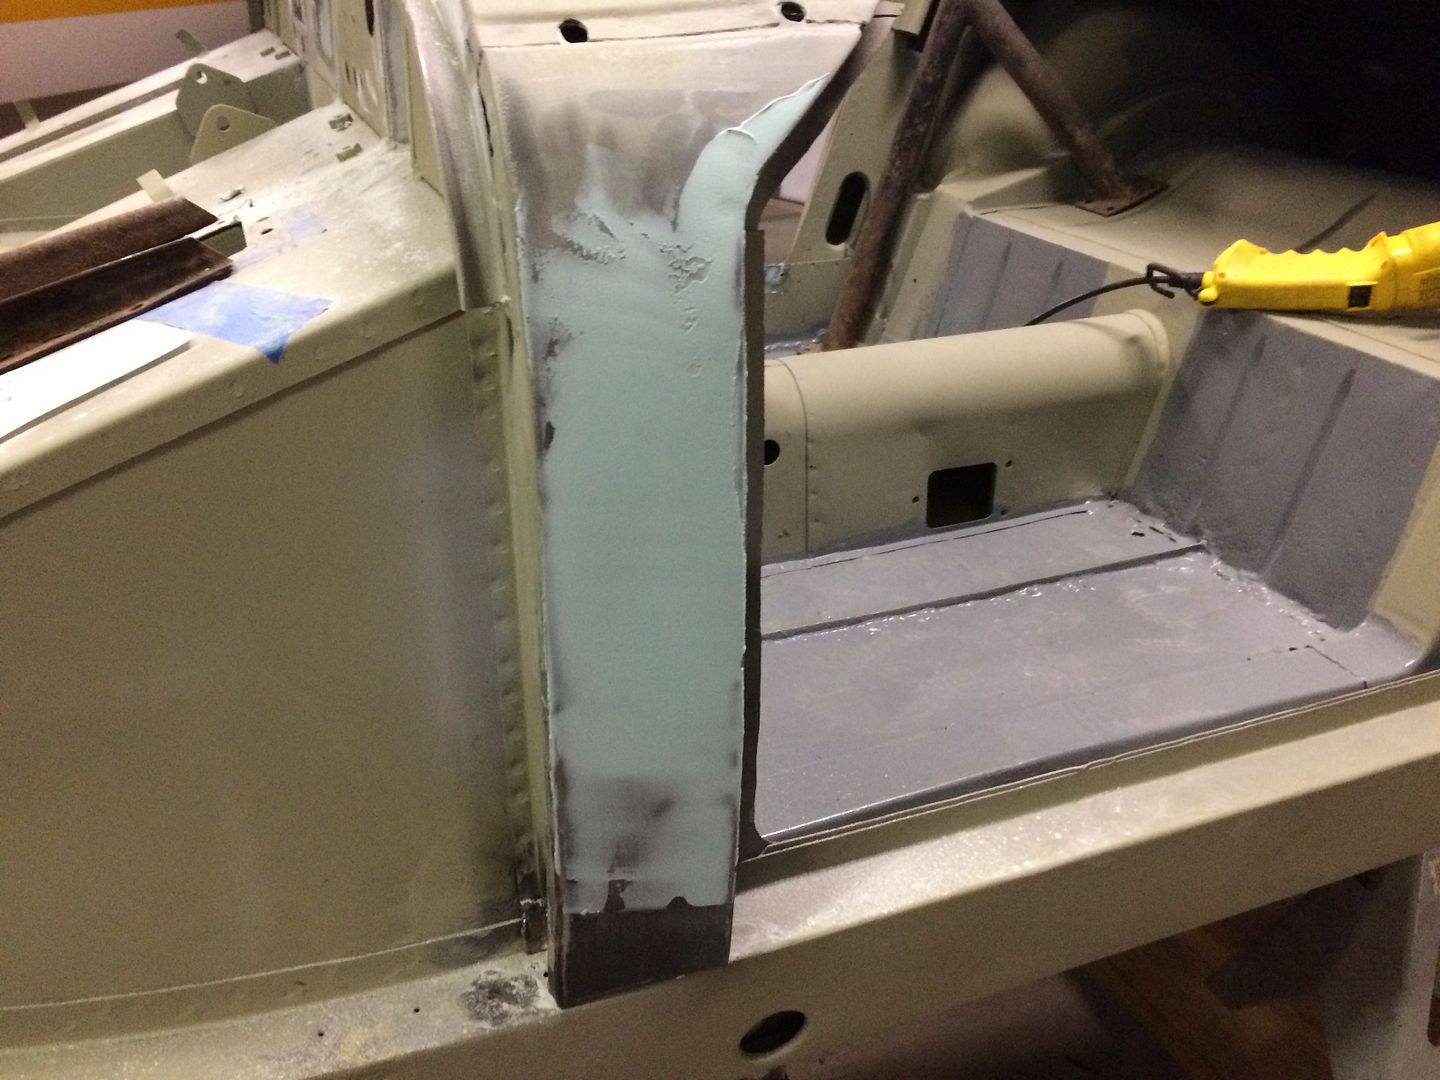


Missing several sanding sequences.


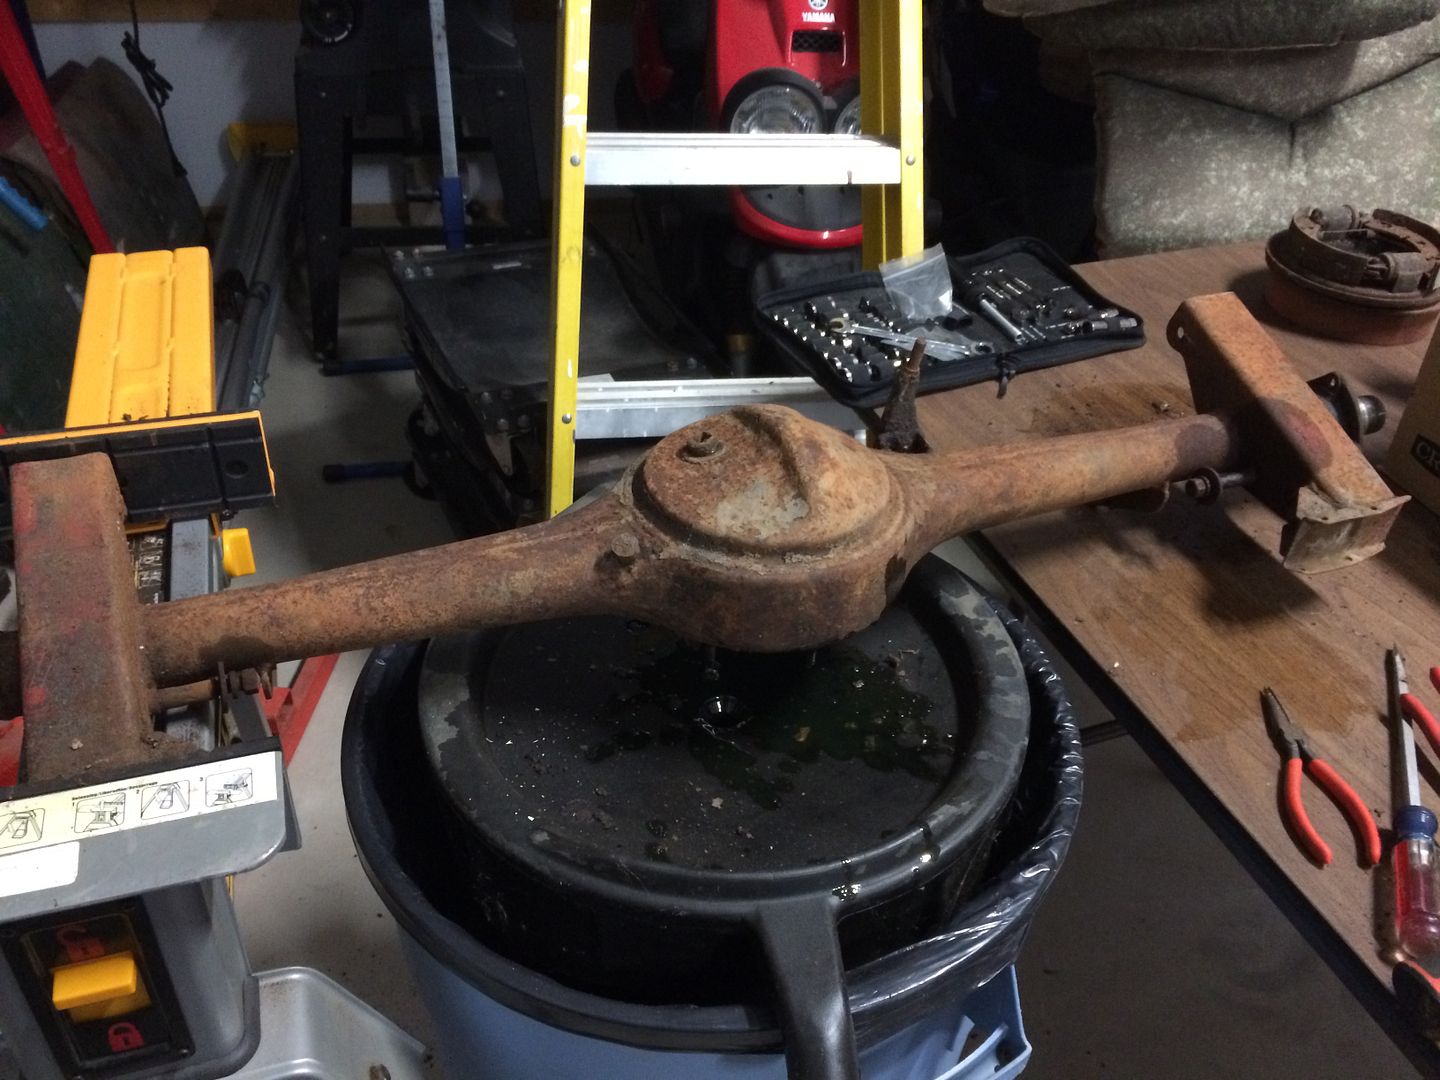
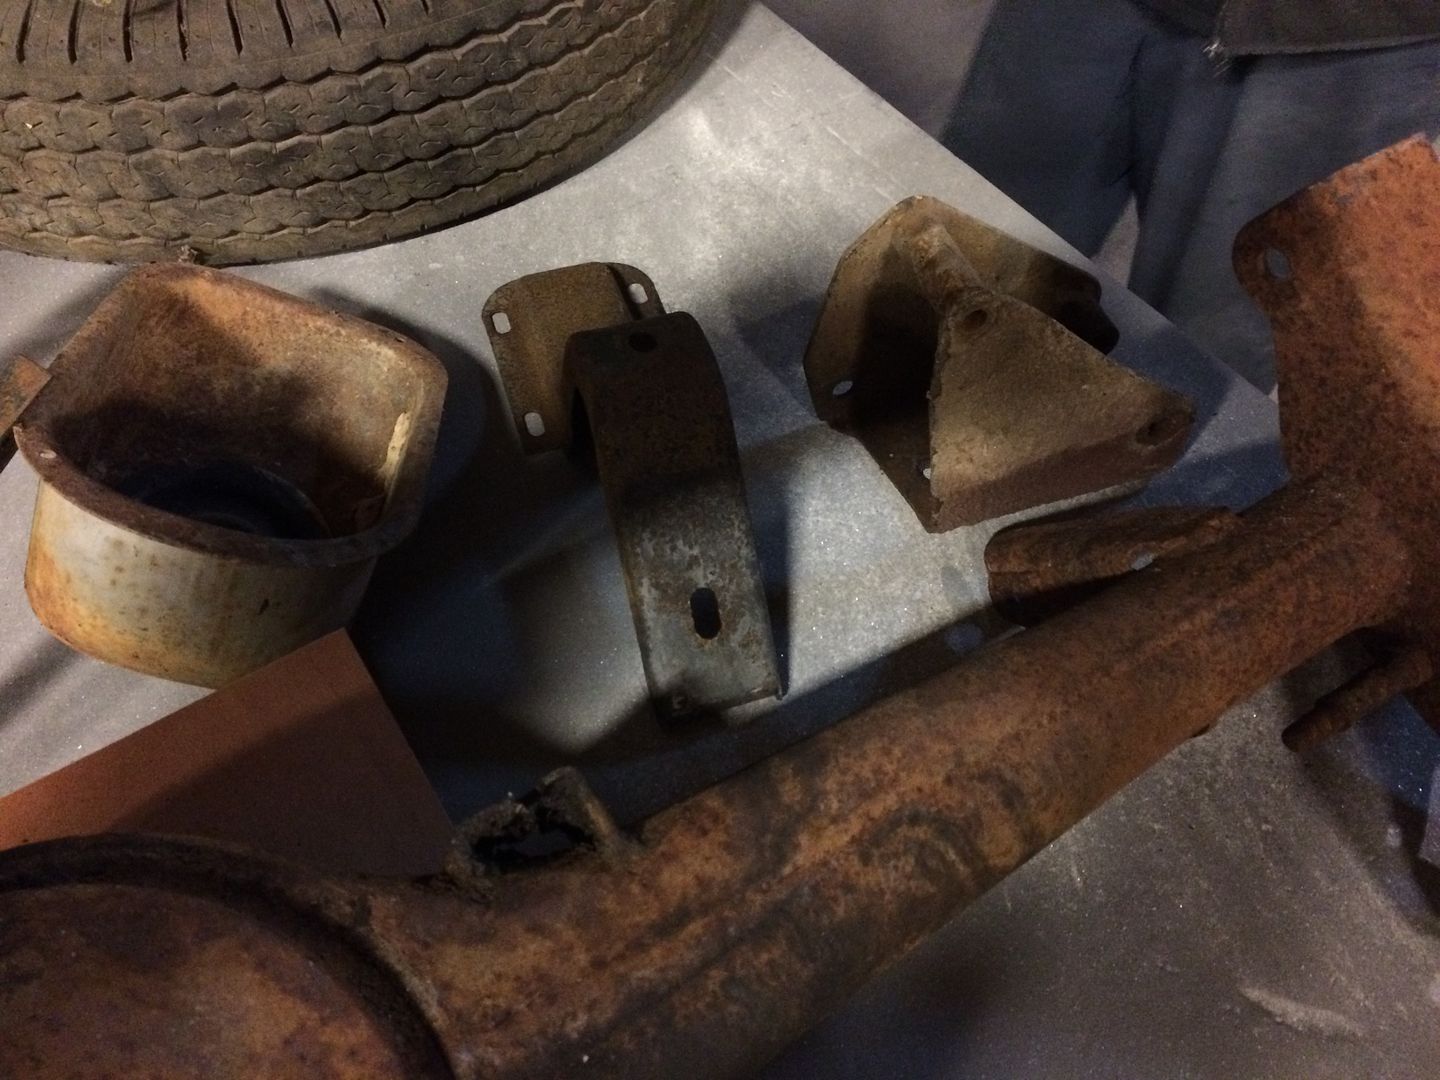
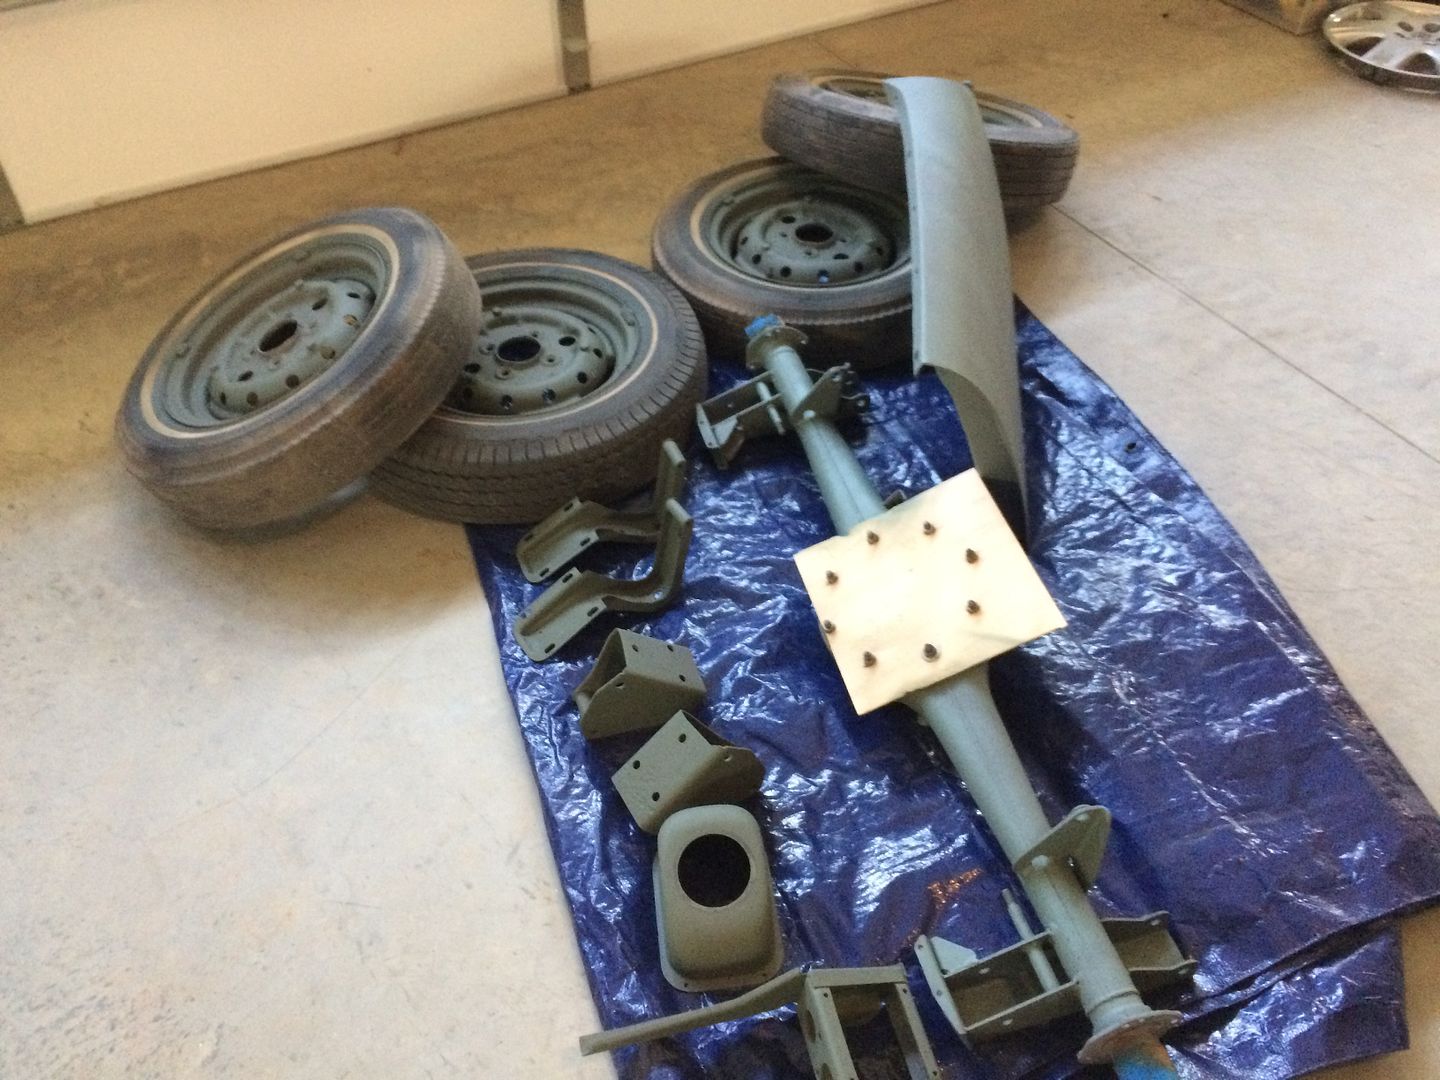
I started stripping the BE rear end. I tore it down and I hope I can use the parts car I have to rob the center section and I also plan to use the later model rear brakes and backer plates. Too cold today in Richmond for body work. Last night was about 18 and that is cold for our area.
This is my donor car. I am not sure of the year. I know the motor in it is a 1275.
I am not sure of the year. If anyone knows fill me in on it.
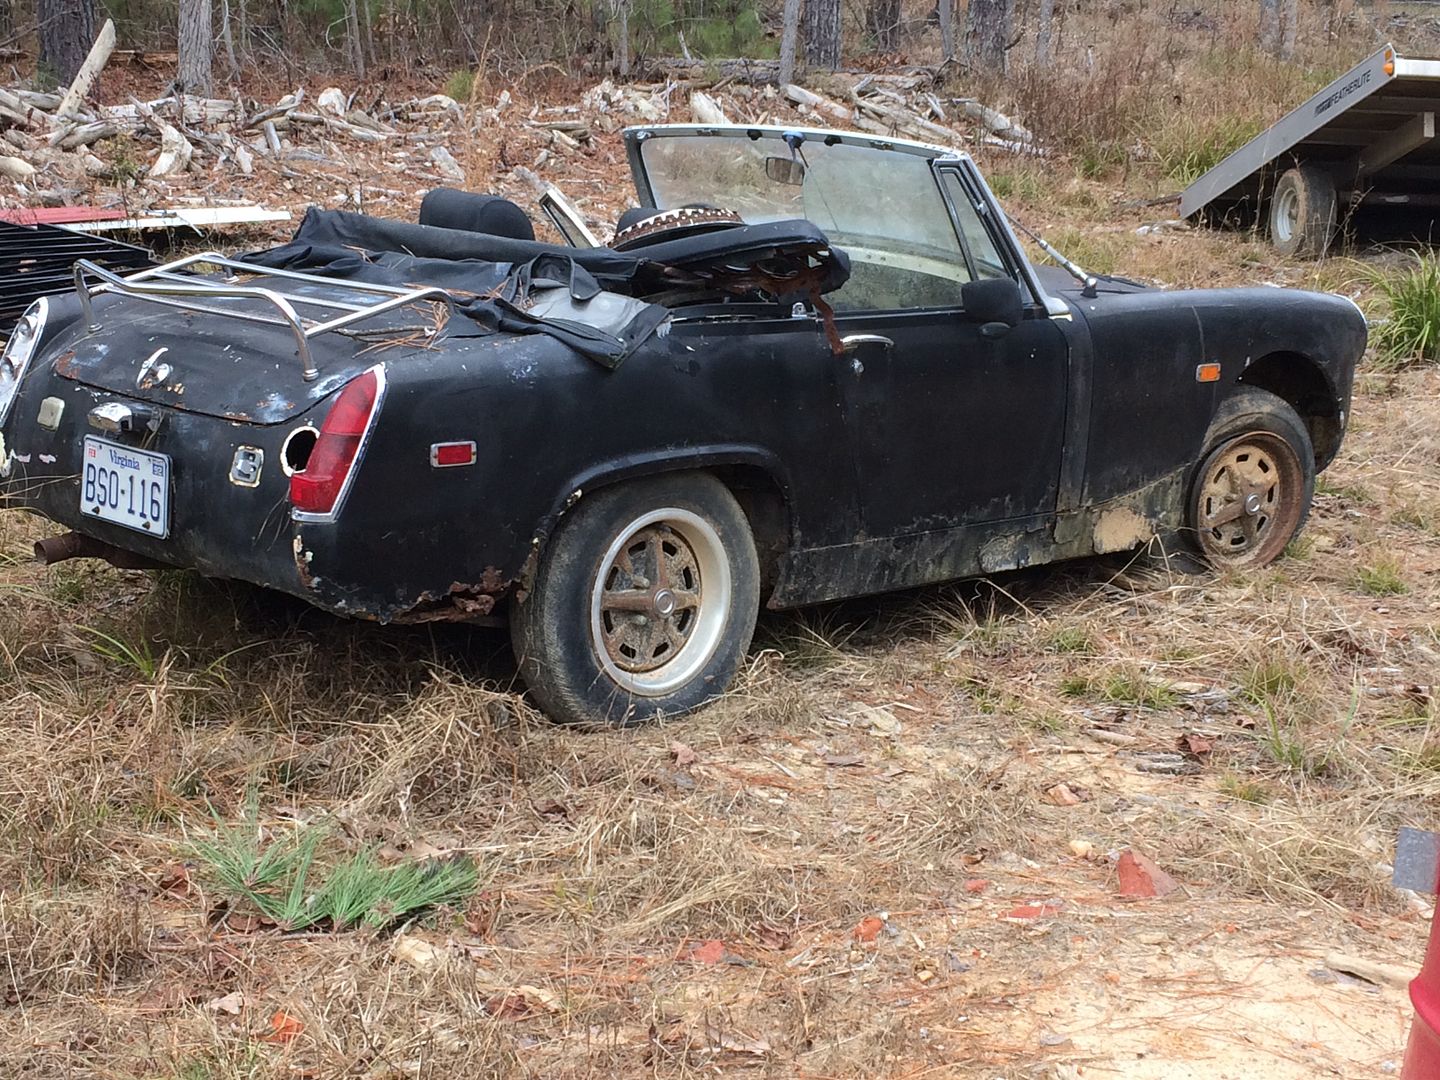

This is my donor car. I am not sure of the year. I know the motor in it is a 1275.
I am not sure of the year. If anyone knows fill me in on it.

Jim_Gruber
Yoda
Offline
We need a VIN # and can tell you the year
Offline
Just found your post today. Thanks for sharing it. I have to construct a rotisserie for my MKIII project. Can you share the dimensions and save me some guess work? Thanks.
Just putting it out there, I made my rotisserie with 2X4's - cost me peanuts.
No real measurements. Wood or angle iron between rear light holes and someway to catch the front end. Mine is simple and I am sure there are better designed ways.Just found your post today. Thanks for sharing it. I have to construct a rotisserie for my MKIII project. Can you share the dimensions and save me some guess work? Thanks.
No vin that I can find. I was guessing with chrome bumpers and square wheel arches and a 1275 that would narrow down the year. Also side markers might be a clue.We need a VIN # and can tell you the year
Jim_Gruber
Yoda
Offline
Materials Needed
6' 2 x 6 - 5' or so goes across the rear of the car and 3 pieces of 2 x 8 or 2 x 10 go across the 3/4" Plywood bolted to the radiator support bracket. They need to be through bolted together -
2 x 4' Piece of 3/4" Plywood cut to fit between Radiator Uprights - measure a 2 x 2 might be enough. Fit tightly and I drilled out to get next larger sized bolt in there. Tight fit help s to ensure strength.
Threaded Rod 7/16", Large Washers, Nuts, Bolts, Use threaded rod to go through the rotating piece on engine stand.
Bolts to fit radiator support openings
1 12' 2 x 4 for Center Support, OPtional 1 8' 2 x 4 for bolting larger wheels to engine stands
3 10' pieces of conduit, plus 2 conduit Couplers, Coupler holes need to be drilled so screws on coupler can go through conduit to eliminate a friction fit.
I added larger wheels, 2 that swivel with locks and one pair that did not swivel 6" wheels if within the budget. Purchased Large U Bolts that fit the bolt holes of the Wheels. Mounted through a piece of 2 x 4 with nuts on the bottom. Top of U Bolt goes over the top of the Engine Stand Outrigger. This serves two important purposes 1) bigger wheels make it easier to move around and locks help to keep it in place. 2) the piece of 2 x 4 bolted to the bottom of the engine stand along with wheels give you and additional 4-5" of ground clearance. Enough to allow you full 360 degree rotation. Tractor Supply and Harbor Freight provided Wheels. Swiveling Wheels w Locks came from Tractor Supply.
Jim_Gruber
Yoda
Offline
Bolts go through tail lamps opening. If I was to do again I would consider a L shaped bracket that used the bumper mounting holes in the trunk. Since I was going to need access to do repair back there I choose the tail lamps. Use large Rubber washers and a piece of wood back there inside the trunk as backing plate for the 2 x 6" Board.
To lift the body on to the rotisserie, I used 2 large Eye Bolts screwed into each end of the 2 x 6 along with a piece of rope that led to a chain hoist in the rafters of my garage. To lift the front, find 4 buddies, I recruited the crew of Grandsons who had just eaten Thanksgiving Dinner to pick up the front of Bugsy. Other wise an Engine Crane will do.
It is important that you be ready to attach the center 12' 2 x 4 to tie both ends of the rotisserie together. In my case I again used a long U Bolt to bolt the 2 x 4 as low as possible to the underneath side of the rotisserie, the two pieces of electrical conduit are used to square up rotisserie on both ends. Oh and the most important part. The Center Wheel of the Engine Stand is not used. If you look at the engine stand it is not level, designed that way so it can flex when you put a 500lb engine on it. Removing the center wheel allow the rotating piece of the engine stand to be at 90 degrees from the floor.
So without the center 2 x 4" Brace in place the rotisserie will look like this /----\ when you remove the overhead hoisting ropes. That can also do damage to the body. You want the center brace in place ASAP even before you lower the car off of the hoisting ropes. As a Result your rotisserie will look like |-----| this.
Additional questions 937-654-6388 is my cell.
Took some parts in to the blaster. He turned it around in 24 hours.
One perfect door out of two.
I had warned him about warping the flat panels on the doors. When he saw some bondo he backed off and just did a surface removal.
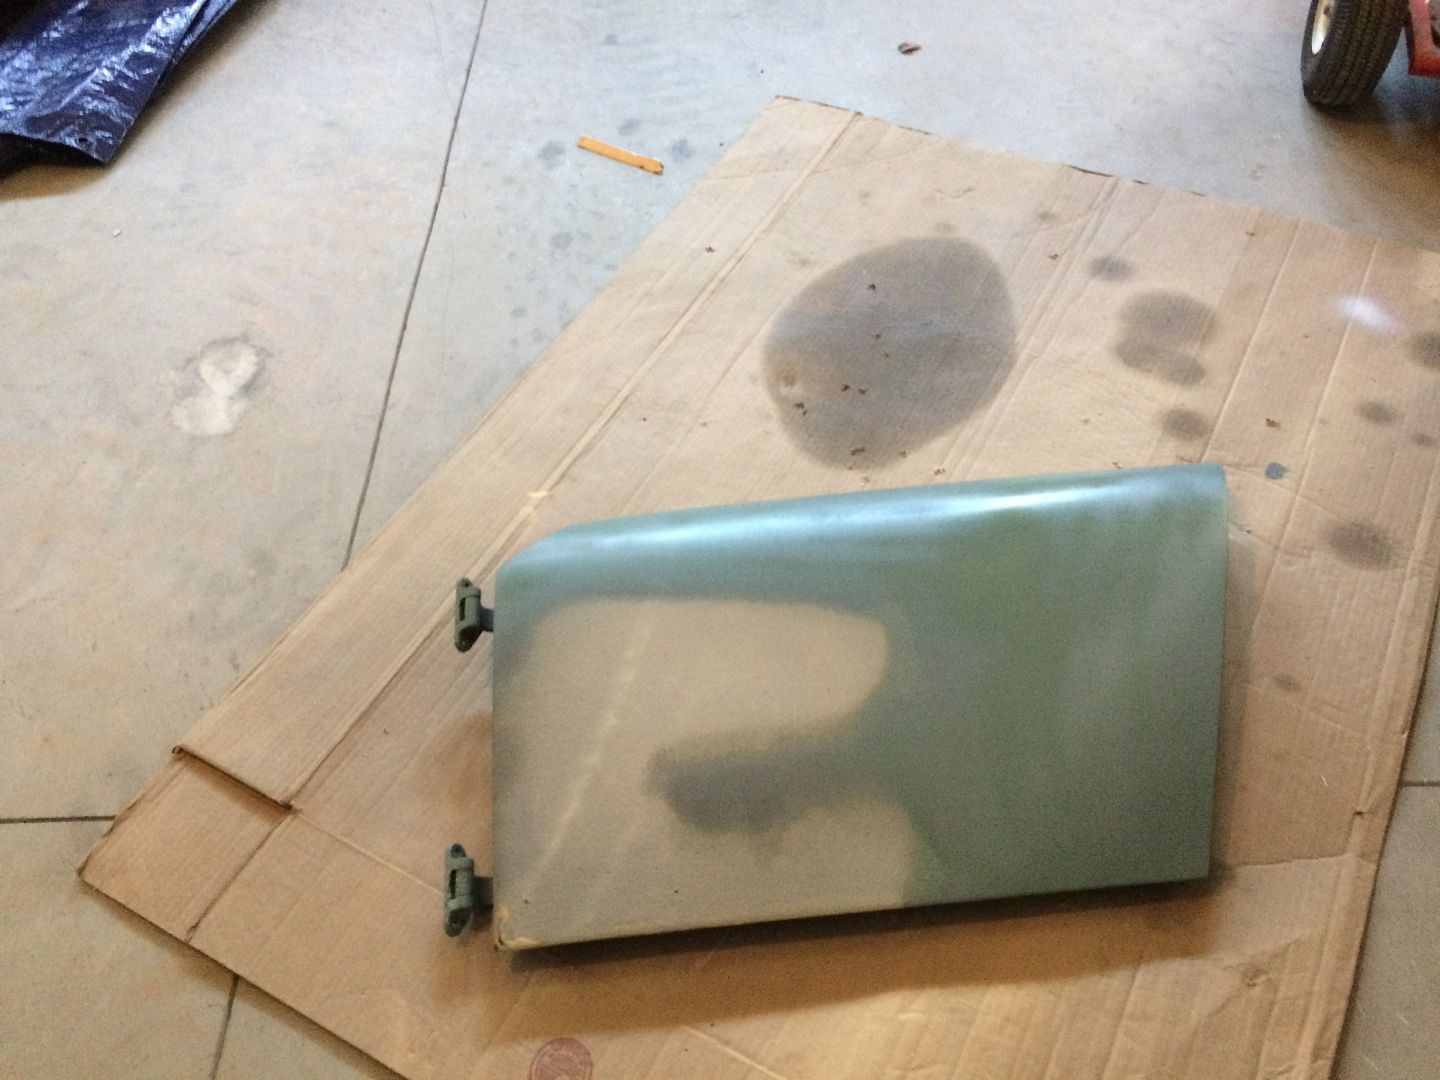
It ended up having a minor dent and rust in the bottom corner. Very easy fix.

One perfect door out of two.

I had warned him about warping the flat panels on the doors. When he saw some bondo he backed off and just did a surface removal.

It ended up having a minor dent and rust in the bottom corner. Very easy fix.

