• Hi Guest!
    You can help ensure that British Car Forum (BCF) continues to provide a great place to engage in the British car hobby! If you find BCF a beneficial community, please consider supporting our efforts with a subscription.

    There are some perks with a member upgrade!
    **Upgrade Now**
    (PS: Subscribers don't see this gawd-aweful banner
Tips
Tips

TR2/3/3A Beginning the TR2 Bodywork

Hello John

Thank you for the info.

A new thread for the interior work may be a good idea. Easier to find stuff.

David
 
Thanks so much John; it is just so much for me to take in, but it all makes sense when I see it being done. Thanks again John, and I will be looking over your shoulder.
Steve
 
I actually did get them from Northen. I used mostly 36 and 40 grit. After seeing how well the sander works, I might recommend a higher grit, like 90 or 100...so the hand finish work is a little easier when you get to it. Auto paint supply stores also sell the long strips, usually with adhesive. That way they don't need to be clamped on, and you just pull them off when used. Then they even sell it in rolls, so you just cut off what you need.
 
Thank you.
Our Northern Tool only has 5 strips in a pack packs for $6.00. Sound about right.

I have found them on line cheaper not sure of the quality.

David


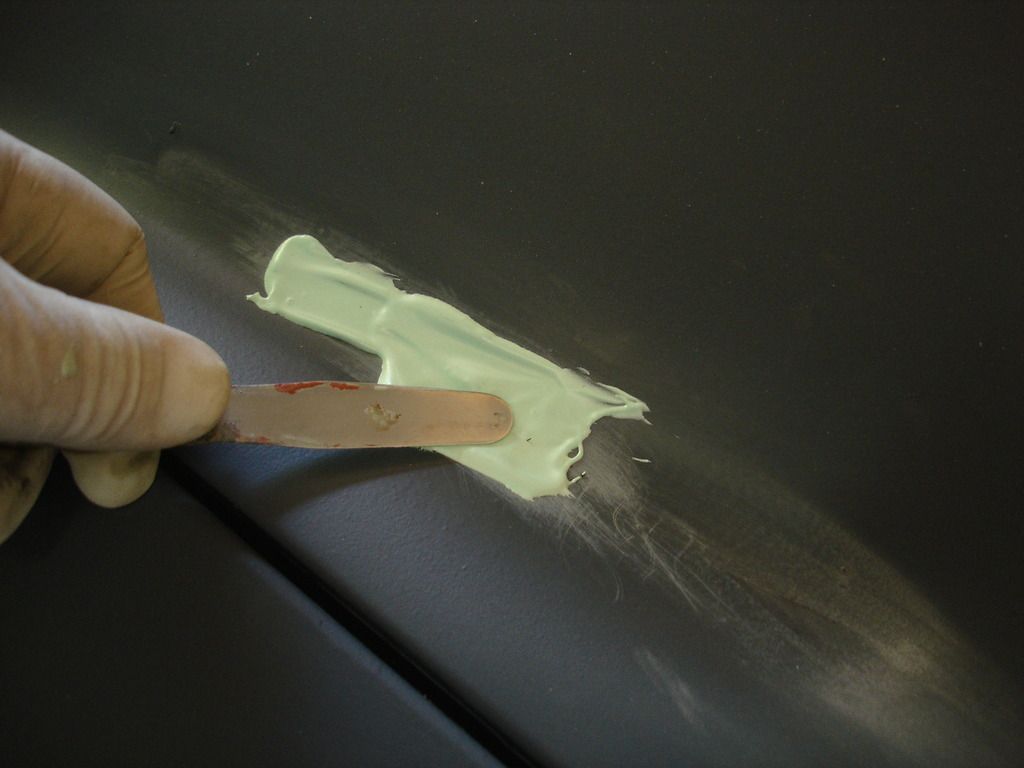
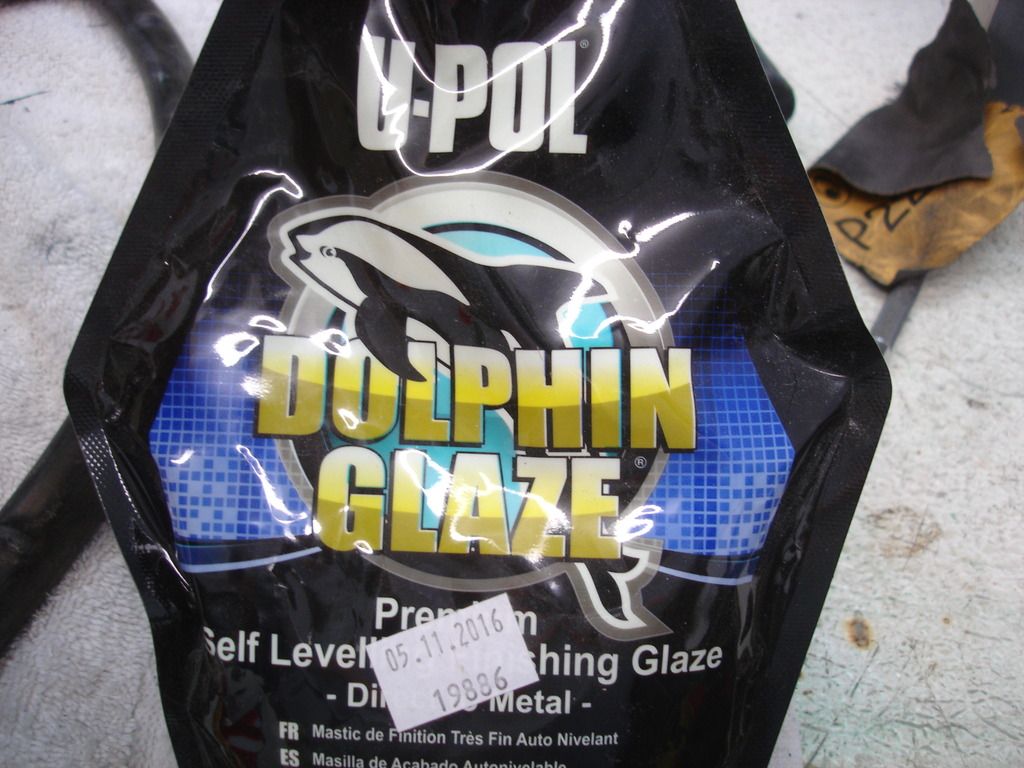
While I'm waiting for the primer to cure...I'll take care of my little bad spot on the bonnet. I have roughed it with 220 grit, and am now filling with my glazing filler.


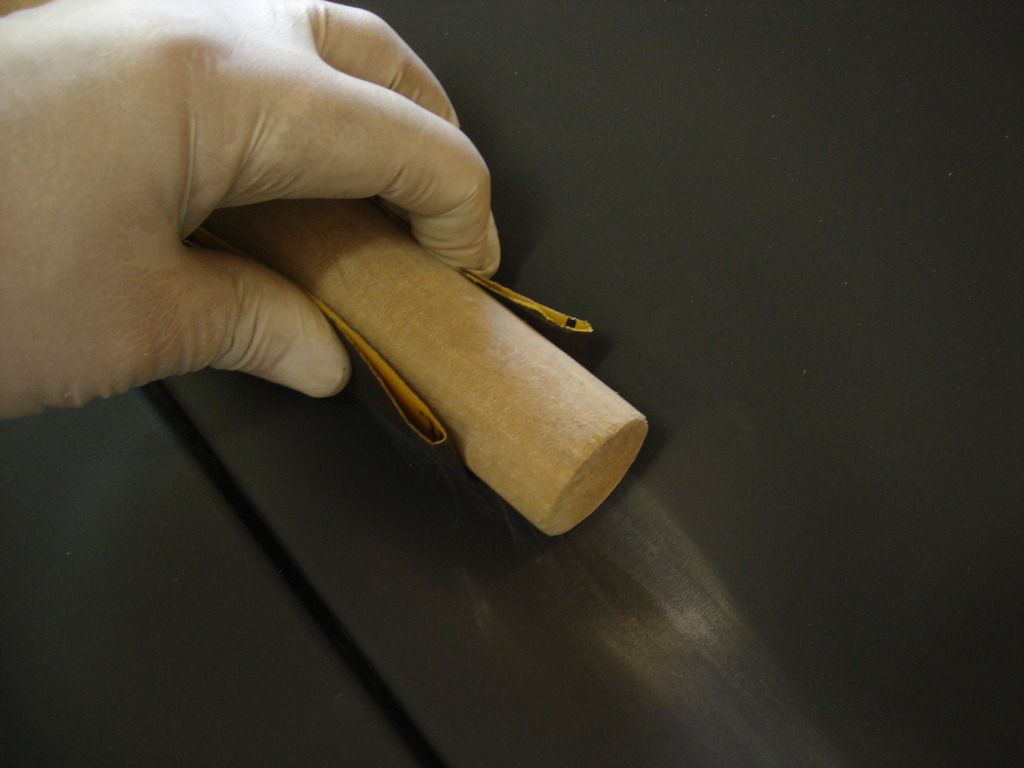
Once the filler has cured, I now sand the spot smooth with 220 grit on an appropriately sized dowel as a backing. Even for this we follow the rule of NEVER using our hands! Always use a block once you have reached the primer phase of your bodywork.


Here is what we have after sanding smooth.


Believe it or not, the primer I used 3 days earlier is still good. So, now we will re-prime this spot. Not the entire bonnet...just this area.


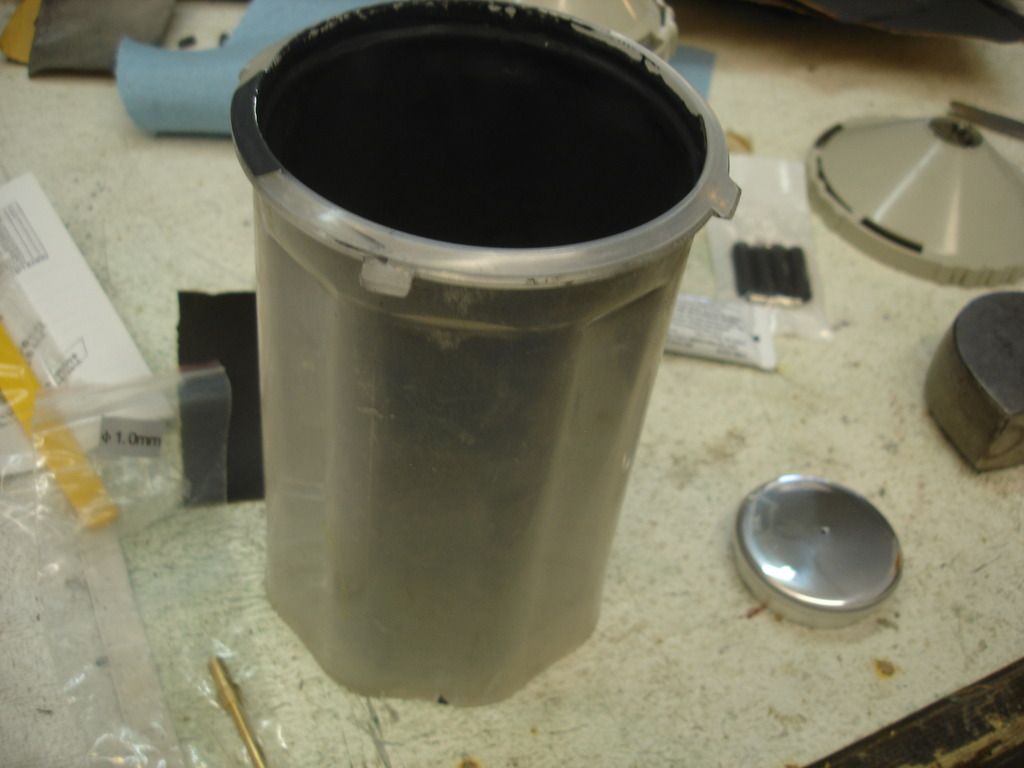
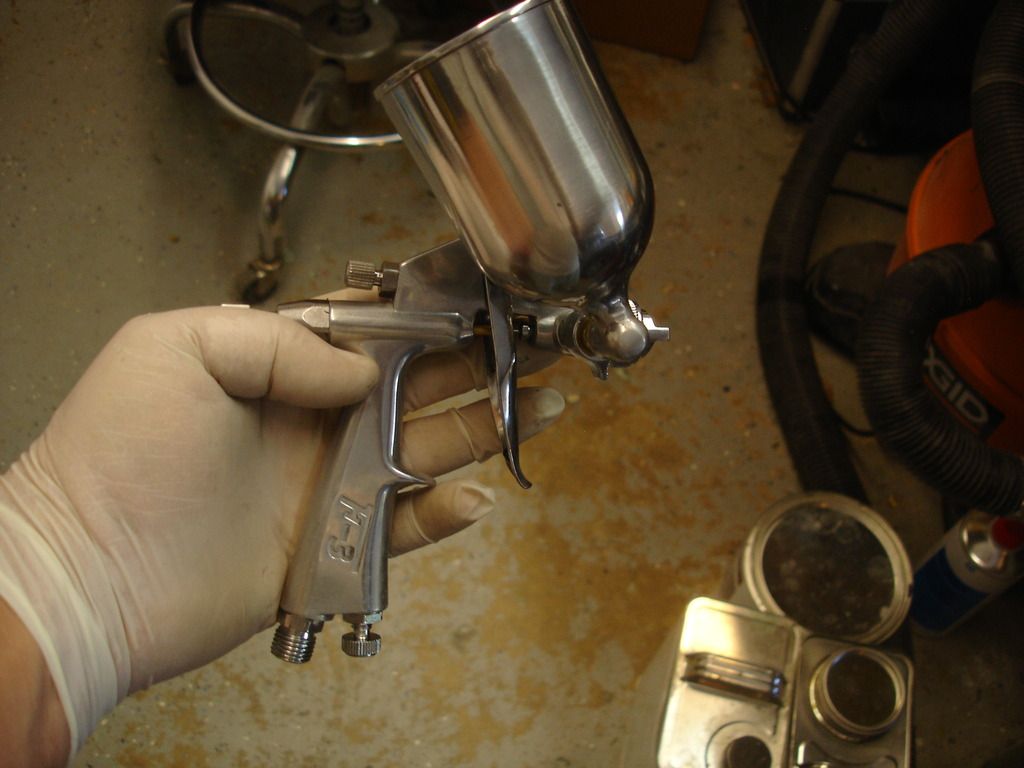
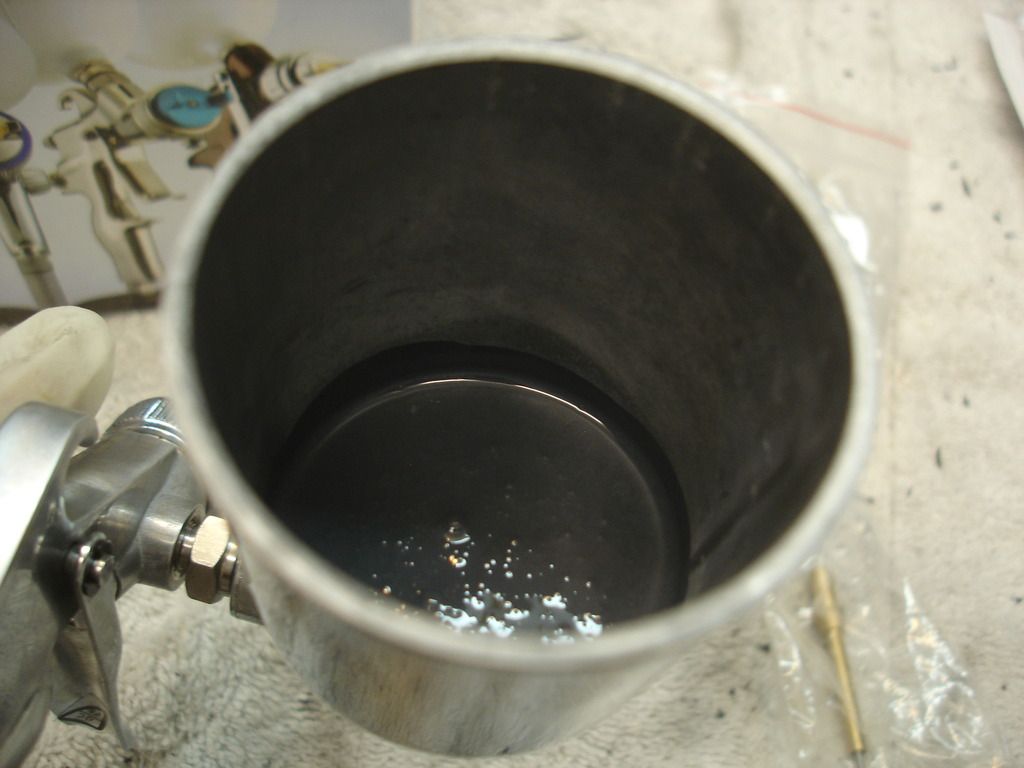
TCP global is a large mail order paint supply company. For $29 I got this little touch up gun with 3 different size nozzles. This is the perfect job for the small gun...although I wish it used the disposable cups! Cleaning is a pain, but not too bad since the cup and gun is so small.


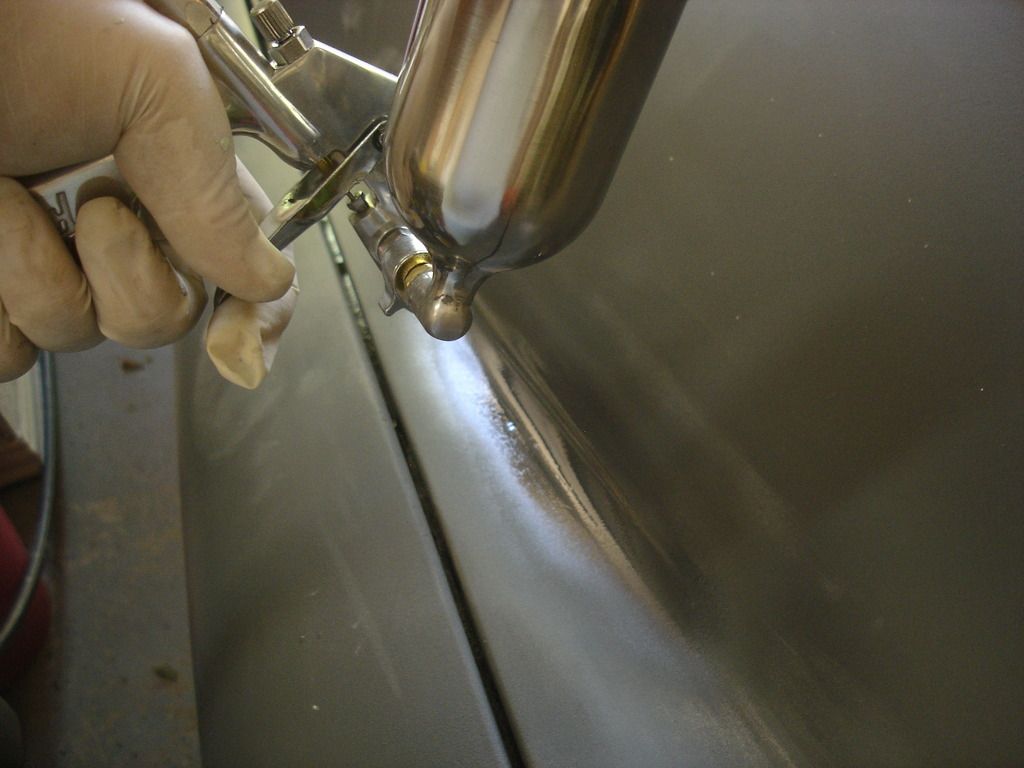
This gun has so little overspray and primer flashes to fast that there is really no need to mask anything. I am just going to lay 2 coats over our bad spot.


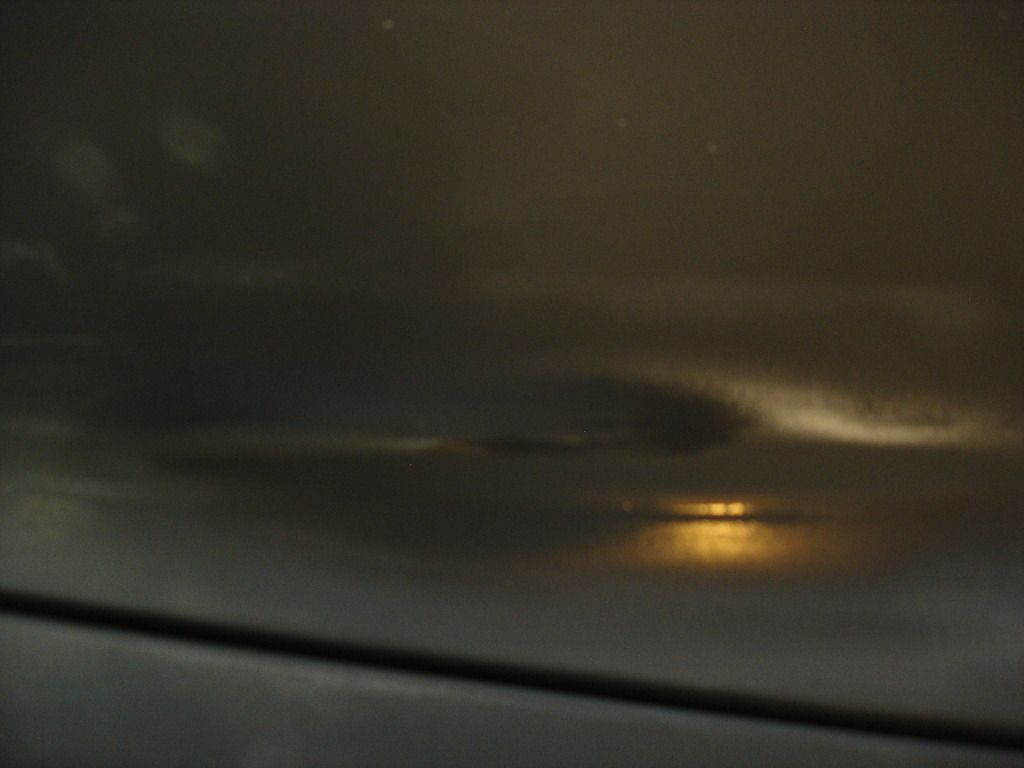
And that's it! The area is now back to prime, along with the rest of the car. It will now get wet sanded with 400grit as though it never happened. That's the cool part about bodywork!
 
Actually, it was! I always refrigerate my "hardened" paints to extend the pot life...but 3 days was surprising. In the summer it would have passed it's usable life in about 12 hours.
 
The last ebay TR2 basket case only went for $3249. Could have been better...

This one I find interesting as it is the same general colors I am using. It's not all that original, but still a good looking car...

https://m.ebay.com/itm/1955-Triumph-TR2-/282423891799?nav=WATCHING_ACTIVE

This one topped at about $14k. A little disheartening...but it did have some originality issues. If the TR2's don't come back up in price I may die with this one. My last Triumph outlived 3 previous owners!


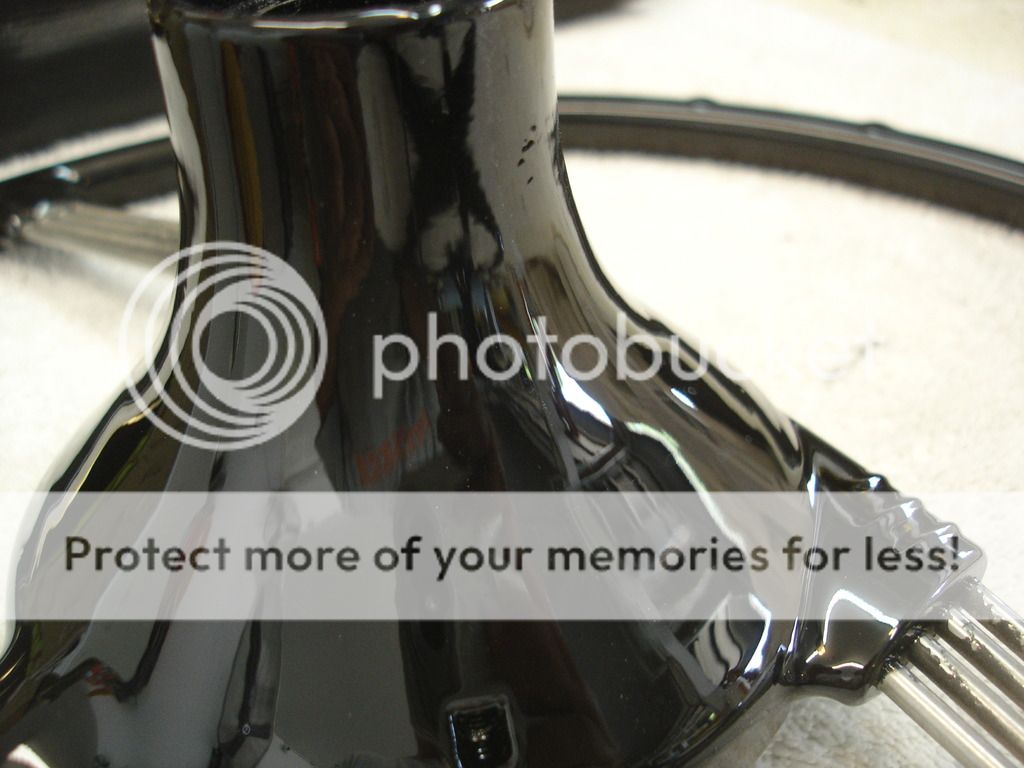
I am still paused on the bodywork while the primer cures, but I thought I would bring up some points about spraying paint. These 2 shots are of the steering wheels I finished painting with PPG DCU black base coat, and then DCU2002 PPG clear. I have not sanded the paint, and I have not buffed it.

What I want to point out is HOW to lay down color properly. Always lay in at least 2 coats. The first can be either a dust coat, or a careful wet coat, that only just covers the work.

The second coat is where you must learn to read your work. As you spray, the coat starts as dry. Dry coats leave little bumps, as the paint builds first in larger droplets...that are visible. If you stop spraying at the droplet level, and if following coats are layed dry also, then the droplets build into "orange peal". That's where the droplets accumulate, but never "flow" into one another.

So, never lay more than one coat dry...and that is only if you expect potential problems with compatibility between what you are spraying and what is already down. If you use good paints, that is NEVER an issue...so go for wet coats!

So, you started spraying, and you see the paint is laying dry. Slow down your motion across the work, to just the point where the paint changes from the obvious droplets, to the point the droplets "flow" together into a smooth, mirror wet patch. Here is the problem!! When you take a dry spot and go back over it so that it flows together and looks beautiful...it is human nature to think "OMG that looks great! I should hit it again and it will look even better!" DON'T! When you reach the flow stage...especially on vertical panels, you are very close to the run stage. To repeat...once you achieve flow, you are very near the run stage, so STOP SPRAYING THAT SPOT!

Back to the pictures above. I was working on very small areas when spraying these wheels, so I could monitor my progress closely. I layed 2 coats of color, both wet. I then layed 3 coats of clear, also wet. To assure no runs, I allowed 15 minutes or more between sprays. Waiting is important! If your paint is in that sweet spot between flowing and running and you hit it with more paint right away it WILL run.

Once you learn to read your spray, you can actually get a spray on the entire car to look like my wheels above. No sanding or buffing required...just a perfect glass finish!

To be fair, working with poor lighting that we do without a paint booth...it is not likely that us amateurs will ever spray an entire car without a single run, or dry orange peal area. Not to fret. Those can be fixed with careful sanding and buffing. But the Holy Grail of painting is to get an entire finish like on my wheels, through good spraying technique alone!
 
Very impressed with your build and all the tips along the way.

Referring to the paint on the steering wheel. How would you obtain this smooth finish on an entire car when you would have a larger area between painted and non-painted to try and get the paint to "flow" together as you moved over the body? Not saying that it couldn't be done, but just curious if there are tricks to keeping a wet edge to allow you to get back to it soon enough.

Like I said, it is the "Holy Grail" of painting! I am impressed that you see the difficulty...and often just plain luck...in getting a good spray.

You really have to plan the spray in your mind before the paint goes in the cup. You don't just start on one spot and circle the car spraying in the same direction. If you do, you will have a dry "edge" as you reach the first panel you sprayed that has had time to dry. Instead, you would start on, say, the bonnet, and go in an order similar to this:

Bonnet and scuttle left side.
Move over and spray the bonnet and scuttle right side.
Back to the left front wing
Over to the right front wing
Back and forth until you get to the boot lid and rear scuttle.

By going back and forth, you never have to lay the paint adjacent to a previously sprayed area that has had time to dry. You keep the edges of the work "wet" as you go. You use the largest gun tip and highest spray volume that you are comfortable controlling. Every panel should take no more than a minute to cover.

Of course, the next issue is that at some point you will have to add paint to the cup. You would like to add after finishing a complete panel, rather than running out half way through, say, a door. But, if you stop to add paint too soon, you may have to refill twice, instead of only once on the spray. You can combat this by having the paint ready to pour, so you loose little time adding. Or, you could even have 2 cups of the "Dekup" system all set up. When you run out, just invert the gun and change out the cups in a matter of seconds.

What is also a help with the color/clear paint systems is that the color could have a bit of stipple or orange peal, and the clear can "fill it in". The clear has an advantage (and disadvantage), in that it takes a good 10-20 minutes to "flash". That is much longer time than the color. You control the flash rate by using a high or low temp hardener and reducer. The goal is to have it flash over in a reasonable time, so you keep the wet edge, but not so long that runs and sags occur. In the winter the issue will be too slow of a flash...so you use a fast hardener and reducer, and just be aware as you spray that runs are possible if you spray the coats to close together. In the summer, you want the slowest flash possible, so you go with the slowest hardener and reducer ...and above 90 degrees it's best to not spray, as the clear flashes too fast to keep the wet edge.

Something to be aware of is that the color is thicker, and flashes faster than the clear does. The color will lay relatively thick and not run, as it flashes within a minute. The clear is much thinner...so you both have to adjust the flow down when switching to the clear AND make a mental note to not lay as thickly as you did the color. But, the thin viscosity of the clear allows much better flow characteristics.

That said...you cannot fix runs and sags in the color, as it gets covered by the clear. If the clear runs or sags, you can later sand and buff the run out. All of this runs through your mind as you spray! Coverage without runs while spraying the color. Good flow and wait times between coats with the clear. It sounds daunting, but it quickly becomes second nature as you get experience.

Another cool option with our Triumphs is that most of the large panels unbolt! It is a perfectly valid technique to remove the panels and spray one at a time. It allows you pay closer attention to your work when you work on one panel instead of an entire car. In fact...I have decided that I will spray my bonnet, boot, and doors off my TR2. I will leave the wings attached.

The only consideration with removing panels to spray is if you use metallic, flake, or pearl paint. With a solid color, you can spray any panel at any angle. In other words, I could remove the bonnet, which is usually horizontal on the car, and hang it vertically to spray. But, if you are using a metallic paint, you want to keep the bonnet horizontal to spray. Very important! The metallic flakes "settle" on the surface immediately after they are sprayed and before the paint flashes. If you don't spray the panel in the same orientation it'll be on the car, the metallic flakes will reflect differently between the panels. It is a subtle difference, but in certain lighting it will look "off"!

That's enough rambling...I hope I got to your question somewhere in all this!?!


I'm still a bit too busy with work to dive into the sanding on the latest coat of primer, but I am not happy with the underside of the bonnet. As you can see, the 2 full weeks of hammering shows up. I decided to re-do it.


Here I have "dry" block sanded the bad area with 100 grit paper. This will start to level the hammer marks. I am dry sanding because there is real horse hair under the bonnet bracing. I do not want it to get wet and hold water.


Here the underside is primed with high fill urethane primer, and then sanded with 400grit dry.


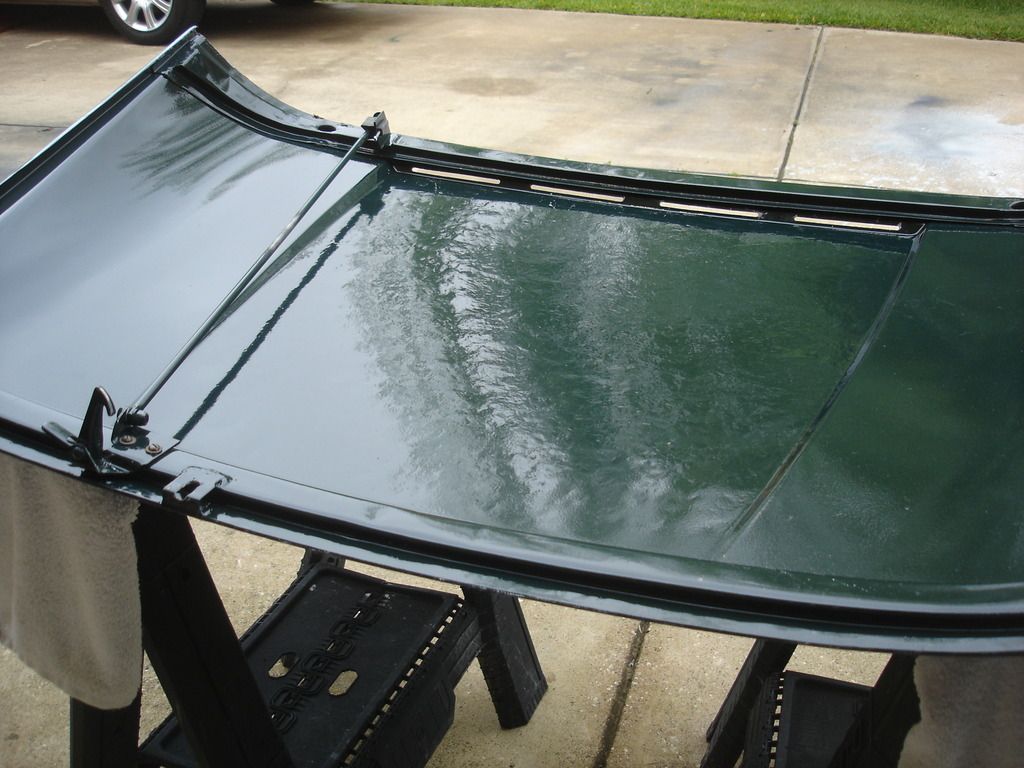
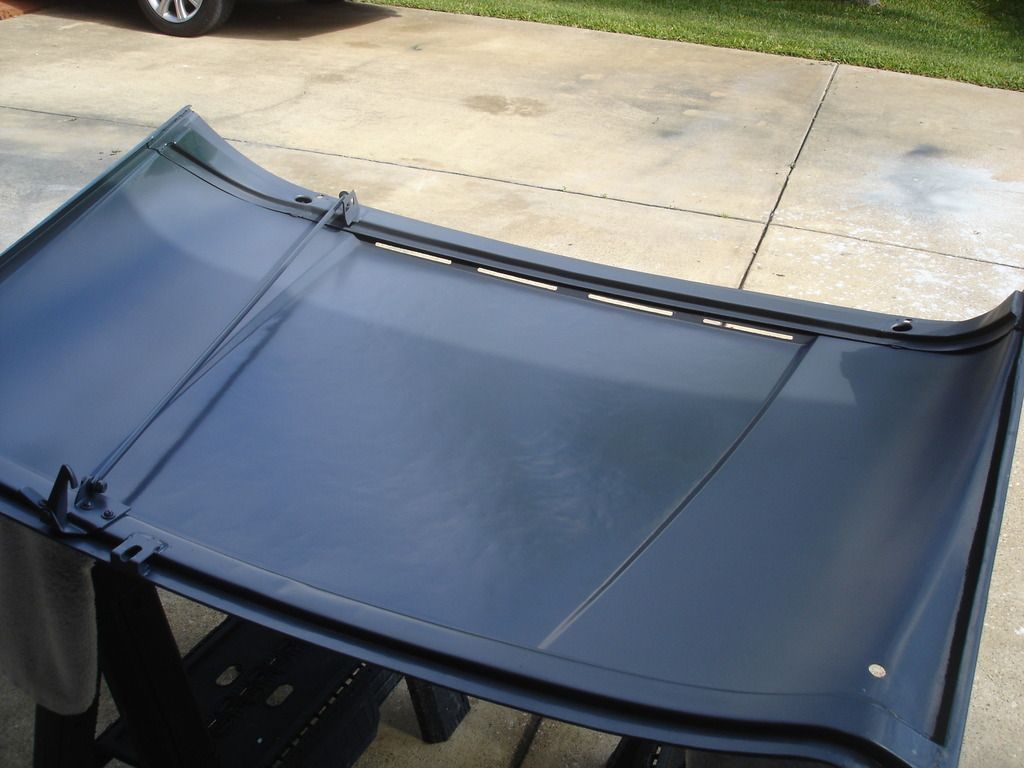
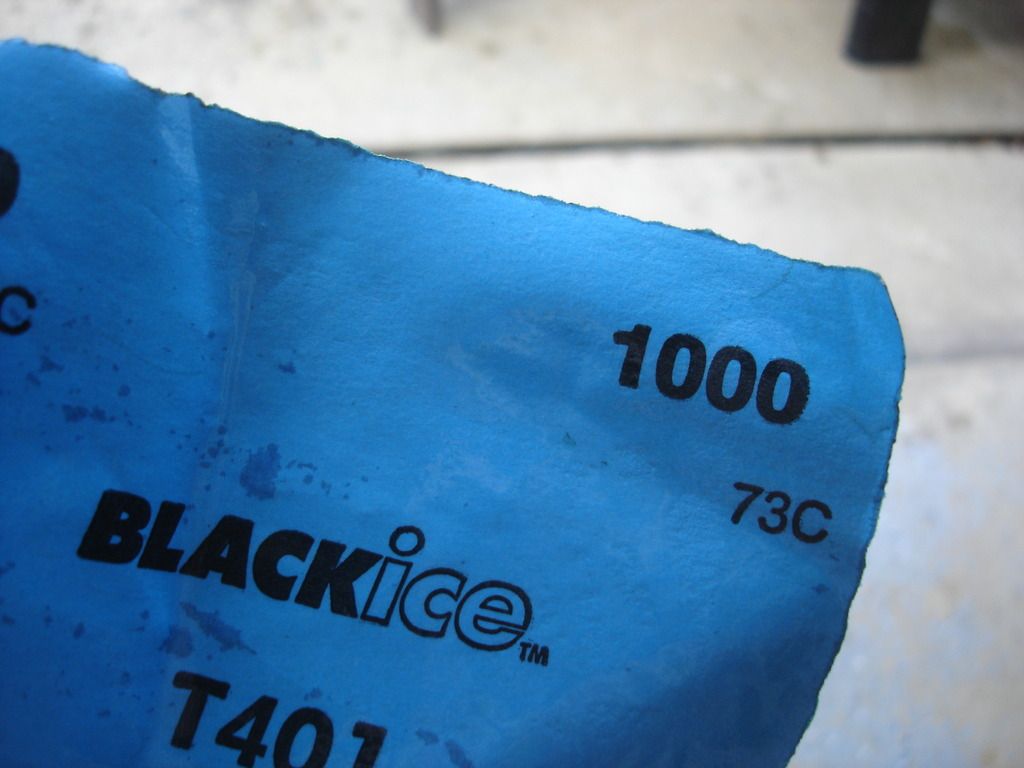
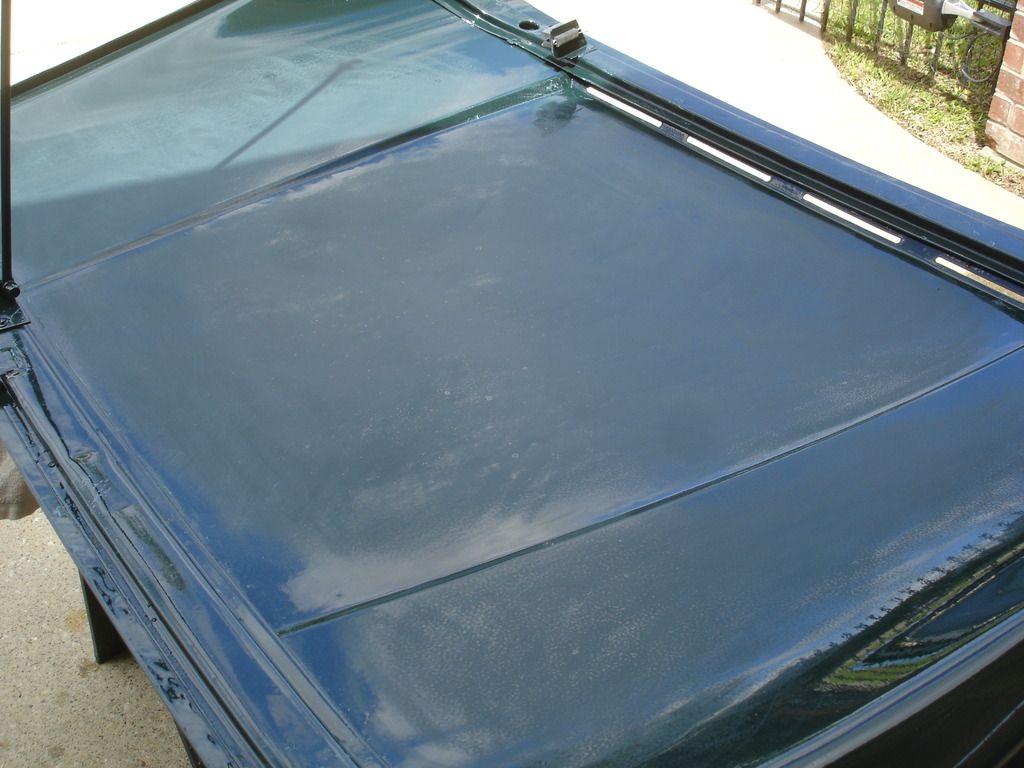
I have grown to dis-like the one coat urethane color (DBC). It looked perfect after spraying, but it developed some "stipple" as it cured. I will have to buff the stipple out. I will start by sanding with 1000grit wet paper.


Here is the sanded underside. It is only sanded enough to remove the stipple, and no more.


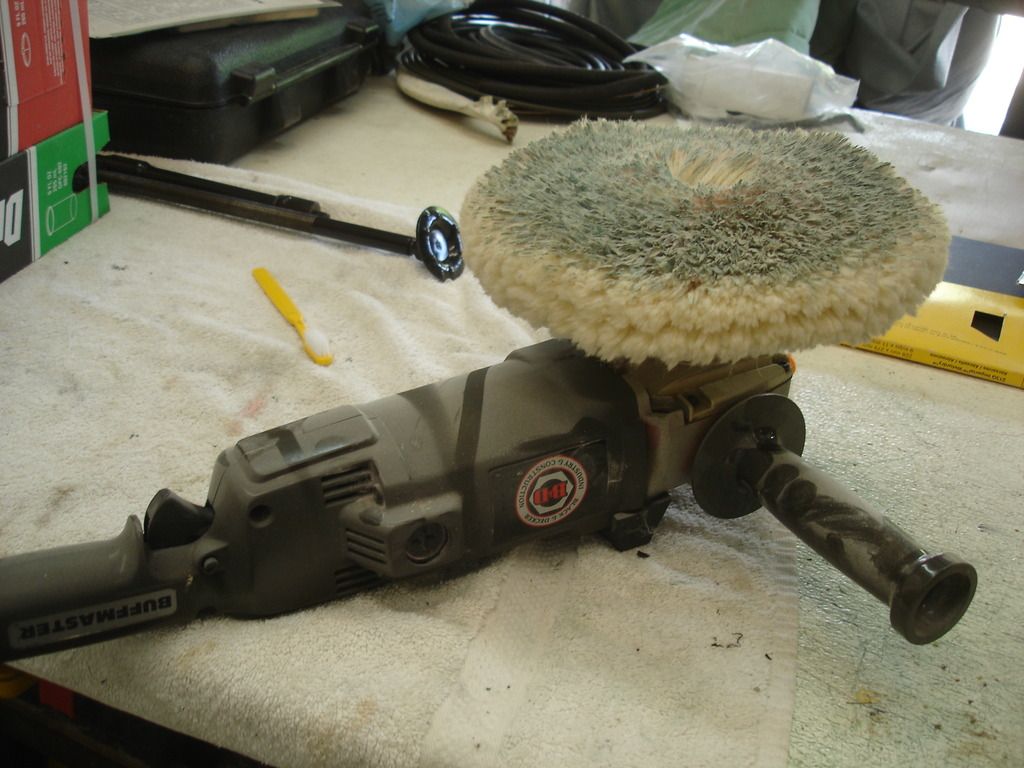
This is the type buffer that gets results fast...but must be used with caution. A split second on an edge and it will burn right through the top coat. It has a cotton pad.


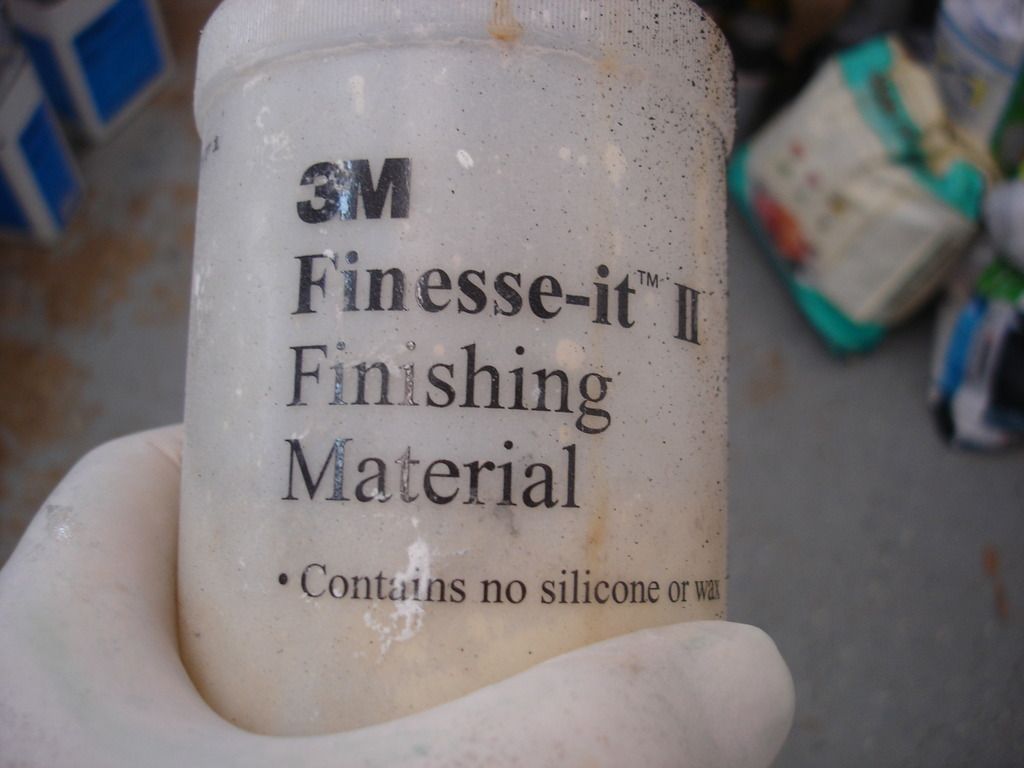
This is the buffing compound I've been using for 40+ years. When it starts to build up on your pad, clean the pad by inverting it and spinning the pad while using a screw driver to "comb" the cotton clean again.

Afraid that's as far as I got this break...
 
Last edited:
It's been a while!

I have been working, but it's all the same stuff. Laying primer and sanding it back off, so I have been sparing the details. Here is a little break down of where I am at:

I decided I prefer to remove the bolt on panels to paint them separately. I decided this after dealing with the near-black colored paint and trying to lay the paint outdoors. I have decided that all dust is light colored! It is impossible to paint an entire car and avoid the dust and bugs outdoors. I will paint one panel at a time and do so in the garage. I hate painting in the garage, as everything you own gets a layer of overspray...but the car will thank me for it.

The other reason for painting the car in pieces is the beading. No matter how I tried to work it out in my head...having to install the plastic beading just screwed it up. I would still have to loosen the painted bolts and mar everything up anyway. So all the advantages of painting as a whole is negated by having to undo it all to install the beads.

Here is an issue that some will appreciate:
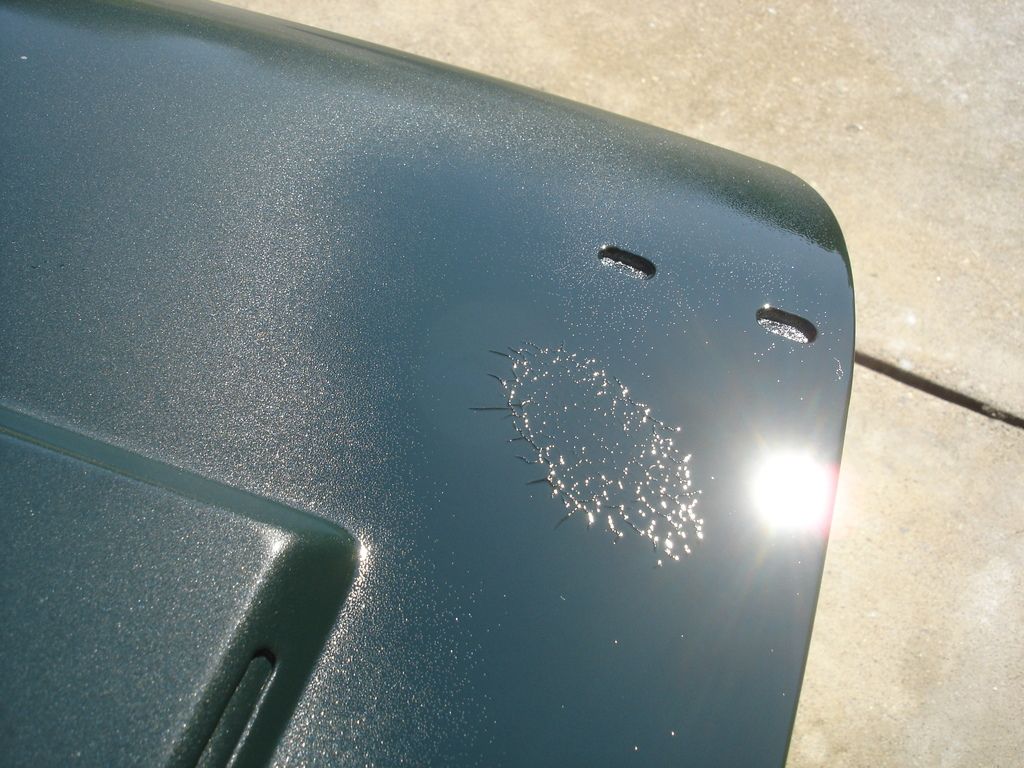


This shows how some panels are just plain cursed! I painted the bonnet, and it looked absolutely perfect. Then, Texas saw fit to drop about 2 dozen raindrops on the freshly cleared bonnet!! Uhhhgggg!!

So, I sanded down the little water craters. Now, with clear, if you can sand and not cut into the color, all you have to do is re=spray the clear and you're good. Of course the sanding cut through in a handful of places.

In the places the sanding cut through, I decided to re-spray just a touch of primer. "Hey...look at that, the primer I put in the refrigerator is still a liquid...I'll use that!" Bad idea. Most 2 part paint is sprayable until it "lights off" and starts to congeal. Even though this primer I used looked good, it was well past it's pot life. It went down well and sanded fine...

...but the picture above shows all was not well. Everywhere I used the expired primer, I got wrinkles. Bummer!
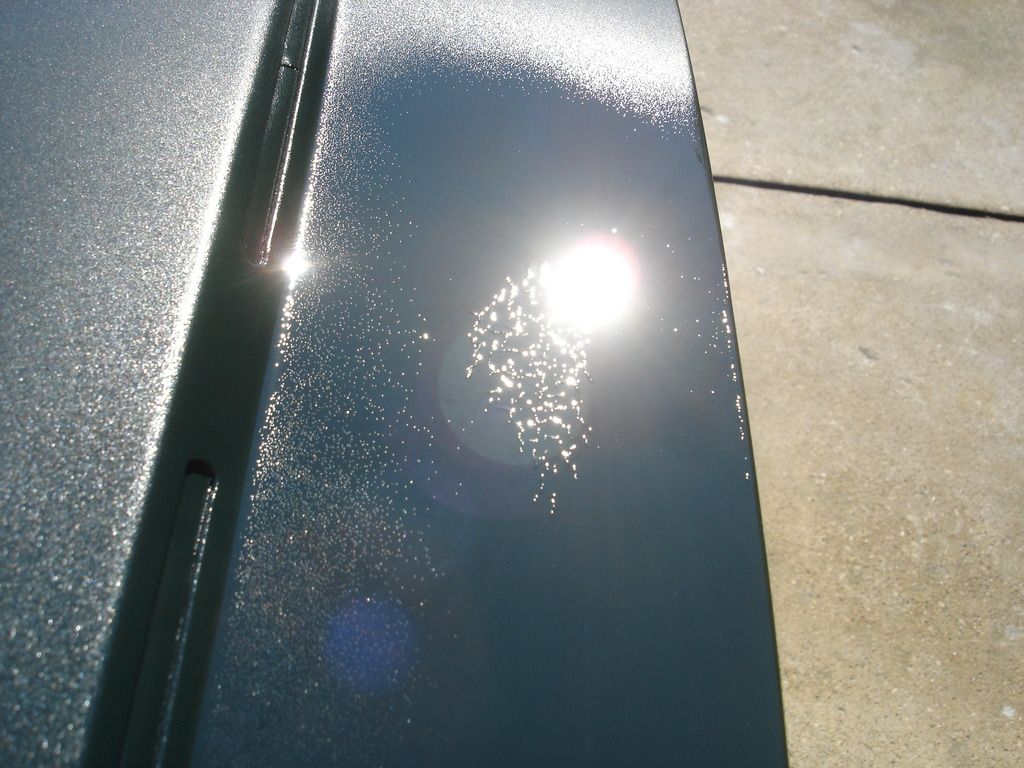


Well, my first attempt was to sand the wrinkles down to nothing, and re-seal with the epoxy primer.


No go...the wrinkles just came right back through.

Now, although my cause was expired paint, what you see in the pics is classic of a compatibility issue between paints. If you have an enamel paint job, and attempt to lay lacquer over it...this is what you will get, only over the entire panel. The fix is usually to strip the panel to bare and start over.

I am too stubborn for that. World class stubborn, in fact.

See, the bonnet is absolutely perfect, were it not for the expired primer. There is another technique for compatibility issues. That is, never lay a wet coat over the incompatible paint. This is a risky technique...but I'm just a risky kinda' guy!

So, here we go...
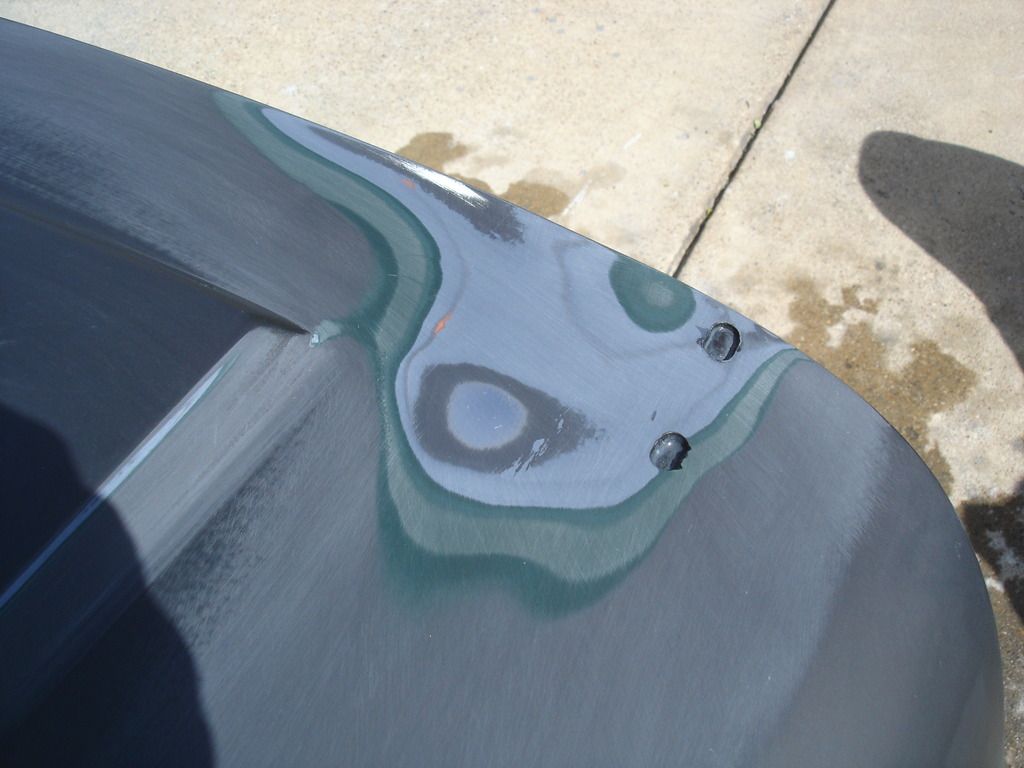


Step one is to sand the wrinkles down to nothing. You must use a block and sand the entire area, so as to prevent getting a low spot. Notice the number of layers of primer and paint so far. That is mainly why I decided to try to save the job, as starting from scratch would mean laying at least 2 -3 fresh coats of primer, with the mandatory sanding between.
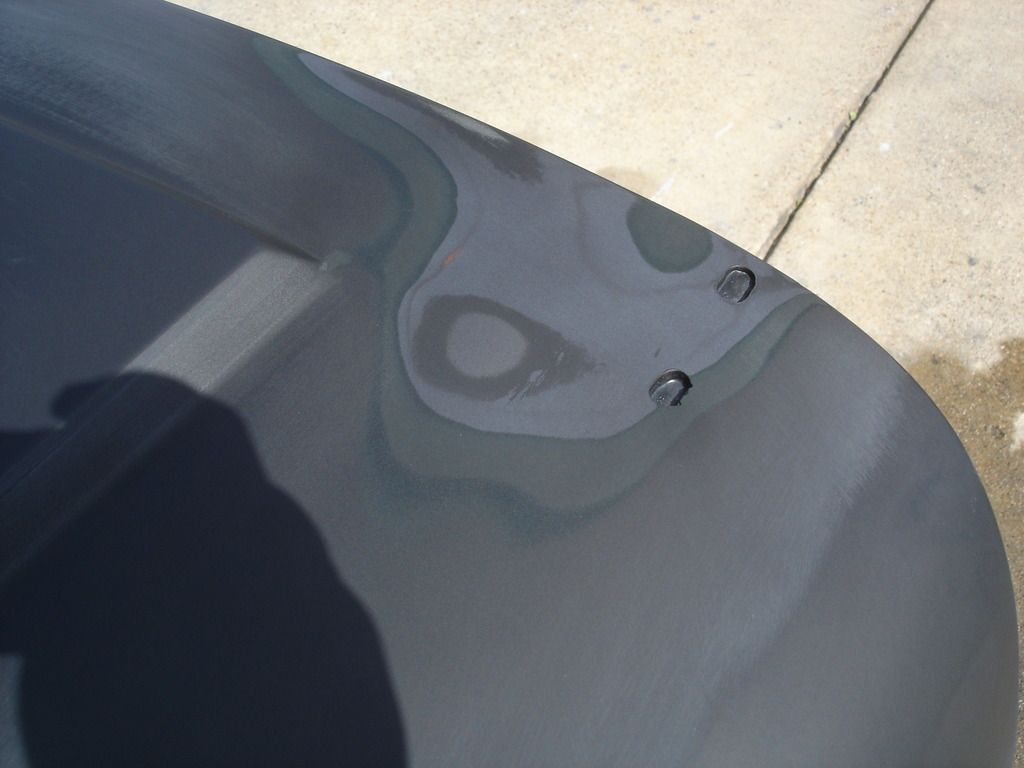


In this pic I have layed the 1st dry coat of sealing primer. You will note that it is barely noticeable. I will now wait at least 10 minutes for this coat to fully dry before laying the next.
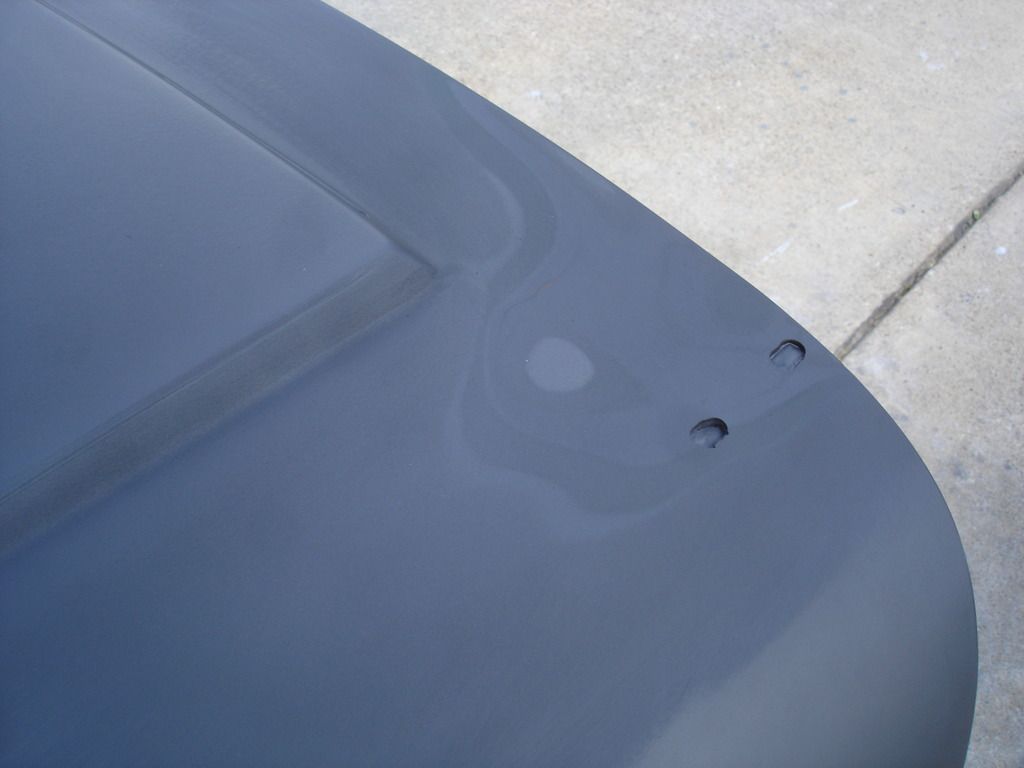


Coat 3. We're starting to finally get some coverage now. By laying dry, the solvents in the new paint do not attack the under-paint to cause the wrinkling.
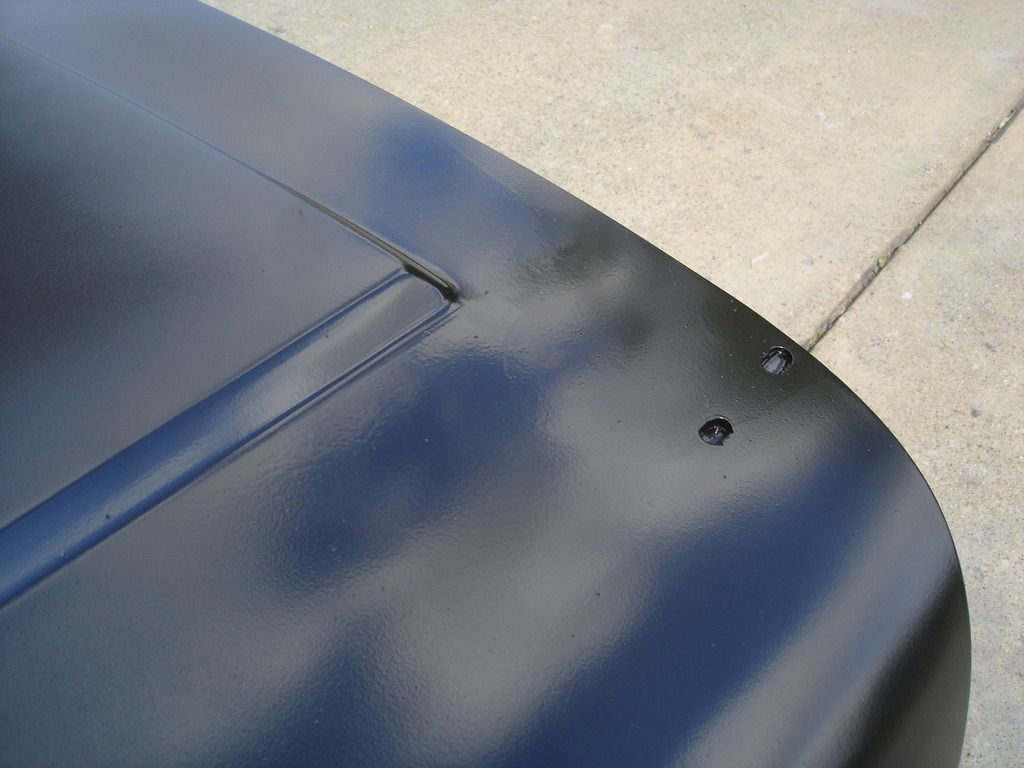


After about 5 or so dry coats...the panel is (hopefully) sealed. So here is the first of the wet coats. If this one goes on without wrinkling, I wait a full 30 minutes before the second wet coat.

And that's that!

Well, not really. Remember I said this bonnet is cursed!

I fully sanded the bonnet again, and sprayed the color again. All went well, until, after spraying the final coat of clear...again...a blasted single puff from a cottonwood tree landed slap in the middle of the bonnet! I mean ...really?? Any small specs in your clear can be picked out when wet, or sanded out and buffed when dry. But a cottonwood seed is both white AND about 2 inches around. Uhhhggg!

So, the bonnet got sanded ...again. Wanna guess what happened this time around?

Another technique for painting is to wet your floor to hold down any errant dust. this works indoors or out. Any dust that blows loose from the paint gun will fall on the wet floor and stick there. So...after the cotton ball incident, I decided to hose down the driveway before re-spraying the bonnet a third time. All went great...beautiful color. Slick flowed clear.

So, I started to clean up the paint rig. Cleaned the gun. Rolled the air hose. Started to real in the water hose. And THAT is where all went south again. The water nozzle that looked so good at Lowes has a design flaw. When you go to pull the hose in the valve tends to catch on the ground and turns the water spray back on all by itself. That's exactly what happened. And. Where did is spray, of all the 360 degrees that it could have sprayed??

RIGHT ON MY FRESHLY CLEARED BONNET!

I have set the bonnet aside, after realizing that I could spend the rest of my life on just this one panel. The good news is that any paint, whether primer or color, ads to the final finish. Every time you sand the panel gets that much flatter. Can you tell I am trying to rationalize to keep from crying?
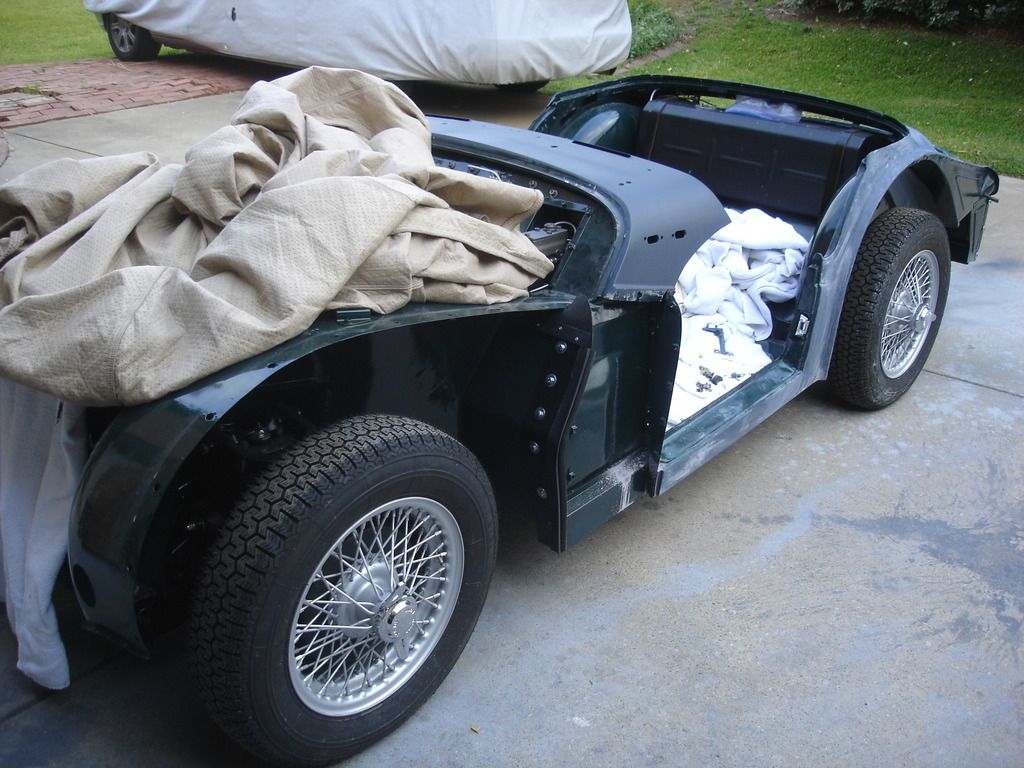
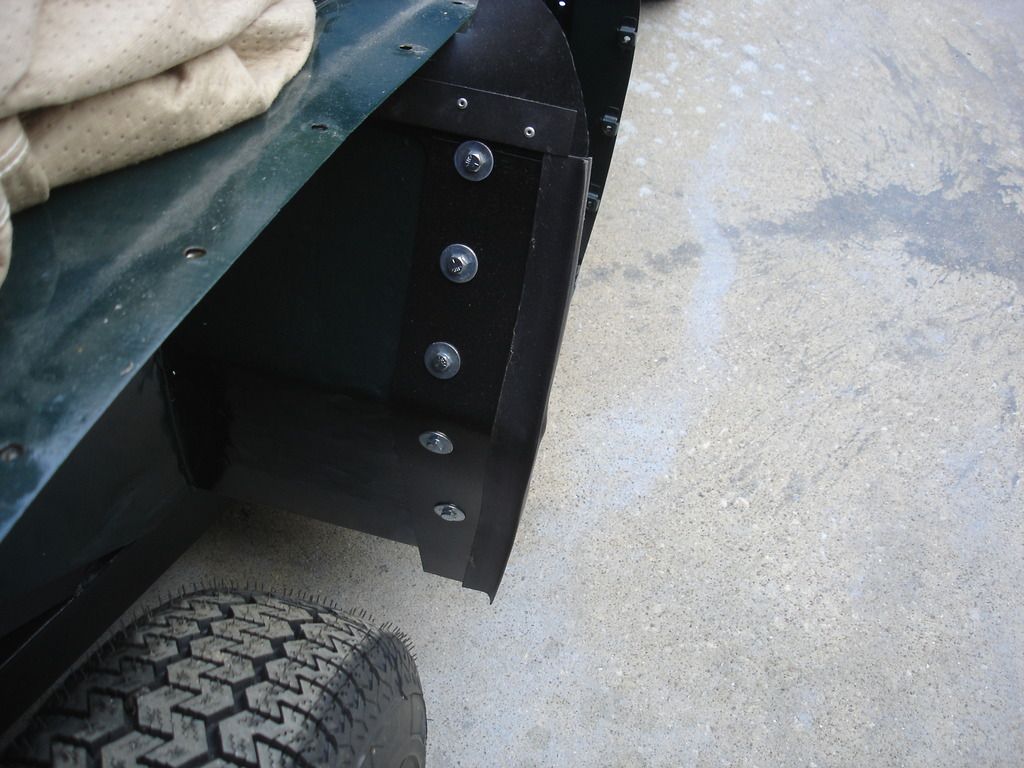


So, here is the car all apart again. The inner splash deflectors are set and ready to get painted body color like the factory did. And that's it for another week or so. Hope you guys are having better luck than I am!!
 
Sounds like one of those days when you need to stop doing one job and do something else. Anything else but the job you were on.

David
 
John, see if you can find some "Bar Coat". It's a sealer from England and is yellow. They use it because so much of the early paints were lacquer based and I bet that stuff would seal grease. Sprays very smooth, no mixing.

Wayne
 
I feel for you. I've had those days....as a matter of fact, I recall having huge issues on the bonnet of my 60. I must have painted/cleared and sanded that thing 4 times...needs to be done again actually but I'm living with it right now :smile:

Cheers
Tush
 
Back
Top