Week 86
I know it's been quiet on the thread, but I finally reached a landmark event today. All of the body panels are finished...as in...DONE!! I even managed to get the paint to lay down on that cursed bonnet. So here is a quick run through:

First of all, I decided to bite the bullet and clear out the entire garage. All the cars, mowers, bikes, tools, blah, blah, blah got sent to the back yard under a tarp. I then blew out and hosed down the entire garage to make it into a make shift paint booth. I got plain tired of the bugs and cotton wood seeds ruining an otherwise perfect finish. In the end, it was worth the day's work to clear it out. I was only batting 400 with the outdoor spraying. The sealed garage raised my average to 900.
Oh, the pick above are the 2 front wings ready for spraying. The windows have screens, so they open to vent the garage nicely while I spray. The color coats flash in about 5 minutes, so dirt is not normally a problem with the color. The clear coats take almost an hour to lay down (three coats with about 20 minutes between sprays to allow the previous coat to flash), and then the clear is tacky for 70 minutes. The clear is where the dirt seems to be attracted like a magnet.
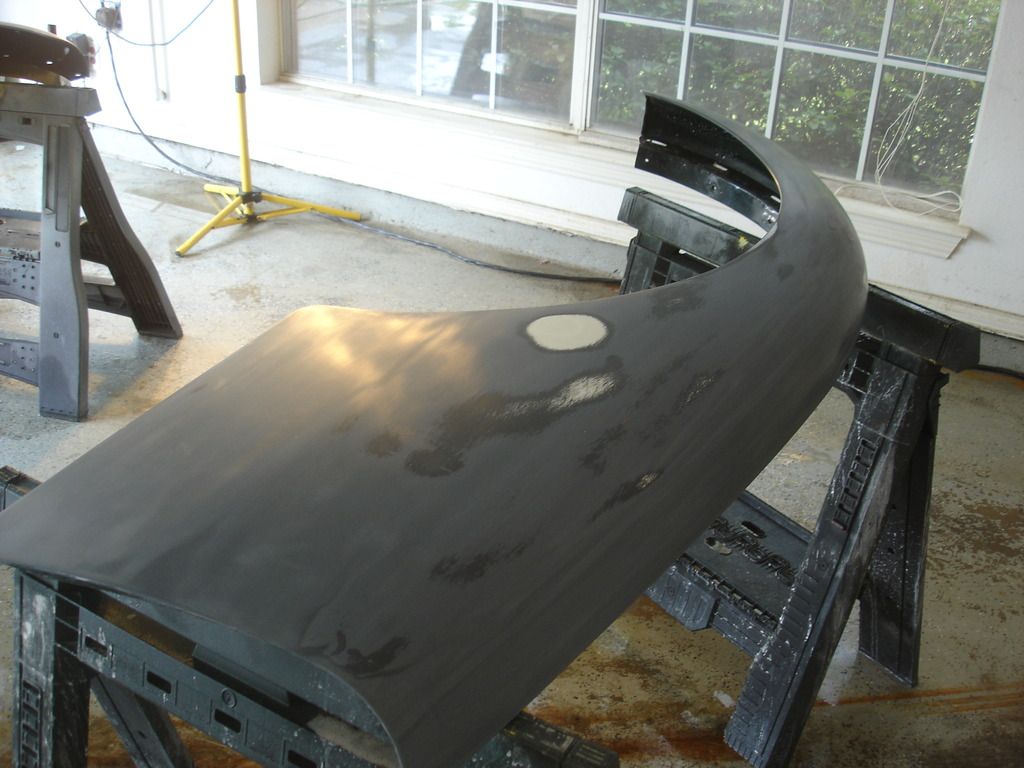
The sides of the car are very noticeable when you walk up to it. Light colors hide many slight waviness. Black is the absolute worst color for showing waves. If there is even a ripple on a black car, it stands out like a flashing light. I learned that choosing a deeply dark BRG color made it just like black. So...in this pic you can see I went heavy into the base to remove some of the waves. Since the sanding went into the base filler and hit some metal, it gets sealed with epoxy and re-sprayed with urethane primer. The wing on the right required 8 layers and 16 coats of primer before I was satisfied.
I know what you're thinking...with 16 coats, it oughta be like 1" thick!?! It would, except most of each layer...if not ALL of each layer gets sanded down to nothing. Only a few low areas may have the full 16 coats.
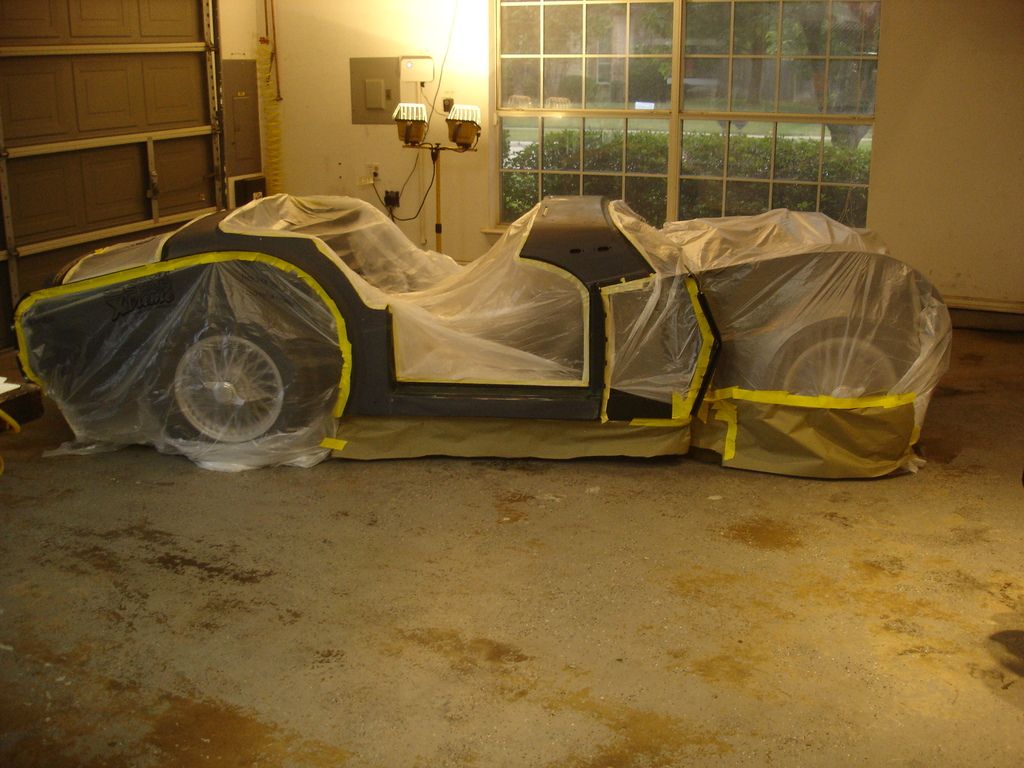
Here is the body going in the "booth". I decided to re-spray the door jams with the 2 part paint. The single stage is OK, but the urethane just makes a finish "pop"! Since you see the jams every time you open the door to sit or get out...I decided they needed the "deep" urethane look.

Notice the wing seals are left out. These were sprayed with the body at the Triumph factory...even the rubber. It hurt...but I sprayed, even the rubber!
And this is why everything HAD to come out! Once you start spraying, the garage looks like this for about 1-1/2 hours. I just HOPE a bug or 2 tried to get to my fresh paint...I owe those little suckers for ruining so many previous jobs!!

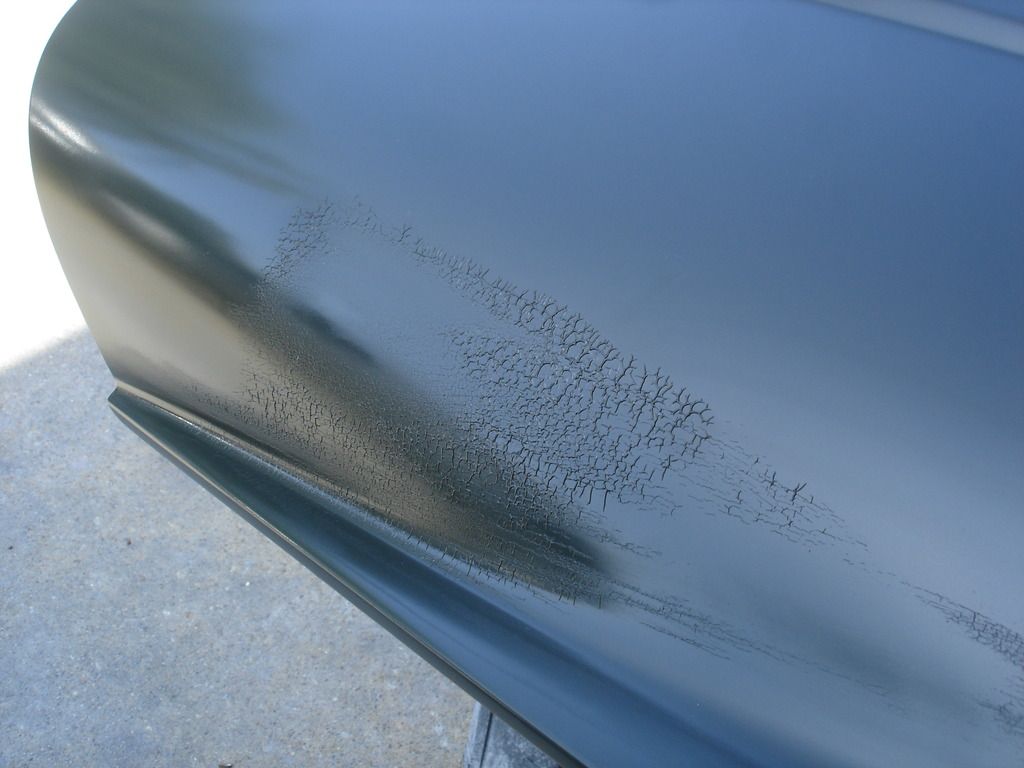
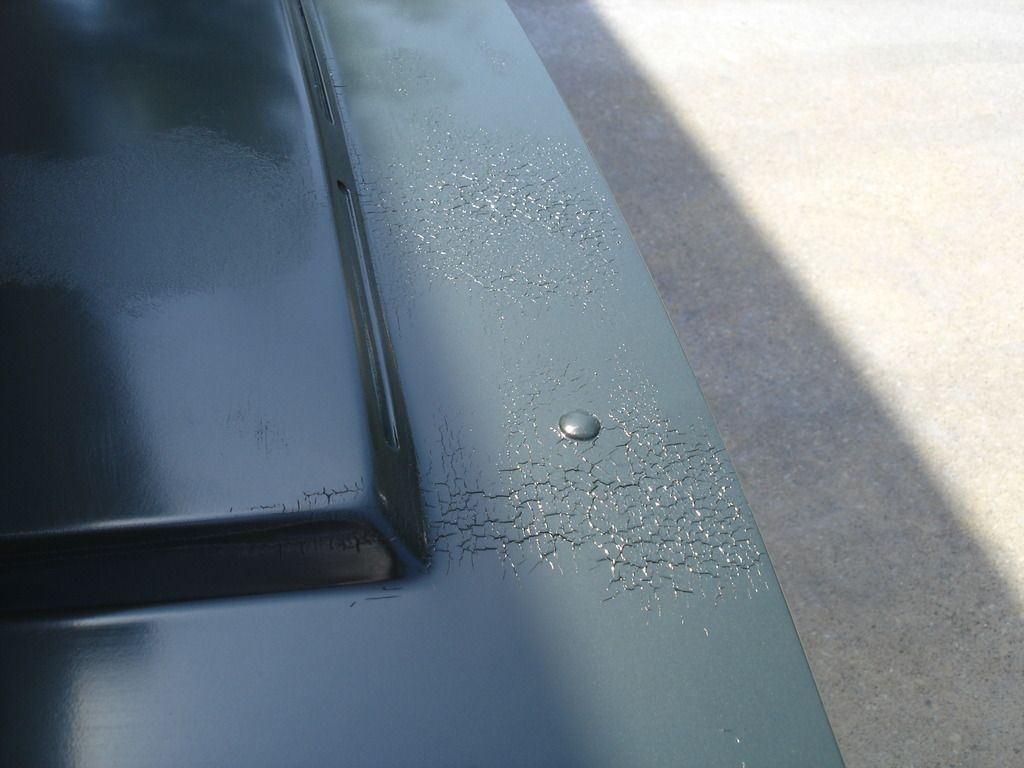
These are the bonnet and the right rear wing...both up for re-sprays. I didn't like the look of the wing (waves), and that blasted bonnet is cursed!! This was color spray number 4 for the bonnet. To recap: Rain, wrinkling, cottonwood, wrinkling. I originally thought it was my primer mix that started the wrinkling. I since have learned that urethane clear will do it too, if you sand the edges through and it's not fully cured. Fully cured is like a month.
You will notice the wet floor in the pic. The garage gets hosed back out before ever color spray. The floor is intentionally left wet. Then, any dirt or dust floating around will get trapped on the floor instead of your panel.

And...
...spray 4 went bust on the bonnet. Does that make you want to cry or what?!? You will notice that every time it wrinkles it covers more area. That is how I eventually realized it was not my primer mix. After several hours on google, I learned about the urethane issue. That explains it...but it still did not help, unless I chose to strip the entire bonnet or wait a month for it to fully cure.
I set the bonnet aside for a bit...AGAIN!

Here the doors are getting another primer respray...again for waves. Notice I spot sprayed the low areas first, let it flash, and then sprayed the entire doors. This allows the primer to build more in the low depressions where it is needed. In all, the doors got 2 coats epoxy, 6 coats urethane primer, 4 coats color, and 6 coats clear.
I can now say I am happy with the result.

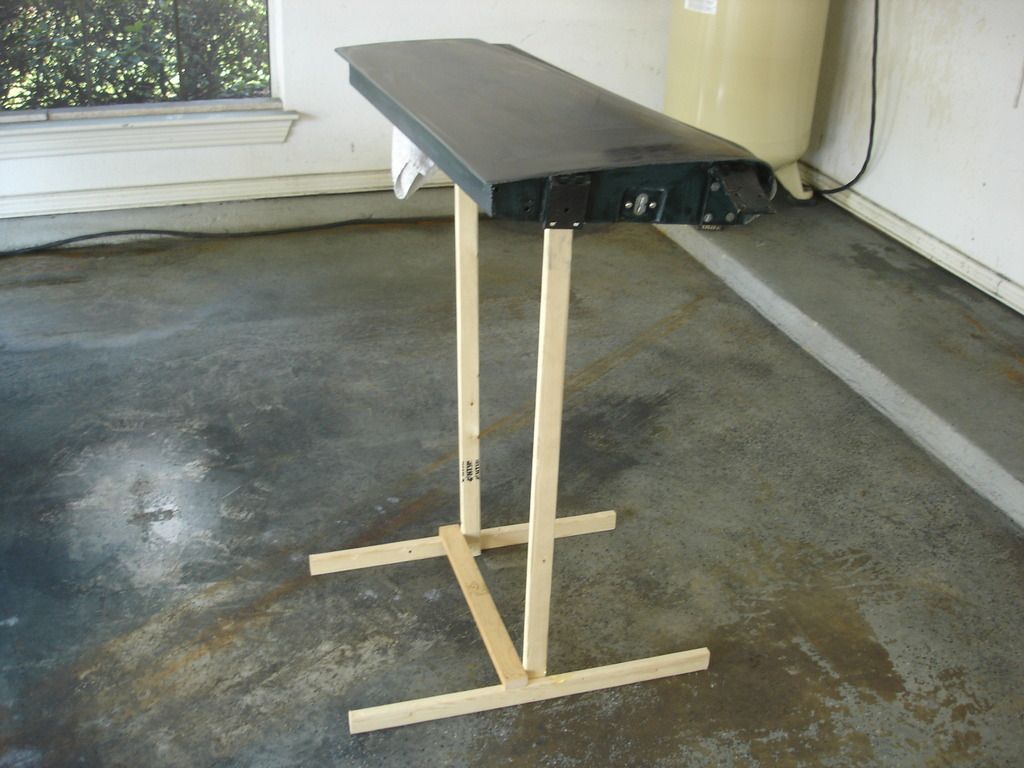
I realized I needed some kind of holder so I could spray the doors, front and back, at the same time. For $5.50 in wood, I built these handy holders using staples and glue. I'll donate them to the Wife's Macaw when I'm done with them...she loves to destroy anything I build!?! (that's the macaw, not the wife!)

 Hey Guest!


