Week 65
Posting early this week, as the family is taking me out of town for the holidays.
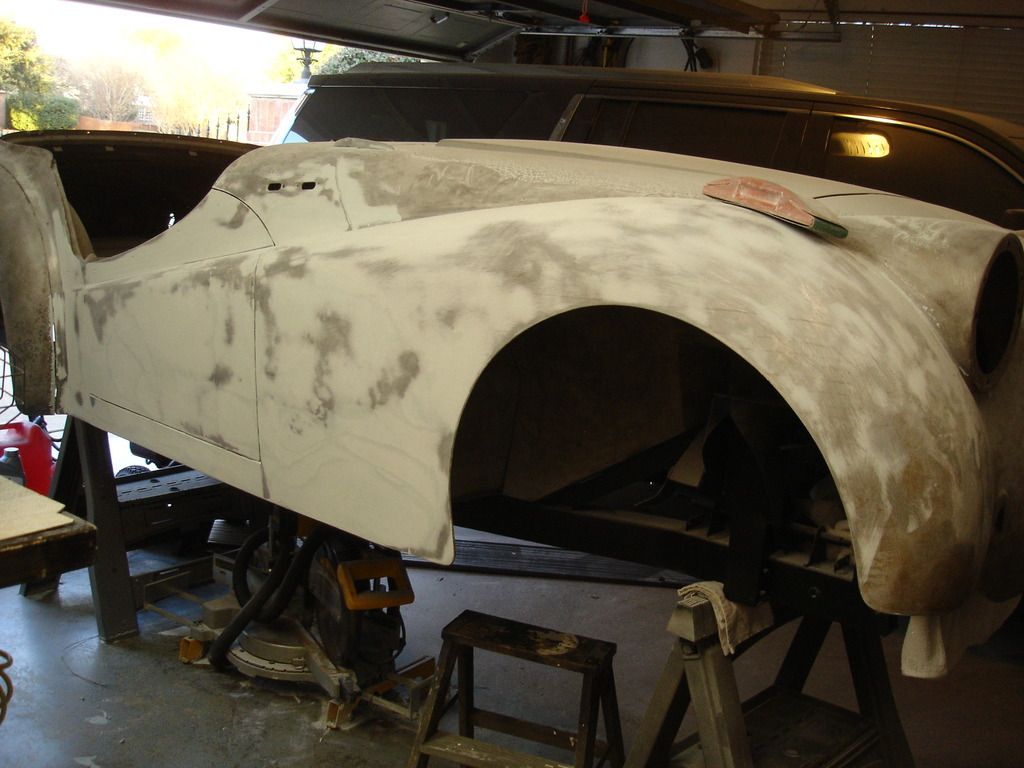
This is the week of transition. I have beat the body until I am sick of it, and refuse to beat any more. That means it is time to switch to filling...Yes...Bondo! Of course I haven't actually used Bondo in 30 years. It still remains the generic name for body filler (like a Kleenex for tissues), since it was the first filler on the market.
Let's get started.
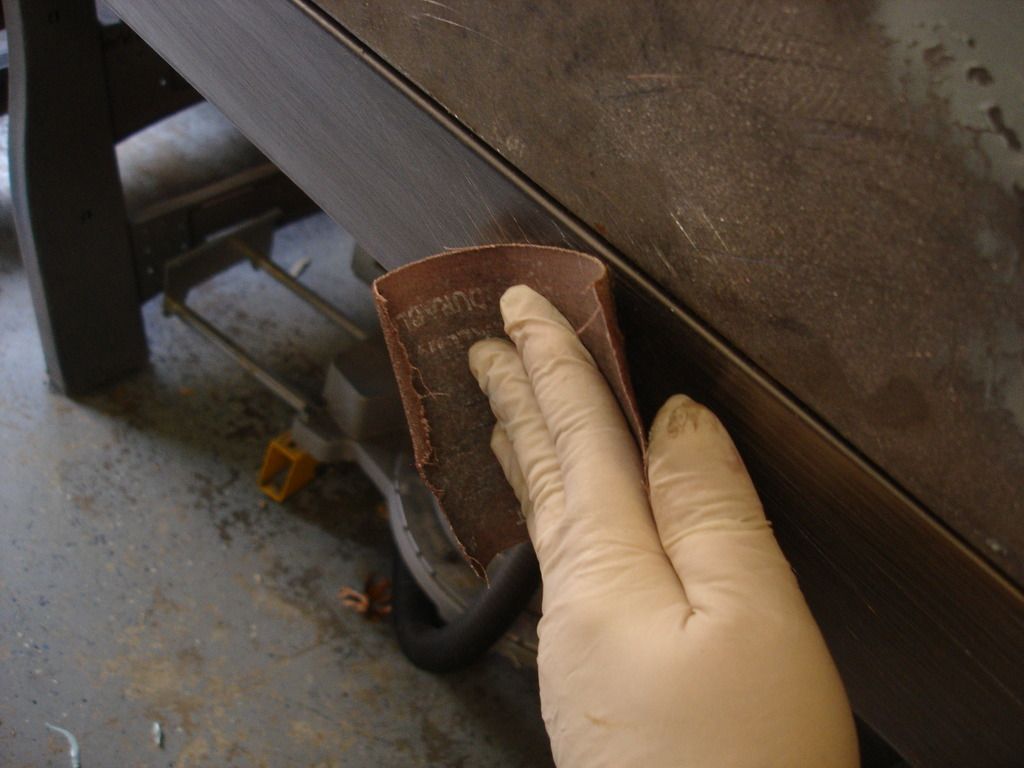
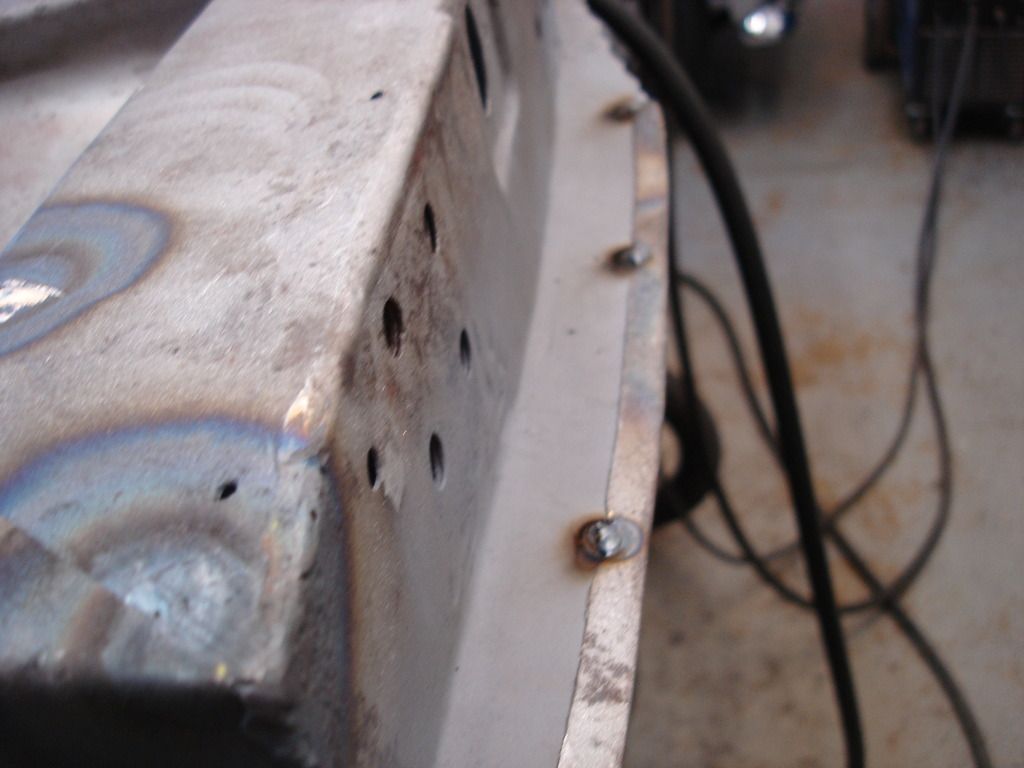
The final body prep for starting the filler is to roughen any and all surfaces that have not been sand blasted. Bondo is a polyester product, and does not "bond" chemically to metal. It depends on a "mechanical" bond. In other words, it must have small scratches in the metal to grab hold to. I used the roughest sand paper that I can find for a reasonable price.
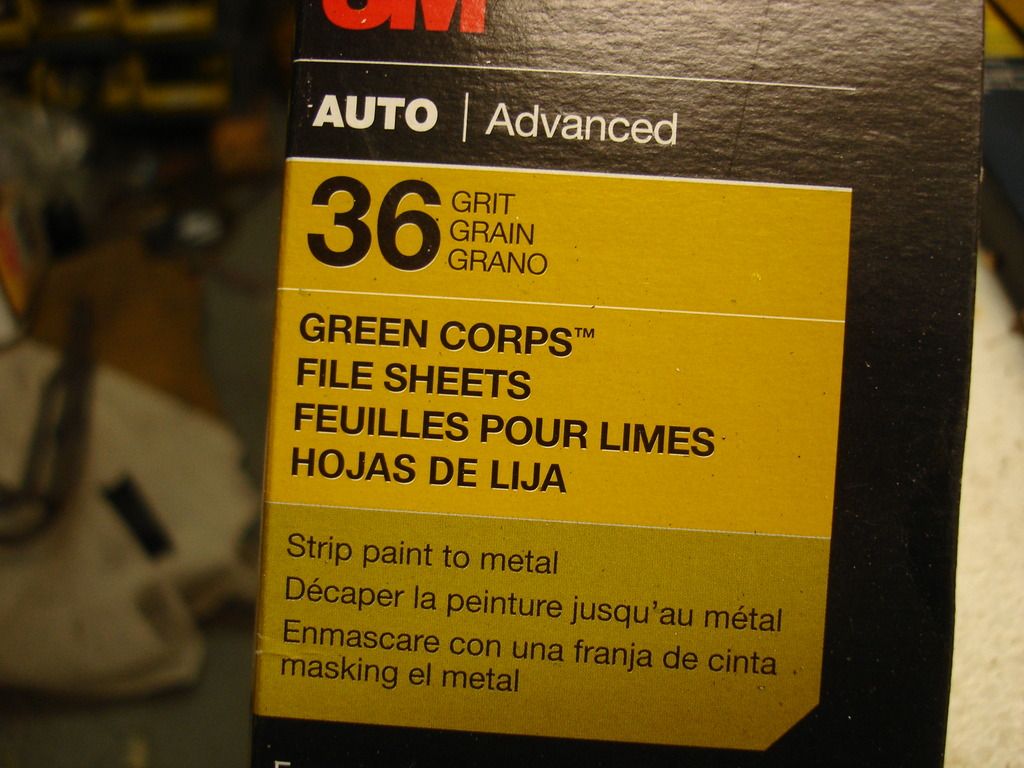
For this job I am using 36 grit. The rougher the grit, the faster the filler work goes. One of the big things to learn in body work is when to use rough, and then when to cut back to the fine papers. For now, I'd use 1 grit if I could!
The following is a list of tools that we will need for filling:
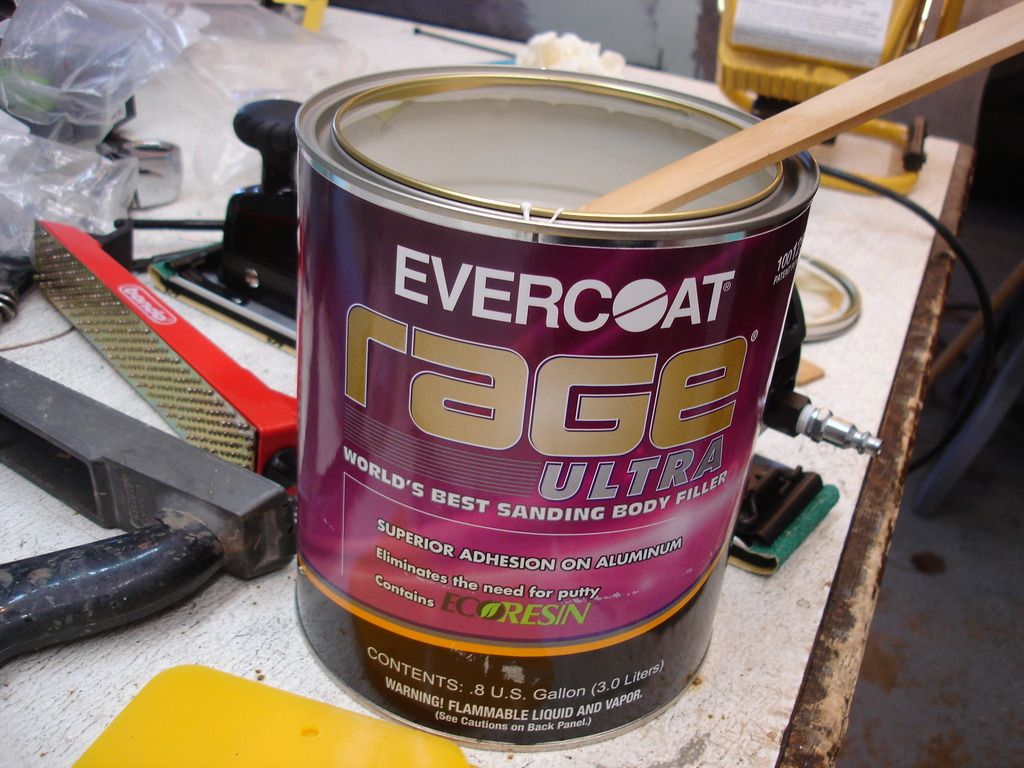
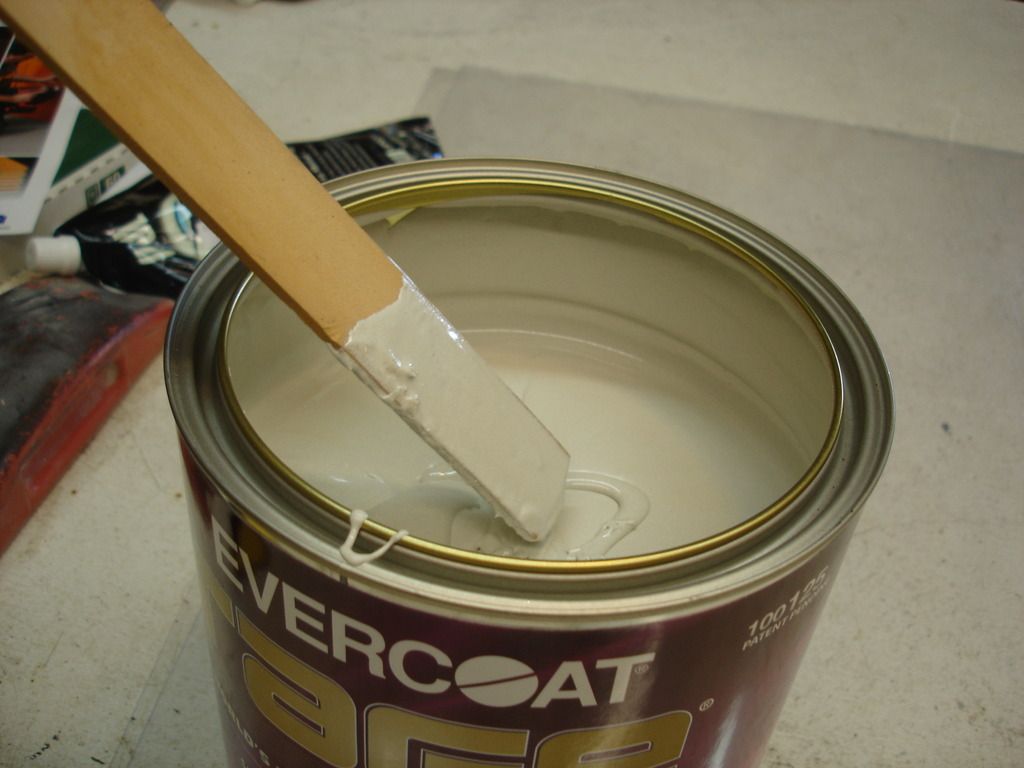
Filler. This is the latest greatest in filler. Filler is a polyester base with a sandable filler material in suspension. The polyester hasn't changed in 70 years, but there is constant improvement in the filler medium. The better filler spreads smoothly and yet sands easily. This Rage product I am using is very thick, so it works well on the vertical and horizontal surfaces without running too much. It cautions not to apply more than 1/4" thick. I never apply thicker than about 1/16" at a time. I allow several coats if needed to build. And, I never plan to use more than about 1/8" total thickness when finished and sanded. If you have to plan more than that, you can get the metal closer to begin with...we are smoothing the body, not shaping it with filler.
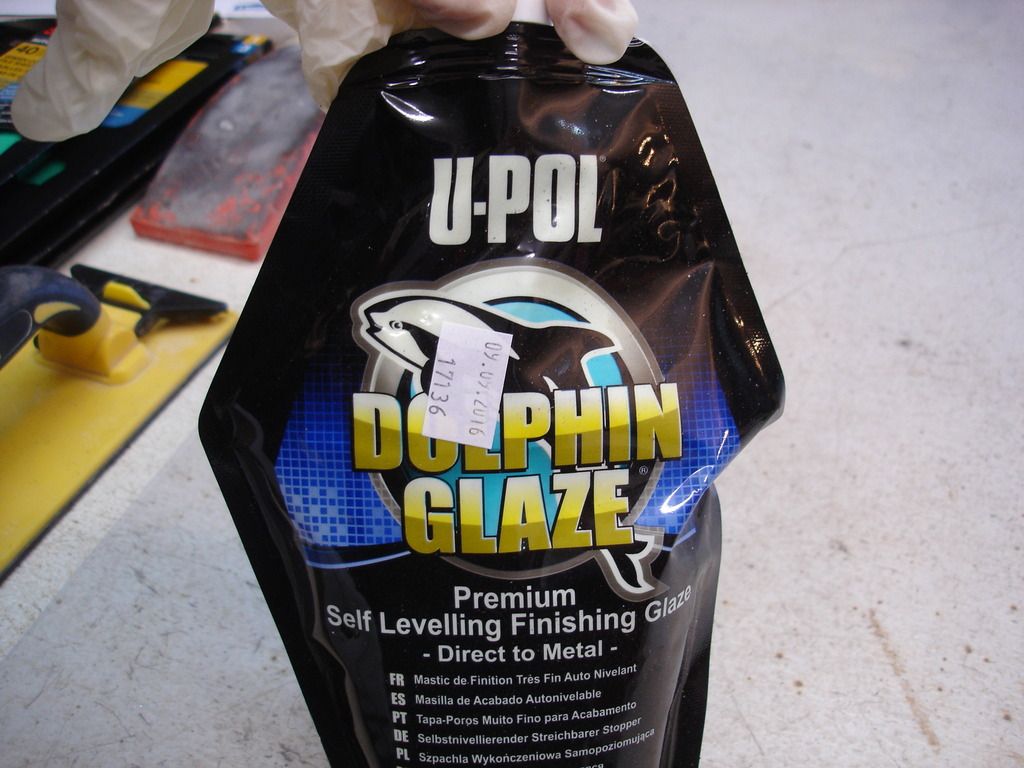
Here is a glazing compound I will also use. Glaze is the same polyester base, but the filler is thinner...which allows the glaze to spread extremely smoothly over a surface. Glaze is used when you are finish filling before the primer coat. I will switch to 80 grit when I switch to the glaze. But first the work will envolve the thicker filler.
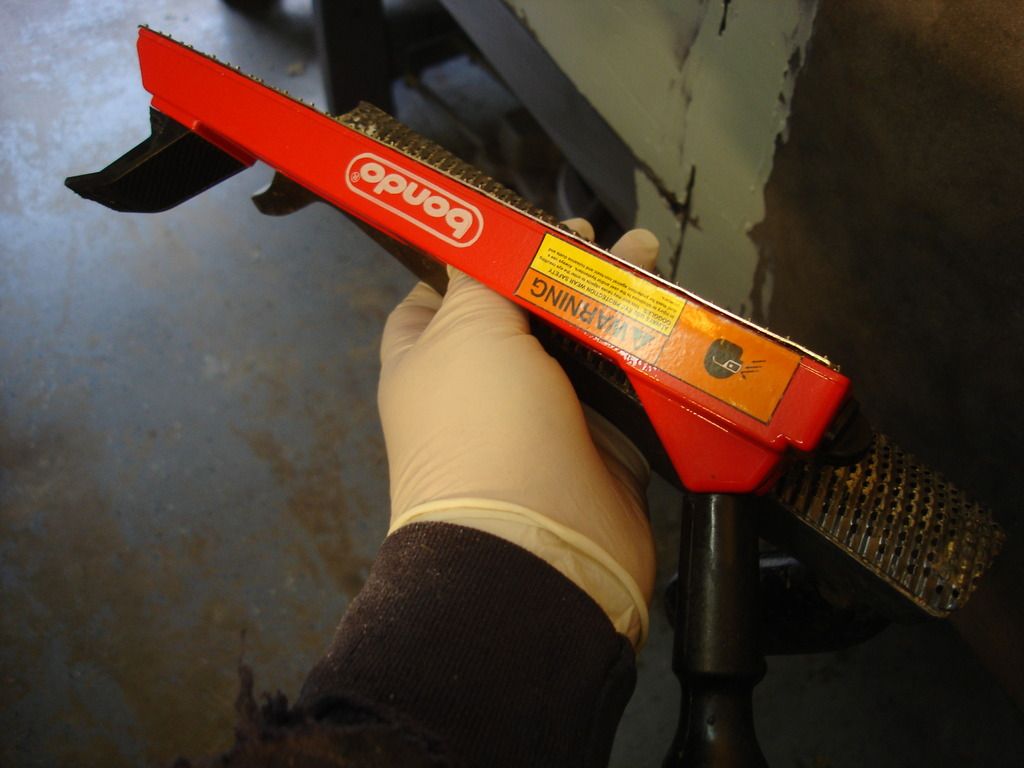

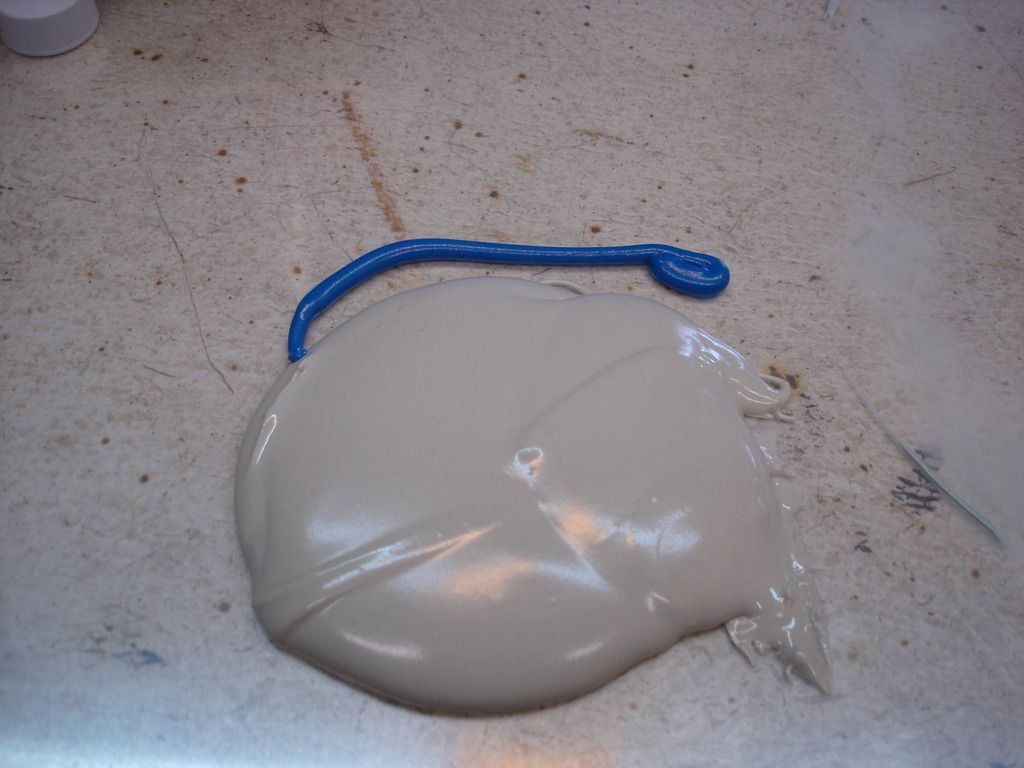
These are the cheese graders. Filler lights off in a consistent and predictable manner. First it is in liquid form, during which you can spread it. depending on the outside temp AND the amount of hardener you use, you control the amount of time you have to work the filler before it "lights off". Once it lights off, if you try to spread it, it will simply crumble and gob. Once it lights, you are done spreading that batch. Don't even try to spread filler that has lit. So, after it lights, it becomes rubbery, but is also very sticky. Do not try to do anything at this stage, as it will lift and loose it's bond with the metal.
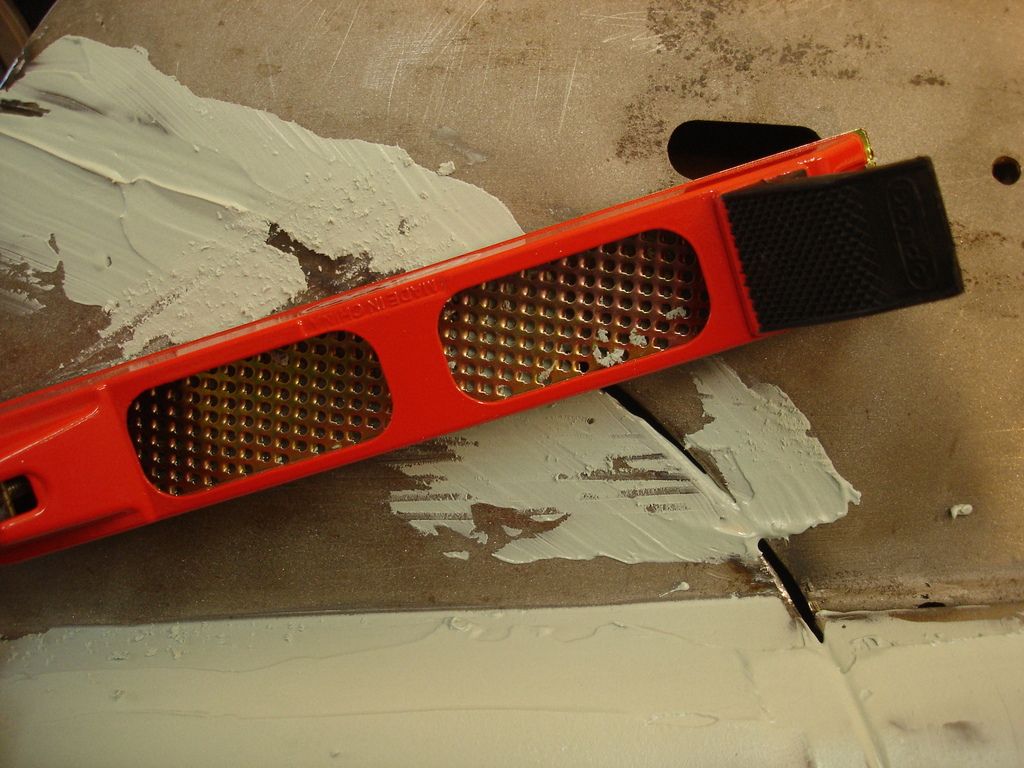
As soon as the surface of the filler has lost the "sticky" feeling, you should have at least 2 minutes to rough the shape using these cheese graters. They cut extremely fast, and it reduces the amount of sanding you will need to do once the filler is fully hard. You have a choice of flat and rounded. Each has it's use.
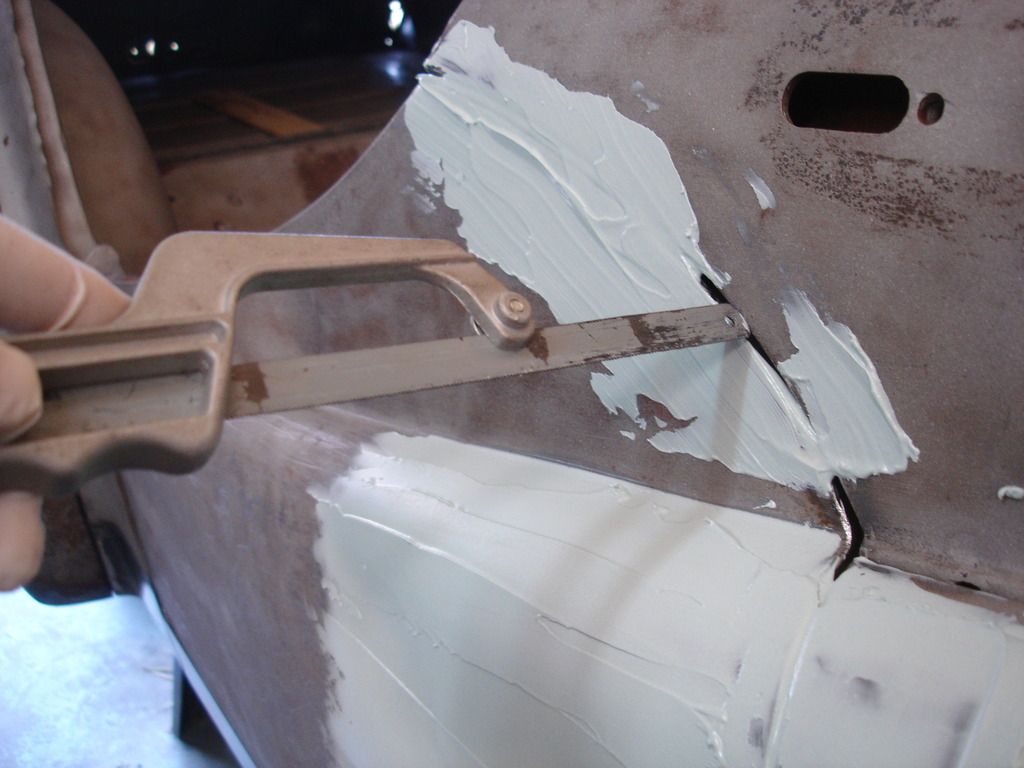
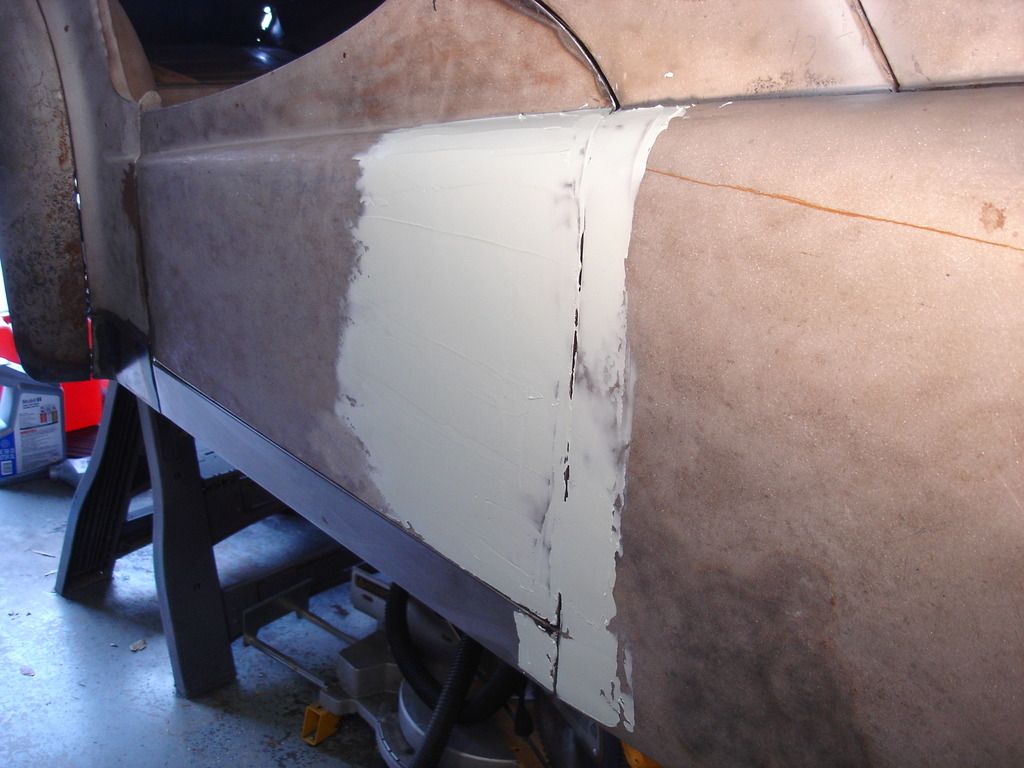
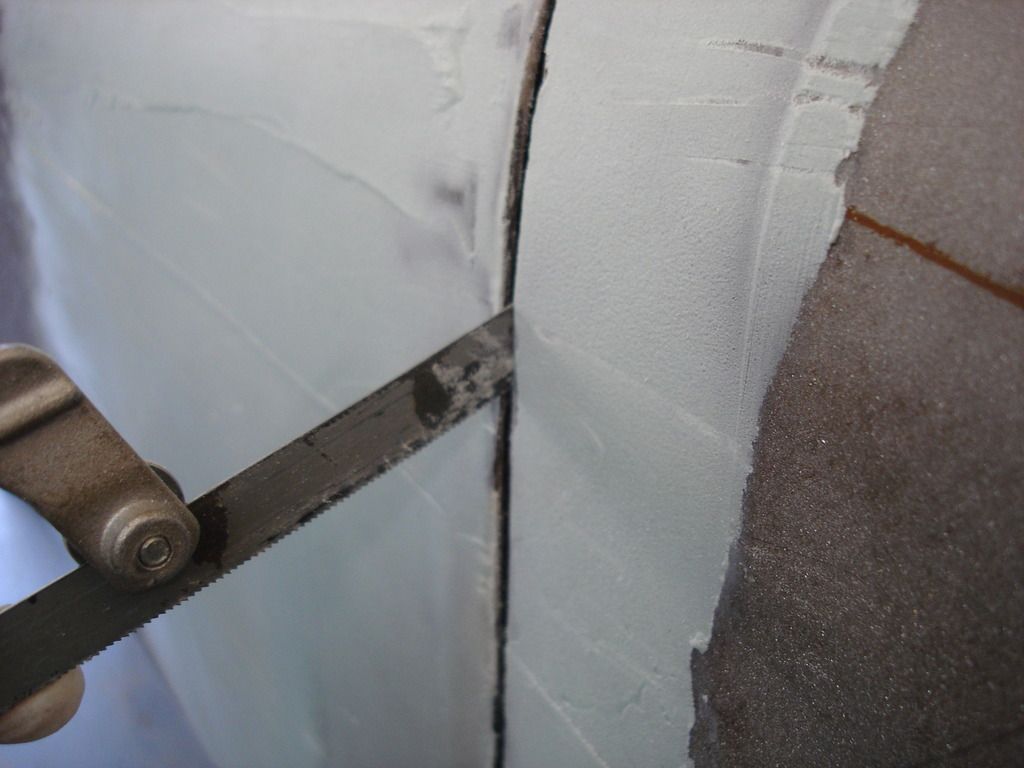
I use a hacksaw blade to open the edges that get covered during the spreading. This operation should be done somewhere between the sticky phase of the cure and when the filler just reaches the rubbery but NOT sticky.
Not shown, I also use an exacto #11 knife and/or a disposable box cutter for the same job. If you catch the filler at the rubbery and sticky phase, it can be easily sliced with the knife. Once past the sticky phase you will have to switch to the hacksaw.
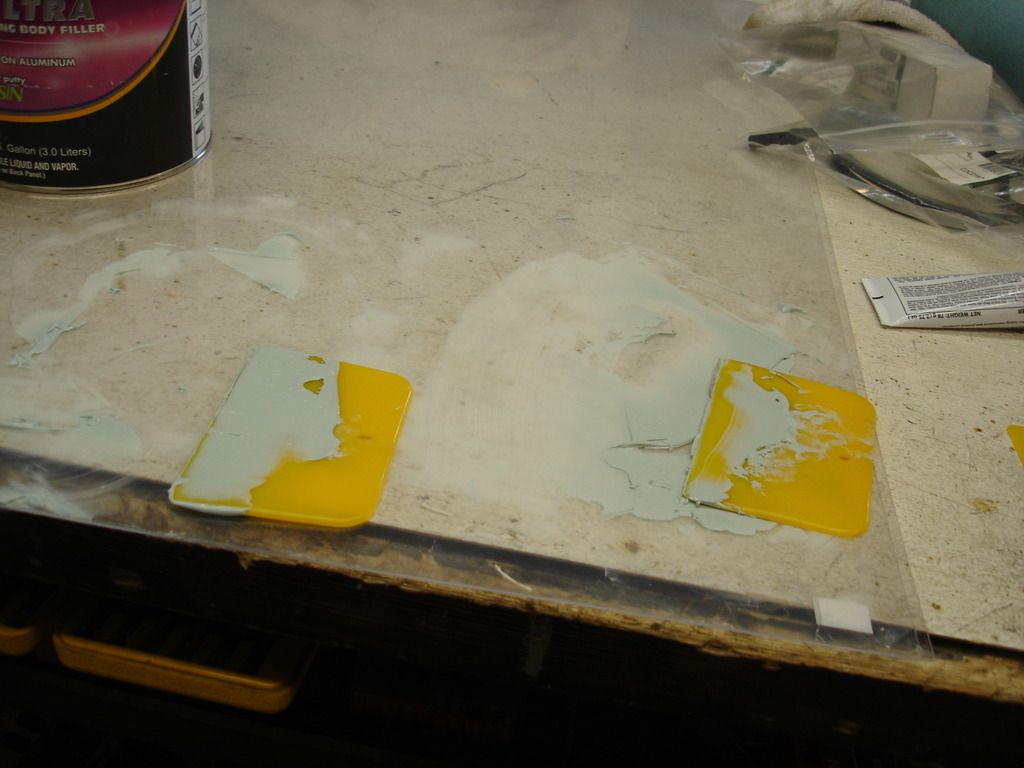
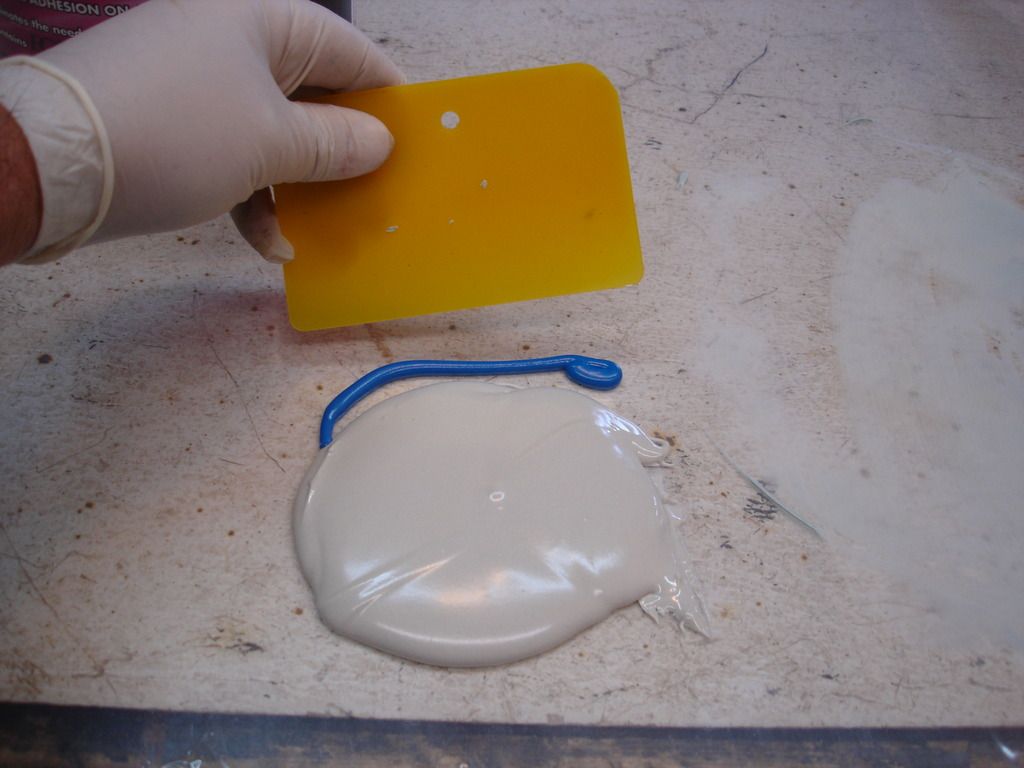
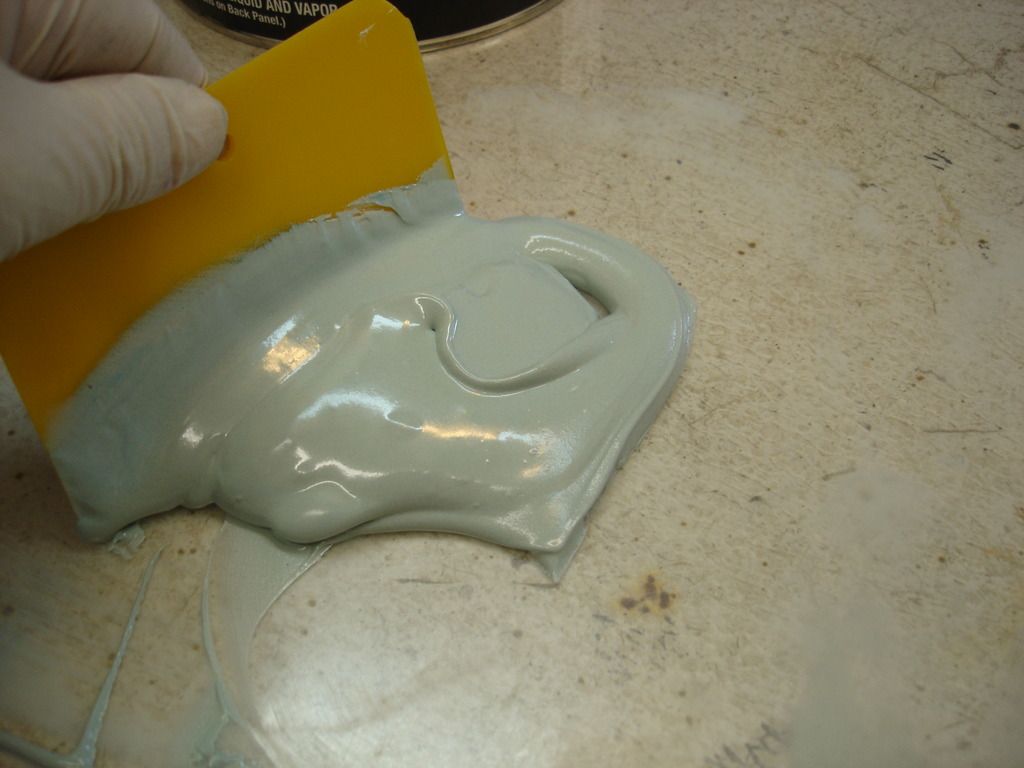
Here I have a clear acetate sheet from Micheal's or Hobby Lobby. The sheet comes with a protective film on each side. I can mix on one side, remove the film, and use it all over again. After that, I can flip it over and start again. Sometimes you can keep using it over and over, by flexing the acetate after the filler hardens, so the filler just snaps off. Don't try to re-use it unless all the old hardened fill has been removed...or it will come off in your fresh mix, and make a mess when you try to spread it with "chunks" in it!
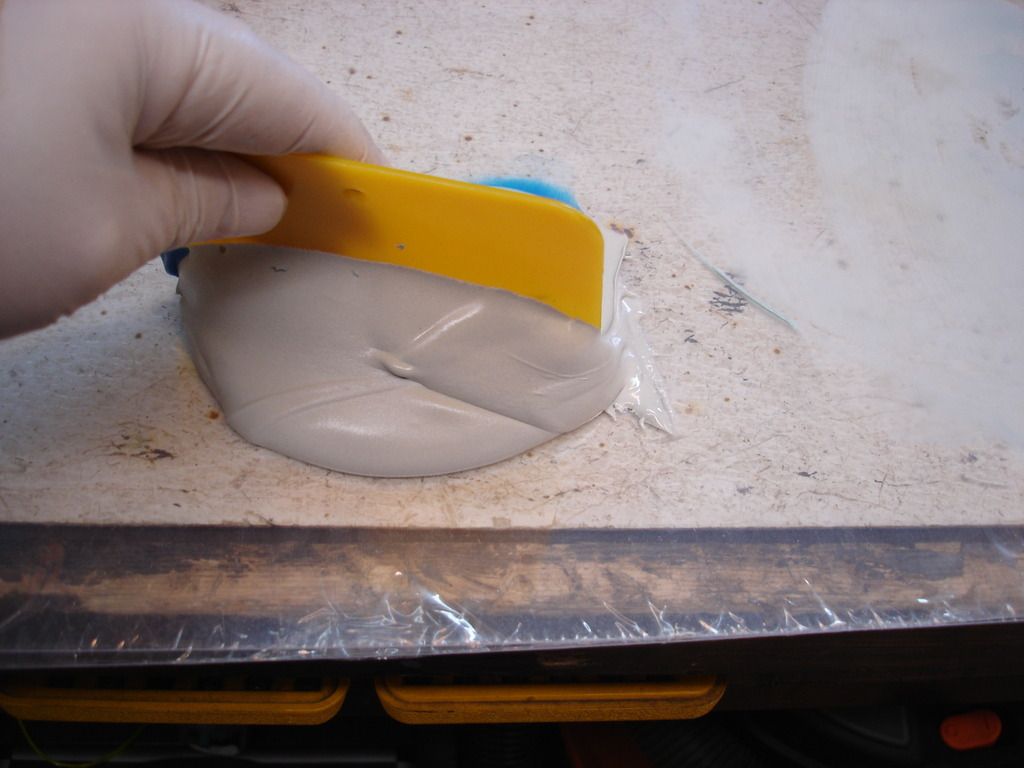
The little spreaders are available...almost everywhere that sells paint supplies. The cost about $.20 each. I buy at least 6 at a time. If you notice in the pic, I use one to mix and spread a batch of filler...and then just leave it on the acetate to harden fully. I then grab a new spreader and mix the next batch on a clean area next to it.
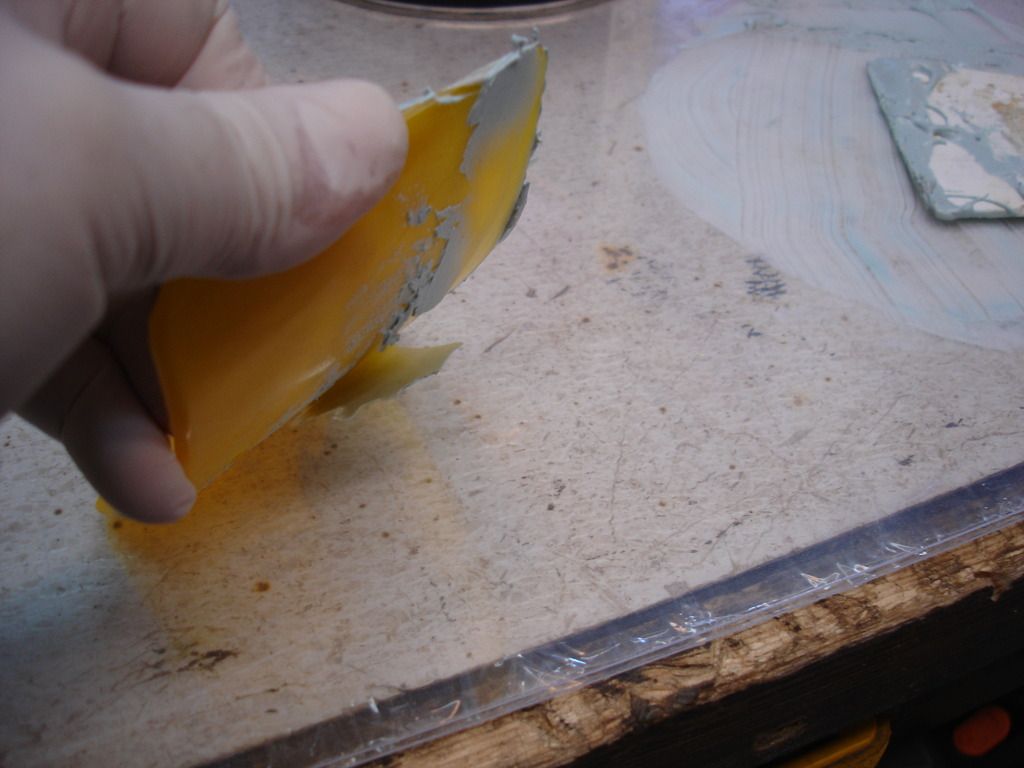
When all my spreaders are used up, I pull them all off and "flex" them. The filler is not as flexible as the spreaders are, so it snaps right off. Now I have clean spreaders to start all over with! Pay special attention to the spreading edge when cleaning. It must be perfect or the next spread will show the ridges from filler that did not come off. If rough, you can run a sanding block along the edge to "true" it. If that doesn't fix it...toss it!
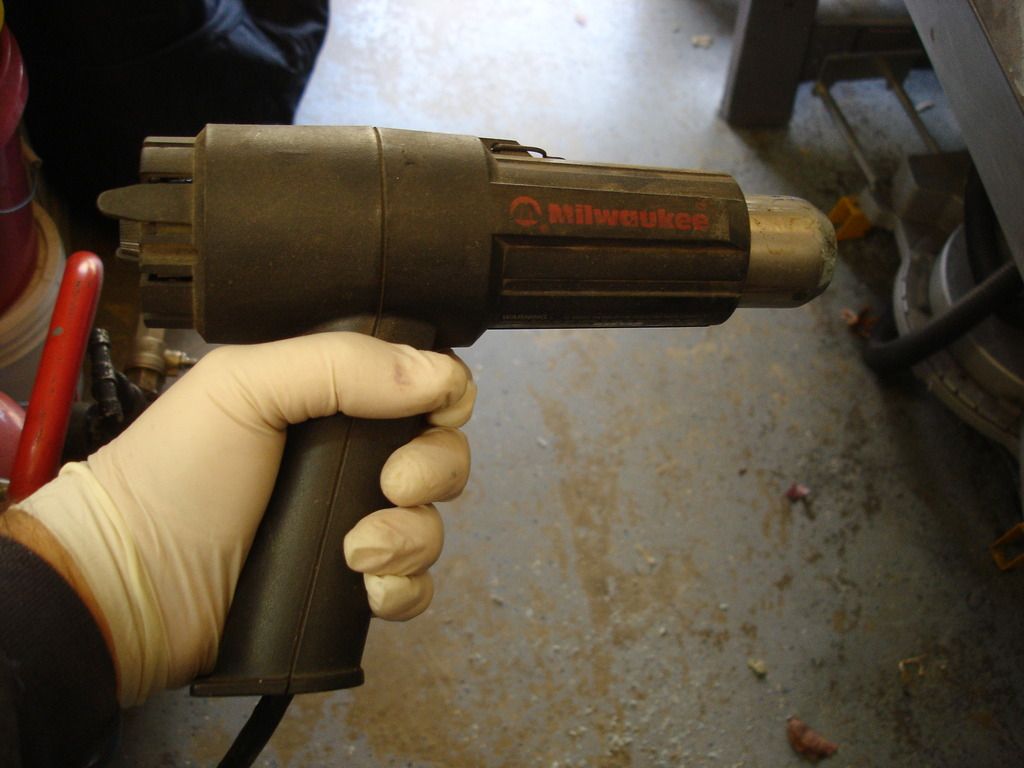
This is a paint stripper. Do not attempt to work with filler if the temp is less than about 60 degrees. The way polyester cures is by heat. We normally chemically induce the light off temp chemically, using a tube of methyl ethyl ketone peroxide. This is added to the filler, and after a short time, causes a reaction to heat the filler and start the cure, or light off. If the temp is below 60 degrees, you have to use a lot of the hardener AND add outside heat...or the light off never happens. THAT makes a huge mess that has to be scraped off. Ask me how I know!
The temp in my garage was about 50 degrees...so after I spread the filler, I hit it with the heat gun to light it off. Once the light off occurs, the filler will harden just fine. We just have to coax the light! If you have a heater in your shop, shoot for 70 degrees for optimum cure rates. If it is 100+, like summer here in Texas, you can start the light off with only a small dot of hardener!
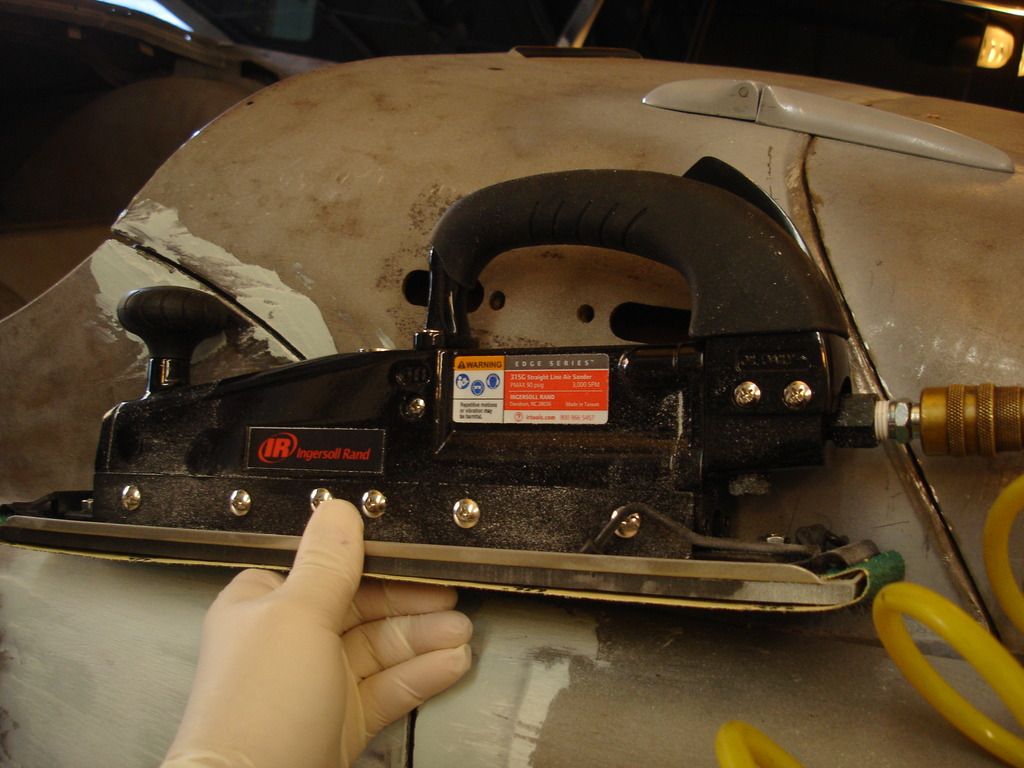
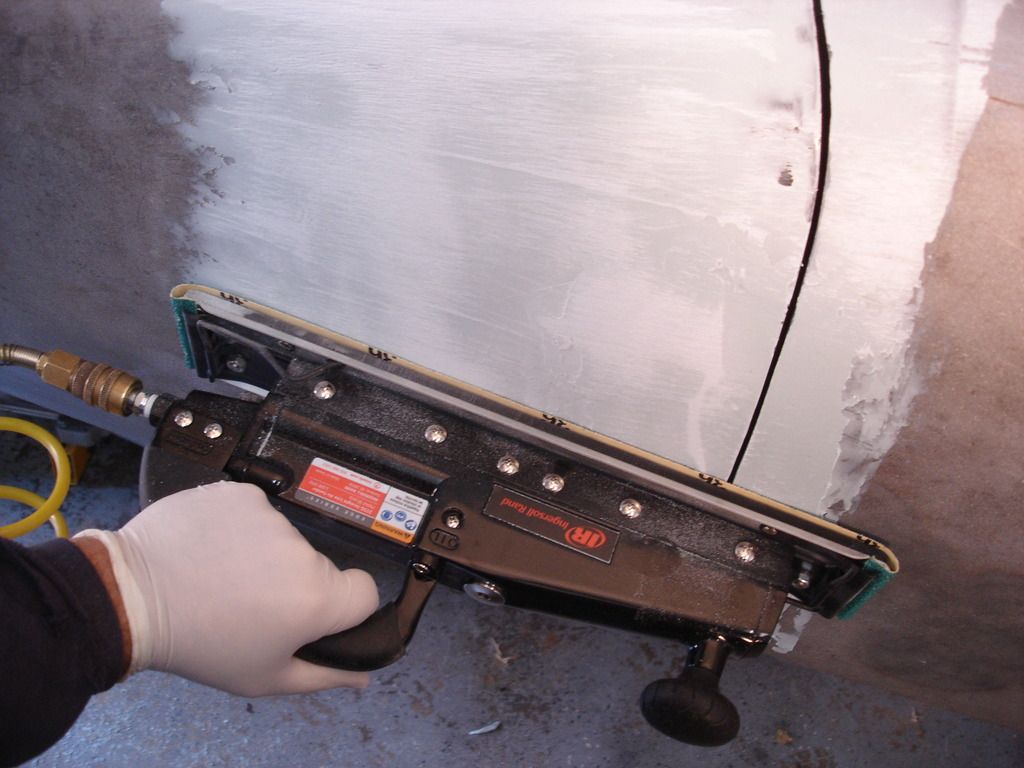
Here is my latest toy. The filling stage envolves endless sanding. You want the longest sanding block you can find. I'll repeat this, as it is VERY important.
For all body work, you want the longest sanding block you can get on the job!!
This toy uses 16" sanding sheets. The reason you want a long block is you are filling the low areas between the high spots on your body. You want the sanding block to bridge the space between the high spots. We are trying to level the surface. If the block is too short, it will cut into the valleys...so you get waves between the highs. Longer the better!!! Of course some tight areas cannot be sanded with a long block, but fortunately tight areas do not show big waves!
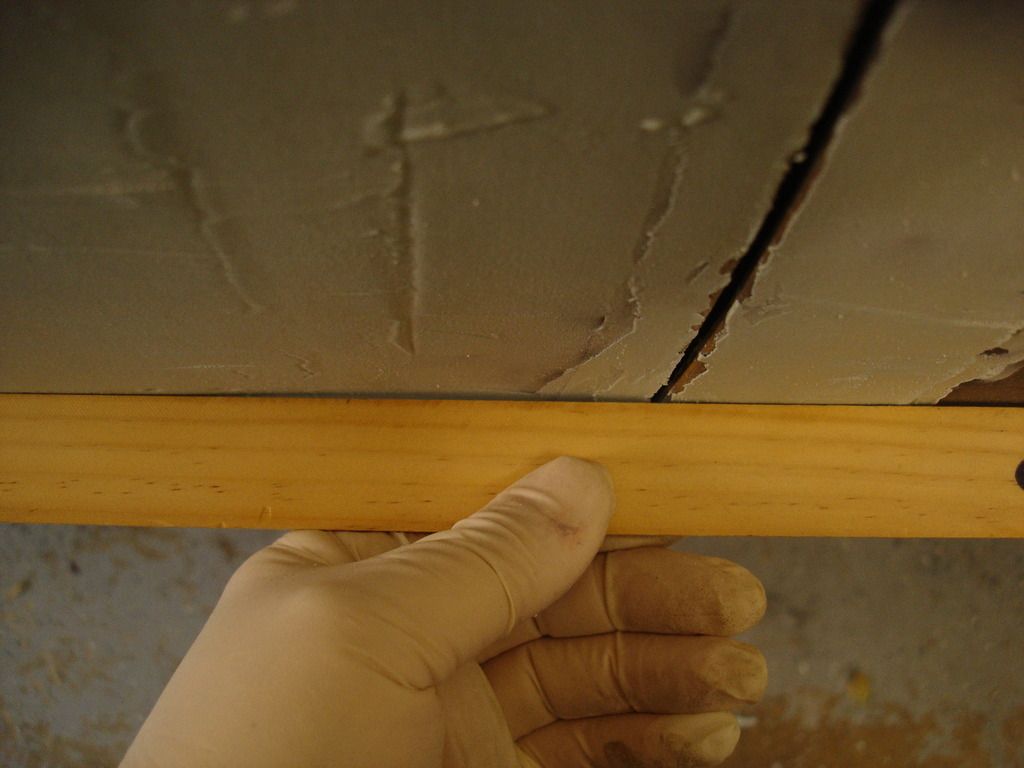
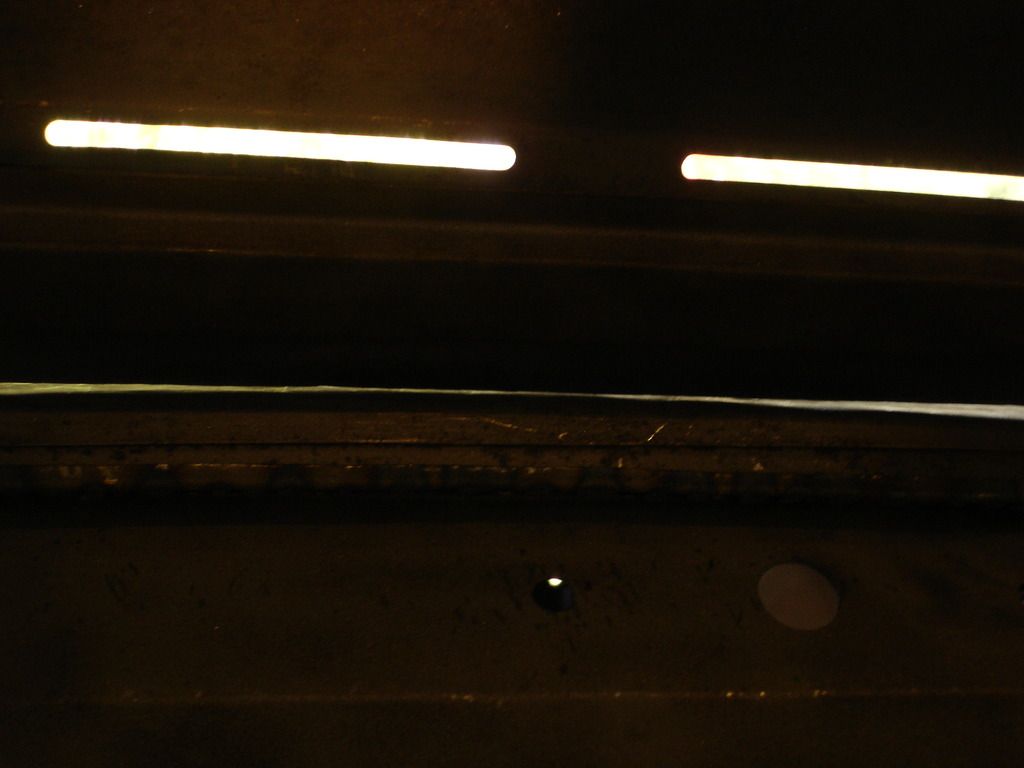
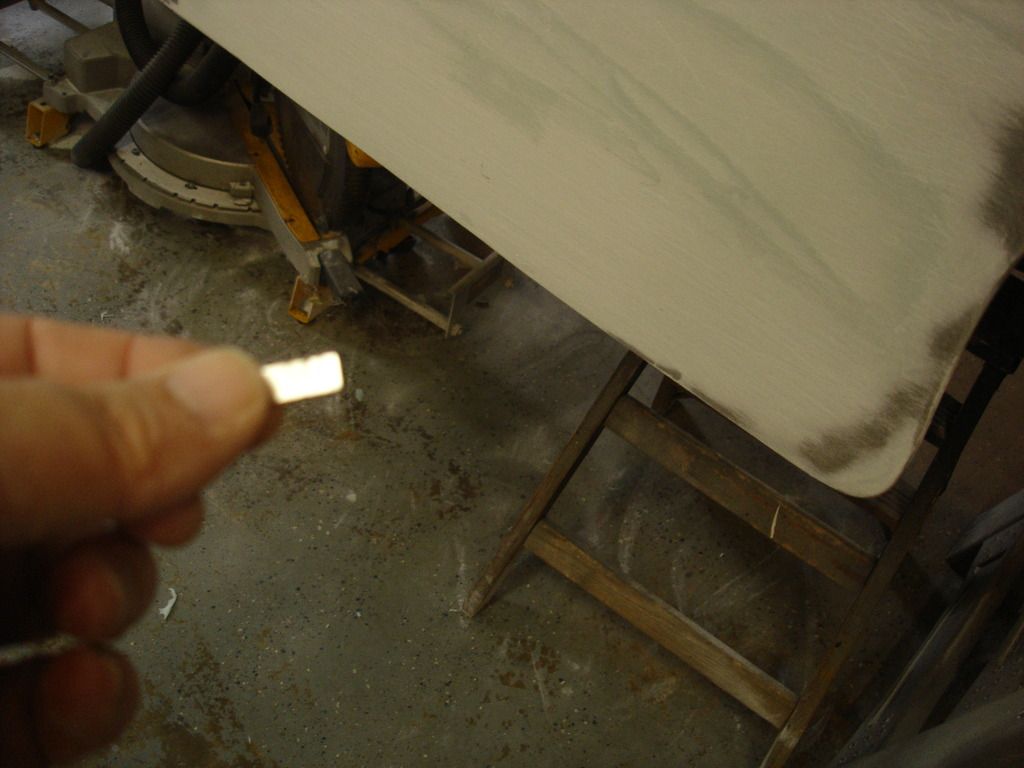
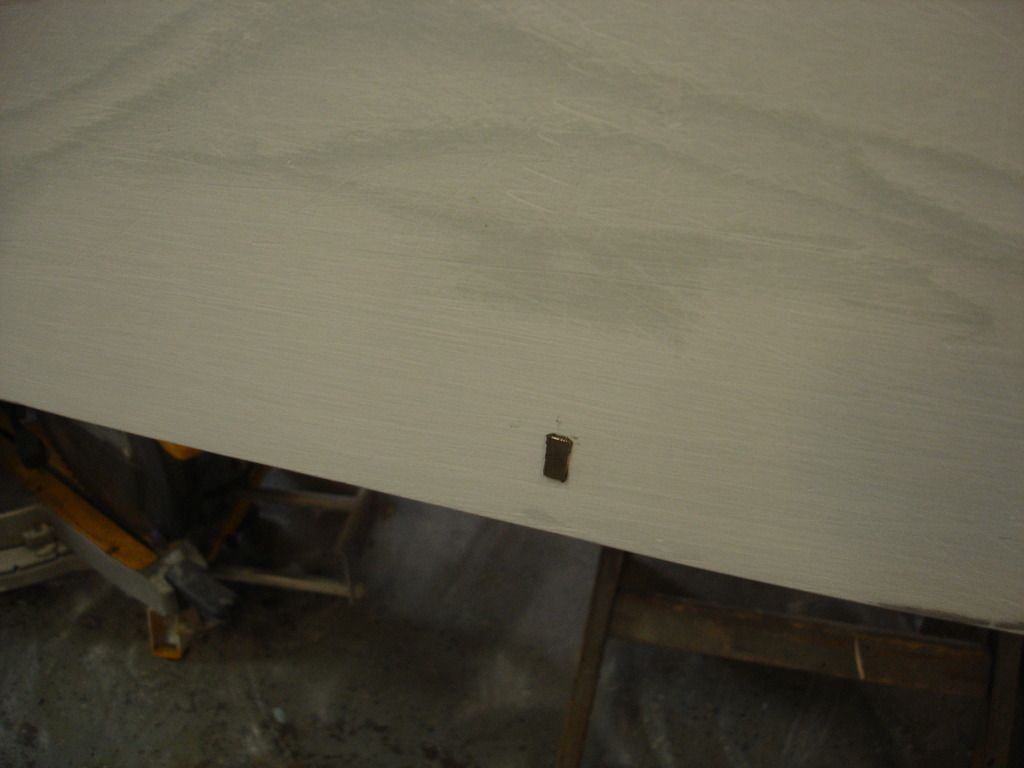
Speaking of waves...we need a straight edge. This can be used anytime you are having trouble "reading" the high or low areas on your body. If the spot is high, the straight edge will "rock" over the little hill. If a low spot...like shown above...you see light under the edge.
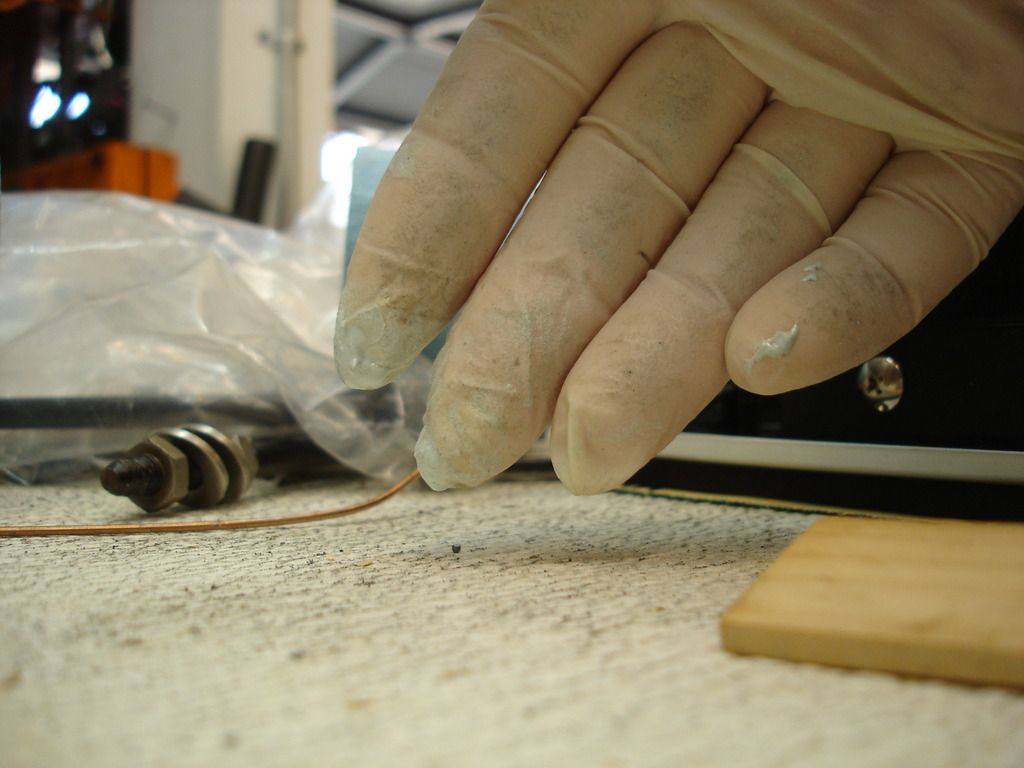
Latex (or other cheap) gloves. Every time you spread you WILL get this nasty goo on your fingers...and from there all over all your tools. Use latex gloves, and when you get filler on them, toss them and re-glove immediately. Don't hesitate...just do it!
When you get filler on you or tools, there are 3 ways to remove it. These are:
1) Heat. If you use metal spreaders, you can heat the tools with a torch and the polyester can be easily scraped right off.
2) Uncured polyester can be wiped off with laquer thinner or acetone.
3) Hardened filler can be flexed off...so long as it is on a flexible surface, of course.

 Hi Guest!

 smilie in place of the real @
 Pretty Please - add it to our Events forum(s) and add to the calendar! >>
