Week 62
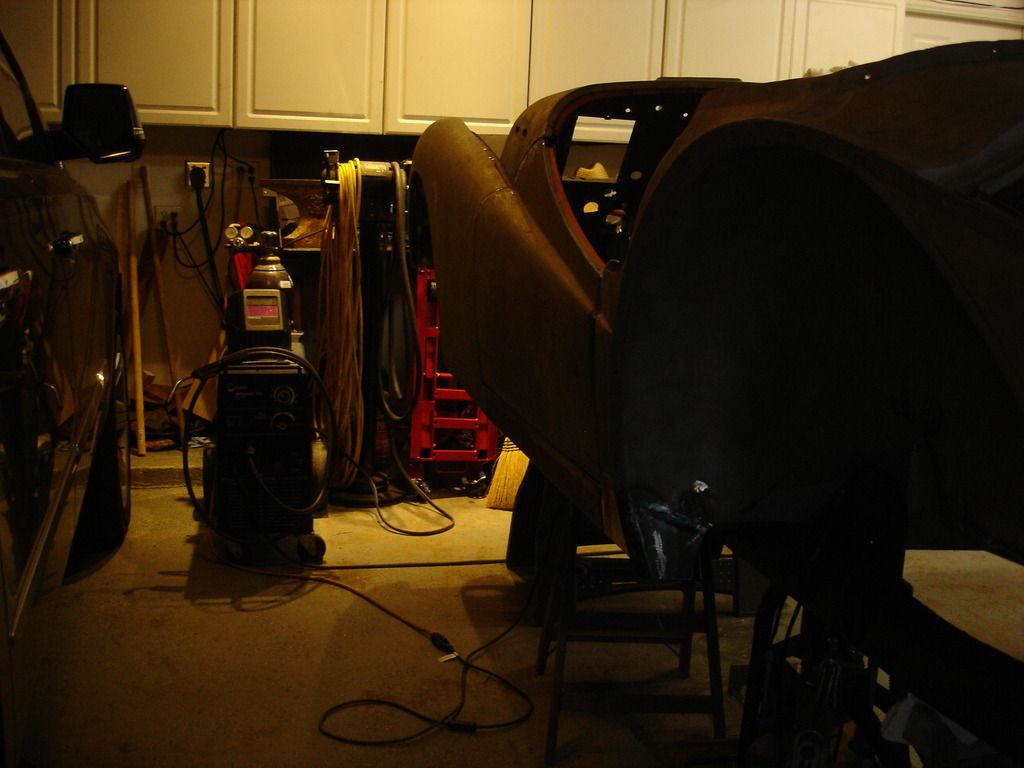
This week worked out well, for the Triumph, anyway. I worked all month to get a week off to take the family to south Texas for T day, but then they didn't want to go. So, a whole week to work on the TR! This will be a BIG installment....
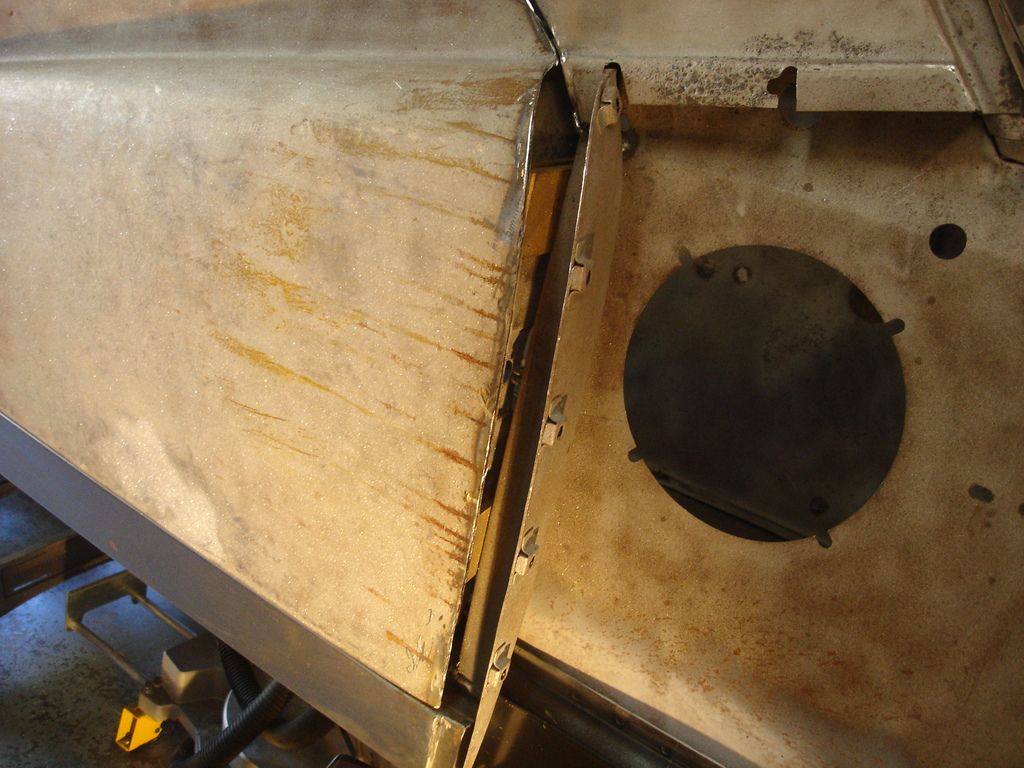
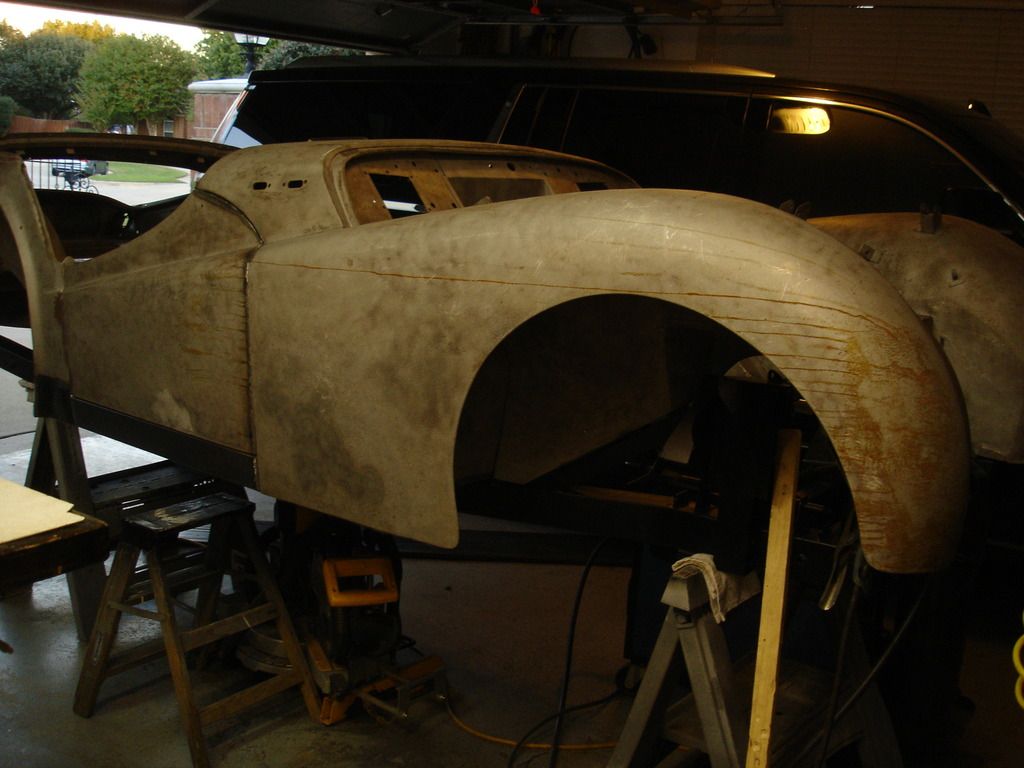
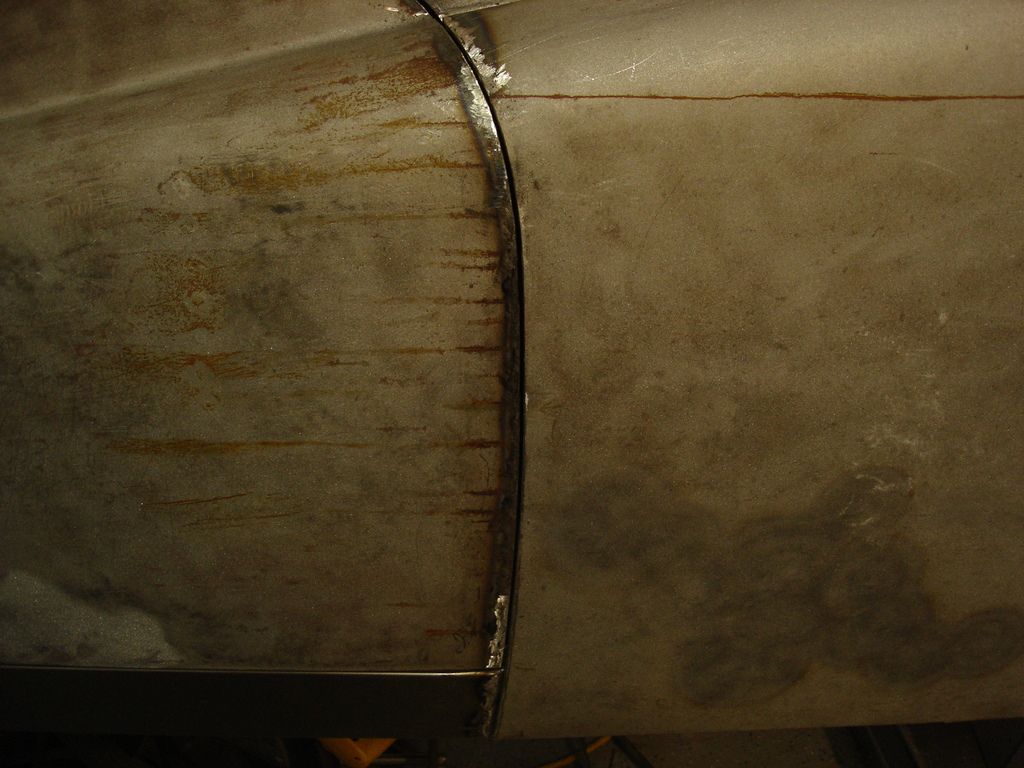
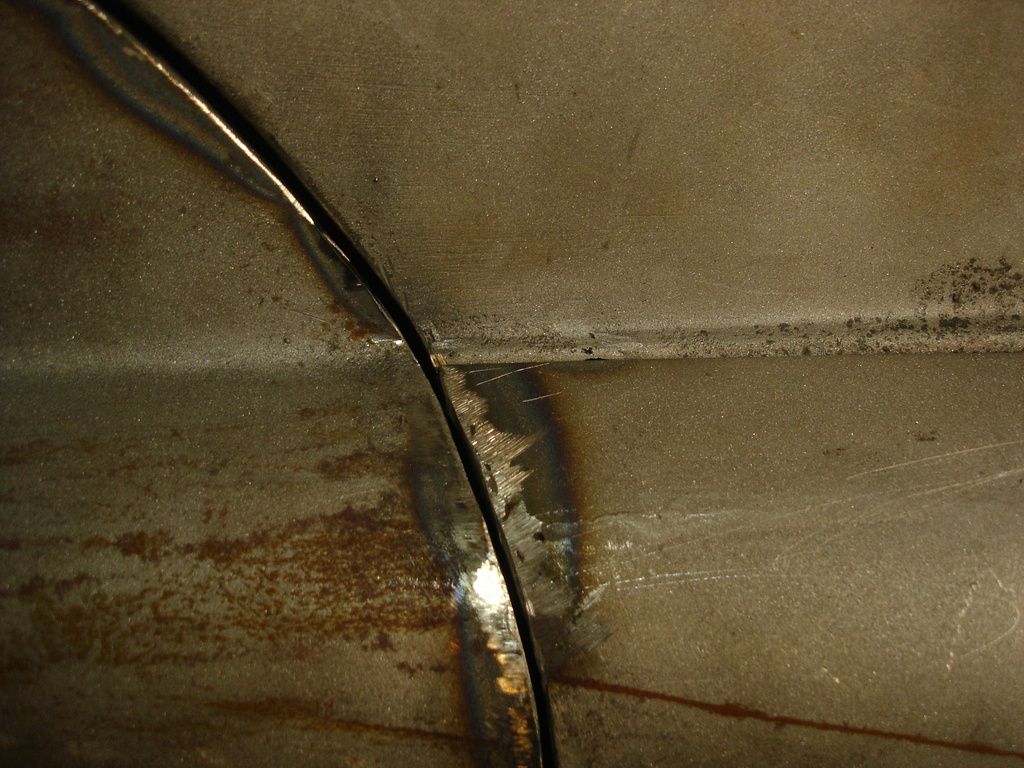
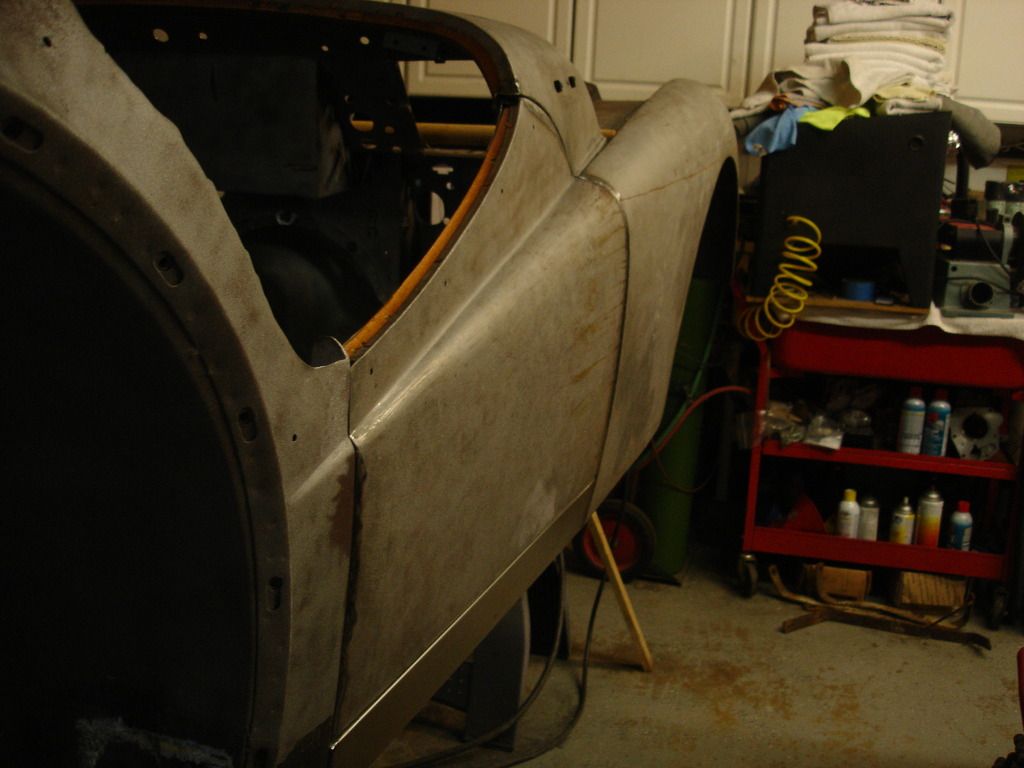
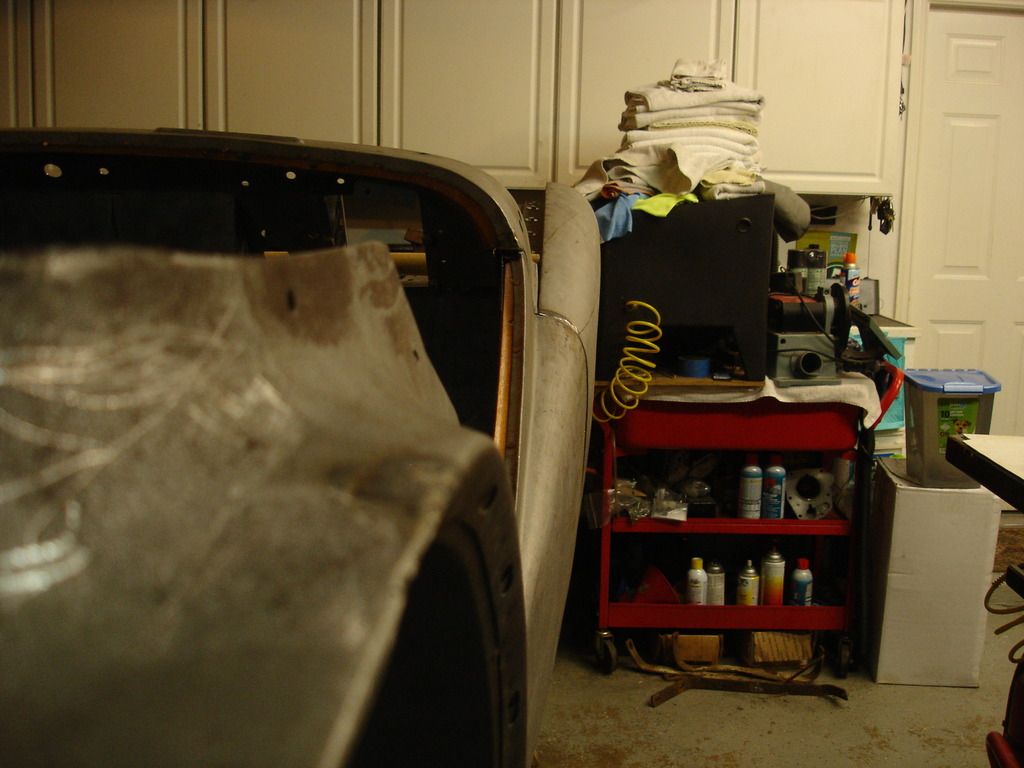
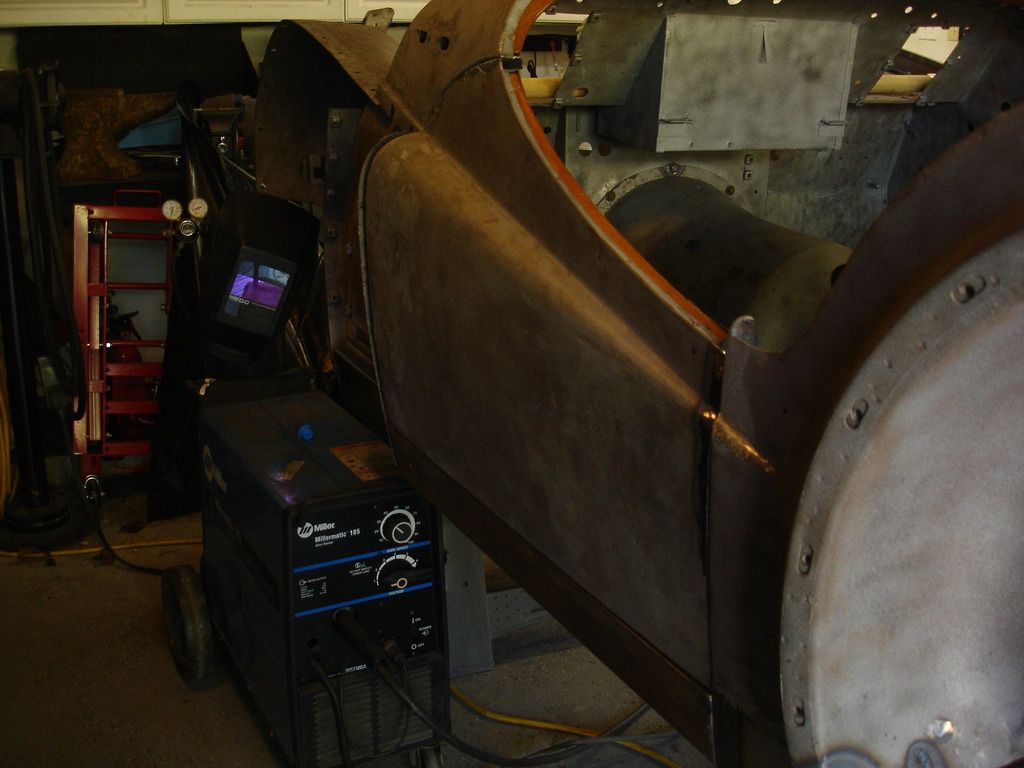
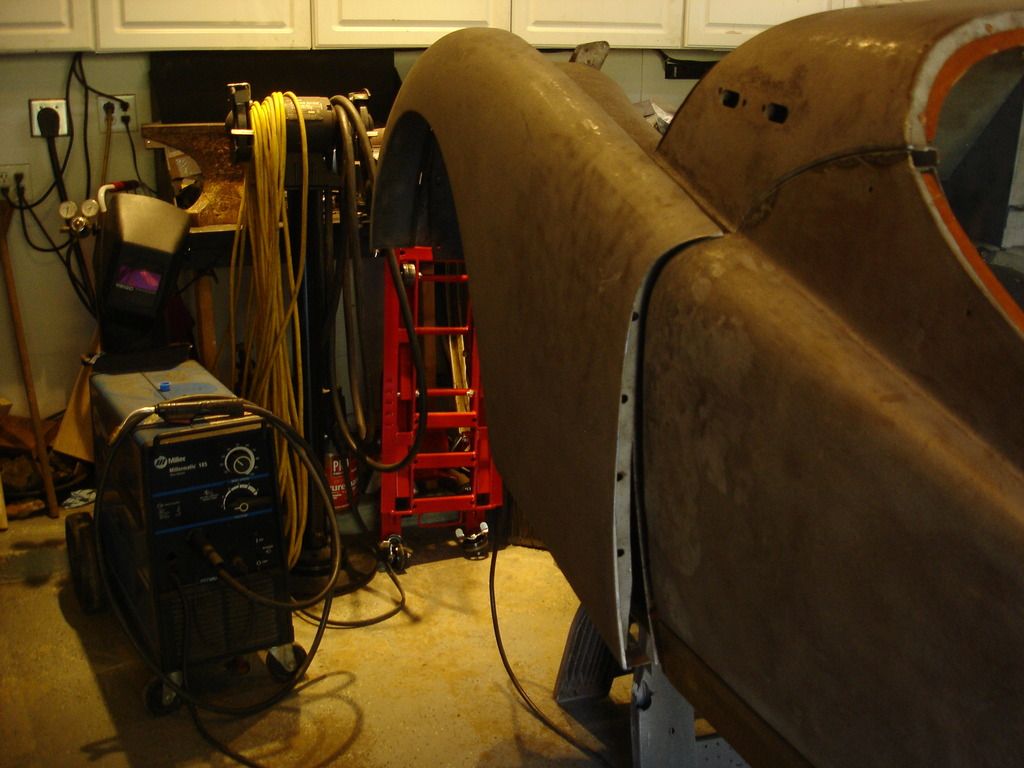
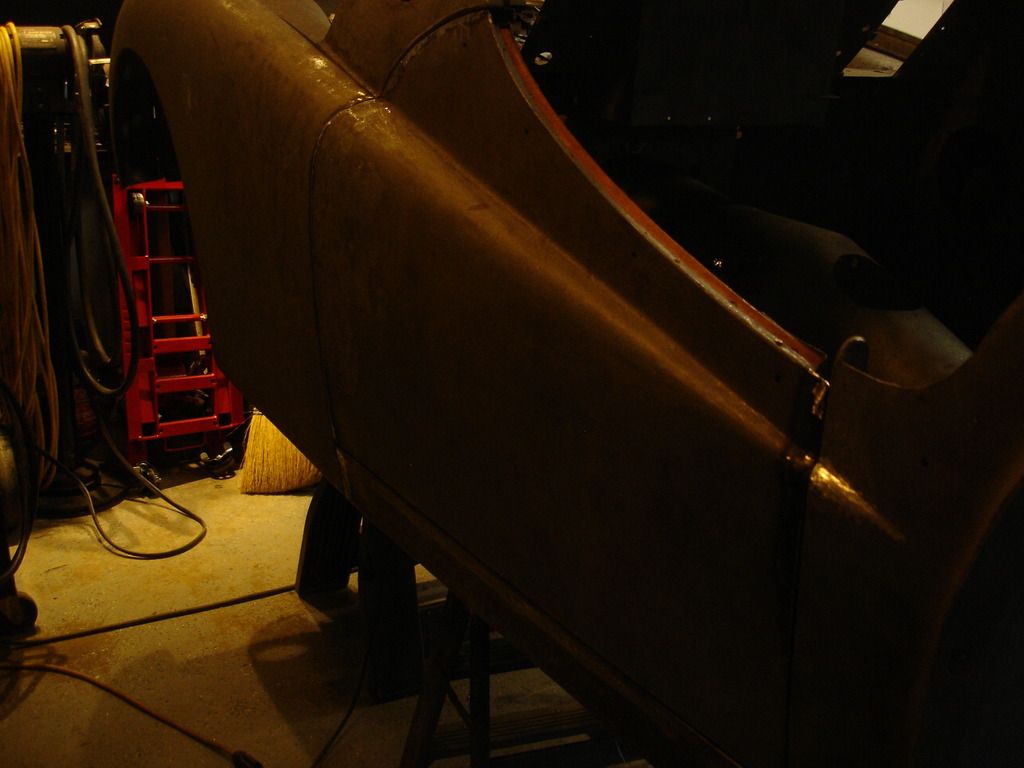
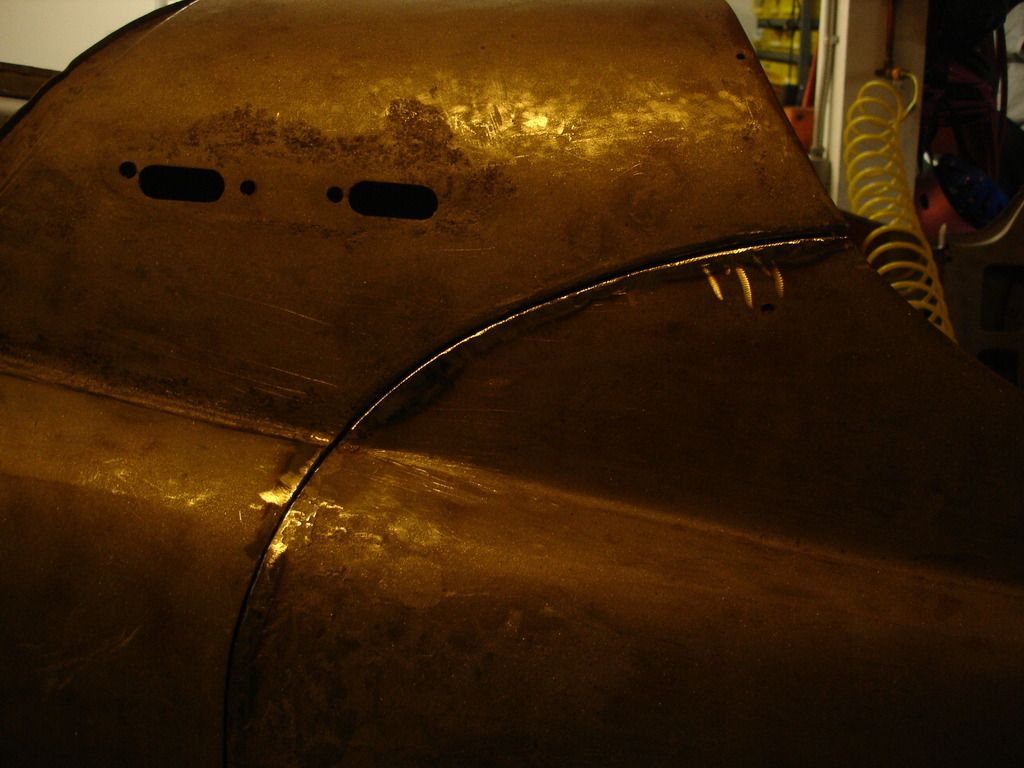
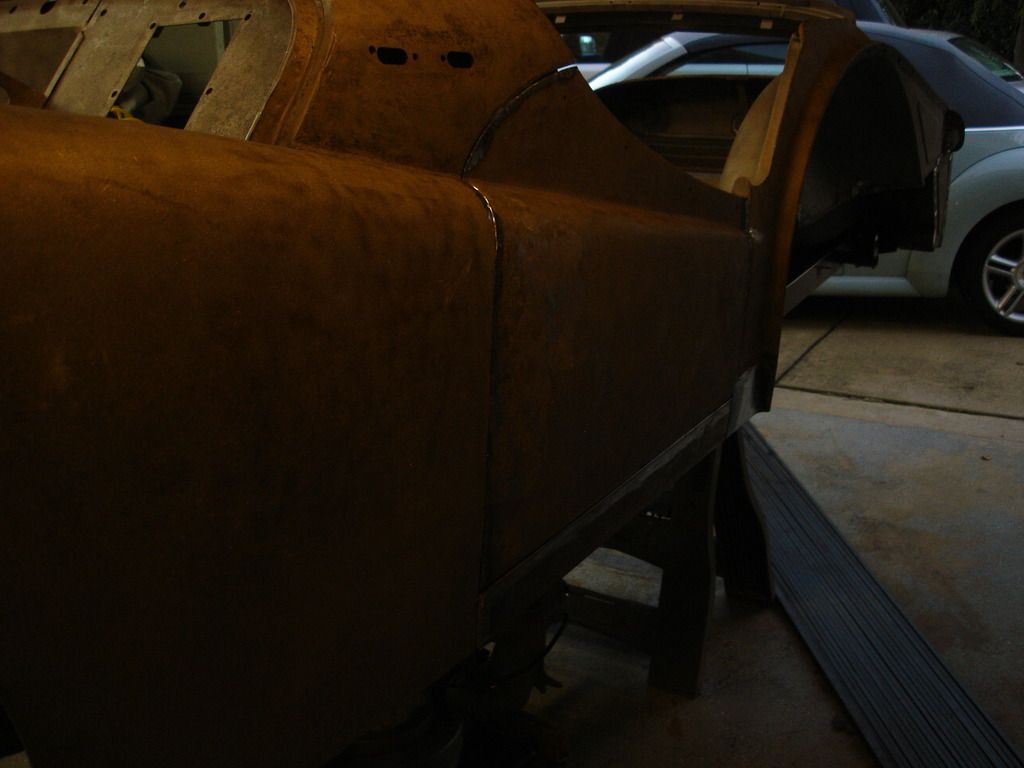
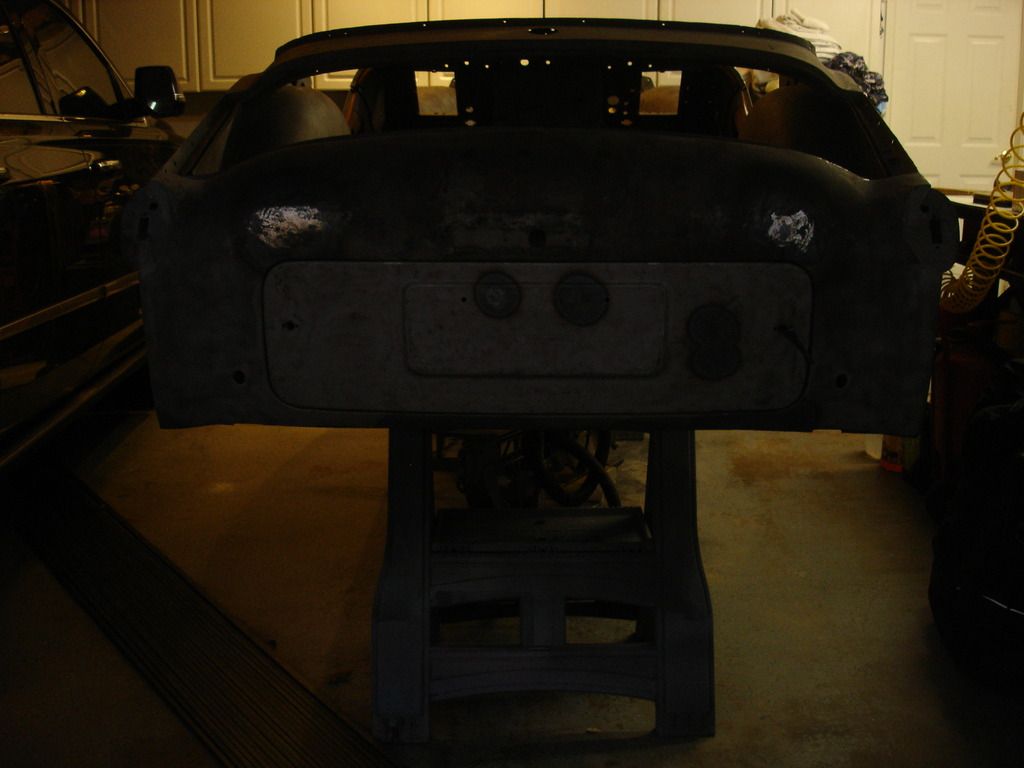
Compared to the panels around the doors, the rest of the car body parts are a breeze to fit. Now, even though I say "breeze", you still need to allow about a full day per panel. In Triumph terms that is easy!?! I started with the left rear wing...
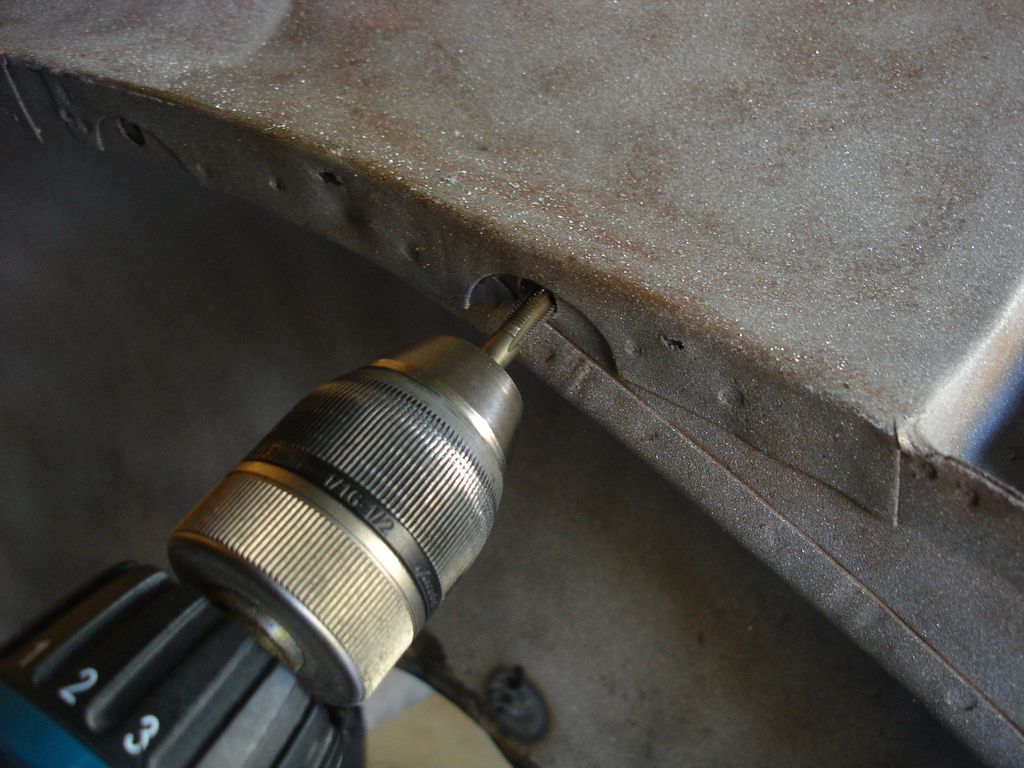
As with all Triumph work, you will have to R and R the panels several times at least during the fitting, so cleaning out hte caged nuts with a tap is almost mandatory. It allows you to hand spin in the bolts without having to work for minutes on each one.
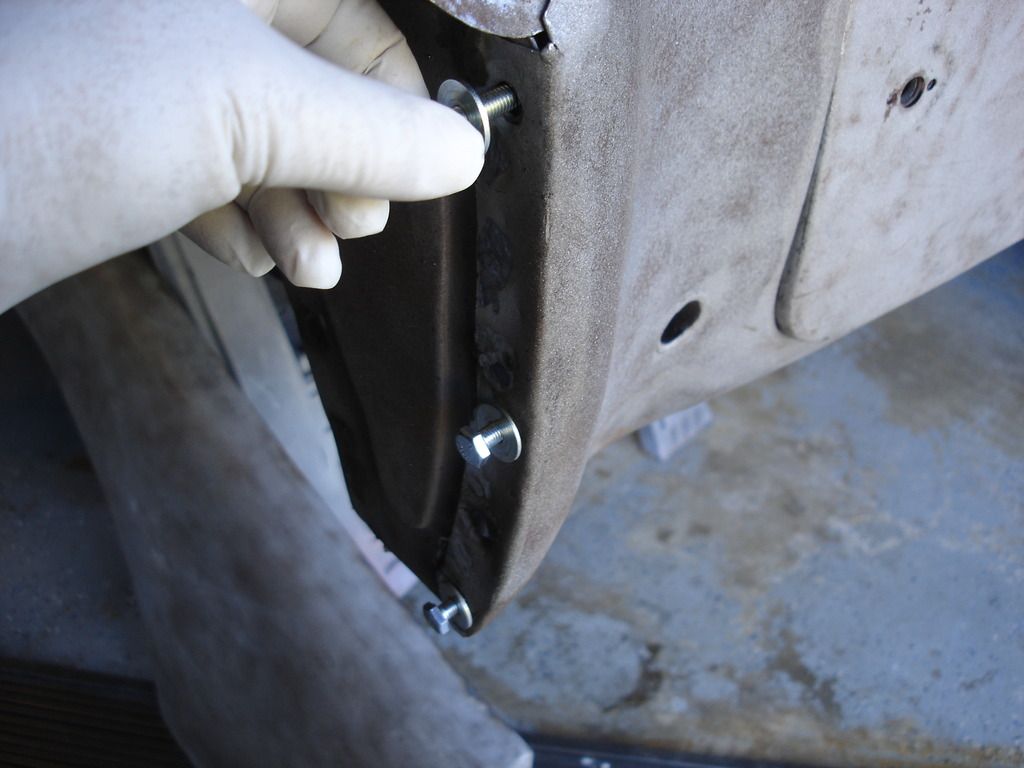
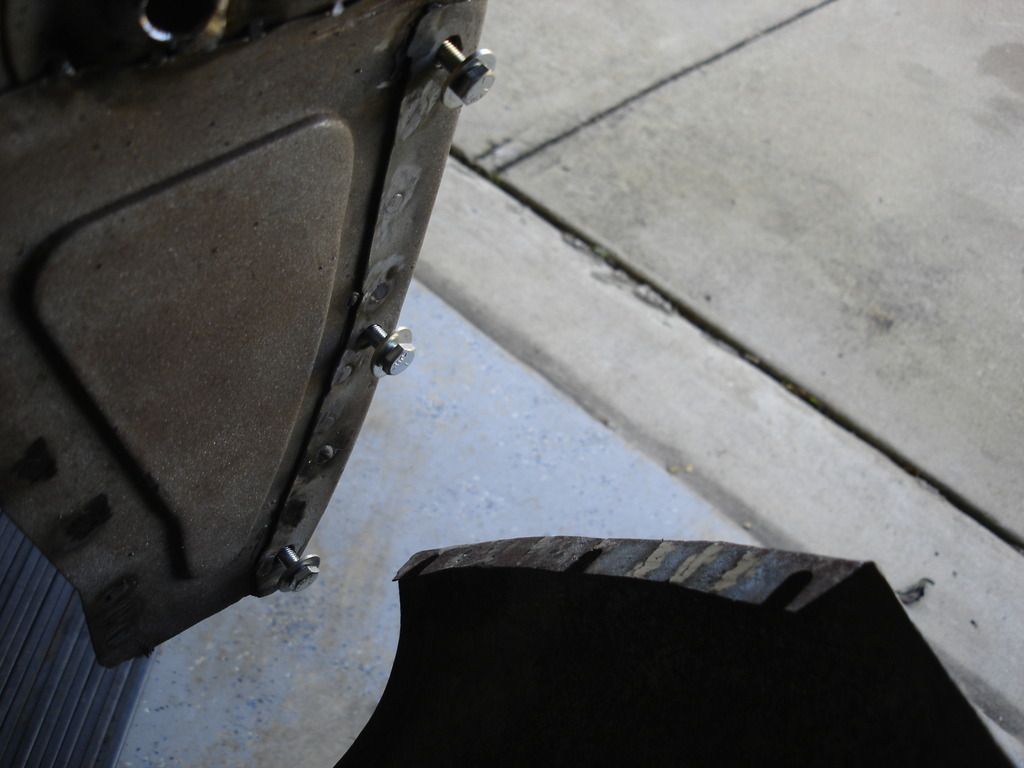
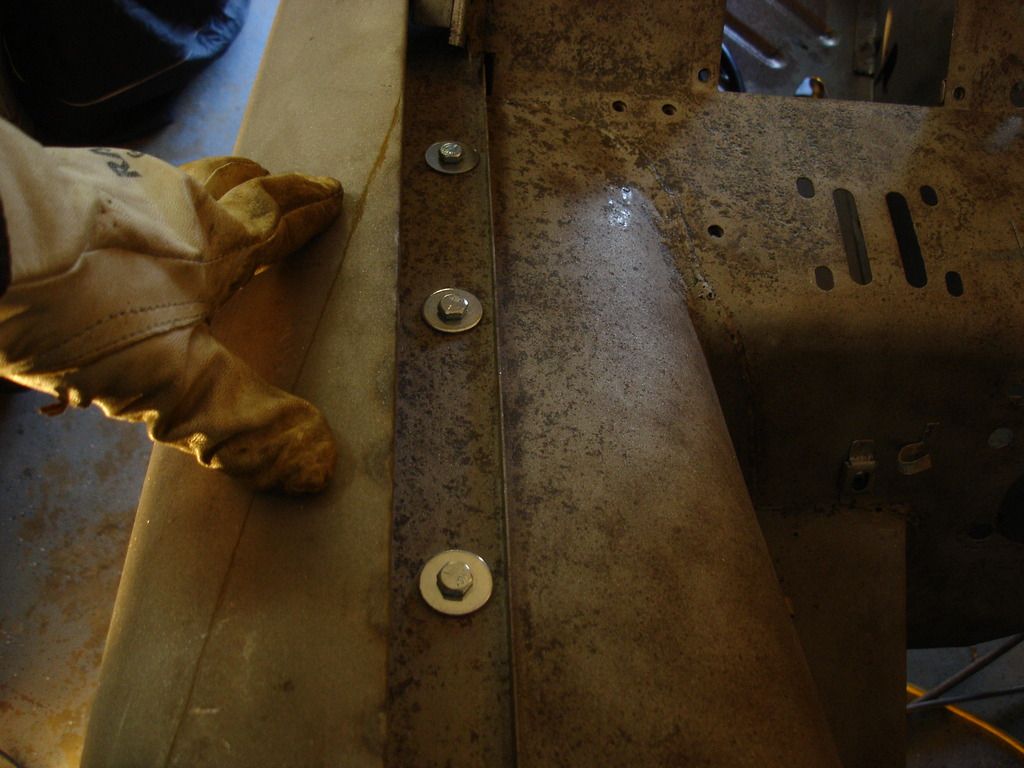
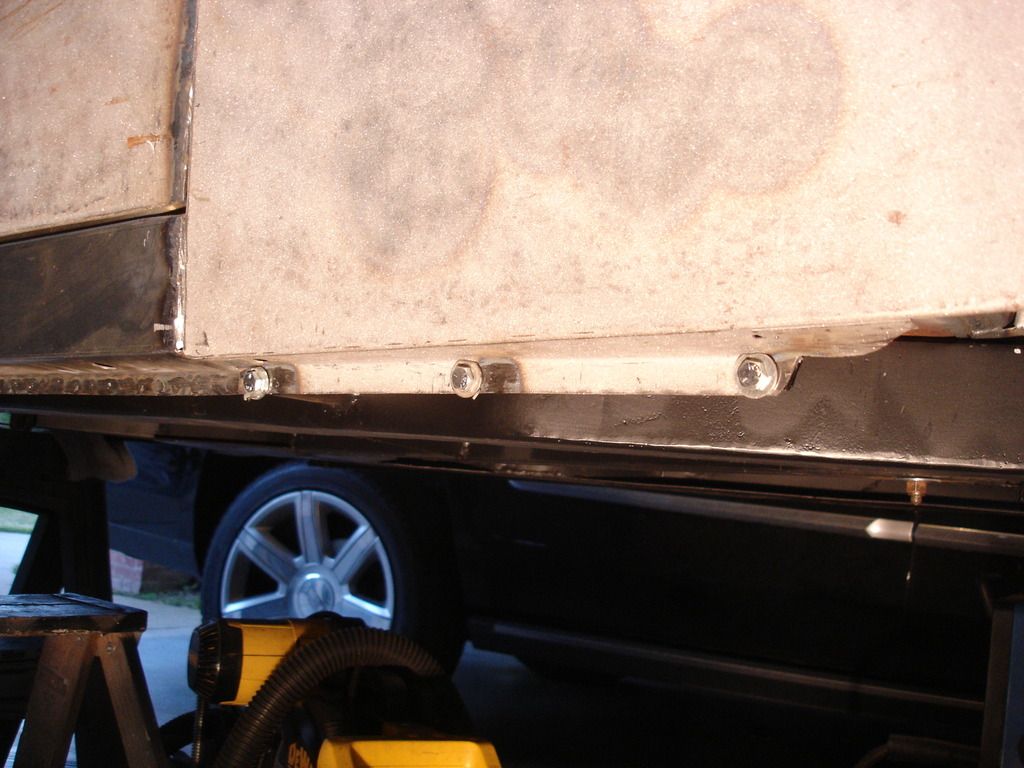
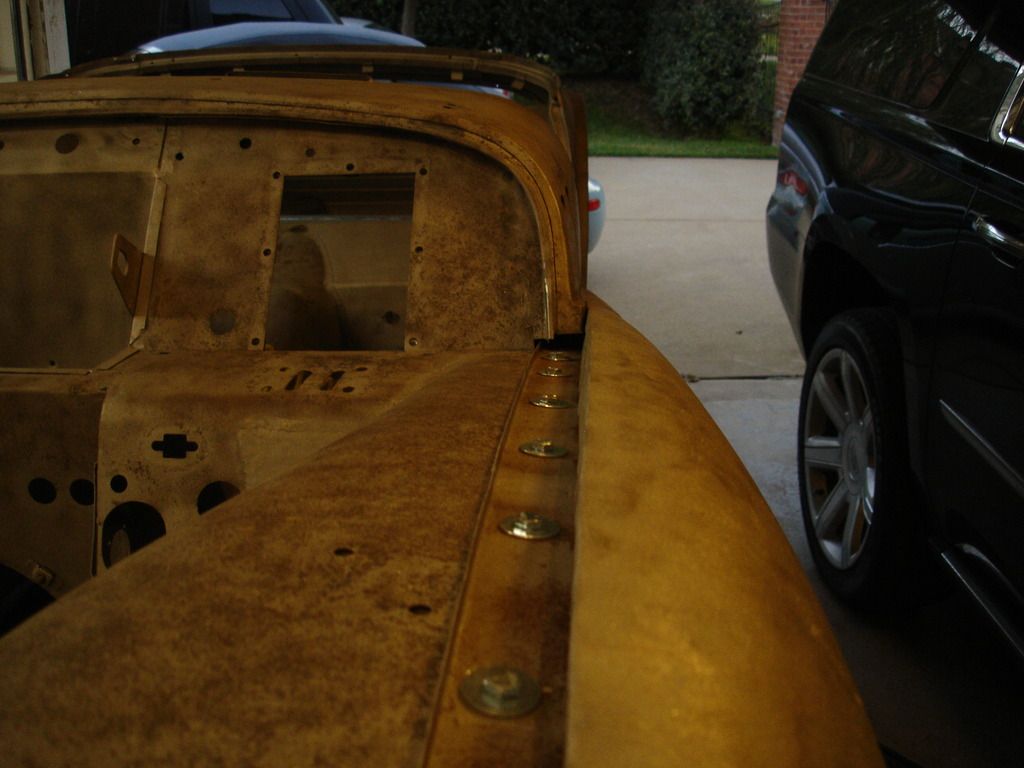
Rear wing installation always starts with the 3 bolts along the rear. The wing is slotted to take these, so you install the bolts about 3/8" out, and the wing will slide onto them.
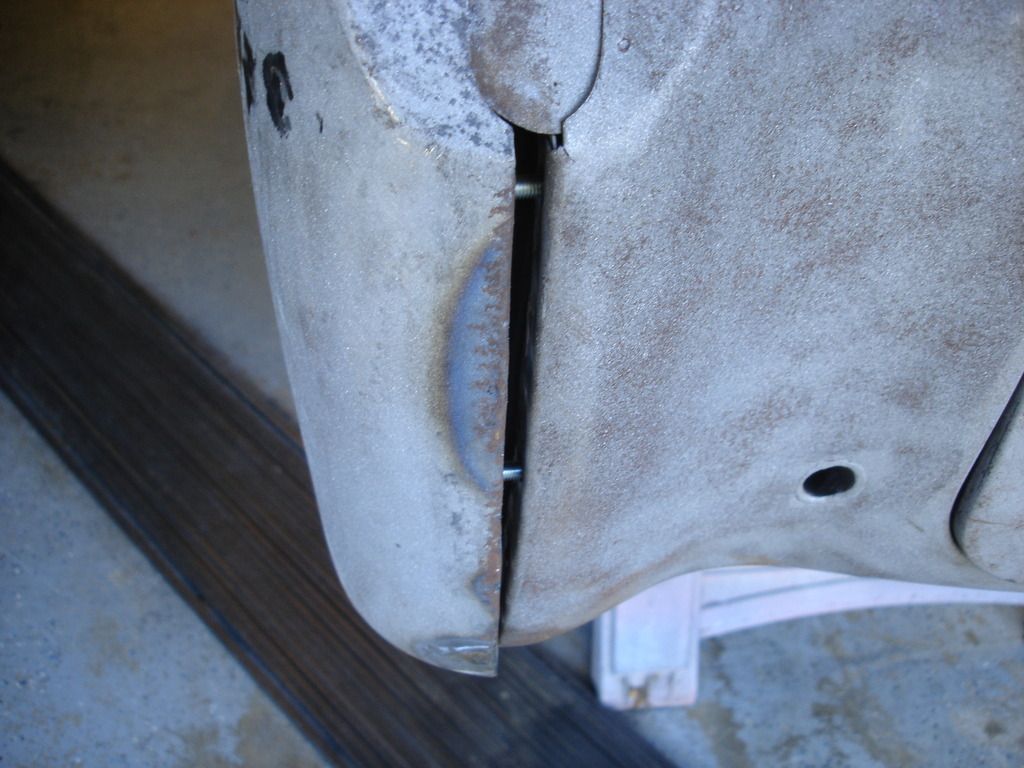
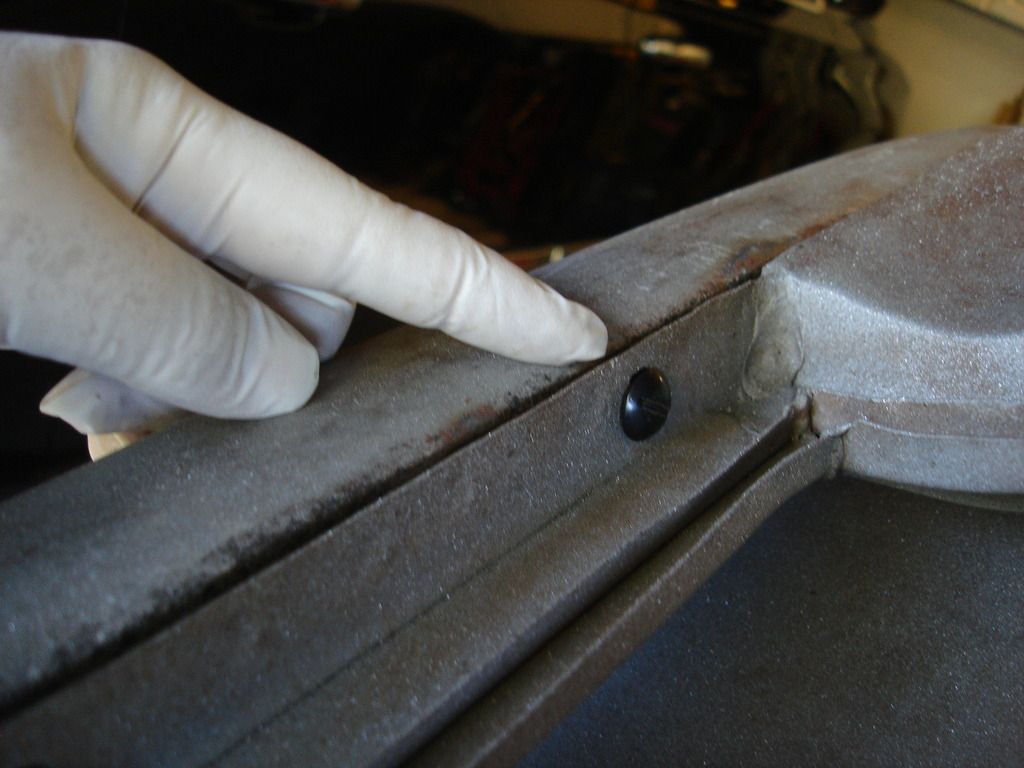
Slide the wing onto these rear bolts, and then pick one bolt forward to install, just to hold the panel in place while you work.
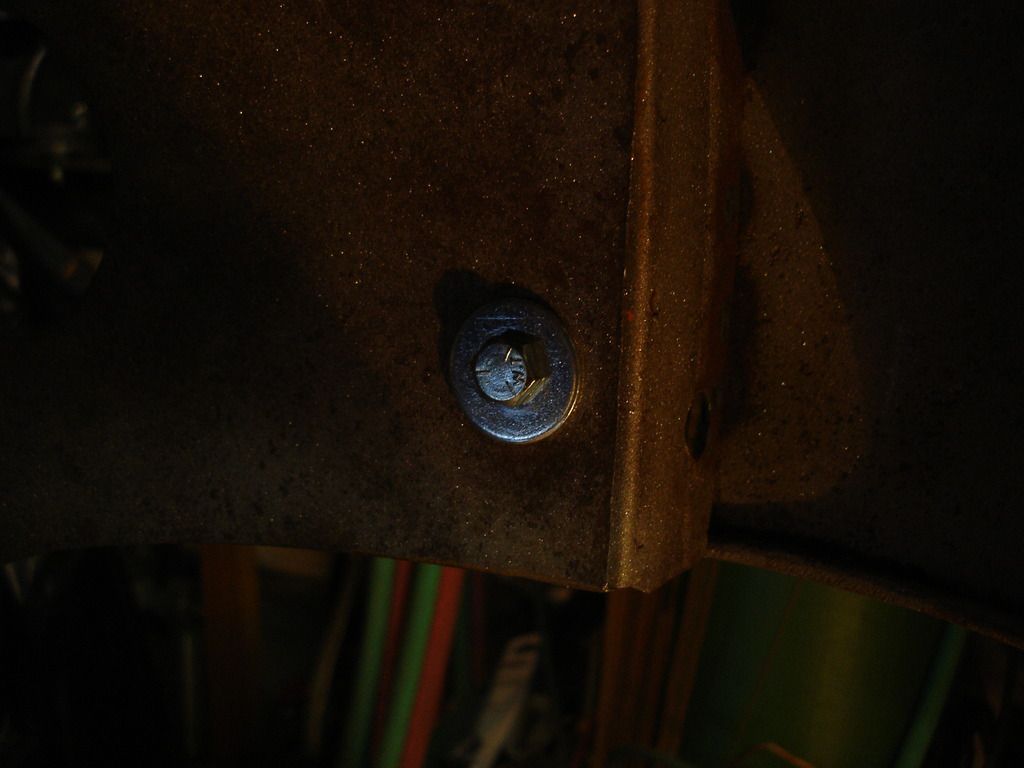
Note: These slot head bolts along the boot do NOT use washers. There is not enough room for a washer or the heads will hit the boot lid.
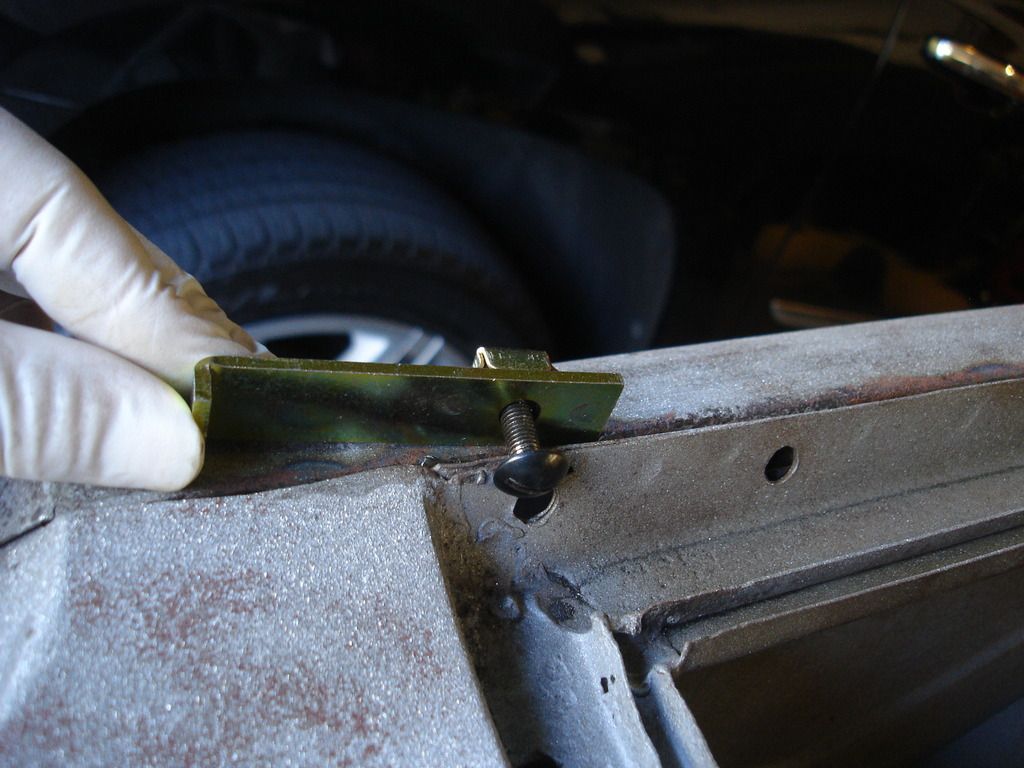
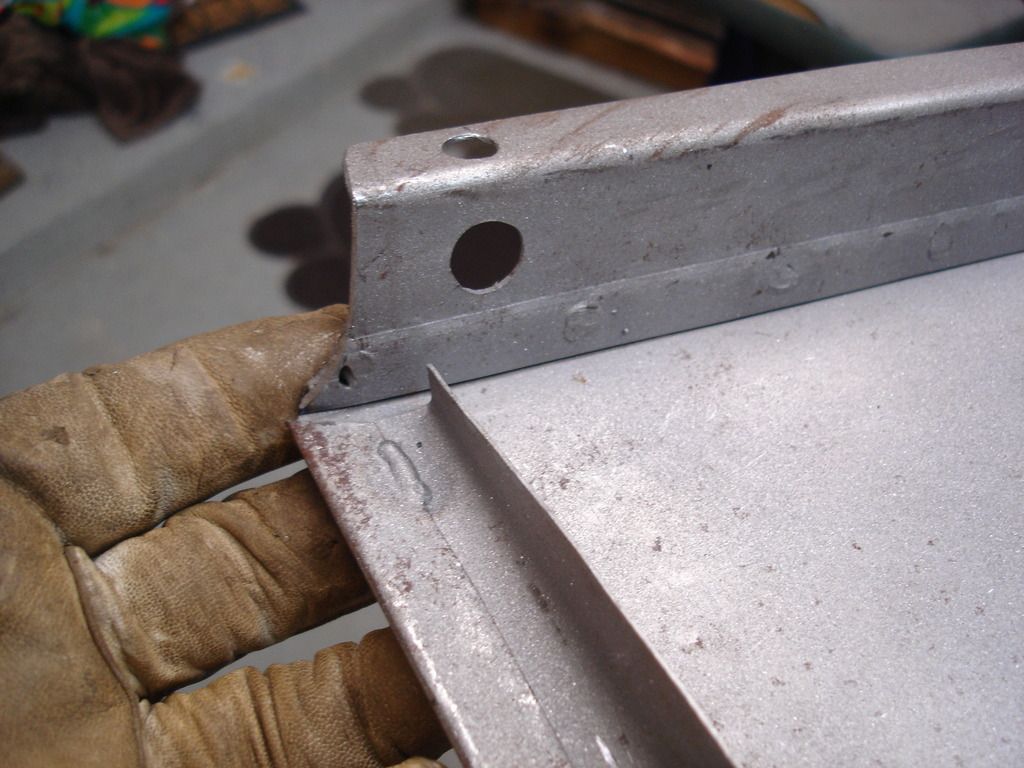
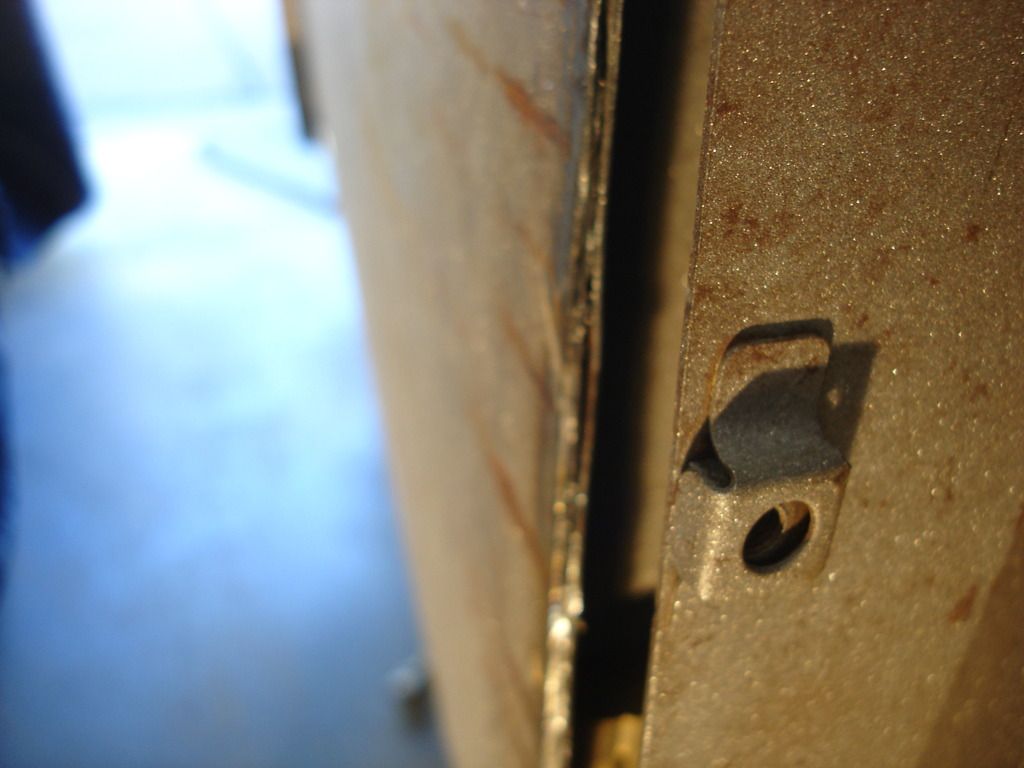
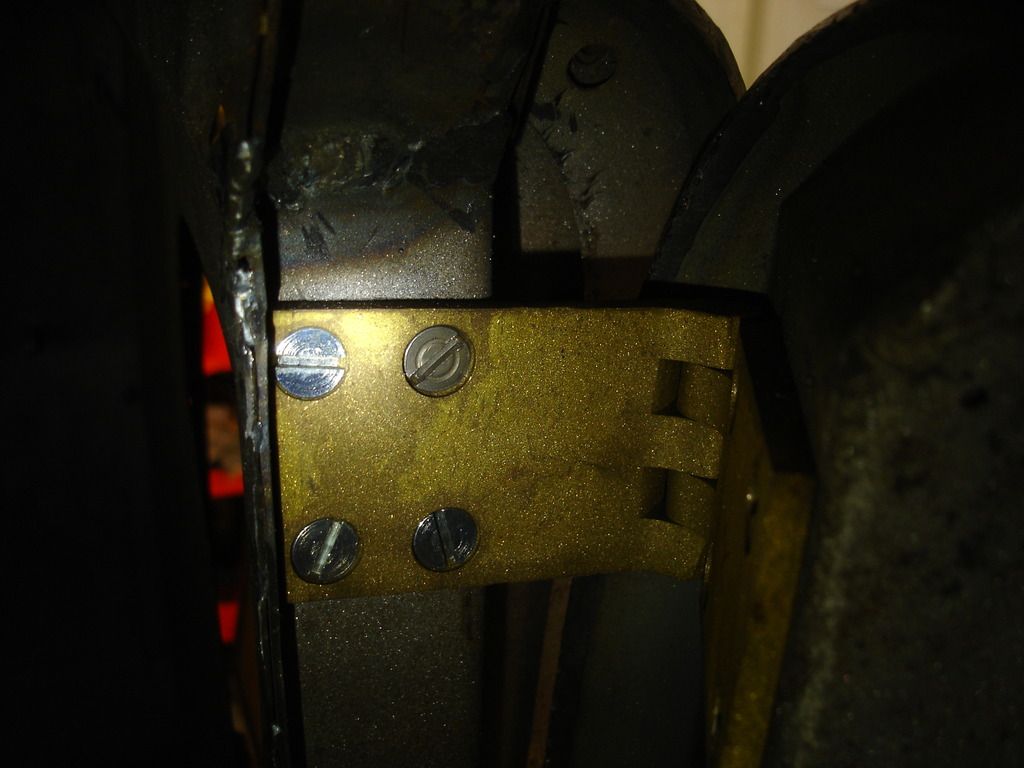
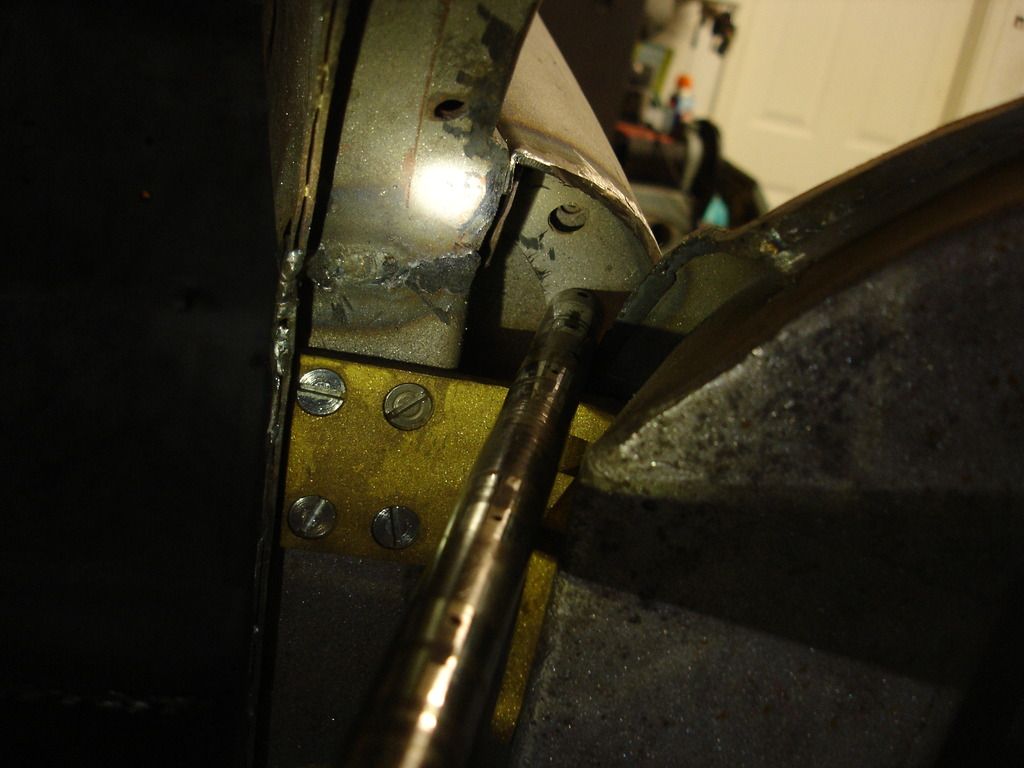
This little bracket goes in the rear upper bolt hole, in the orientation shown. Of course you have to reach under the wing to install it while threading the bolt from above.
Note: You are dealing with 18 gage sheet metal with all of these bolts. DO NOT over tighten them. Just snug is all you need, even for final installation. Any tighter and you start distorting everything, which accomplishes nothing for holding the panels. With 20 bolts per panel, the wings are not going anywhere when the bolts a just snug.
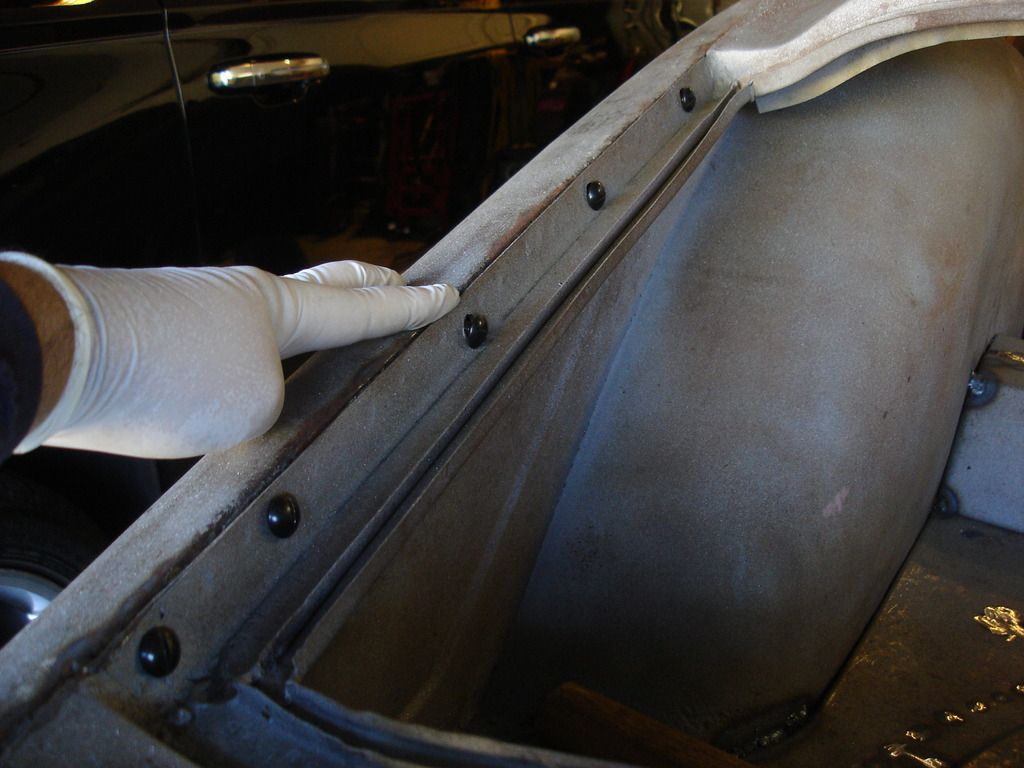
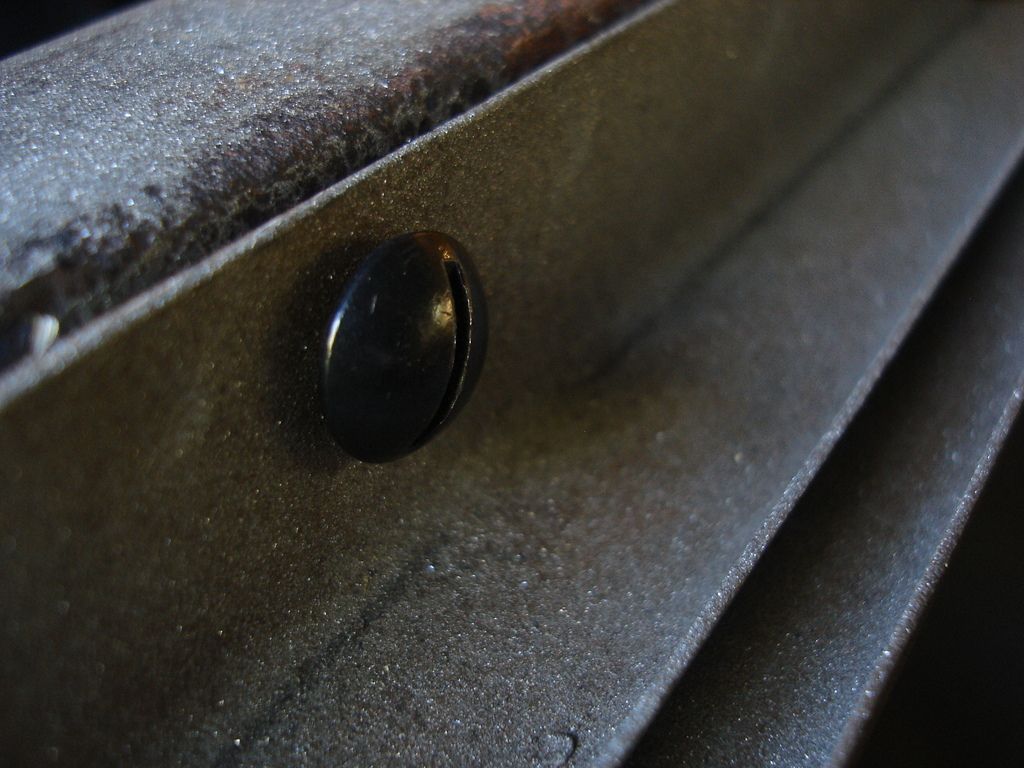
For the initial installation, I am loosely installing all of the bolts in the wing, to make sure they will thread without any clearance issues in the slots. I did this check a year ago, but a lot has been done to the car since then!
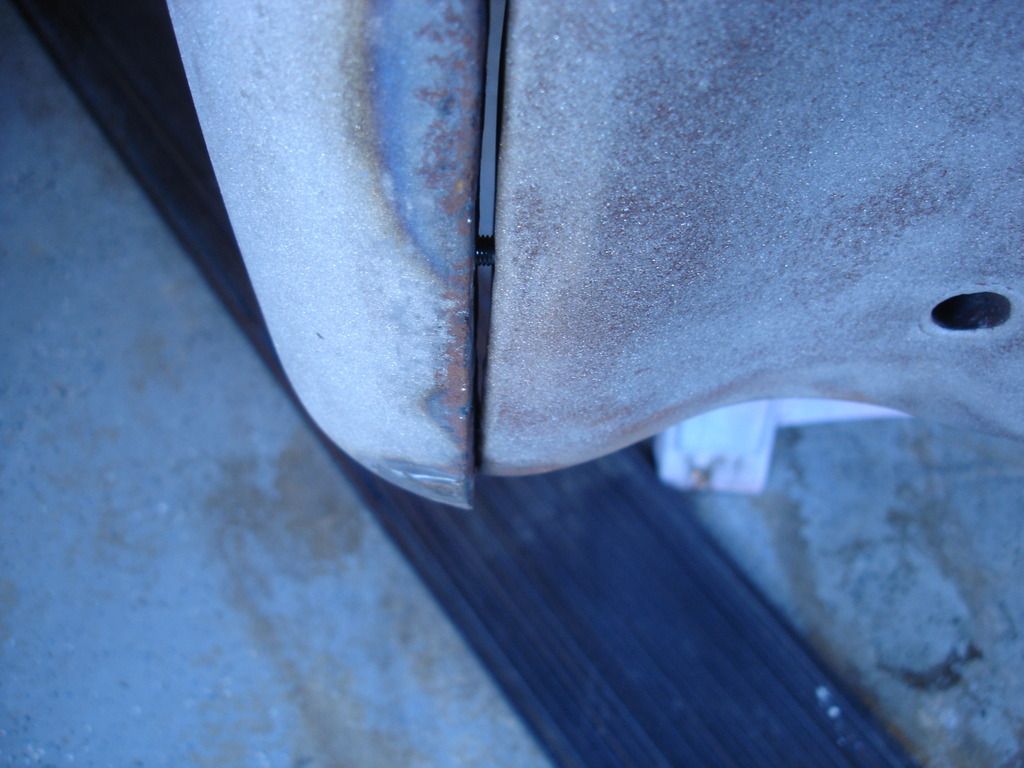
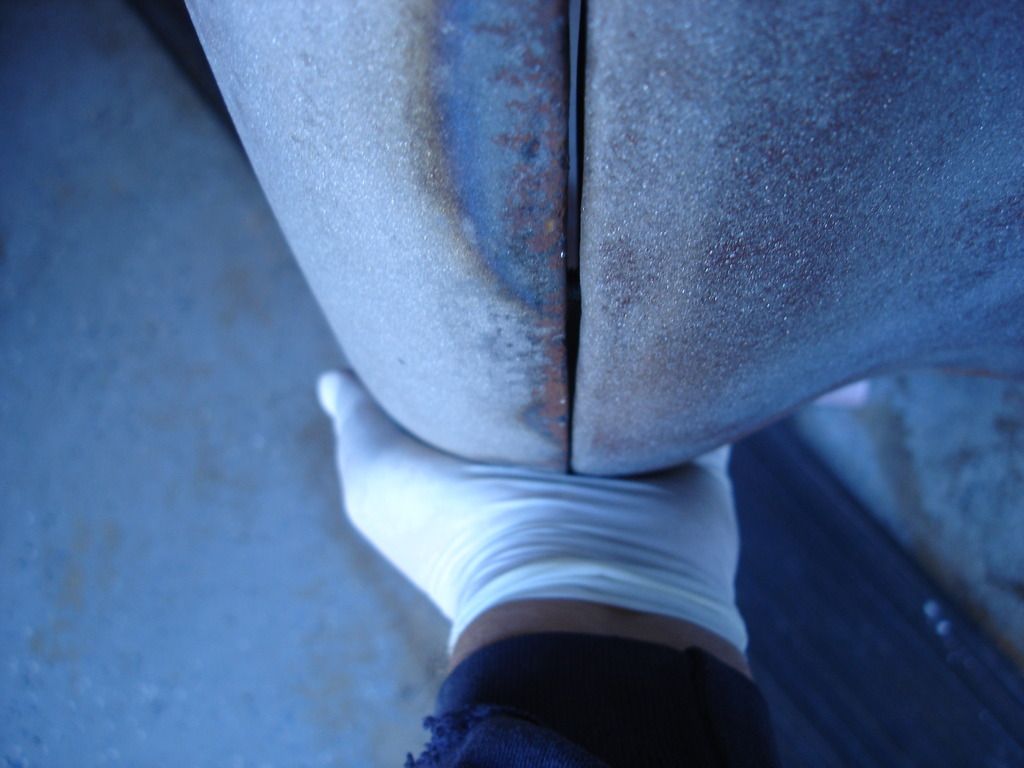
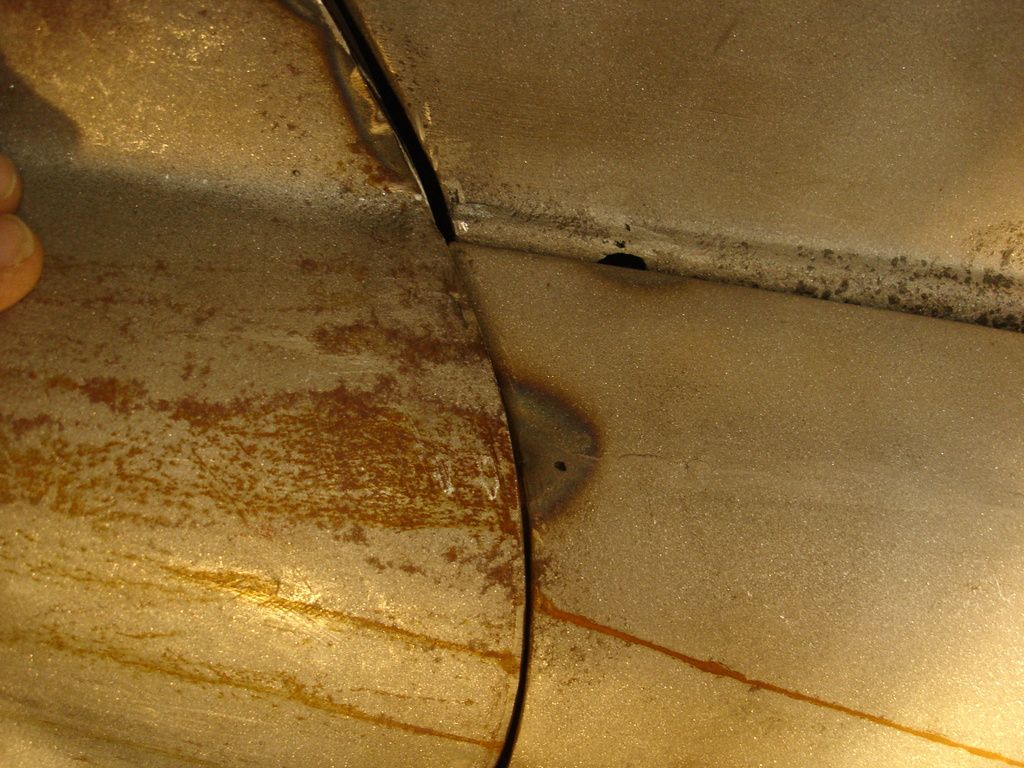
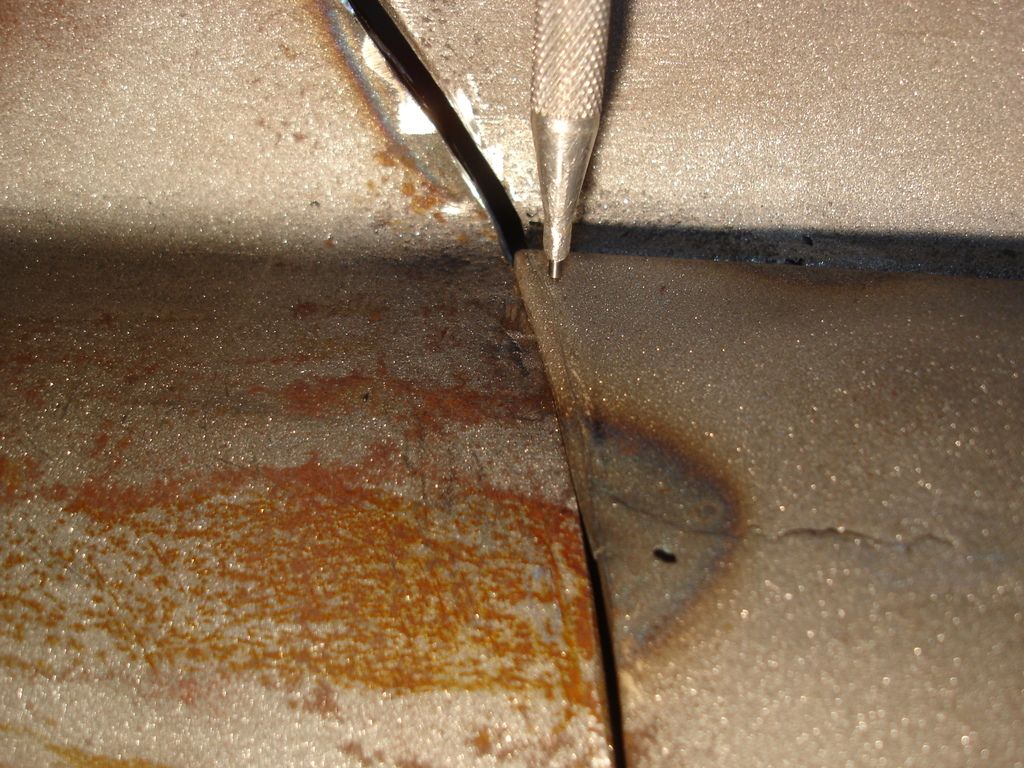
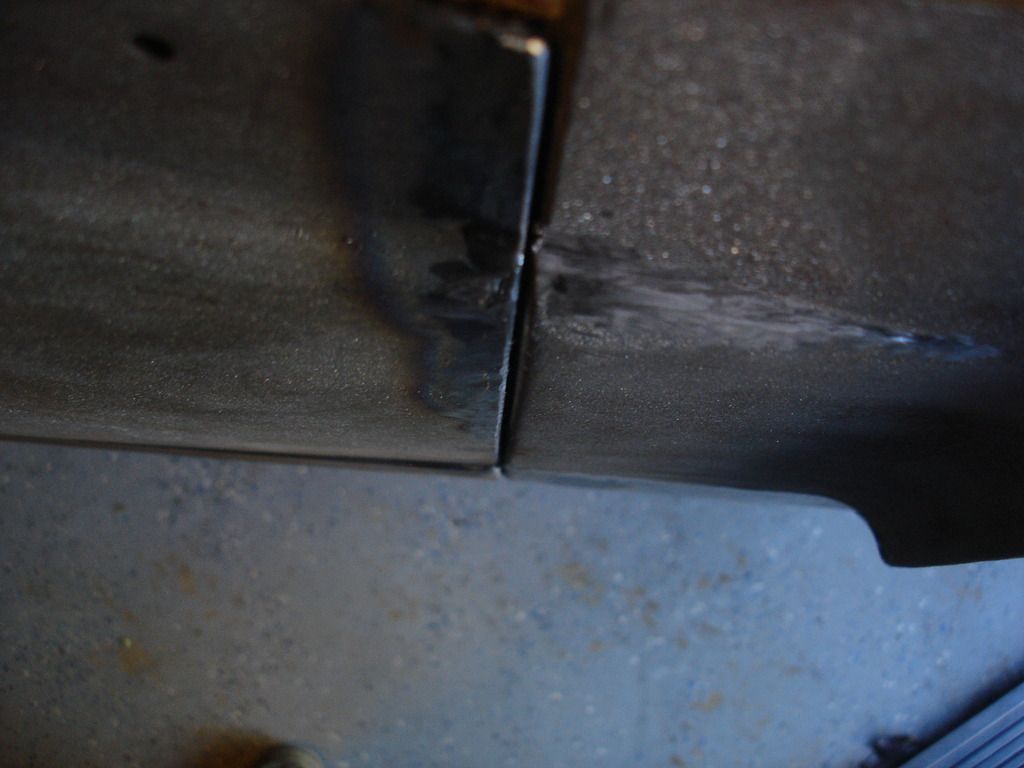
Now we start at the rearmost, bottom bolt. Align the wing to match the rear valence in every direction....up/down...in out...and the angle. Once happy, snug the bolt. If it will not align, then the slots are not correct. Figure out which one is holding the wing away from good alignment and open the slot with a burr. Yes, the wing has to come off for that!
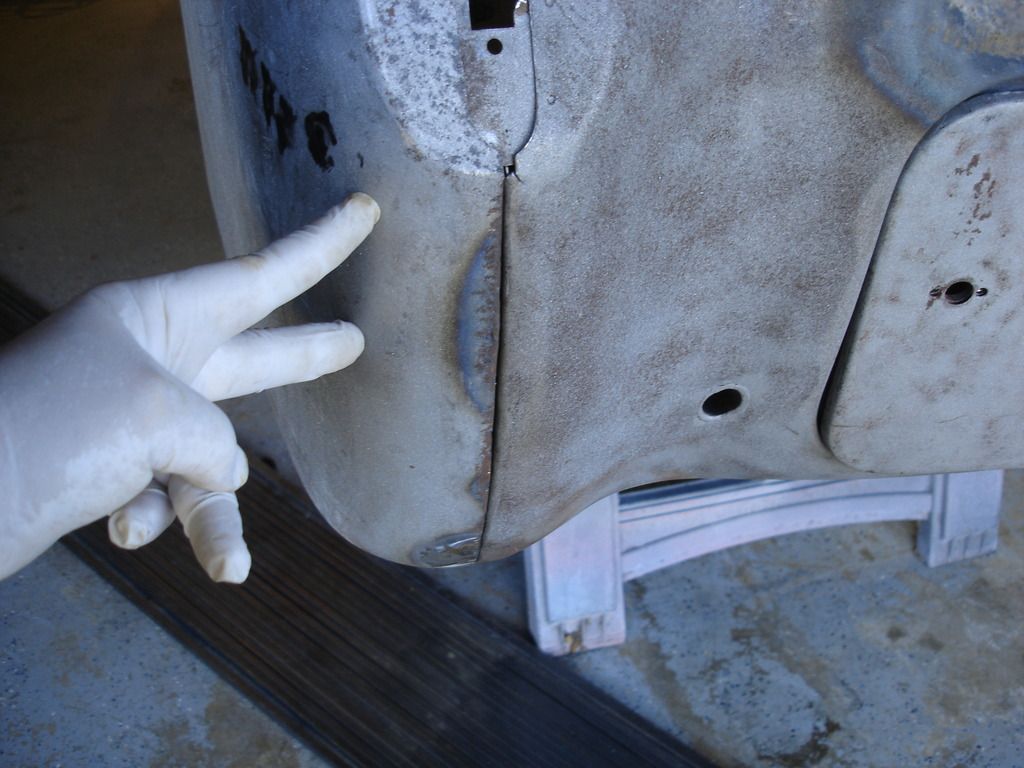
Next, snug the middle and finally the upper rear bolts.
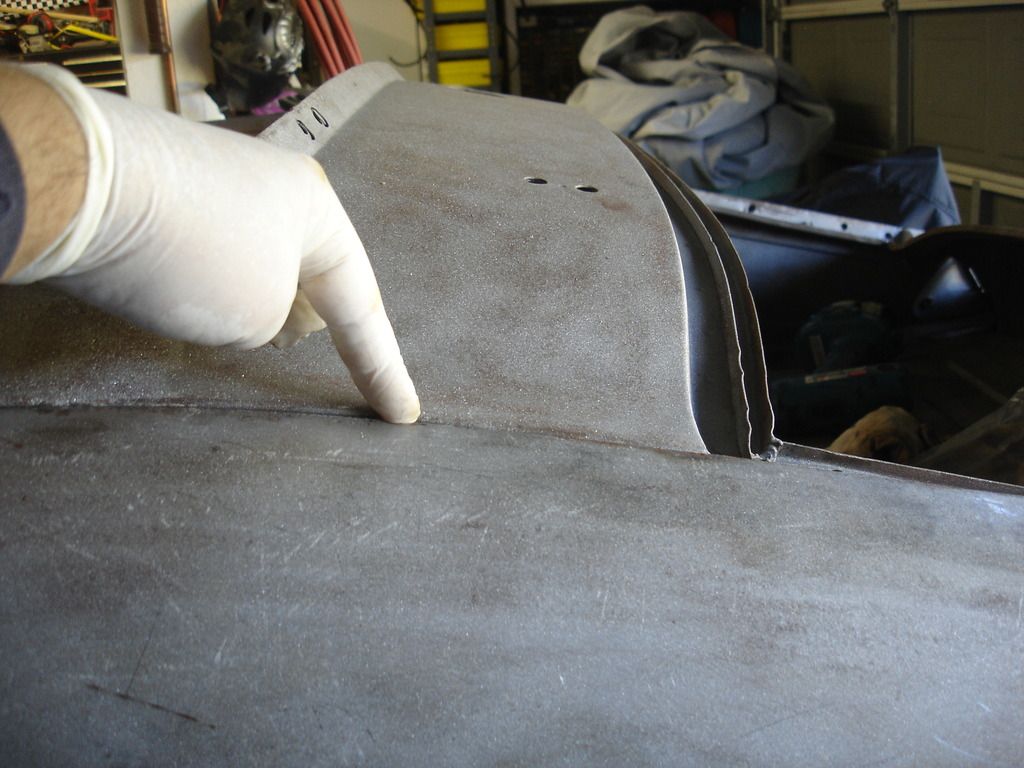
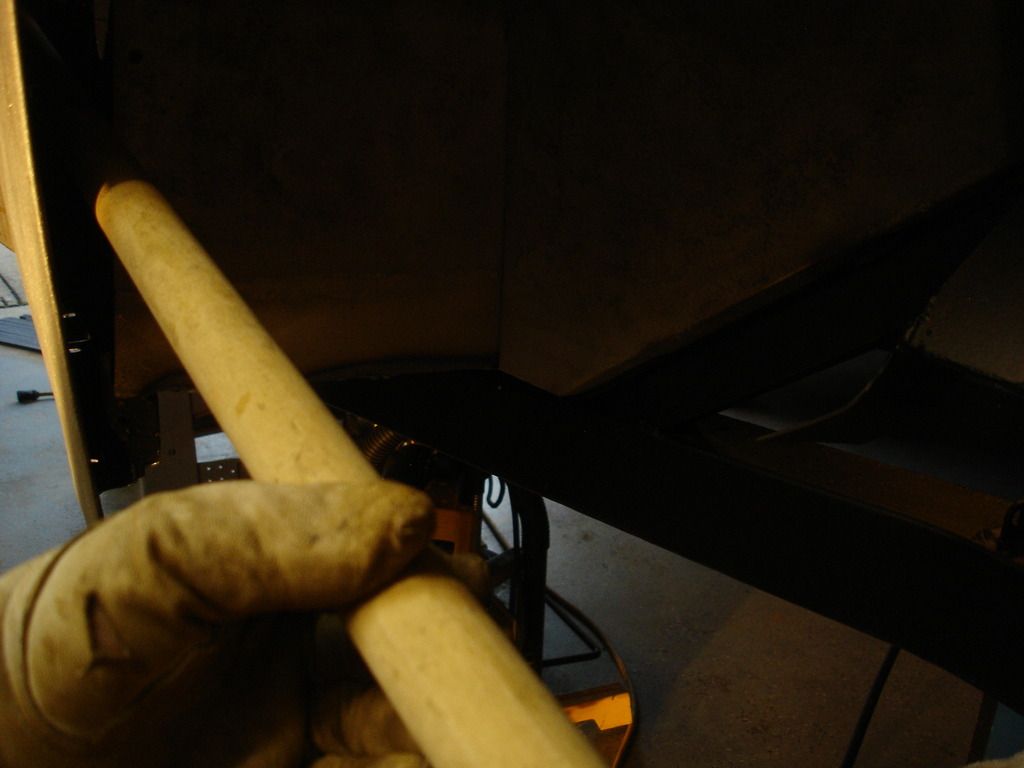
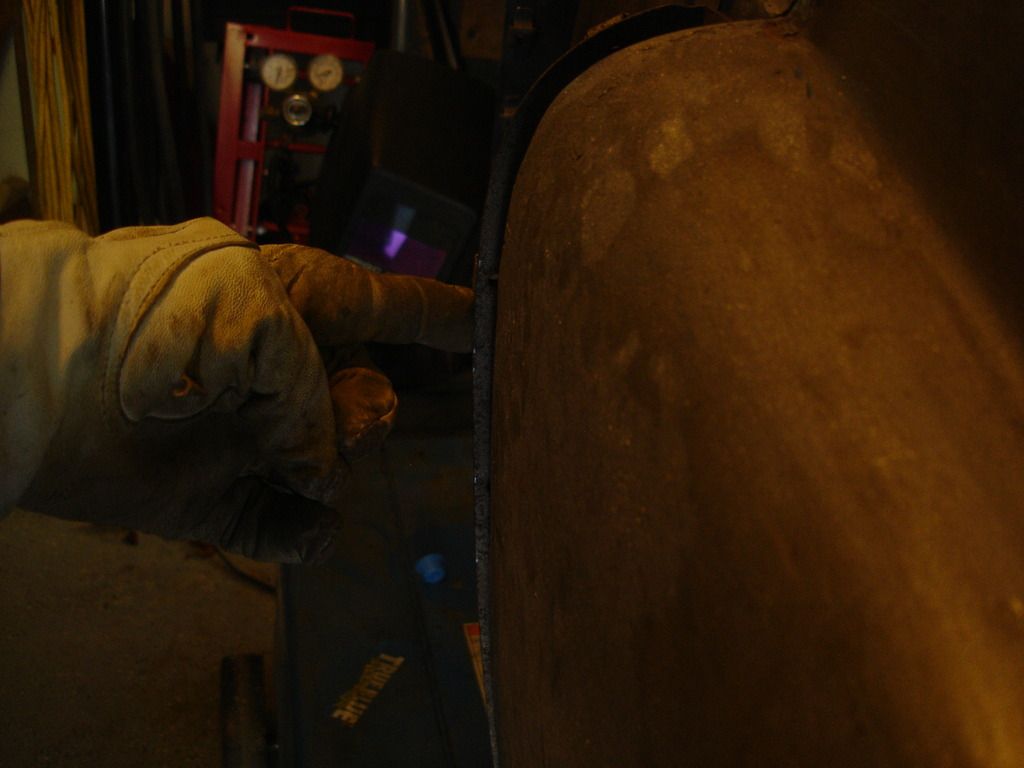
The next bolt to snug is the first one along the rear scuttle, located under where I am pointing. Align the wing and then snug the bolt.
Hint: Once you are sure the bolts will thread easily, I remove them for the following steps. We are going to work from this bolt above forward, one bolt at a time. Each has to be aligned, and it is easier to align them if the ones forward of the one you are working on has play to move the wing around.
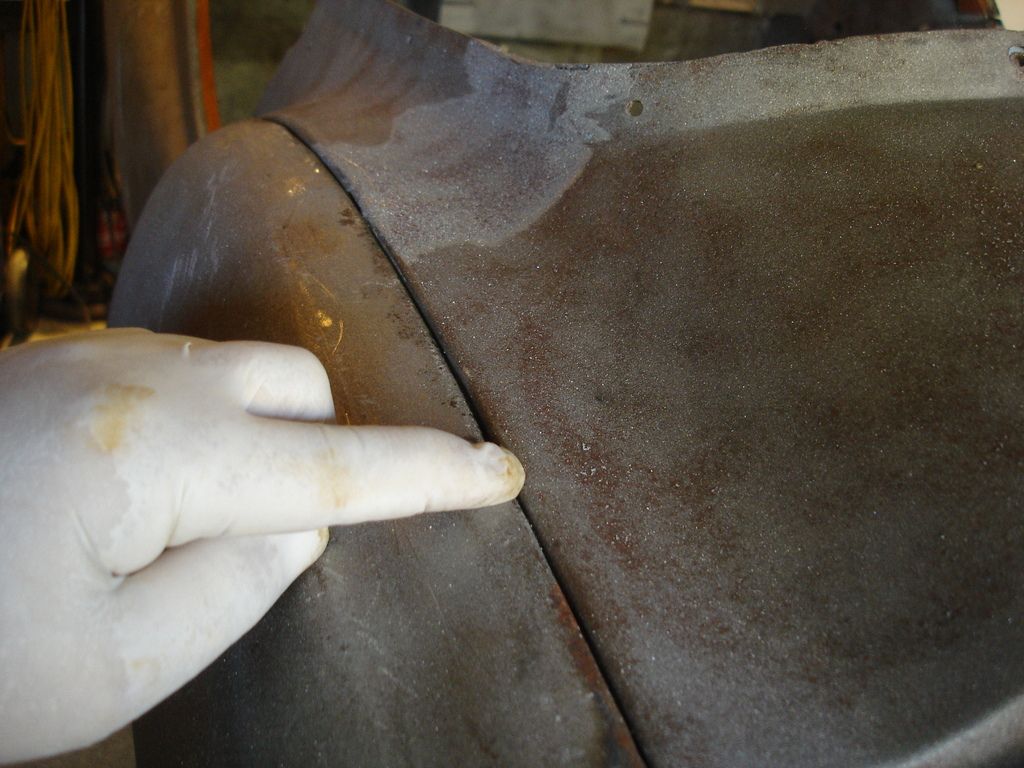
Second bolt aligned and snugged.
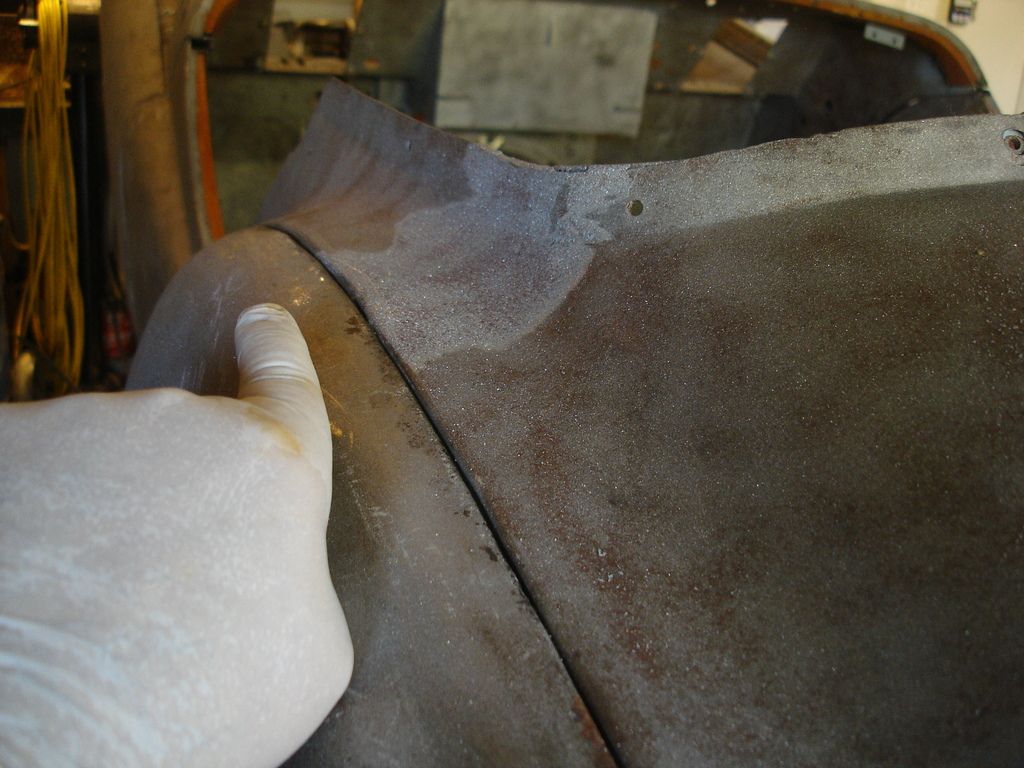
Third...and so on. Align the wing at the location where the bolt is, snug the bolt, and move forward to the next.
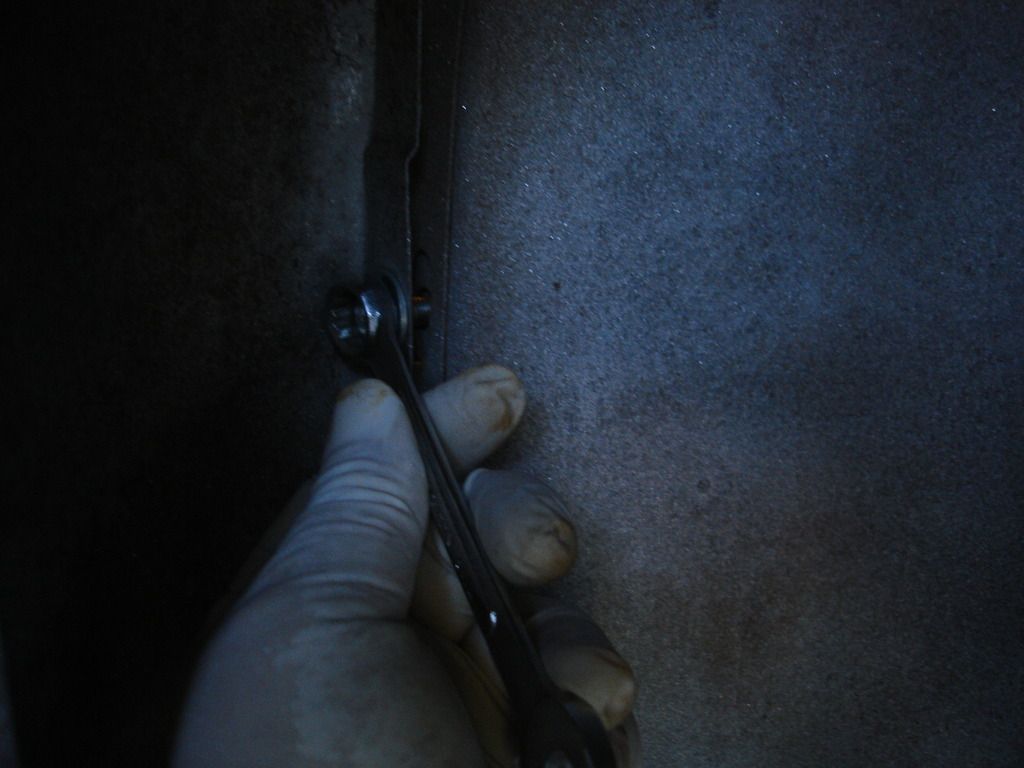
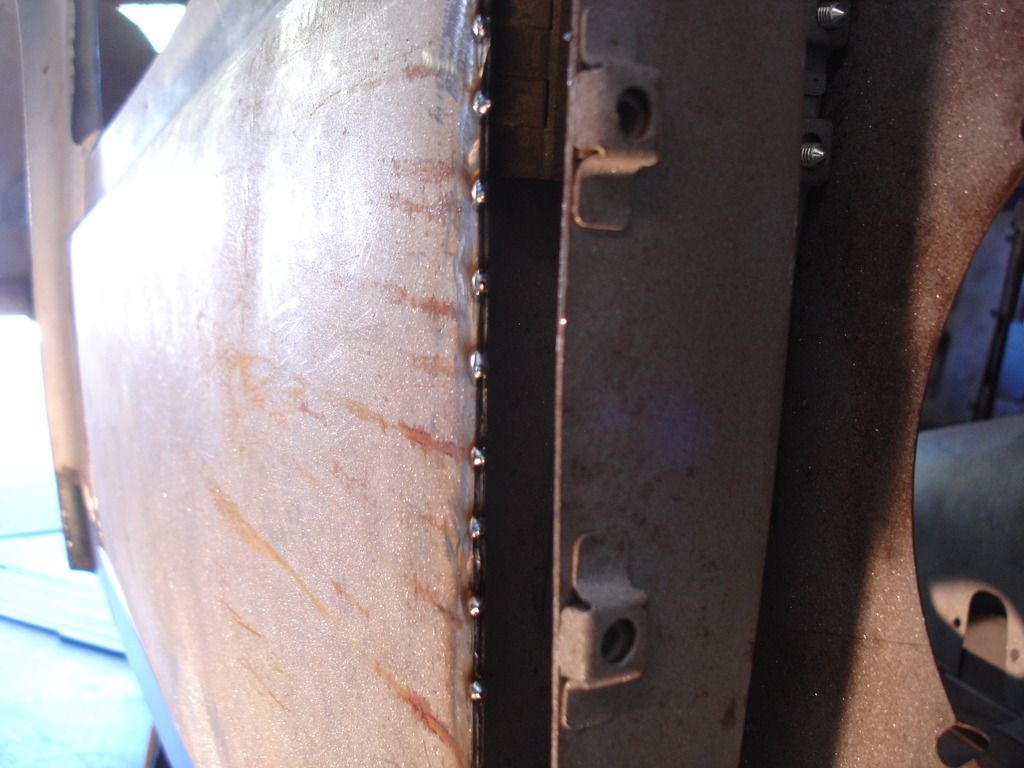
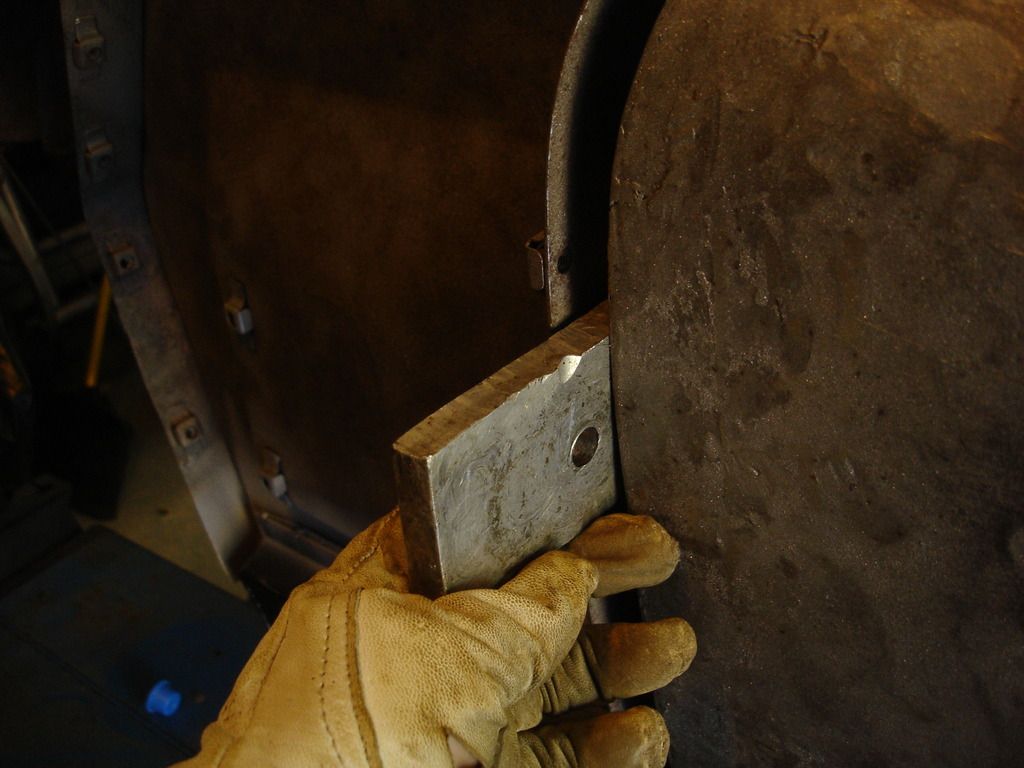
The lower 3 bolts at the front will later also capture the stone guards, which have some thickness. You can see the factory stamped a relief. We need to prevent distorting the relief...so do not do as shown here. Add a washer to give clearance before you snug.
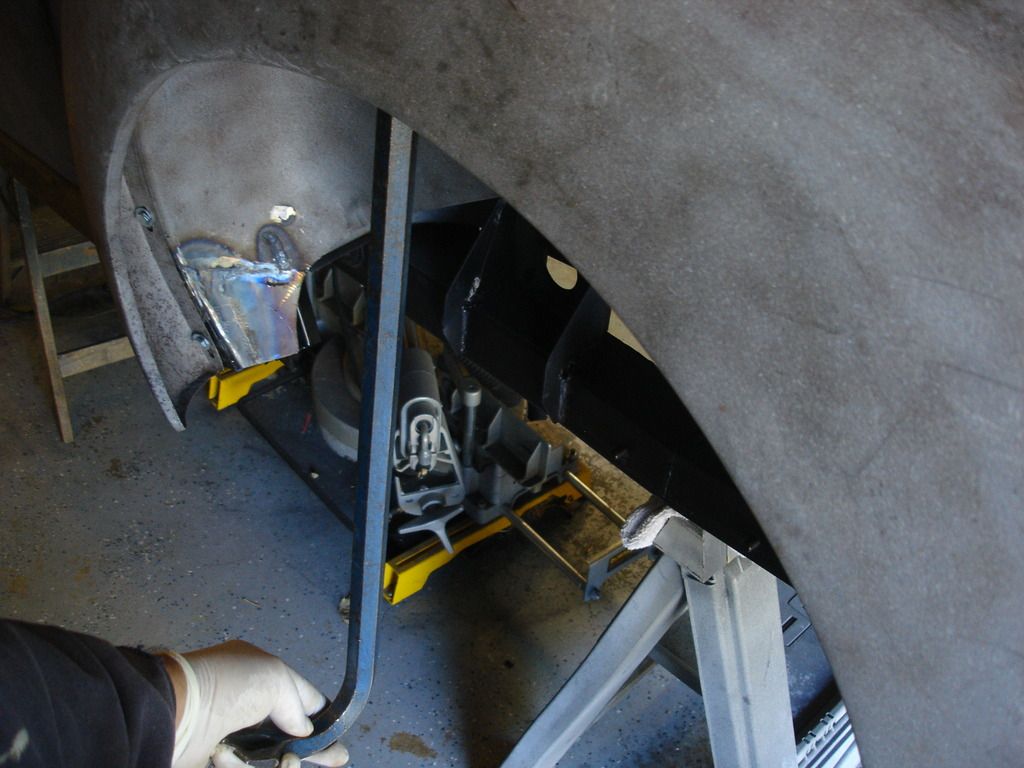
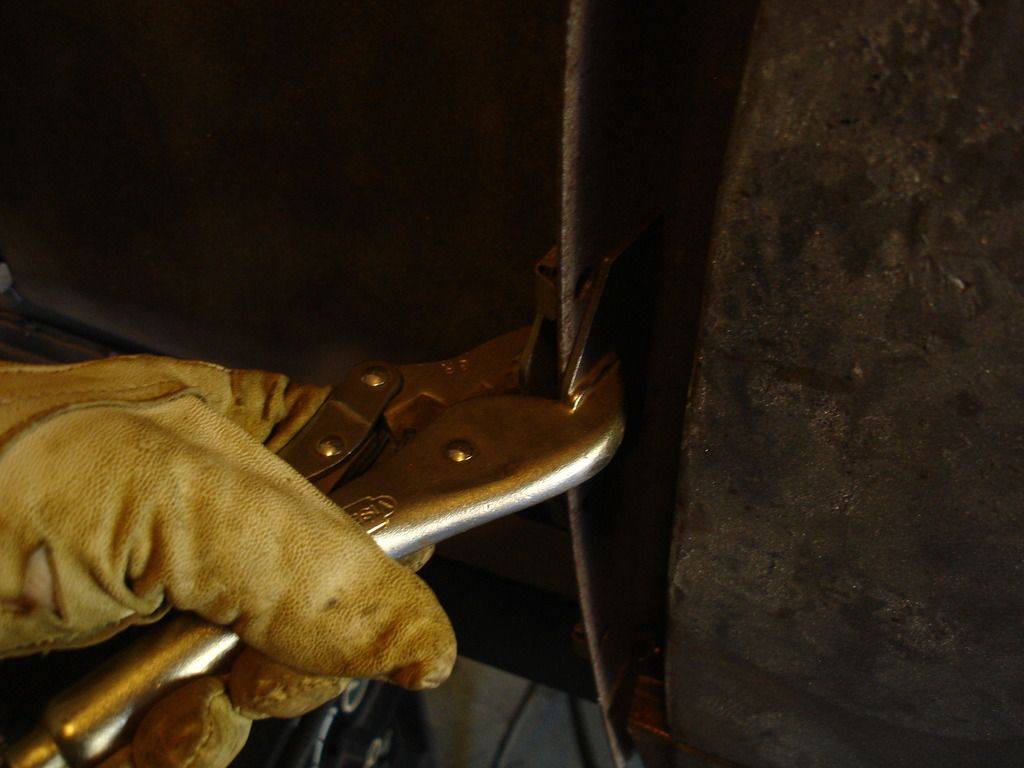
A crow bar occasionally helps t push the panel for alignment.
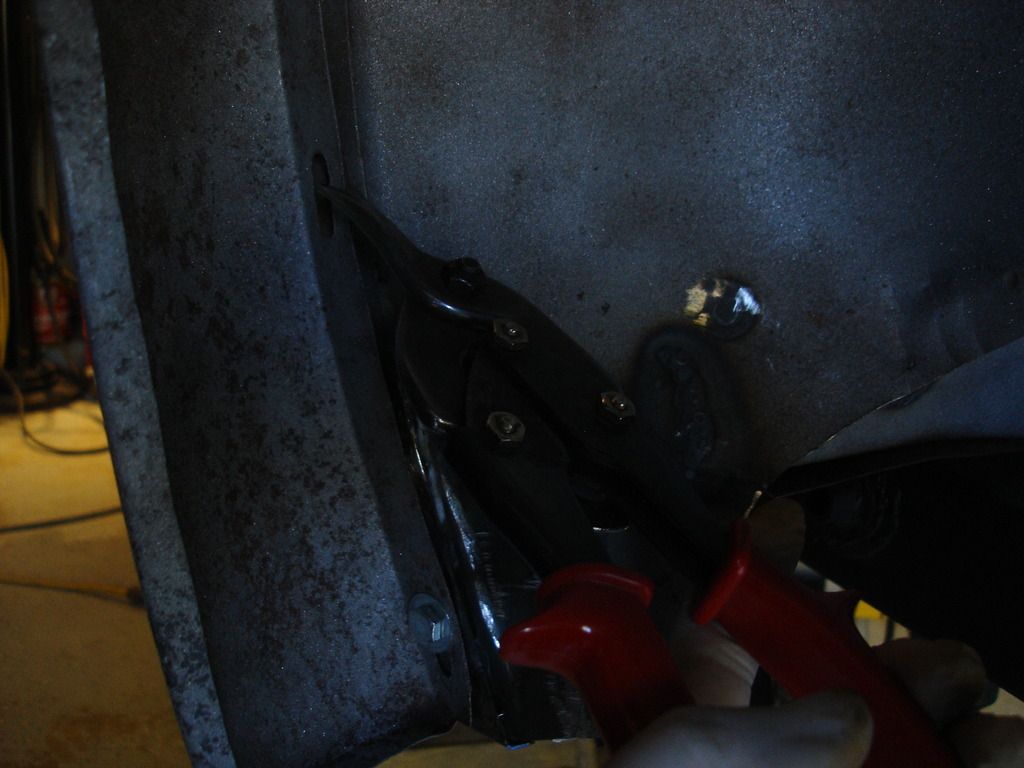
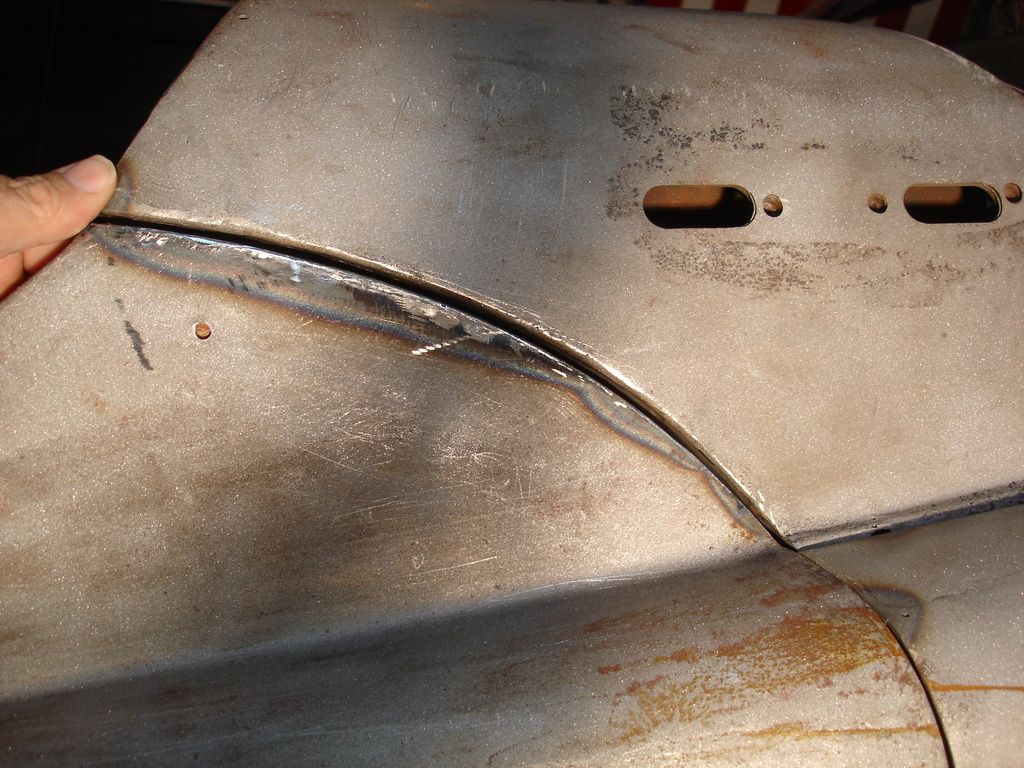
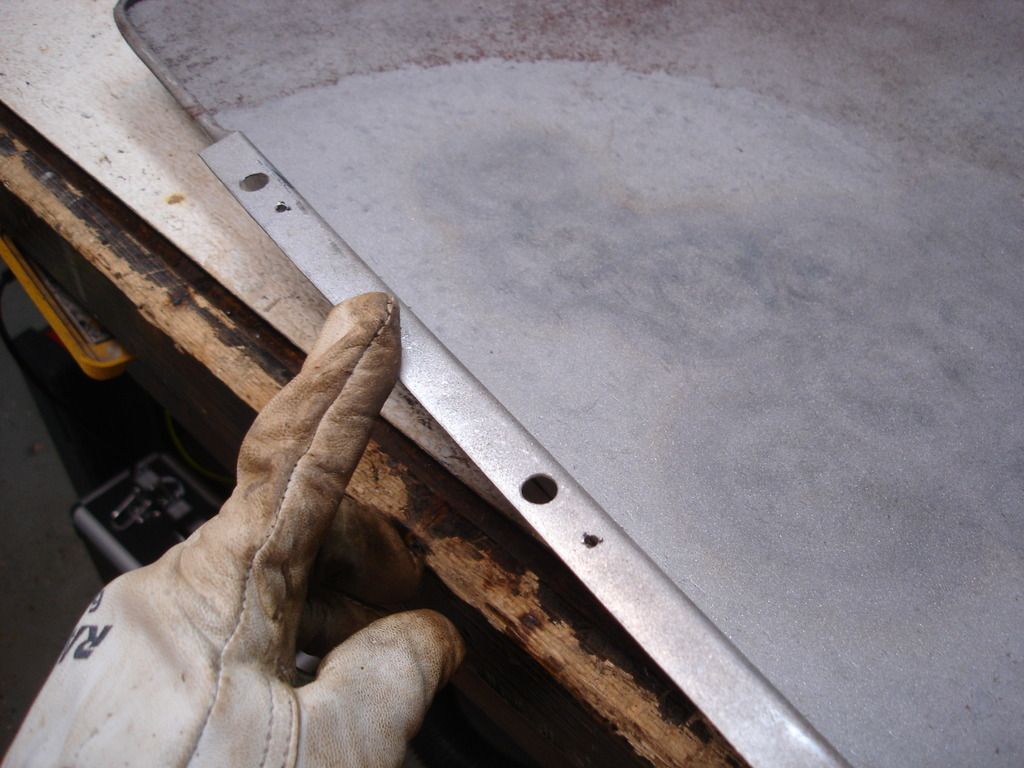
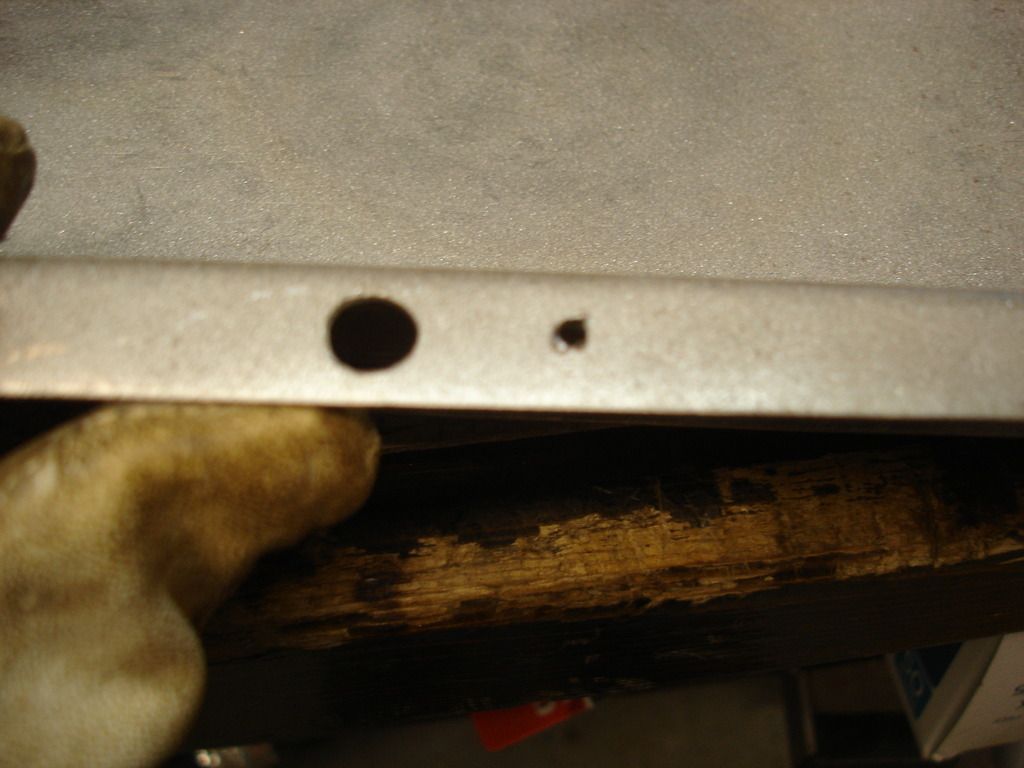
I learned that this was a factory trick. If you cannot get the curvature correct because the mounting flange on the wing is not allowing it, simply snip the flange at the bottom of the offending slot. This allows you to correct the curvature as needed. WIth all the wings I have worked with, I kept seeing these snips and thought someone was doing shoddy work. I finally realized that EVERY wing had the snips!! That's not a coincidence. I believe the factory used the technique.
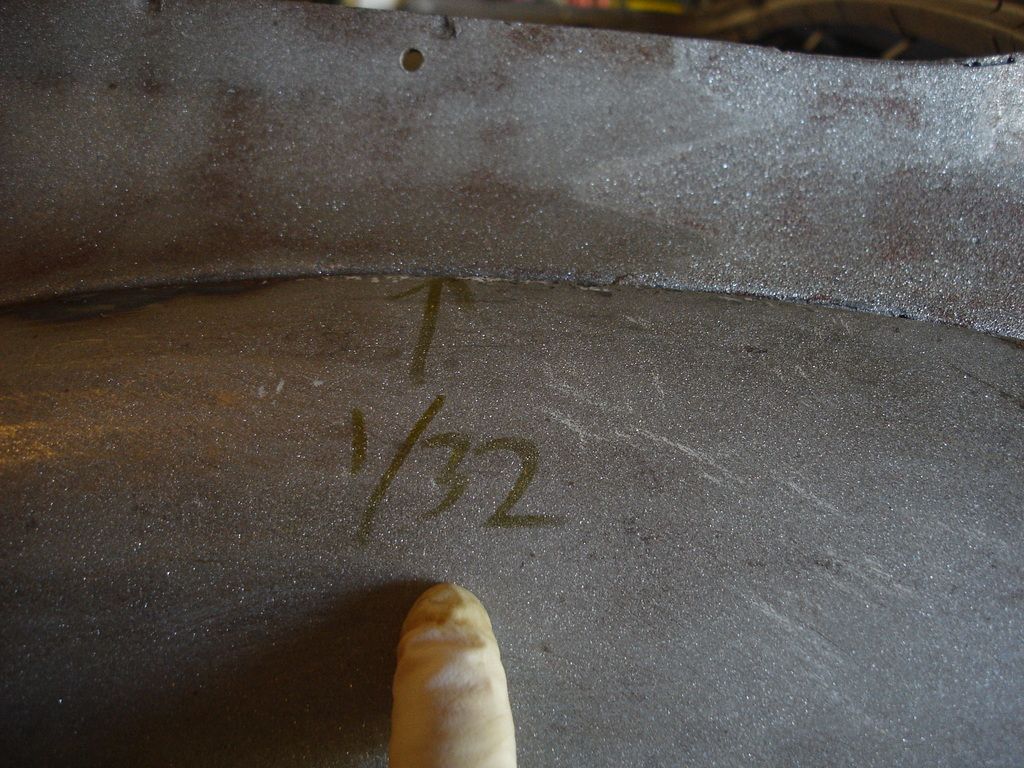
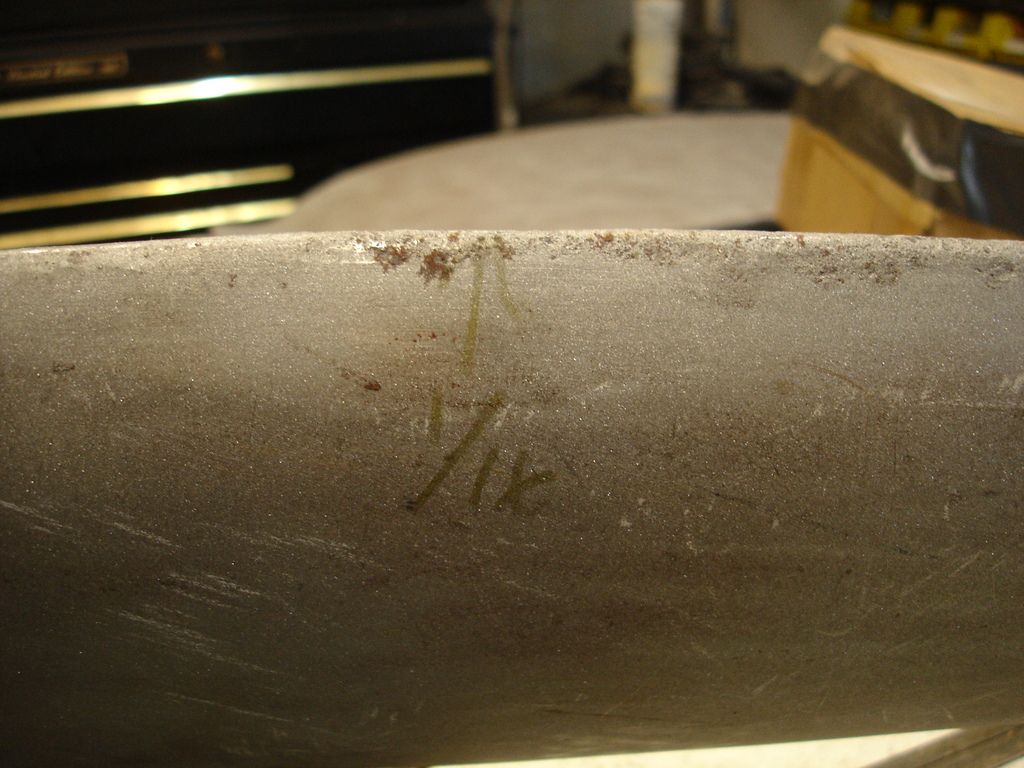
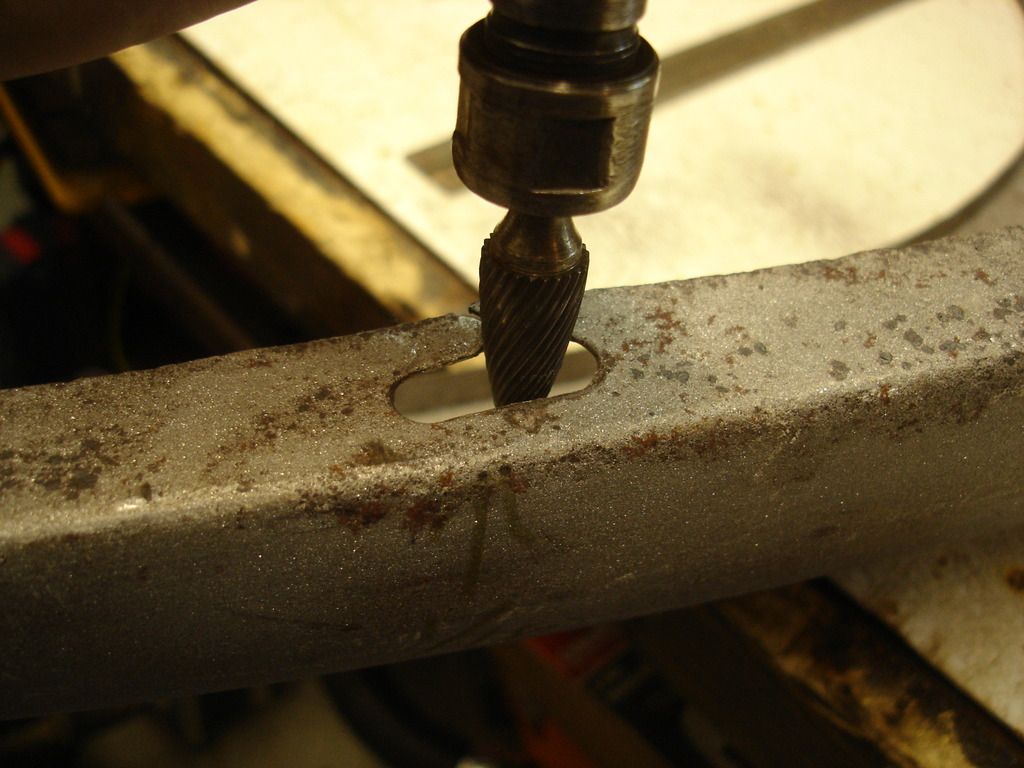
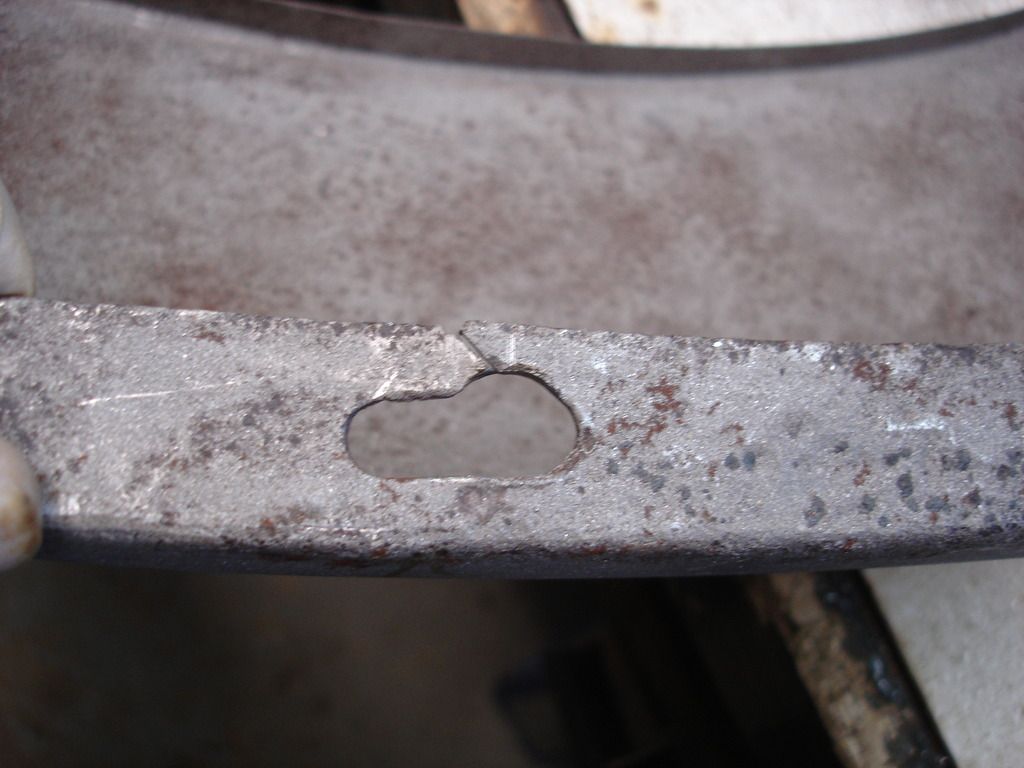
At a few locations the slots would not allow me to align the wing in one direction. I mounted the wing as closely as the slots would allow, and then measured/marked the amount the slot was off. I then removed the wing and expanded the slots the marked amount. The line on the under side of the wing is marking the exact location of the bolt. That way I only had to expand the slot in the exact spot the bolt needed it.
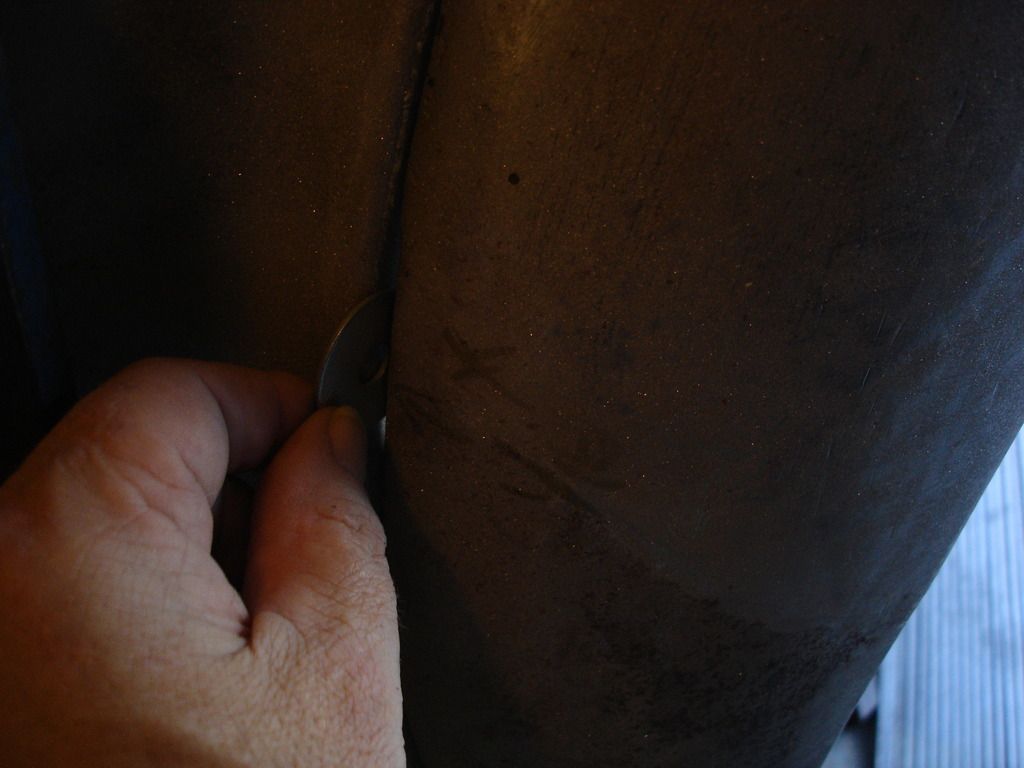
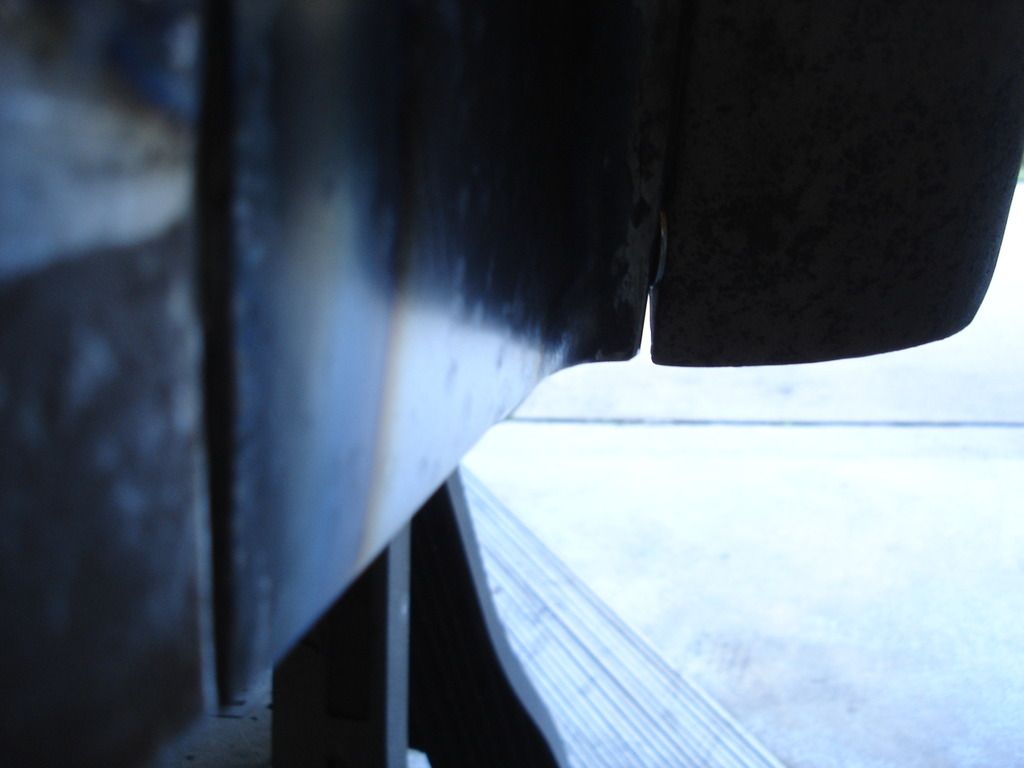
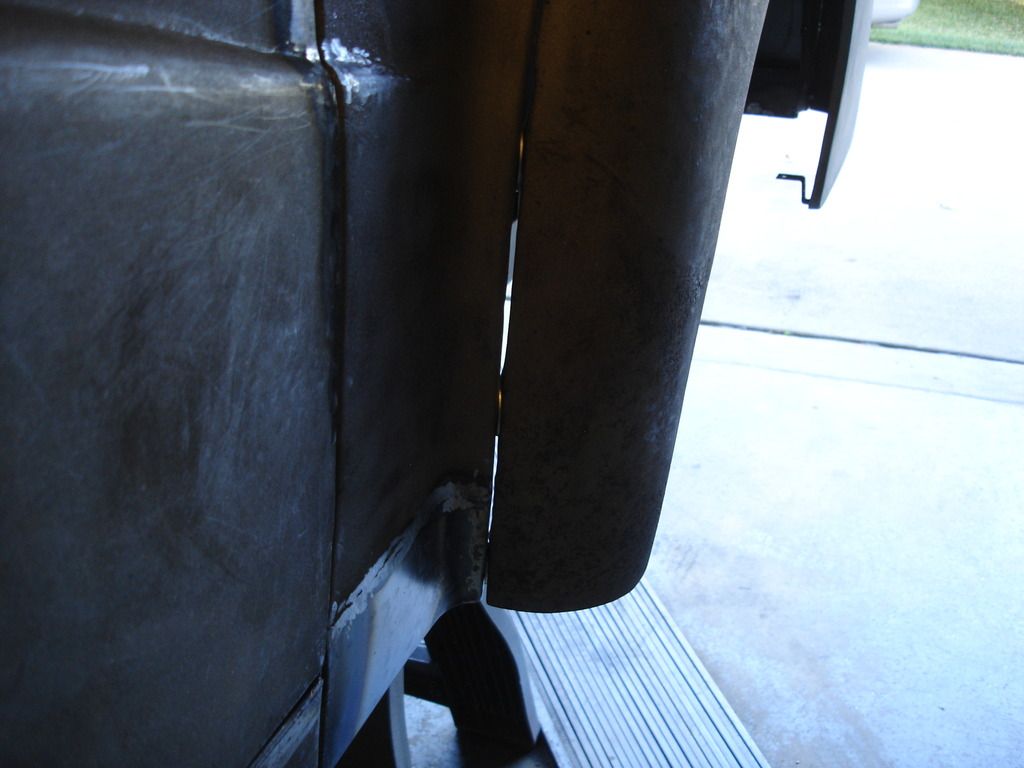
Here is the washer going between the tub and wing for one of the lower front bolts. Again, it prevents distorting the wing where the stone guards will eventually go.
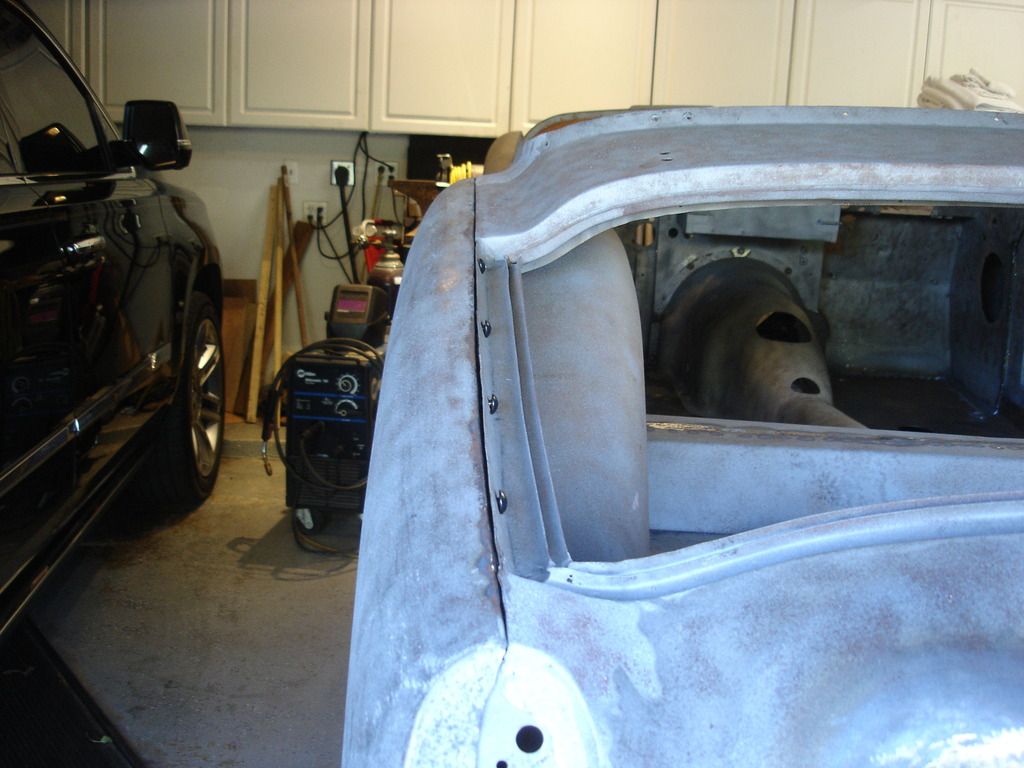
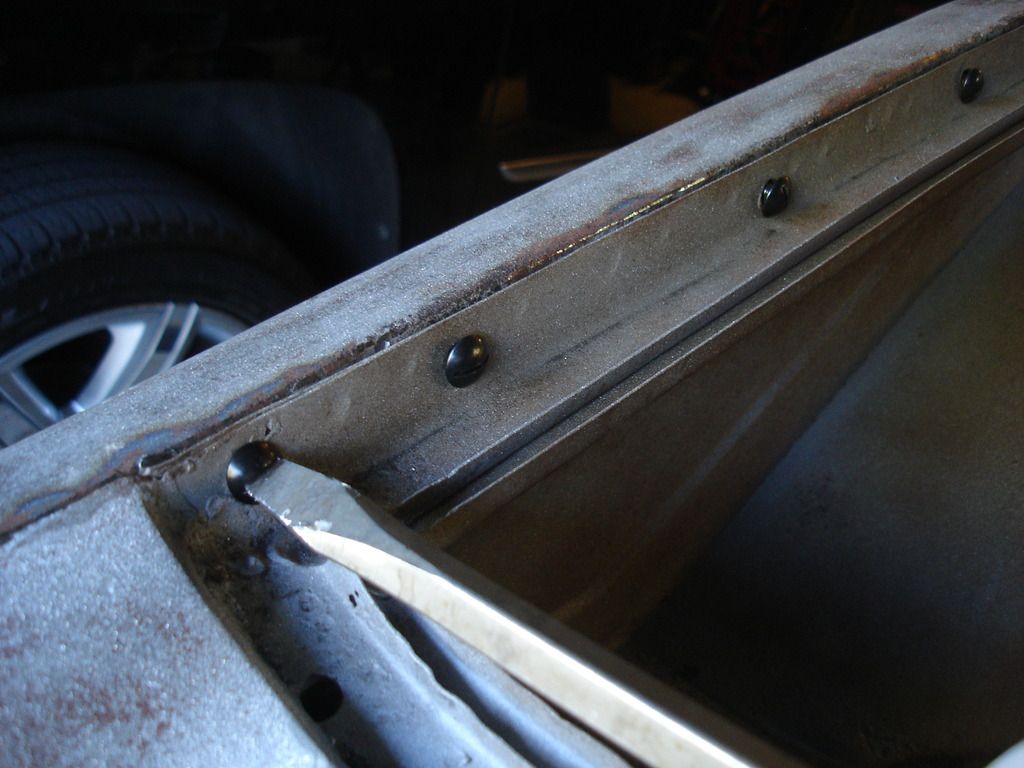
With all the forward bolts secure, We can move to the ones along the boot. Just lightly take up the slack on these for now. We may need to tap this area to match the boot lid...but we can't do that yet.
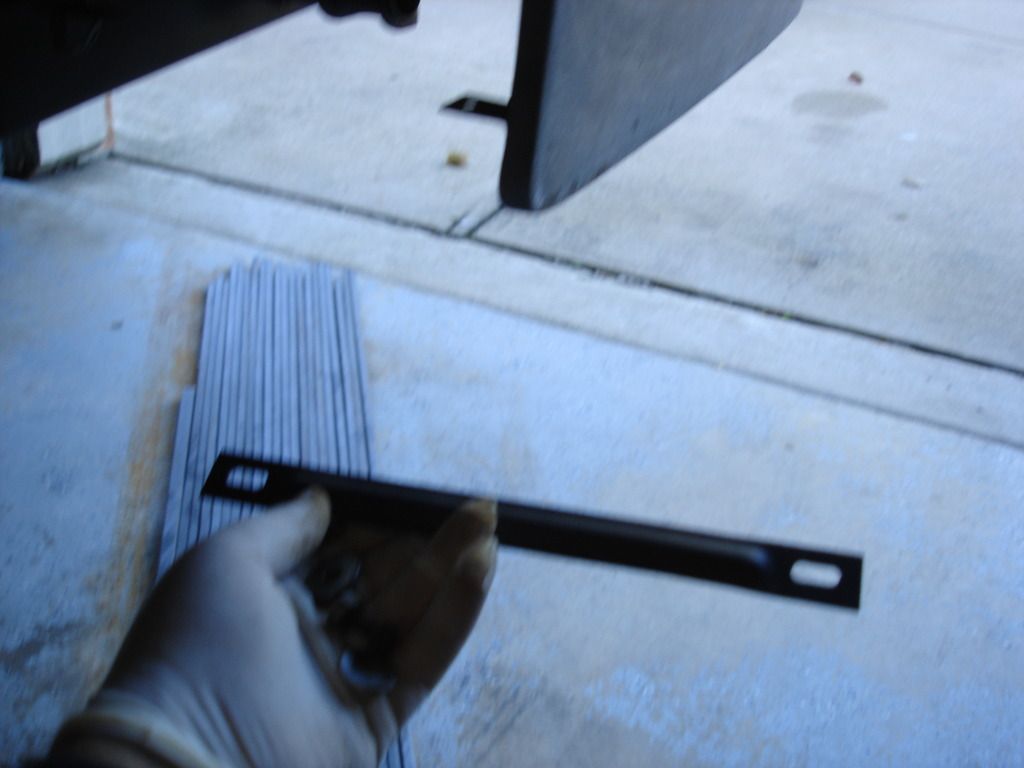
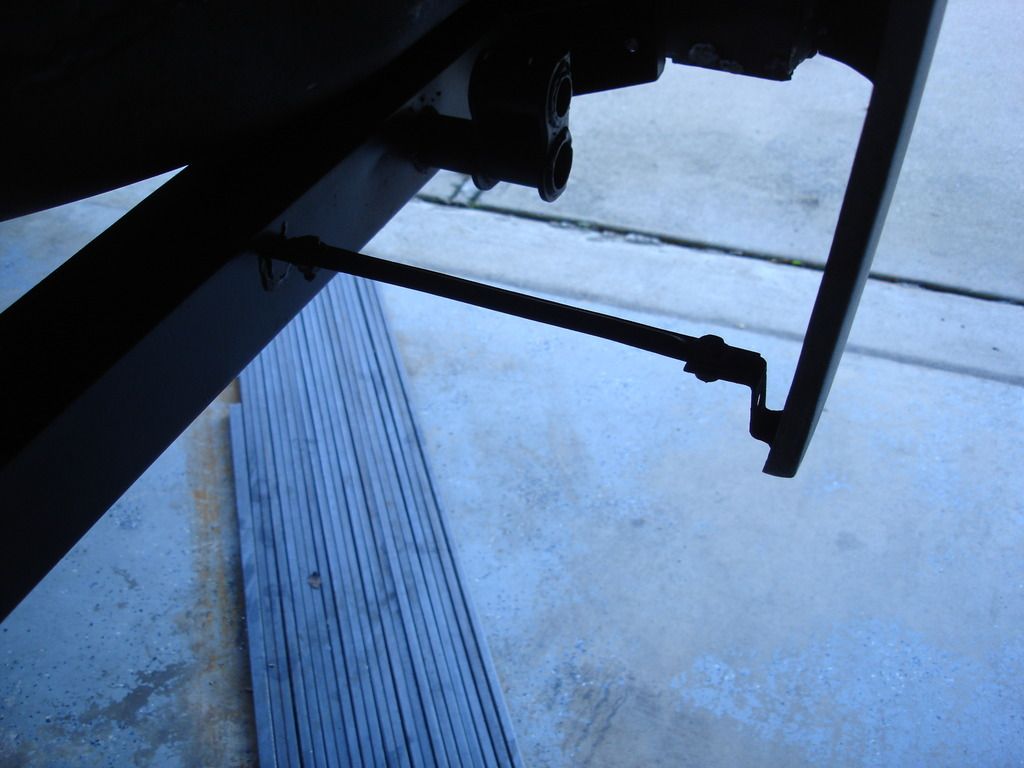
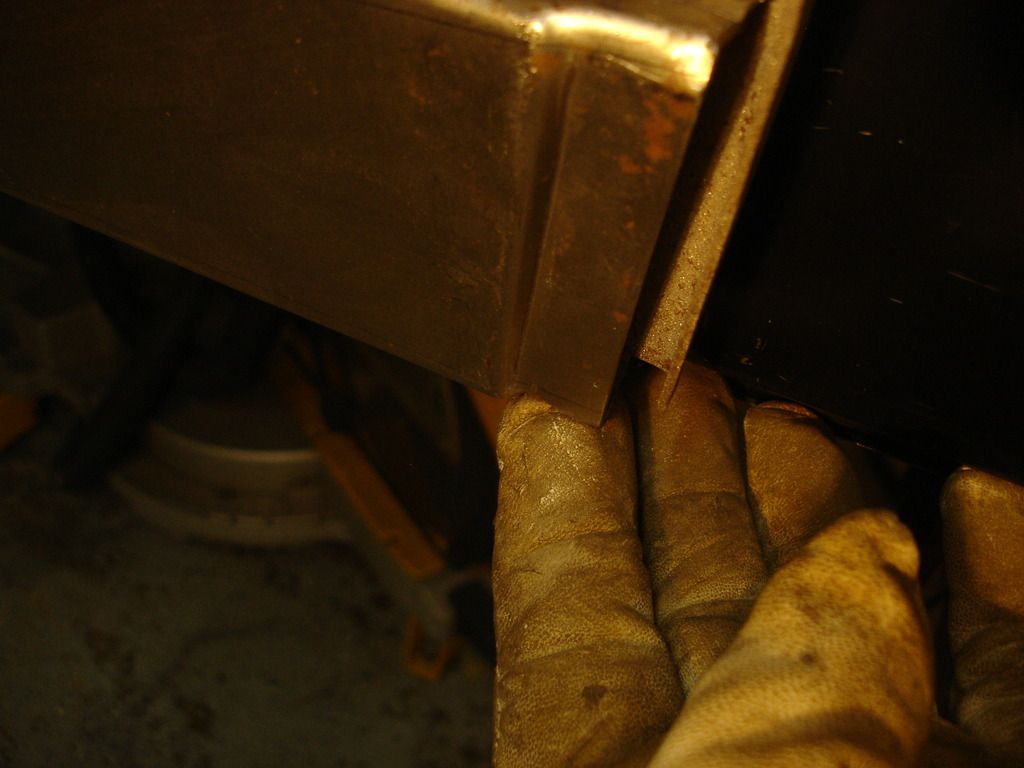
Last, the strut that supports the back of the wheel well goes in.

 Hi Guest!

 smilie in place of the real @
 Pretty Please - add it to our Events forum(s) and add to the calendar! >>
