Now begins the body reassembly...huyah!
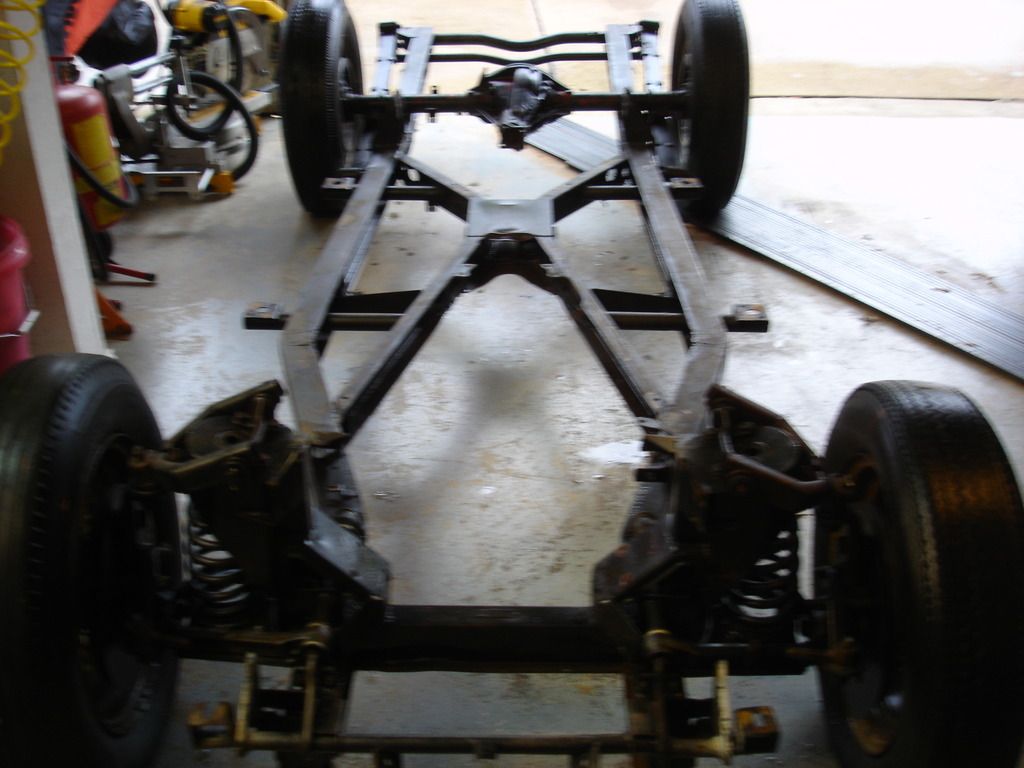
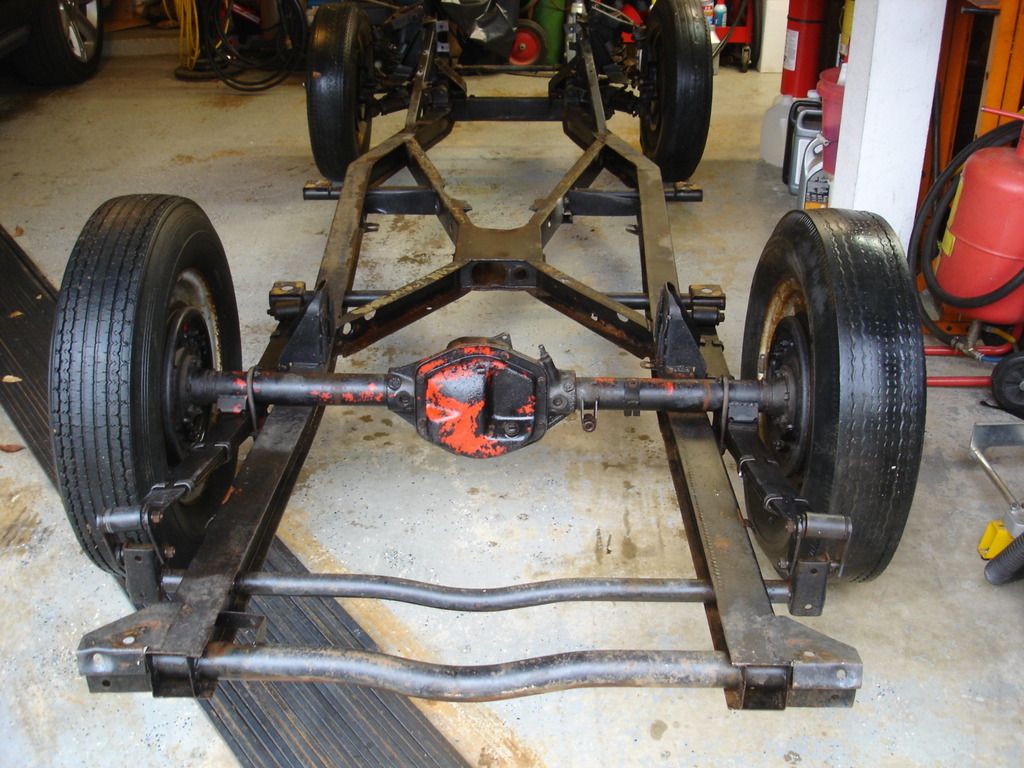
This is the frame I have been saving from Marv's donor car. My idea was to build the body on this frame, while it is still a roller, so then I could move it as necessary. But, as with most of the donor car, after it sat as an eyesore on my back porch for 3 years and I spent all this morning power spraying the dirt off...it turned out the frame is not straight. Bummer squared. It is not off a whole lot, like 3/8" on the diagonals, and 2 degrees of twist. But, if you remember, the TR2 frame is almost perfect. The worst out of square is less than 1/16". If I built on a warped frame, then all my panels would be off when I bolted the body to a straight one.
Out with the donor car...again.
And...
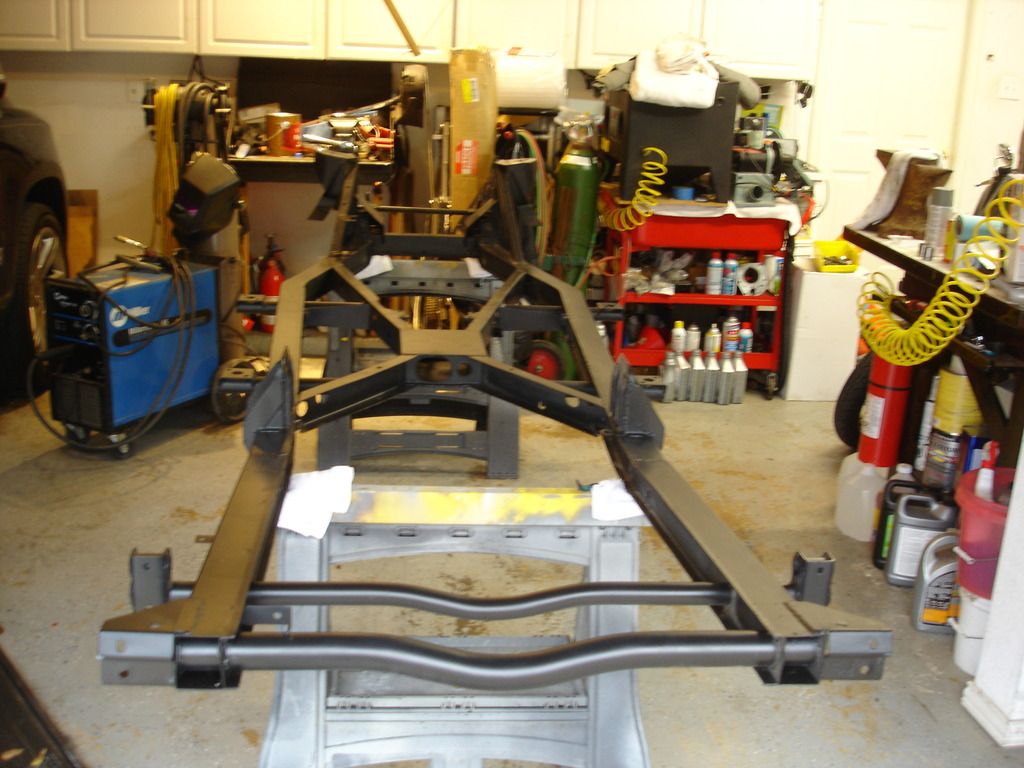
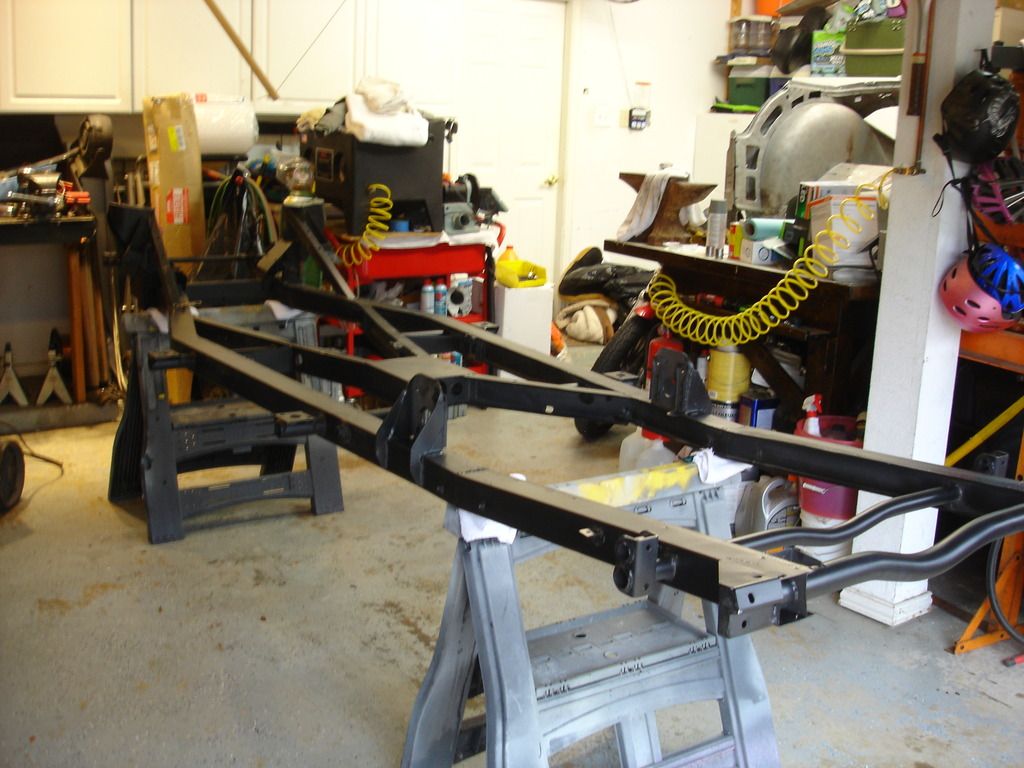
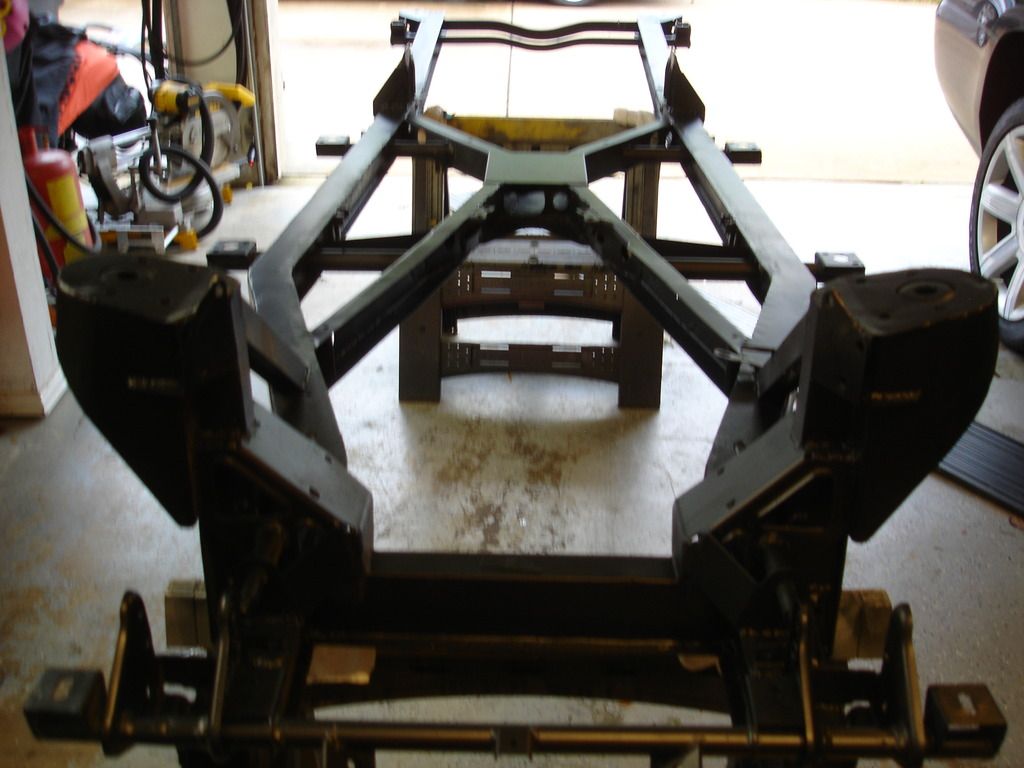

The TR2 original frame came out of the office, after 3 years in hibernation. This is not ideal, as I will now have to be very delicate as I work, so as not to mar the frame...but, I've done it before...
So, the goal at this point is to start building the body back up on the frame. If the frame is straight, then the resulting body would, theoretically, have to end up straight. First step is to pull out the manual...
Section on Body
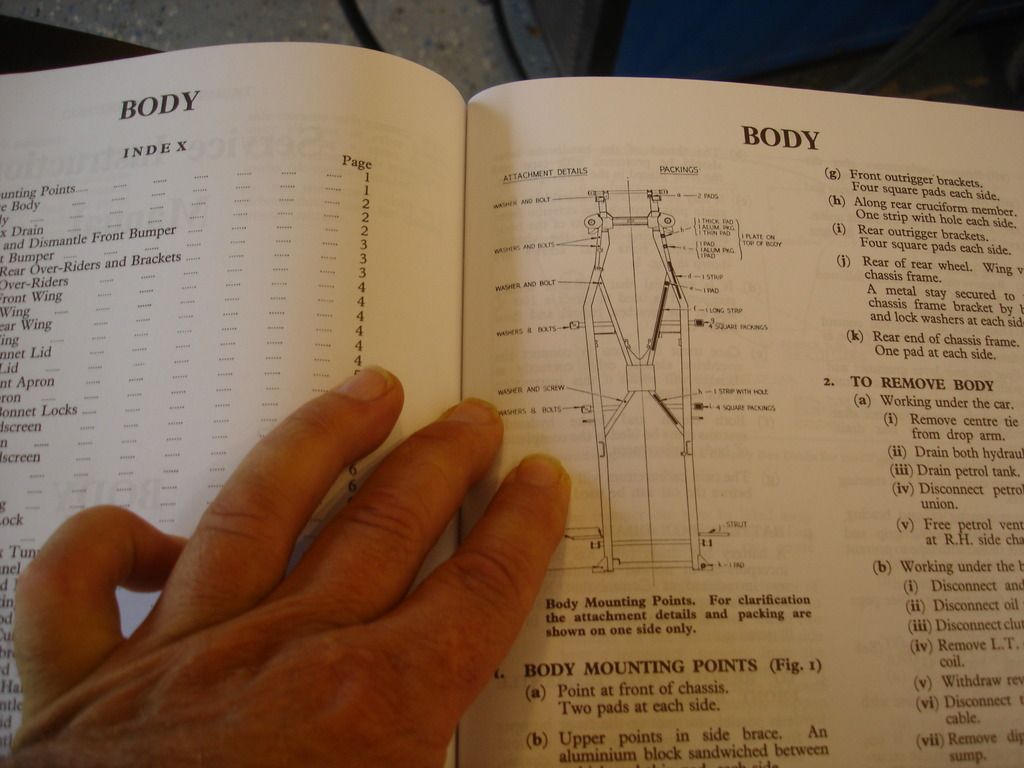
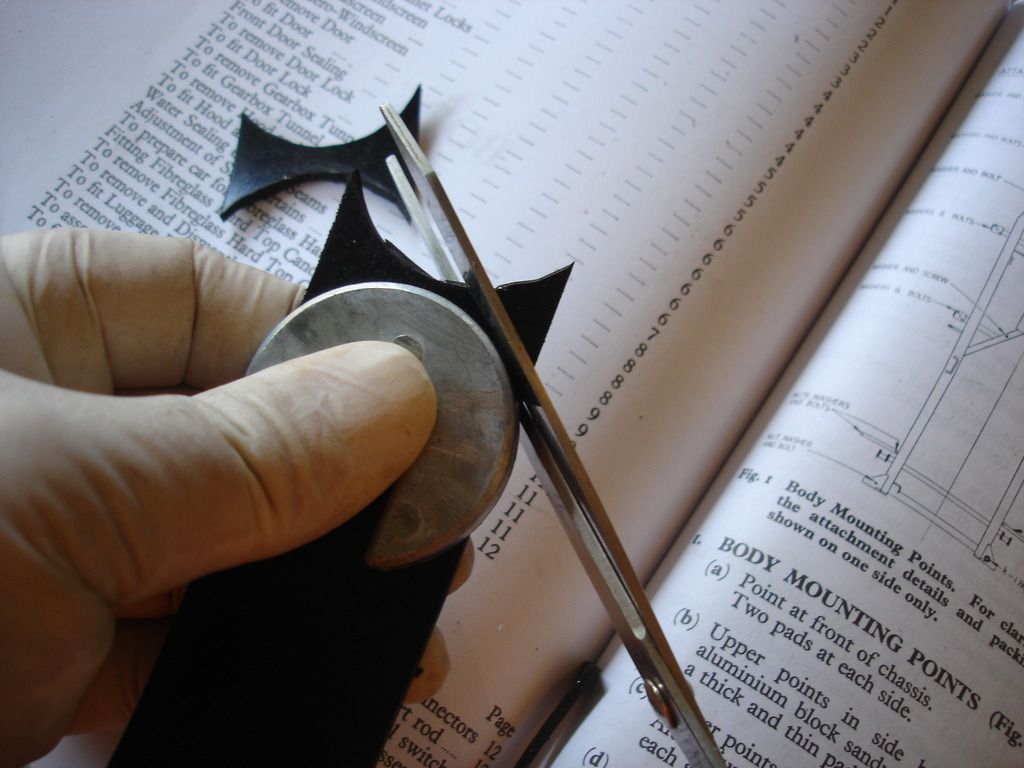
First page. Here is a great little diagram of the frame, and it shows/tells exactly what pads, bolts/washers to use in mounting the body to the frame.

Here is the mounting kit I got from TRF...3 years ago!! This shows how plans change. I planned to do all the body work on the frame, but that was before the extent of the rust damage became apparent. Finally, time to open the kit. Inside you find:

Mounting bolts. They are the correct size, but they are not pointed like the original bolts. That will only be noticeable to the anal sort...like myself.
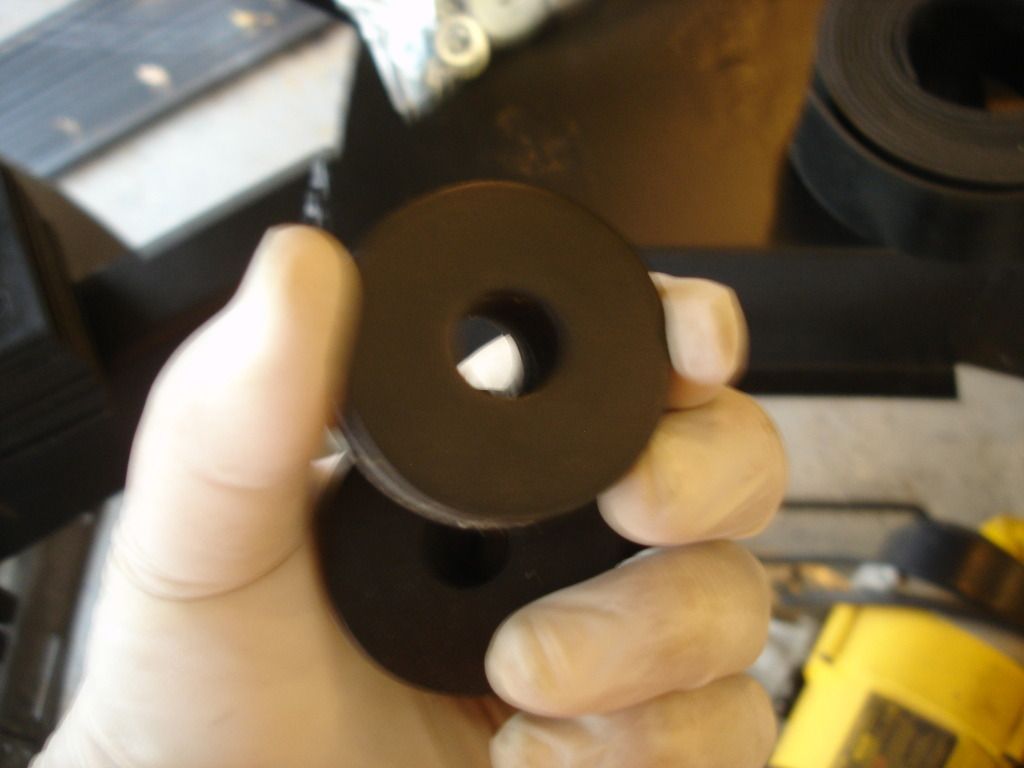
Round pads in 2 thicknesses. They were short 6 thin pads, and had 2 extra of the thick. Since 2 thin equate to a thick, in the end the kit was short by 2 thin pads. The extra thick pads took the place of 4 of the missing thin pads.
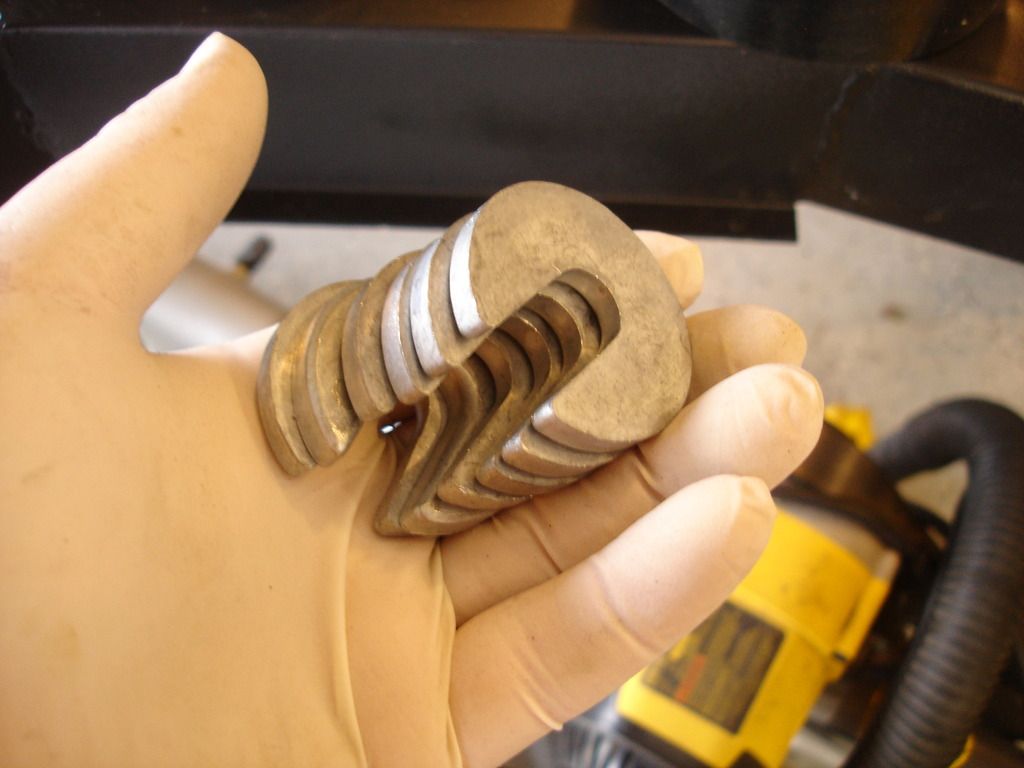
Aluminum spacer washers. There are 2 more than needed.

The large square pads. Just enough of these.

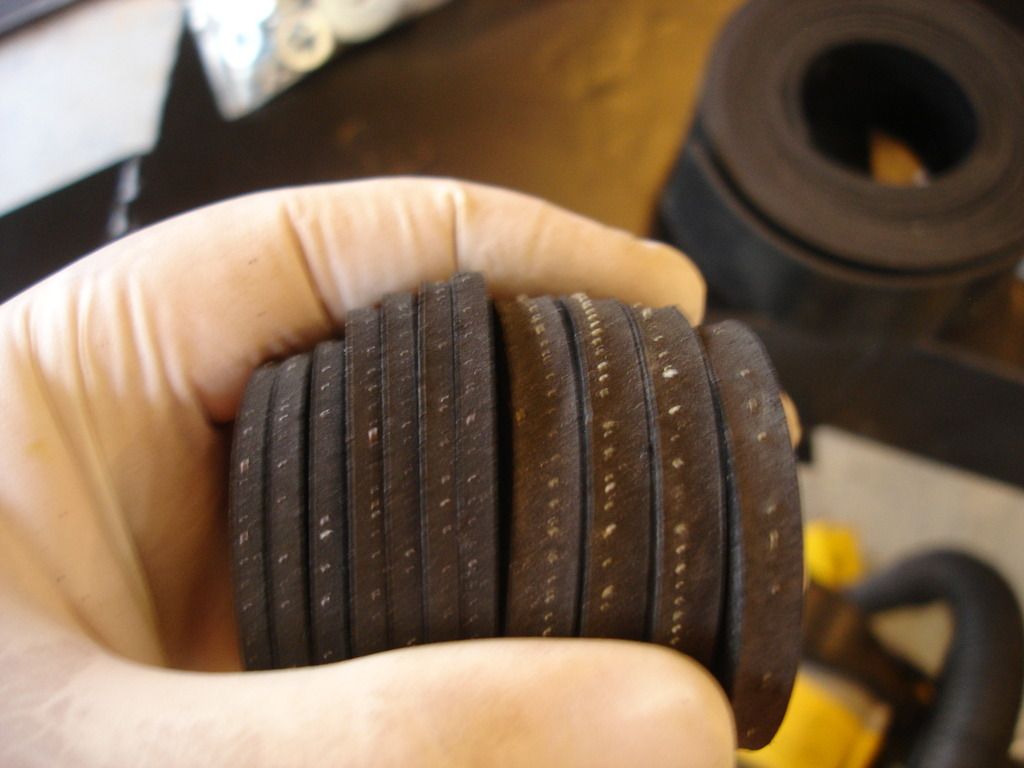
Pad strip roll. Now for the math...double thickness of this strip pad equals the thickness of the thin round pads. 2 thin round pads equates to the thickness of one thick round pad. And...the aluminum washer is equal to 2 thick pads. So, knowing this, I used the strip padding to cut out an equivalent thickness, round pads for the 2 thin that the kit was short.
Hope you follow all that?!?!
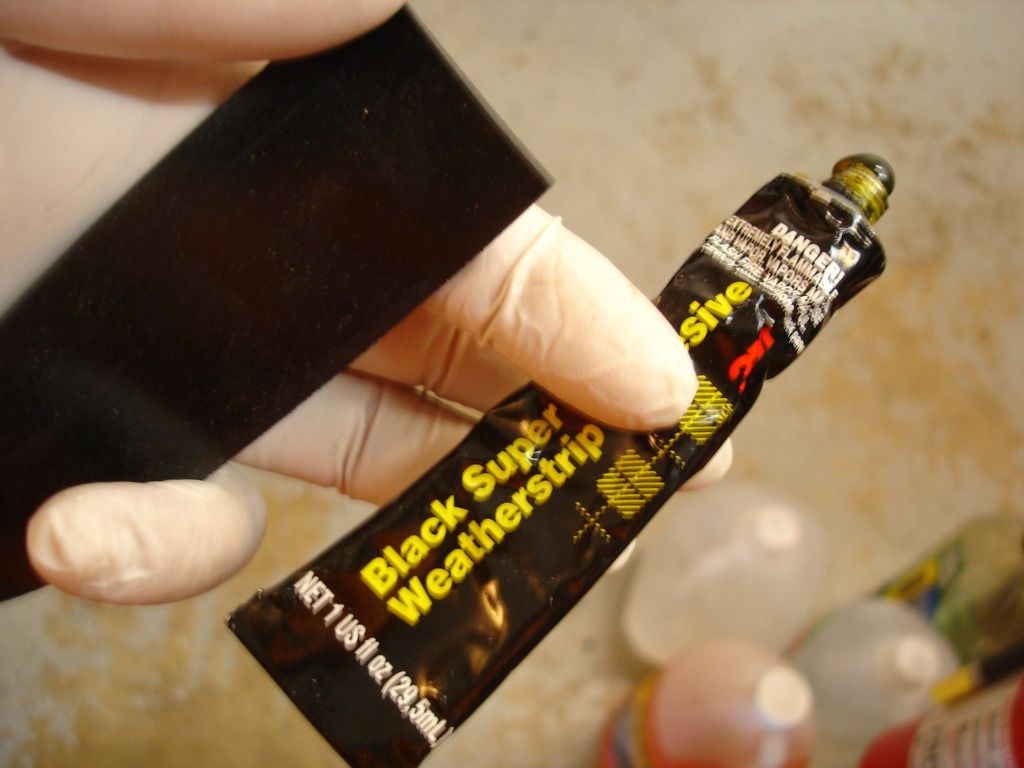
Any adhesive will work. I chose some black wx strip glue, available from any parts store. If is squeezes out it will be less noticeable.
In preparation, I am cutting out 4 round pads from the strip (to replace the missing 2 thin pads...if you're still keeping up?!)
Starting from the rear...and all the following info is right out of the manual, so you can follow along if you wish! One thin round on each rear frame mount.
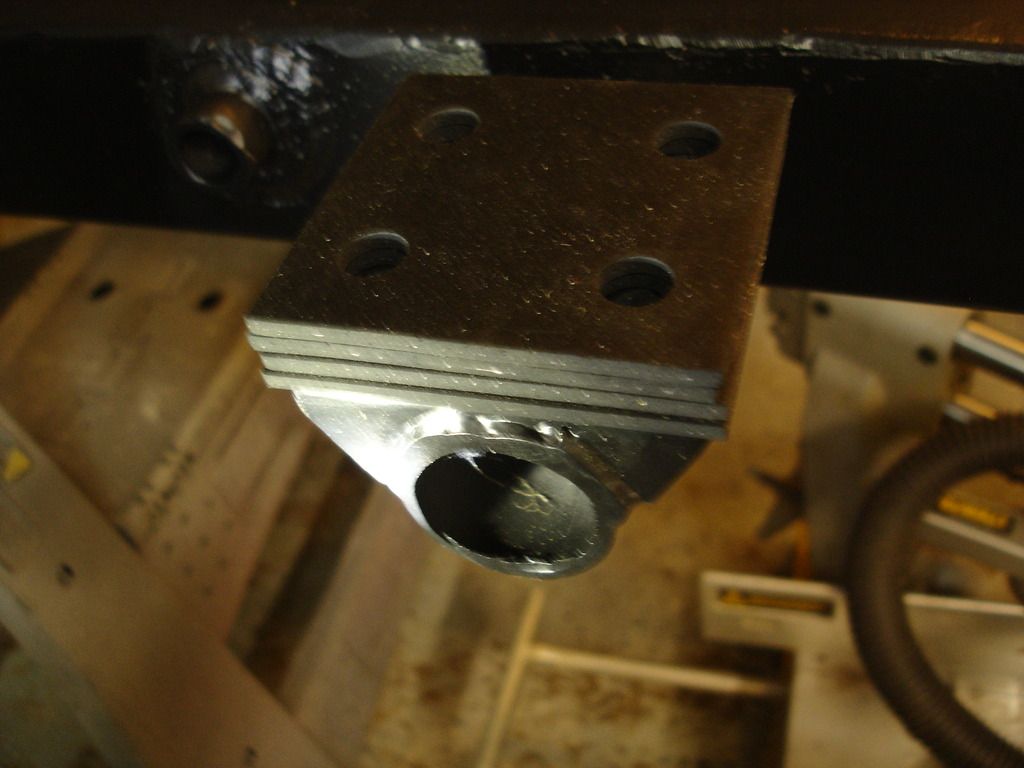
4 square pads on each outrigger. I glued one down first. Then, once it was stuck well, I glued the second...and so on. Be sure to align the bolt holes perfectly as you go.

The middle strip pad.
This is the single thin round pad at the bolt hole in front of the middle strip pad.
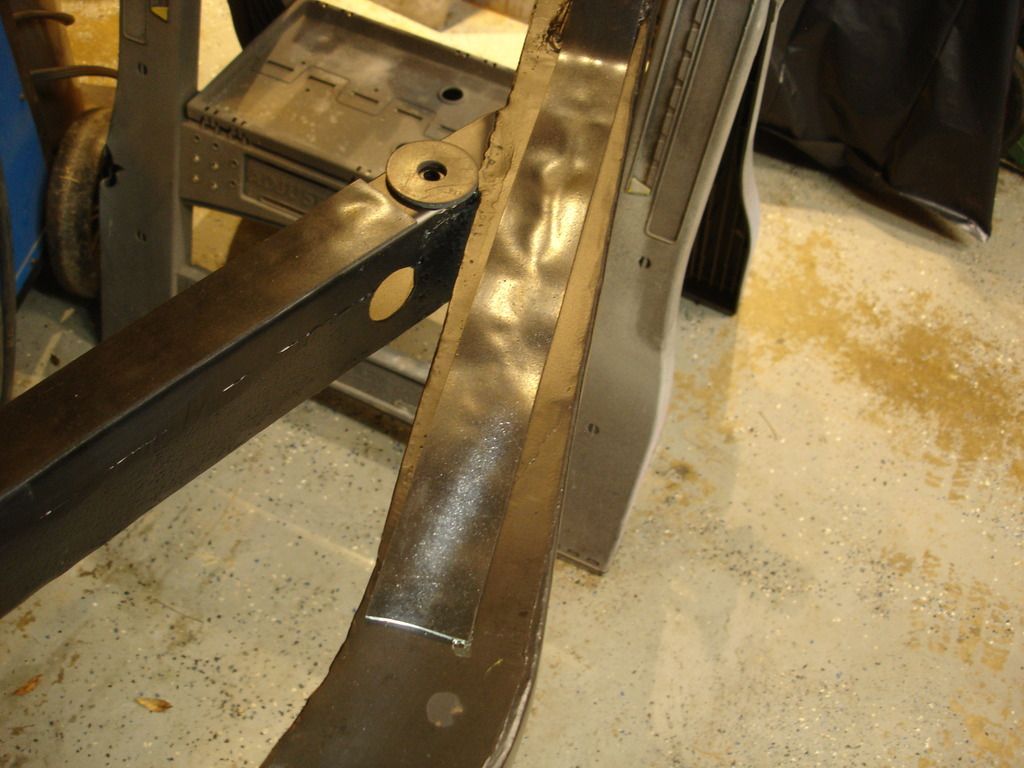
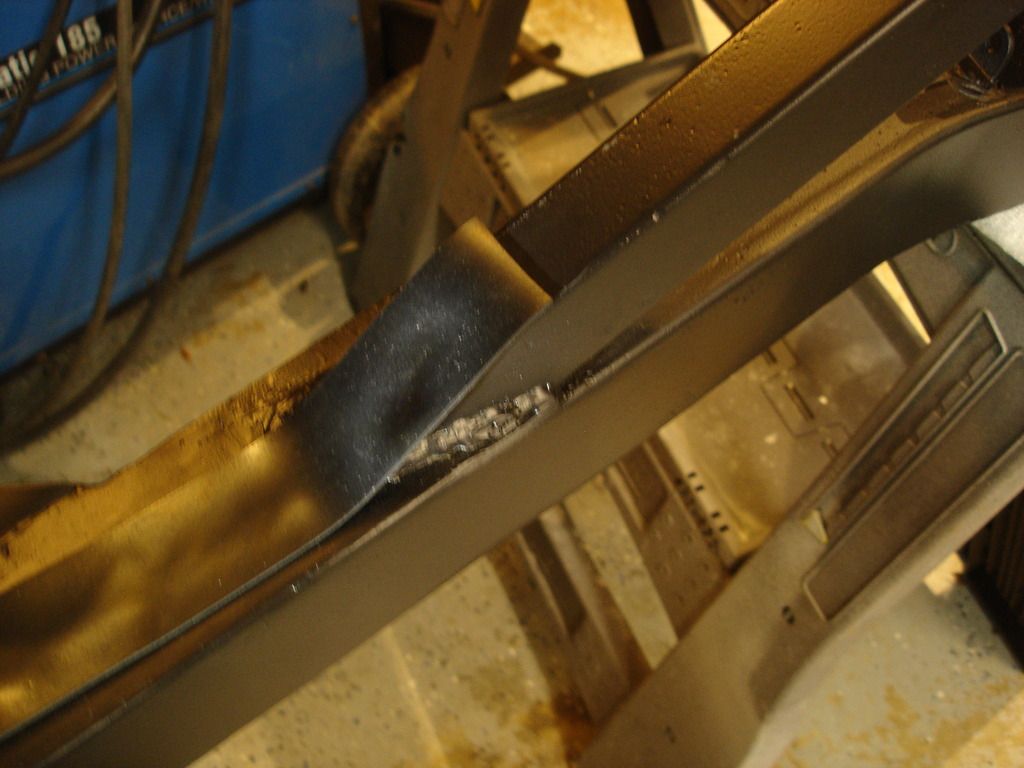
The front strip pad. Note it goes up the front diagonal that supports the spring tower. It runs at a slight angle to the frame rails as it goes back.
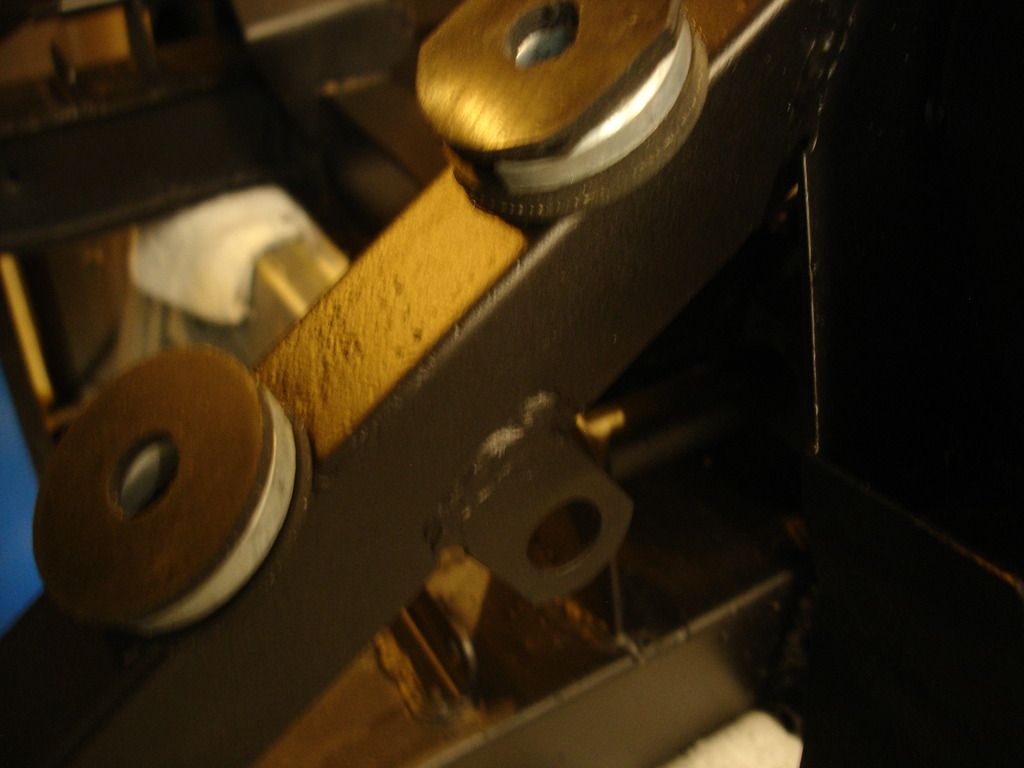
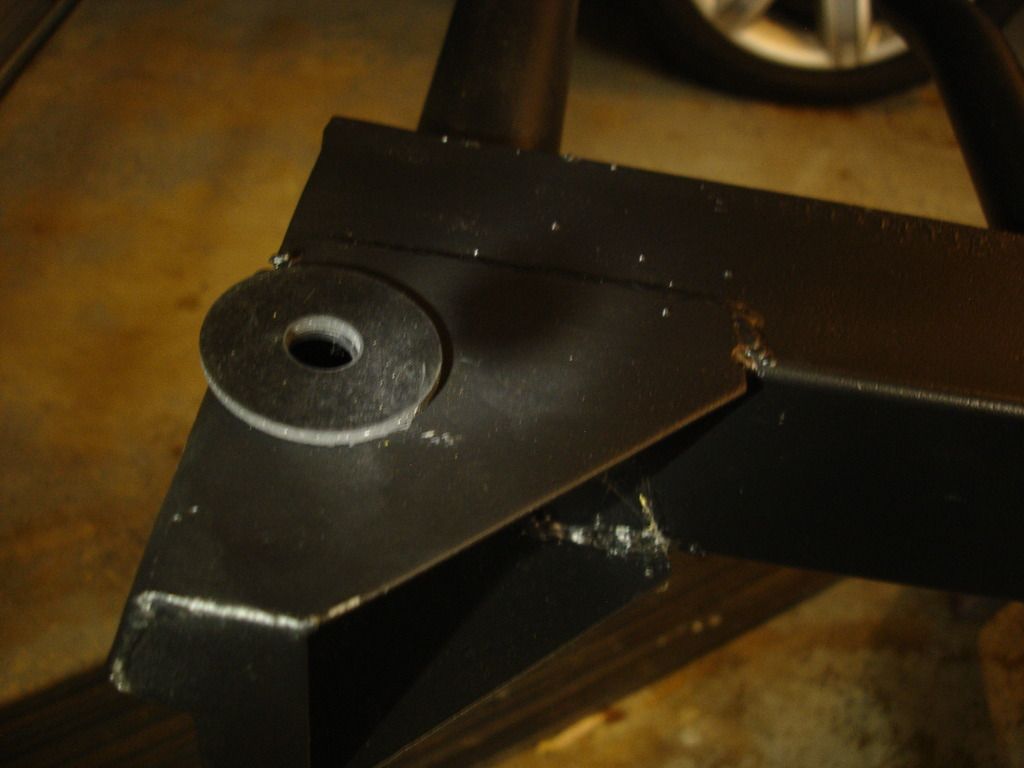
On the diagonals...top is one thin, one aluminum, and one thick. Bottom is 2 thin and one aluminum. Notice this is where I placed the "home made" pads.
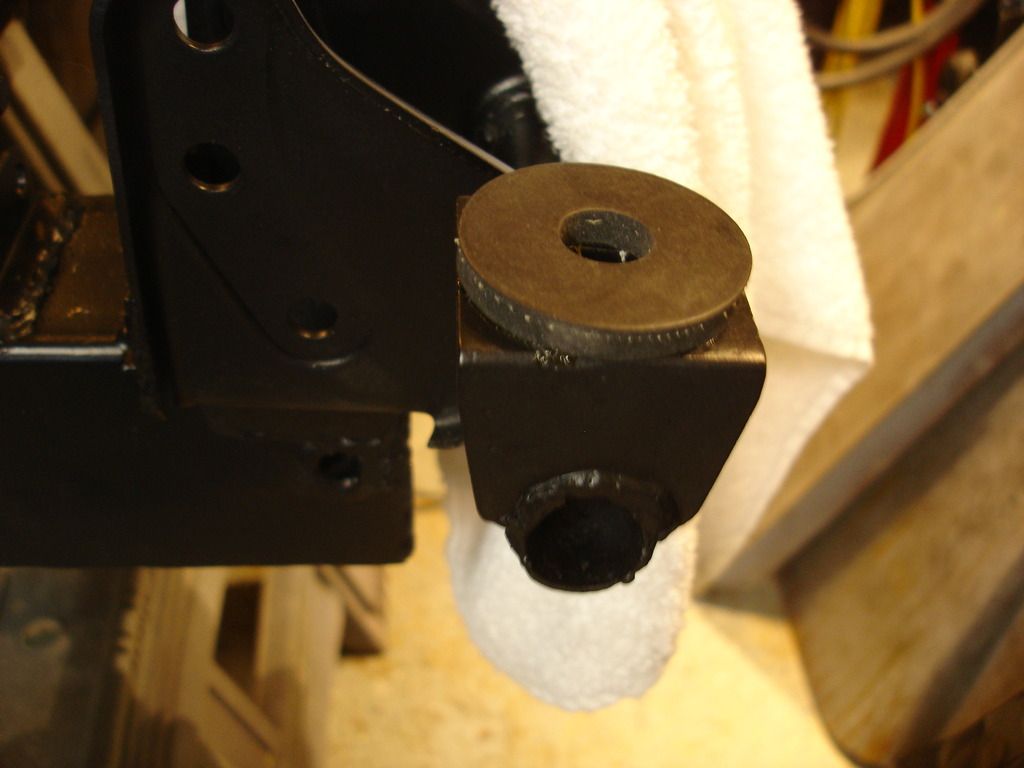
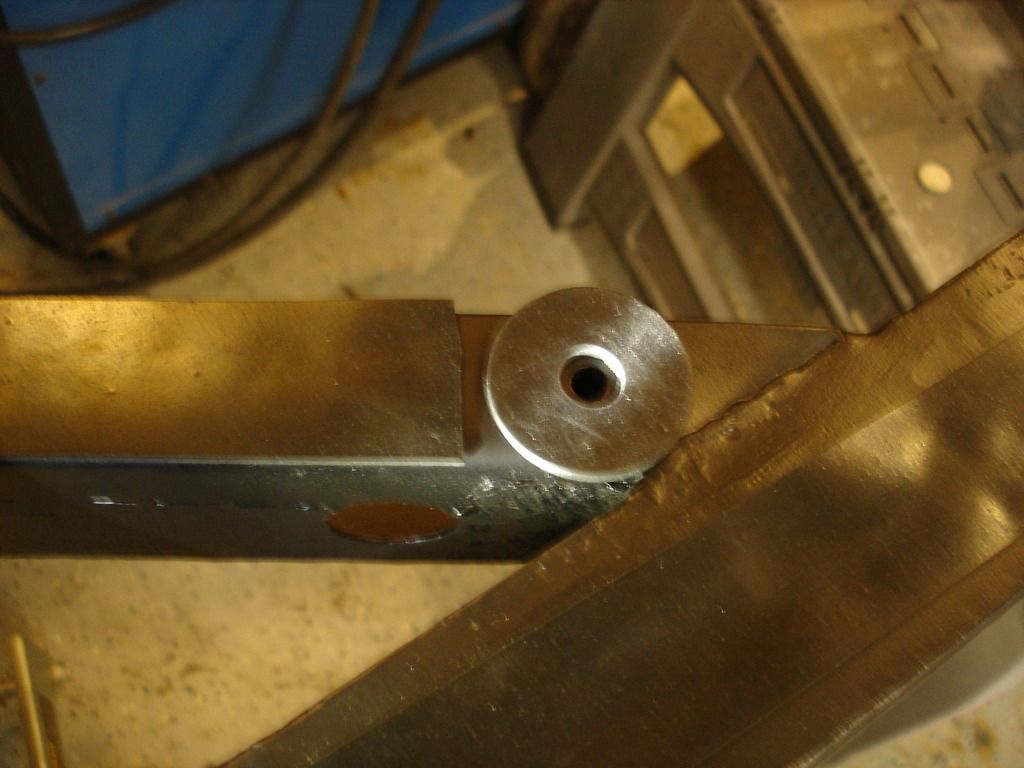
Front mount...book says 2 thin pads. I used a single "extra" thick, as an equivalent.
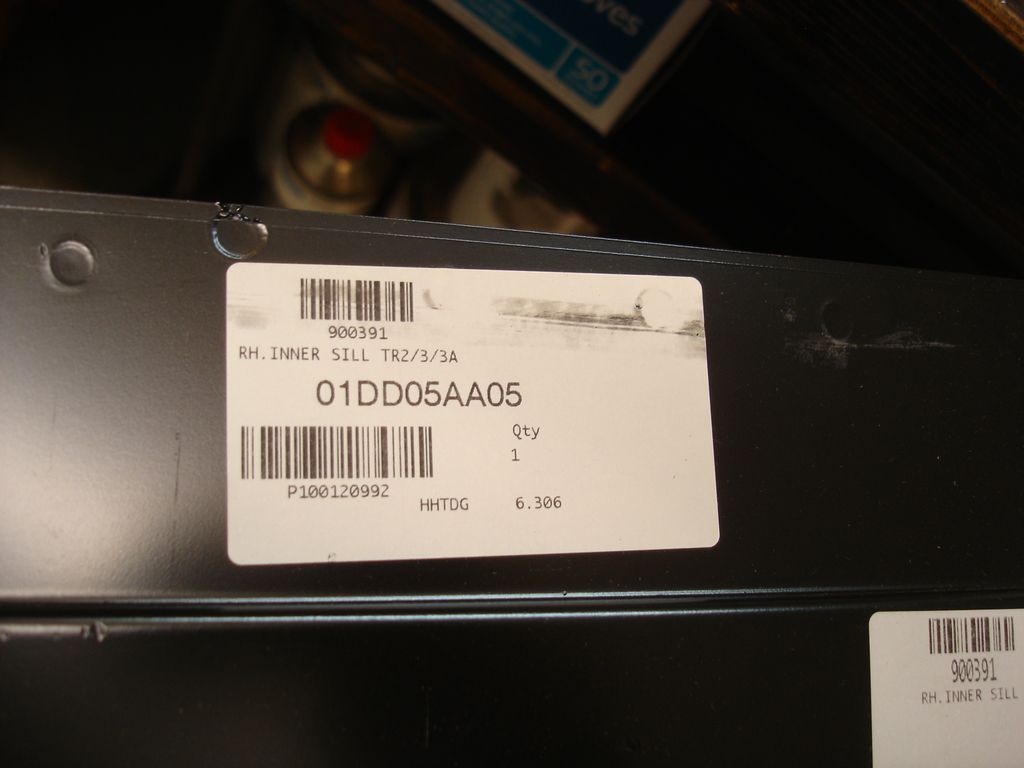
Here is the first brand spanking new body part I have touched during this ENTIRE build. The right inner sill...straight from the UK thanks to Rimmer Bros and a dynamite exchange rate. Thank you Brexit! I still get goose bumps every time I glance at a new...shiny...painted...clean...perfect part!
Sorry, I digress...
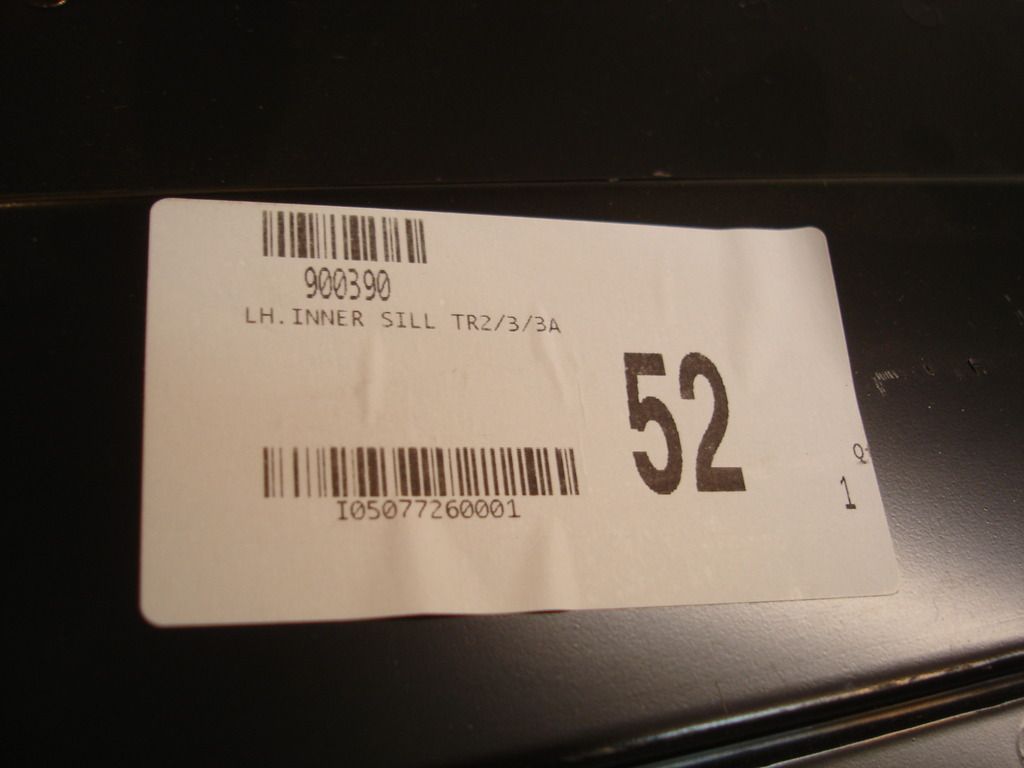
And the corresponding left inner sill. I searched for 3 years. Inner sills are, basically, expendable on these cars. There is no such thing as a good "used" inner sill. Just doesn't exist. It's a shame they are buried so deeply in the bodywork to replace!
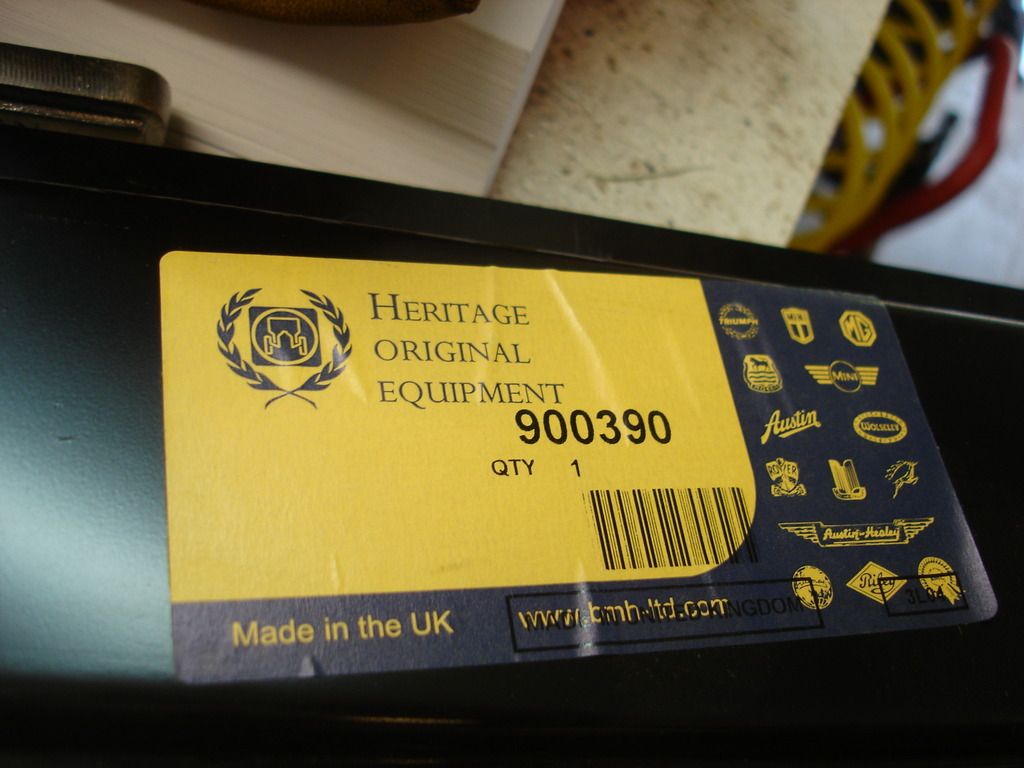
Sorry, I just can't help myself...A NEW PART!!! It doesn't even matter to me that is will never show, it's a brand spanking new body part. Sorry...I'll go take a shower...

 Hey Guest!


