Week 60
This week was spent tidying up the tub welds. I made absolutely sure that all the mounts were secure, and that all of the mount bolts were generally in the center of the body holes. On the TR3 it was frequently a pain to remove/install the mounting bolts, as the body holes were off center and had to be "convinced" to go in. On this TR2 body all the bolts slip right in with no alignment problems at all. We'll see if it stays that way when it all comes apart for the paint?!?
So...with everything lined up, I began finish welding all the interior seams:

This is the seam where the drive shaft tunnel meets the floor.

Terrible pic, but this is the rear floor too fantail seam.
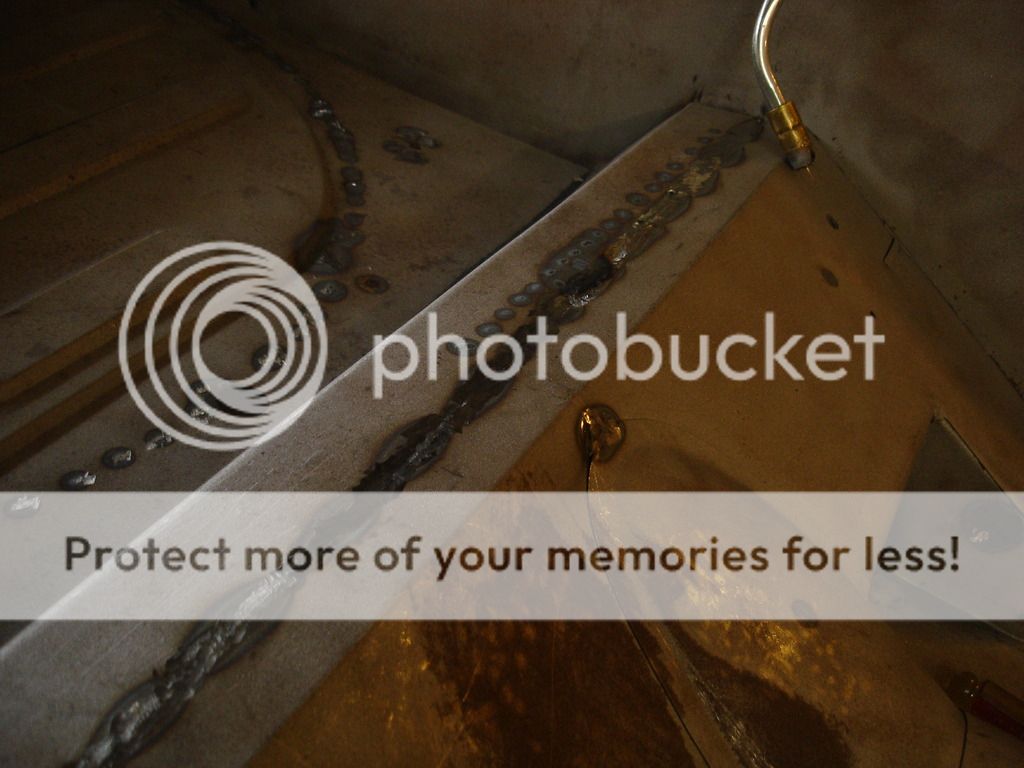
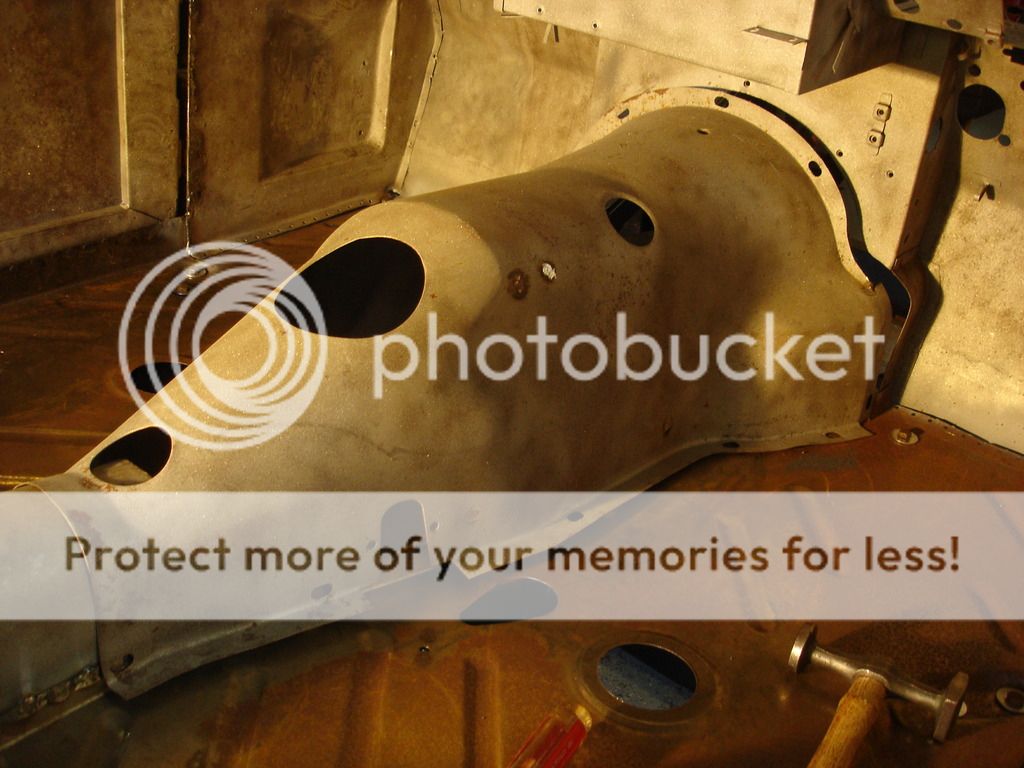
The PO had replaced the boot floor, but it was only partially installed. Here I have seam welded the floor to the under gas tank portion of the fantail floor...and you can see were I spot welded the spare tire tub underneath.
This completed all of the welding in the tub...except the front floor to firewall. We will need to install the transmission tunnel before that can be done.

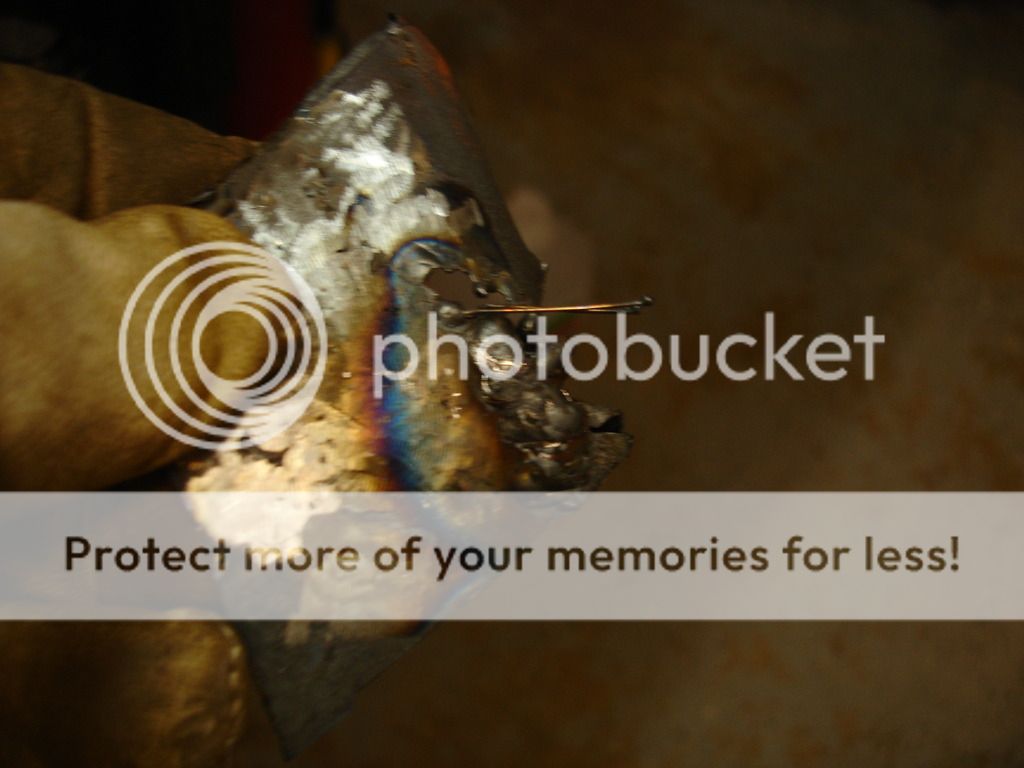
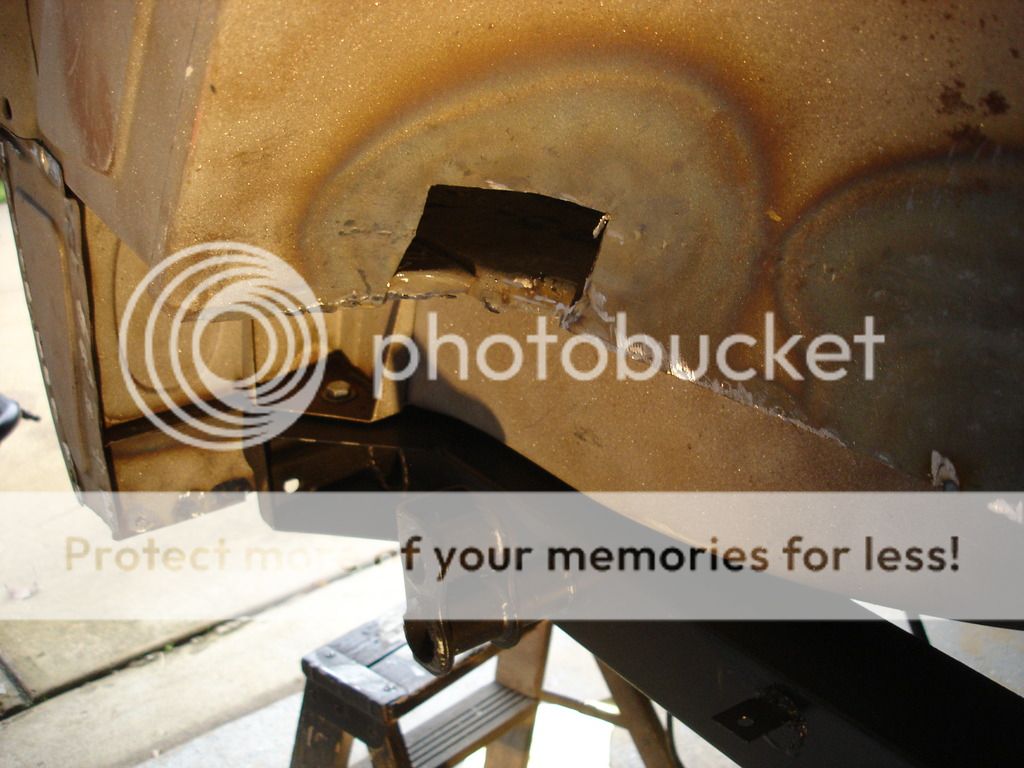

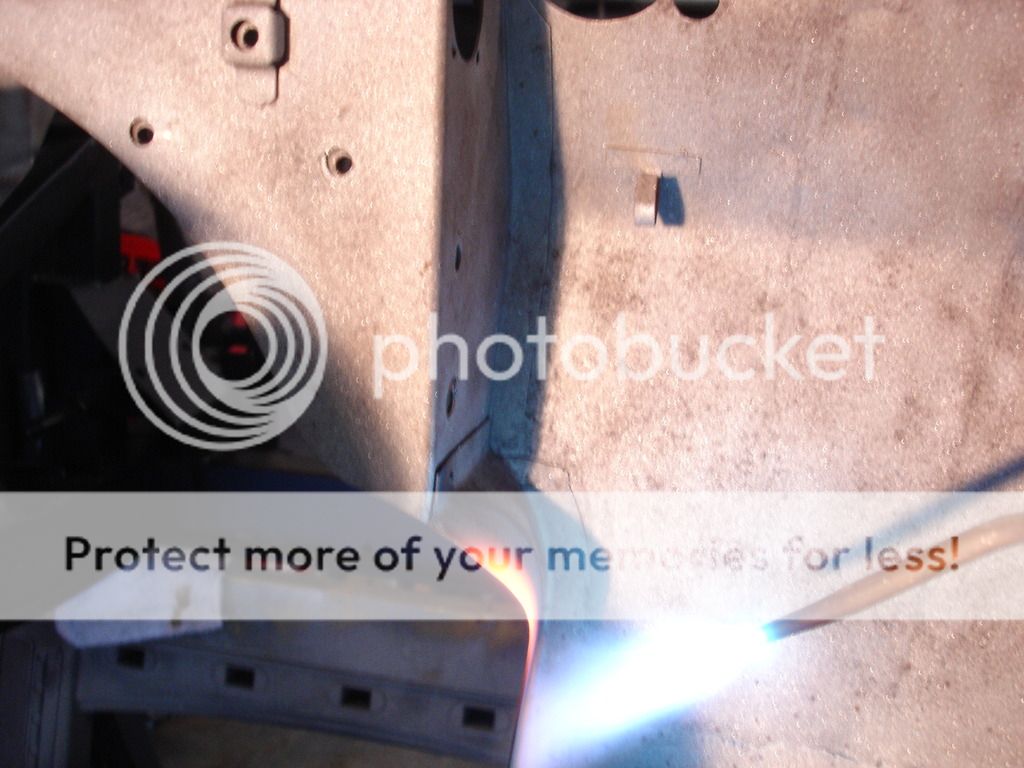
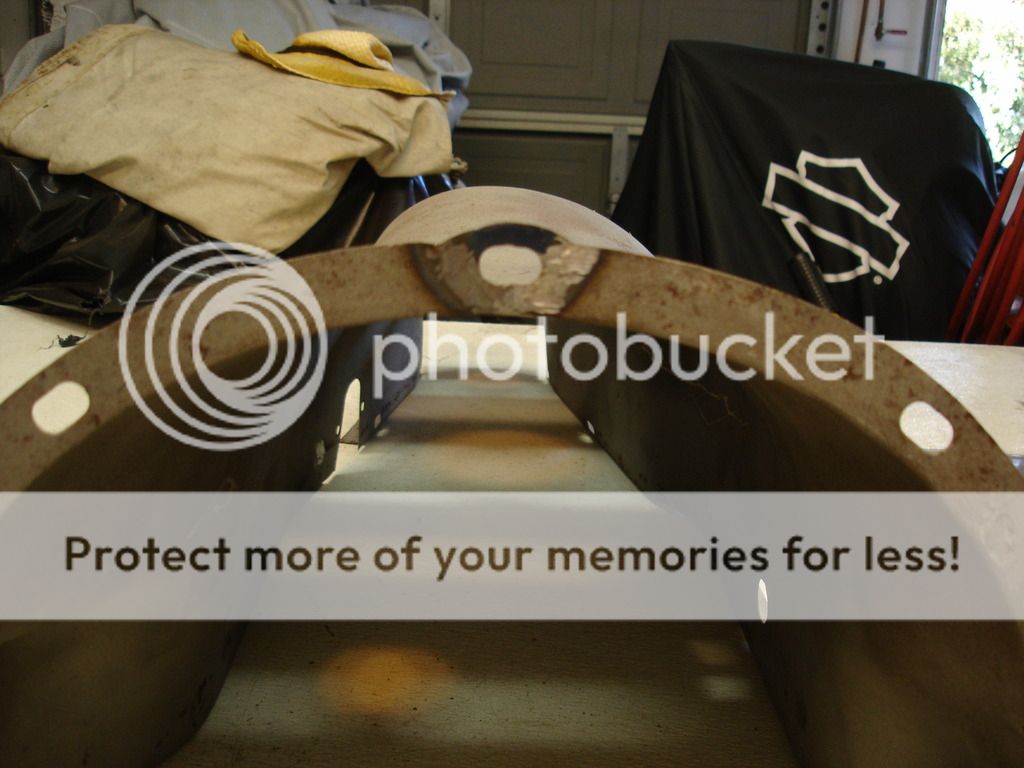
This is a chunk of the right inner wheel well. When I put the light on the wheel well, there were some tiny pin holes from the patch a PO put in. I have no idea WHAT he did, but every time I attempted to fill the holes with weld, the welder cut through and made a larger hole. I fixed that, and when I ground it down...more pinholes!! This process went on for about 3 hours. I finally concluded that the PO must have used brazing flux on the repair. You do not need flux for steel welding. If you use flux, it flows and fills parts of the weld, essentially creating voids. I finally realized I was losing the war, so the above pic is the section of PO repair that I finally completely cut out to start from scratch.
Steve once asked how to know whether to fill weld a hole or to patch. This shows that sometimes you don't know until you try.

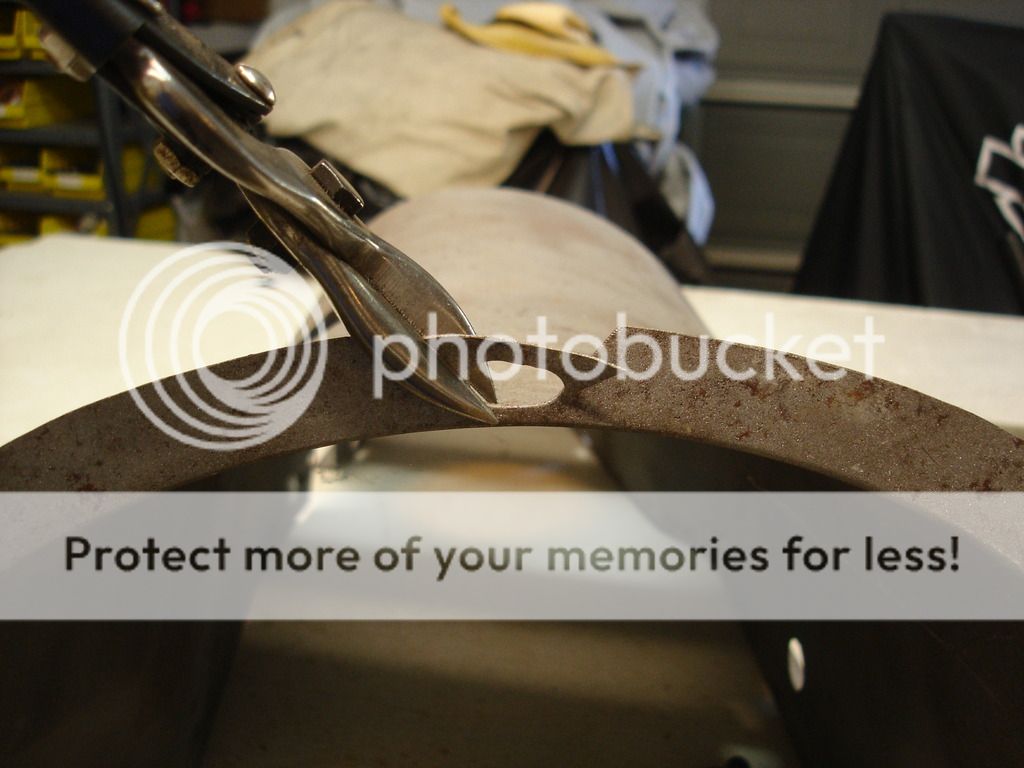
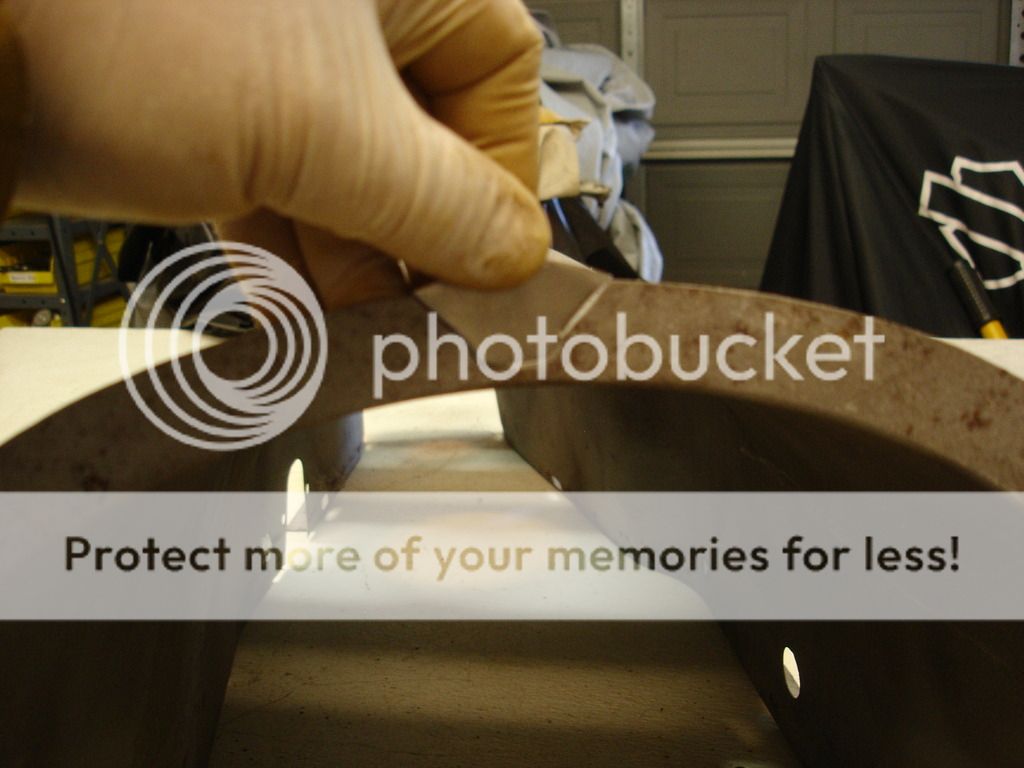
So here I am fashioning the curve for a new patch.
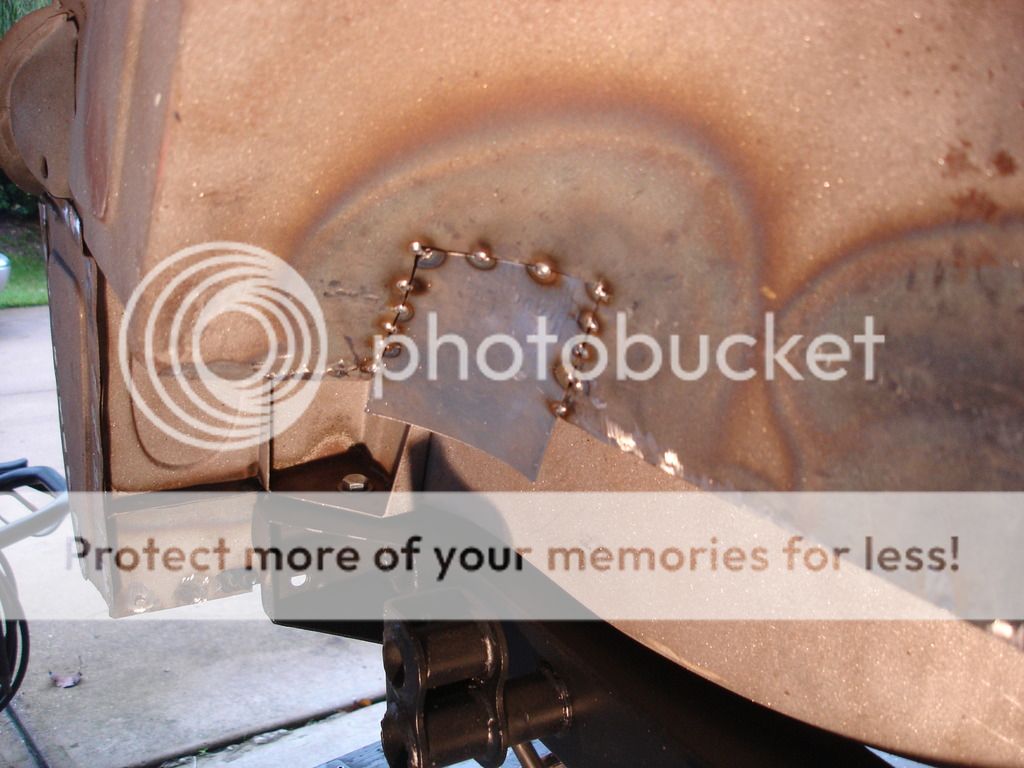
The sad part is that the entire patch took all of 15 minutes to cut, fashion, weld, and grind to fit. 15 minutes after trying to repair the PO patch for 3 hours! I guess that's an example of tunnel vision?!?

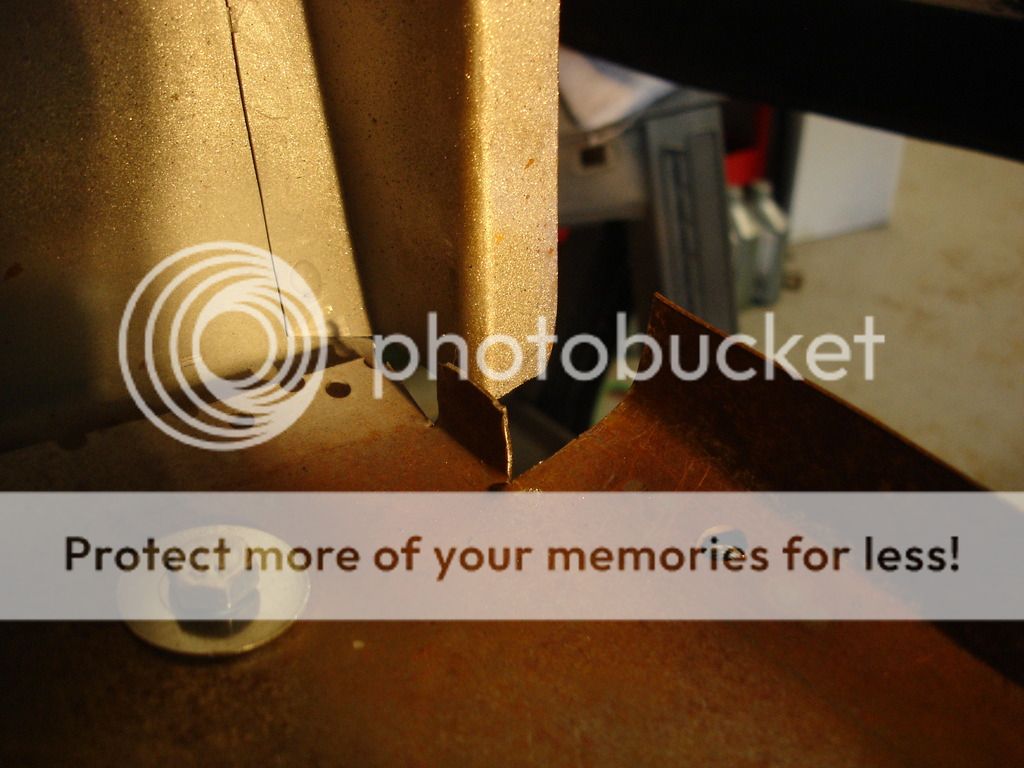
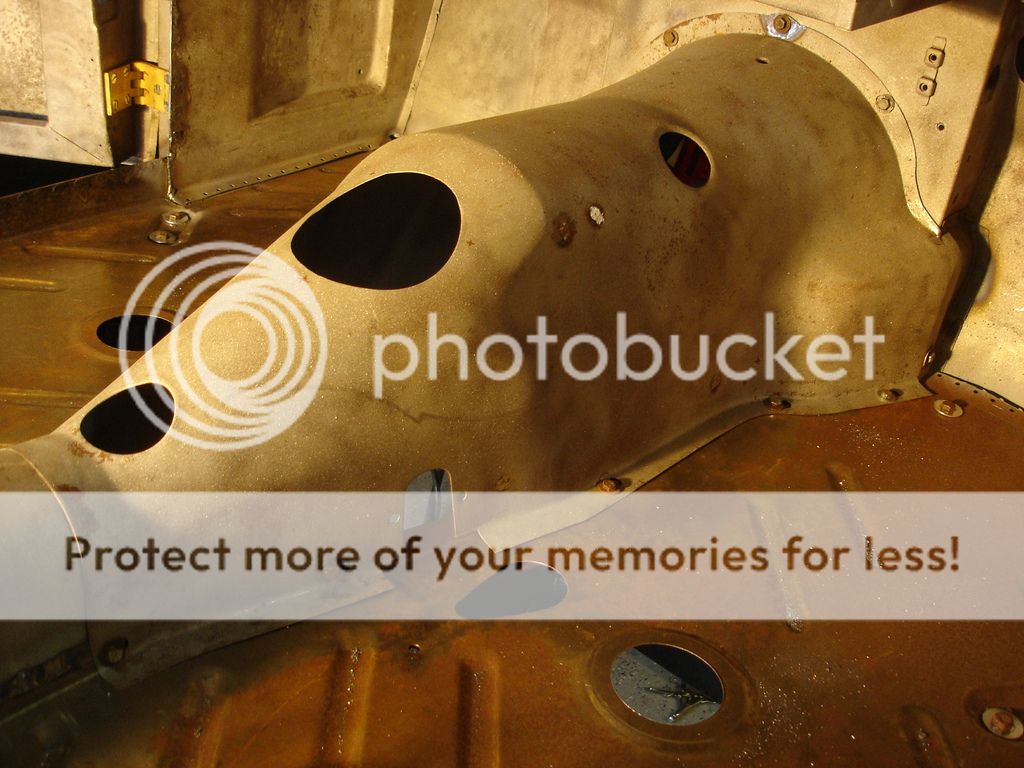
Before I welded the front floor seams, I wanted the transmission tunnel in place. This is to ensure that the floor to firewall joint is at the correct height...especially if you remember the extent of the rust repair to the firewall in this area.

In this pic I am matching the right side tunnel to the firewall. A little hammer and dolly work on hot metal makes them fit perfectly.
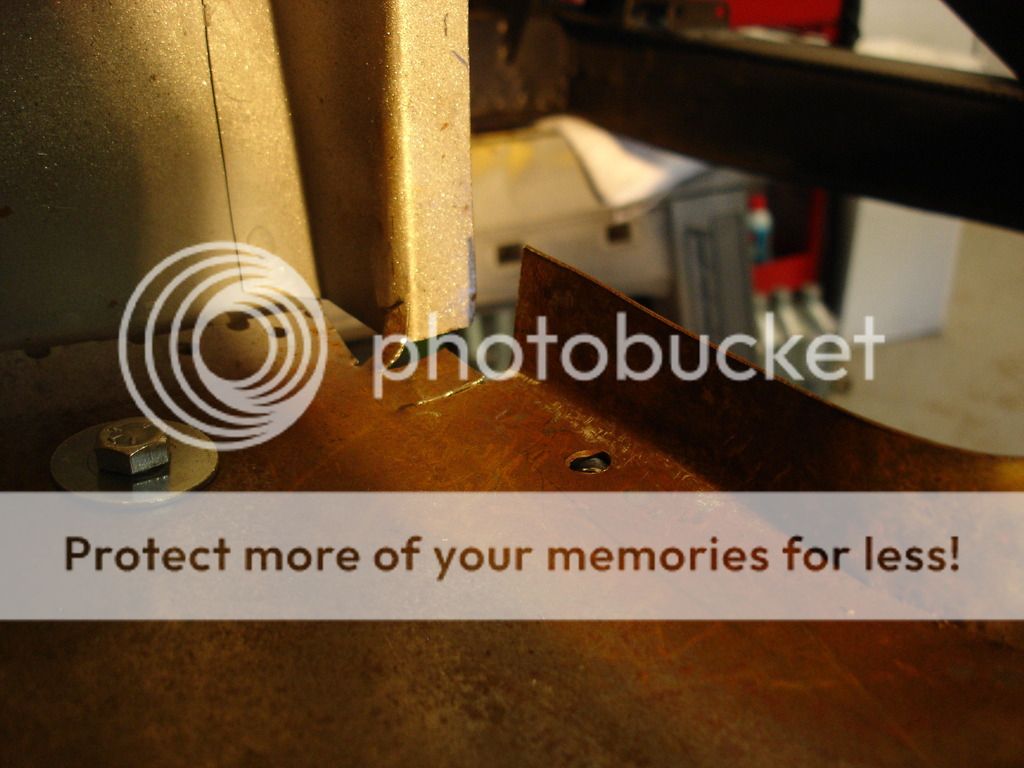
This is the left side at the floor seam. It required a little trimming. As the tunnel is installed, it will pull the floor up to the correct level for a permanent weld.

The holes in the floor at the rear of the tunnel did not line up. I filled the mis-aligned holes and re-drilled them in the correct position to align with the caged nut inside the shaft tunnel.

As with all bolts and nuts, they get "dressed" with taps and dies to make sure the bolts spin in easily during hte 50 or so install/removals it takes to fit these parts.
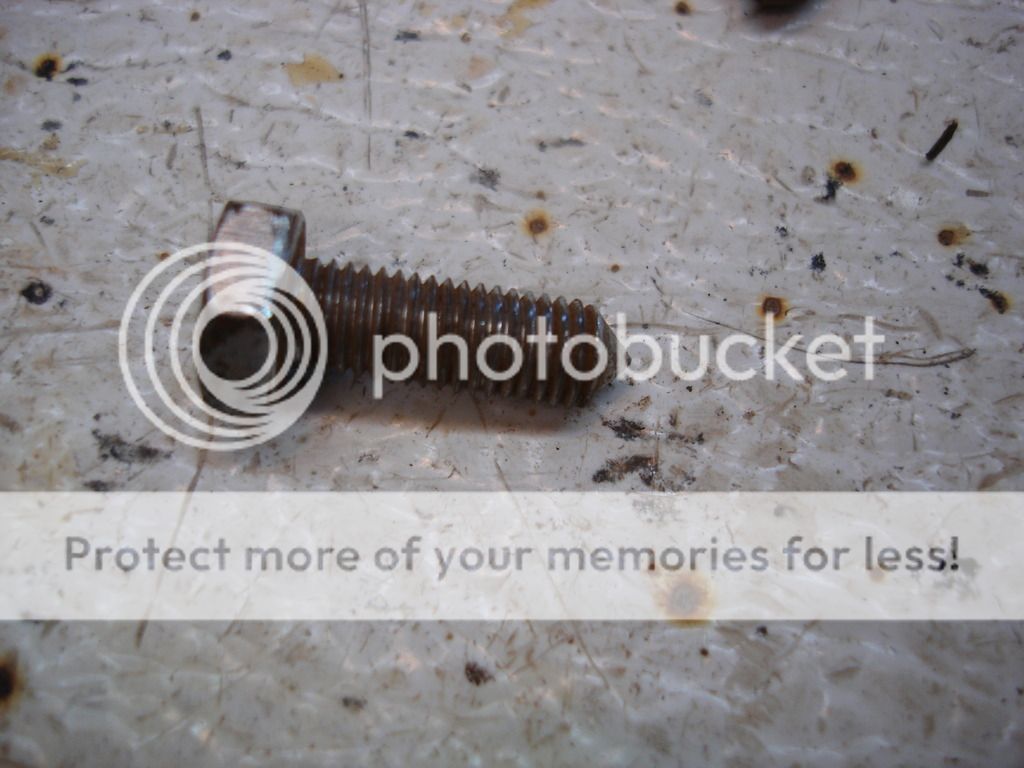
Here is the standard body bolt...1/4" - 28. They have a point. I have not found replacement bolts that have the point.


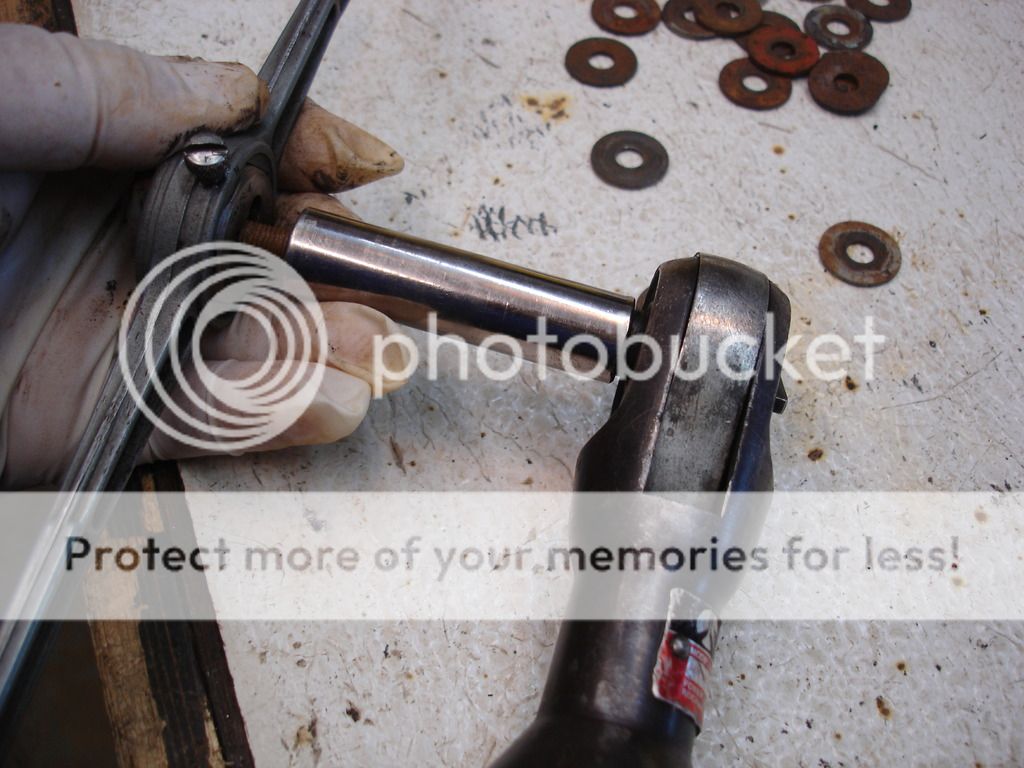
This is an example of the head of an original bolt. The original heads were not necessarily consistent, but they all had markings for their period. Modern bolts have the grade markings that were not present on older bolts. So, I will dig in the bolt box for all of the original bolts I can find to install in visible locations...like under the bonnet. I will have to use newer style bolts on other locations that do not show.
Every used bolt gets cleaned with a die before I attempt to use them.
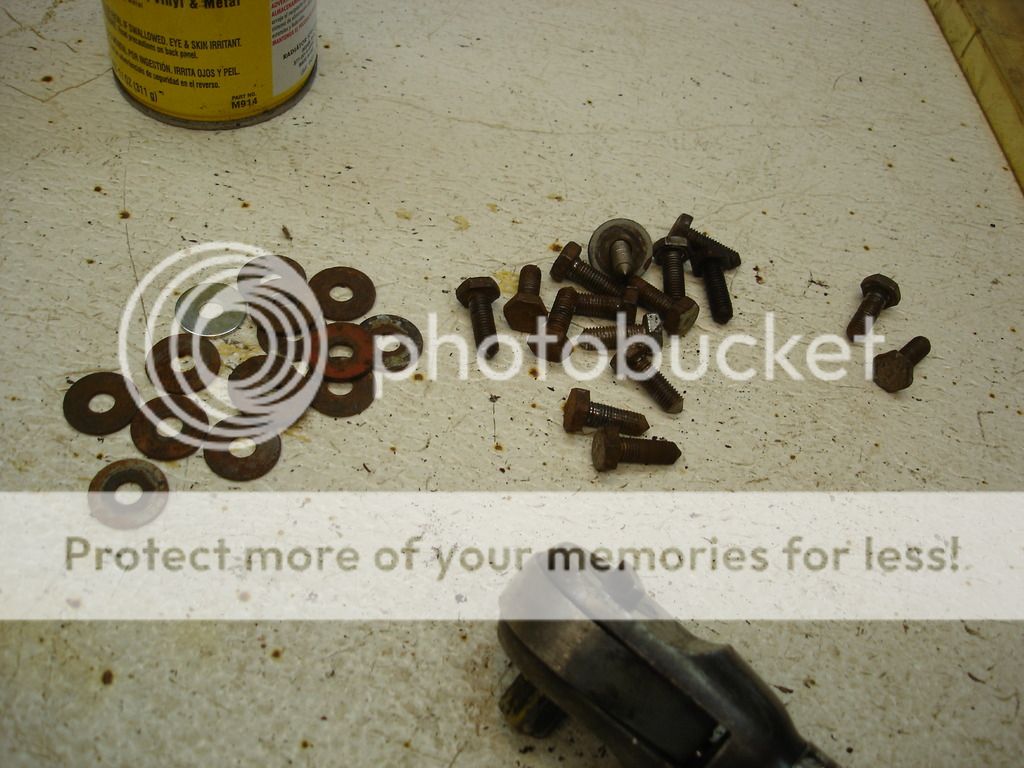
Here's the pile of bolts I will use on the tunnel. After they come out before painting, I will bead blast them so they look like new.
On the first fitting of the tunnel, The center top bolt did not line up. Here I will have to modify the slot int he tunnel to match the caged nut in the firewall. Not standard, but this area is not readily visible, and if anyone strains way down to see it, it will look like it was factory. Again, I have learned that I want all fasteners to EASILY thread in and out, since I have learned that these parts have to be removed many, MANY, times during fitment, painting, and regular MX. Much easier to fit them right now, than to fight them for hours later.
Now the slot will line up perfectly.
Now we're getting somewhere! The right side of the tunnel is good.

This is the area we heated and shaped...always worth the effort.

Notice that the tunnel has pulled the floor up into position...Now the floor to firewall seam can be welded permanently to the perfect location.

A shot of the rear section.

 Hey Guest!


 [/https://dallas.craigslist.org/mdf/mcd/5834732140.html