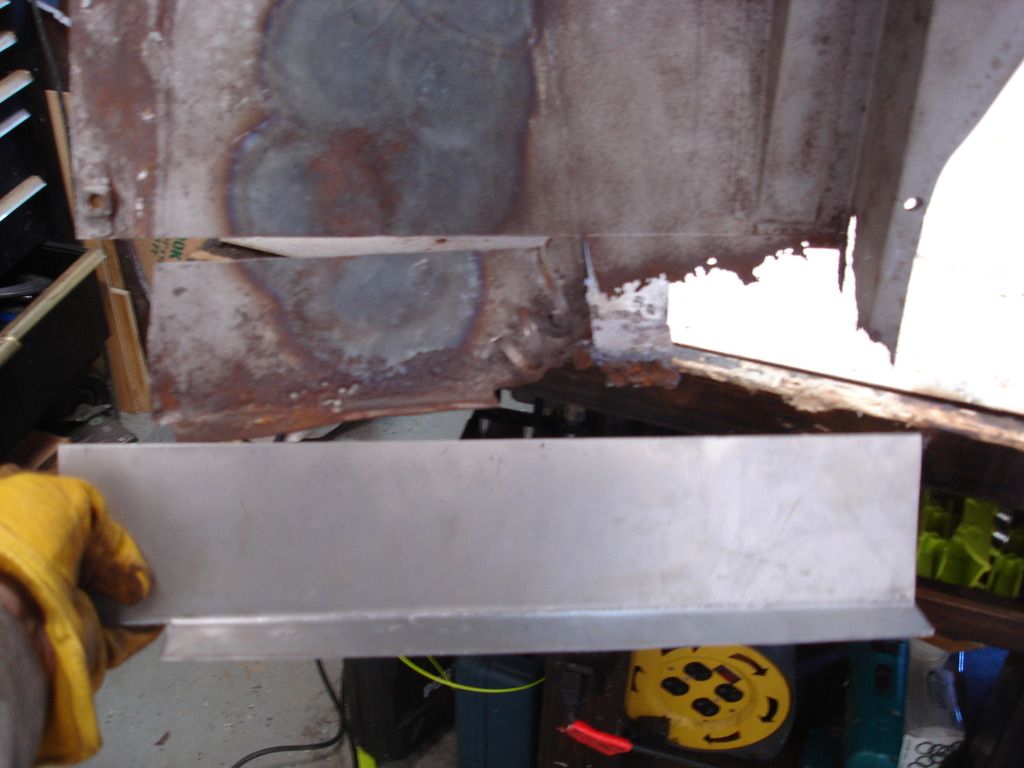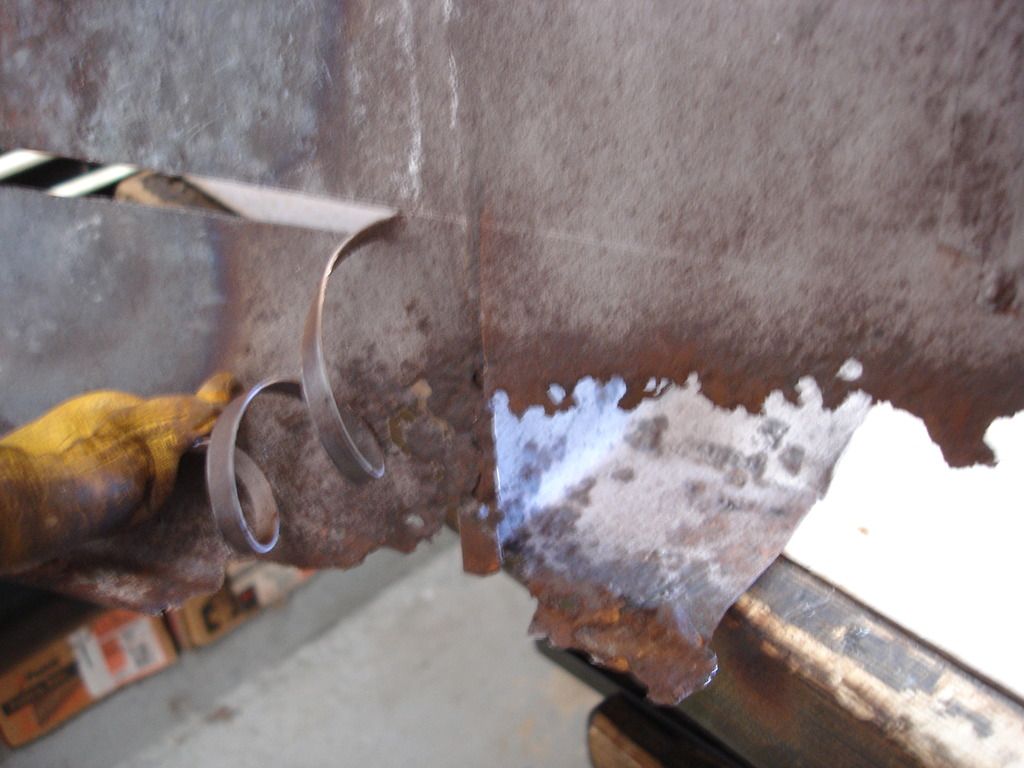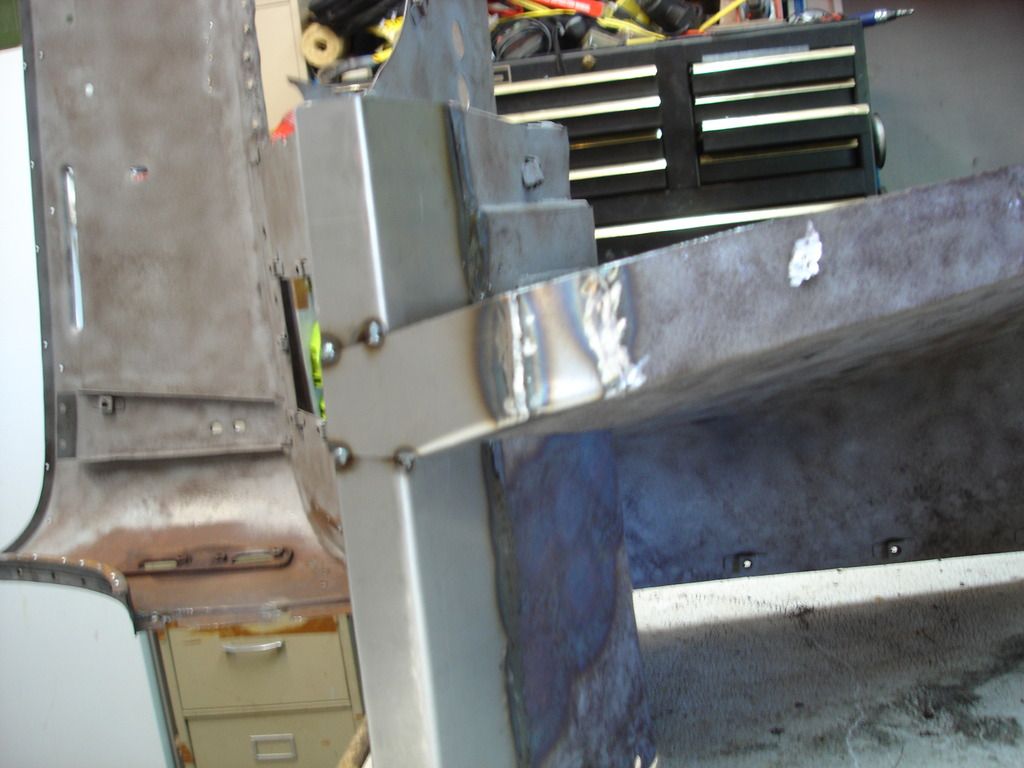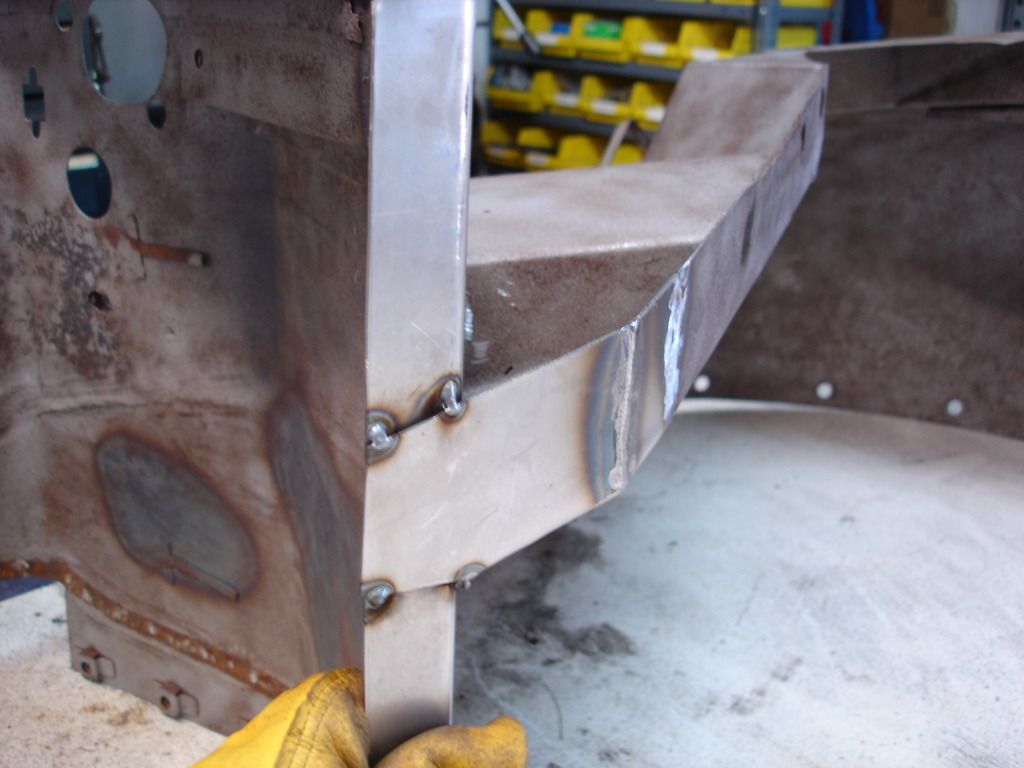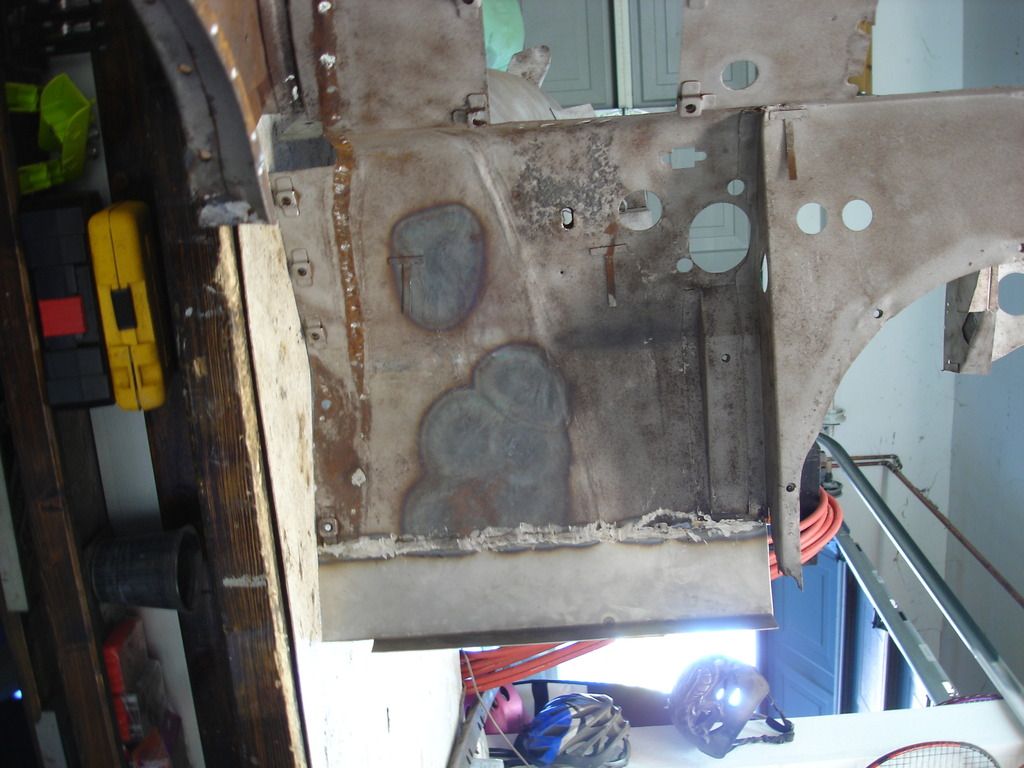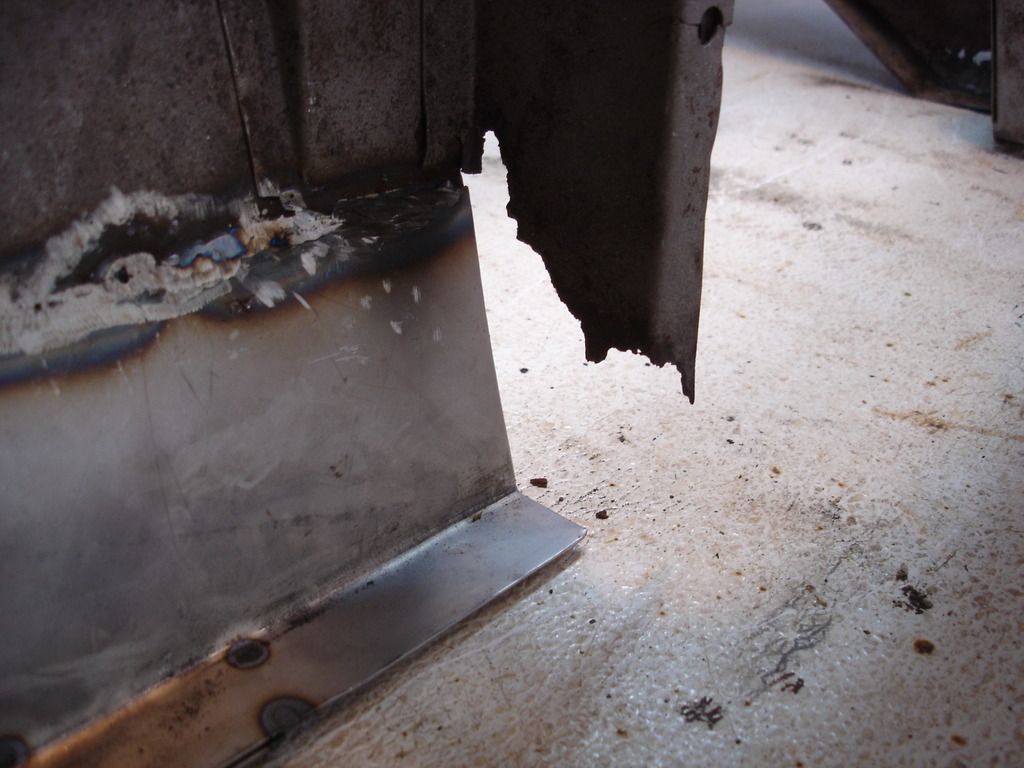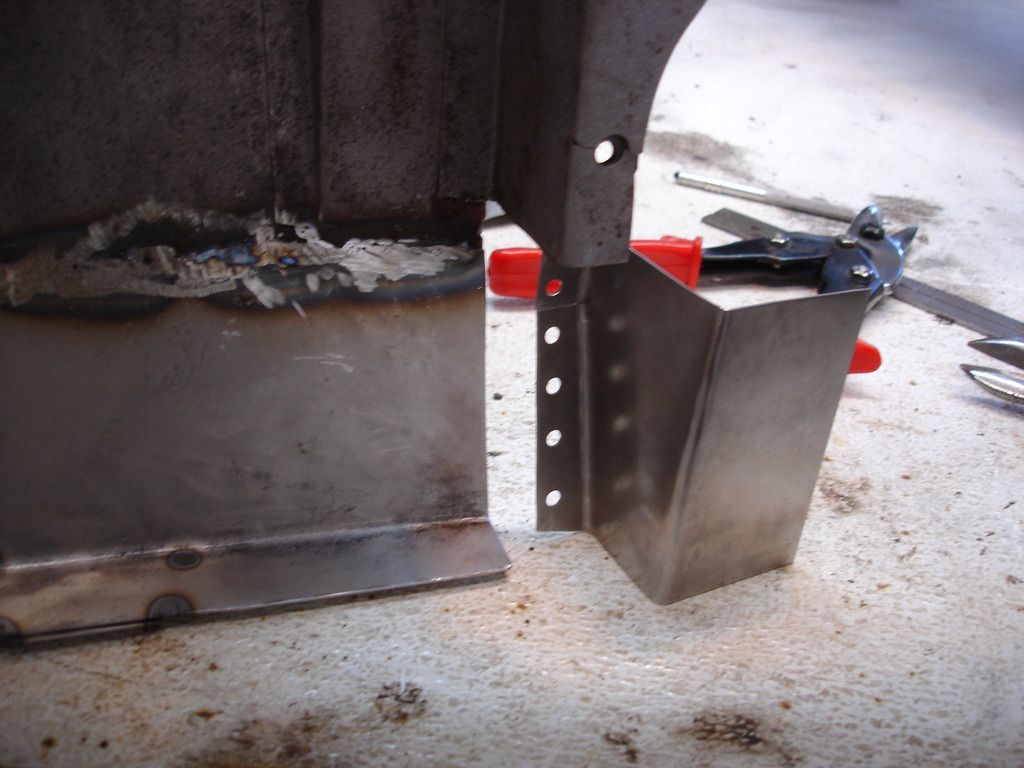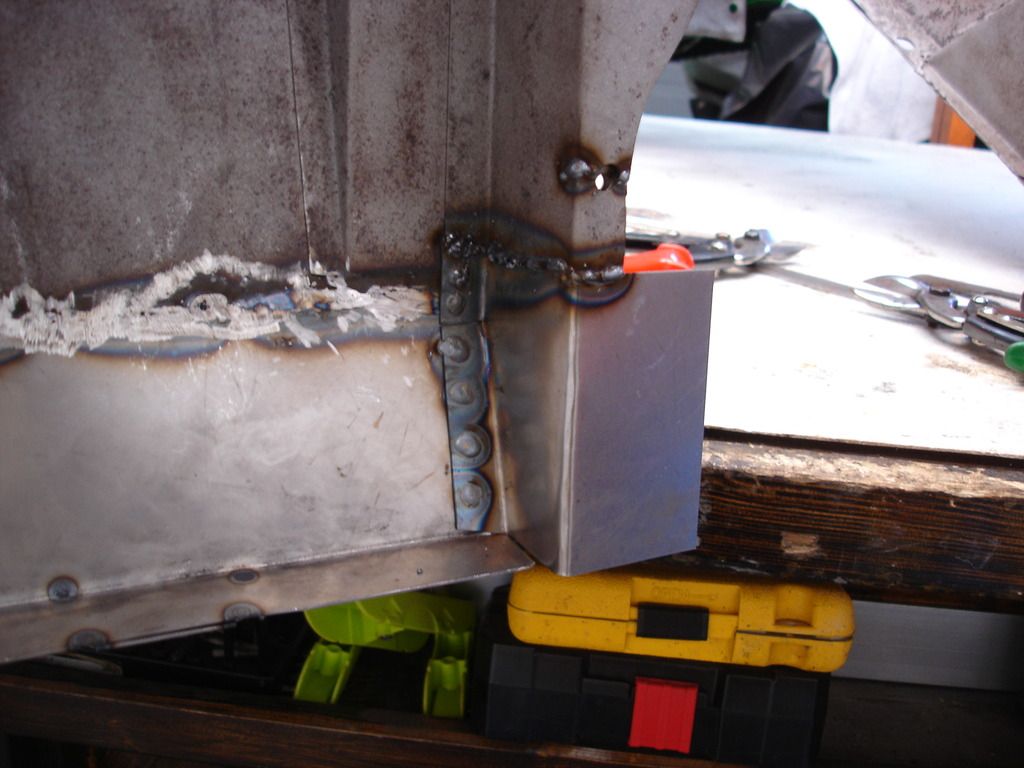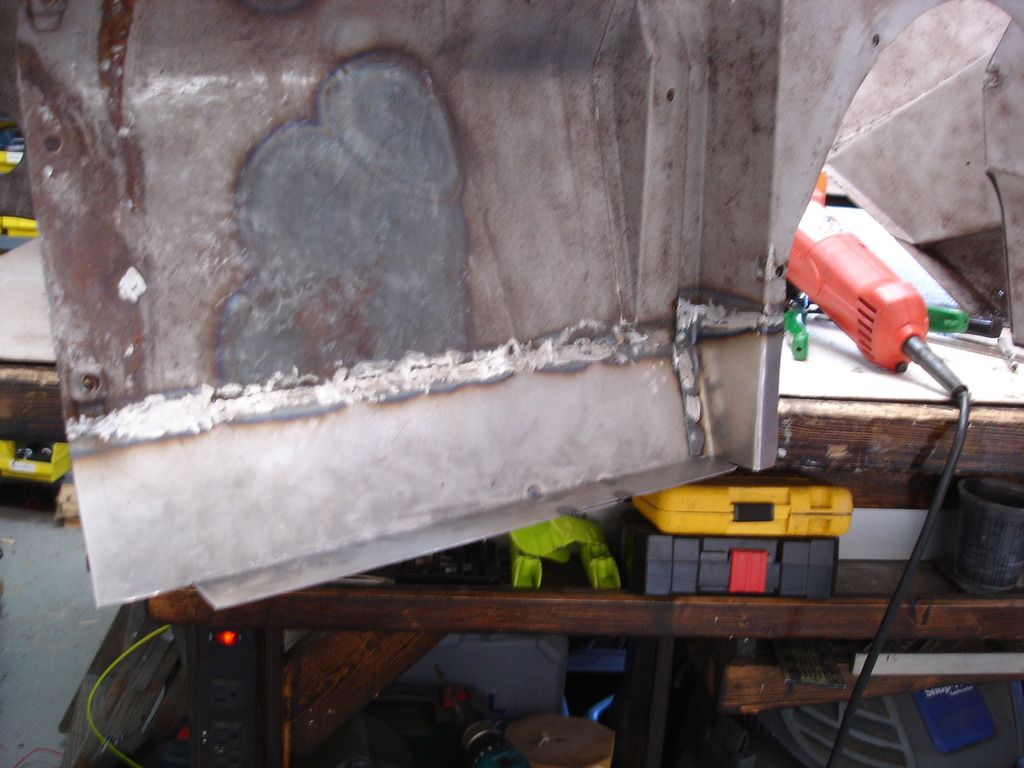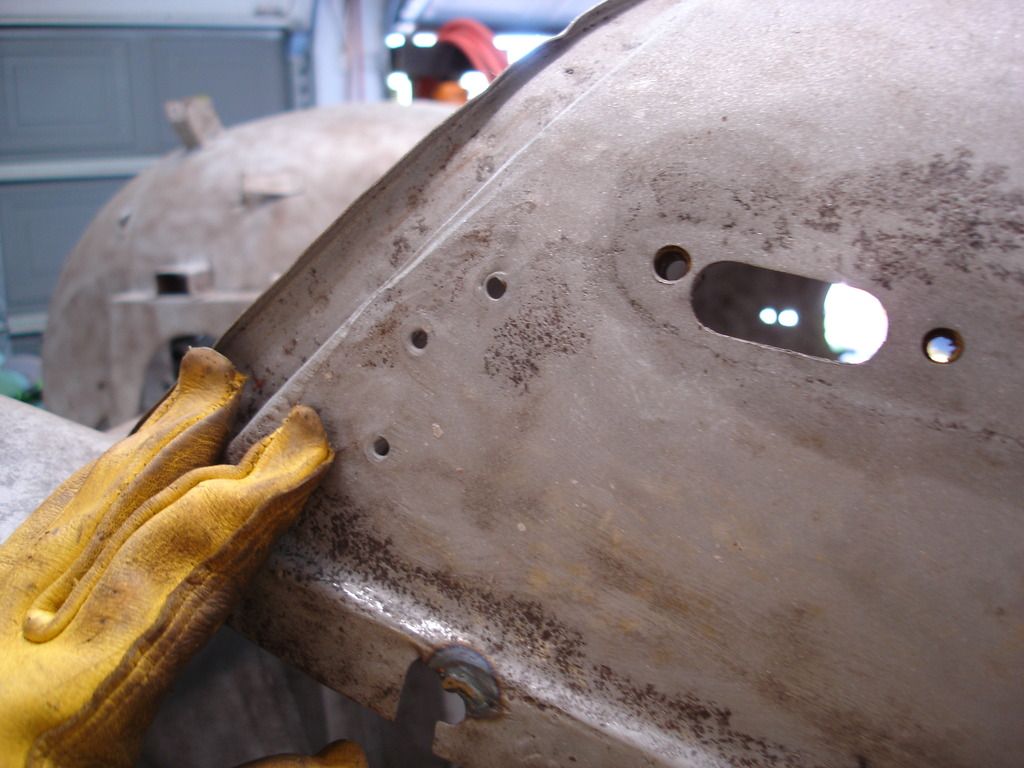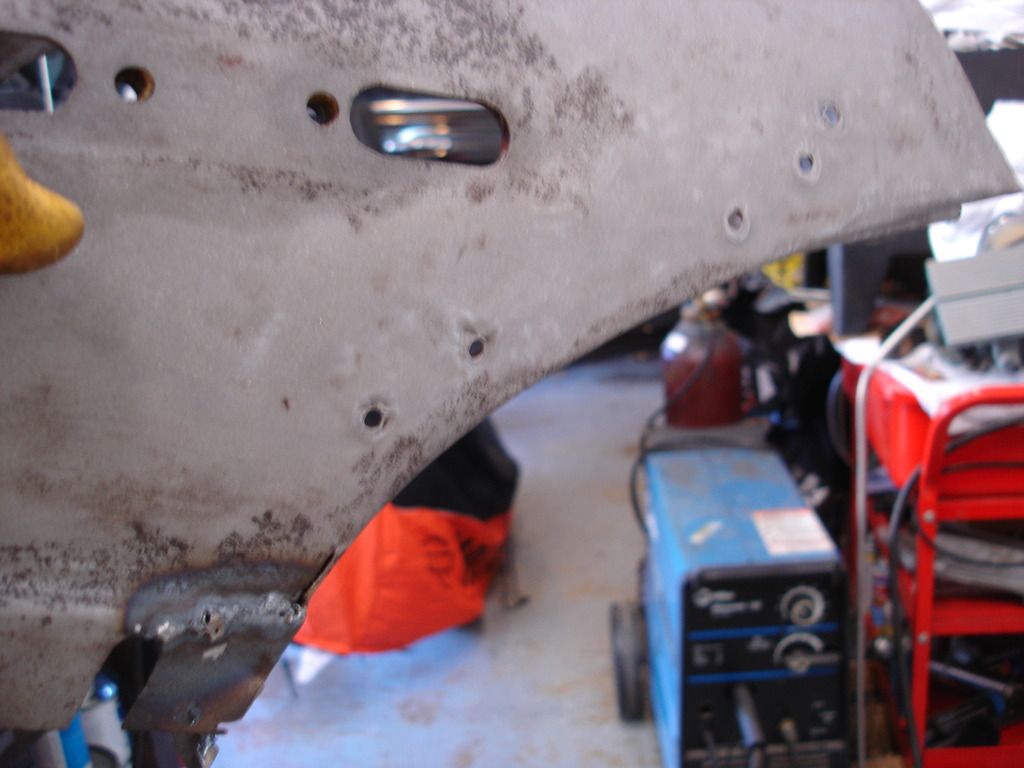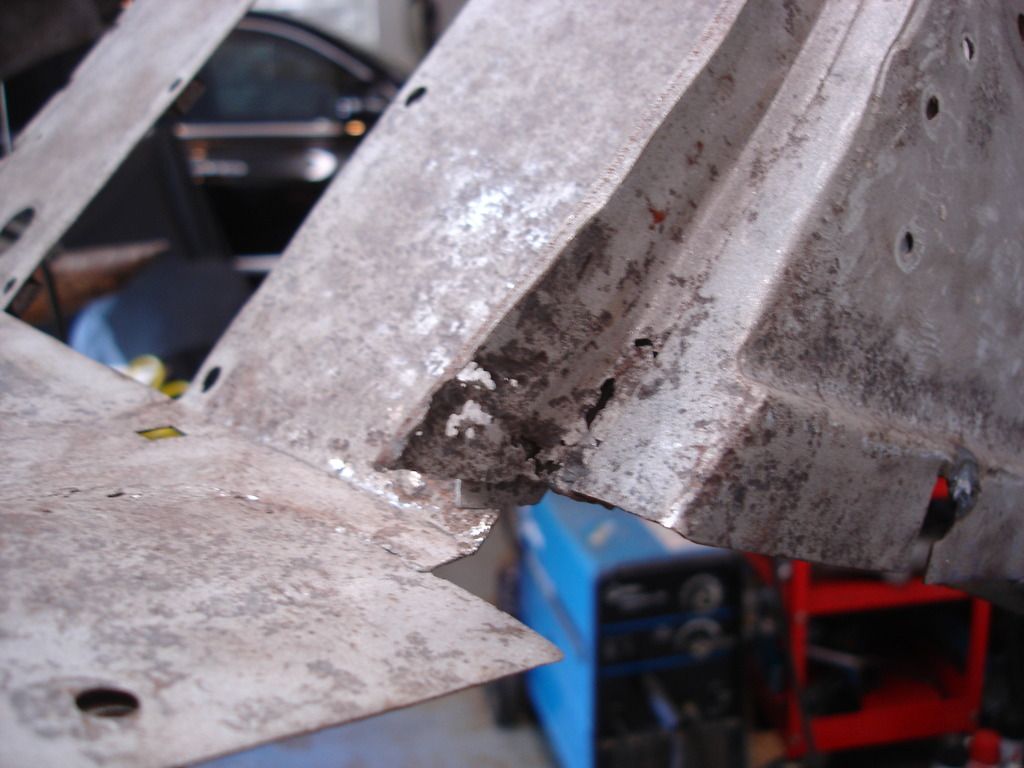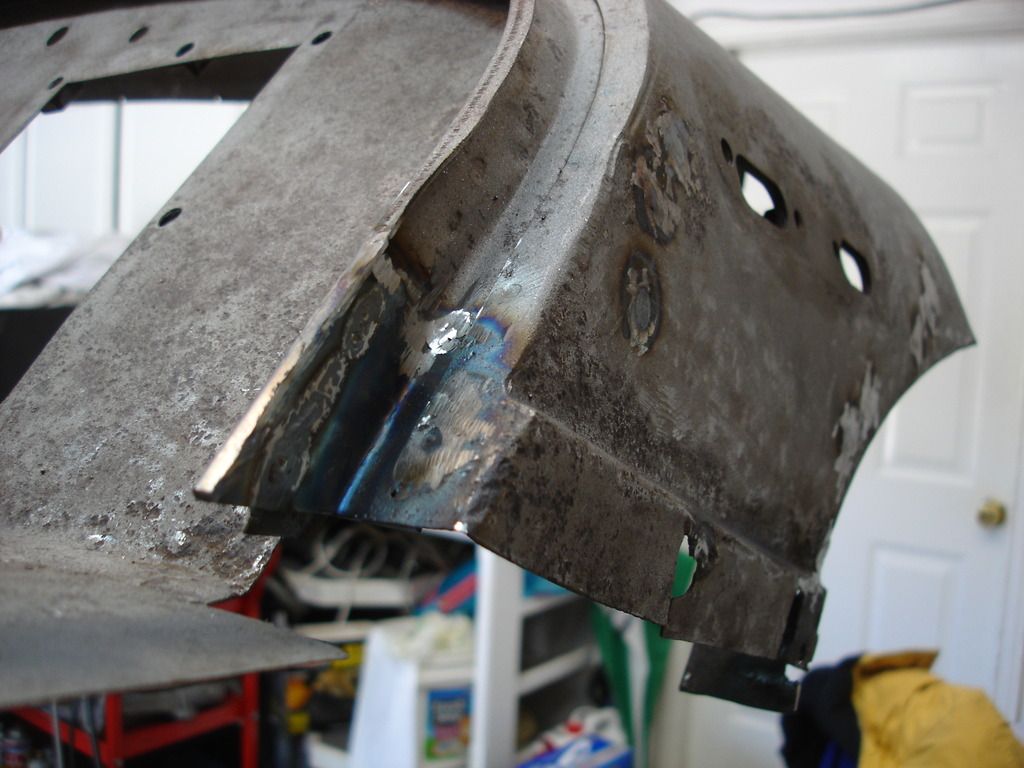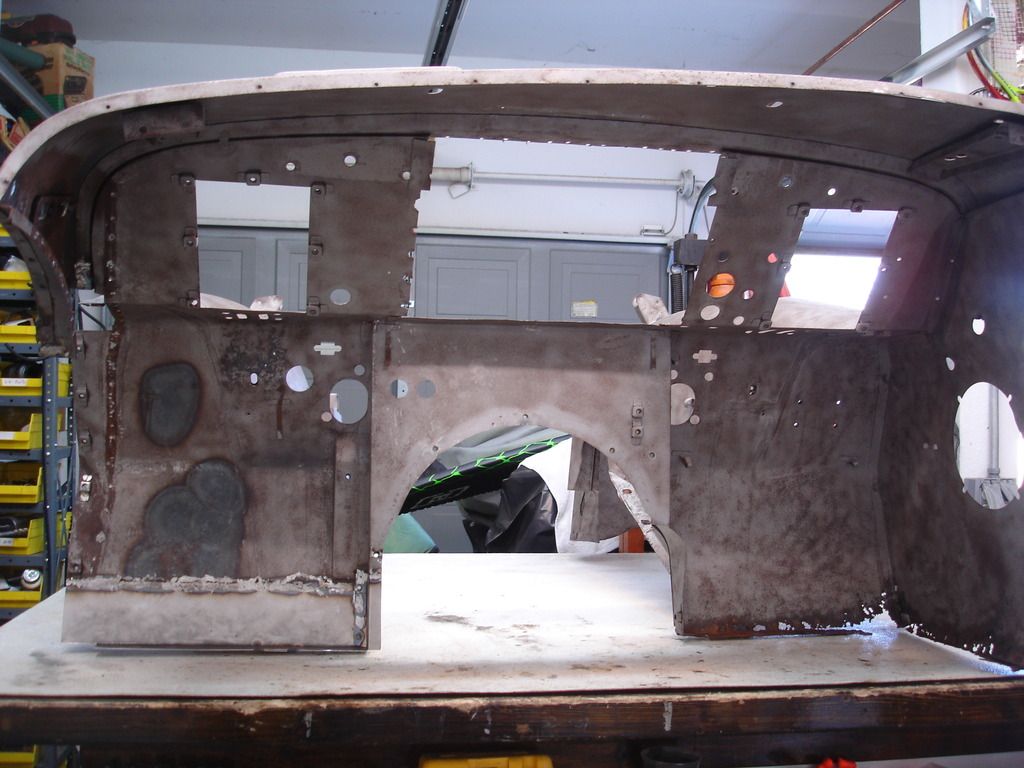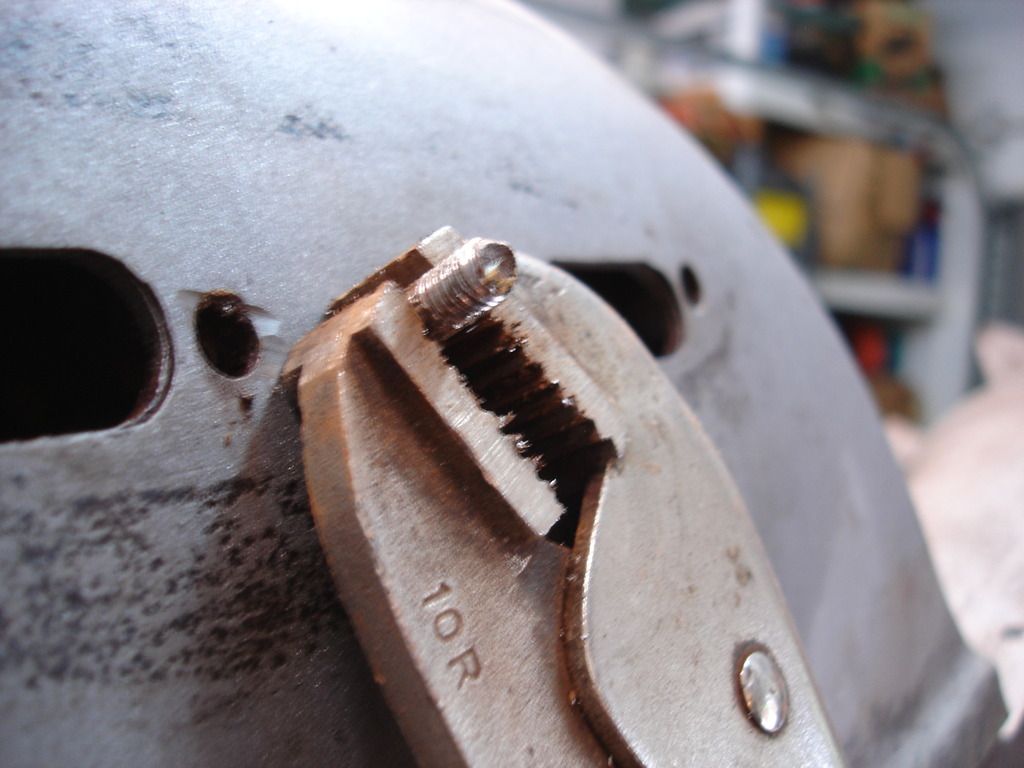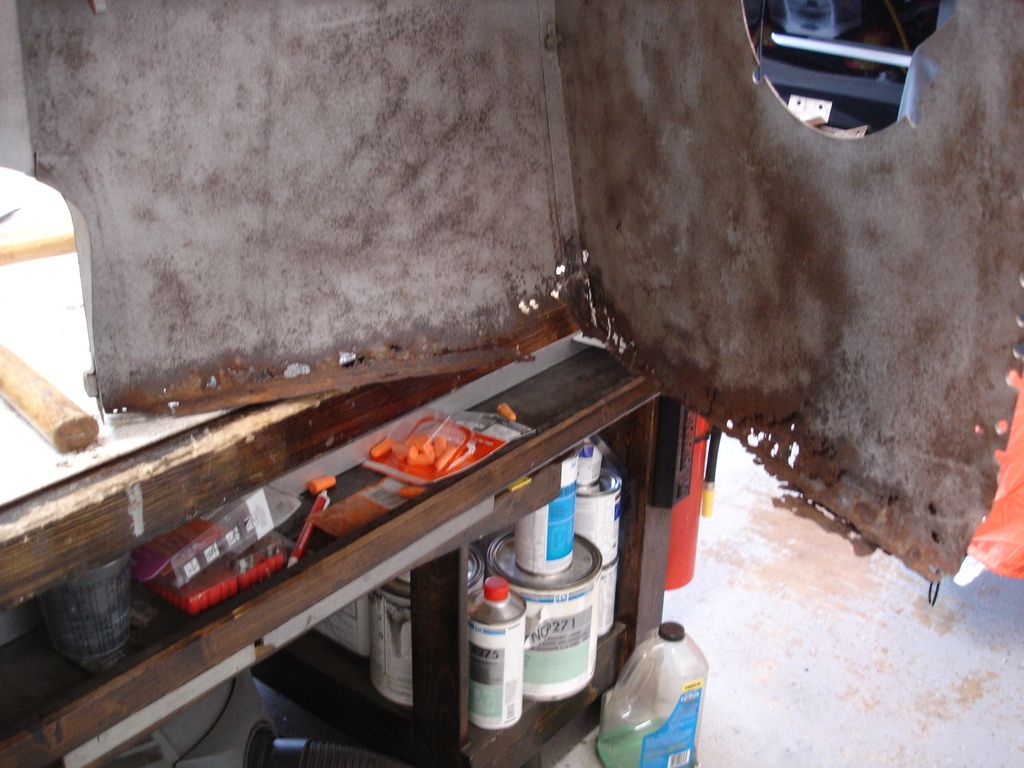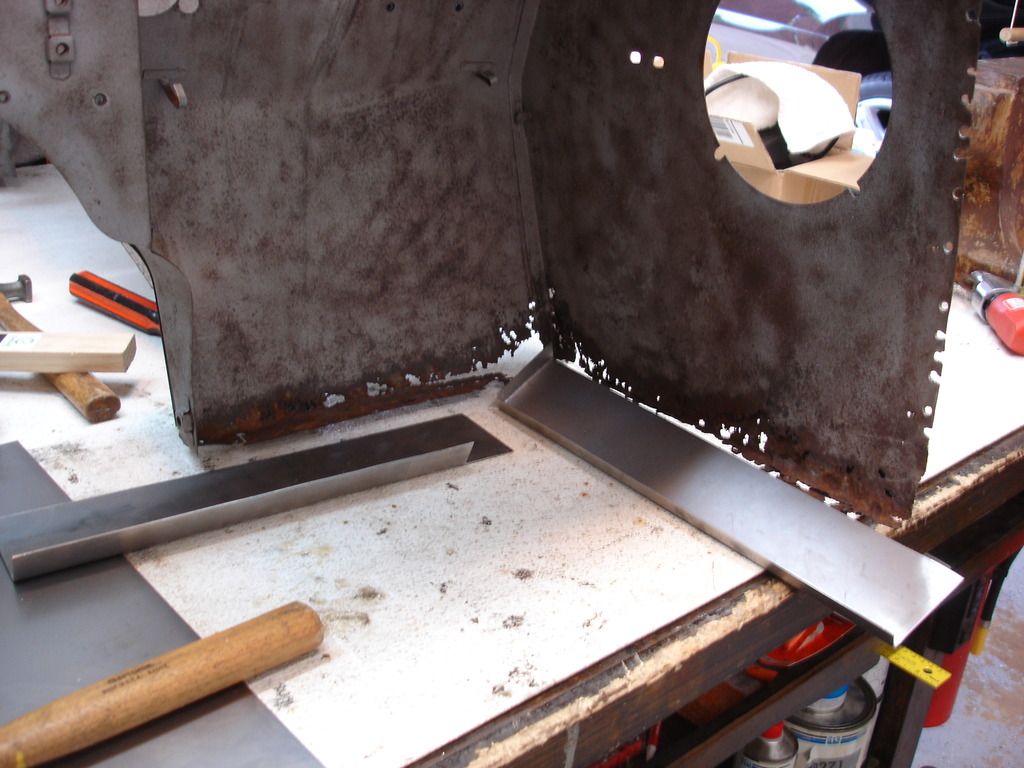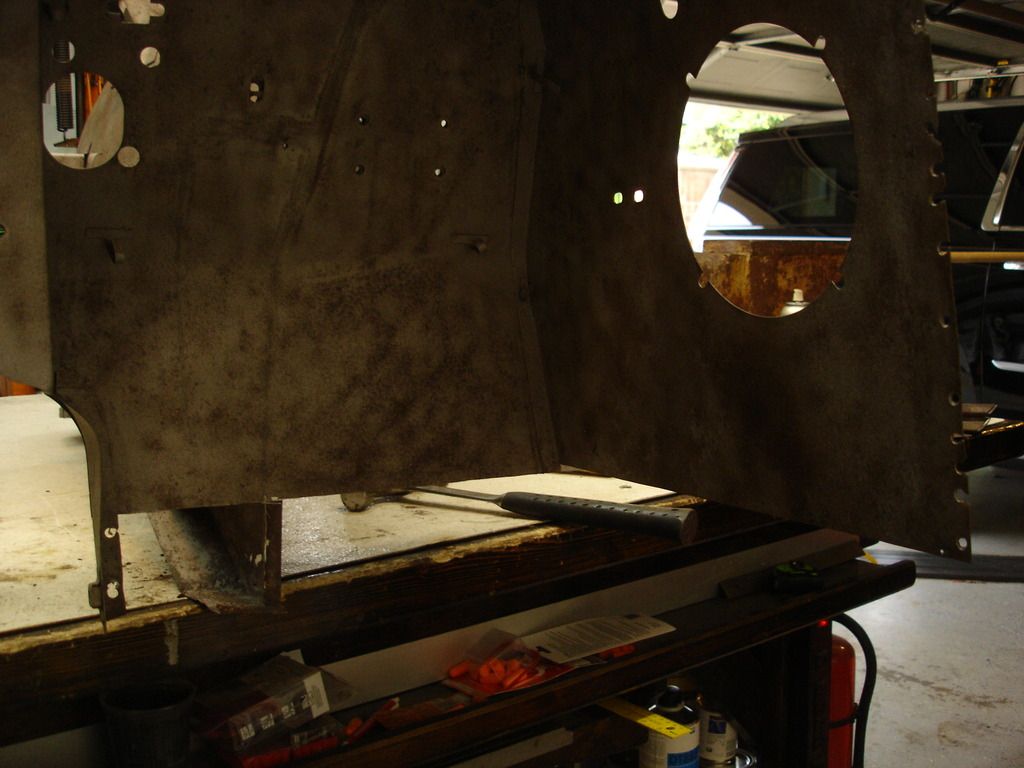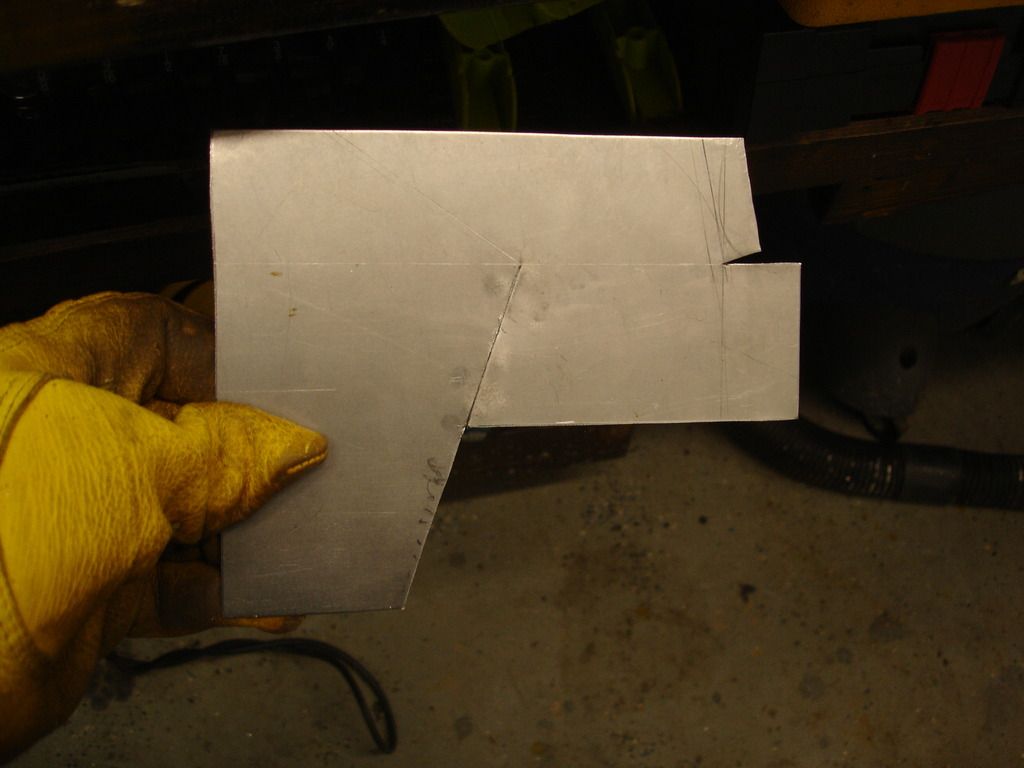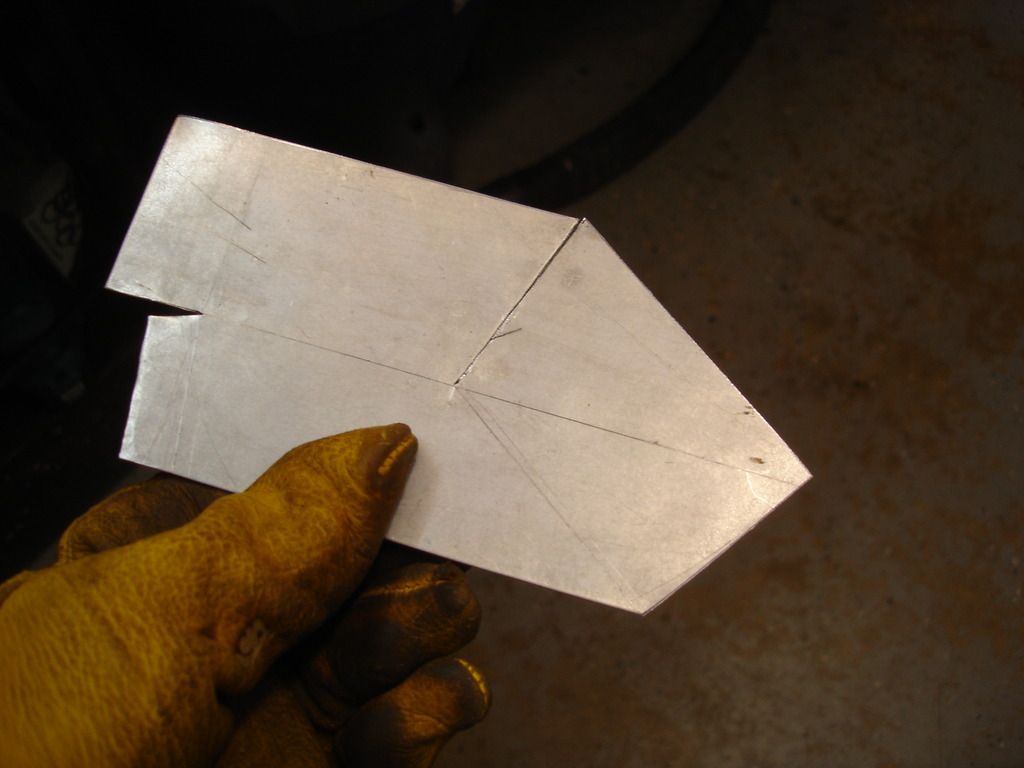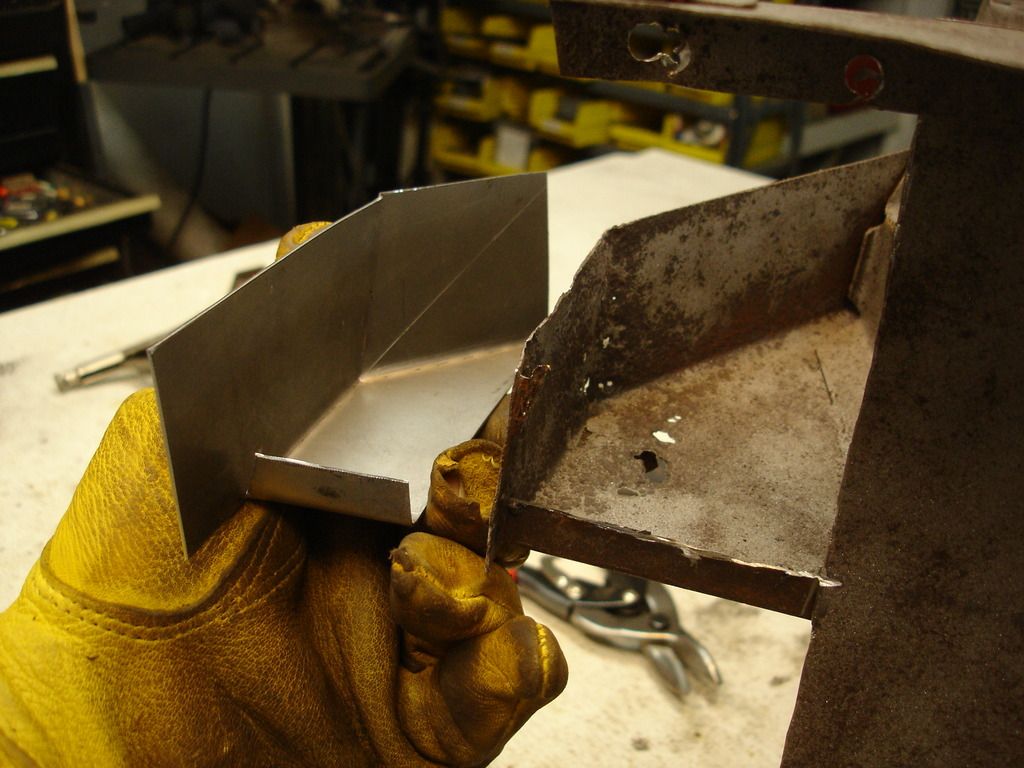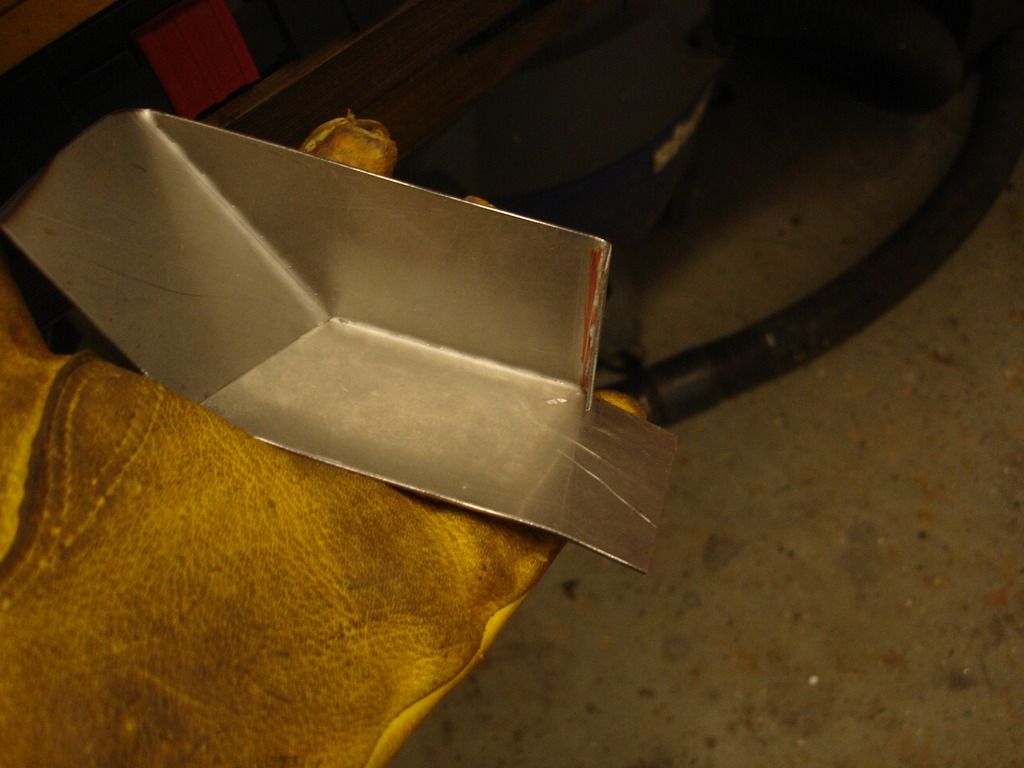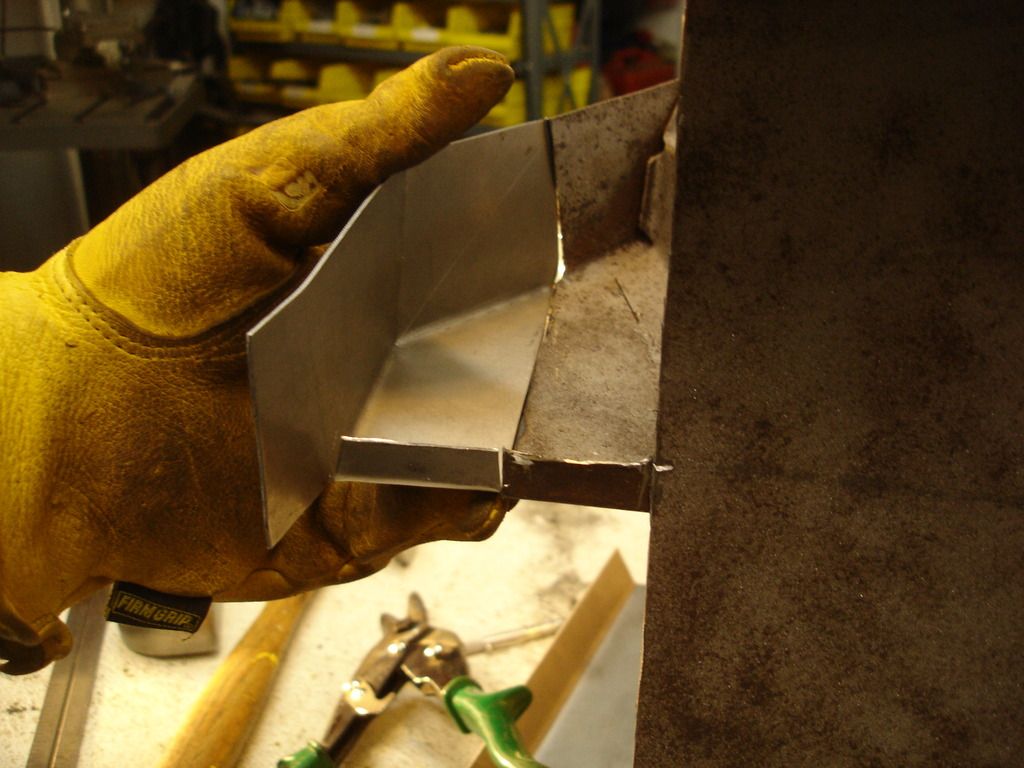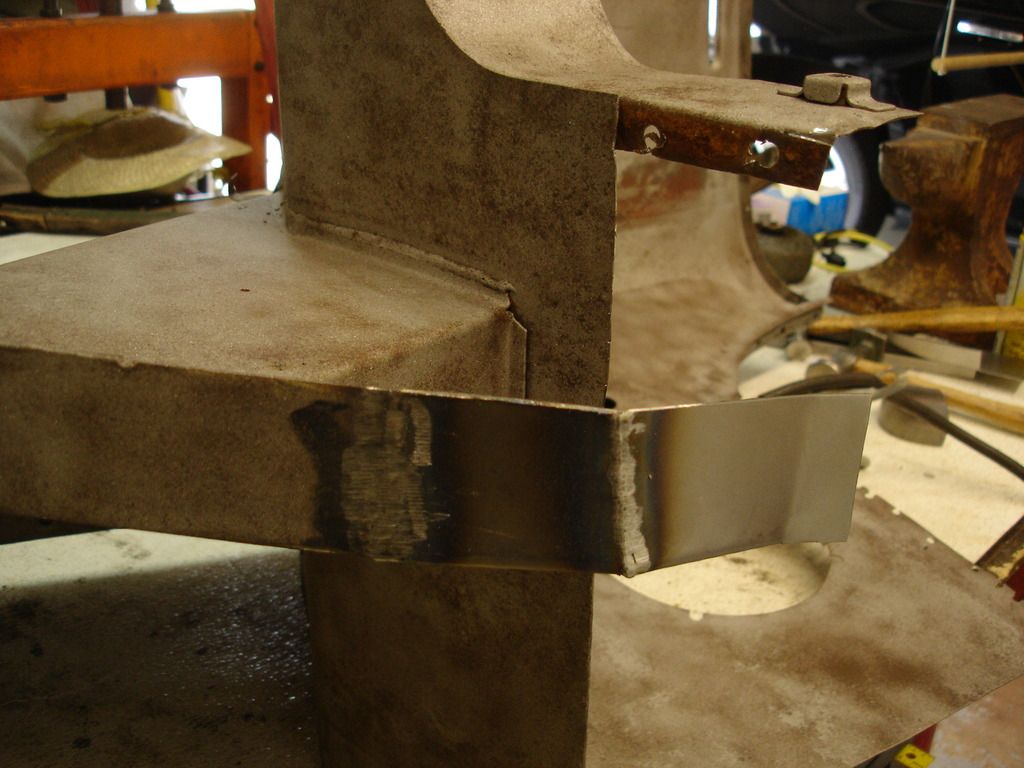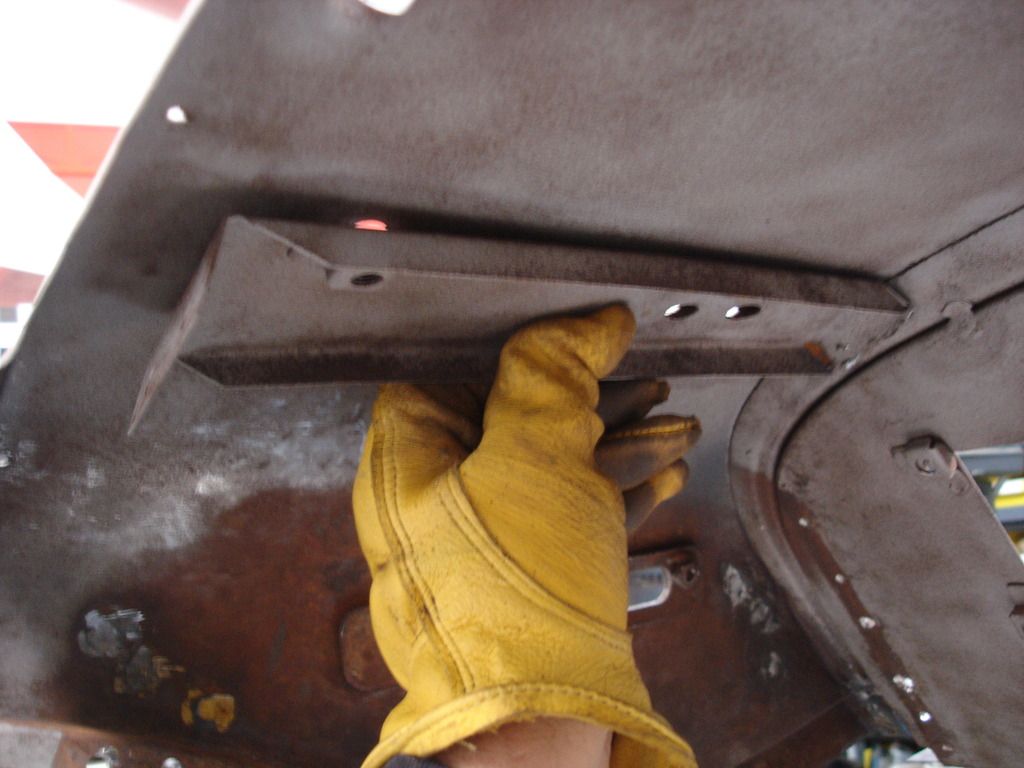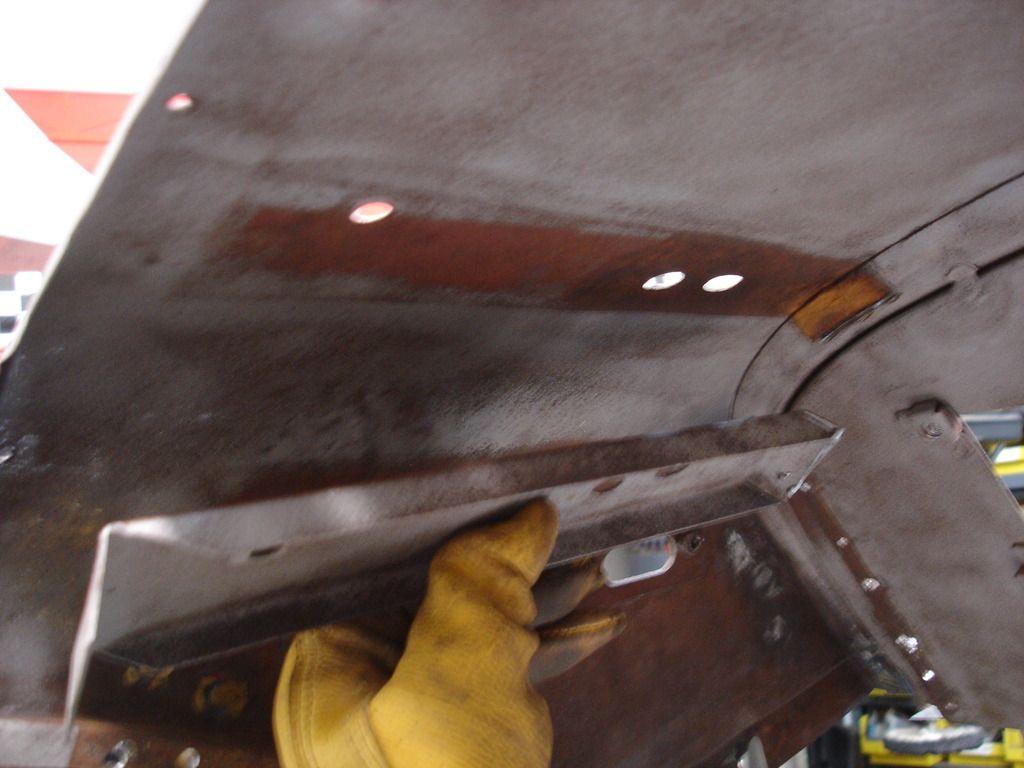
Now the patch goes on for the firewall.
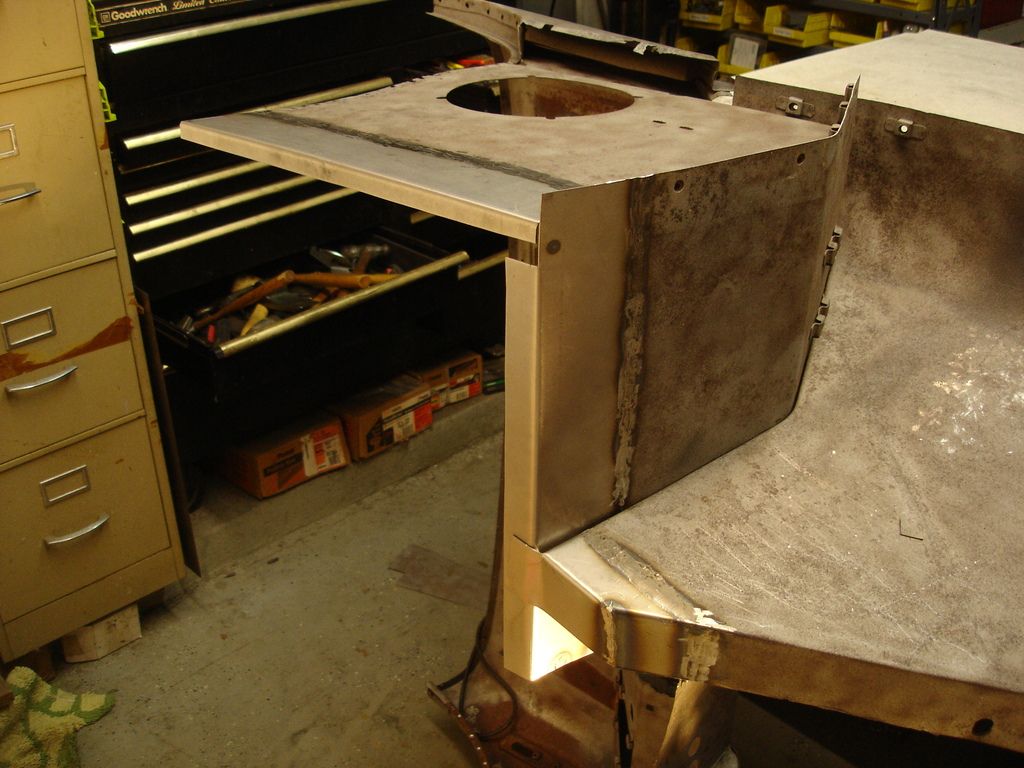
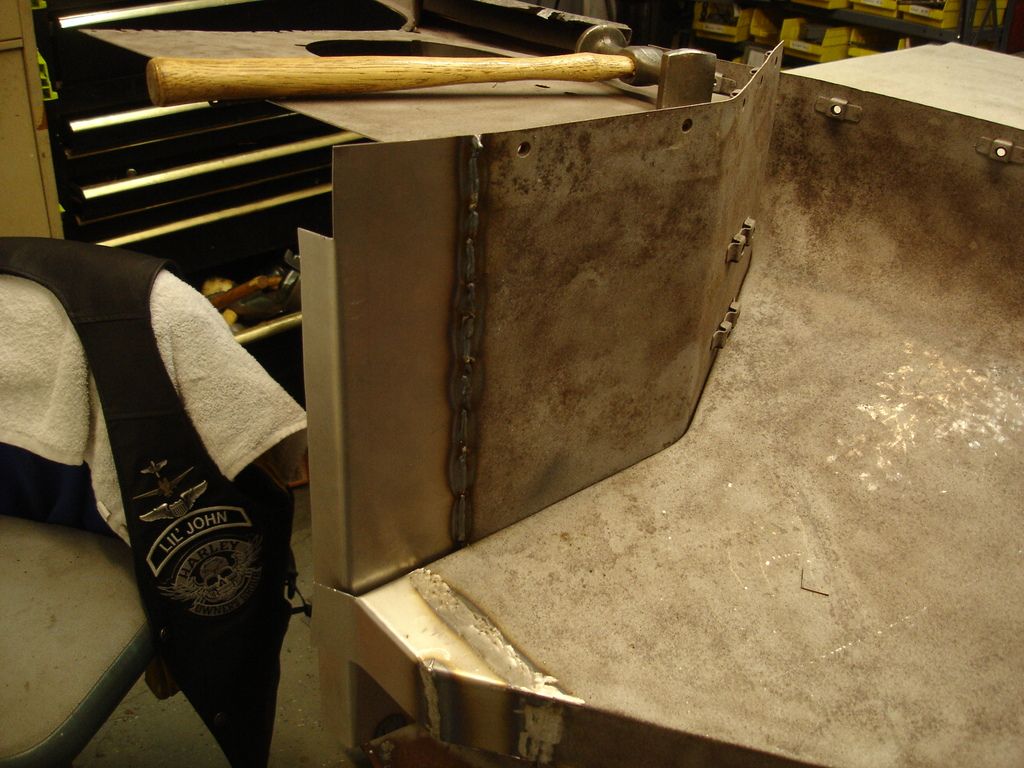
And the kick panel...followed by a quick bead grinding.
Alright, I say "quick", but honestly, grinding those welding beads takes many times longer than running the welds. It's mind numbingly slow...!
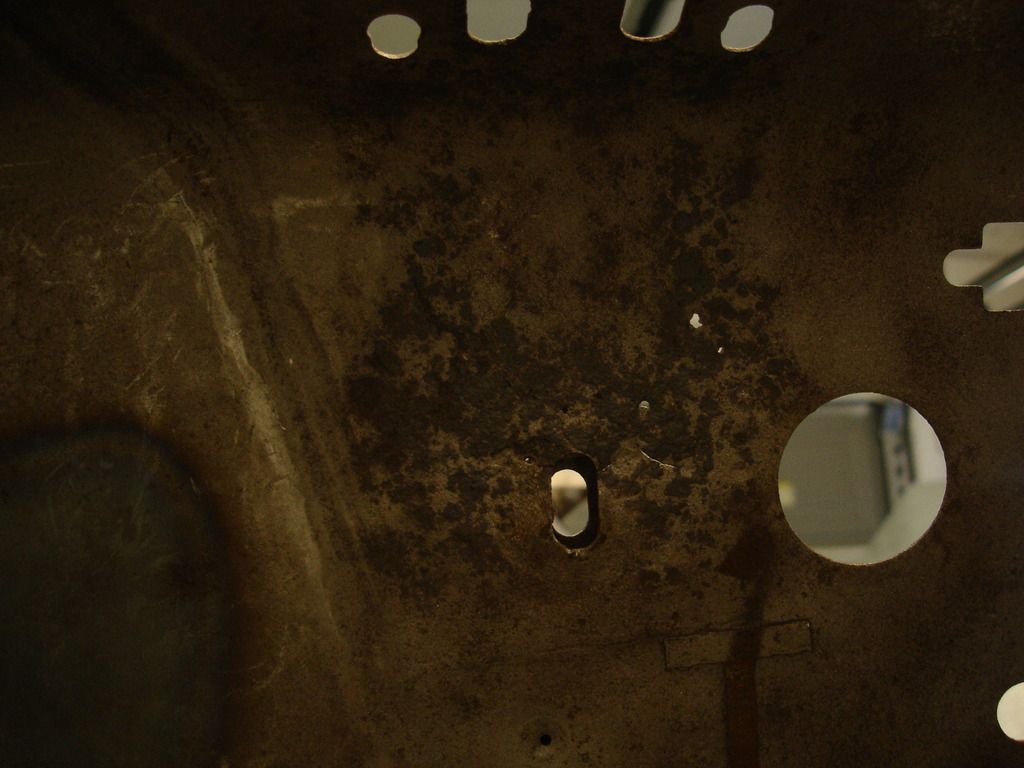
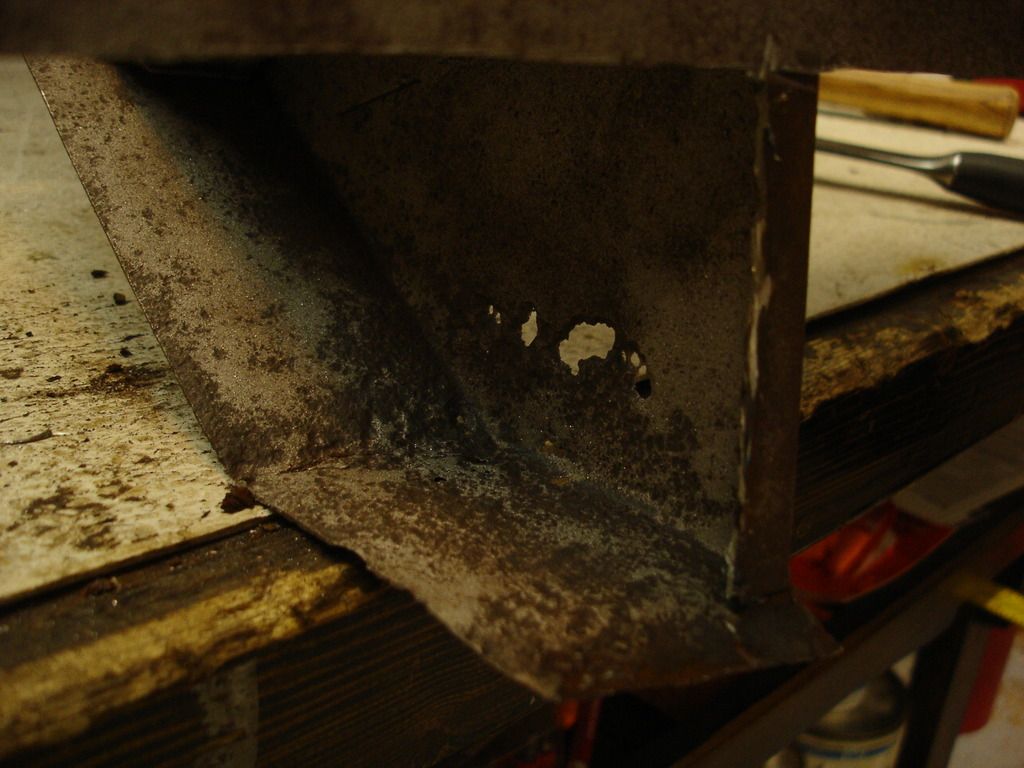
Next bad spot is the area under the brake master cylinder, where the pedal box bolts to. There are cracks and pin-holes galore.
A little aside...
It is now 5 years since I put silicone DOT5 fluid in my TR3A. In all that time, the only issue I had is that the 50 year old stop light switch went out in the first month after the fluid change. BUT!...after that there have been absolutely no problems with the DOT 5 fluid in the car. I am sold. If for no other reason, just for the fact that the silicone does not rot away paint...steel...aluminum....seals...carpet. In this TR2, it was approaching the point where the pedal box was about to punch right through the rotted out tub!
Moving on...
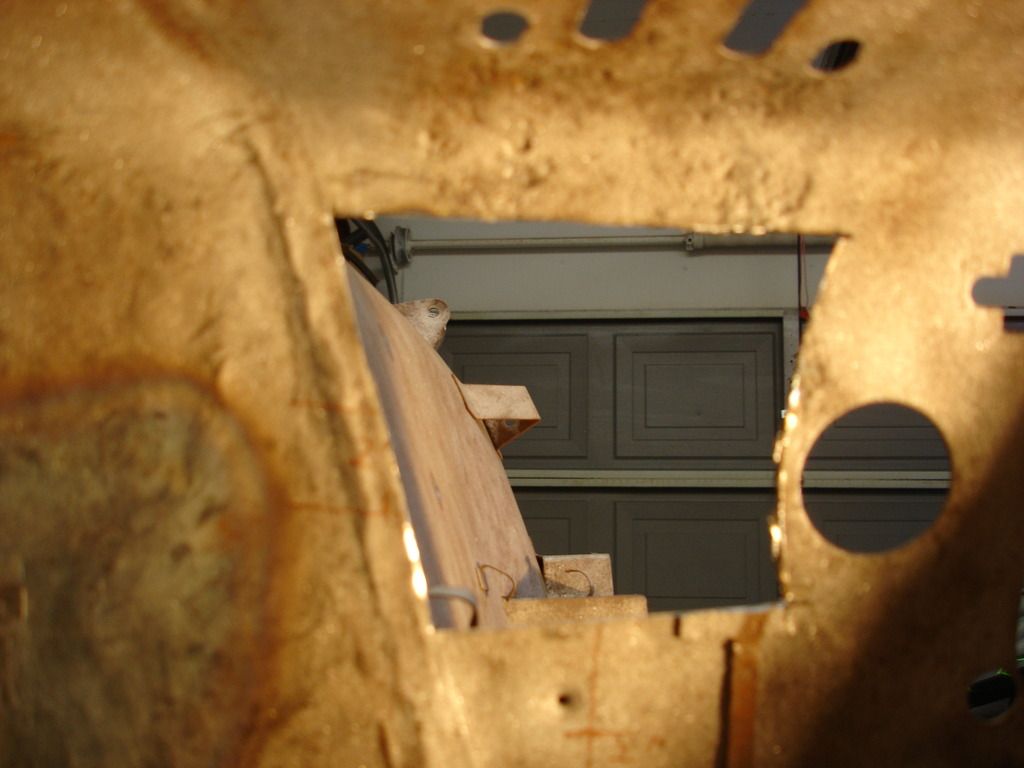
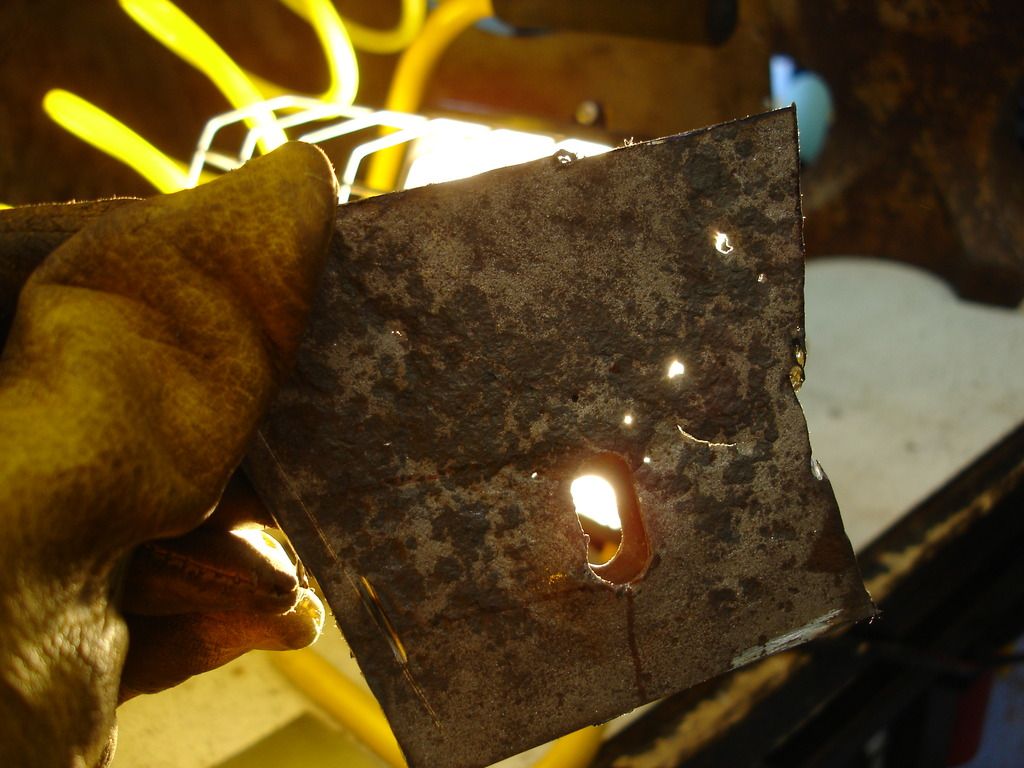
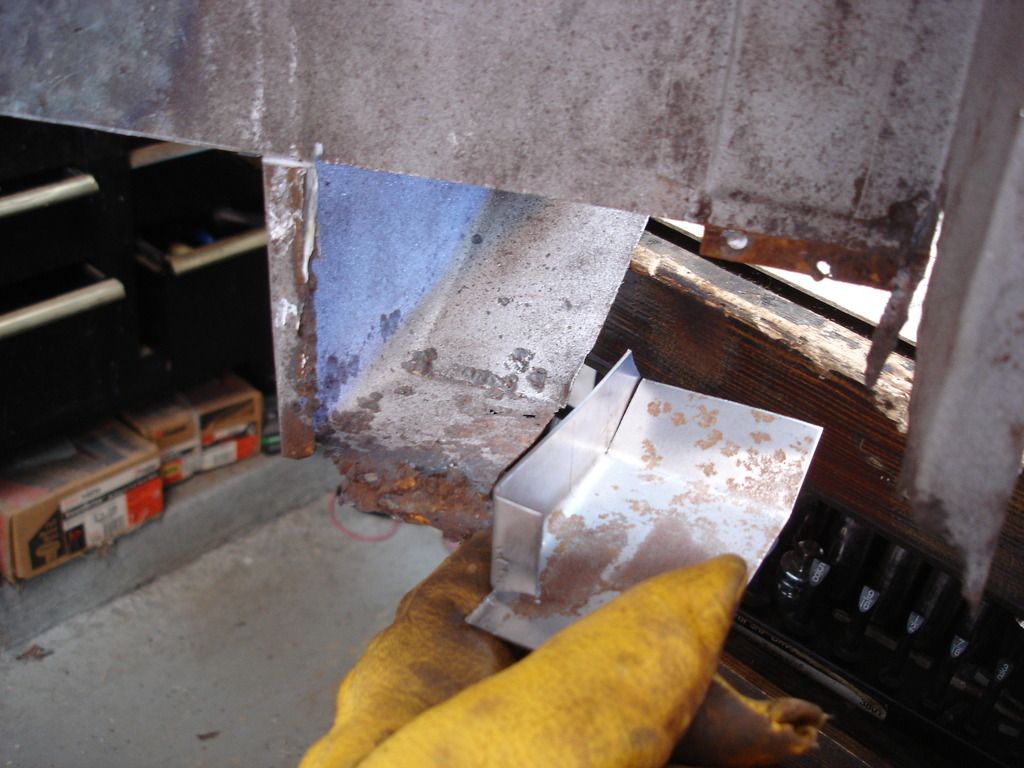
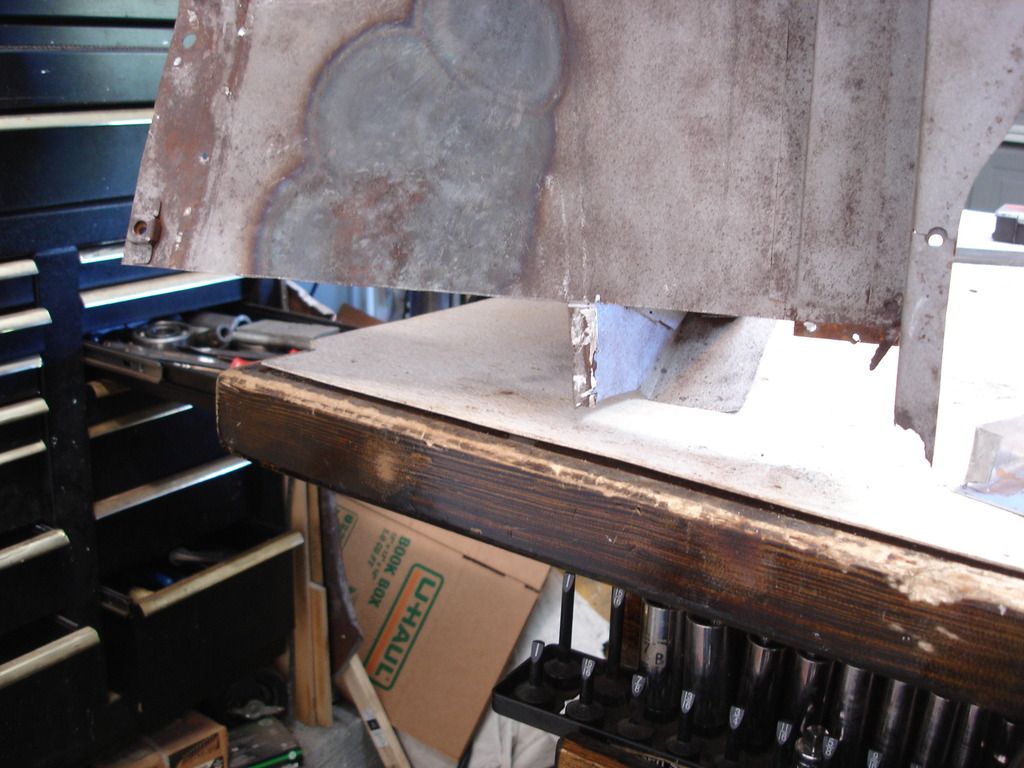
Here I have cut out the bad area. See how pretty it shines light through metal!
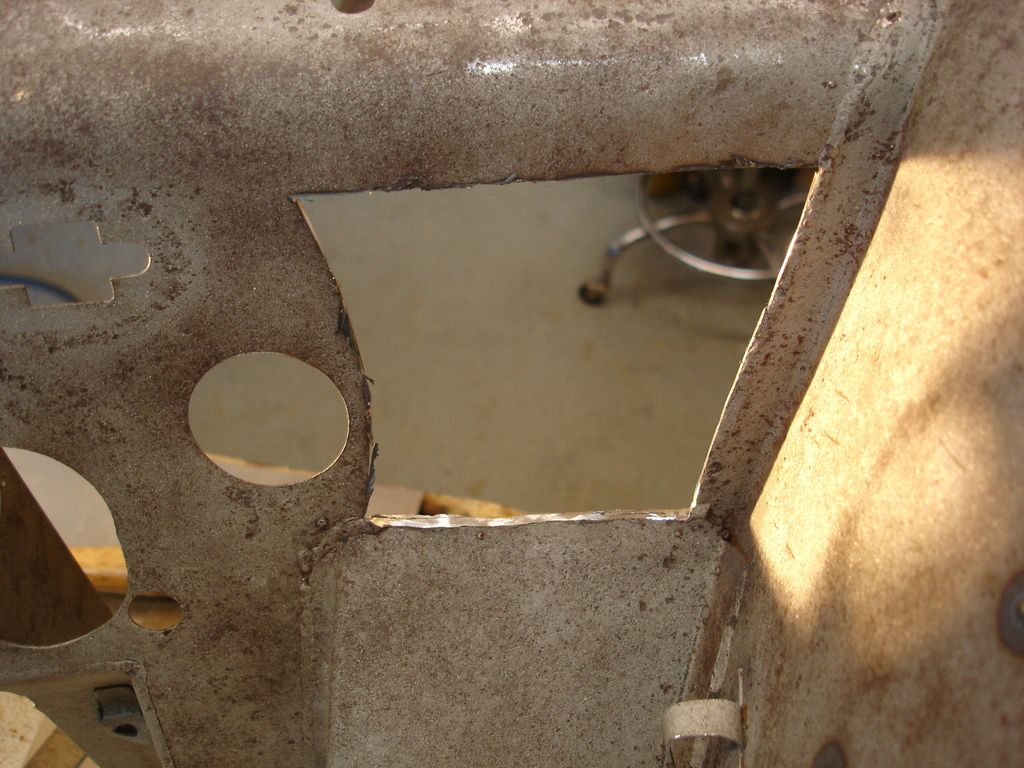
Same cutout from the front. Notice I chose not to mess with the large hole, and instead cut around it. Laziness...the mother of invention. Also...2 of the edges are matched to factory welds on the front of the firewall. These are the welds holding the inner wing to the firewall.
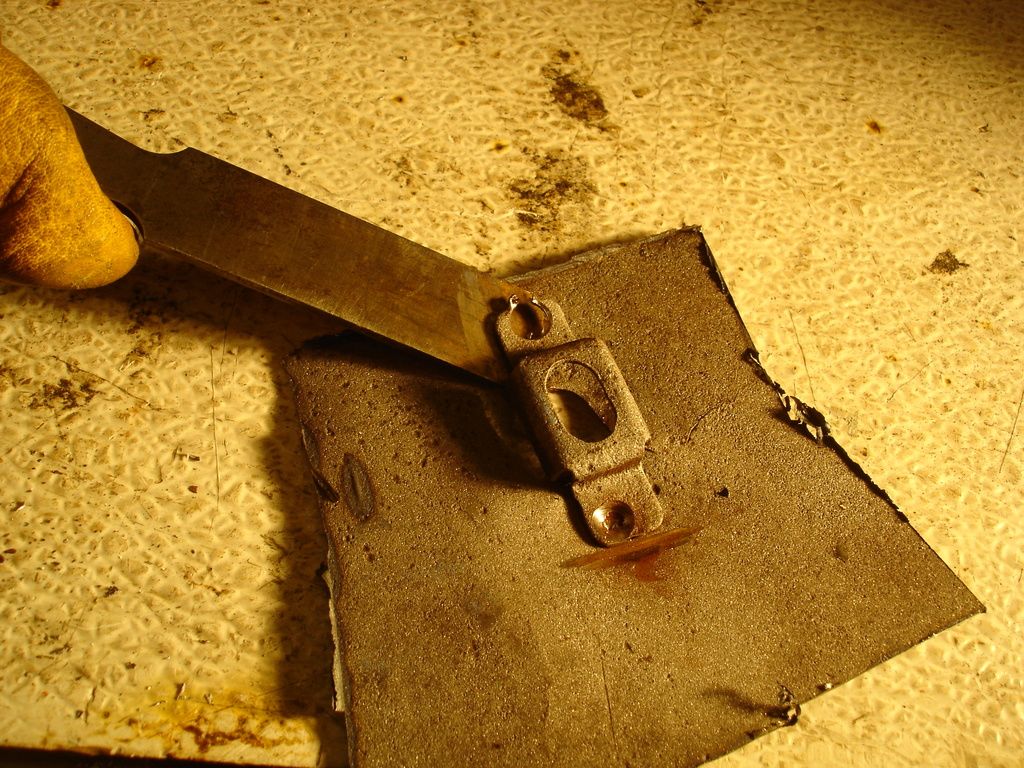
Here is the captured nut that holds the bottom of the pedal box assembly. The nut is gone, and I plan to re-use the cage, so it comes off.
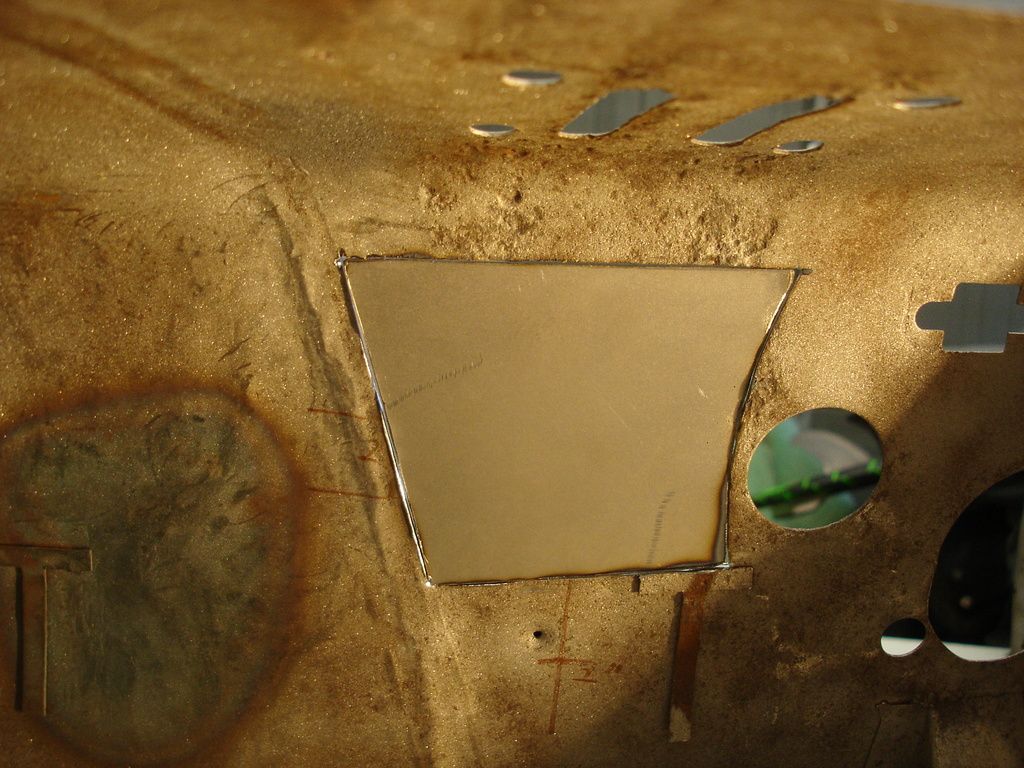
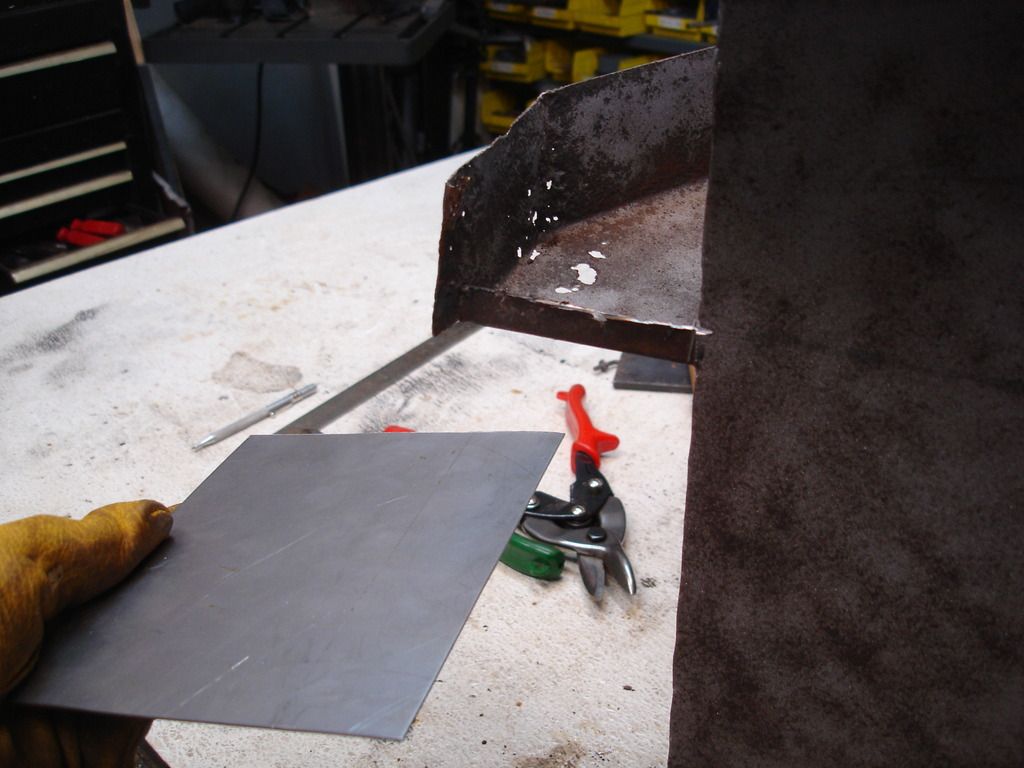
Here is the patch in place. All I did was hold the new metal up to the hole and scribe the shape...then cut it out with shears.
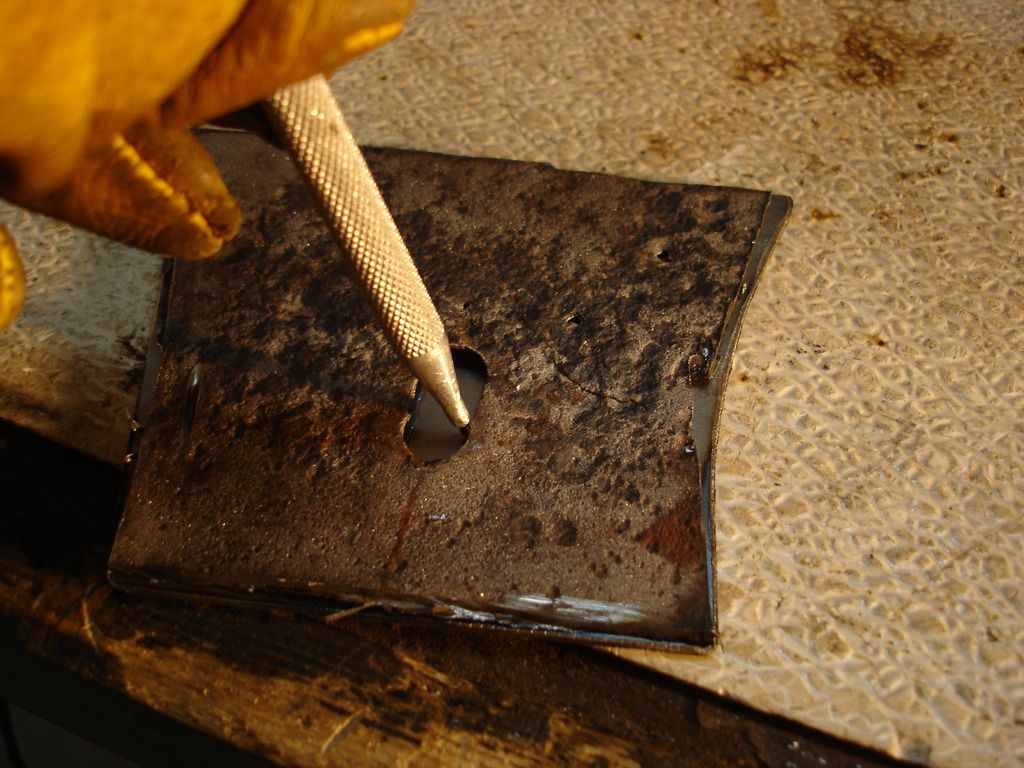
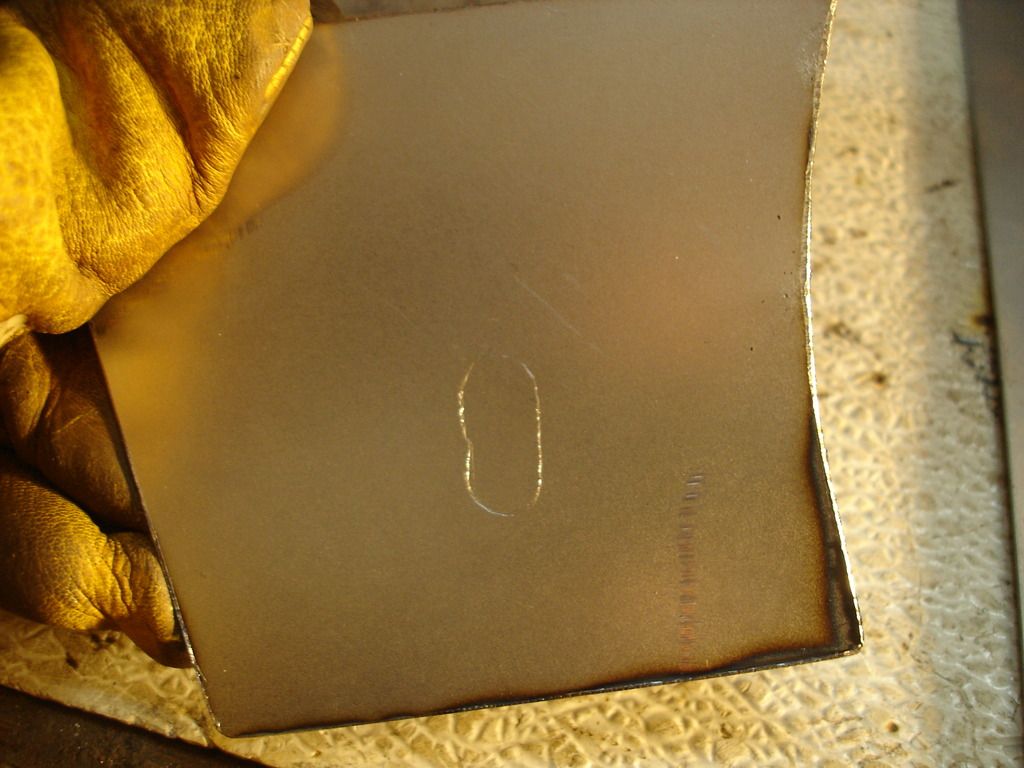
Here I am scribing the location of the pedal nut from the old piece to the new patch.
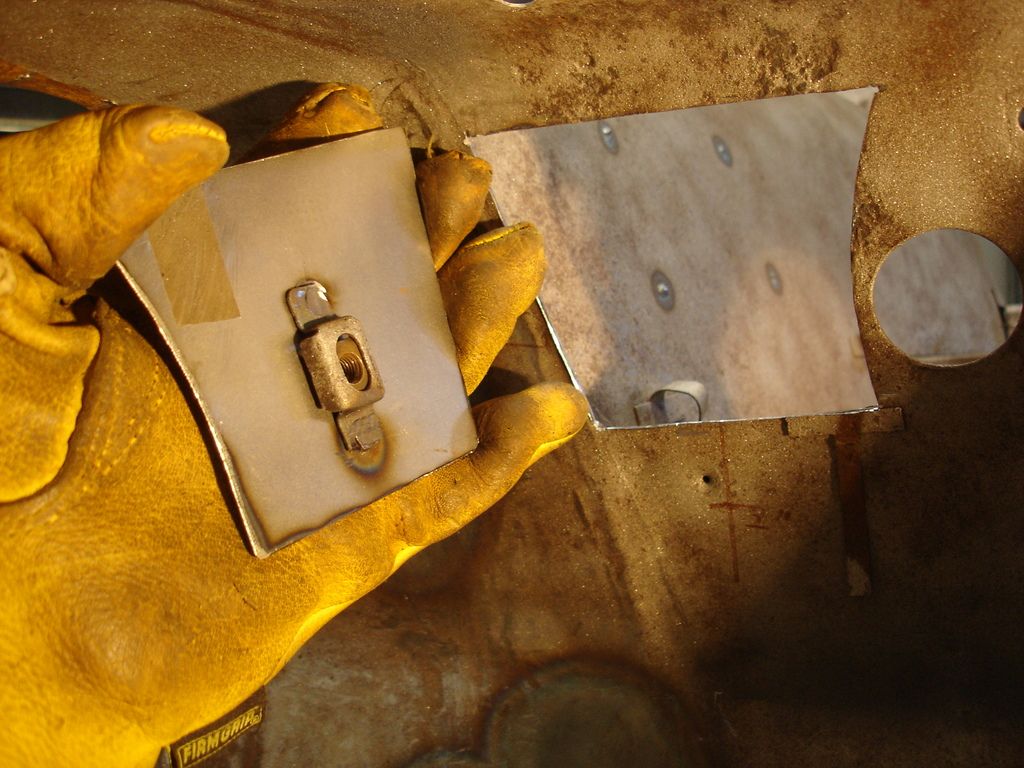
I cut out the oblong hole using first a drill, and then opening it hole to shape with a carbide bit in a die grinder. Then I installed the new nut and old cage. Easier to do it now, before installing the patch in the tub.
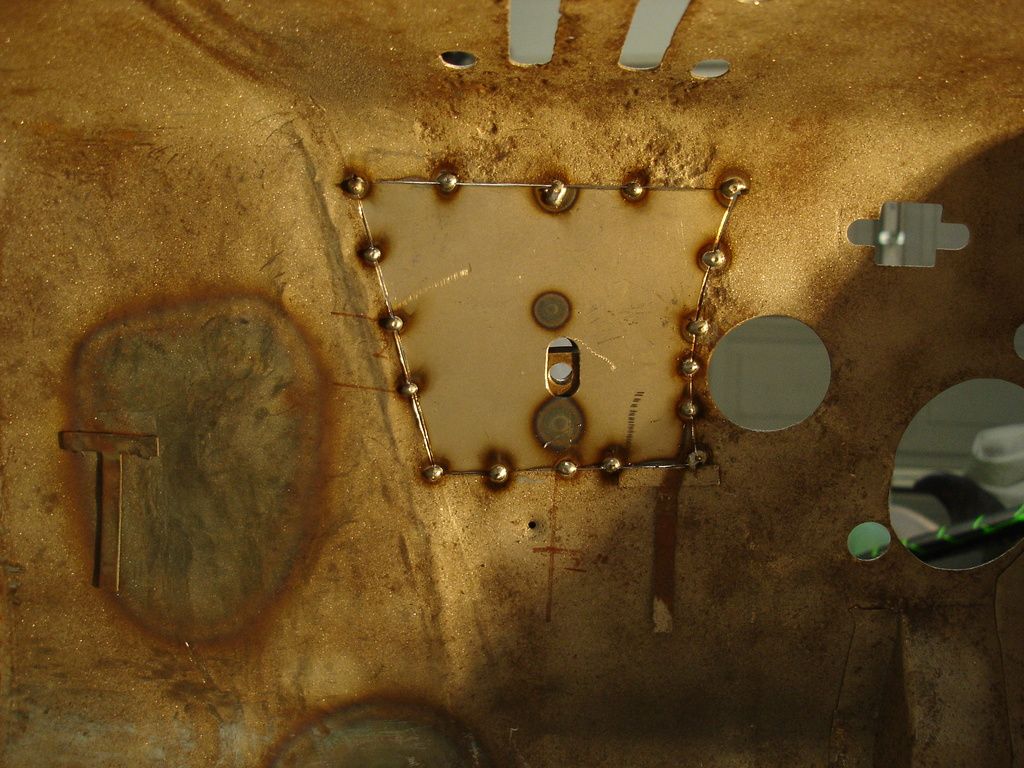
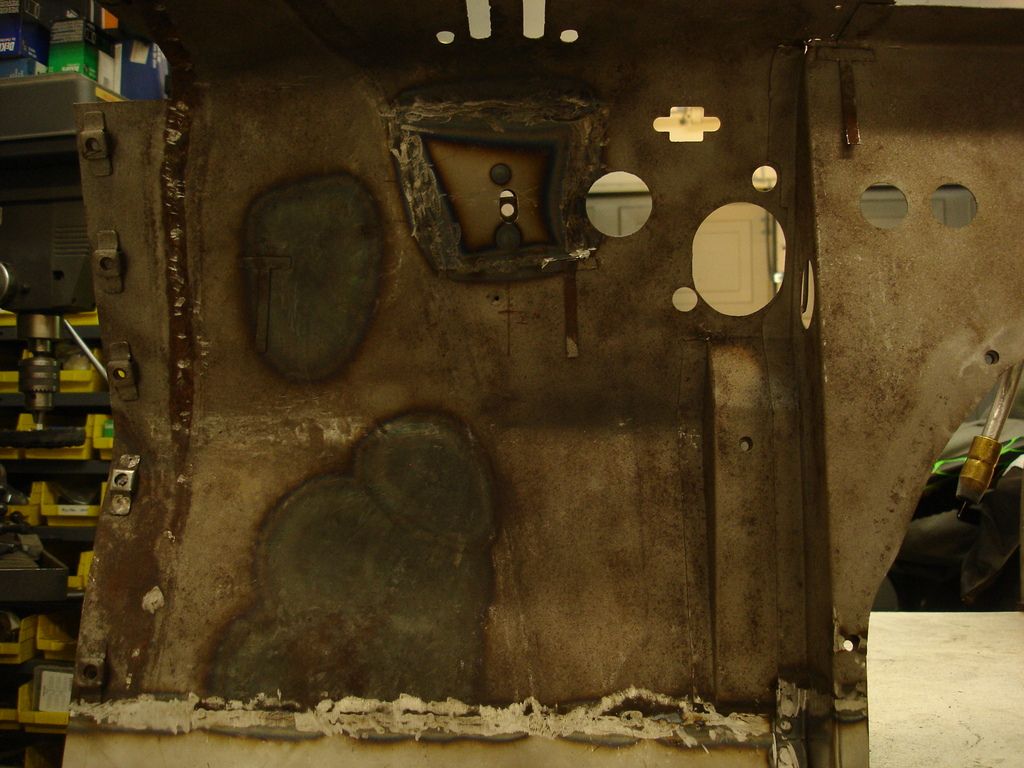
Tacked...welded...and ground.
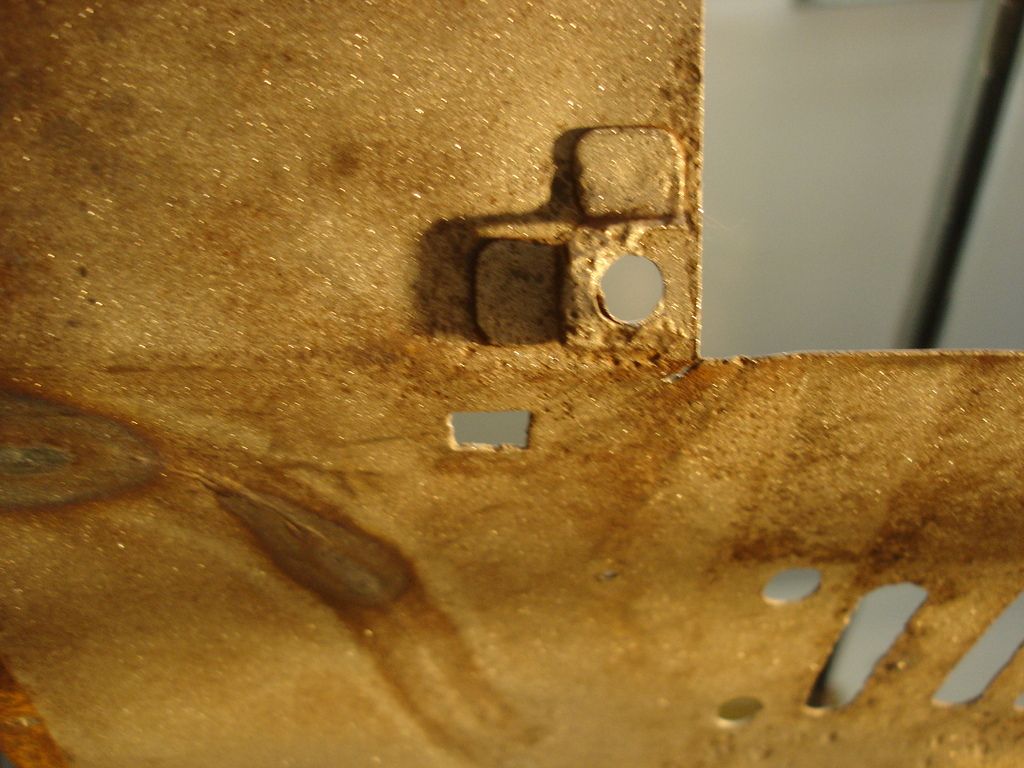
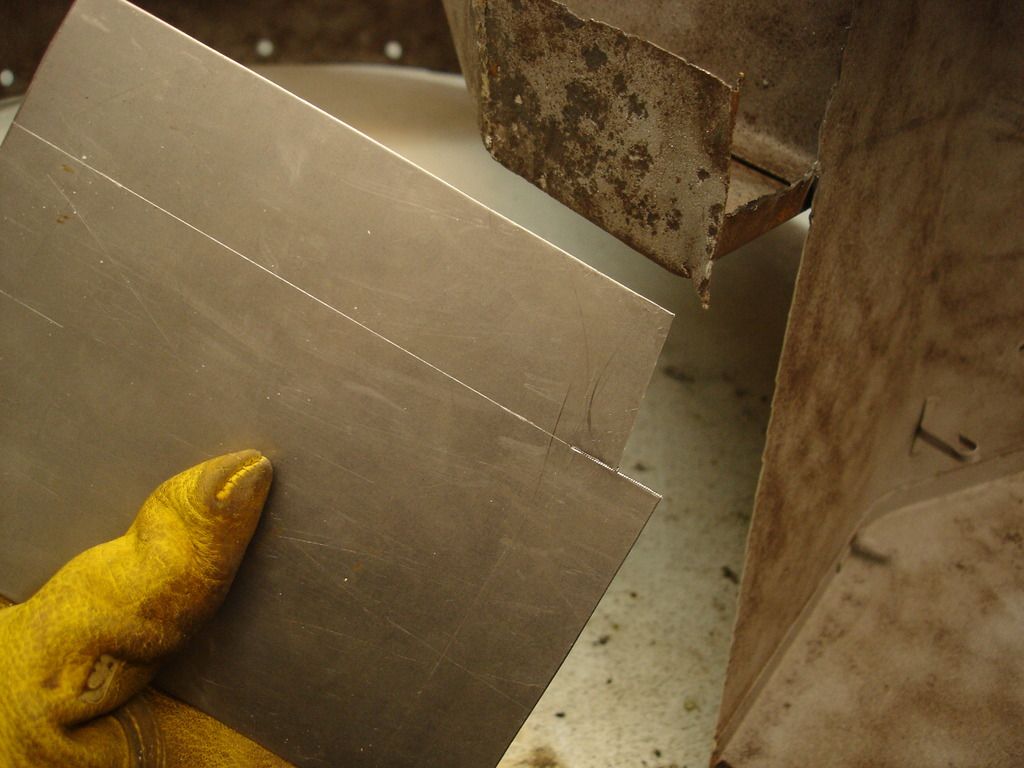
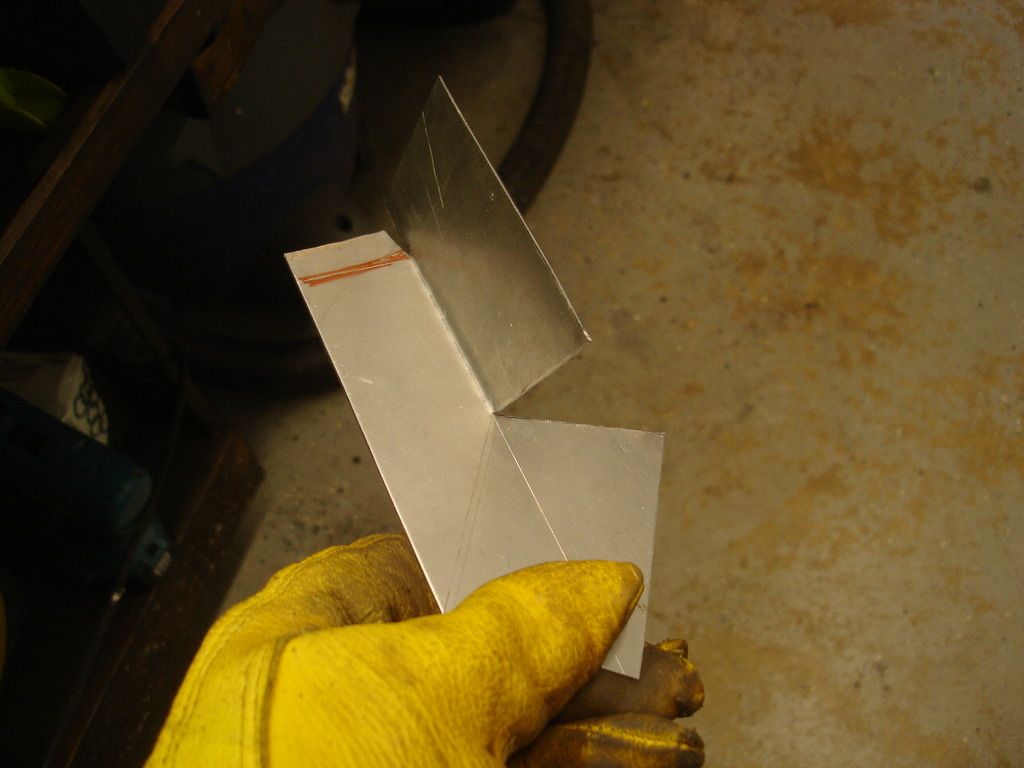
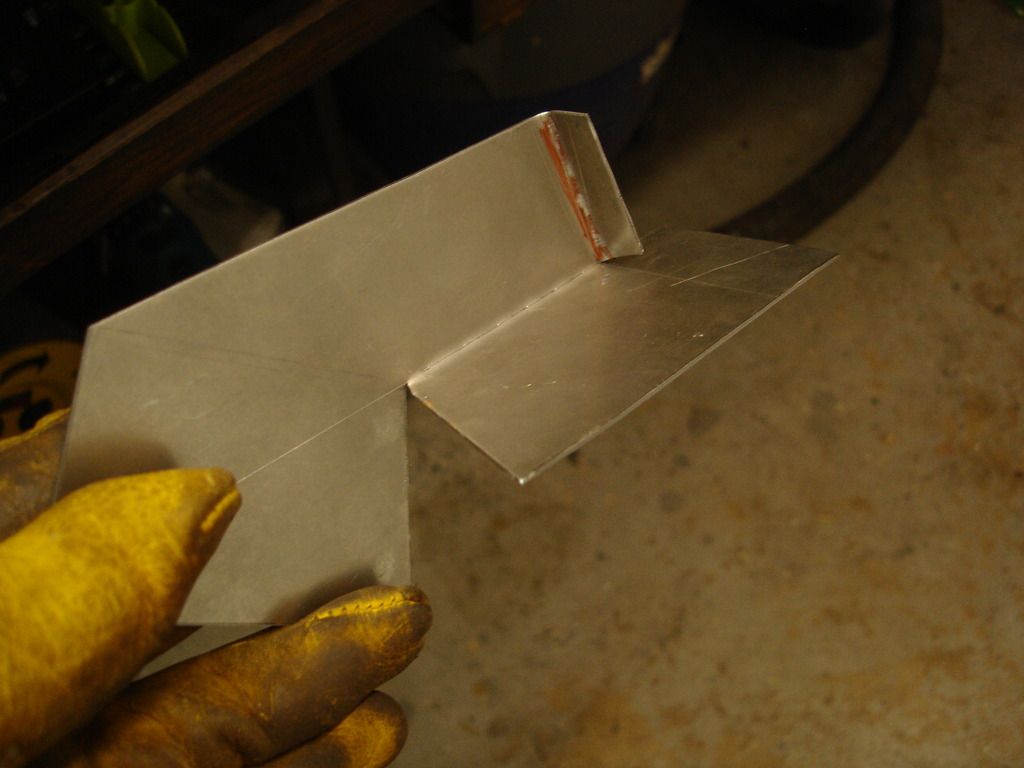
Here's one you don't see in the later cars...look at that 90 degree cage! Neat! Oh, no, wait, I have to duplicate that, so it's not neat at all!
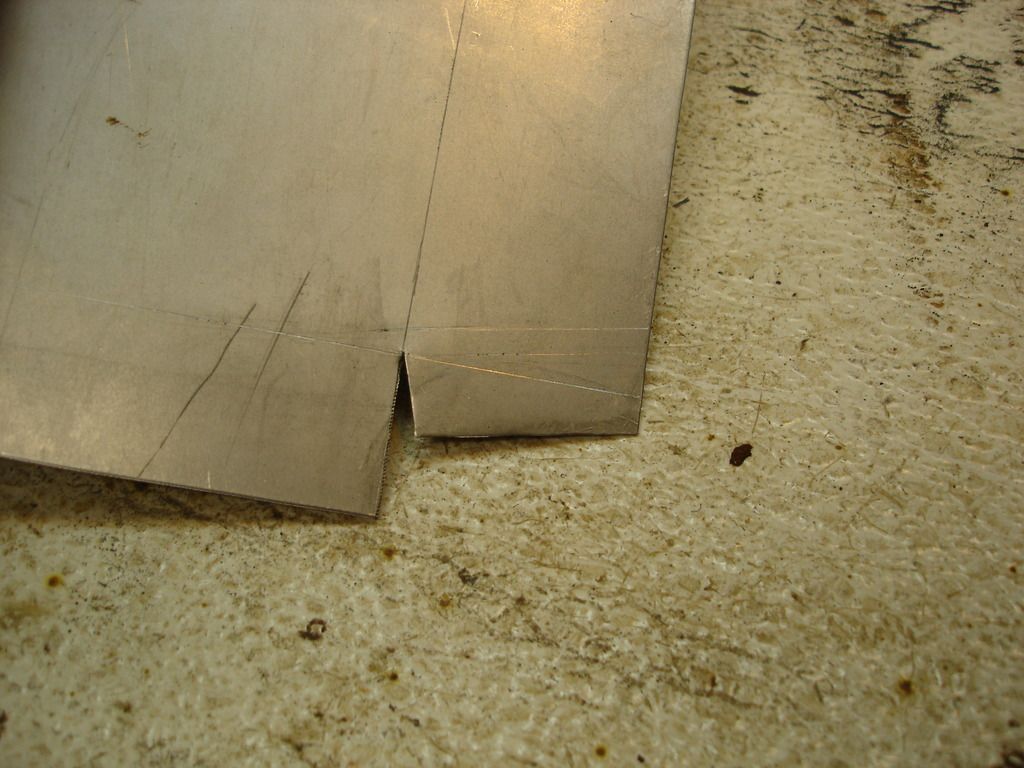
I'll start with a standard cage and modify it by cutting off one tab and re-welding it back on at 90 degrees. The trouble I go through being annul.
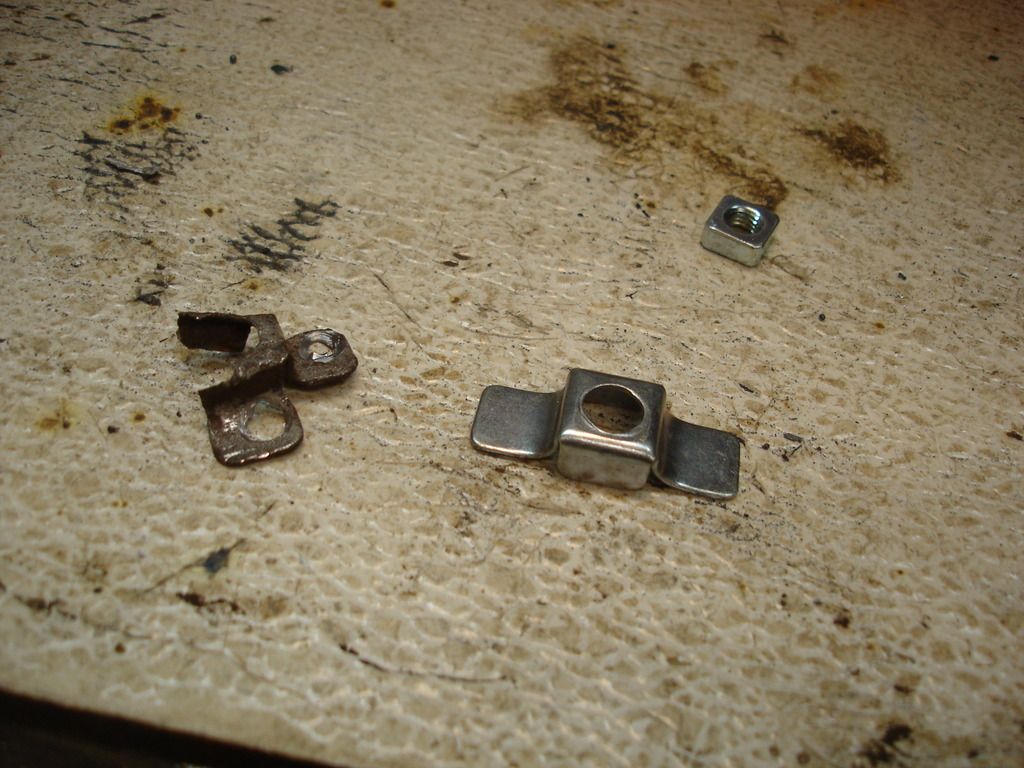
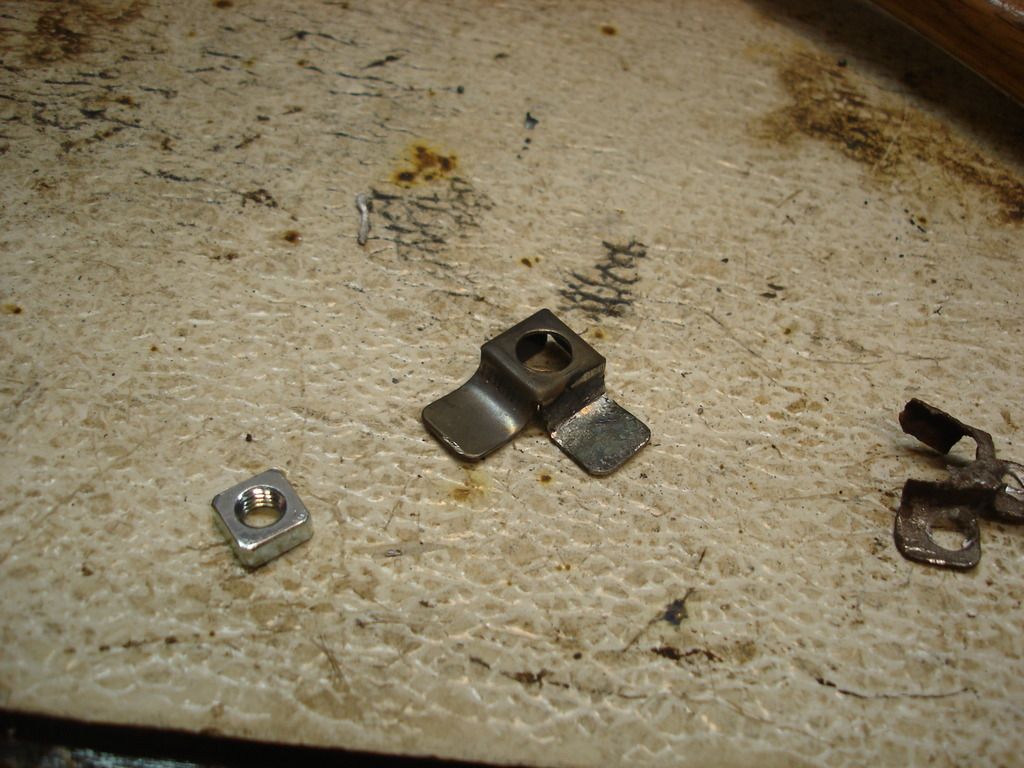
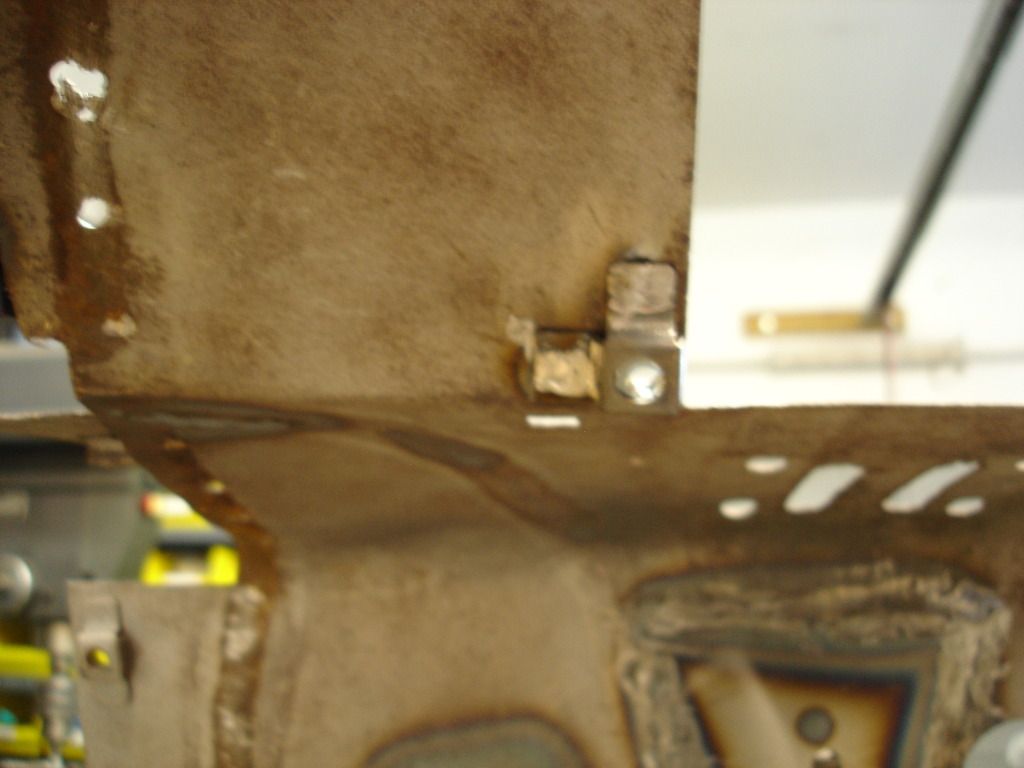
Just like the factory! (well, except for the hole weld instead of a spot weld!?!
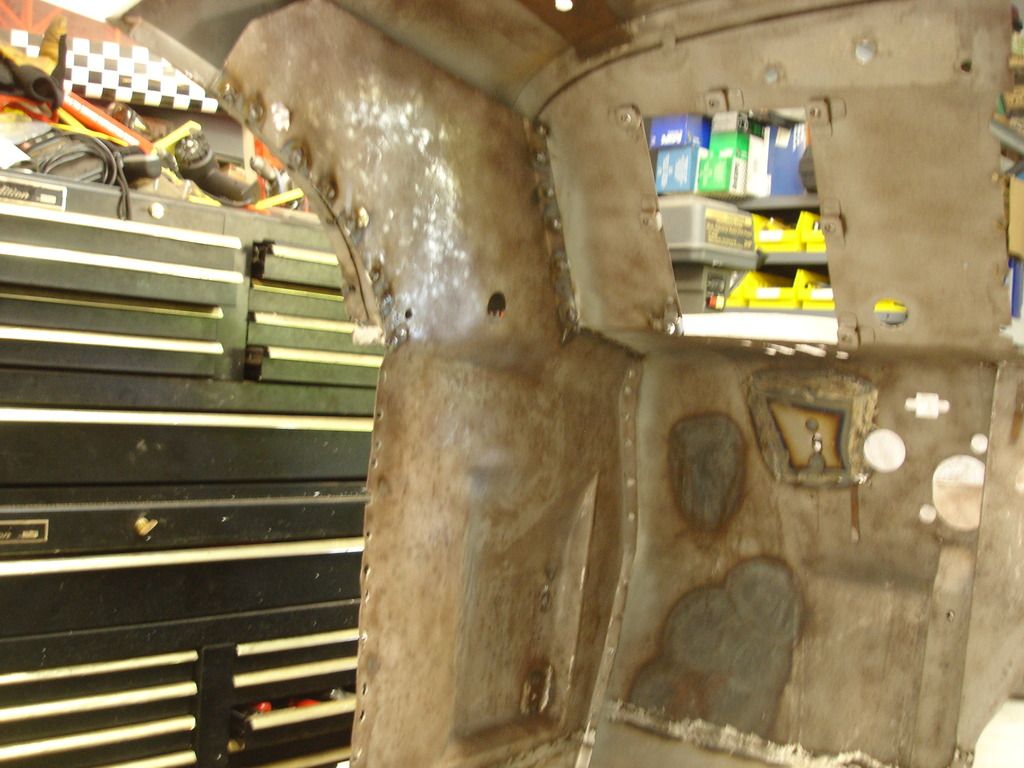
At this point I have done all that I can to the driver side firewall and scuttle, so it's time to re-install the kick panel.
I figured this would be easy, but it turned out (like almost everything else I touch) not to be. If you remember the extent of the impact damage, I should have known that there was no way this panel would fit perfect the first time around.
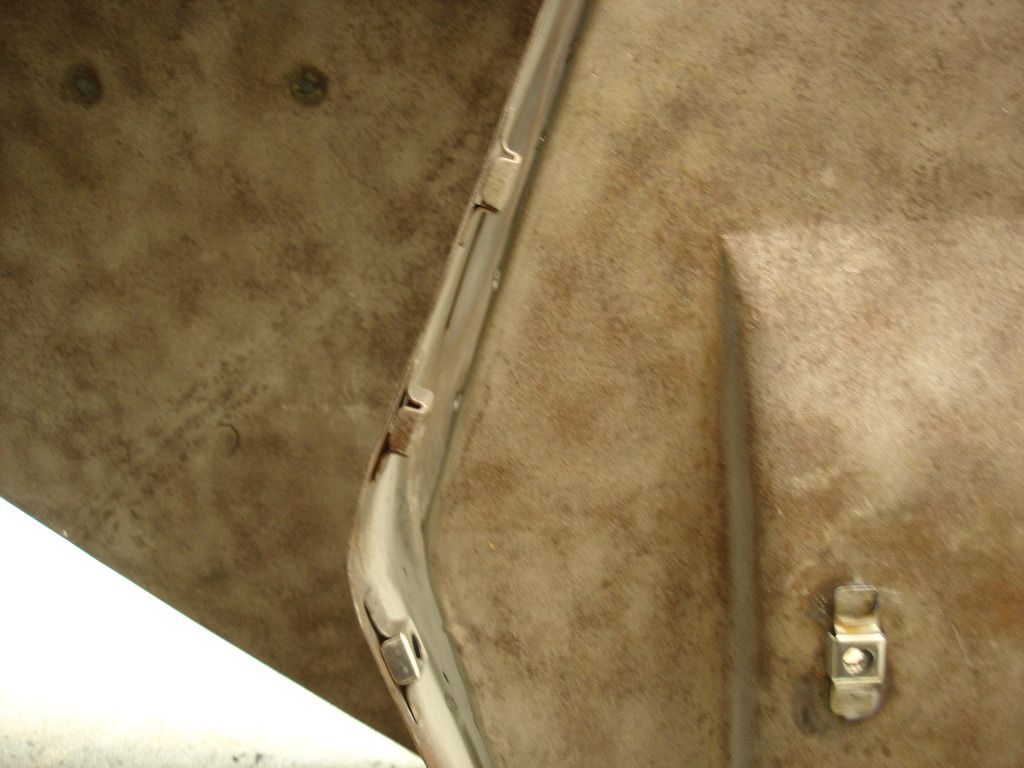
Here is the issue. The firewall was so heavily dented that it is stretched about 1/2" longer than the kick panel. Nope...no typo...1/2"...bummer! I tacked the panel at the scuttle, and then spent all afternoon with a torch, slowly working that 1/2" back into the metal from which it came.
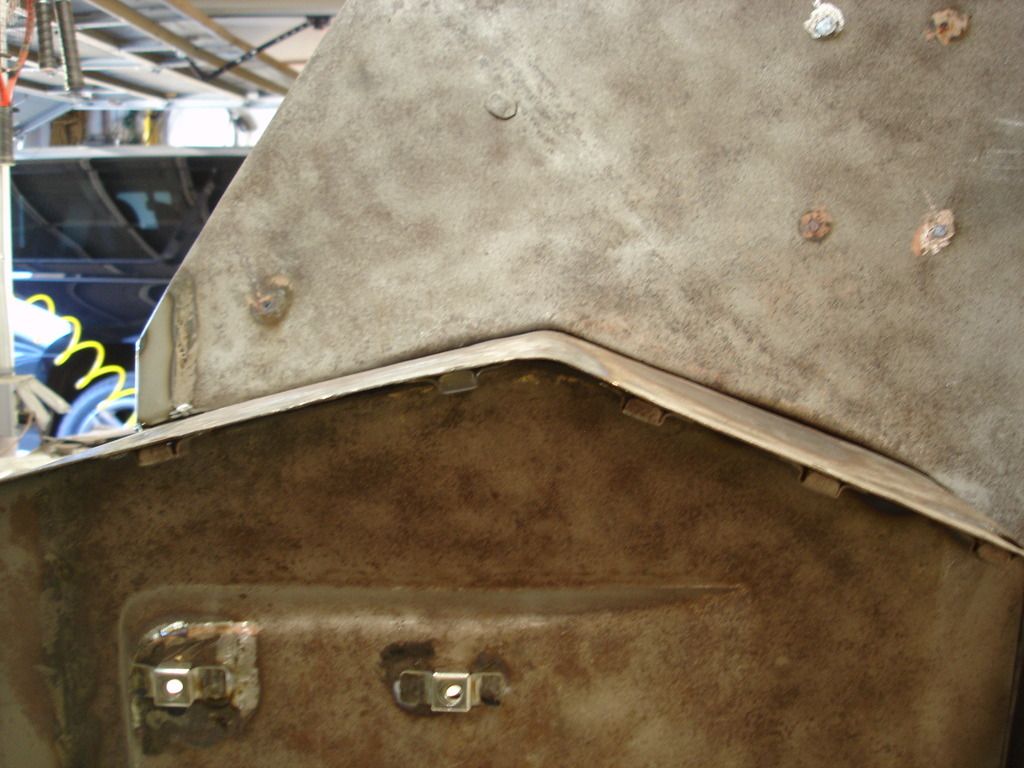
I didn't take the intermediate photos, but this is the result. It fits...hooray!
The chore was a matter of heating a 2" spot red hot and then hammer and dollying it flat. Picking the next spot and repeat, and repeat, and repeat...and ....repeat...and...
But, the end is worth the work. In hind sight it would have behooven me (spell checker says that's not a real word, but I don't care) to use the kick panel as a pattern as I originally worked the firewall. I still got to the finish, but it would have saved time to work it with a pattern. No hindsight in bodywork...it'll drive you crazy thinking about how you could have done it better/faster.
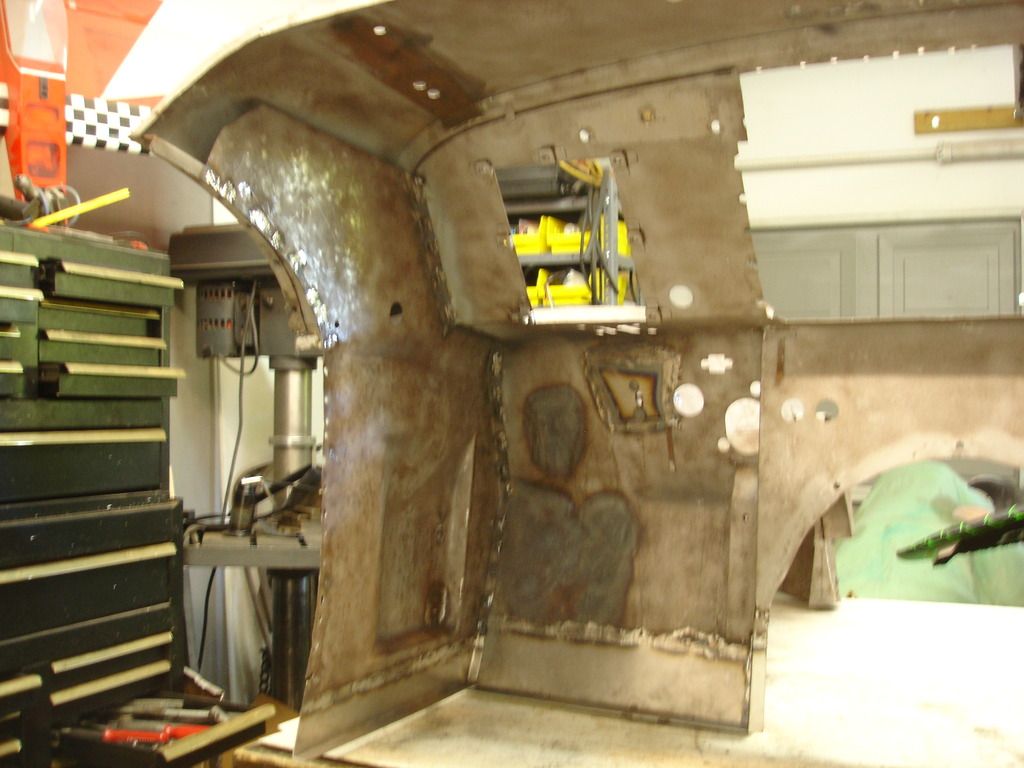
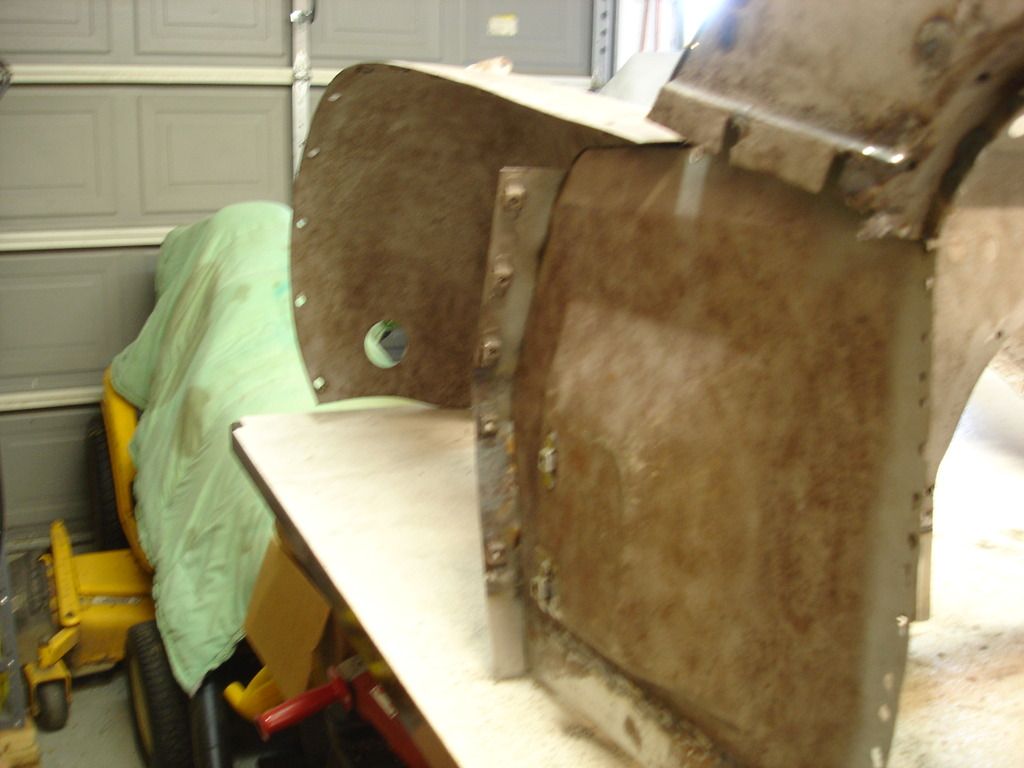
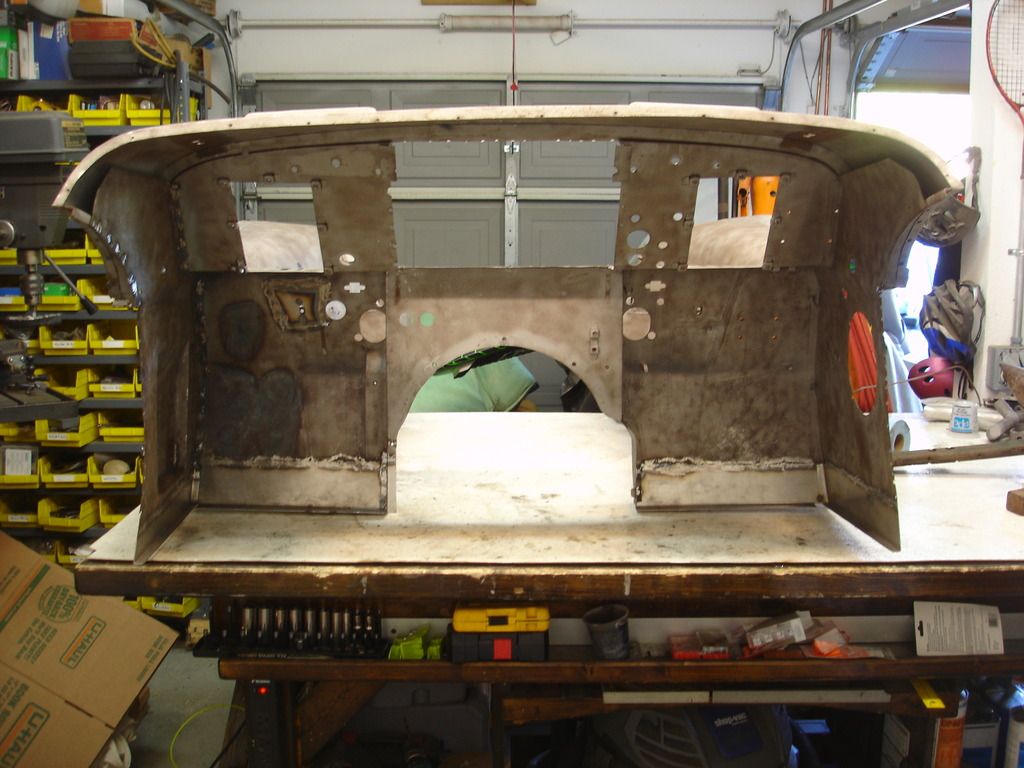
And...once again...another week comes to an end...merely opening up the possibility of even more work for next week. It seems there is no shortage of work.
 Hi Guest!

 smilie in place of the real @
 Pretty Please - add it to our Events forum(s) and add to the calendar! >> Here's How <<
