Hey Guest!
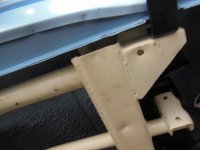
I think it is amazing how you approach your fixes. I do not have the experience working with fabrication. My tunnel was off like yours, and I slotted the holes in the tunnel, 3 of them, and now wished I would not have. My welding skills are not that good either, and it never accrued to me to just move the caged nuts.
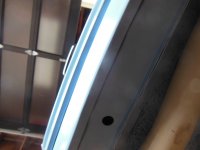
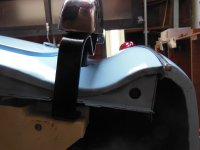
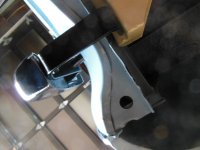
Now I have a tunnel with ugly oval large holes. The sad part is it was a great tunnel and they are getting hard to find. Anyways, I found the paint to build up and take more room because both sides of the doors got painted in a restoration. That could be my imagination because I fought for ever fraction of an inch trying to get the doors to open and close. It is interesting to me how the factory never painted behind the hinges or the catches. Plus the large chrome pull latch on the door never fits tight to the door from the factory at least that is my experience, so I lost some room there. The way you are doing your car Frank and your skills with metal, I am sure it will fit together nice. you are essentially
building a hole car
I guess the MGA had wooden floors, and I could have handled that most likely. Frank what did you use for sandblasting media? Around here they do not sell silica sand anymore, but they do sell marble sand, but again the chunks are too big for my blaster. I need a good welding teacher, so if you are ever up this way bring a hood and stop by.
steve