• Hi Guest!
    You can help ensure that British Car Forum (BCF) continues to provide a great place to engage in the British car hobby! If you find BCF a beneficial community, please consider supporting our efforts with a subscription.

    There are some perks with a member upgrade!
    **Upgrade Now**
    (PS: Subscribers don't see this gawd-aweful banner
Tips
Tips

TR2/3/3A 593A Ground Up - we will now join in progress

luke44 said:
[Yes, they are special. And yes, you're correct, this one had sat a long time. The story of this car (A one owner California car that sat in a garage in San Diego for the last 6 yrs of the owners life due to health issues before he passed away in his mid '80's last year) can be found here on the Early 911S Registry forum.

PS - apologies to the TR guys. Please pardon us Porsche nuts just for a moment. Tdskip did recognize the "long hood" in the background as a very very early 911 variant (the ones with the reputation for severe oversteer), which was built in November of 1965. I promise I won't hijack my own thread and will get back to the TR build :smirk:

With apologies to the TR guys also - go back to the 911S forum and finish your story. I'm hooked!

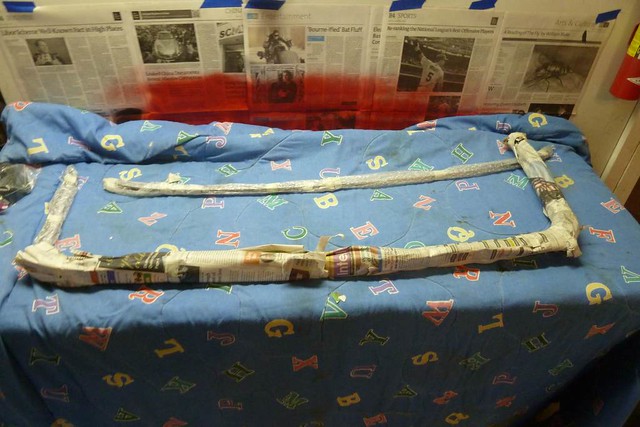
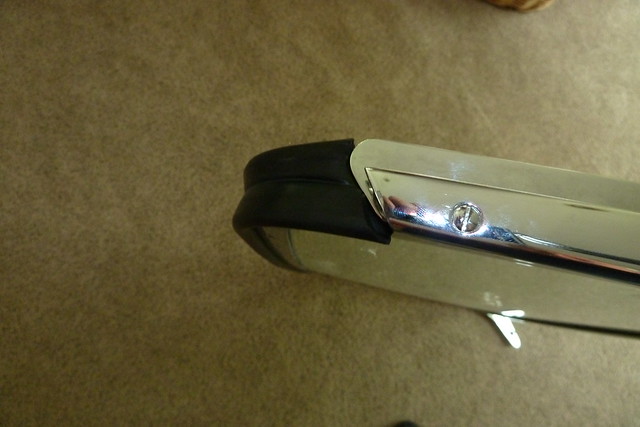
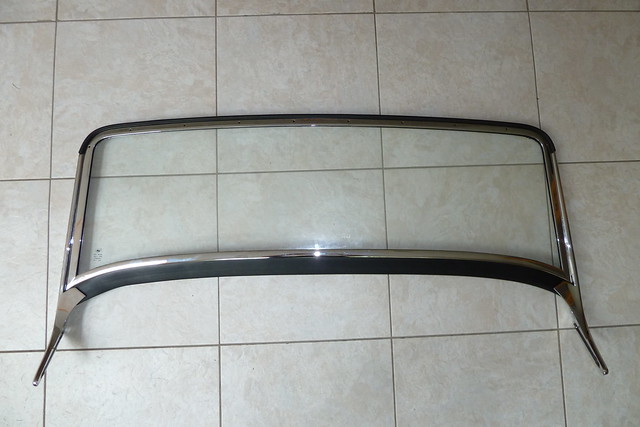
Great looking 3A by the way!
 
Where did you get the fuel line that runs from the shut-off to the pump, and the oil pressure line? They are both SS braided lines. The oil line looks original, not sure about the fuel line.
 
mallard said:
Where did you get the fuel line that runs from the shut-off to the pump, and the oil pressure line? They are both SS braided lines. The oil line looks original, not sure about the fuel line.

Yup, good eye, you're right.

The oil pressure gauge line is original.

VB supplied the gas line. I checked everywhere for this line - I did not have one in the boxes of parts that came with the car.

VB was the only source I could find that offered anything, and it wasn't cheap. Can't say I'm 100% happy with it, but I checked all the old posts here and seems nobody else has a better answer so far. I even asked Mark Macy about making one up, but so far, nothing. He did not have a pattern.
 
Last edited:
A few pictures from the windshield assembly. The full rebuild story can found in another posting located here: https://www.britishcarforum.com/bcf...Step-by-Step&highlight=tr3+windshield+rebuild

7755040292_3f18f2b10c_z.jpg


7755039822_13448528c7_z.jpg


7755084136_616449459f_z.jpg


7755039086_613e17a984_z.jpg


7755037562_522a3341a3_z.jpg


7755038374_23c8301684_z.jpg


7755131104_696d31e0f7_z.jpg


7770466334_cab644f733.jpg


My favorite part of the whole car has to be that great piece of TR engineering from back in the day - the windshield wipers. My kids laugh at them. I wonder why?

7770525536_5fc7a47190.jpg
 
Last edited:
Well now the new forum is up, time to pick back up on my restoration thread.

Carpet is a fairly easy and very satisfying aspect of the restoration. A lot of the detail will depend on the specific kit you bought, but generally the process is the same. In my case, i bought my kit from Jonathon Skinner (https://www.john-skinner.co.uk/) from the UK because a) they are renowned for their quality, b) they offer the correct Wilton wool which is right for my car (s/n 31577), and c) the price is very competitive when compared to the big 3. So, here is the way I went about it. If there are specific questions, feel free as I took lots of other pics.

As you can see from the photos above, I also bought their underlayment. Pix above show the general layout.

As things progress the plan will be to glue the underlayment to the back of the carpet to not only make it easier to install, but also easier to pop out if need be.

Step one for a pre 60000 car is to cut the carpet for the rear vertical riser. This section is glued directly, no underlayment. This piece needs a bit of trimming.

8235646617_b84c398736.jpg


Lay the piece in and cut where it binds and folds up.

This will allow the carpet lay over onto itself. Using chalk. outline where the overlap occurs, and trim the underside piece away

8235646567_dde91fa9ac.jpg


It might look funny now, but it will fit like a glove...if worse comes to worse and you accidentally cut out a touch too much exposing steel underneath, don't hesitate to cut a small sliver of excess carpet and glue it in. It'll disappear into the finished job.

8235722087_e233c8315a.jpg


Coming along...

8236712540_78ff2fa074.jpg
 

Attachments

  • Carpet03.jpg
    Carpet03.jpg
    97 KB · Views: 64
Last edited:
The side panels are held in by gluing as well as screws. Gentle use of the vice grips serve as a good set of second hands to help position the carpet in place. Although not shown in the picture, don't forget the furflex at this stage.

8236712496_73b4057c24.jpg


The Skinner kit fit was excellent. I did trim back the underlayment from the edge a bit before gluing. I used Permatex glue - spray both surfaces, let it tack up and press together.

8235646359_5a5626ed13.jpg


A bit of minor trimming on the transmission cover.... the cut outs of the underlayment are for the snaps. The location of the snaps were original, 2 snaps per side.

8236712404_014d774d48.jpg


8235646271_4343828328_z.jpg


Note the cut where the carpet lays onto the floor to relieve the bunch up.

8236712302_681f2842eb_z.jpg


8235646177_bede02297a_z.jpg
 
Last edited:
Luke, touching story on your 911. My TR3 has some club event plaques on its dashboard dating back to 1960. Would never think of removing them. Passed by the former Vasek Polak dealership earlier this week. It's been vacant for some time now; it used to have the most amazing examples of racing Porsches on the dealership floor. The days of $9 Porsche service invoices are long gone! Enjoy your beautiful cars.
 
I like your little tabs to keep the windscreen to body gasket in the right position.
 
The carpets looking good. I have an old quote from Skinner and need to compare with the others. Heriatge claims to have the best wool. I hope to be doing the carpet in a few months. Keep up the good work.
 
Finishing up the carpet is pretty straight forward - the Skinner kit fits beautiful and basically the floor pieces just lay in, but there is still a bit of work to do...step one being to cut the holes for the seat brackets...lay carpet in place, use a sharp awl to get the hole location and then mark the remaining holes with nails.

8255152943_9b502720d0_z.jpg


8255152827_f71acb2fdb.jpg


Looking good....the seat brackets cover the carpet holes perfectly.

8256223924_c262f329a2.jpg


All snugged down and ready for seats...
 

Attachments

  • 8255152827_f71acb2fdb.jpg
    8255152827_f71acb2fdb.jpg
    70.8 KB · Views: 72
Last edited:
There are a few tricks for the snaps I picked up. Basically I only found a need to use snaps down the center - the trans tunnel and the drive shaft tunnel - 4 snaps per side. The rest is either glued, held by seats, or by gravity.

While the 3 piece snap concept is great, they still take a bit of work to install:

In concept simple enough - pop rivet the snap head where you want it to go. Then use the ring with the prongs to pierce the carpet from the back side, and hammer down the prongs from the front side where they virtually disappear into the carpet..

A B C

8255176371_a0b079acd4_z.jpg


Be sure to drill through the carpet into the steel where you want the snap to be so the carpet is marked in the right spot.

8256247598_7fa3c31a31_z.jpg


A good tip is to install a small washer or 2 under the snap before pop riveting it into place. This makes the snap infinitely easier to "snap" because the head is raised just a tad off the steel...

8255174829_6a68b36ca7_z.jpg


Back to the carpet - make a small "X" across the center hole you made with the nail/awl on the backside of the carpet. Use a small sharpie knife cutter for this and then and push the ring prongs though the carpet.

8255175883_a77db40266_z.jpg


Trim away the excess carpet inside the ring.

8256247046_b41bee3a65_z.jpg


patience...a bit fiddly...

8255175315_62198df223_z.jpg


A bit of final trimming and the snap hole is clean and ready to go.

8255175015_e58369a6bf_z.jpg


8255174311_9ce9905863_z.jpg


The snaps disappear when the rest of the carpet is laid down....

8236712088_409550d691_z.jpg

8236712150_1c1acd3126_z.jpg


8235646129_43d433ea26_z.jpg


8255152569_a526f835e4_z.jpg


Next up: Seat Restoration...
 
Last edited:
Beautiful!

Cheers
Tush
 
That's looking real sharp, very nice. The washer trick works great, I've done it as well.
 
Restoration of the seats have been well covered by other threads, so this is as much for continuing the thread as opposed to a "how to". The only thing I was adamant about was using the proper coil springs and horse hair underpinnings as, in my opinion, the seats are as fundamental to the TR3's personality as the motor.

The other thing is I went with Skinner's leather kit as the Heritage certificate indicated my car originally came with leather interior. So, a few pics of the process.....the before, the during and the after....

8257876295_608000f3de_z.jpg


8258944252_2c8c3360ac_z.jpg


8258944062_4eb1e11b01_z.jpg


8258943878_b3026fca44_z.jpg


Bead blasting and some crack welding....

8257875649_5b272f9872_z.jpg
 
Very nice work. This a 100% awesome job!!
 
Those look nice. What did you use for the tac strips? Is it wood that you painted black? Did they come with the Skinner kit? I'm going to order my interior soon so I have to ask why did you chose Skinner? Other than the fact that the seats look great. Was it price, quality, or reputation.
 
...Back to the carpet - make a small "X" across the center hole you made with the nail/awl on the backside of the carpet. Use a small sharpie knife cutter for this and then and push the ring prongs though the carpet.

8255175883_a77db40266_z.jpg


I have always installed these snaps the other way 'round, i.e. with the black ring on the outside and the silver piece on the inside -- no hole and nearly invisible that way.
 
Back
Top