• Hi Guest!
    You can help ensure that British Car Forum (BCF) continues to provide a great place to engage in the British car hobby! If you find BCF a beneficial community, please consider supporting our efforts with a subscription.

    There are some perks with a member upgrade!
    **Upgrade Now**
    (PS: Subscribers don't see this gawd-aweful banner
Tips
Tips

TR2/3/3A 593A Ground Up - we will now join in progress

As for the old glue, yes I recall it was a bear. I spent some time with a wire brush on a drill to remove the worst of it, and some on the underside I just left in place as it didn't affect the fit. The leather is also a bit heavier and I think it may hide a few surface irregularities better than the vinyl. The downside was it was also a bit more difficult to work with on the real tight turns.

Bruce...

I'm about to start covering the cap trim around the cockpit, and the dash, but I have one more question about how you accomplished that task. The exterior of the cap pieces cleaned up pretty good and I have been able to get most of the big chunks out of the underside. The contact cement shouldn't be a problem with the thin layer that remains in spots.

From your photos I can see that you had very good results with stretching the covering over the caps, especially with the compound curves. The question is, did you use the contact cement (I'm assuming that is what you used. If not what sort of glue did you use?) over the entire surface of the exterior (visible) surface of the cap pieces as well as the interior to secure the tag ends of the covering? Since with contact cement you only have one shot to position the the covering without any wrinkles, it seems a bit tricky to take that approach. I was considering doing the cutting and getting a good dry fit and then gluing one inside edge first. Once that side is secure I envisioned applying the cement to the other interior side as well as the covering and after it has set up, getting a good stretch around the curves back to the inside. Sounds complicated when I reread this, but maybe you'll get the idea. In any case, I'd like to hear how you managed to get such a solid look to yours.

My "other" hobby is R/C model building and flying. Since I go for the kits rather than the ARFs I've had a good bit of experience with covering the airframes with Ultracote and fabric coverings. I've gotten good with the techniques for addressing the complex curves in this environment, but the contact cement approach is going to be a challenge. anything you could add would be appreciated.

Rick...
 
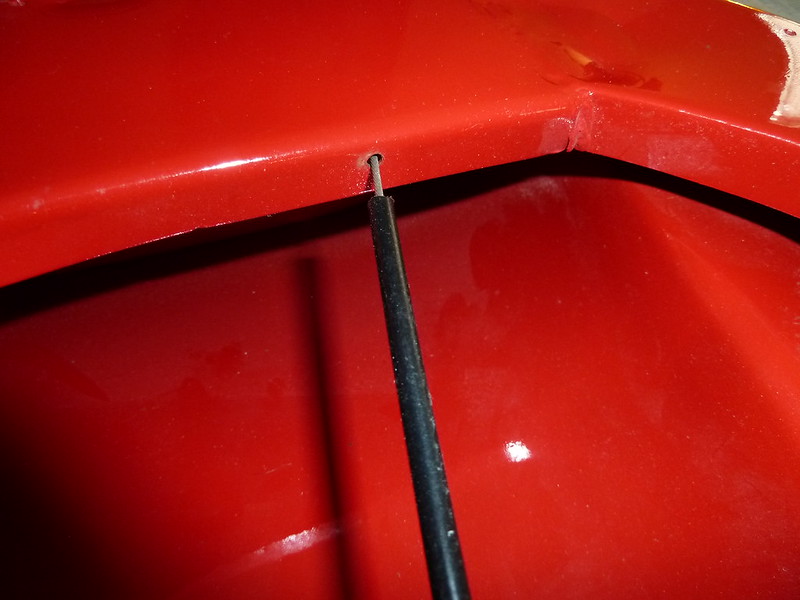
A few new pics, slowly getting there...front air deflector

14536760455_f7817099b9_c.jpg

14536760035_0ed884b76f_c.jpg

14535281204_d32e1b09c7_c.jpg

14533381971_1610b78476_c.jpg
 
Putting a file to new paint is always scary, if I have to do it I always file on the down stoke on the inside of the panel. You don't want to pull up on it, it may lift some paint. Make sure you get those dzus fittings nice and tight or they'll spin when you turn them to open the hood. Looks great though.
 
beautiful, and great pics to use too!
 
Thanks JP. I remember when you took your car to the same dipping shop I used (Quikstrip - now defunct by the way). It's been hard to find the time to keep at it. I basically didn't turn a wrench for 6 months, just getting back at it now. Hope to post some more pix of my progress over the next while...
 
Hi Bruce,

I simply wanted to say; "What an outstanding" job your doing on your TR. I personally love "Detail" work & the fine detail your doing to yours reminds me of my `57 Small Mouth I was restoring just 3yrs ago.

Fast Question; Relative to the "Fiberboard Shroud Mtg"; I ord. one from Moss yesterday. Were the 4 Mtg. holes already in your Inner Fenders or did you have to drill them? I have`nt looked at mine so ?????

Keep up the "Outstanding" work.

Russ
 
Thanks for the kind words Russ. I have tried to post photos for others, as I inherited boxes of parts and did not have the luxury of knowing how things came apart. I'm sure others will be in similar positions to varying degrees.

The lower holes in the shroud line up with the holes for the chrome bumperette support rods. Actually that's all I use to keep the shroud in place. As for the top holes, my speculation is they may be there for the wiring to the turn signals, but I didn't use them. Yes, all 4 holes were already there on the shroud when I got it (from TRF).
 
Hey, Bruce, I spotted something that you might like to know about. The car is totally awesome, so I think you'll want to get each detail as correct as possible. There were two different panel light knobs used, the one with the arrows on the bottom edge (which I think is what I see in the photo) is for later cars with the rheostat for the panel lights. Since you have it in the top hole, I'm assuming that your car has the simple switch for the panel lights, and so should have the knob without the arrows.

If you do have the rheostat, it should be in the center hole, not top.

I'll assume you've already noticed that the wiper wheelboxes are installed wrong in this photo.

PS, Thanks for all the pix. I'm squirreling them away for future reference.
 
... There were two different panel light knobs used, the one with the arrows on the bottom edge (which I think is what I see in the photo) is for later cars with the rheostat for the panel lights. Since you have it in the top hole, I'm assuming that your car has the simple switch for the panel lights, and so should have the knob without the arrows. If you do have the rheostat, it should be in the center hole, not top.

I'll assume you've already noticed that the wiper wheelboxes are installed wrong in this photo....

Thanks Randall, I will check into this detail. The panel was actually one of those items that had been completed by the previous owner, so I did not research it, I just took it as correct. My car is s/n 31577 which I would consider an early 3A so it probably has the plain switch w/o rheostat.

Regarding the wheel boxes, yes I found that out the hard way very early on. Being as the drive cable assembly is one of the very first things to be installed it was quite painful to have to fix and flip it around when I discovered it at the windshield install step. But it had to be done. A good tip for future installers to check during the install phase.
 
Shouldn't the speedo be on the left side? My dash plate only has the hole for the trip mile reset knob on the left side. Bruce I see yours has a hole for the speedo reset on the right.
 
I have tried to post photos for others,.

Bruce...

Indeed you have. And they have been a tremendous resource. I still consult them on a regular basis. Since my TR is about to hit the road, perhaps I won't have to consult them quite as often now. :encouragement:

Rick...
 
Shouldn't the speedo be on the left side? My dash plate only has the hole for the trip mile reset knob on the left side. Bruce I see yours has a hole for the speedo reset on the right.
Early cars (like yours and mine) had the speedo on the left even when they were LHD. I don't have the change point handy, but later cars had the speedo on the right (when LHD) so the navigator could see it better when doing TSD rallys.

PS, Piggott gives the change point as TS29098.
 
Thanks Randall and also for the bit of information about the Rally cars and the co-drivers.
 
Back
Top