Hey Guest!
luke44
Jedi Warrior
Offline
TR3 Windshield Rebuild and Assembly
Here is how I went about the rebuild of the TR3 windshield. I must say, I was a bit apprehensive about this job at first, but with a few small tricks and it turned out perfectly with very little effort. I found bits and pieces on this site about the “how to” but I felt a more detailed posting would help those who come after me.
Step #1 – Go to bank and take out small fortune in cash for chroming shop. Give consideration to selling kidney on black market as an option. Pay chrome shop, and return chromed goodies home.
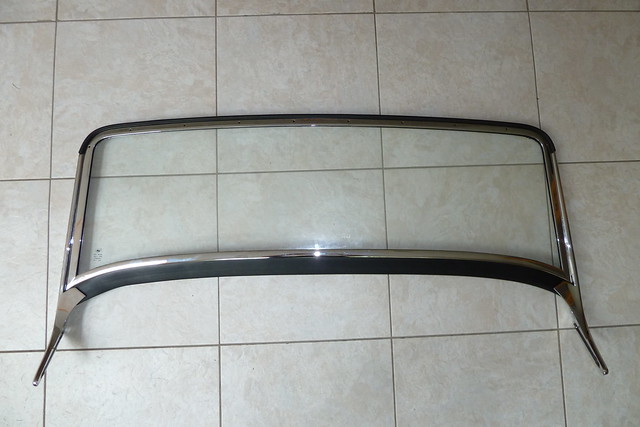
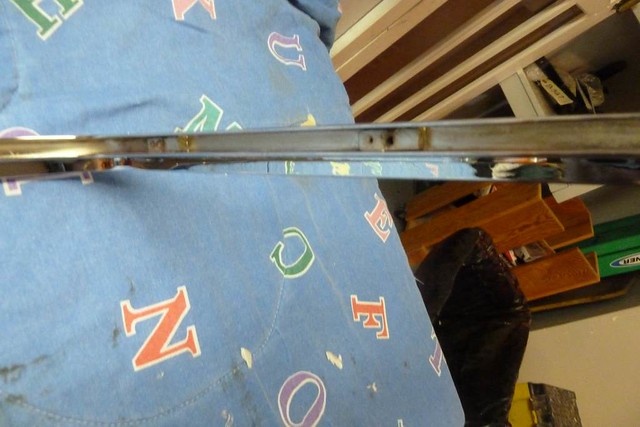
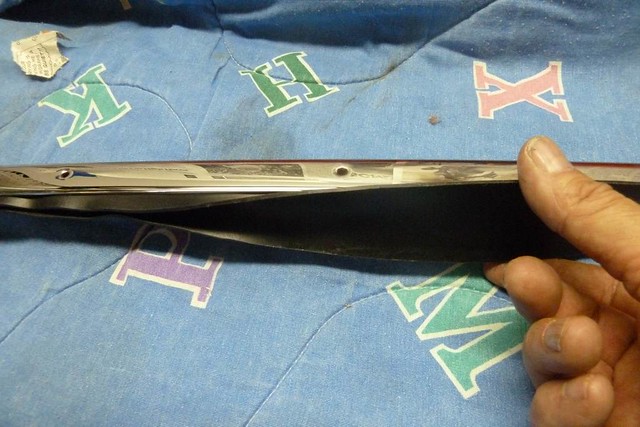
Step #2 carefully unwrap the 2 windshield main frame pieces – one bow shaped piece for the main frame bottom, and one U shaped piece for the main frame. Use a thick blanket or old sleeping bag on the work table for this job.
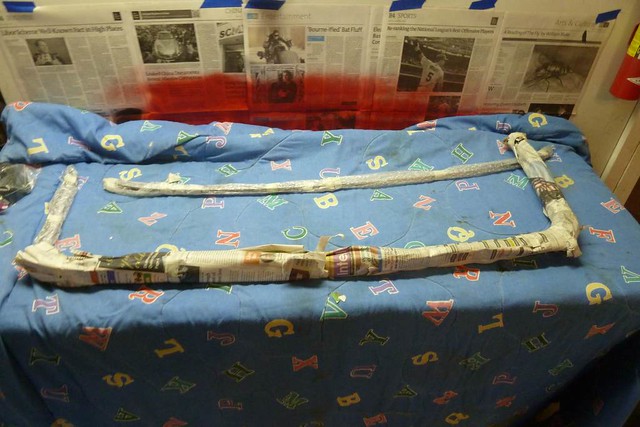
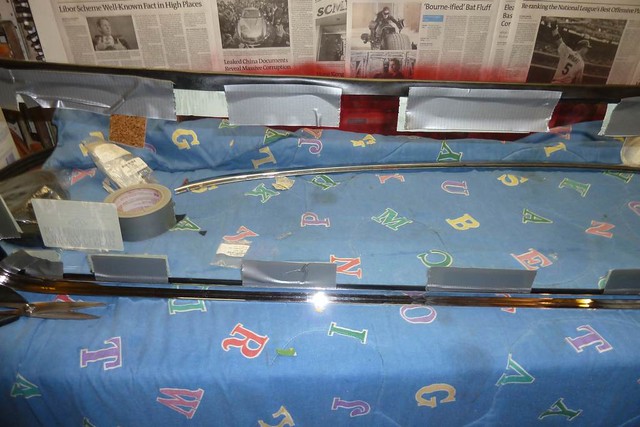
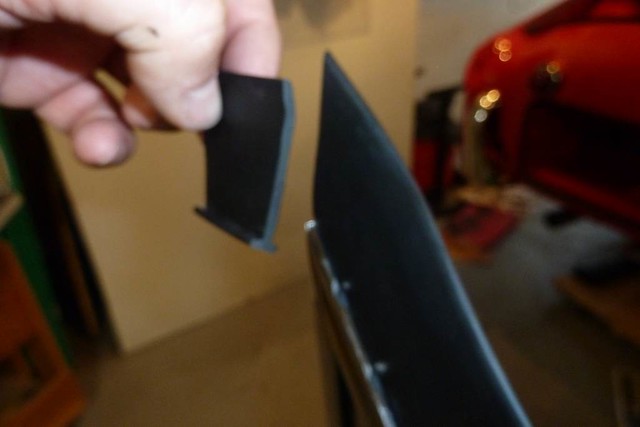
Step #3 – wrap windshield glazing seal Moss p/n 680-455 seal around glass, centering on both sides of the glass. Do not try to insert the seal into the frame and slide glass into frame. Tape seal to glass with duct tape to pull it tight and keep it in place.
Do NOT do this.
Do THIS instead.
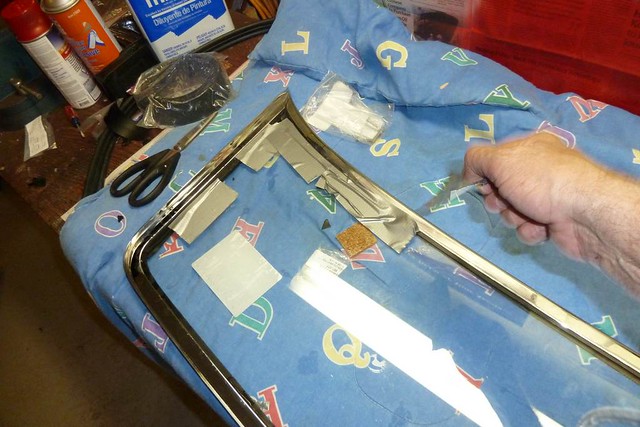
Step #4 – slide glass/seal into u shaped frame, pushing firmly into bottom of U shaped frame piece. Temporarily check the bottom piece for fit. Trim the excess rubber seal with a box cutter off the windshield. This can also be done later if you wish.
Step #5 - cut off a small piece of the bottom rubber seal (the seal that goes between windshield bottom and scuttle) – Moss p/n 680-470 that goes into the bottom frame channel – the piece should be approx ½” wide. The TRF piece is marked to distinguish front and back so make note of this to not insert backwards later. Don’t worry about shortening it ½”, there’s plenty there.
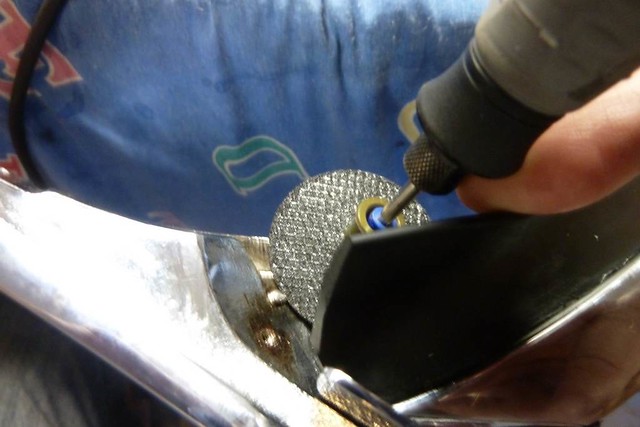
Step #6 – squirt liquid laundry soap into the lower bow channel full length, and the insert the small piece of ½” wide seal into channel from one end and pull it along to be sure it goes smoothly from one end to the other. If it stops along the way this means there is likely some pieces or small remnants of the old rubber deep under the channel lip that must be removed – check carefully and clean the channel groove with a box cutter or knife or whatever to remove old hardened rubber, until the ½” piece slides freely from aide to side. This may not e visible at first because the old rubber is likely under the channel slot.
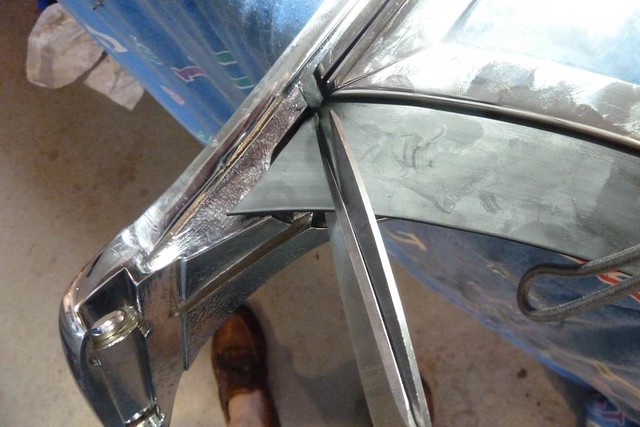
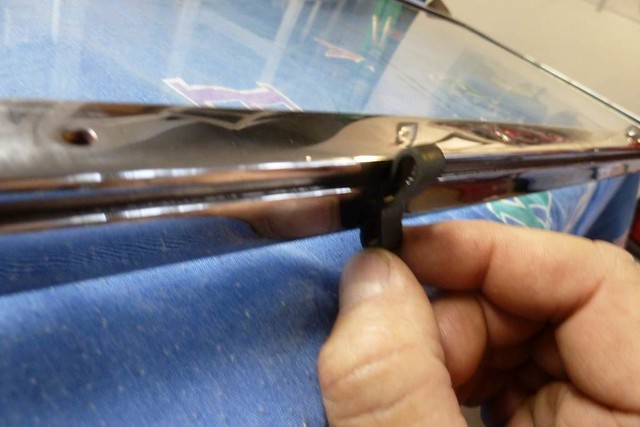
Step #7 – screw in L shaped brackets Moss p/n 802-675 onto frame and screw frame bottom (with previously installed rubber seal like in step #3) to U shaped main frame. Check to make sure everything pulls together tight. Because you are working with the frame upside down, have an assistant hold the frame steady from this point on.
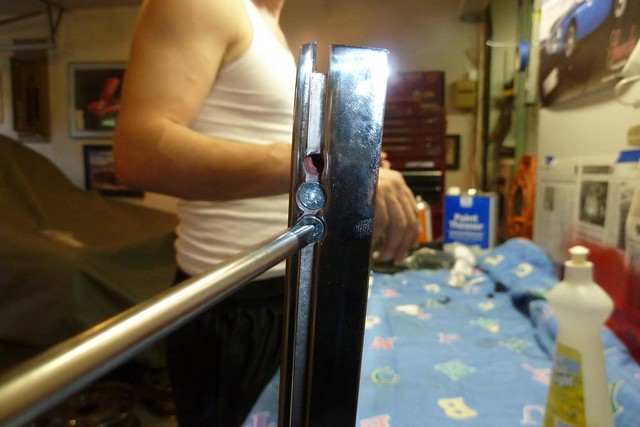
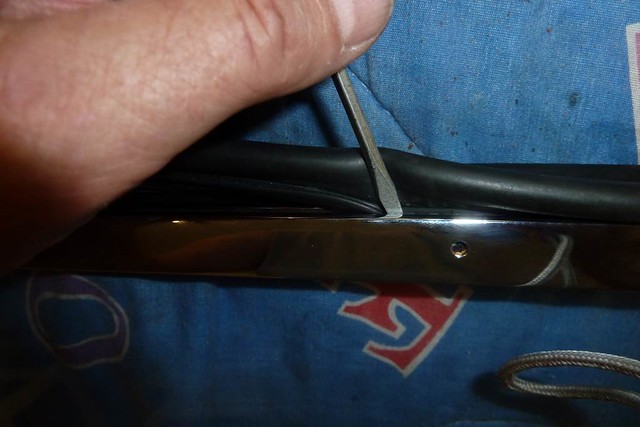
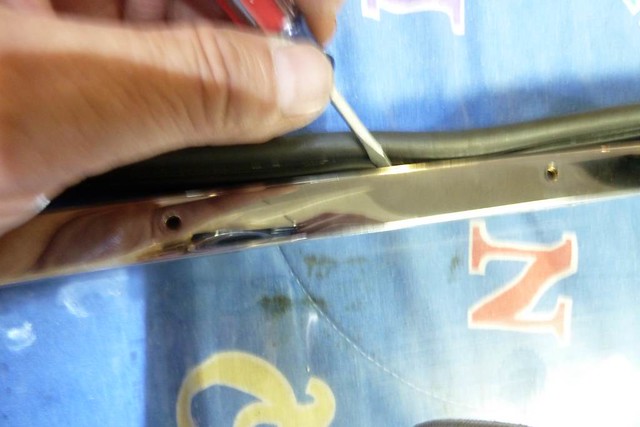
Step #8 – now loosen up both sides side of the L bracket so the bottom frame channel is not sitting tight against the side U channel. Start to feed the rubber seal in from one end and pull it across to the other side. Use lots of dish detergent. It will pull easily with some assistance from a set of pliers. Do not try to take a picture of this because your assistant is using both hands to steady the frame and you are using both hands to coax the rubber along. If you want a picture here, you need another assistant.
Step #9 –cut the rubber seal so it is flush with the end of the chrome side frame. It can be a bit longish, as it will get trimmed later, just don’t cut it too short. But it also must not interfere with the fit of the stanchion.
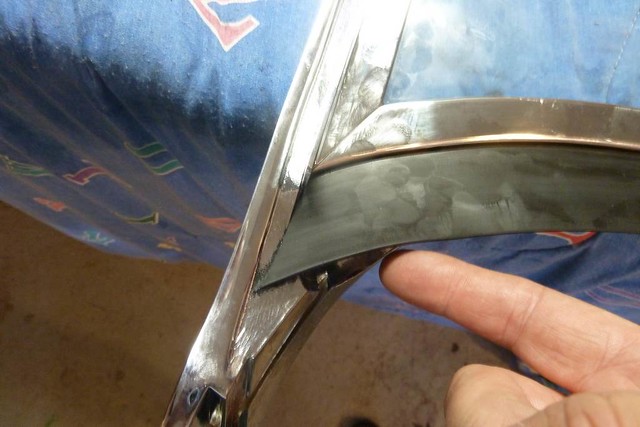
Step #10 – tighten the L brackets back up so you have the 4 sides of the windshield frame tight.
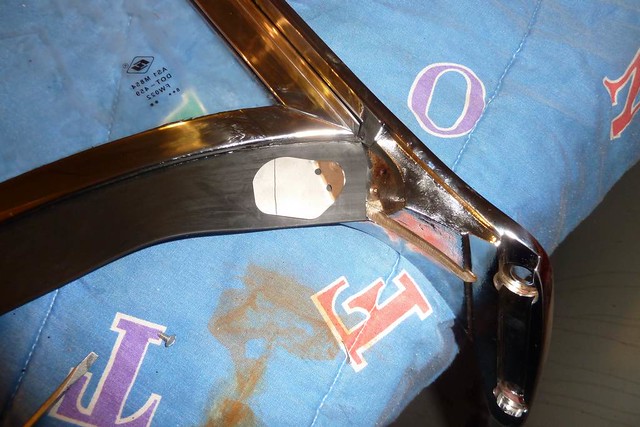
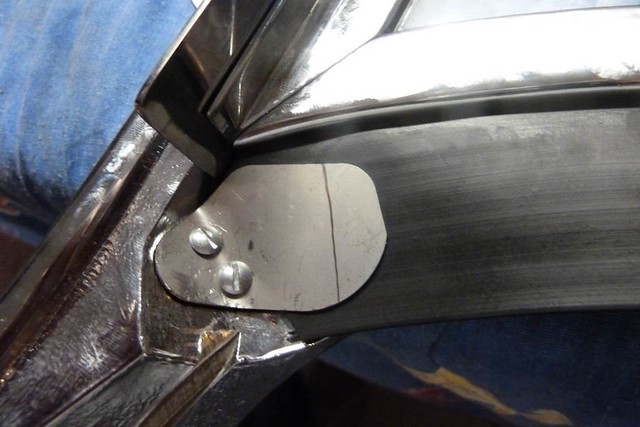
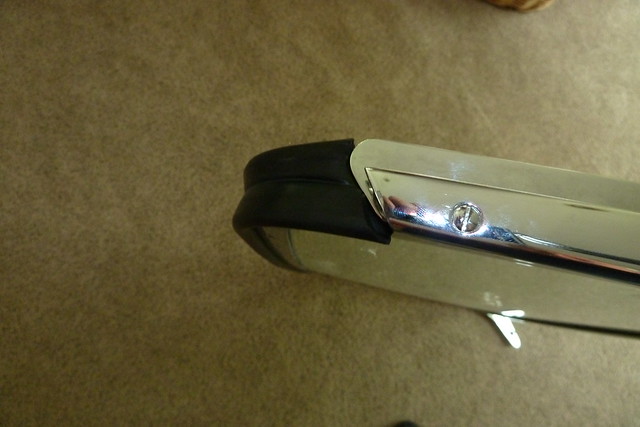
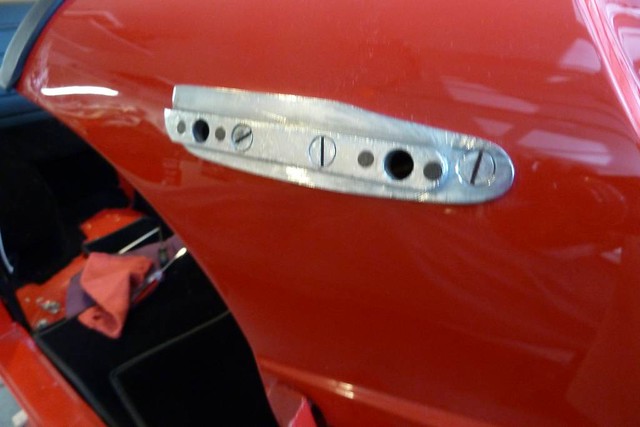
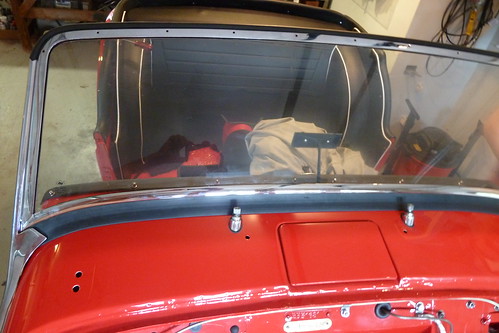
Step # 11 – mount the left and right windshield stanchions (802-690) and tenon plates Moss p/n 680-470 onto the side of the w/s frame – 3 screws – 2 short 7/8”, 1 long 1” each side. Long screw at the bottom where stanchion is thicker. Do NOT use the long screw in the top 2 holes or you WILL crack the windshield!
Here is how I went about the rebuild of the TR3 windshield. I must say, I was a bit apprehensive about this job at first, but with a few small tricks and it turned out perfectly with very little effort. I found bits and pieces on this site about the “how to” but I felt a more detailed posting would help those who come after me.
Step #1 – Go to bank and take out small fortune in cash for chroming shop. Give consideration to selling kidney on black market as an option. Pay chrome shop, and return chromed goodies home.
Step #2 carefully unwrap the 2 windshield main frame pieces – one bow shaped piece for the main frame bottom, and one U shaped piece for the main frame. Use a thick blanket or old sleeping bag on the work table for this job.
Step #3 – wrap windshield glazing seal Moss p/n 680-455 seal around glass, centering on both sides of the glass. Do not try to insert the seal into the frame and slide glass into frame. Tape seal to glass with duct tape to pull it tight and keep it in place.
Do NOT do this.
Do THIS instead.
Step #4 – slide glass/seal into u shaped frame, pushing firmly into bottom of U shaped frame piece. Temporarily check the bottom piece for fit. Trim the excess rubber seal with a box cutter off the windshield. This can also be done later if you wish.
Step #5 - cut off a small piece of the bottom rubber seal (the seal that goes between windshield bottom and scuttle) – Moss p/n 680-470 that goes into the bottom frame channel – the piece should be approx ½” wide. The TRF piece is marked to distinguish front and back so make note of this to not insert backwards later. Don’t worry about shortening it ½”, there’s plenty there.
Step #6 – squirt liquid laundry soap into the lower bow channel full length, and the insert the small piece of ½” wide seal into channel from one end and pull it along to be sure it goes smoothly from one end to the other. If it stops along the way this means there is likely some pieces or small remnants of the old rubber deep under the channel lip that must be removed – check carefully and clean the channel groove with a box cutter or knife or whatever to remove old hardened rubber, until the ½” piece slides freely from aide to side. This may not e visible at first because the old rubber is likely under the channel slot.
Step #7 – screw in L shaped brackets Moss p/n 802-675 onto frame and screw frame bottom (with previously installed rubber seal like in step #3) to U shaped main frame. Check to make sure everything pulls together tight. Because you are working with the frame upside down, have an assistant hold the frame steady from this point on.
Step #8 – now loosen up both sides side of the L bracket so the bottom frame channel is not sitting tight against the side U channel. Start to feed the rubber seal in from one end and pull it across to the other side. Use lots of dish detergent. It will pull easily with some assistance from a set of pliers. Do not try to take a picture of this because your assistant is using both hands to steady the frame and you are using both hands to coax the rubber along. If you want a picture here, you need another assistant.
Step #9 –cut the rubber seal so it is flush with the end of the chrome side frame. It can be a bit longish, as it will get trimmed later, just don’t cut it too short. But it also must not interfere with the fit of the stanchion.
Step #10 – tighten the L brackets back up so you have the 4 sides of the windshield frame tight.
Step # 11 – mount the left and right windshield stanchions (802-690) and tenon plates Moss p/n 680-470 onto the side of the w/s frame – 3 screws – 2 short 7/8”, 1 long 1” each side. Long screw at the bottom where stanchion is thicker. Do NOT use the long screw in the top 2 holes or you WILL crack the windshield!
Last edited: