
I know this rear spring front eye pin has been discussed countless times on this forum. I have read everything I could find before tackling this replacement myself. Everything is removed but the front pin. When I got to it I only then realized that the flat sided pin head on the inside was welded to the frame. Fortunately the 5/16th threads are still accessible. I’ve been working at reducing the weld. I would be very appreciative of any advice on how to proceed. Thank you!

-
 Hey Guest!
British Car Forum has been supporting enthusiasts for over 25 years by providing a great place to share our love for British cars. You can support our efforts by upgrading your membership for less than the dues of most car clubs. There are some perks with a member upgrade!**Upgrade Now**
(PS: Upgraded members don't see this banner, nor will you see the Google ads that appear on the site.)
You are using an out of date browser. It may not display this or other websites correctly.
You should upgrade or use an alternative browser.
You should upgrade or use an alternative browser.
TR2/3/3A TR3 Rear Spring Issue
- Thread starter TR3Novice
- Start date
CJD
Yoda
Online
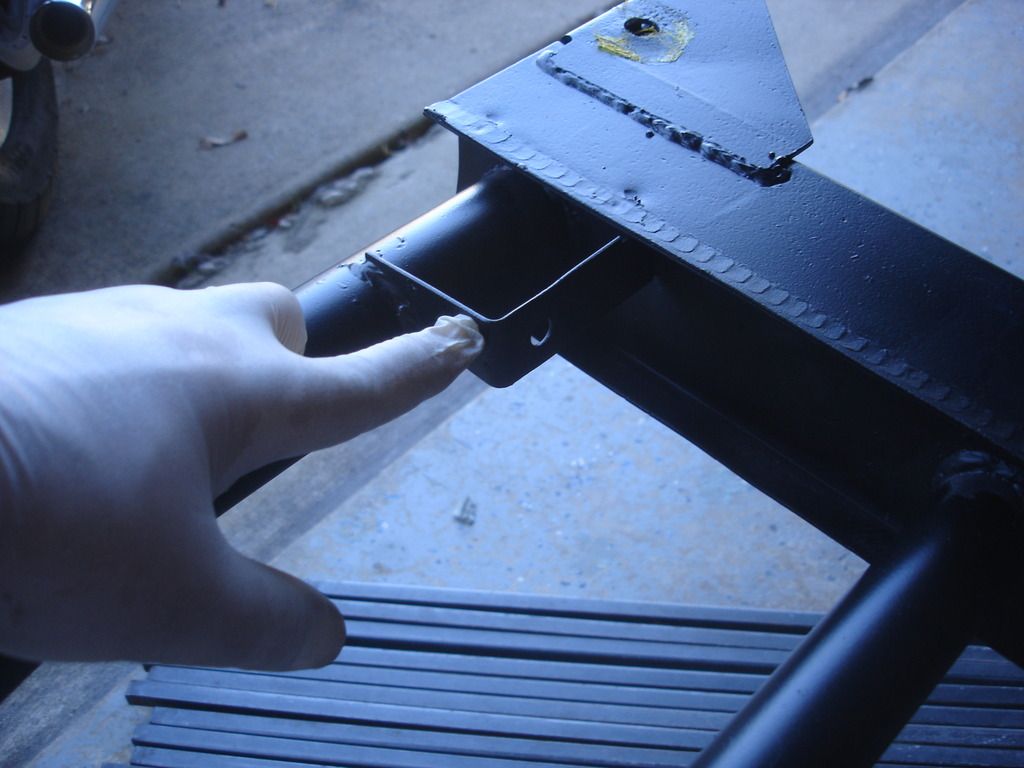
It's not the pin that is welded, but the busing with the flat on the bolt. The welded portion you see is the bushing that the bolt goes into. If you remove the weld, then there will be nothing holding the bolt!! That bolt is so hard to remove normally that nobody in their right mind would weld it! I'll look for a picture...
CJD
Yoda
Online
Go down post #3 in this thread and there are pictures of a new bolt. It has a round head with a little flat. The bushing welded into the frame is she same size as the head of the bolt, and has a tab to catch the flat in the round head. When installed, it is not obvious where the break between the bolt and the bushing is.

Notice the internal threads in the head of the bolt. The idea is to screw in a grade 8 bolt and use that to pull the larger bolt. The bolt moves inward. The newer TR3's have an access hole inside the rear of the car to allow the bolt to pass into the car. If your car does not have an access hole with a plug in it, then you either have to make a hole. The alternative is to lift the rear of the body off the frame to clear the bolt. That is actually not as bad as it would seem, as you can leave the front mounts tight...it only must come up about 3 inches on the side you are working on to get clearance.
TR2/3/3A Thread 'Recipe for a TR2'
So, since the body thread is indefinitely on hold...here comes the chassis build thread I promised! Follow along as I build a TR2 from scratch...
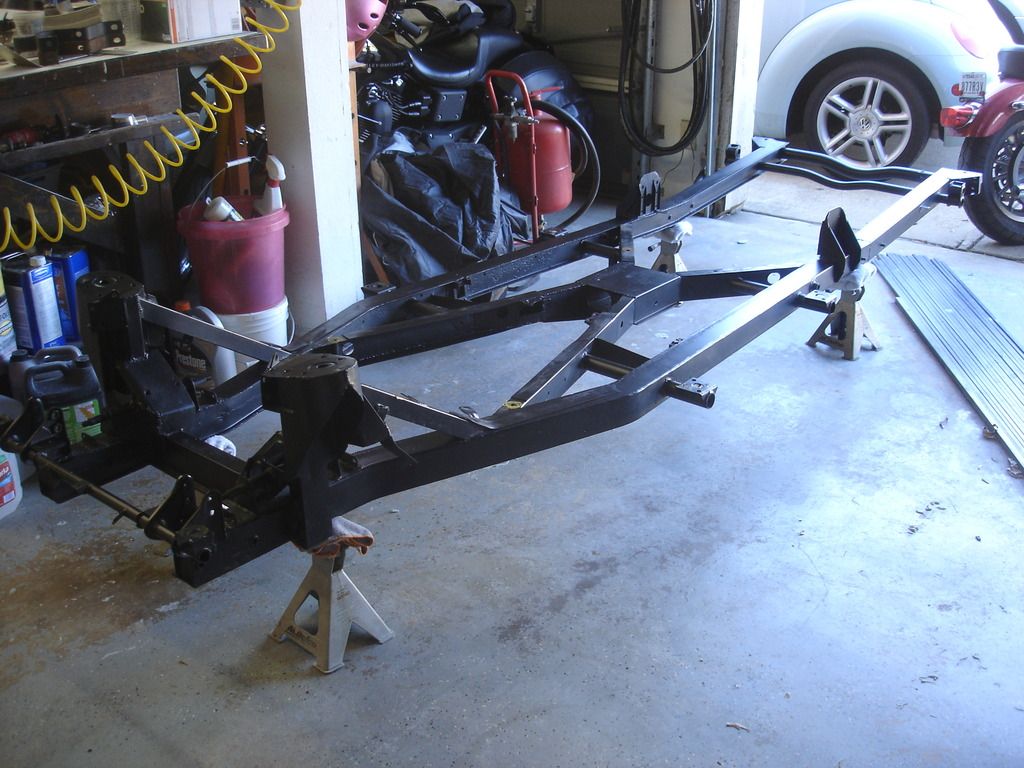
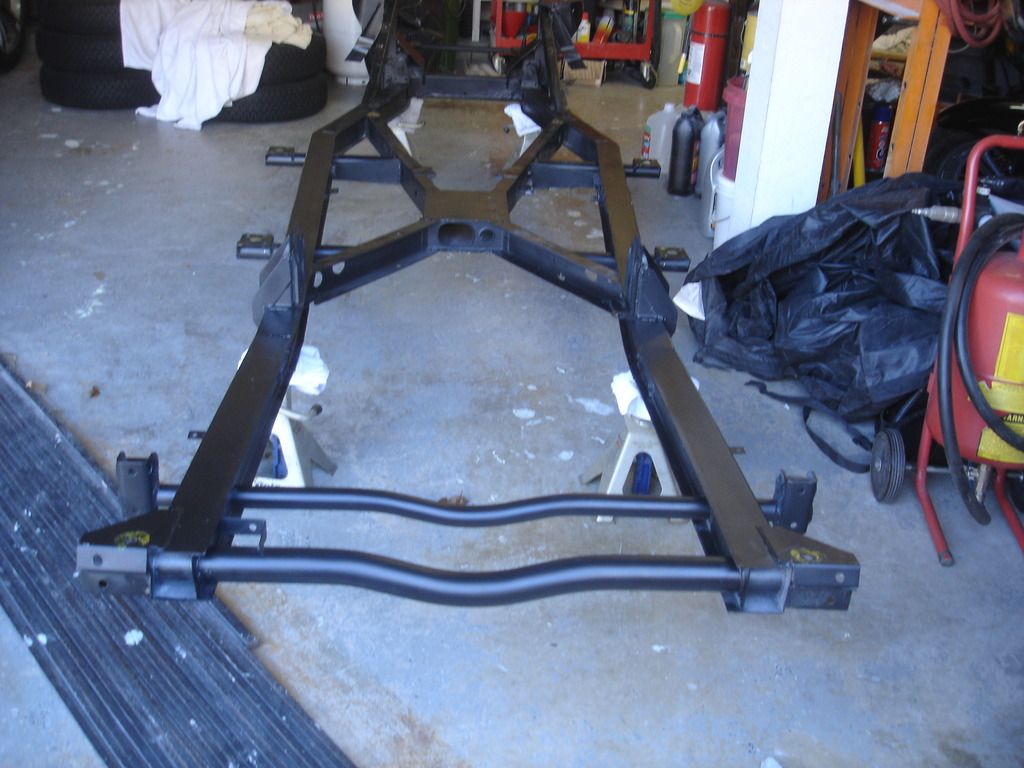
Start with one part TR2 frame, freshly blasted, welded, and painted. Well, not so fresh, since I did that 3-1/2 years ago?!?
During a walk around, I'll point out some of the features. This is the rear exhaust...


Start with one part TR2 frame, freshly blasted, welded, and painted. Well, not so fresh, since I did that 3-1/2 years ago?!?

During a walk around, I'll point out some of the features. This is the rear exhaust...
Notice the internal threads in the head of the bolt. The idea is to screw in a grade 8 bolt and use that to pull the larger bolt. The bolt moves inward. The newer TR3's have an access hole inside the rear of the car to allow the bolt to pass into the car. If your car does not have an access hole with a plug in it, then you either have to make a hole. The alternative is to lift the rear of the body off the frame to clear the bolt. That is actually not as bad as it would seem, as you can leave the front mounts tight...it only must come up about 3 inches on the side you are working on to get clearance.
Thank you! DonnGo down post #3 in this thread and there are pictures of a new bolt. It has a round head with a little flat. The bushing welded into the frame is she same size as the head of the bolt, and has a tab to catch the flat in the round head. When installed, it is not obvious where the break between the bolt and the bushing is.
TR2/3/3A Thread 'Recipe for a TR2'
So, since the body thread is indefinitely on hold...here comes the chassis build thread I promised! Follow along as I build a TR2 from scratch...
Start with one part TR2 frame, freshly blasted, welded, and painted. Well, not so fresh, since I did that 3-1/2 years ago?!?
During a walk around, I'll point out some of the features. This is the rear exhaust...
Notice the internal threads in the head of the bolt. The idea is to screw in a grade 8 bolt and use that to pull the larger bolt. The bolt moves inward. The newer TR3's have an access hole inside the rear of the car to allow the bolt to pass into the car. If your car does not have an access hole with a plug in it, then you either have to make a hole. The alternative is to lift the rear of the body off the frame to clear the bolt. That is actually not as bad as it would seem, as you can leave the front mounts tight...it only must come up about 3 inches on the side you are working on to get clearance.
Thanks Yoda, could you look at the picture I’ve posted and let me know that is the bushing that you are referring to. Appreciate your help! DonnIt's not the pin that is welded, but the busing with the flat on the bolt. The welded portion you see is the bushing that the bolt goes into. If you remove the weld, then there will be nothing holding the bolt!! That bolt is so hard to remove normally that nobody in their right mind would weld it! I'll look for a picture...
charleyf
Luke Skywalker
Offline
Donn,
I am another non-believer that any sane person would weld that bolt in place. If you have any access to the bolt head where you can place a chisel between the bottom of the bolt head and the frame and try to 1) move the bolt or 2) break any weld that might be there. By using the biggest hammer possible. Or maybe an air hammer with a chisel . If you do not have that access, maybe you can cut a temporary hole to give you this access.
All that said. Why are you so determined to remove this bolt? The best replacement is to replace the silent bloc bush in the eye of the spring.
Charley
Thank you Charley! I am new at this and trying to learn all I can. I’m trying to replace the spring. Are you saying that I could remove the spring without removing the bolt? DonnDonn,
I am another non-believer that any sane person would weld that bolt in place. If you have any access to the bolt head where you can place a chisel between the bottom of the bolt head and the frame and try to 1) move the bolt or 2) break any weld that might be there. By using the biggest hammer possible. Or maybe an air hammer with a chisel . If you do not have that access, maybe you can cut a temporary hole to give you this access.
All that said. Why are you so determined to remove this bolt? The best replacement is to replace the silent bloc bush in the eye of the spring.
Charley
CJD
Yoda
Online
DO NOT GRIND ANYMORE!!
Your picture confirms, you are grinding the bushing. Look closely and you can see the round head of the bolt, and it is definitely NOT welded. Your bolt is only held in by the normal rust.
You can try tapping the bolt out from the outside inward...but only use wood, brass, aluminum punches with care. If you hit on the bolt, it will expand and jam permanently in the frame. It is best to thread in the grade 8 bolt on the inside, and use that as a puller, using heat as necessary to free the bolt. Pulling has the opposite affect to pushing...and it makes it easier to free.
I would like to emphasize that many owners have been humbled by this bolt. It will require heat, PB blaster, and creative pulling to remove. It will not require any grinding!!
I do know the history of this bolt but was determined to learn some mechanics in retirement. I’ve read all of the remedies I could find. Just a bit surprised when I actually got to the bolt, didn’t expect what I found. If everyone feels the bolt head is free enough then I will attempt to remove it by all the recommended ways previously mentioned in the forums. Thank you.DO NOT GRIND ANYMORE!!
You picture confirms, you are grinding the bushing. Look closely and you can see the round head of the bolt, and it is definitely NOT welded. You bolt is only held in by the normal rust.
You can try tapping the bolt out from the outside inward...but only use wood, brass, aluminum punches with care. If you hit on the bolt, it will expand and jam permanently in the frame. It is best to thread in the grade 8 bolt on the inside, and use that as a puller, using heat as necessary to free the bolt. Pulling has the opposite affect to pushing...and it makes it easier to free.
I would like to emphasize that many owners have been humbled by this bolt. It will require heat, PB blaster, and creative pulling to remove. It will not require any grinding!!
Thank you! I do appreciate your time.Just read what Charley posted. If you change the rubber bushing and/or spring without removing the front bolt, you WILL have to raise the body a few inches. If you go that route, let us know, as it has its own set of issues...
charleyf
Luke Skywalker
Offline
The weld you are seeing is the weld between the bushing and the frame. Not between the pin and the bushing.One last question for now, does it look like an after the fact weld or am I that much of a novice?
Like stated the alternate method of changing the rear spring is to lift the rear of the car off the frame.
Charley
Thank you!I do know the history of this bolt but was determined to learn some mechanics in retirement. I’ve read all of the remedies I could find. Just a bit surprised when I actually got to the bolt, didn’t expect what I found. If everyone feels the bolt head is free enough then I will attempt to remove it by all the recommended ways previously mentioned in the forums. Thank you.
Thank you again, very much appreciated!The weld you are seeing is the weld between the bushing and the frame. Not between the pin and the bushing.
Like stated the alternate method of changing the rear spring is to lift the rear of the car off the frame.
Charley
CJD
Yoda
Online
Remember the bolt head is round, with a small flat spot. The bushing is the same diameter round, and has a perfect little tab that fills the flat on the bolt. The tab is there to prevent the bolt from turning when you undo the nut holding the spring retaining nut. The bushing is welded 360 degrees around, and may have some extra weld on the tab...which is likely why it fooled you into thinking the bolt was welded.
Good luck with the removal! Once and a while you get one that is not that hard...
Good luck with the removal! Once and a while you get one that is not that hard...