Hey Guest!

 Hey - did you know if you click on the title of a thread it will take you to the first unread post since you last visited that thread?
 but were afraid to ask:
  STOP!! Never post your email address in open forums. Bots can "harvest" your email! If you must share your email use a Private Message or use the
  smilie in place of the real @
 Pretty Please - add it to our Events forum(s) and add to the calendar! >>
andrea
Jedi Knight
Offline
Hi Steve
PPS
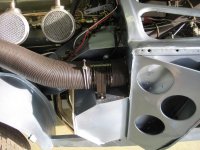
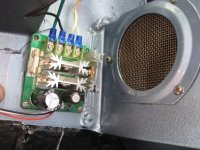
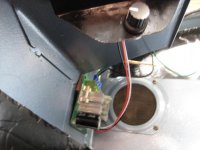
10A FUSE is OVER SIZED x4- you can fuse the wire plastic cover, if a short occour- better a 5A fuse- the AMPERAGE of the NEW blower is about 2,5 A and I think that also the older have the same - so the the fuse have only the double capacity blowing after few seconds
PPS
10A FUSE is OVER SIZED x4- you can fuse the wire plastic cover, if a short occour- better a 5A fuse- the AMPERAGE of the NEW blower is about 2,5 A and I think that also the older have the same - so the the fuse have only the double capacity blowing after few seconds