• Hi Guest!
    You can help ensure that British Car Forum (BCF) continues to provide a great place to engage in the British car hobby! If you find BCF a beneficial community, please consider supporting our efforts with a subscription.

    There are some perks with a member upgrade!
    **Upgrade Now**
    (PS: Subscribers don't see this gawd-aweful banner
Tips
Tips

Richmond VA 1960 Bugeye Bringing Miss Eva back to life.

If there were drums installed on that car the spindles cannot be used with disc brakes. They are not compatible. Take a look at the body number located close to the firewall on the right side just above the pedal box cover. The number you find there should be within a few hundred numbers of the VIN. If not someone changed number plates.
 
Hmmm 3 wipers, should be a 69 or later.
 
Talk to your head chap (sounds like we're discussing smoking!) about inserts to handle unleaded gas. Not inexpensive, but now's the time to do it if it's needed. One of the guys I had working on the Sprite advised that the bottom end was good on our 1275, but when I looked at the head, it was junk. Got the inserts placed to handled unleaded and the valves etc. done. So not worried about the head, but hoping that there's no surprises regards compression and oil pressure etc. etc. when we do fire it up in a couple of weeks. Touch wood on the timing of 'firing it up' also!
 
looks amazing!
 
Broke the motor down before taking it to the machine shop.
Looks pretty good but need to get some real measurements.
Original Pistons and Bearings. I can tell that the motor was opened as the rods were marked on the caps with nicks to indicated order. They were marked on the side of the rods from the factory but I am guessing he was not taking any chances. LOL


In tearing down the motor. One of the nuts on the water pump sheared off. Took about an hour to finally grind down the shaft head to allow it to release the aluminum pump.
Luckily the vice grips were able to grab and remove what was left of the bolt in the block.
After I posted I noticed in the picture above the sheared nut with some of the bolt sitting in the end of the connecting rod.
 
Big Weekend on ending all the fabrication and then on to final body work and paint.
I looked long and hard at how to mount my new seats. The structural rib that runs under the seat is about an 1" to 1 1/4" high. I bought some 1.5" square tubing to mount the seat tracks. With the floor in a bugeye having ridges etc... it is not perfectly flat, also the width of the seat track at least on aftermarket seats varies. Sometimes things just don't work out very good - measurement wise. The reason a professional fabricator is indeed a professional rather than a hack like me is the creative side of how to make things work.
His suggestion to me was to fabricate a Z shaped bracket to move the mounting holes to the side of the obstructions. This could work on any seat or track width.

 
Seatbelt tabs on the inside will bolt thru the back of the transmission tunnel. We added a tab and welded it up and then drilled the mount.

Outside seatbelt tabs. The floor under the corner was reinforced by welding plate on the bottom side of the floor. I had planned on a roll-bar to connect here so I need a good mount. The roll-bar is not going to be used since it kills the mount of the seats and the loss of legroom.

 
I may have designed a good fix for hidden front bonnet mounts. It will work with either a tilt front end or a regular opening hood.
I decided to not go for a tilt front so I am using stock hinges. I redid my front end lower valance and removed the air box on the backside of the grille opening.
I also eliminated the stock hood latching system. At first I was going to use Dzus Fasteners on the lower valance. It did not look like it was going to work without a lot of additional fabrication. I looked at the ways others have strapped or latched the lower bonnet wings. I wanted to pull them in close so I am going inside the wheel well and attaching to the inside of the bonnet wing at or near the bottom. It opens and closes and doesn't interfere with the side.
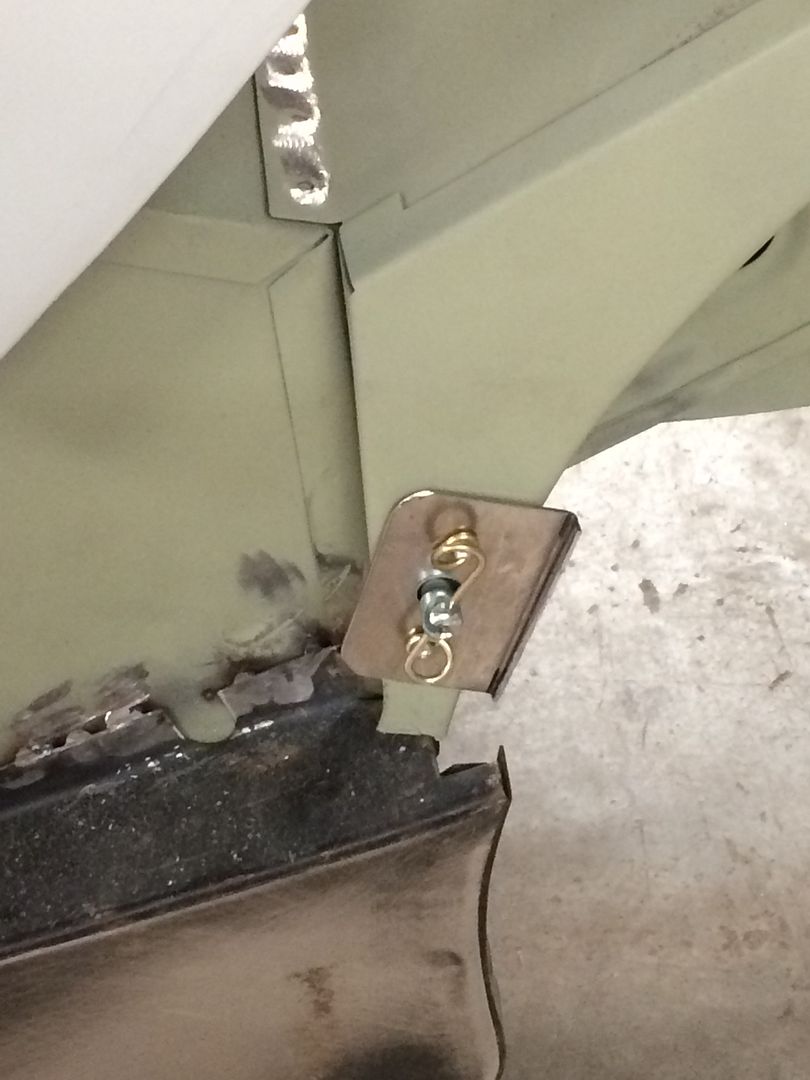
Mounted what was basically one part of the bracket so we could locate the bracket to the hole.

Hanging loose at this point. I am showing both sides.

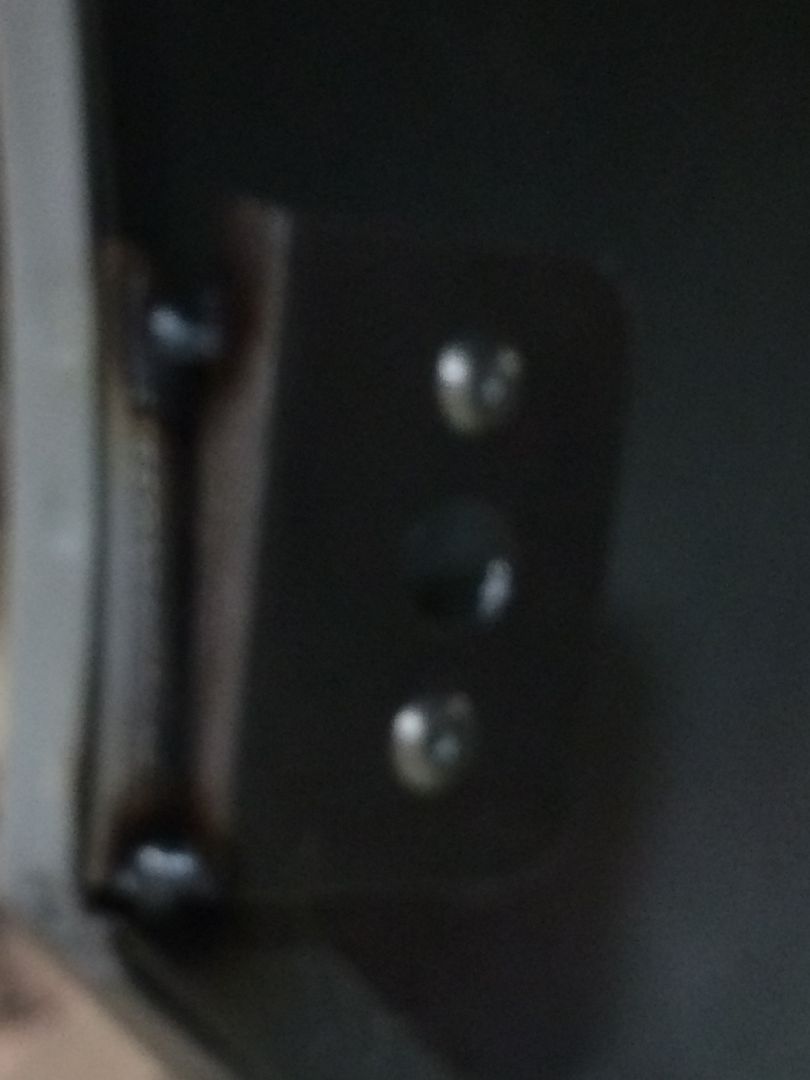
Tacked it to the part of the bracket that was mount to the lower wings. No picture for the part attached to the wing prior to spotting them together.

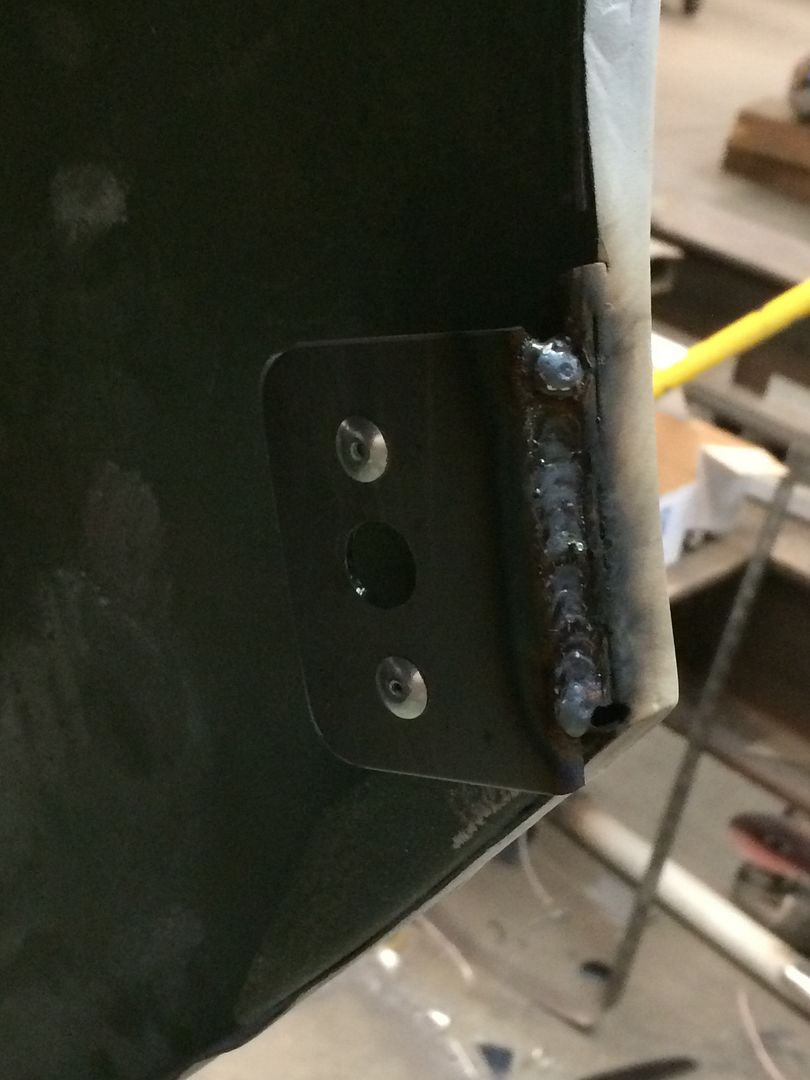
Now the 2 parts are mated together and the gap was filled.
I would show you the finish bonnet but there is nothing to see. What really happened is that I forgot to get a shot before I loaded it in an
enclosed trailer. Should get it out later this week and will post them. What is nice is the fact that there is not anyway the bonnet can open at any speed. It pulls the wings in nice and tight and helps sets the gaps on the bonnet.

The only issue is having to undo the Dzus fastener from inside the wheel well. With stock wheels it should not be an issue. Opening the bonnet will always require a screwdriver.
 

I mounted the rear bumpers to see how they fit and we made new lower brackets to fit the new valence panel. They are loosely mounted in this picture.
I don't think I have anything else to trial fit before final body work and paint. Should go to the paint shop in the next month or two. Should not have much to share for a while other than maybe motor work.
 
If you re not already familiar with AH Spares in the UK you should reach out to them. Good pricing with the current exchange rates and very knowledgeable.
 
If you re not already familiar with AH Spares in the UK you should reach out to them. Good pricing with the current exchange rates and very knowledgeable.
They are my main source in the U.K. Along with Frogeye.
 
Back
Top