but were afraid to ask:
 richberman
Jedi Warrior
Offline
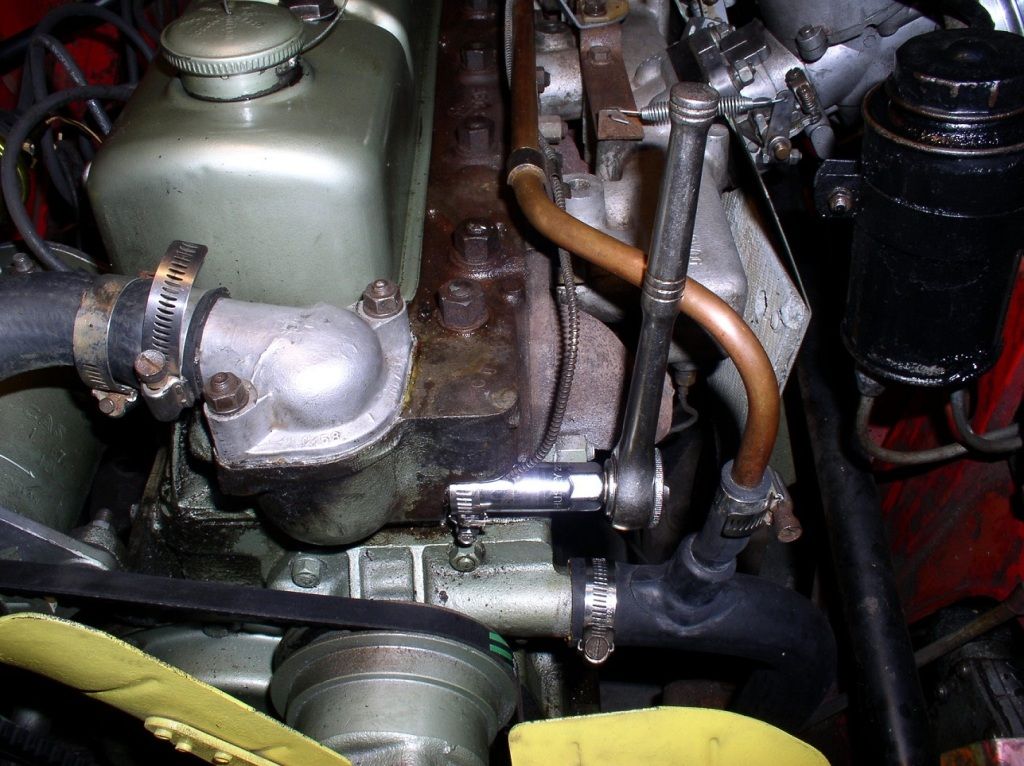
Don't cut the temp probe. Instead get a cheap socket and cut a notch or slot to allow the probe space!

 Hey Guest!

 Hey - did you know if you click on the title of a thread it will take you to the first unread post since you last visited that thread?
 STOP!! Never post your email address in open forums. Bots can "harvest" your email! If you must share your email use a Private Message or use the
  smilie in place of the real @
 Pretty Please - add it to our Events forum(s) and add to the calendar! >> Here's How <<
  Change the look and feel of the forum to fit your taste. Check it out
 ...and put a hose clamp on the socket to keep it snug against the probe nut. Can't find a pic to post.richberman said:Don't cut the temp probe. Instead get a cheap socket and cut a notch or slot to allow the probe space!
rjc157 said:Paul what you have to do is get a socket i think its 5/8 and cut a wedge out of one side large enough for the wire to pass through
Patrick67BJ8 said:...and put a hose clamp on the socket to keep it snug against the probe nut. Can't find a pic to post.richberman said:Don't cut the temp probe. Instead get a cheap socket and cut a notch or slot to allow the probe space!
richberman said:Don't cut the temp probe. Instead get a cheap socket and cut a notch or slot to allow the probe space!
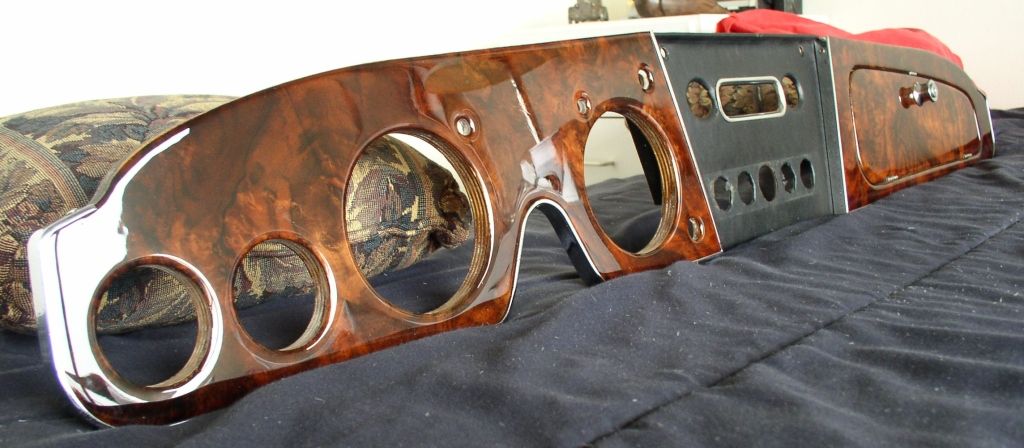
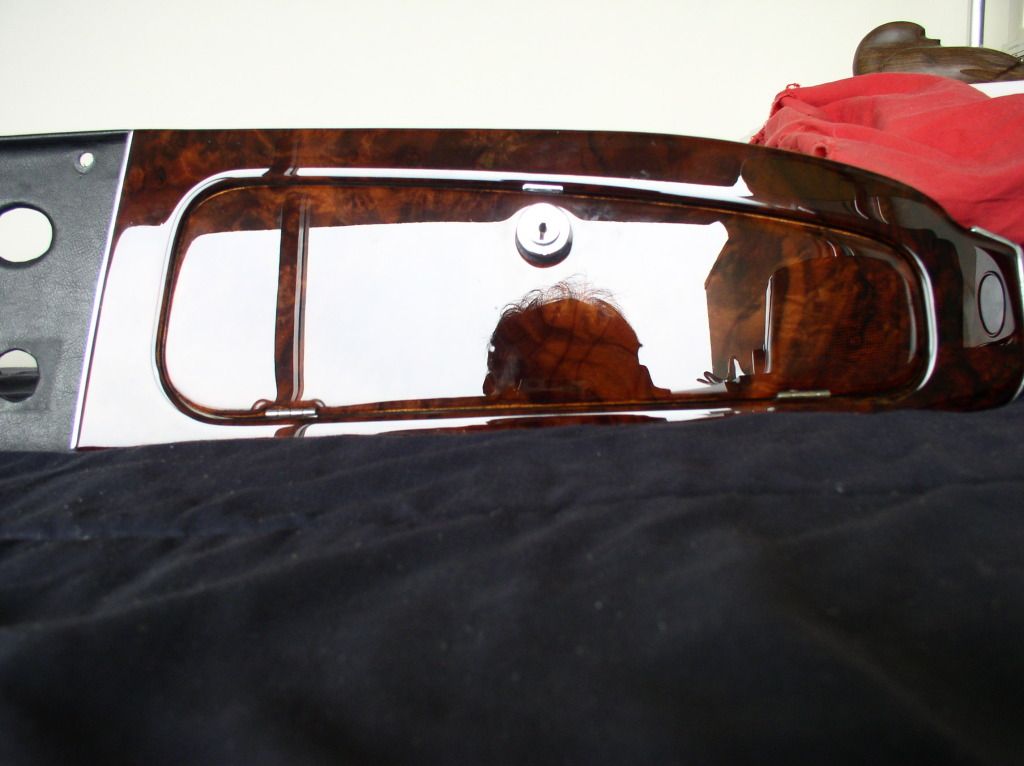
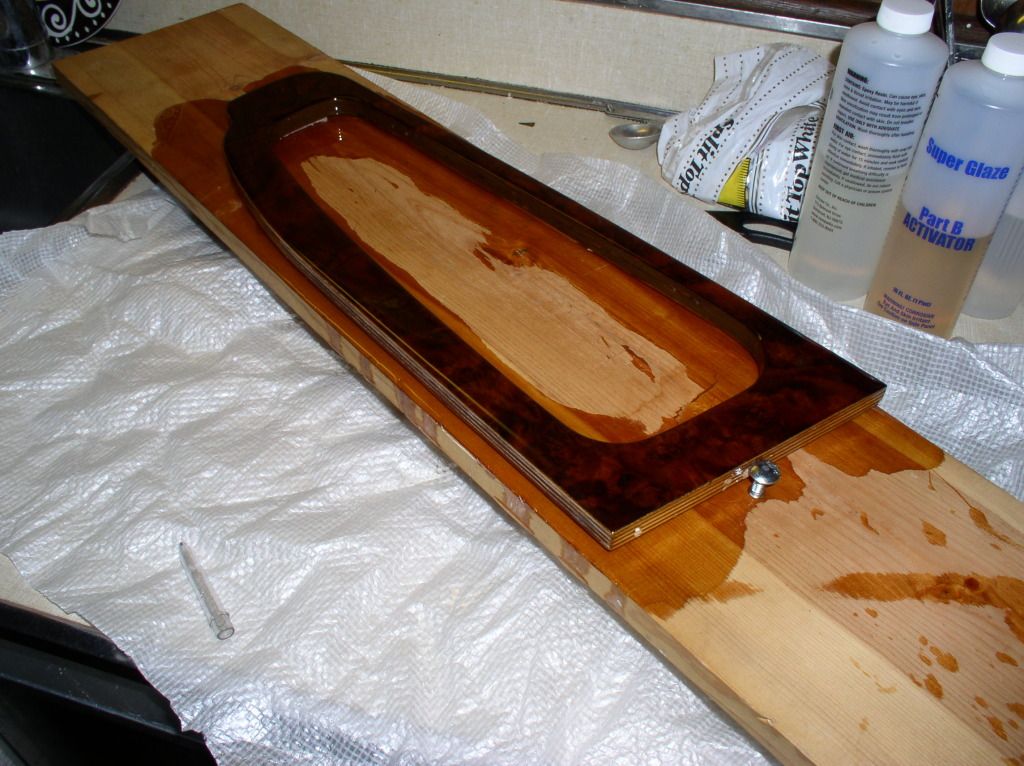
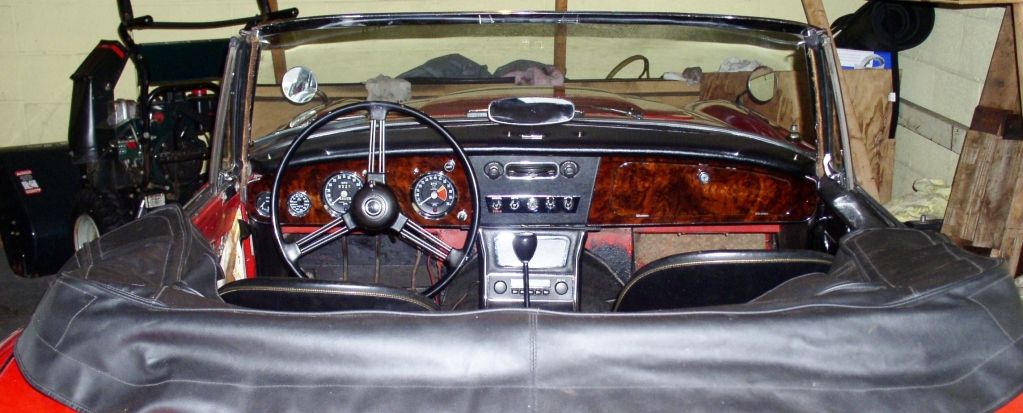
richberman said:Nicely done!