• Hi Guest!
    You can help ensure that British Car Forum (BCF) continues to provide a great place to engage in the British car hobby! If you find BCF a beneficial community, please consider supporting our efforts with a subscription.

    There are some perks with a member upgrade!
    **Upgrade Now**
    (PS: Subscribers don't see this gawd-aweful banner
Tips
Tips

New Guy with a sprite... Sorta

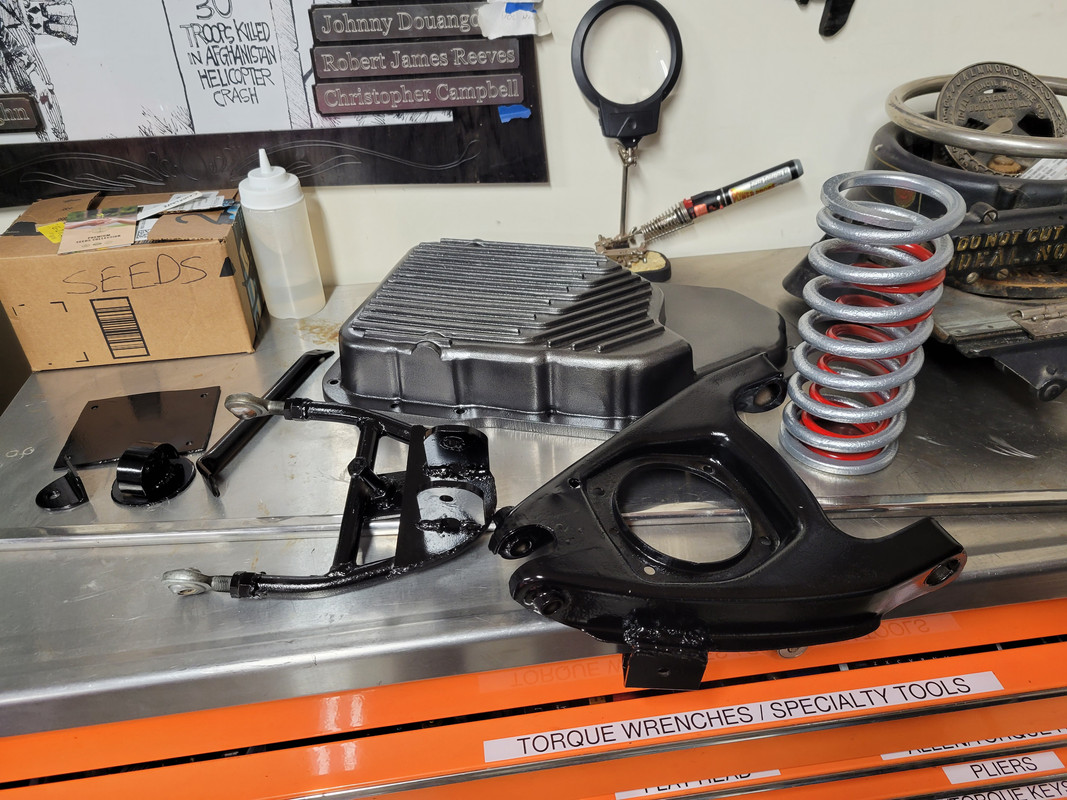
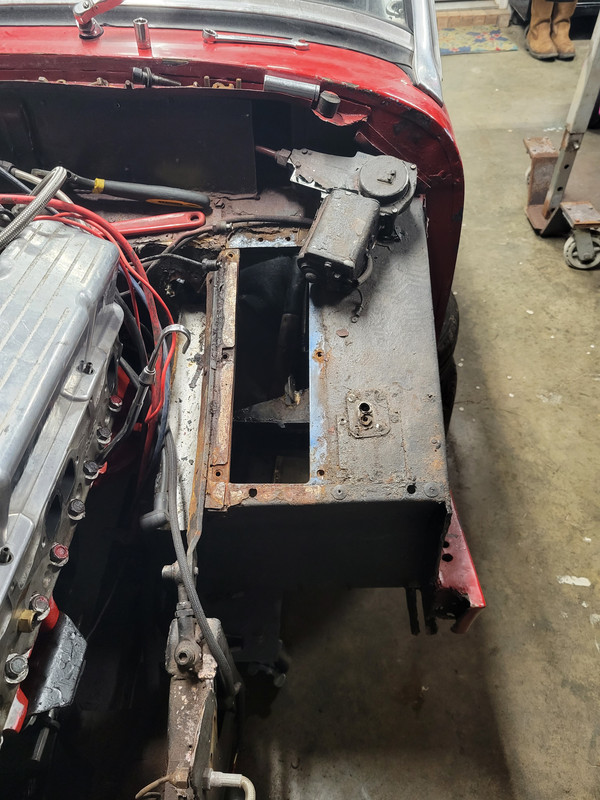
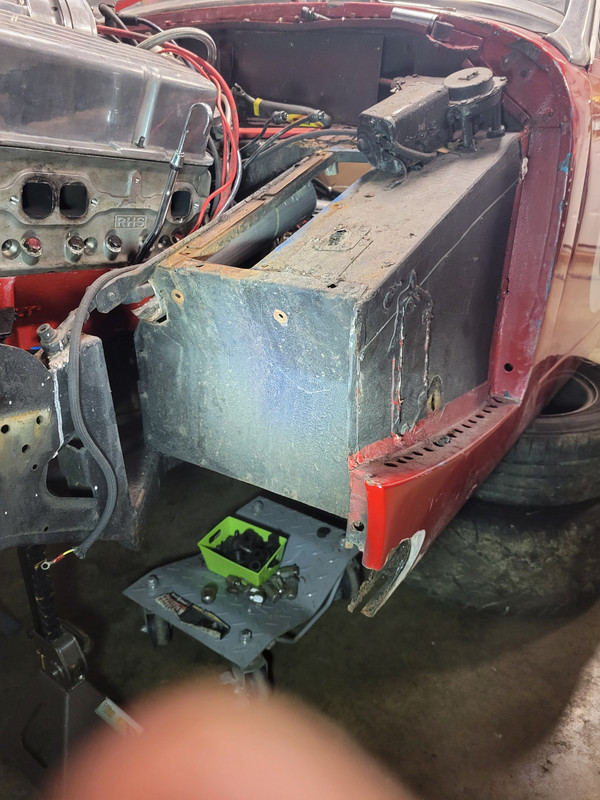
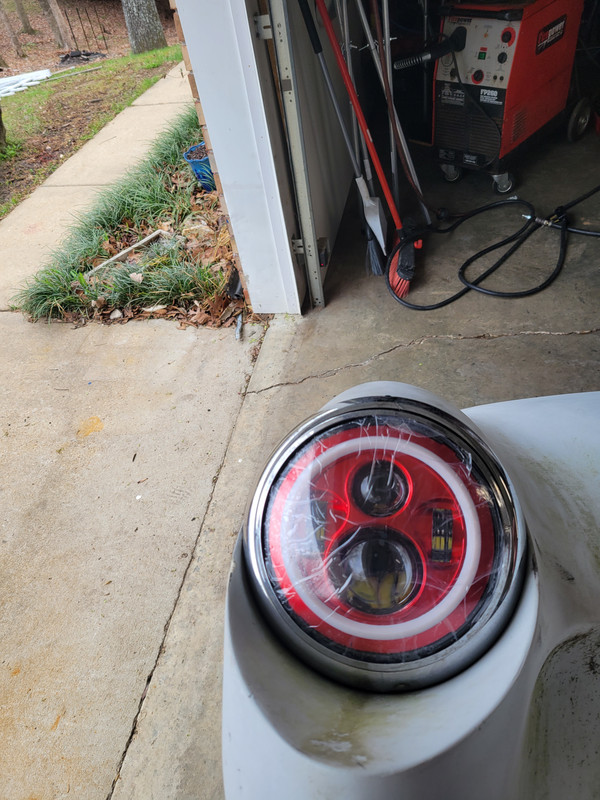
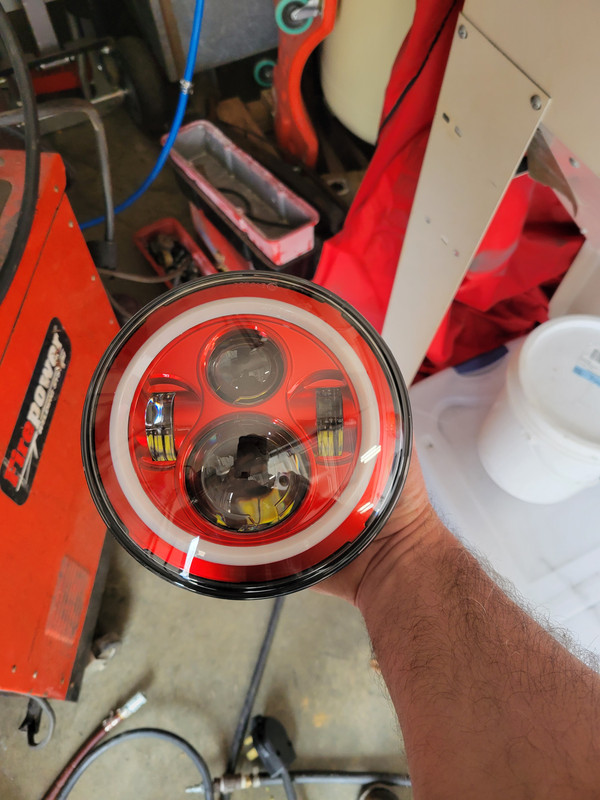
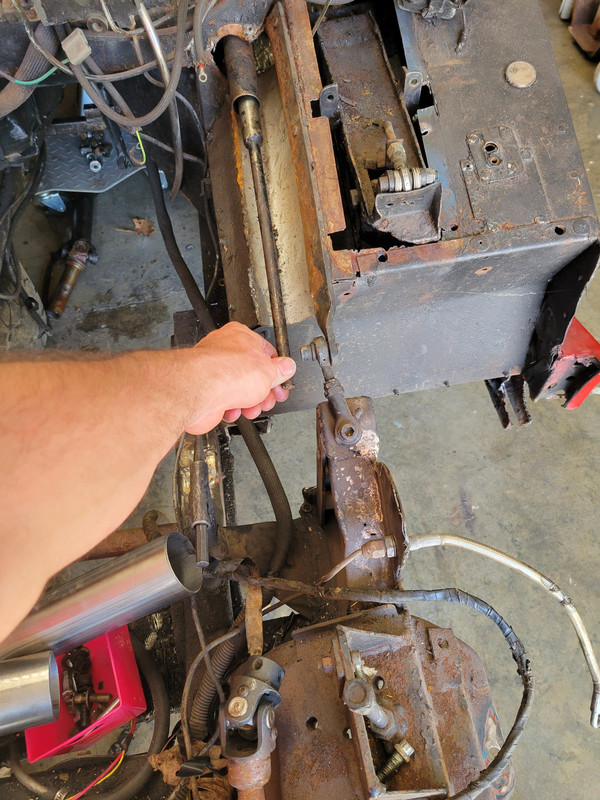
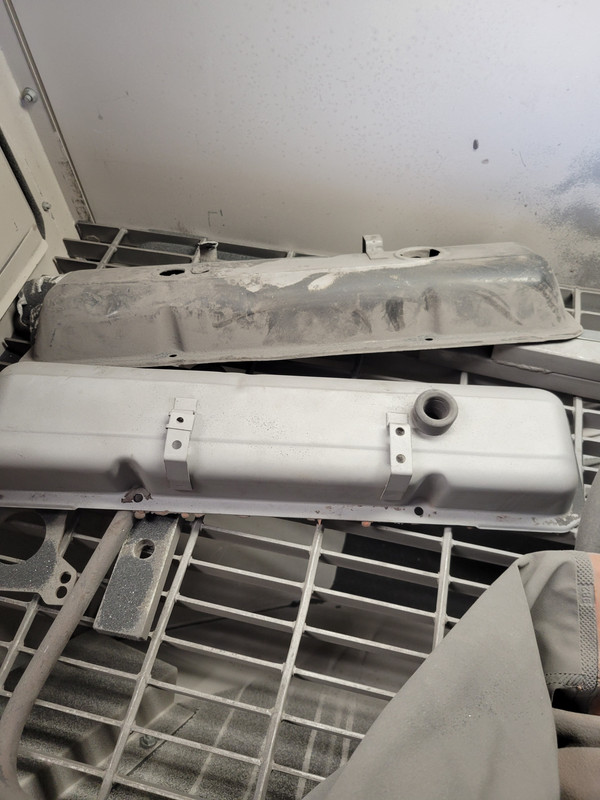
I got a cast 200-4r pan when I was down in "Dr.Entropy's" neck of the woods and decided I'd powder coat it. Just got done powder coating the cast deep pan, silver vein grey. I like it. The control arms and hardware (just 1 side at the moment)I did in gloss black, and I really liked how they turned out. I did the inner spring in red and the outer spring in single stage chrome powder... I wanted some contrast and I figured, why not. It should look really good when it's all bolted together. I gotta pull the passenger side and do it now, then some other odds and ends on the front and then... bolt it all back together, shiny and clean.
 
Oooo Shiny
 
Figured out half way through that I have 2 separates types of powder coat guns... 1 just low power... 1 low and high power. High power powder coverage is a night and day difference... other side, and sway bar hopefully tomorrow... then I'll clean up the front frame and paint it with nice gloss black POR-15. Sway bar in front chrome powder or red... or black... thoughts? I'm thinking chrome powder like the outer spring in the pic above
 
"Not a lot to report today... pulled half.of the front suspension off, it was disgusting"
Disgusting? heck no: that's 'patina'. Doug
 
In all fairness... it was disgusting. Plus this allows me to replace bushings, fix cracked welds (a couple, from abuse) and replace all fasteners... For years, Toss a bolt here from the bolt bin... I'll sleep better at night when I drive now.
 
Sandblasting the next round of parts so I can powder coat them this weekend. Front sway bar, some brackets, expansion tank, etc... going to pull the springs and other stuff out from the rear and go over them as well this weekend. Nice that ever thing fits in the oven and cabinet.
 
saw this today - different kind of bonkers but still bonkers

 
I do love that car...
I got a lot done today... not as much as I wanted, a few of the parts weren't stripped as well as I wanted do I didn't coat them. Ordered a ton of parts that I needed and went digging through old boxes to find parts that I hope I can use on this one... QA1 double adjustable shocks... yeah, they are for a camaro but I hope to make them work. Also ordered fiberglass supplies for the upcoming front end work, and also bushings that I need to put everything back together. I think I'm going to redo the expansion tank so that I can clean it all up a little nicer. Slowly getting progress in but at least it's progress... Shinyness comparison... not quite chrome but still pretty nice. Shocks and a dipstick I'm planning on using...
 
watching with great interest
 
Nothing too terribly crazy going on, besides an insane amount of rain... I moved just about everything out of the way on the driver's side so I can get after it this weekend. The plan is:
1) change how the master cylinder is mounted... it sits a smidge too high and interferes with the hood fitment in that area.
2) install the new gas pedal assembly; this time its going to be floor mounted.
3) clean up the firewall and footwell area so it looks a lot cleaner.
4) start fabrication on the exhaust routing from side pipes to exhaust manifolds.
5) finish fabbing up the steering, from the column down to the rack. Some parts have already begun to show up but a ton are still on the way. Also thinking about installing a line lock this go around. I have one sitting around from a previous project so why not.
 
Line lock. Fit it if ya got it! You'd regret not doing it later and ya know it.

...and I see it's gettin' warmer "over there"... proper "safety flip-flops"!!! (y)
 
New headlights showed up today... some may hate them, I wanted to do something different (shocker)... car will be red again, reason for the color.

 
You don't think the headlights will spoil the originality? 😂
 
Hopefully your weekend was more productive than mine. Between honey do projects and running out of welding wire, I didn't get nearly as much as I wanted to accomplished, but still, I'm kicking the can in the right direction and progress is progress right?! Got the spot for the master cylinder cut and now I just need to clean up the underside and cut the pipe I snagged from my parents farm and I can weld that on the underside. I also got the final pieces to sleeve the rod for the steering and that will be done as soon as I get my welding wire here. Lastly I added a brace to the frame and I'm going to build a removable support brace for the frame area between the trans and the engine. I got sick of dealing with moisture in my air lines so I got a refrigerated air dryer. Going to build a cart setup for it once my welding wire gets here.


Let us know how the dryer works out. I'm constantly disassembling the in-line silica one here to put a tray full of the beads under a heat lamp to evaporate the moisture. Even with that, after a few hours' running, when I purge the tanks water flies out first. Real PITA.
 
I will do for sure... just went for the first batch of fittings. All my air lines are 3/8 until I build my own shop in the future and branch out to 1/2. The silica things just make me angry since running a sand blast cabinet, the compressor is on constantly and the amount of water generated is immense. Even with the water traps open constantly and a steady stream of water coming out of them, the sand and gun turn to mud and clog horribly
 
Same here, water flies out of the air tools after a few minutes if I've not done the drying routine recently. Die grinder, especially.
 
The compressed air dryer was easily one of the better investments I've made so far. Got it hooked up, also replaced the glass viewing window and the work gloves... cleaned out the vacuum filter. If I sifted out the debris from the sand it would be perfect. Either way, it was a night and day difference. After about 30 minutes, a valve cover that was covered in thick oil and paint, etc was almost done. After I was finished with 30 minutes of constant compressor running, and a torrential downpour going on outside, I layer into the desiccant filters to see what they had in them. Not a speck of moisture. Zero humidity in the lines.
 
Encouraging! THX for the eval.
 
Back
Top