but were afraid to ask:
 HerronScott
Darth Vader
Offline
Looking good!
Scott
Scott

 Hey Guest!

 Hey - did you know if you click on the title of a thread it will take you to the first unread post since you last visited that thread?
 STOP!! Never post your email address in open forums. Bots can "harvest" your email! If you must share your email use a Private Message or use the
  smilie in place of the real @
 Pretty Please - add it to our Events forum(s) and add to the calendar! >> Here's How <<
  Change the look and feel of the forum to fit your taste. Check it out
 TR4nut said:Geo Hahn said:I think that's called 'Ratchet Reset Day'.
I like it! Just wish there was 'Close Wallet Day'.

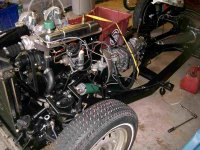
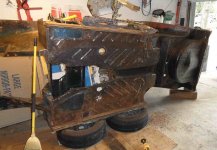
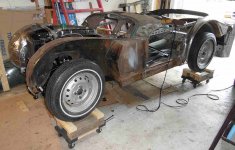
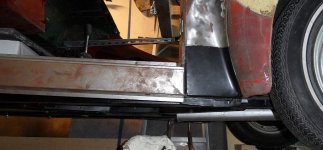
TexasKnucklehead said:Another milestone? I'm sure the tub will be on and off multiple times before it 'settles in', but today was the first time I put it back on. I wanted to check some panel alignment, and knew the frame had to be sitting on the wheels on a level surface. The dollies had to be remade, I nearly forgot to remove the hand-brake lever, and my non original hanger for the exhaust was in the way, but I got it back on the frame. Now I can't seem to line up the pairs of holes (angled front frame section where the slotted aluminum spacers go). I have the pairs of bolts/nuts on the very front and very back installed (finger tight), and the other holes are close, but these are way off. Is there some trick to this? This trial fitting was a lot more work than I'd expected, but maybe it's just the heat of the garage talking.
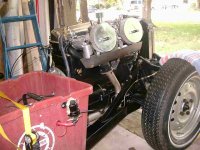
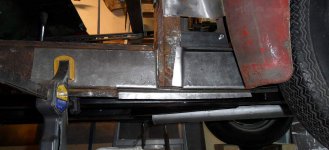
M_Pied_Lourd said:the suspension tower brace
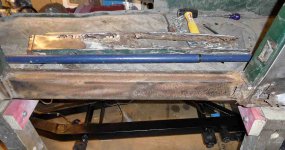
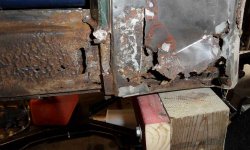
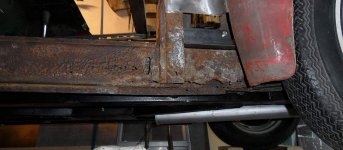
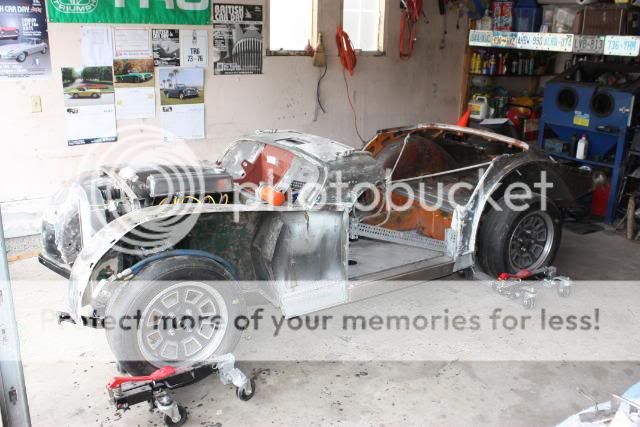
hondo402000 said:shouldnt you spray some primer on that bare metal?