• Hi Guest!
    You can help ensure that British Car Forum (BCF) continues to provide a great place to engage in the British car hobby! If you find BCF a beneficial community, please consider supporting our efforts with a subscription.

    There are some perks with a member upgrade!
    **Upgrade Now**
    (PS: Subscribers don't see this gawd-aweful banner
Tips
Tips

Differential and rear suspension

neilert

Senior Member
Offline
Winter is here, and I'm going to work on the healey's rear end. It's a Longbridge BN4. I don't want to restore the car, but would like to make sure it's safe. Currently the axle hits the frame on rebound. The repairs will take at least a few months.

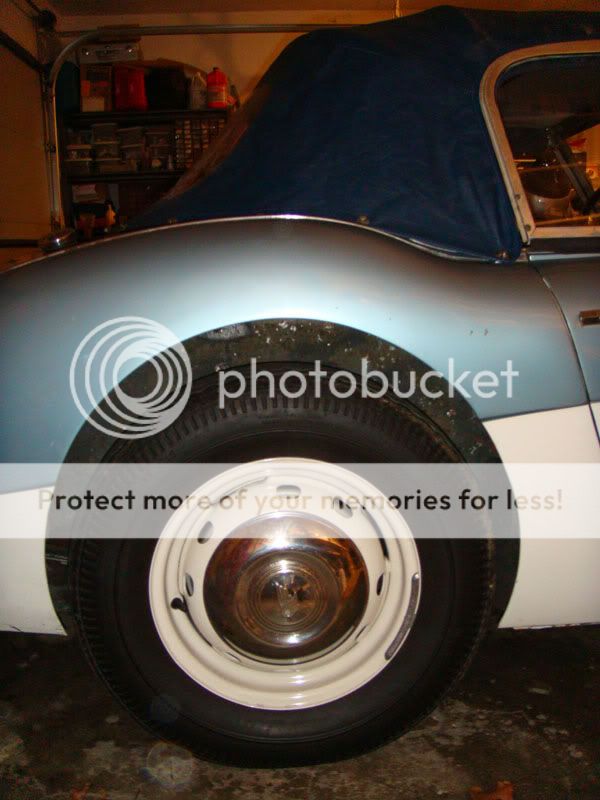
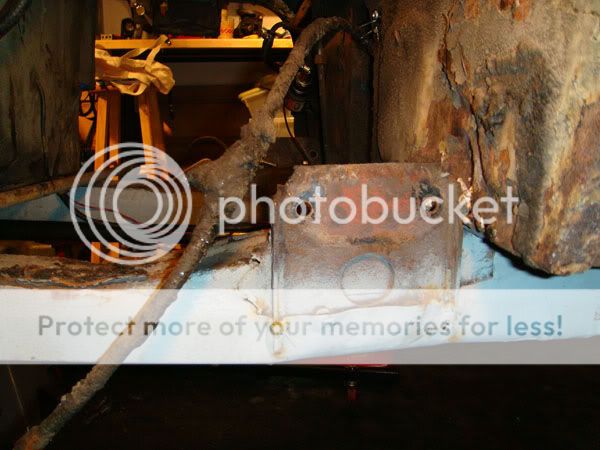
The rubber bump stops are missing and bump stop boxes are rusted out. The left rear sits 2" lower than the right rear, and both sides ride too high. I'll post some photos and dimensions as I go. Here's the rear right side sitting too high.
rearright.jpg


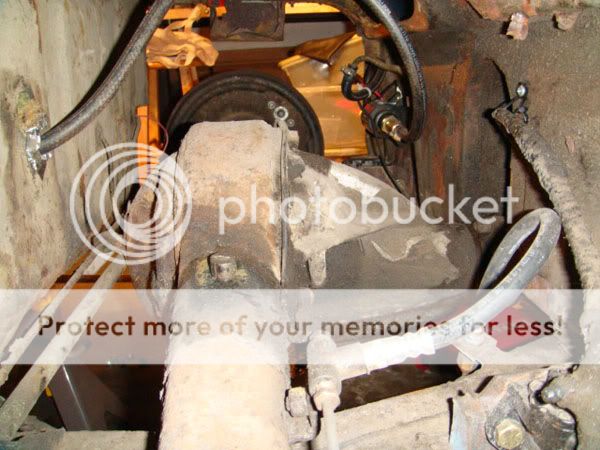
The pinion seal also needs replaced, and we'll see if the bearings need replacement as well. Here's the oily differential before removal.
oilydiff.jpg


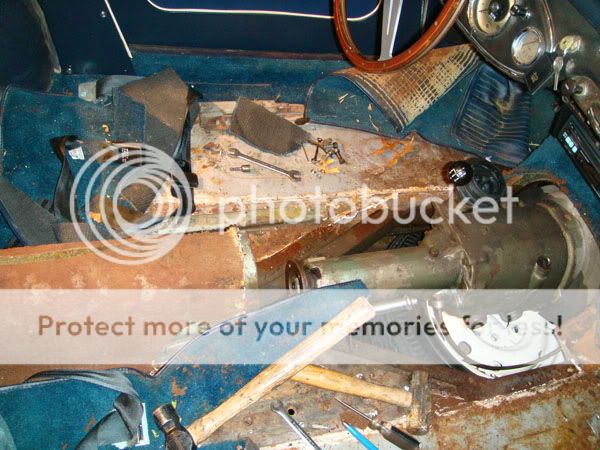
While all of this is apart, I will replace the driveshaft's u-joints and replace the handbrake cable and old interior carpet. The seats, carpet, and transmission tunnel came out in about 30 minutes. This stuff always comes out faster than it goes back in.
interiorcarpet.jpg


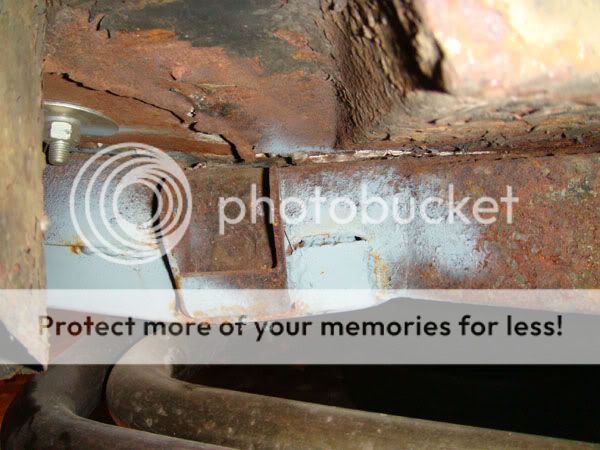
This is a photo of the rear left spring front bracket, which is welded in crooked. The frame has some previous damage and rough repairs as well.
springbracket.jpg


Here's the right shock bracket, also with rough welds. I'll try to take some frame measurements tomorrow night to compare to the factory drawing for replacement.
rightshockbracket.jpg


Feel free to let me know if you see anything major that needs attention- I appreciate the help.
 
I'm not an expert but in light of all the apparent rust, it may be a good idea to evaluate the integrity of the frame and other structural elements.
 
nevets said:
I'm not an expert but in light of all the apparent rust, it may be a good idea to evaluate the integrity of the frame and other structural elements.

I'll second that suggestion. Clean and degrease completely to a sound substrate.
 
I spent a year just addressing issues like yours. Don't compromise on safety. If you find yourself saying that your repair is "good enough," it's not.
 
Thank you for the suggestions. I agree that the frame is going to need a lot of work. As it is cleaned, checked, and measured I'll post photos. Yes, the chassis outriggers are bent. Is Kilmartin's the way to go for the frame pieces?
 
I would not use any frame parts other than Kilmartin. No question. I replaced all four outriggers, front and rear crossmembers, sills, rockers and all floor and trunk sheetmetal. Kilmartin is the way to go.
 
Cutlass, were your frame repairs done with the body on or off? This looks like it is going to be difficult with the body on. Any photos and lessons learned during the repairs would be appreciated.
 
Hi Neil,
One of the measurements you should check is the center to center of the holes on the leaf spring mounts (front to back). They should be 35½". If they are closer, that may be one reason the axle sits high.
 
Thanks for the hint GregW. The center to center spring mounts were 35 1/2" on the left and 35" on the right, which would make the right axle sit higher. Both outriggers need to be replaced.
 
Neil: I did all my replacement with a fully disassembled car. That method has plusses and minuses. The big plus is ease of access. The big minus is difficulty with alignment without a frame jig. If you can weld upside down, and use a wire feed welder, it's doable. I used a tig welder, which is great for thin metal and beautiful welds, but is not easy.

I have seen some very good repairs done without disassembly of the entire car, so it can be done. But always, always pare back to good metal. I also took the time to fabricate and install extra gussets for the rear outriggers and vor the cruciform, as well as boxing the motor mounts. I do have photos, but am not yet able to post them. Maybe when my son comes home for Christmas he can get me hooked up. Jim
 
Neil: I welded the new spring mounts onto the rear outriggers before attaching the outriggers. That makes the mounts much easier to weld. FWIW
 
Welding the spring mounts on first sounds like a good idea for quality welds on the bench rather than upside down on a cold floor. I'll clamp the parts to the frame first to take measurements. I have mig and tig welding equipment, but will use the mig for this because I have more experience with it. I haven't been able to touch the project for a few days- work has been busy. Hopefully I can start working on the frame this weekend.
 
Be sure to check the frame where the outriggers mount. Mine had quite a bit of rust damage, so I had to cut back on the outside part of the frame to weld in a patch before welding in the outrigger.
 
neilert said:
Welding the spring mounts on first sounds like a good idea for quality welds on the bench rather than upside down on a cold floor.
Well Neil, how you gonna get them quality welds from the outrigger-to-frame? :smirk:

I'm thinking you'll need to remove a small portion of the floor boards to get the outrigger welded to the top of the frame. Maybe remove just enough so you can do the vertical welds from the top also. Then weld in patch pieces for the floor.
 
Greg is right. Each outrigger has four sides to weld, one of which is just below the floor pan, not reachable with the pan in place. So without a rotisserie, you have two vertical welds, one overhead weld and one weld you must cut out the floor pan to access. The outrigger also has these issues. I would also suggest welding on the gussets after the outrigger, as the gusset conceals the adjacent vertical weld on the outrigger, thus if you try to attach the gusset to the outrigger first, you can't make that vertical weld on the outrigger/frame joint.
 
Hi Neilert, I just finished doing my frame and floors, so I guess I'll throw in my two cents. You have a pretty big project ahead of you so don't fool yourself. Once you take it apart as far as you are going to, don't short change the work because the structural integrity is severly deminished by all the rust. One spot I must emphasis is that I found that even though my floors didn't look that bad, they were in reality, TERRIBLE. then once I cut out the floors I found that I had some places on the top of the frame rails that were rusted thru, because the floors trap moisture and garbage on top of the frame rails. You will be doing alot of welding upside down. That's just the nature of the work. I personally put the spring perches on the outriggers after I welded in the outriggers. I took copious measurements before I cut anything apart. With new outriggers and gussets welded in, I dupicated the measurements and welded the spring perches in. If you put the perches on first and you get the angle of an outrigger off just alittle, you will have the perch off alot. If the perch is put on last, you could compensate for any variable you may have created in setting up any other piece. I have some good clear pics but I not sure I know how to get them on the forum. I will try later.
Good Luck.
 
Neilert, Be very deligent in placing the rear outriggers. Look at how they are attached to the outer body at the inner sill. That outrigger must be placed with exact measurements so that you don't force the body high or pull it low. This locating will affect the height of the spring. Take measurements from places that will not be affected by your disassembly, ex, being the top of the inner sill. I welded in a piece of 1 and 1/2 inch angle iron across my cockpit about 10" above the outriggers to use as bracing but also to use as sort of a datum line to take measurements from. I used 1 & 1/2" so that it would not flex or bow giving me false references later on.
 
FWIW, but "just replacing the outriggers" led to a complete disassembly and "restoration" of my Longbridge BN4. The outriggers led to the sills and floors being replaced.

Also, I found the new spring mounts were thinner than the old ones, so I welded a brace on top of the outriggers and spring mounts to beef them up to minimize side-to-side flex.
 
Back
Top