Cancelled and stuck in Chicago...no surprise there for anyone who's been through O'Hare.
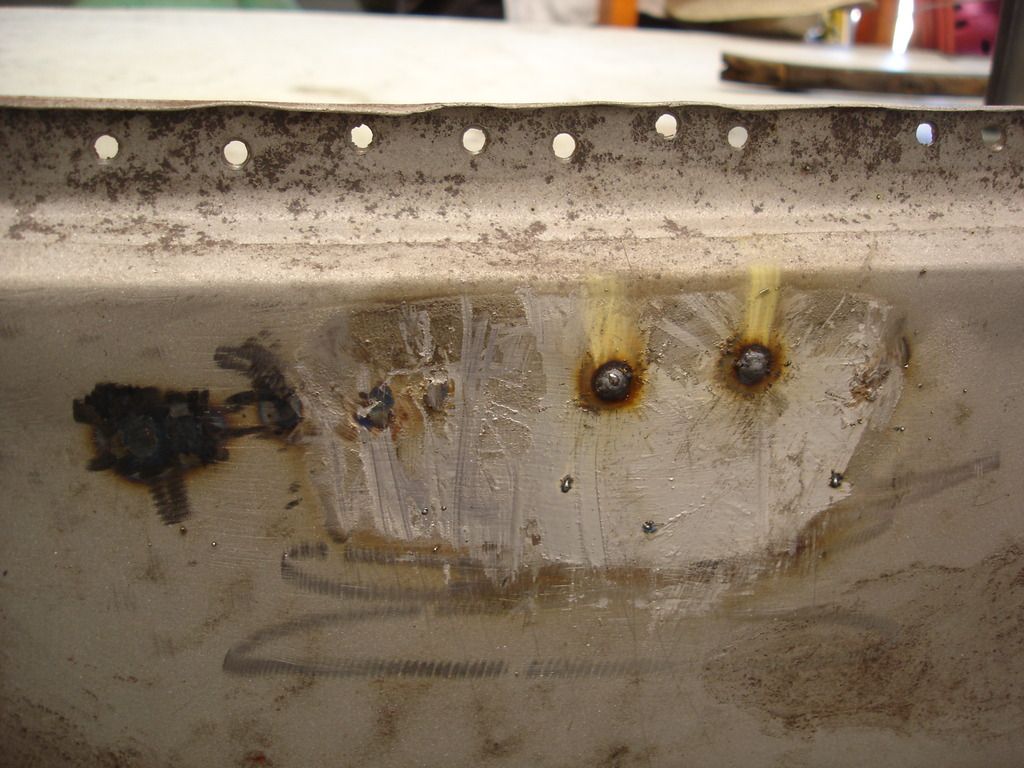
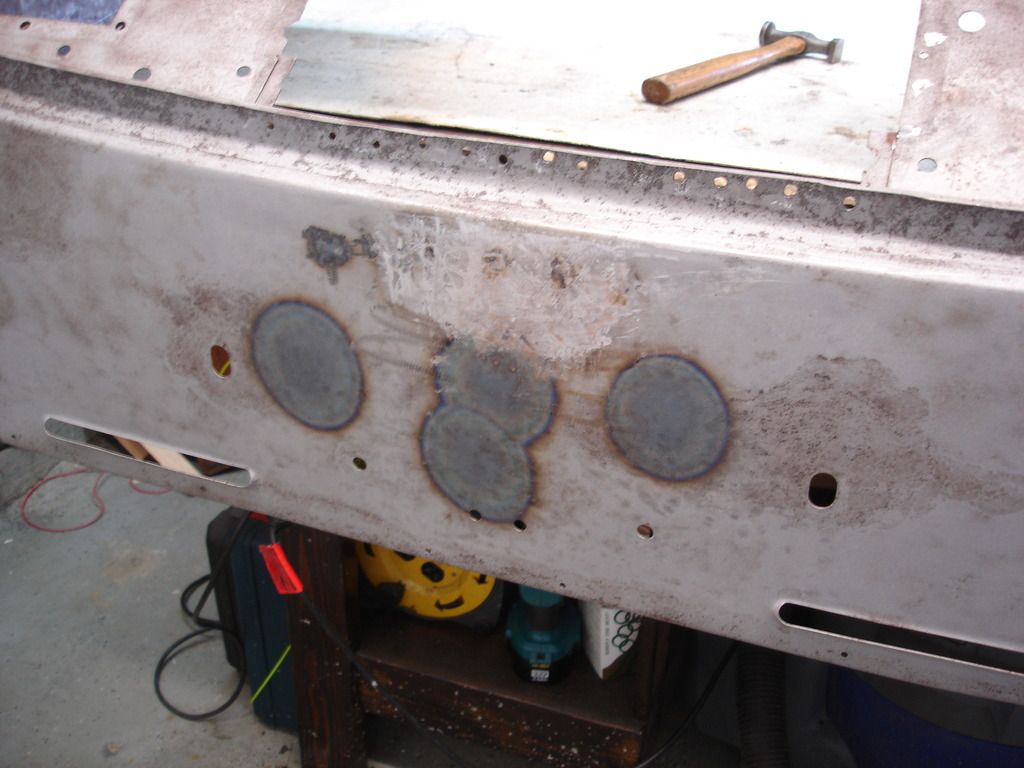
So, here is the starting point...the center of the scuttle. I have plug welded the holes that don't belong. The beads are ground flush, and the panel has been worked straight with a hammer and dolly. But, it oil cans, so some shrinking is in order.
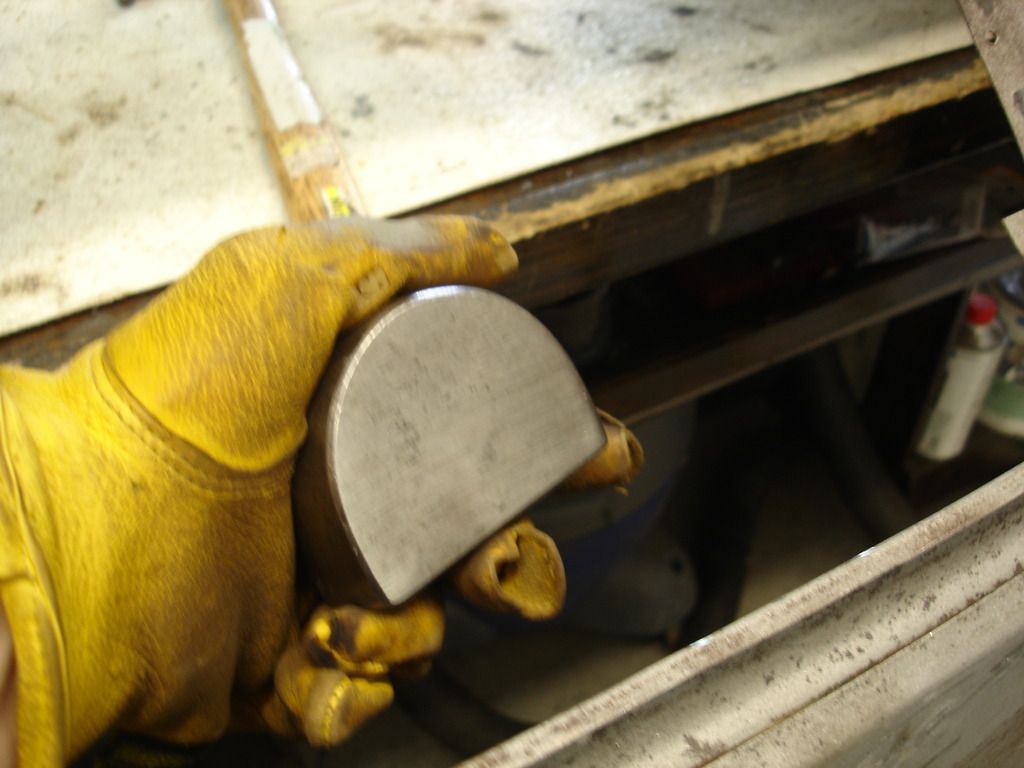
The first step is to get all your tools in line. This section of the scuttle is very near flat, so I selected a flat side of a dolly to act as the backing.
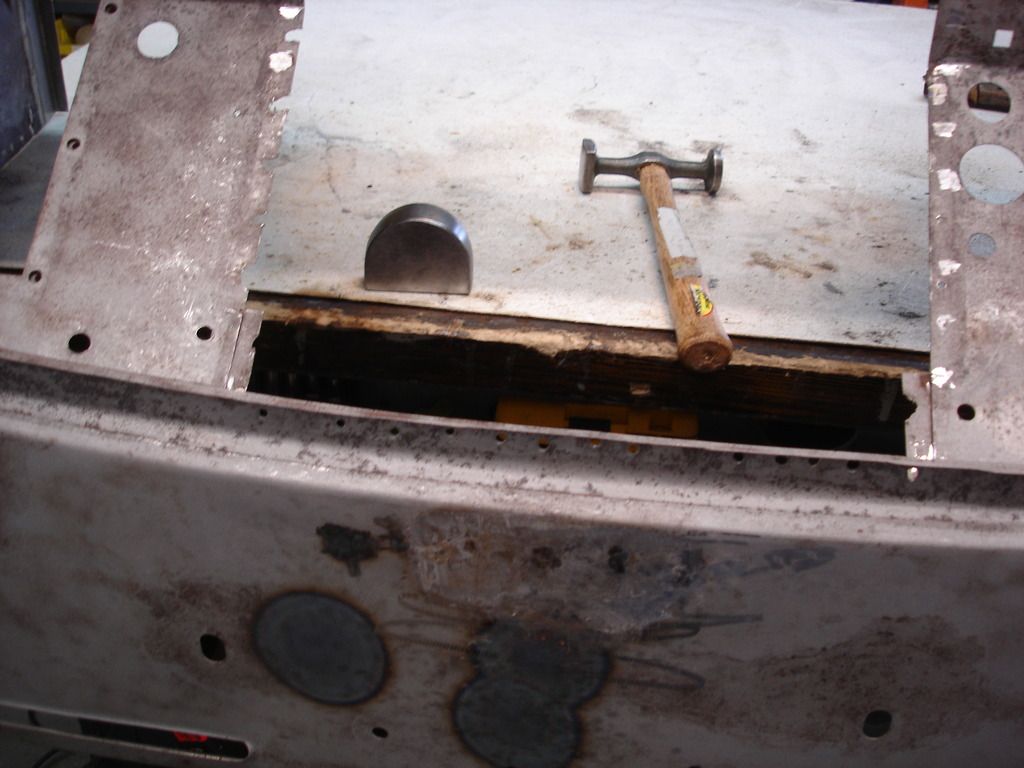
My hammer of choice is the heaviest I have with a flat head. It is very, as in VERY important to locate the hammer and dolly so you can reach them in a second or two. Decided which hand will do the hammering, and which the backing, and line the hammer and dolly for rapid use. Here I am ready for my right handed hammering.
After the first couple tries, I found myself fumbling to reach through the battery box hole, so I eventually lined them up right on top of the scuttle. The reason it is important is that you want to heat the panel to red hot, and then have time to set the torch down and start hammering before the red glow disappears.
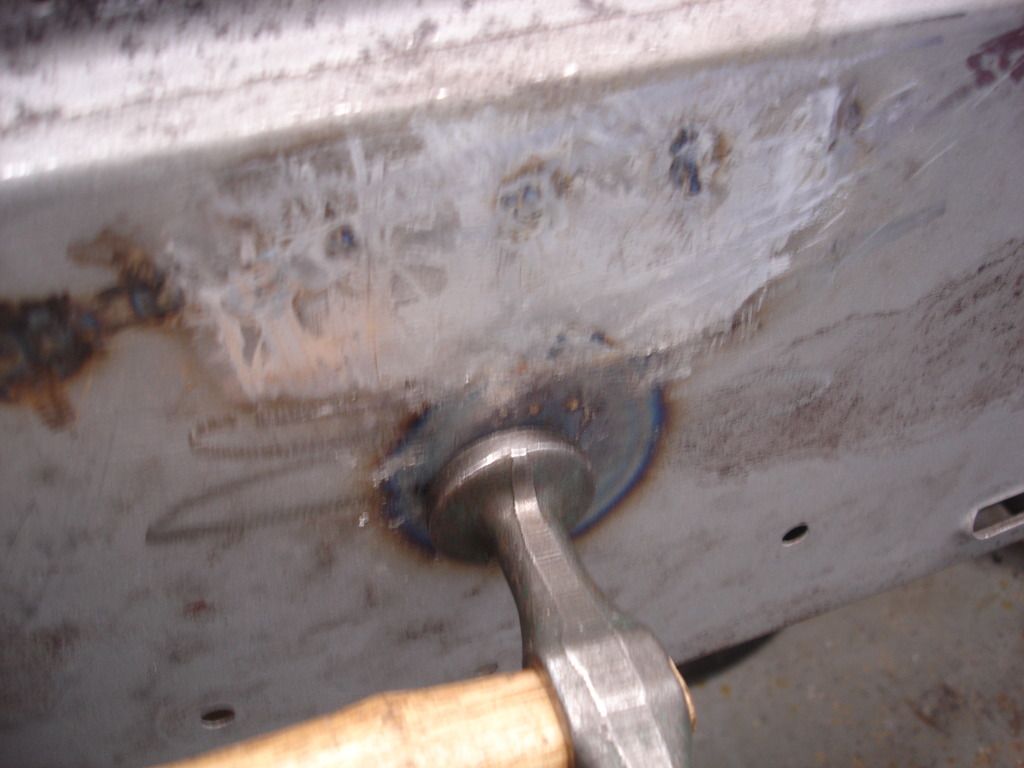
Here is the first spot for shrinking. I found it as it is the very center of the oil can. Heat it red hot, at about a 2" circle.
If you are new to shrinking, the scary part is the amount of distortion you get by heating the metal. This is a bit blurry, but in the upper area you can still see the red spot on the scuttle, and look at how far the metal has distorted outward. I would estimate it's about 1/2".
Now, once the metal is bright red, set down your torch, grab the hammer and dolly...and beat like **** trying to flatten out that distortion. Most hammer work is just gentle tapping. This is the exception...you need to beat it hard, fast and furiously for a good minute while the spot cools. You will get back to tapping later. This is a time to forge the metal in against itself like Ye Ole' Smiths used to do.
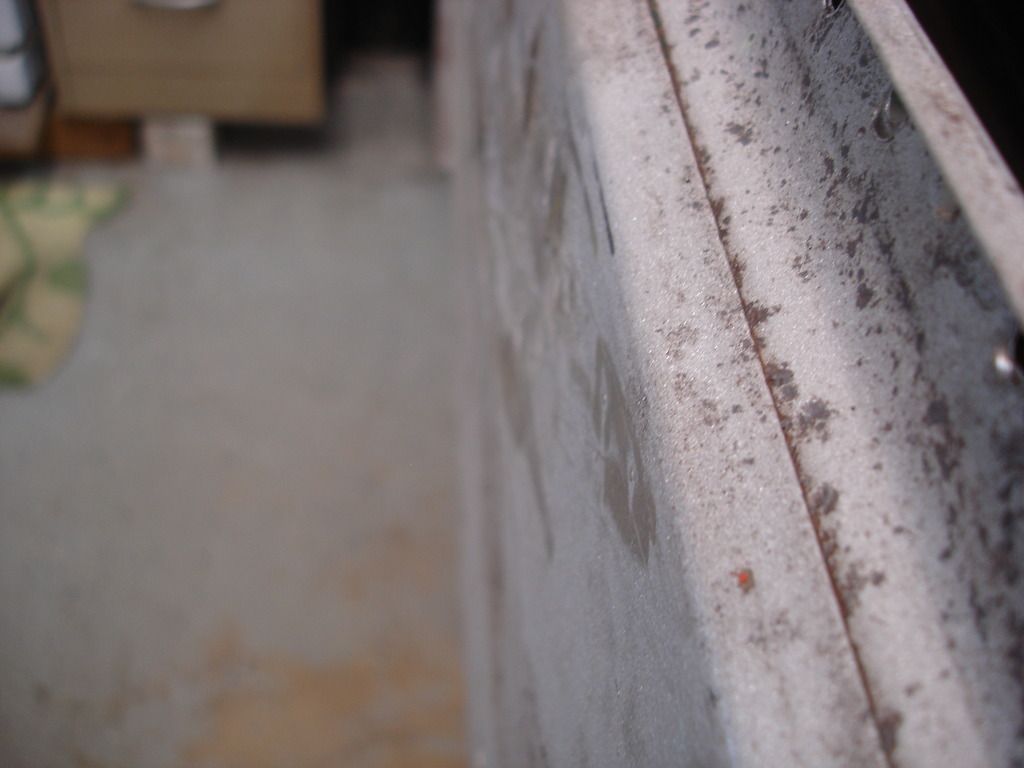
Here is the side view of that same first spot. Notice that all that distortion has flattened out nicely. But, we are not done. Now press around the spot you shrank and you will find that the oil can has moved off to one or both sides. Pick the worst spot...and do it again!
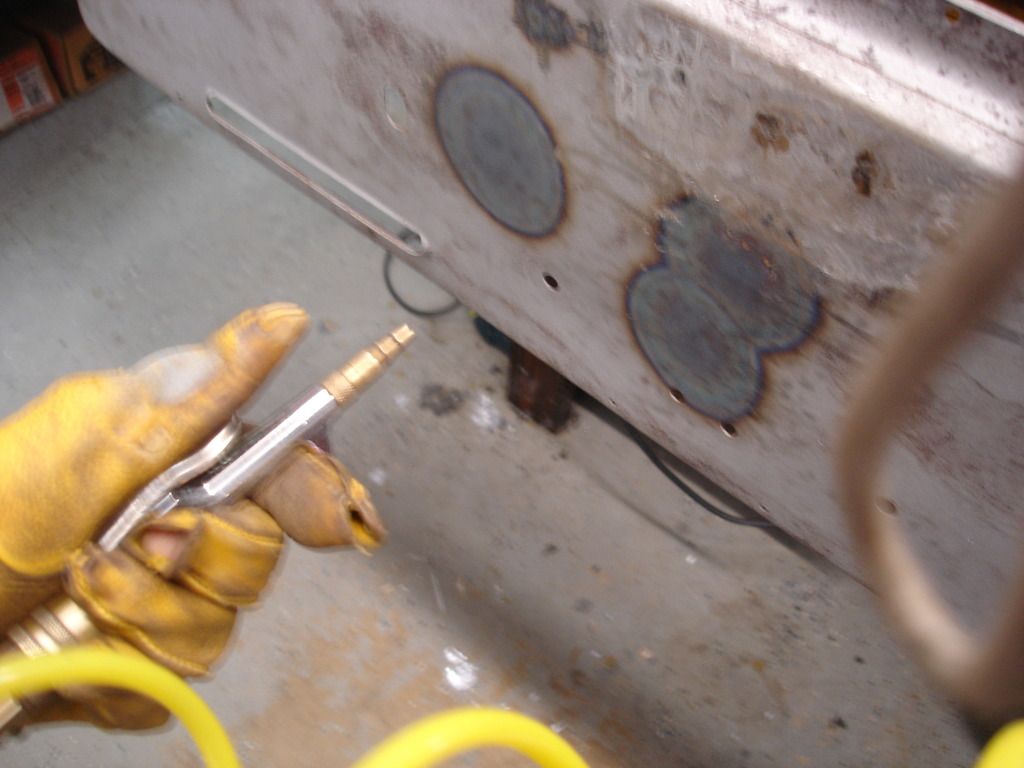
It is important to remember that when you finish beating the metal, and it has stopped glowing, that it is still extremely hot. Being hot means that it is STILL distorted! So, you have to wait for it to cool to see how the panel faired. Let it cool before you pick the next spot to shrink. In this pic I am using my air nozzle to speed the cooling process. It's pretty cool (no pun intended) watching the metal rapidly move into place as you hit it with the cooling air.
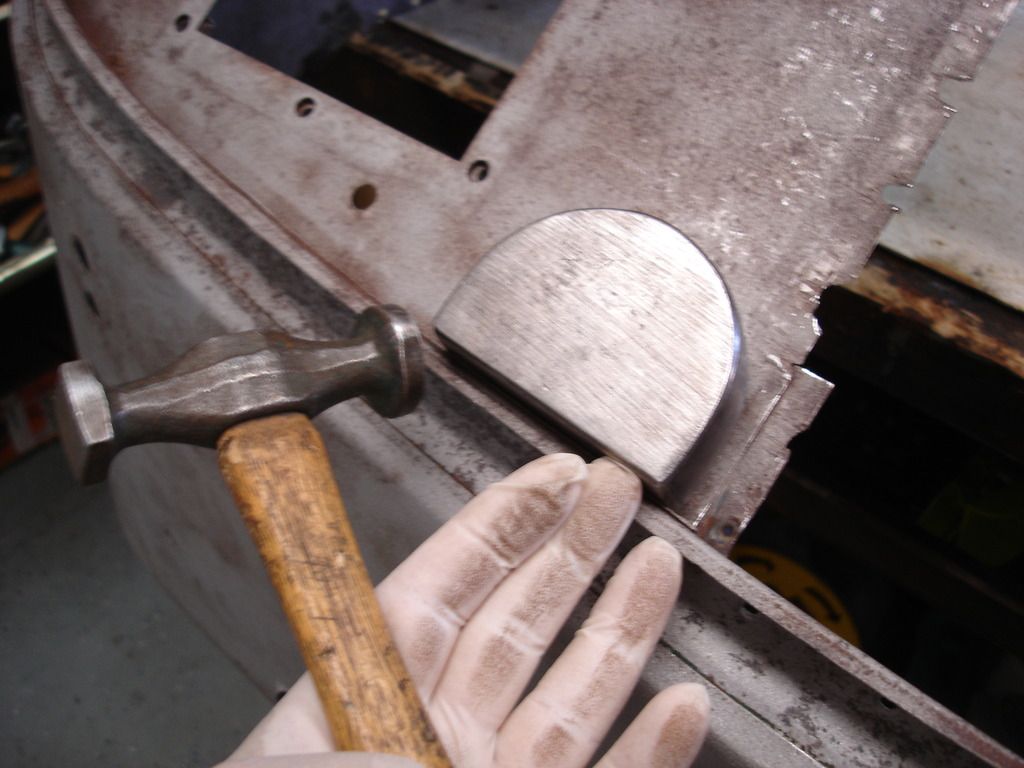
Now, once you reach a point where the panel is cool and there is no more tendency to oil can, it is time to shift back to the "tap" mode of hammering. No more hard whacking! Here I am gently working on flattening the edge of the shrunk spot, which will always come out a bit wavy. You can tell when it's flat again, because the hammering will change from a dull thump, thump, to a "ring" as the flat panel allows it to contact the dolly.
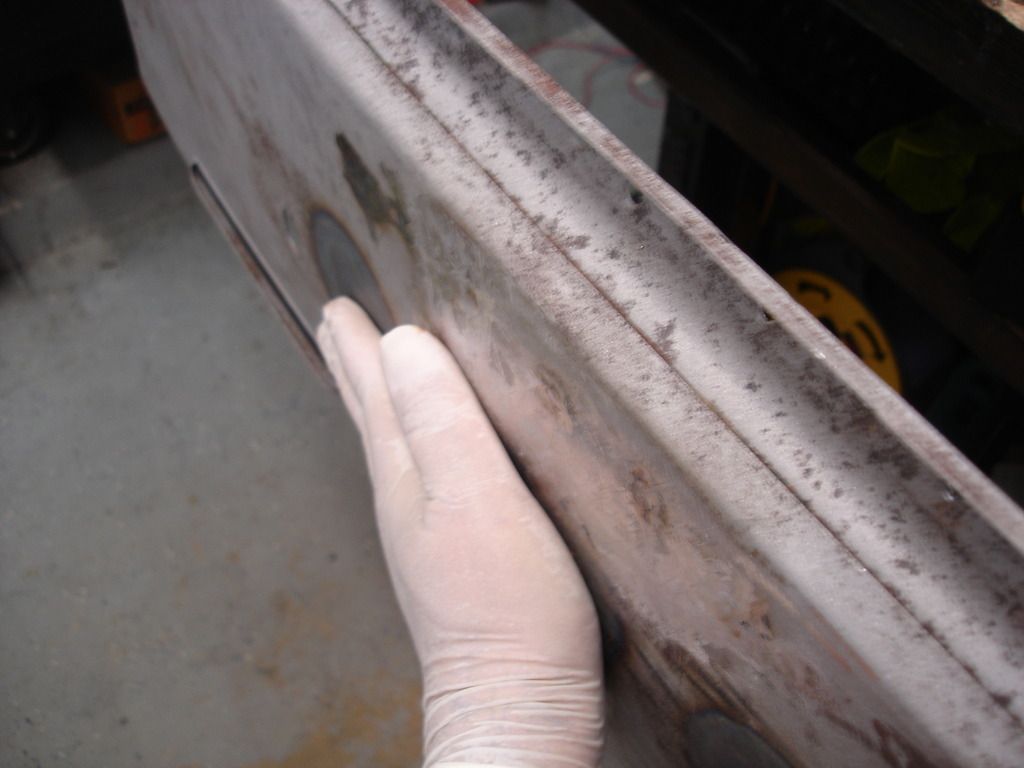

I cannot emphasize enough that learning to use your hand to determine low/high spots is absolutely essential. Here I am rubbing my hand back and forth to "feel" every wave in the panel. It will start with so much warpage that it just feels "rough". Just slow down your rubbing until you can isolate any particular high or low spot...and tap it.
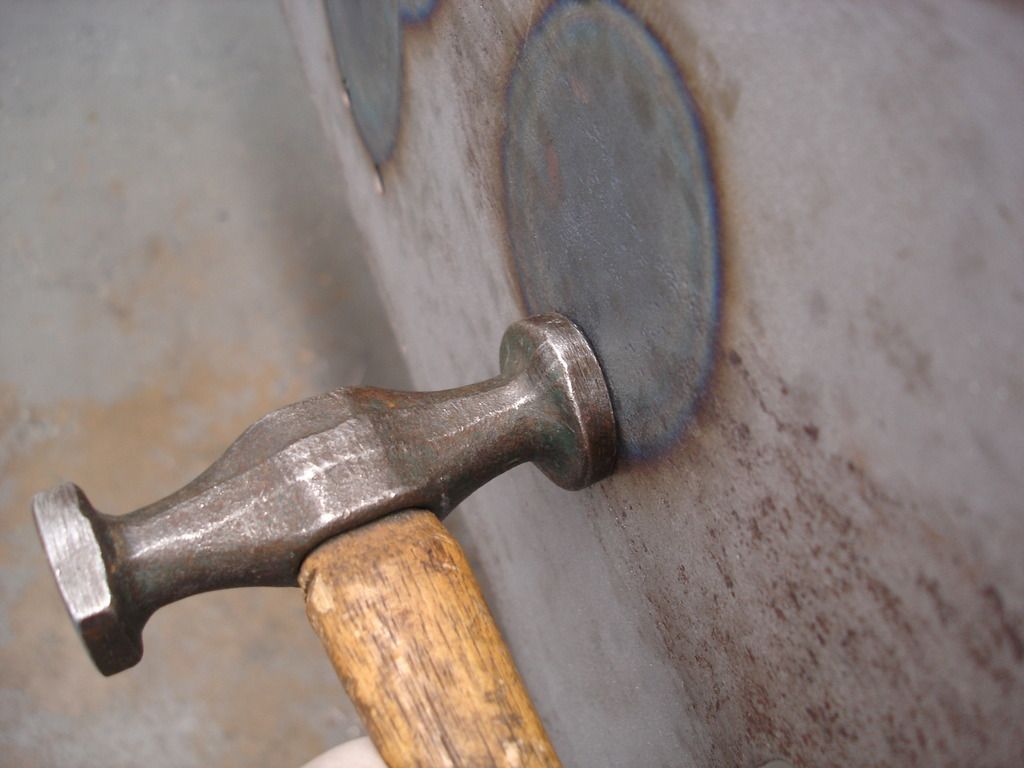
Then check some more and tap the next spot. Pretty soon you will work it down to just a handful of problem spots. And, eventually, the large head hammer seems to not help fix those spots. That means it's time to switch to a small head hammer. You have reduced the waves to small spots...so small hammer to work them.
In the top of the next pick you can see the small headed hammer I used to do the finish work. It does a better job than the large hammer in "isolating" the spot you need to move.
Here is the finished scuttle. It took 4 heatings and a good 2-3 hours of hammering. That sounds slow...and it is. You cannot rush bodywork.
So...that's a detailed description of shrinking. A quick note about safety. You find yourself rushing to set the torch down quickly to catch the hammering while the metal is still hot. Be careful! I used to use a torch stand, but frequently found myself rushing so fast that I could not secure the torch fast enough, and it occasionally fell. Not good! I now take a split second to shut off the torch, and then I can almost "toss" it out of the way without catching the shop on fire. Find a fast and reliable system for dealing with your torch during dry runs....before you do your actual shrinking.

 Hey Guest!


")


