• Hi Guest!
    You can help ensure that British Car Forum (BCF) continues to provide a great place to engage in the British car hobby! If you find BCF a beneficial community, please consider supporting our efforts with a subscription.

    There are some perks with a member upgrade!
    **Upgrade Now**
    (PS: Subscribers don't see this gawd-aweful banner
Tips
Tips

T-Series 1953 MG TD Reassembly - CONTINUOUSLY UPDATED

There is a pic in the T series restoration guide pg 107 of a TD on the assembly line. You just about make out the line of screws. Since these screws are not needed for the body, my assumptions are that they were there from factory. It is quite an ugly sill and I don't see why they would not have put them in.
 
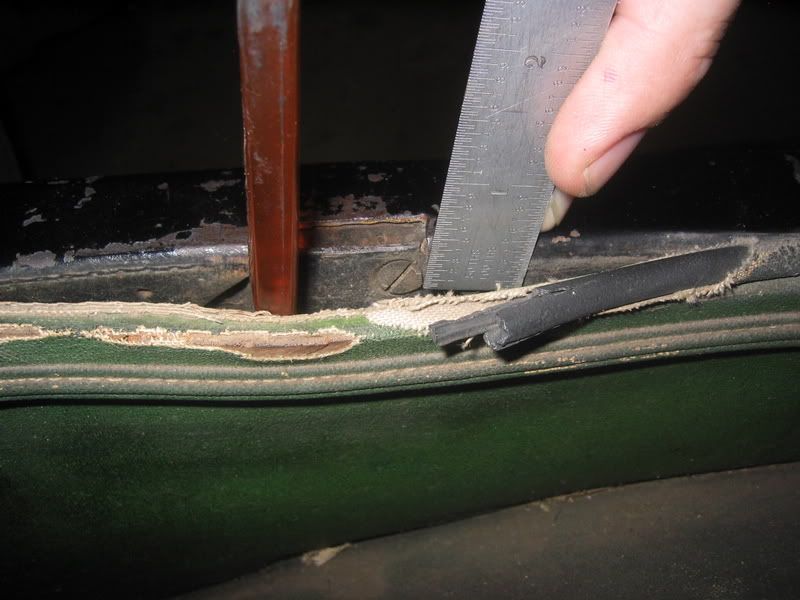
Here is another shot of the side curtain detail. This is all I can stretch it as I am hearing the plywood of the panellig start to crack.
8-01-07-Sidecurtainfastener001.jpg
 
Glad to hear the wood will go back to its original shape - I was hoping it would! The top of my doors were spot on & there was about an eighth inch gap by the time we got to the bottom....this door is finished, will do the other next.

I really think I want to use the sill plates!
 
Think I can figure that bracket out from the photo....looks like the curved part goes into the wood & the flat part is 'out' & the screw is to the rear...found the brackets now gotta find the screws...they are NLA (brackets & screws)...& I guessed they were black & painted them today after sandblasting them.
 
zahnej said:
Hey vping wanna sell those lockset covers?

If money is no object of course they are for sale /bcforum/images/%%GRAEMLIN_URL%%/smile.gif I'd have to think about selling them.
 
Guys,

Back to the sill plates, mine have 2 screws on either end and 3 single screws equally placed in the middle. I had planned to use small stainless wood screws.

vping - is that the spacing of the screws on your car? Looks like it is from the photo.
 
<div class="ubbcode-block"><div class="ubbcode-header">Quote:]I had planned to use small stainless wood screws.[/QUOTE]

What type head? Phillips or flat?

Plates aren't thick enough to countersink for flush screw heads.
 
Yes, from back to front. 2 screws at the rear where the body sem is. Two at the front in a location similar to rear. Three in the center equal spaced.
I took mine off and got a good look at some really old California dust. The screws holes are about 1/4" from seam that runs from front to back. The plates are flat and what appear to be Clear Anodized Aluminum with a slight curve to match the body contour. The screw are chrome palted brass oval head slotted 1/2" long #4? wood screws. Might be a #6.
 
vping-

I've got the covers but mine are a bit chewed up from the striker hitting them. I'm looking for a set that aren't chewed up - I don't care about the chrome as long as it can be replated.

Ed
 
/bcforum/images/%%GRAEMLIN_URL%%/winner1.gif

We have some more confirmed originality folks.
 
So, one more photo of those little #4x1/2" round headed slotted wood screws, please.....oops, chromed brass screws.

By gosh, we might even place at a car show somewhere someday!
 
Vping,

I am tring to get a picture of the routing of the fuel line from the pump as it goes down the firewall. Have seen restored cars with it inside the horn, outside the horn, uniform loop, sharp bends, etc. If you have an original unrestored car I would very much appreciate a photo of the line. No rush - at your leisure.

Ed
 
A few photos back I included them but a detailed on will have to wait. Got to get up & go to work at 4 tomorrow and the garage is closed.

Humbly, my name, small print, engraved on the bottom of the trophy is all I ask. /bcforum/images/%%GRAEMLIN_URL%%/smile.gif Night all. Tony, I'll touch base with you tomorrow for a continuation of ...."1953 MG TD - The Reassembly"
 
OK last one caause I have it in PB. Line was cut & an inline filter was installed. I have a an original line that I am putting in. The one currently in hte car is clogged.
9-16-06-TheAwakening301.jpg
 
Yep, outside...
 
I am seeing a lot of Bugeye parts on this. Amazing what they did.
 
If you have the clearance to the bottom of the door, consider pan head screws. they give more bite for the screwdriver. But beware of door sag or you will scrape the paint off.

If you want to countersink and use flat heads, it can be done. You need to drill the holes first. Next, counter sink the sills a bit more than the head of the screw would need. The screw should drop into the countersink if installed without the sill cover. Now, get a piece of metal and make the exact same size countersink in it. Thread the hole. place the sill cover over this metal piece and put a screw in. Tighten the screw until the sill plate bends down into the countersink in the metal piece. You now have a sill plate that will accept a flat head screw, and a sill that will accept a cover with dimples in it.

I hope that made sense. It's a bit of work but I feel it's a nice touch that a nosy engineer, picky car show judge or future buyer will appreciate.
 
Back
Top