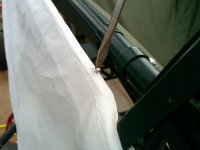
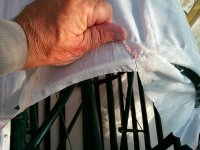
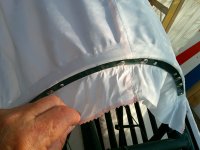
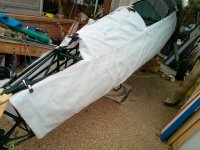
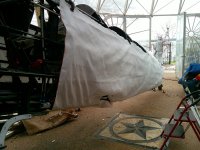
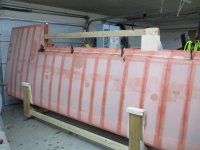
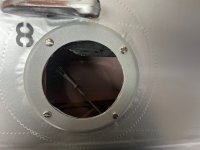
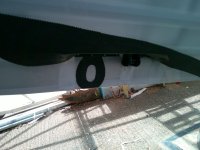
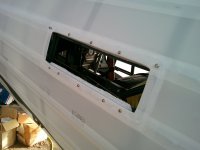
Now, a coat of polybrush sealer is applied by brush. This effectively locks the tautness into the fabric. Unlike dope, is does not shrink the fabric...that was all done by the iron heating in the prior step. In the next photo you can see a reinforcing strip is laid down over each rib, and then the stitching is applied to hold the covering tight against the ribs. Spacing is specifically called out, based on the plane max speed (182mph for a Stearman), and also the area affected by the propeller circle. Each stitch has to go around the entire rib, get knotted with a special sein knot, and then the continuous lacing thread is run through to the next knot. In this area on the lower wing within the prop circle lacing is at least every inch! while this is being done, you must take care to avoid fowling the control rods that run to the ailerons. The darker coloring is 4 coats of polybrush laid down to saturate the cloth so the tape that goes over the lacing will stick permanently.


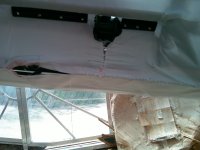
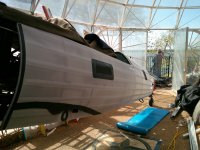
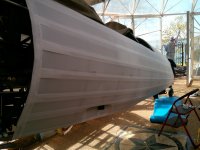
Now the wing is pre-coated where the tape will go. The odd dark areas are for "patches", which are additional cloth that reinforces areas that need it. Form here, the additional coats are sprayed. They include:
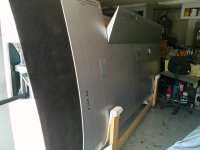
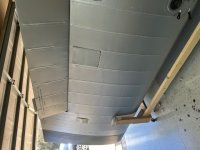
2 coats of pink sealer (polybrush)
4 coats of aluminum sealer (polyspray)
A sanding down of imperfections
2 more coats of silver...this polyspray blocks the sun's UV light from rotting the fabric, and goes back to the same aluminum impregnated dope used on zeplins.
Finally, 2 coats of final paint (polytone).
Finally, each layer must dry a day before doing any detailing in the paint.
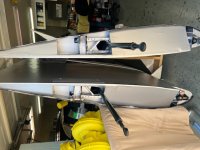
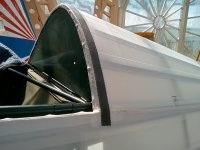
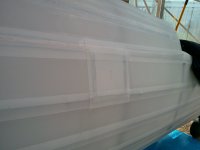
These are the finished top wings. I have been slowed, in that addition to having to spray at least 7 times, spraying must be done above 60 degrees...so the winter weather is slowing me a bit. Fortunately there is still enough things to do indoors on the cold days.
Anyway...Happy New Year to all!!


 Hey Guest!