Hey Guest!
OP
CessnaTPA
Jedi Hopeful
Offline
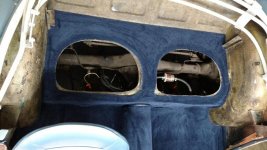
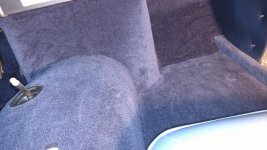
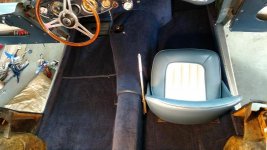
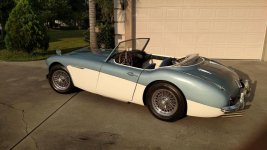
Finally finished the carpet install! What a PITA job that was, overall I feel it looks pretty good, not perfect but I'm happy and the wife loves it.
Still need to install the drivers seat and the trim panels and figure out what to do for the rear quarter panels.
Still need to install the drivers seat and the trim panels and figure out what to do for the rear quarter panels.