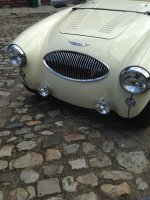
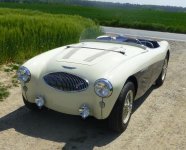
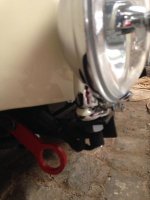
I had one of my guys make the brackets using the original front bumper arms as a guide and then shaping them to extend only 5cm out from the front shroud. The available off the shelf brackets are for me too far away from the shroud and too high up the shroud.]
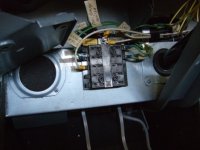
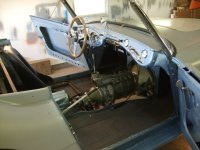
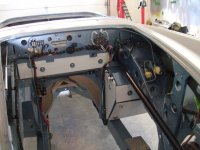
Thanks Andrew, I was just curious. And they look nice. I wasn't very happy with anything on the market either so I made my own as well. I tend to like them up a little and out far enough that they won't get pushed into the body work easily. I powered them up from one of the new fuse boxes I put under the dash, the fuse box I powered them from is an "always-on" fuse box which does not feed from the ignition switch. I turn them on with one of the new toggle switches I installed. Didn't need a relay. My wattage might be less than what you are running. Here's a couple of install pics.

 Hey Guest!