• Hi Guest!
    If you appreciate British Car Forum and our 25 years of supporting British car enthusiasts with technical and anicdotal information, collected from our thousands of great members, please support us with a low-cost subscription. You can become a supporting member for less than the dues of most car clubs.

    There are some perks with a member upgrade!
    **Upgrade Now**
    (PS: Subscribers don't see this gawd-aweful banner
Tips
Tips

View of the header faces

drooartz

Moderator
Staff member
Gold
Country flag
Offline
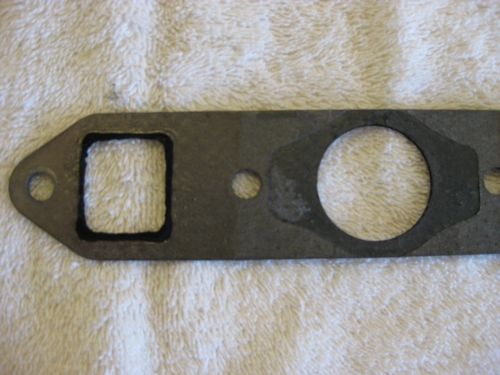
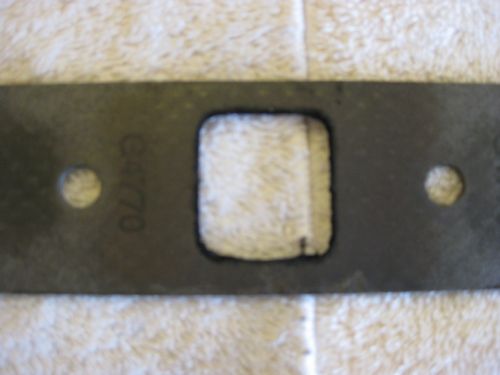
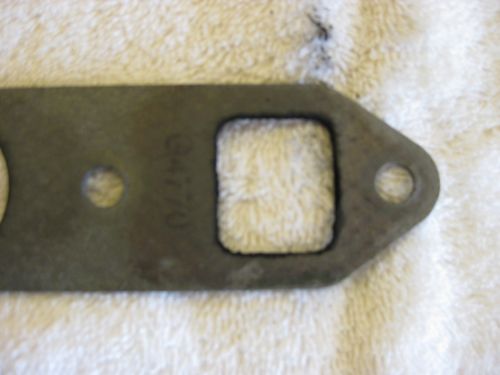
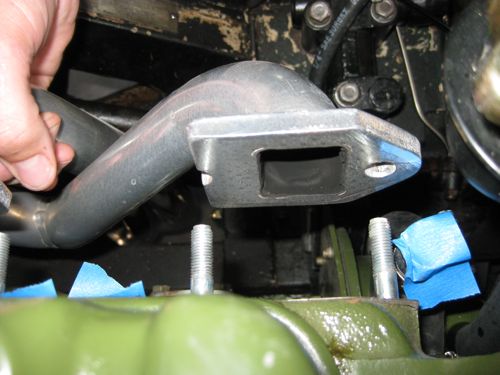
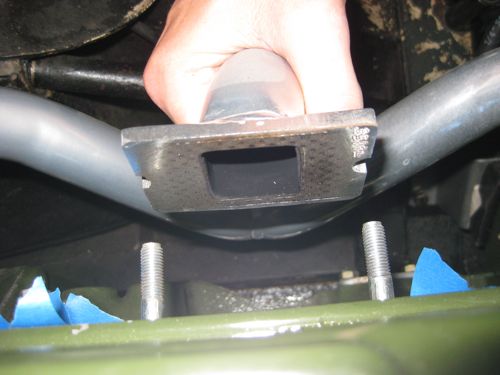
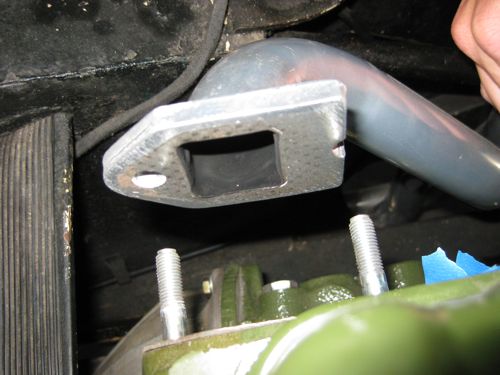
I got the exhaust loosened up today and was able to pull the headers back enough to get a look at them. Pulling the headers out of the car looks to be too much trouble right now -- the slip fit between the headers and pipe is *very* tight (as it should be).

Also, the header flange is .02" thicker than the intake (.33 for header, .31 for intake).

tbheader_1.jpg


tbheader_2.jpg


tbheader_3.jpg


I've got a gasket set on the way, and pulled the intake and heat shield apart today for its new gaskets.

Should I use any sort of sealer/Permatex on these gaskets?
 
Before you put those back on try putting a straightedge on the 3 faces simultaneously and take a photo of it for us (showing any gapping if you can).
That will tell a lot.
BillM
 
I'll give that a try when I get home from work tomorrow, Bill. It's a bit tight in there, but I should be able to get something in there.
 
No goop, I repeat, no goop.
 
jlaird said:
No goop, I repeat, no goop.

Jack nailed it, no goop of any sort, temps here will be well over 1000 degrees and no sealer would hold up to that.

I've seen header flanges before that were off a bit, most machine shop have a large horizontal belt sanders, and I used those in the past to level exhaust flanges on both headers and stock manifolds.

The other deal is the flange difference of the intake and exhuast, they should be the same, if not, you need to make special half washer to equal the flange thickness to the thinner of the two, so everything gets pulled up equally when the nuts are tightened.
 
What are you planning on doing about the flange thickness difference?
 
No goop Ok beat your head against a wall. Take it to a machine shop and have them flat lap it for you. The ones that make these headers are not very good and getting them right.
 
drooartz said:
Also, the header flange is .02" thicker than the intake (.33 for header, .31 for intake).

take the header to someone that can fly cut .02 of the face and you should be good to go. looks to me like you may have had a little seepage around the center bottom and rear bottom of those flanges.


m
 
Now you're going to find out why I put flanges at the bottom of the headers to exhaust pipe.

Properly sized pipes, proper clamp, tightened by a muffler shop, means AIR, and it actually crushes one pipe into the other.

I have spent more hours, car on hoist (or stands) torch and hammer, and eventually I get them apart, but it is easier to cut the pipe and start over.

Hopefully your muffler shop wasn't too efficient, and possibly did not have a tight fit of pipes, and only hand-tightened clamps.

Maybe you can take the entire exhaust system loose and fish it all out in one piece.

The separate flanges on those headers should allow equalization when tightening, except for individual twist.

Pull the gasket out, lay it on something flat, take a photo of both sides, please.

Dave
 
TOC said:
Pull the gasket out, lay it on something flat, take a photo of both sides, please.
Will do when I get home from work today.
 
That will show exhaust passing the gasket, whereas looking obliquely at the metallic surfaces is somewhat more difficult to discern.
 
I think the header slips over the smaller exhaust pipe.
I just welded my shut. Can unweld if need be. think I can still remove the engine with out cutting the weld. just loosed the supports bolt for the exhaust pipe.
Thing you have to do when the closest exhaust or machine 35 miles away.
 
Whole different can of worms when a muffler shop clamps the pipes together.
 
Pipe over header here.

I actually managed to get the pipe to move about 1/4" off... and that was it for today. We'll see if I can make any progress on it tomorrow, though I'm not sure I could get it back on if I actually got it all the way off. Luckily it's not so far off now that I couldn't just leave it as is.

Here is the gasket. Didn't get a shot with a straight edge, as I used up my time trying to get the pipe to budge.

<span style="font-style: italic">Side facing the header/intake, front of car -> back</span>

tbgasket_1.jpg

tbgasket_2.jpg

tbgasket_3.jpg


<span style="font-style: italic">Side facing the head, front of car -> back</span>

tbgasket_4.jpg

tbgasket_5.jpg

tbgasket_6.jpg
 
Third photo down, a little bit in the lower right corner.
Not bad.
I am wondering if, due to mis-match in flange thicknesses, you have an intake leak making the noise?

The way to describe it best is when you hold a piece of typewriter paper between your fingers and blow on it.....sometimes gaskets can make that kind of noise (different pitch) as either exhaust or vacuum passes over them.

Your original audio recording sure sounded like exhaust, and more frequent than one port.

However, 4th photo down, round intake on the right side, certainly does not look like it made good contact.
The other photos tend to show the imprint of the intake, but that one looks a tad lacking.

No matter what folks think, maybe on freshly machined surfaces you can get away with no gaskets or no sealer, intakes for me always get a wipe of black silicone sealant.


Dave
 
TOC said:
Third photo down, a little bit in the lower right corner.
Not bad.
I am wondering if, due to mis-match in flange thicknesses, you have an intake leak making the noise?

you can get away with no gaskets or no sealer, intakes for me always get a wipe of black silicone sealant.


Dave

Dave, I think you're on to something, the header flange is the .020 thicker of the two, so the one not getting properly tightened is the intake, not the header, the headers are clearly sealing looking at the gasket, so the intake is the one sucking air, and thats make sense, that would sound like a chirping noise. Drew take the headers to a machine shop that has one of those big horizontal belt sanders and get them to take the .020 off and then you will have equaled the flange thckness and get both the intake and exhaust to tighen down equally, what is happening now is the exhaust is getting pulled down tight, and the intake is .020" short of that, the difference is too minute to make the up the difference with any type of half washer, so the header flange need to be thinned the .020", and all will be good. Also make sure to use good hex nuts and fresh split washer on all the studs.
 
Thanks for the diagnosis, guys. I'll keep working at getting that pipe off so that I can get the header out. Then it's off to find a machine shop to get everything equalled up.
 
Good discussion here, guys.

Question, though: Shouldn't Drew take both the intake and exhaust manifolds to the machine shop for matching?
 
Mickey Richaud said:
Shouldn't Drew take both the intake and exhaust manifolds to the machine shop for matching?
That's my plan, Mickey, as soon as I can get the @#*! header and pipe separated.
grin.gif
 
You will need a torch, oxy-acetylene.
Remove the clamps, heat the "crushed" area until it just glows, work the pipe until the crush starts to flatten, work around it to get the crush out.

DO NOT blow a hole in the pipe, or you get to start all over.

I used to use a small hammer, when space was available, to tap the heated area and draw the crush out, but you really need a hoist for that.


The good thing is you don't have rust to contend with.
 
Back
Top