• Hey Guest!
    British Car Forum has been supporting enthusiasts for over 25 years by providing a great place to share our love for British cars. You can support our efforts by upgrading your membership for less than the dues of most car clubs. There are some perks with a member upgrade!

    **Upgrade Now**
    (PS: Upgraded members don't see this banner, nor will you see the Google ads that appear on the site.)
Tips
Tips

TR2/3/3A TR3A Vinyl Dash Covering?

Tinkerman

Darth Vader
Offline
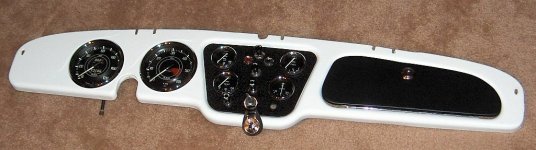
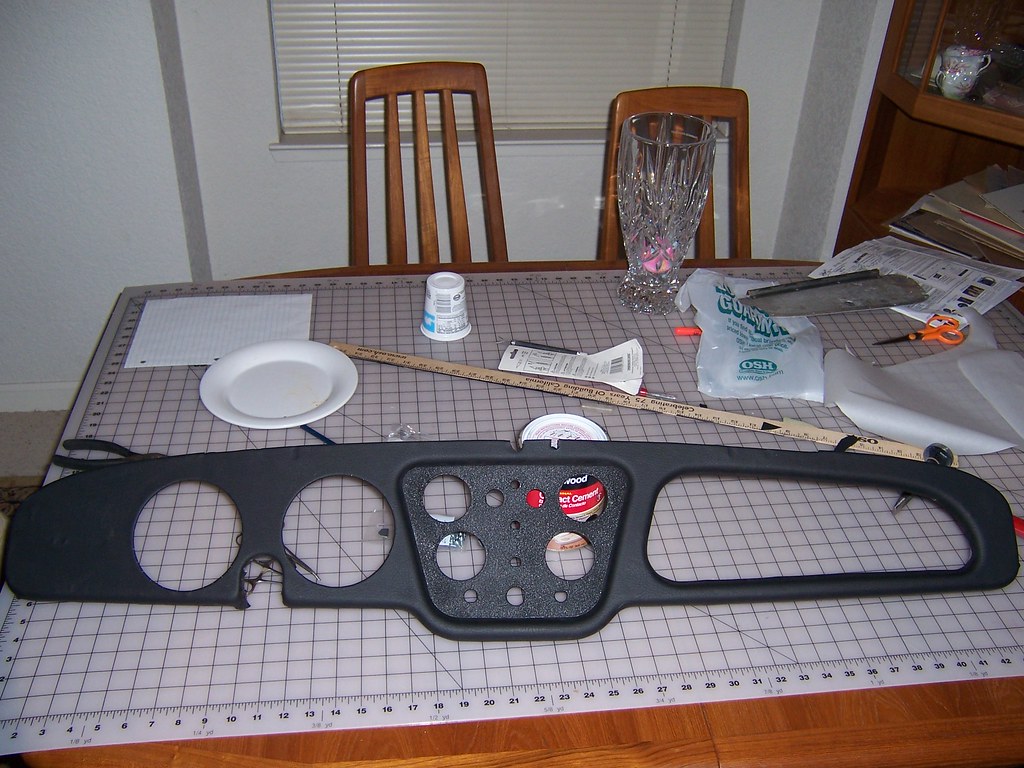
Has anyone covered their dash with vinyl? I don't have a problem covering it I'm wondering how I stretch it around the two lower corners and the corners in the instrument cluster pocket. My attempts with scrap pieces have proven futile. I have tried some heat but I know that there is a fine line before the heat becomes too much and melts the material. We have only one upholsterer in town and he told me that he uses a steam gun. I asked him how much to do mine and he told me maybe he could get to it by August or September, ugh! My wife has a steam wrinkle remover but I don't think it produces enough steam to help much.

Any thoughts would be much appreciated.

Any ideas on steam guns would also be appreciated.

Thanks, Tinkerman
 
Tink,

I used a marine grade (mold resistent) vinyl from a local sewing store. It seems much more 'stretchy' than normal stock. I used white on the dash, and black on the glove box cover. I think it turned out pretty good and have pictures I could share of my process. (I cut a keystone of 3/4 plywood and rounded the corners to match the indentation for the guage cluster and compressed it while the glue set.) I have a few small wrinkles around the steering shaft -and that's probably a difficult area no matter the material. I used no steam, heat, water, forms or anything but glued isolated sections day by day until it was done -about a week. The grain isn't as pronounced as leather, but neither is the price. I have yet to do the dog legs and other parts, but I'm sure the color will match perfectly.

Jer
 

Attachments

  • 20629.jpg
    20629.jpg
    66.3 KB · Views: 277
Dick
When I did mine I made release incisions and triangular cut-outs to allow me to fold over the vinyl to the back side of the dash. Did not use any heat and made sure I had contact cement on all the surfaces I intended to have the vinyl stick too. Don't forget the small clips used to keep the vinyl in place on the bottom of the dash. They are very useful, becuse they let you get a pull on the vinyl when you are bring it over the dash lip. Matrix-5 did a write-up on this some time ago. Maybe Art will put in his 2 cents.

Paul
3935295775_408bc1fc76_b.jpg
 
I was going to chime in here, but the OP is using vinyl, and I used leather, which I think reacts differently then vinyl. Anyway, there is a bunch of pics and talk in this thread about how I did things.

Maybe it will help.

BTW Paul, that dash looks great.
 
Thanks for the pics! I'm glad to see that it can be done and done very well judging by the pictures. Both dash's look great. I have your pictures Art and they have been studied heavily. A friend is coming over today to give me an extra set of hands so we're going to start gluing and nipping and tucking and see how it comes out. I want to get this done so I can get moving on the wiring harness.

Thanks for your thought's, Tinkerman
 
I am starting the same process as well please keep us update with any success and tribulations. As always pictures are great help.
 
Dick: I don't know if leather was an option for the "facia" (dash-board). It seems that most were covered with vynide.

This is a lot easier than it seems. Just follow what Art has documented which is excellent.

This is how I did my facia. Now that the weather is warm you can put your sheet of vinyl in the sun while you brush or spray your contact cement on the facia.

<span style="font-style: italic">(NOTE: I used something new recently - contact cement in gel form. I used it for a veneering project and I like it - no drips. You might consider using this instead of the regular liquid type cement.)</span>

Only apply the contact cement to the front, flat surface of the facia. You will deal with the curved edges and back surface later, and you don't need any extra cement that will attract and stick to everything. You want the vinyl to be nice and pliable. Then apply the contact cement and let it dry. Before the next step, be sure the contact cement on the vinyl AND facia is dry. With the vinyl finished side down (glued side up) on a flat surface, carefully align the facia over top and lay down onto the vinyl. You only get one chance so take it slow. Let this dry and later you can do your cut outs for the gauges and all of the little "pie slices" to get a nice, wrinkle free radius.

Good luck
 
Having retrimmed a few TR dashes, I only ever use the contact gel that Frank mentions in his NOTE. Go easy with any heat as it can dry out the adhesive on the vynil before the coat on the metal.

Gel goes on like smooth peanut butter, avoiding all those long runs that drive you nuts with liquid contact adhesive.

I've found a toothbrush to be the best applicator for applying the gel exactly where you need it. Stand it a glass of water between coats, then just give it a good shake and wipe with a rag before starting the next section.

Note that vynil stretches one way but not the other. Test beforehand, as the right way around is needed to avoid wrinkles, especially with the S cappings.

Regards,

Viv.
 
Also, be careful what kind of paint you use on the dash. Something I used ended up getting soft and peeling off when the glue was applied. I had to strip and paint it all over. -Maybe I didn't wait for it to dry long enough?
 
Back
Top