Hey Guest!

 Hey - did you know if you click on the title of a thread it will take you to the first unread post since you last visited that thread?
 but were afraid to ask:
  STOP!! Never post your email address in open forums. Bots can "harvest" your email! If you must share your email use a Private Message or use the
  smilie in place of the real @
 Pretty Please - add it to our Events forum(s) and add to the calendar! >>
OP
Tr3aguy
Jedi Knight
Offline
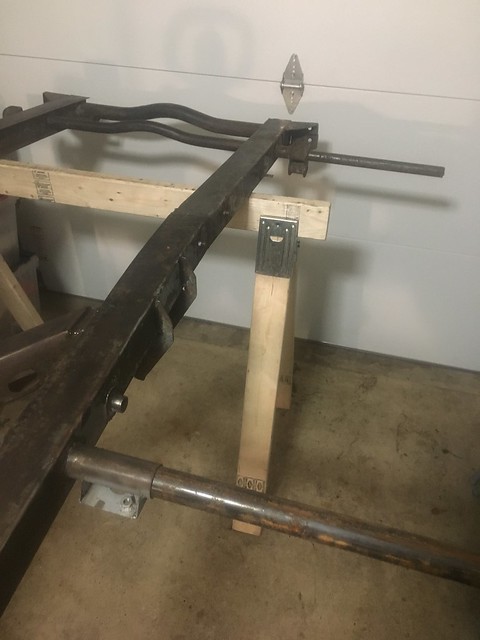
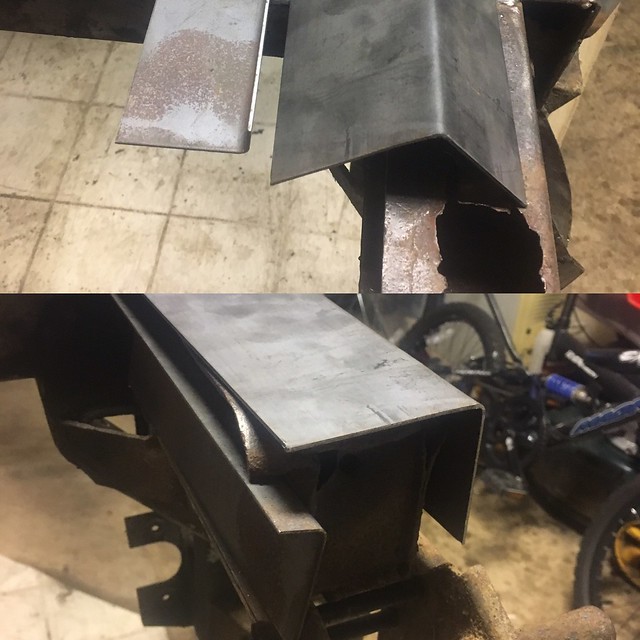
So thanks everyone for chiming in and giving advise. I am going to attempt the repairs myself. I picked up some 16 gauge metal and took some measurements for bending up some metal. I made it longer then what I neede so I can adjust on the fly. I am trying to find a spot welder to borrow or I might fab it all up and take it to a shop to spot well, still deciding.
Here is how it came out:
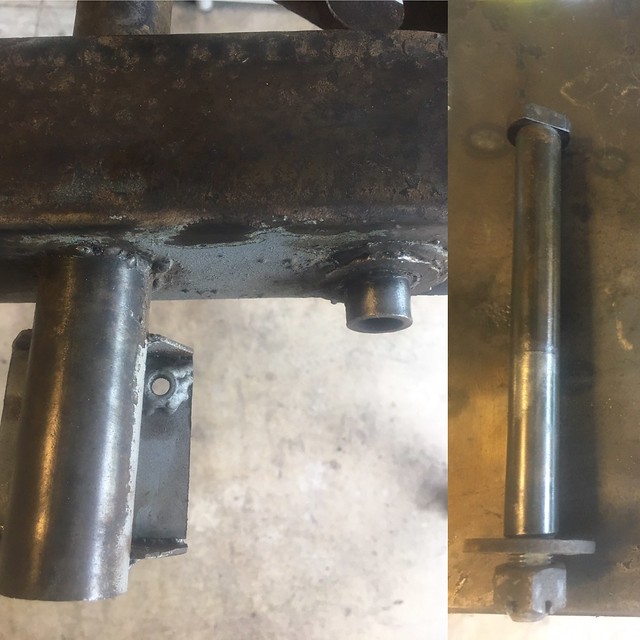
I also had had another win with the rear front spring pin. I have been cleaning on the frame and spraying on these bolts for about two weeks. I finally reread the thread on pin removal and decided today was the day. I am happy to say they both came out with a little fight. A little buffing and Emory cloth and they slide quite nicely now. I have to pick up some anti seize for reinstall. Now to get a gas bottle.....money, money, money
note the d shaped cut out on the bolt
oh the picture.
Here is how it came out:
I also had had another win with the rear front spring pin. I have been cleaning on the frame and spraying on these bolts for about two weeks. I finally reread the thread on pin removal and decided today was the day. I am happy to say they both came out with a little fight. A little buffing and Emory cloth and they slide quite nicely now. I have to pick up some anti seize for reinstall. Now to get a gas bottle.....money, money, money
note the d shaped cut out on the bolt
oh the picture.